November 13, 2014 – Day 1
After the empowering experience of The Discoverer Project, the FishingNosara Build Team has set on yet another course to redefine Costa Rica sportfishing.
The genesis of The Harvester Project was in the success of our 26-foot Super Panga Explorer.

The combination of a big-bow panga hull with a single Yamaha motor has proven unbeatable for fishing in our stretch of ocean.
As her legend grew, we began to wonder what the Explorerwould be like if it was just as big as the Wanderer and Discoverer.
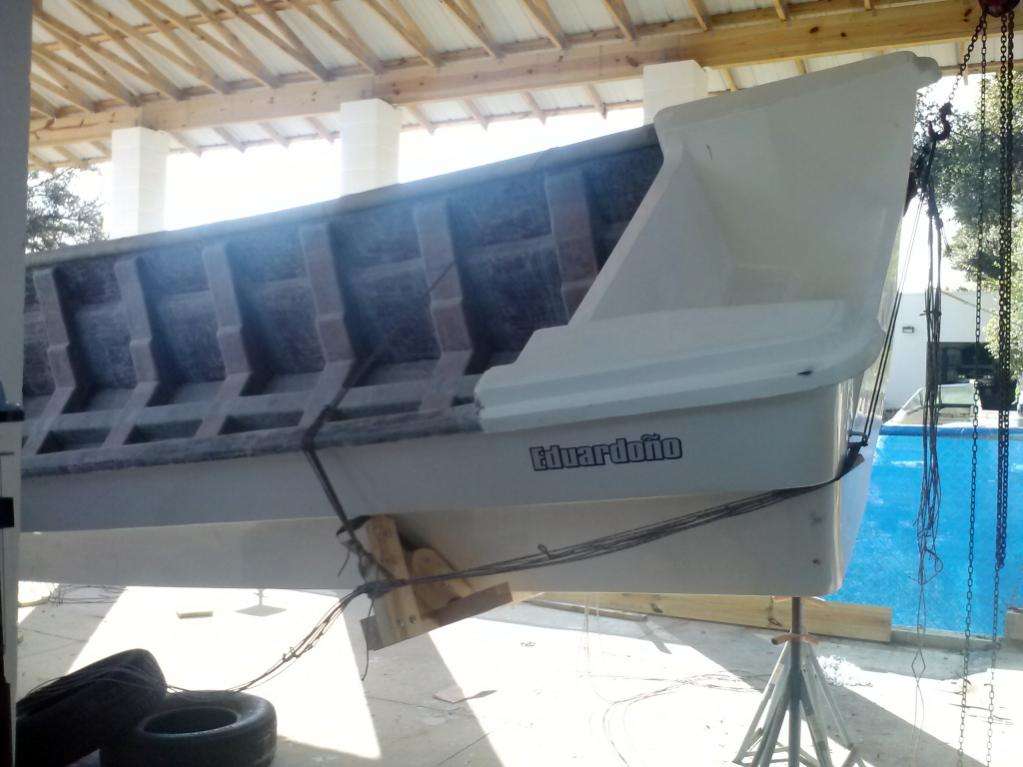
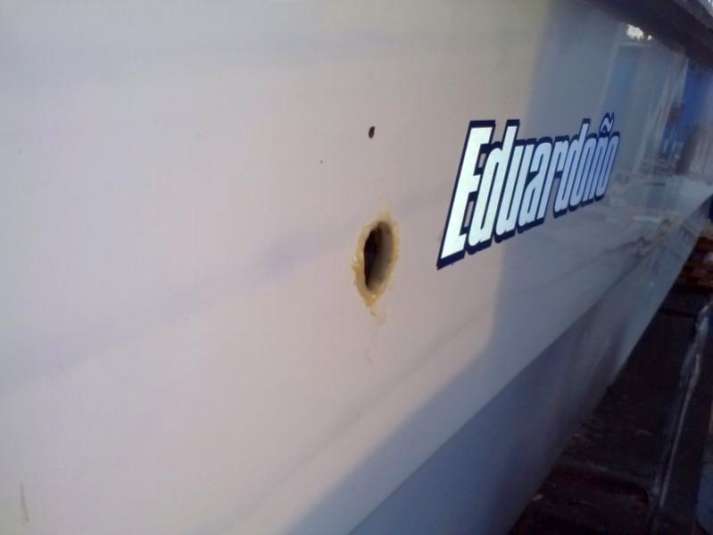
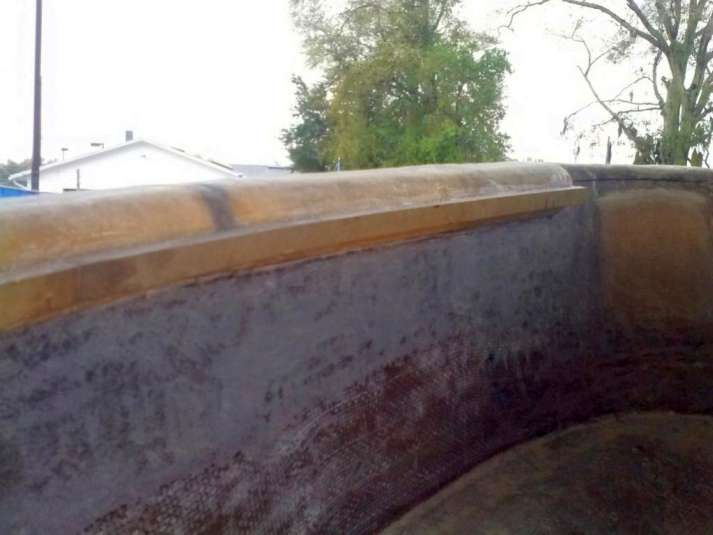
We searched far and wide for the best panga hull manufacturer in the Western Hemisphere and, after a few mis-steps and dead ends we found the clear choice: Eduardono Boats based in Columbia.
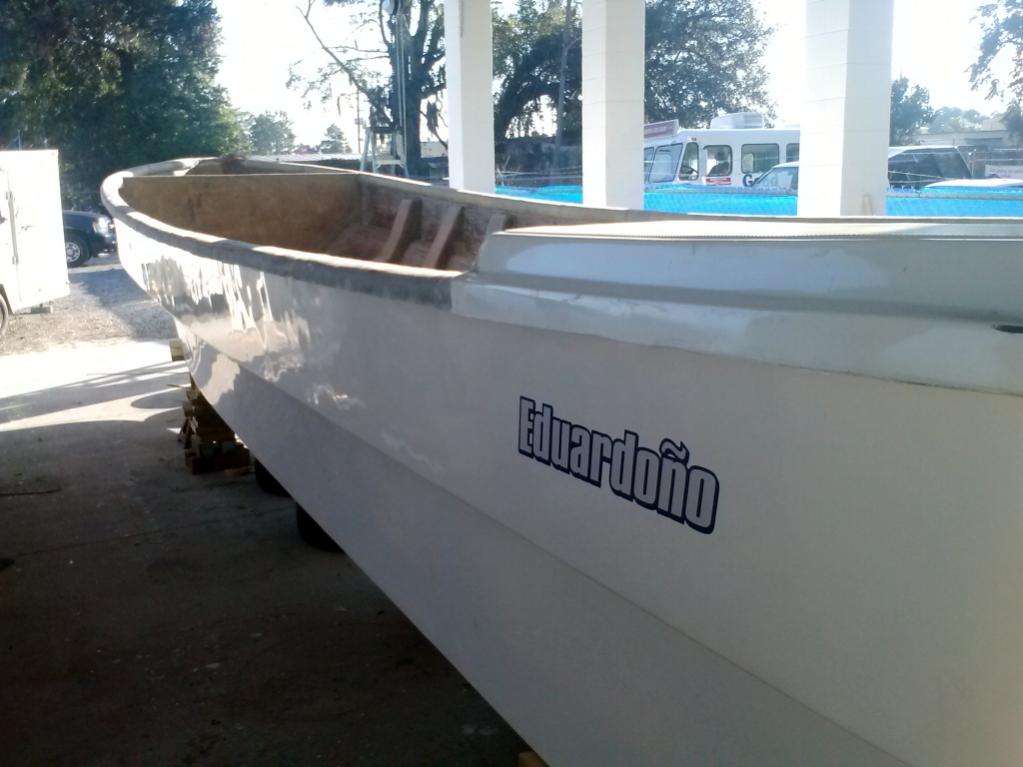
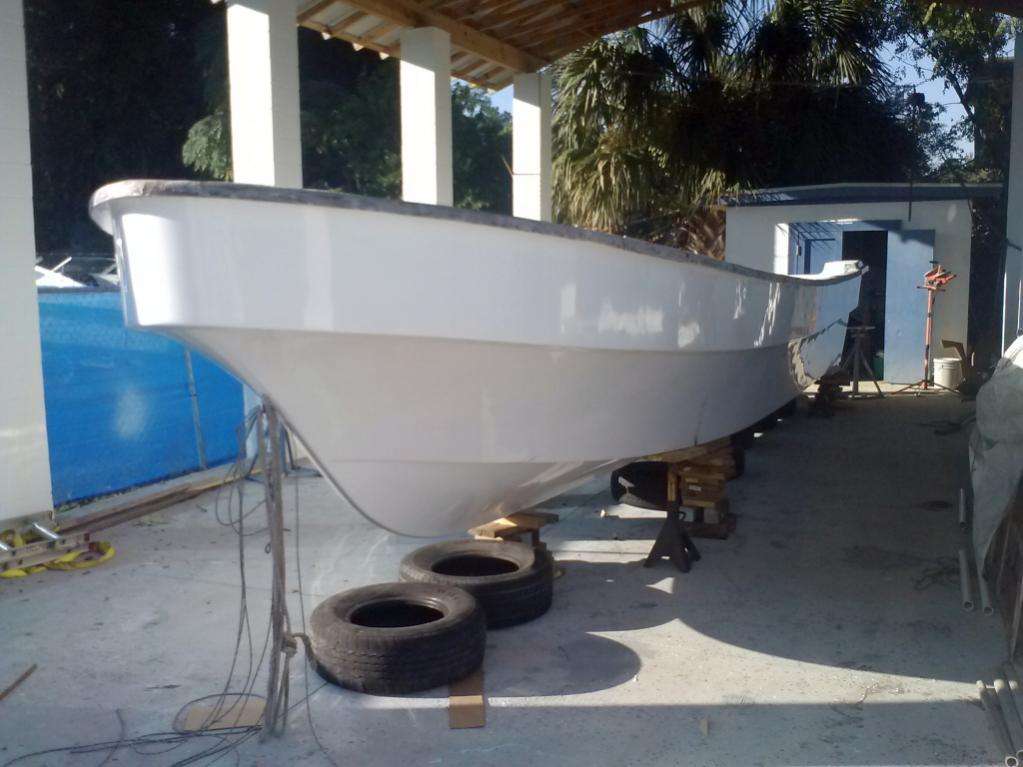
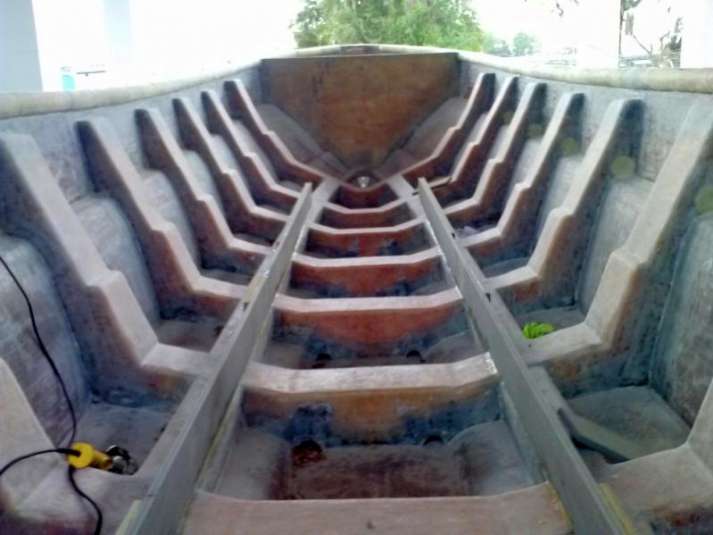
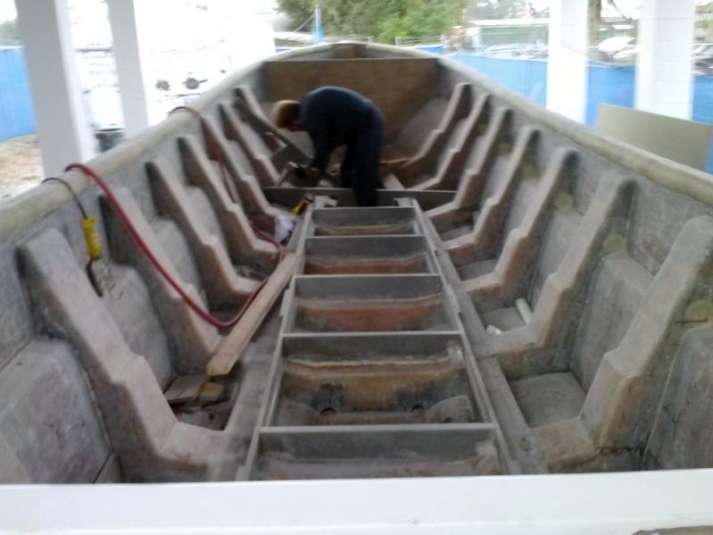
The 32-foot Corvina hull is exactly what we are looking for: strong, light, and proven to last in rough conditions.
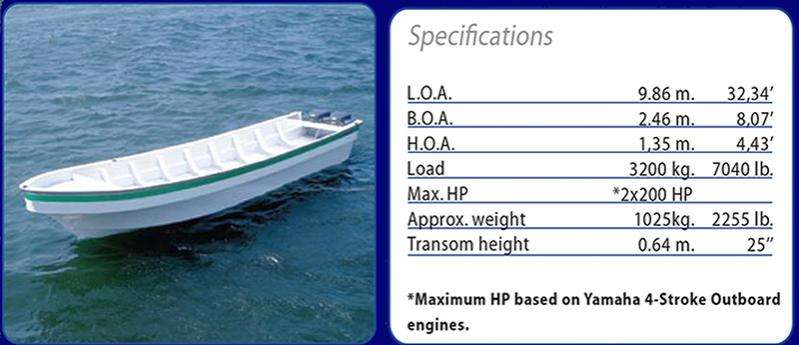
Like all panga hulls she is big-nosed, narrow in the waist, and flat on the bottom; these factors make it so that a single motor can get this boat up on plane and therefore saves a ton of fuel.

We placed our order with Eduardo a few months ago, and Craig got to work sketching out his dreams for the ultimate ‘Mega Panga”.

As the days crawled by we were left to salivate over this single picture:
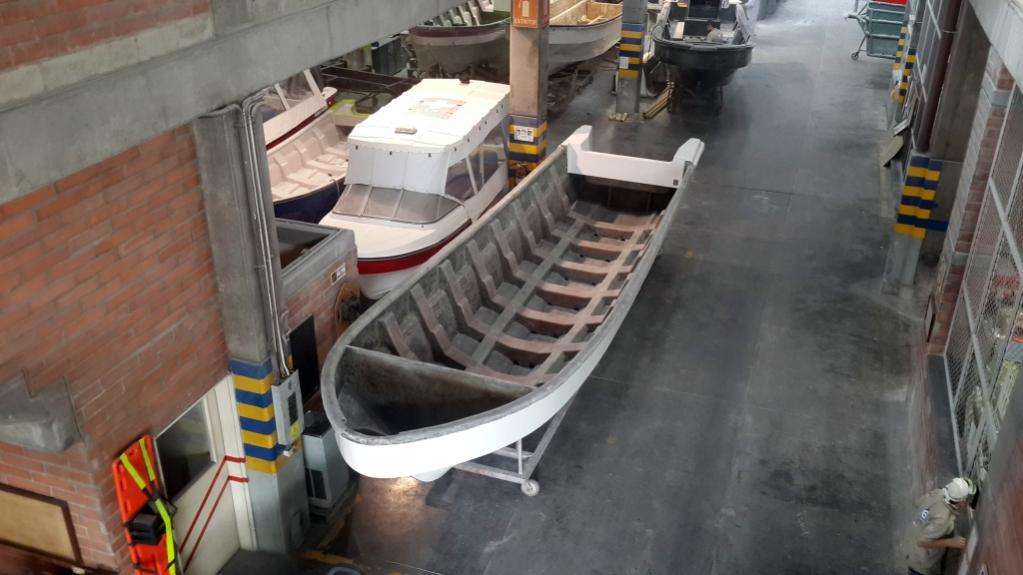
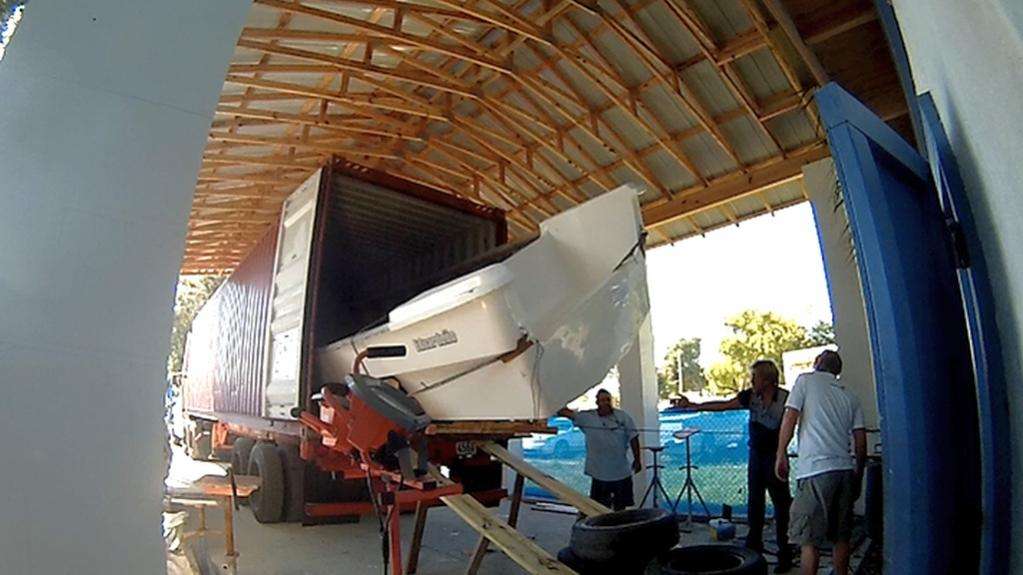
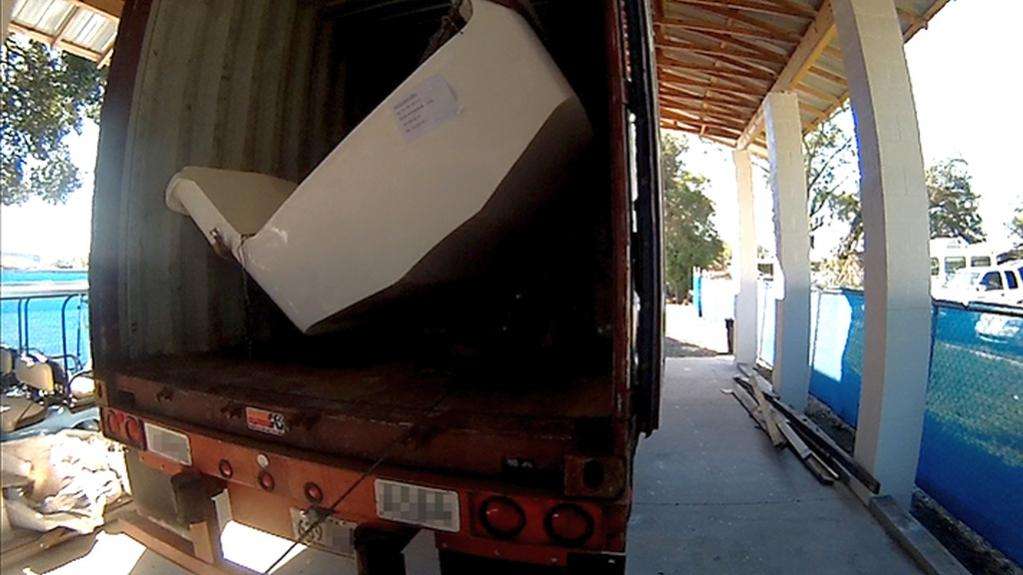
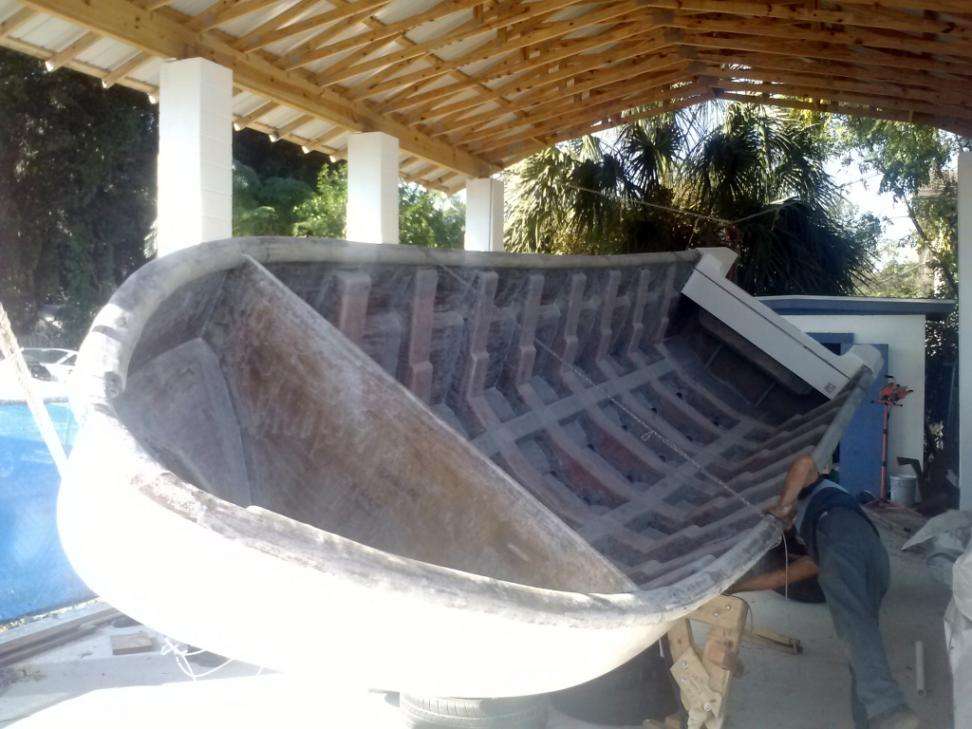
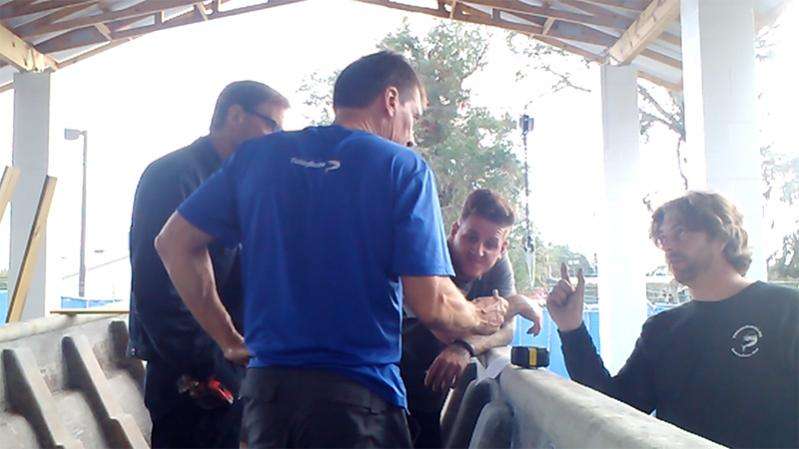
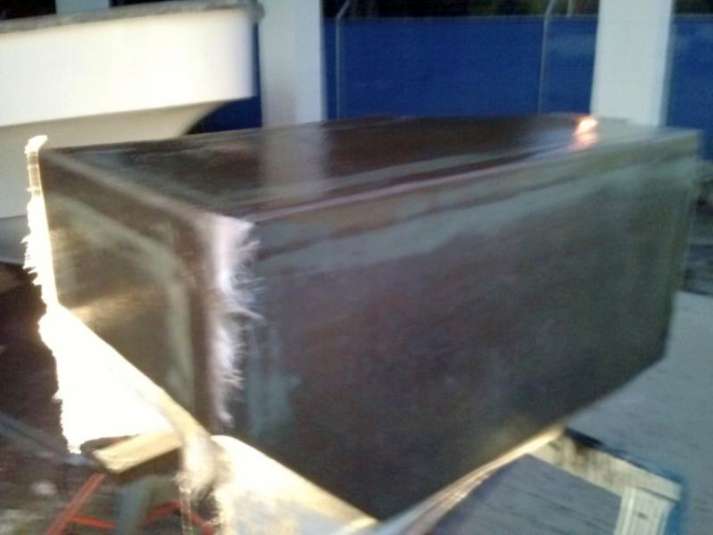
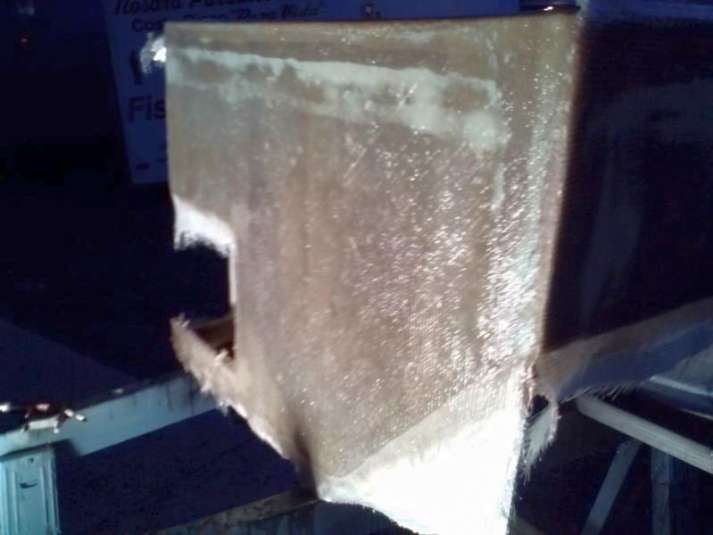
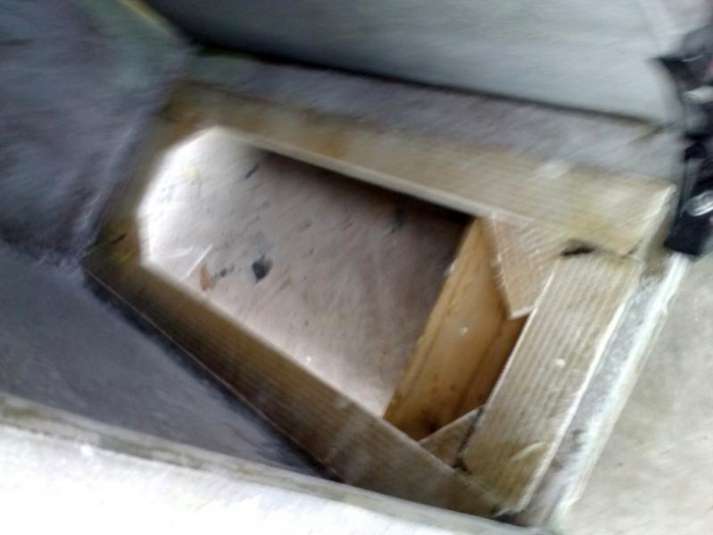
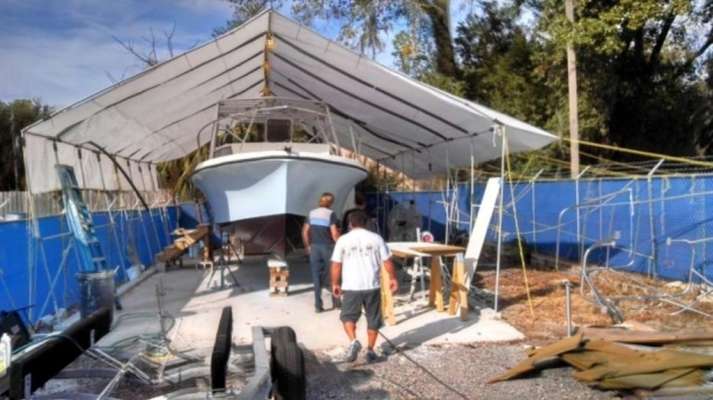
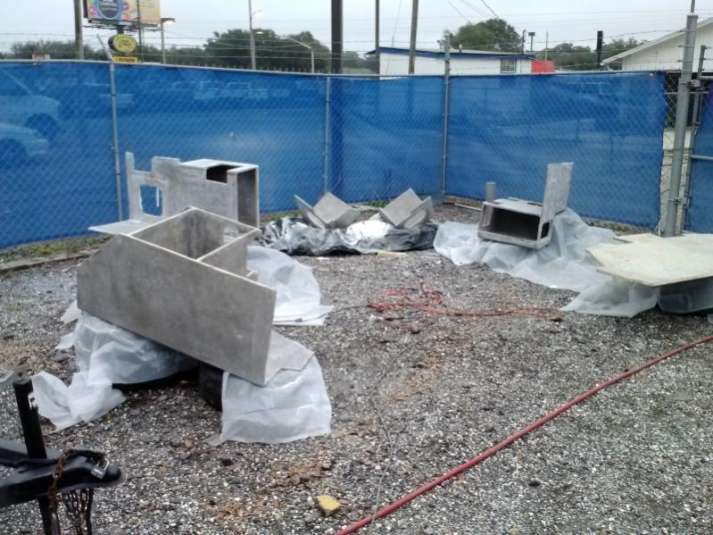
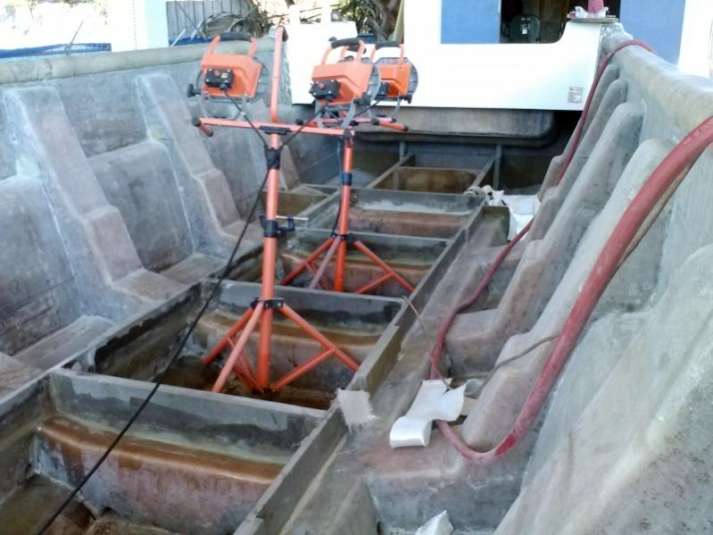
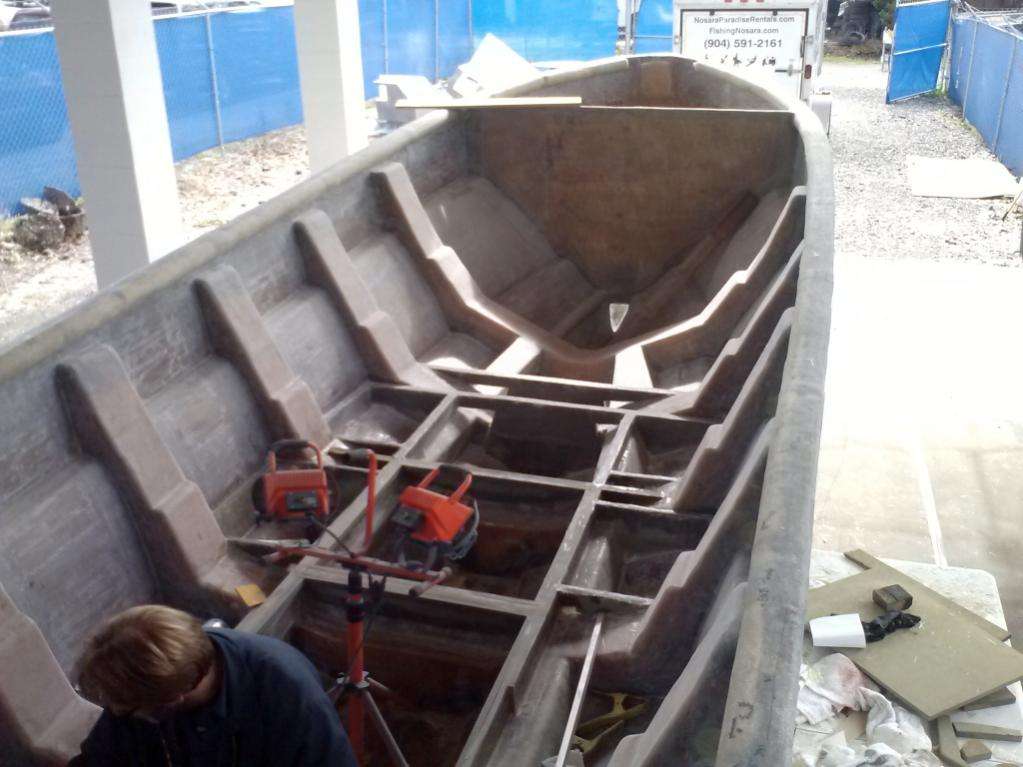
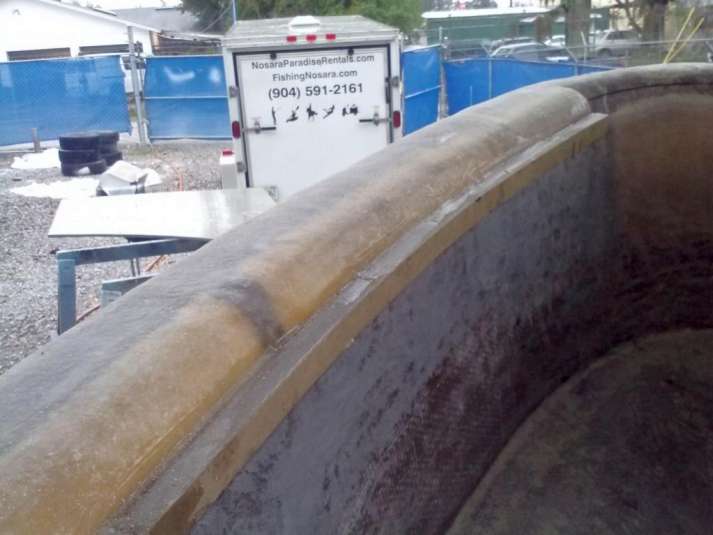
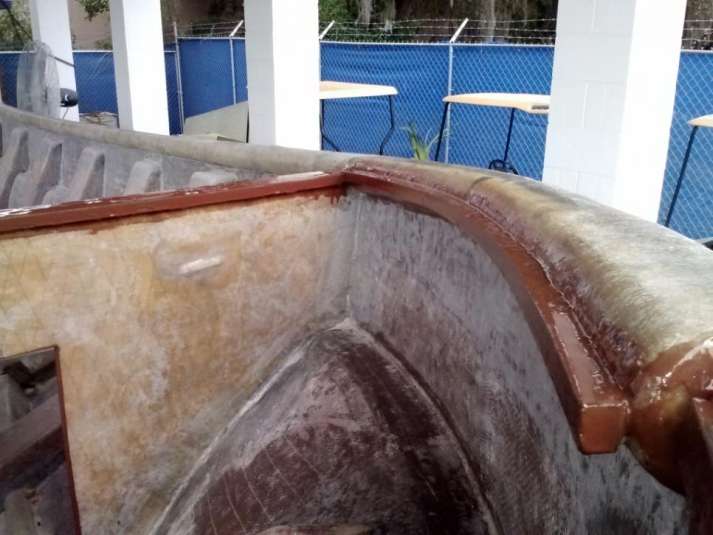
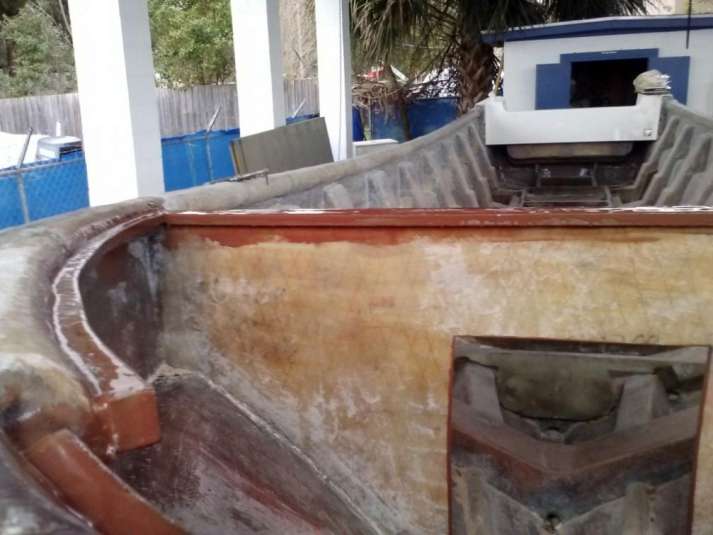
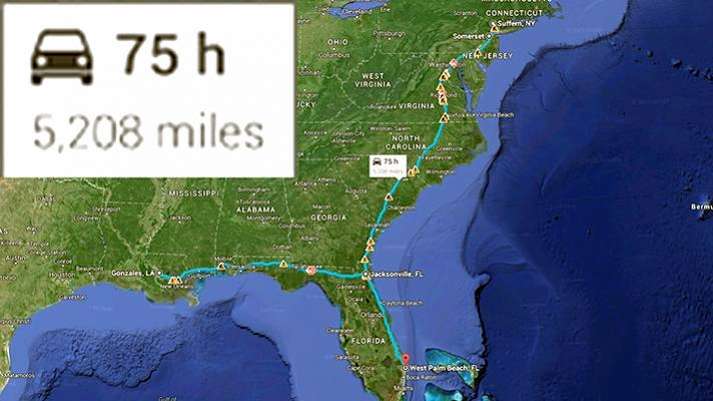
Finally on November 3, 2014 she arrived to her new home in our Jacksonville, FL shops. Getting it out of the container was a little dicey:


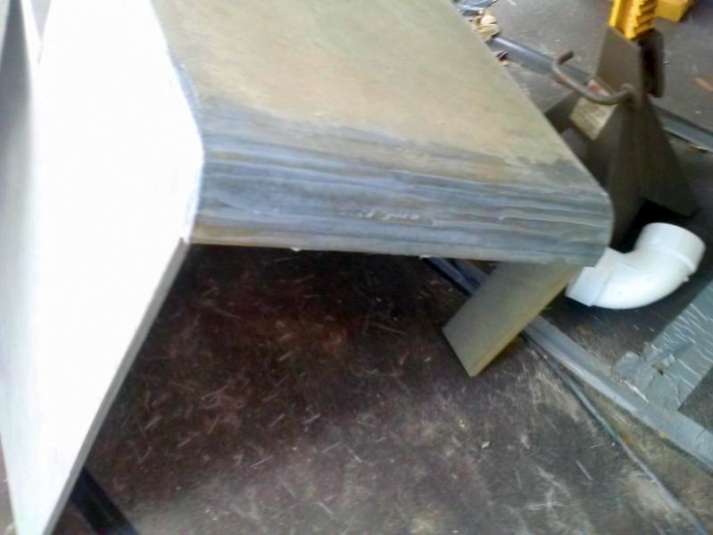
Once settled we got her out of the box and hanging on chain hoists, we had to construct a cradle so the boat would sit level on the ground.
We won’t be getting a trailer for this boat until later in the project, so it is critical that our saddle be at perfect level so that when we start laying out the floor and consoles things don’t get off-square.
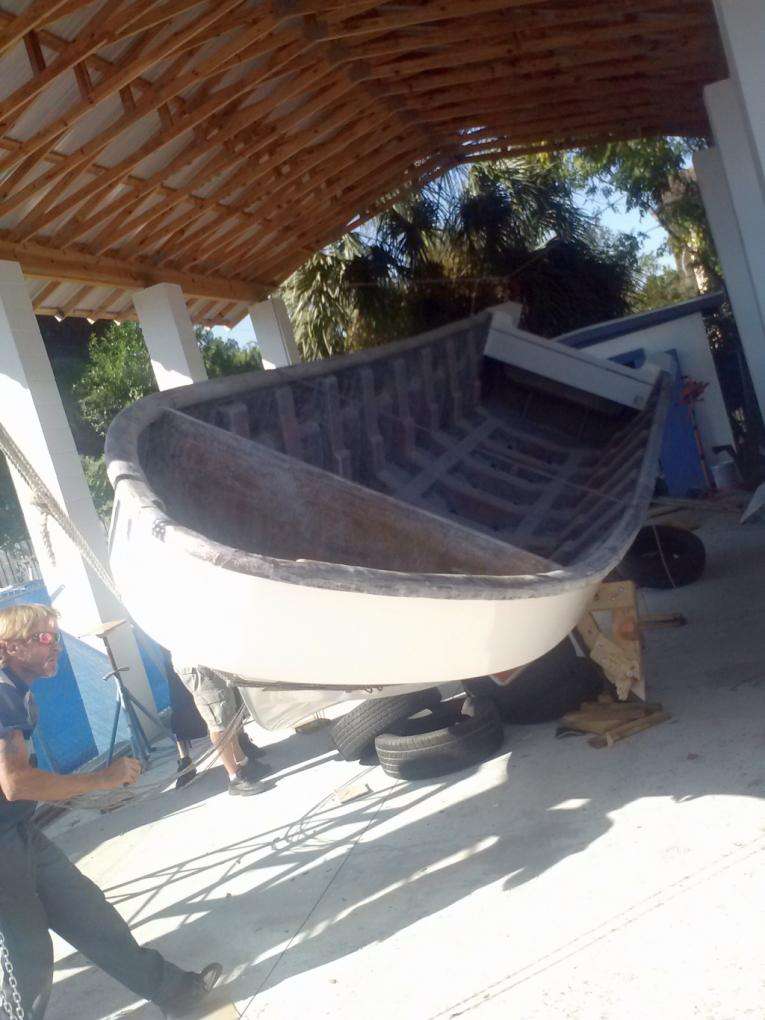
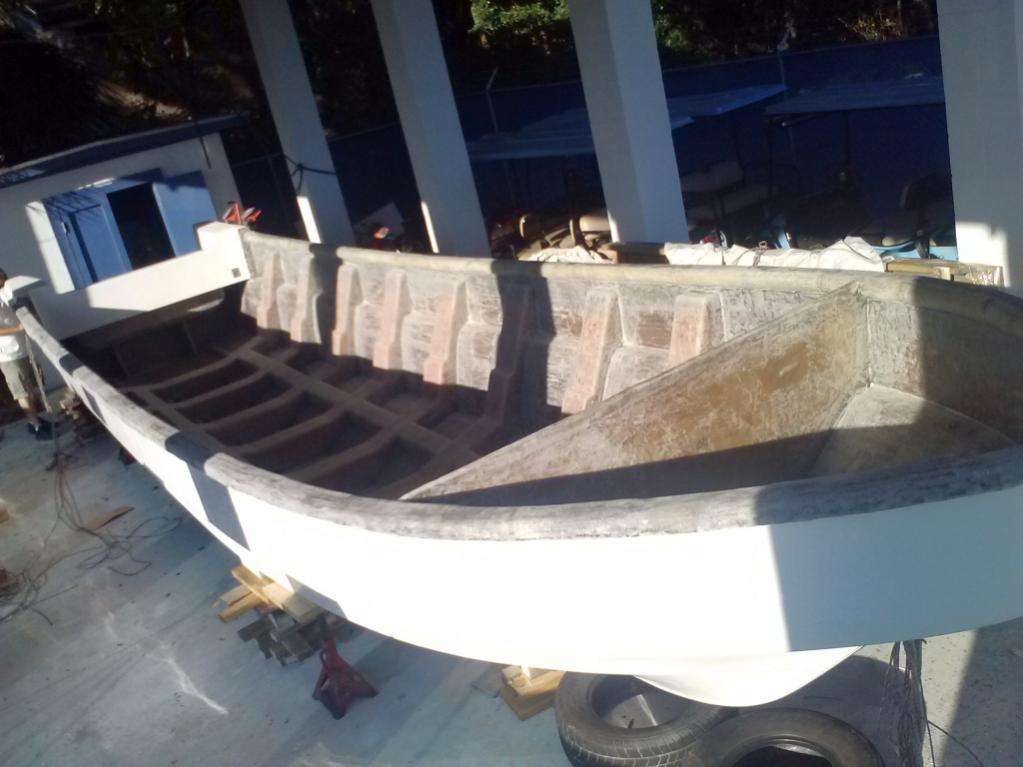
It took most of a day, but the Harvester is settled, level, and ready for us to sink our teeth into this meaty project.


The Harvester Project is officially underway and we are stoked to bring you regular updates live-as-it-happens on the Florida Sportsman Boat Build Forum.
November 18, 2014 – Day 6
We’re already catching a groove here on The Harvester Project.
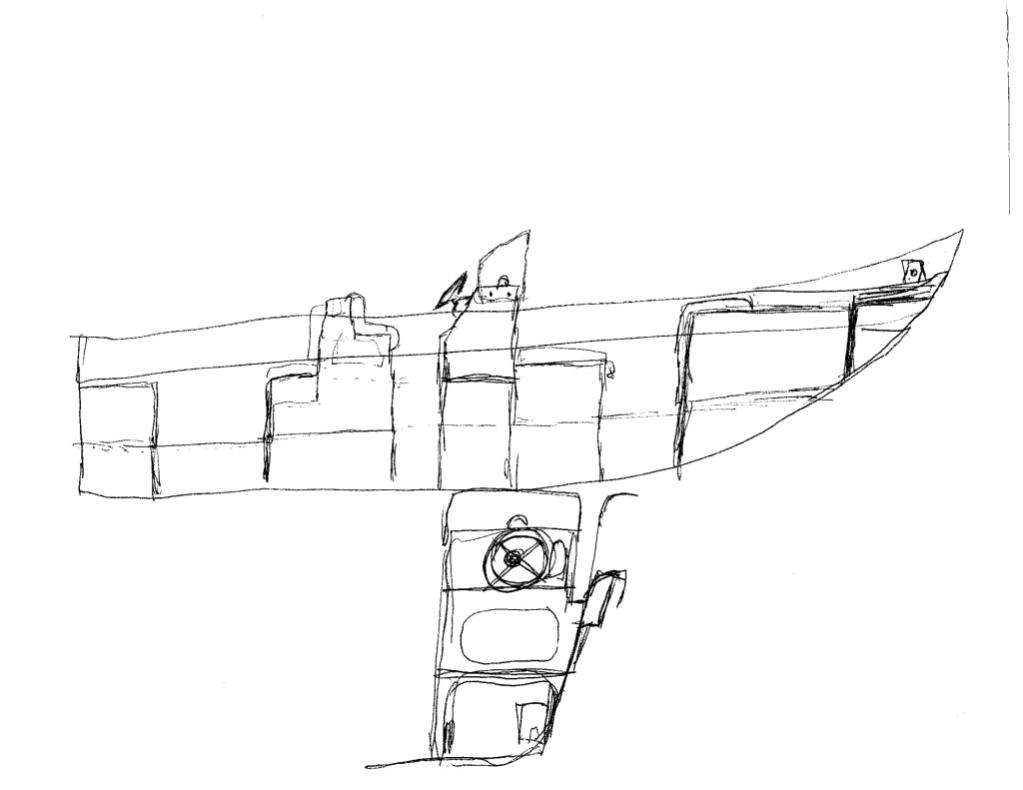
Craig, Brian, Alejandro, and I wasted no time to lay out the positions of the consoles, seats, and coolers. We also referenced the diagrams from Eduardono to determine the midpoint and weight bias so that the ice-filled coolers and gas tanks don’t weigh down the back end of the boat.
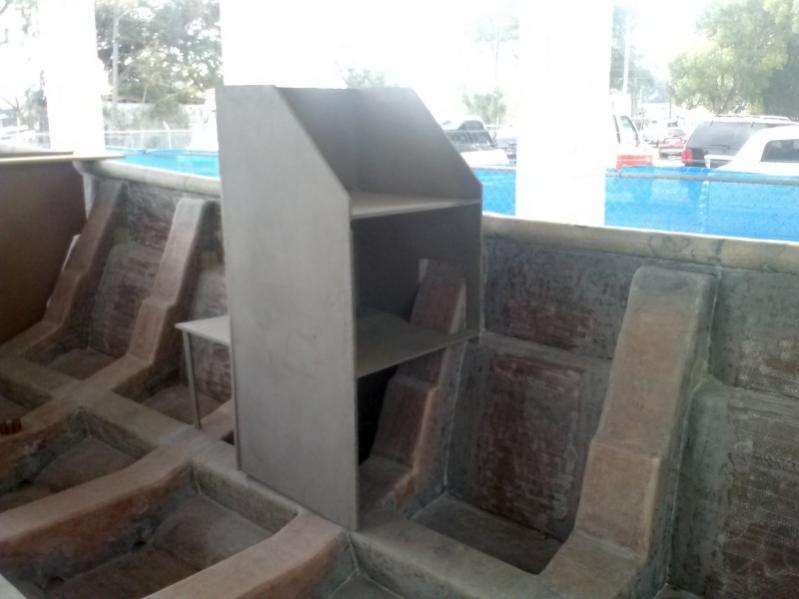
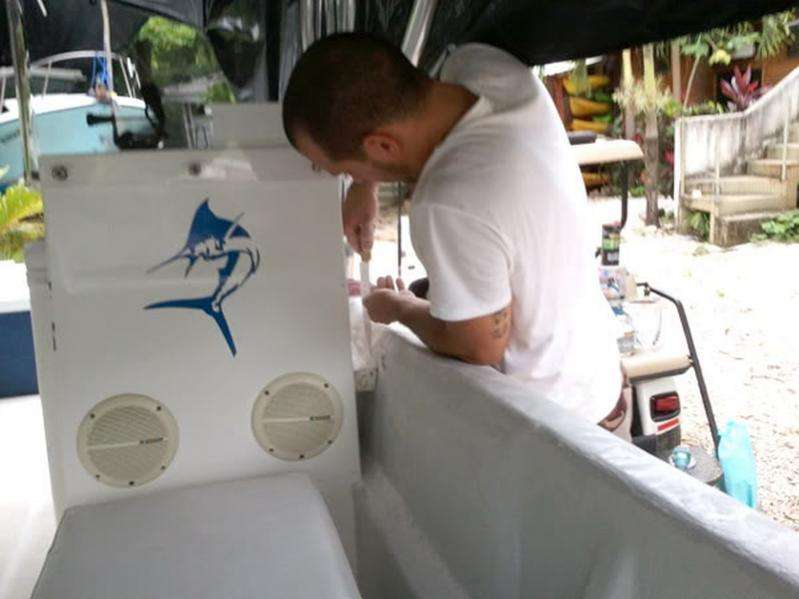
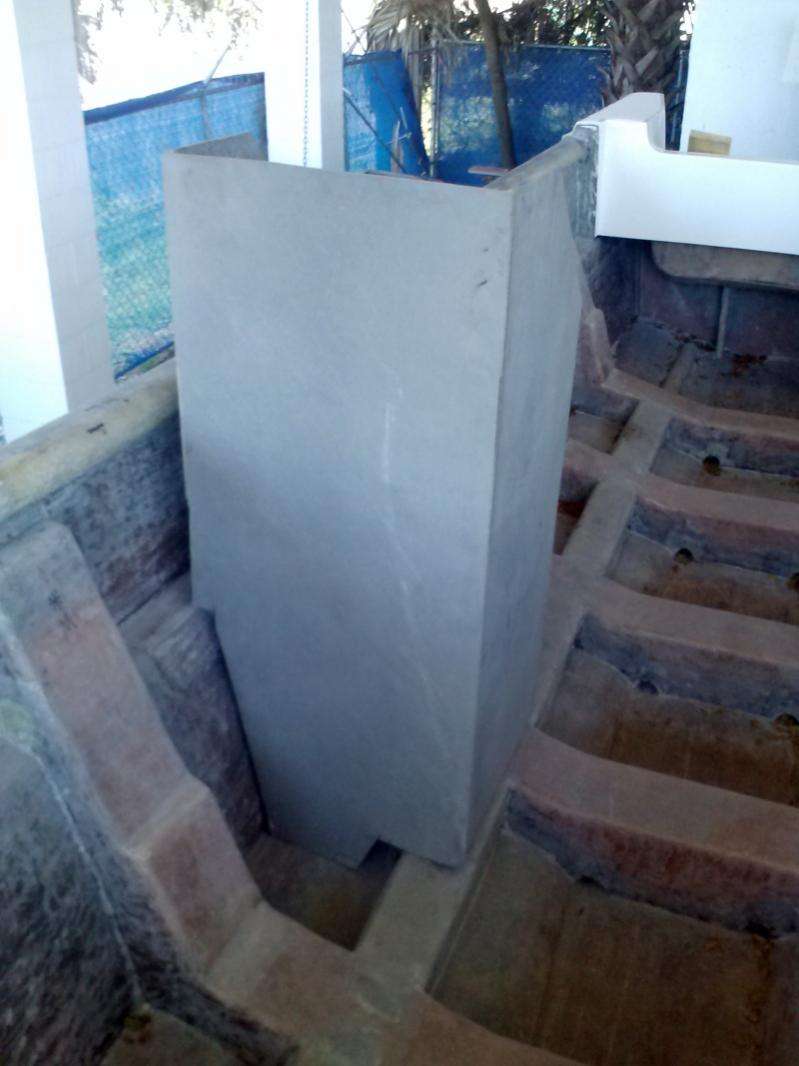
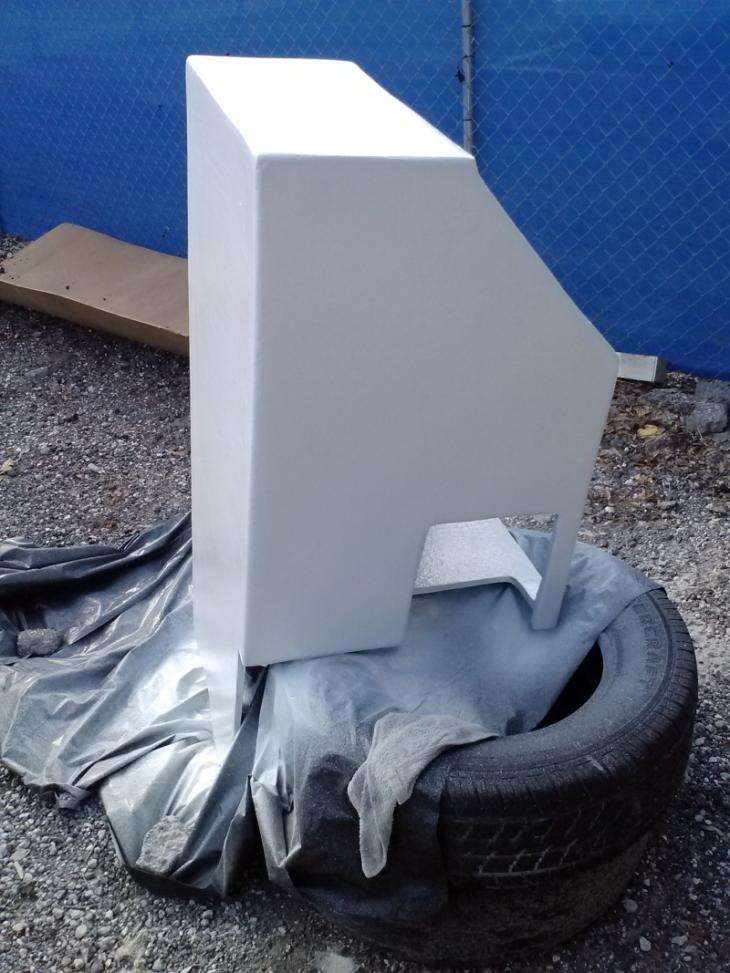
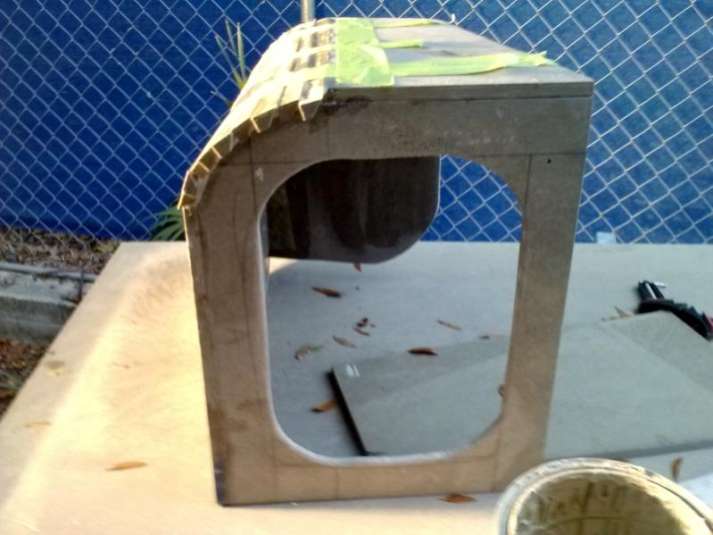
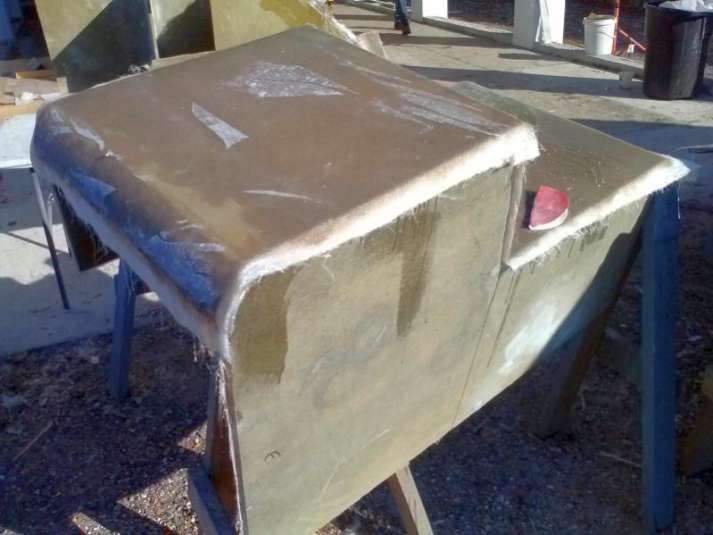
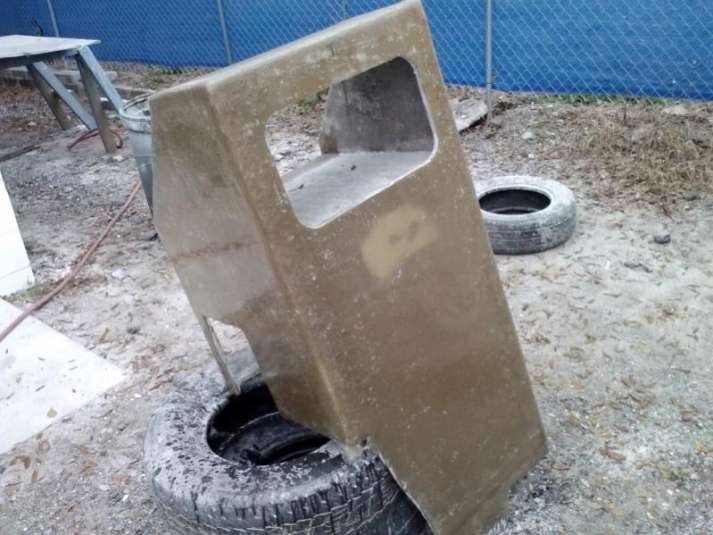
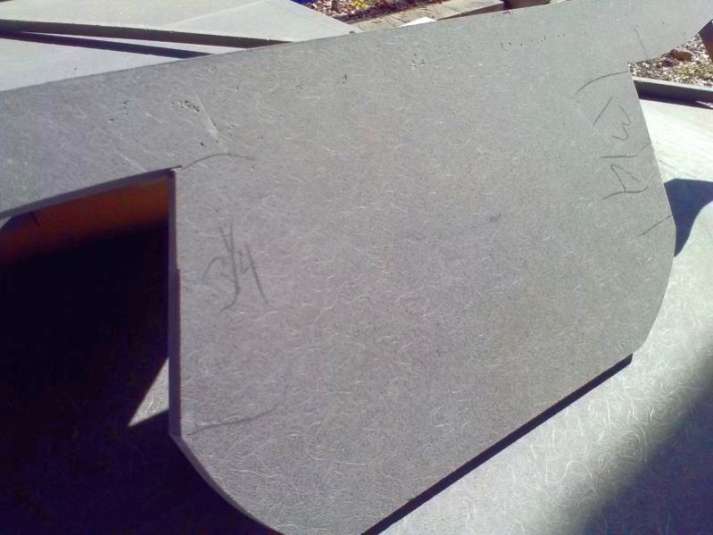
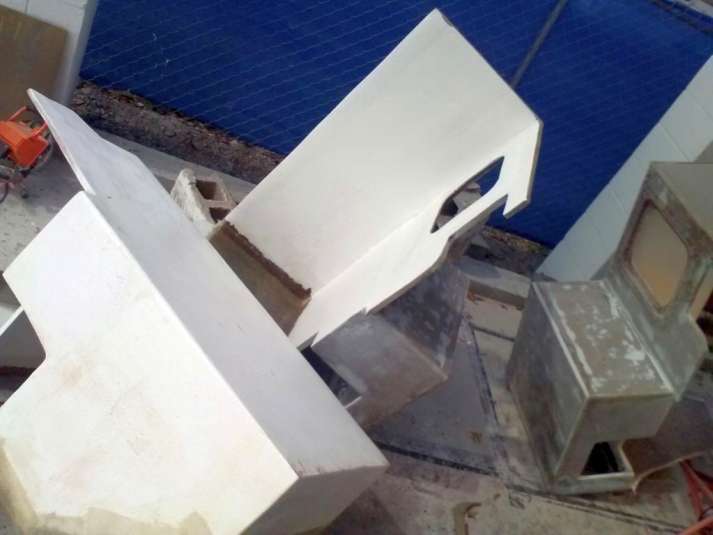
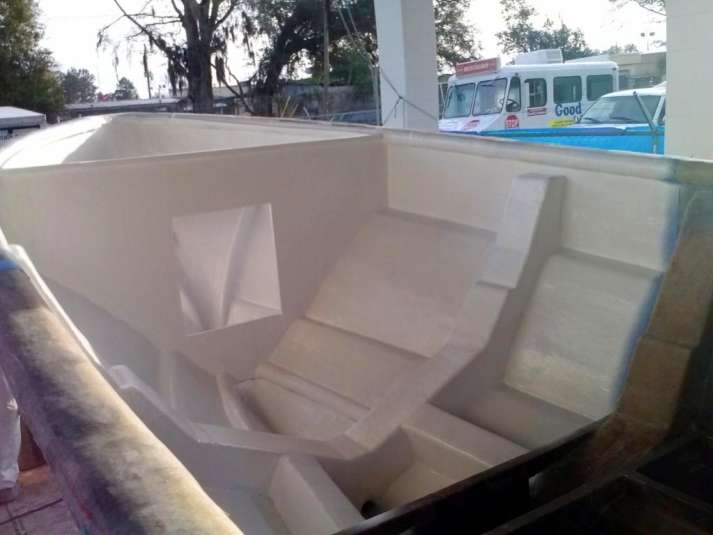
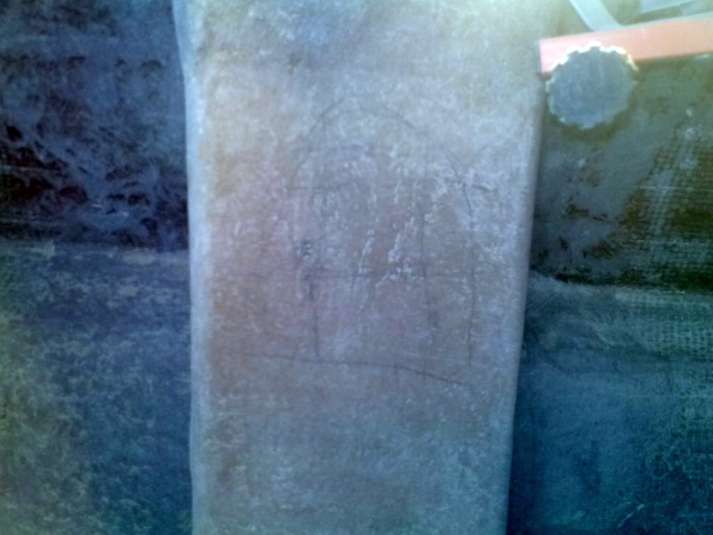
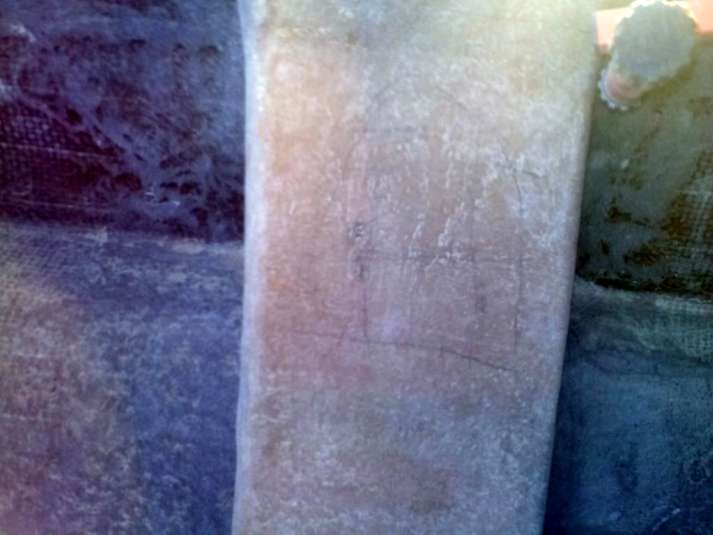
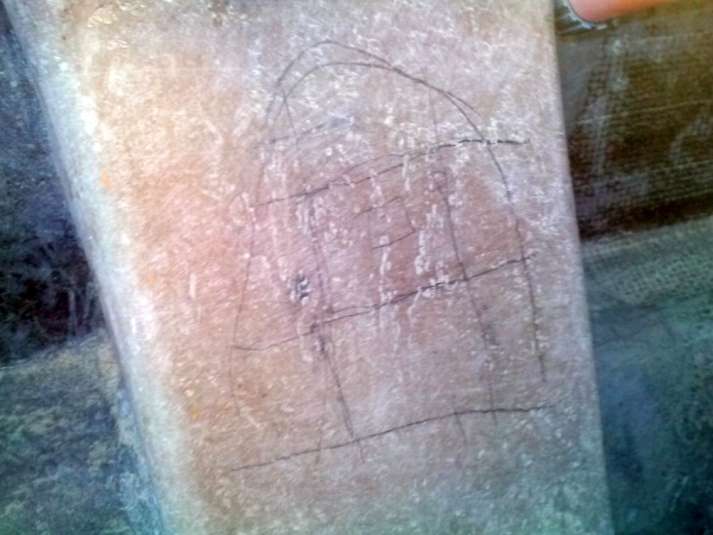
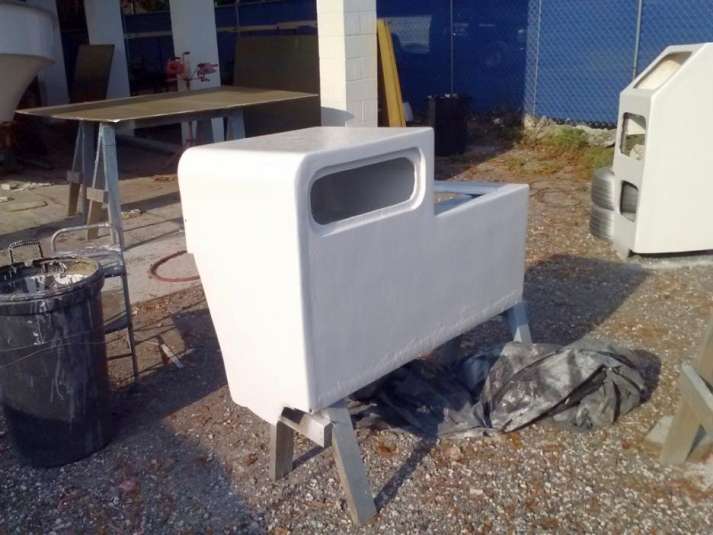
We are going to build a small cabin with a toilet in the nose of the boat, so the first major piece we’ve built is this cabin bulkhead:

We use Coosa 26lb. Bluewater ‘wood’ for this piece, 3/4 inch thick. Coosa wood is really cool stuff; lighter and stronger than wood, easy to sand/shape, and fiberglass matte grabs onto it like Velcro.
The drawback? $300+ per sheet!
So for this complicated piece we first fabricated it out of cheap press-board, then transferred the pattern over to the expensive Coosa wood.

Despite the high cost, we are going to use Coosa exclusively throughout the boat for all the major construction, including the floor. We are going to try and get away with only one motor so weight will be a big factor in the HP decision. Also, in Costa Rica the gasoline costs $8 a gallon so fuel efficiency will also be a huge concern.
We may break the bank buying Coosa now, but it will pay for itself in fuel savings over time.
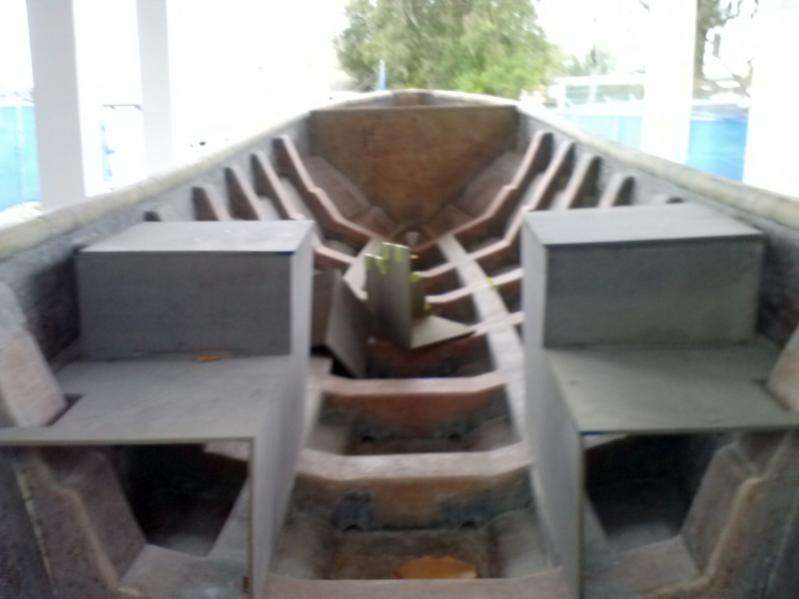
Here are our consoles, also made out of Coosa:

We want split consoles (like our other panga the Explorer) because the long walkway down the center is a big boost for client comfort.
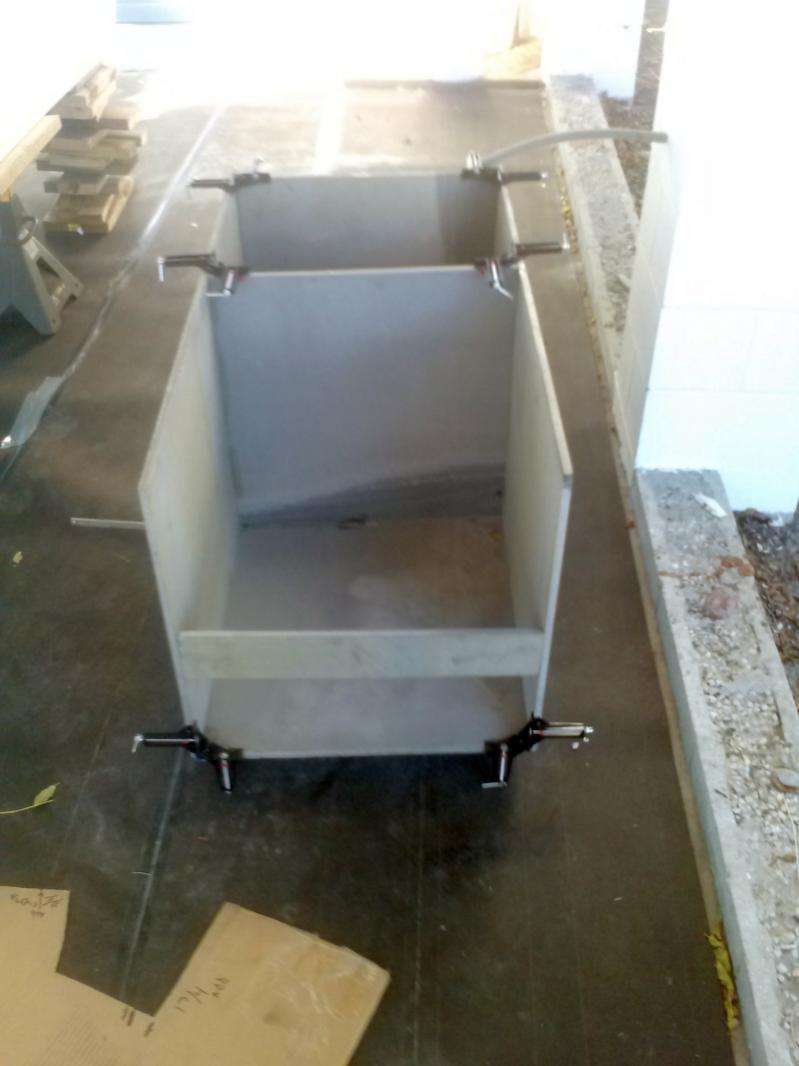

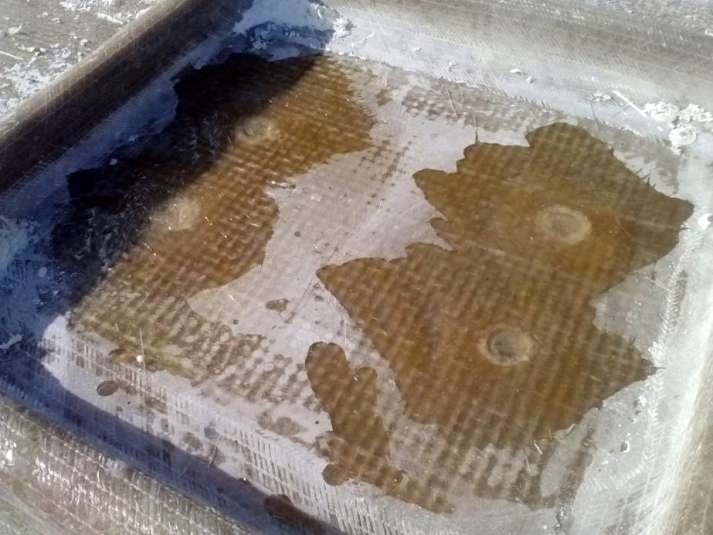
On virtually all production boats the consoles (center or split) affix to the top of the floor. On the Explorer we found that consoles created a lot of flex in the sides of the hull.
We saw the telltale cracks around the floor after the first season of fishing and had to add a piece of holding wood to tie the consoles to the side of the hull.

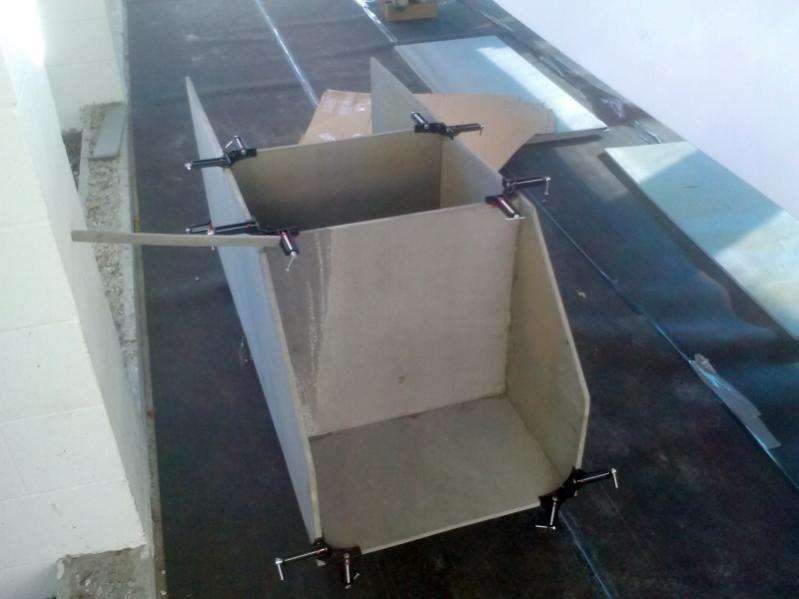
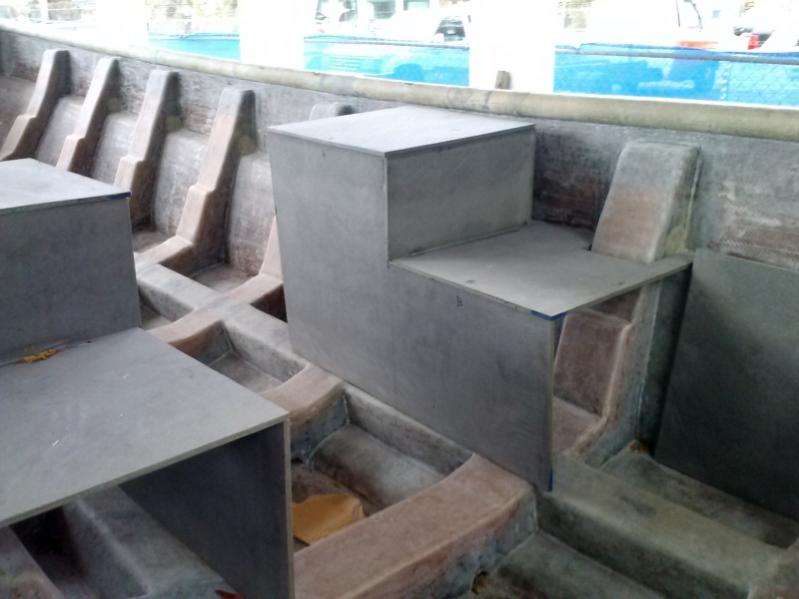
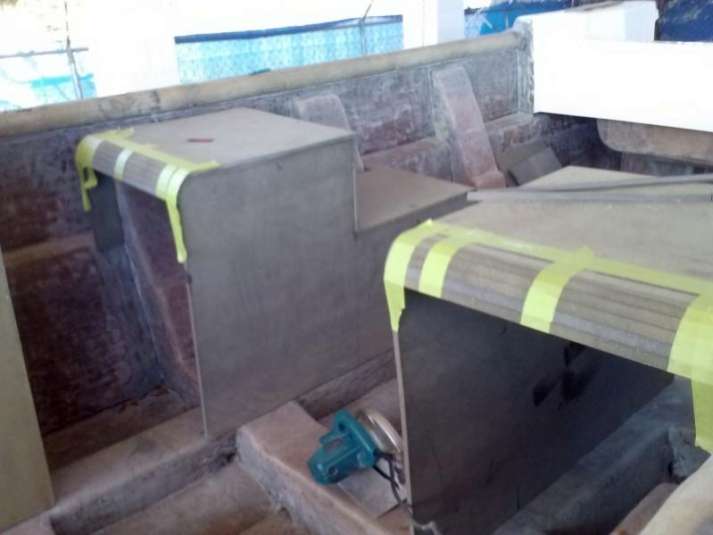
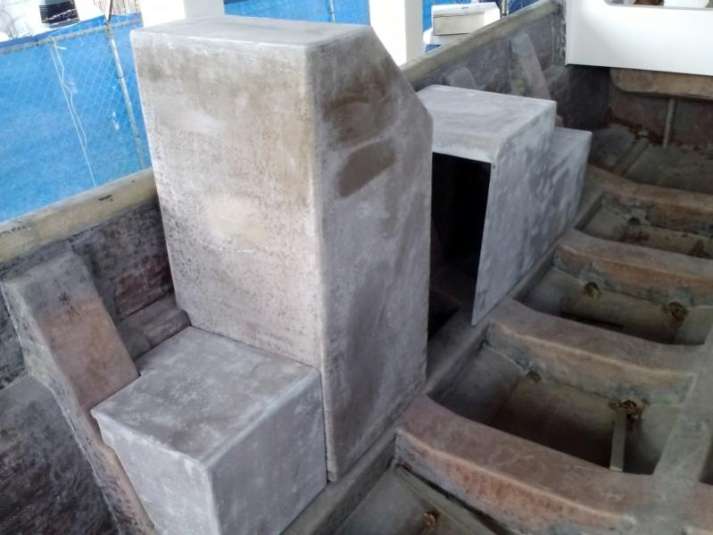
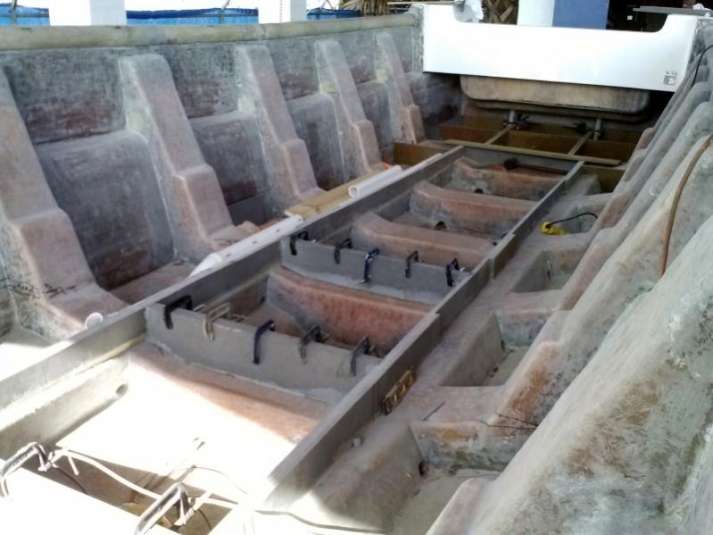
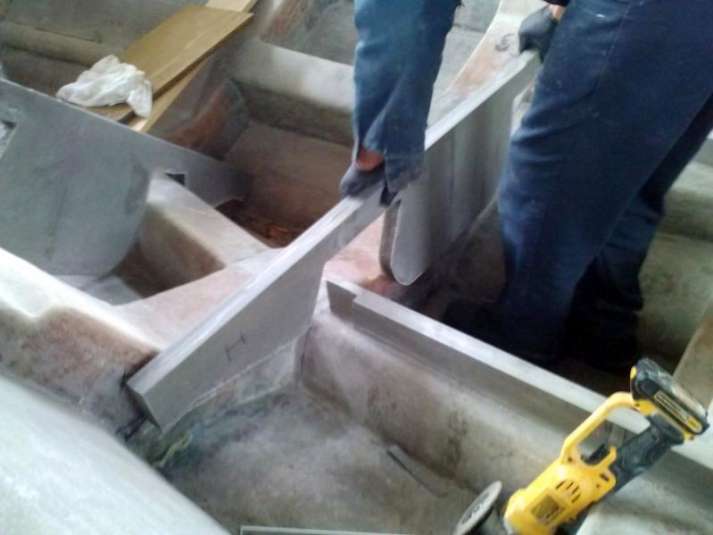
That repair was a real pain-in-the-ear so we are taking this opportunity to build the consoles into the boat all the way to the stringers.
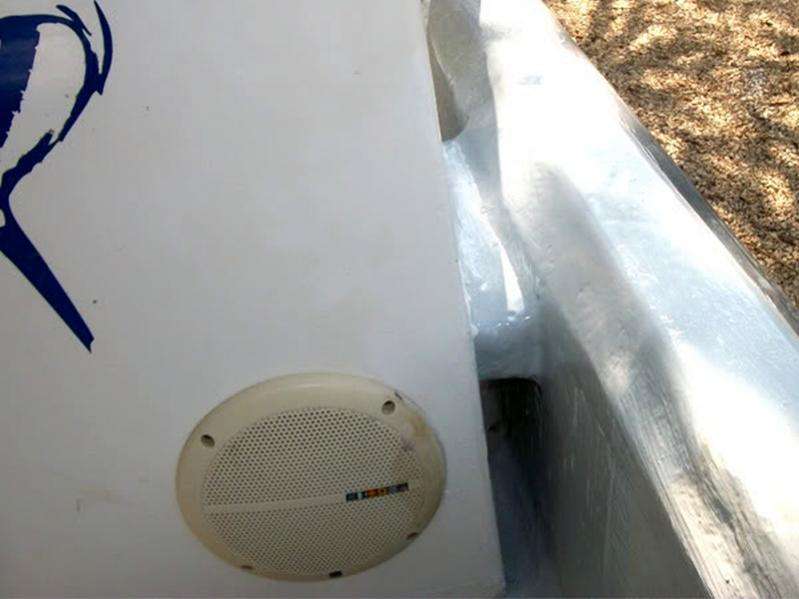
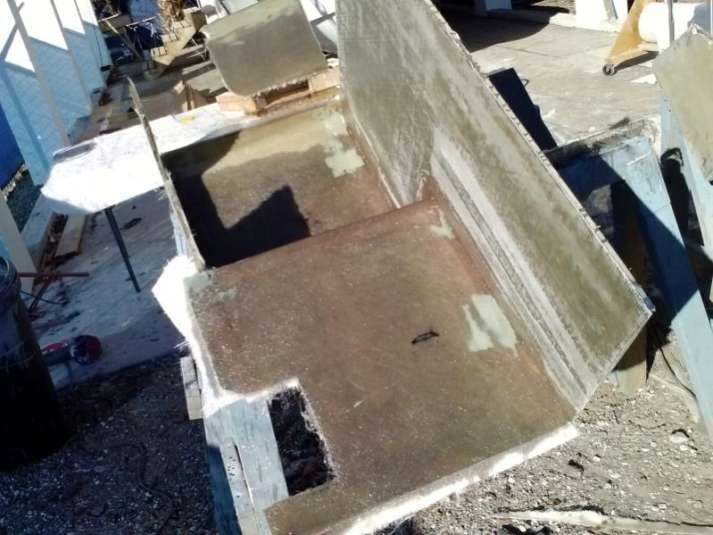
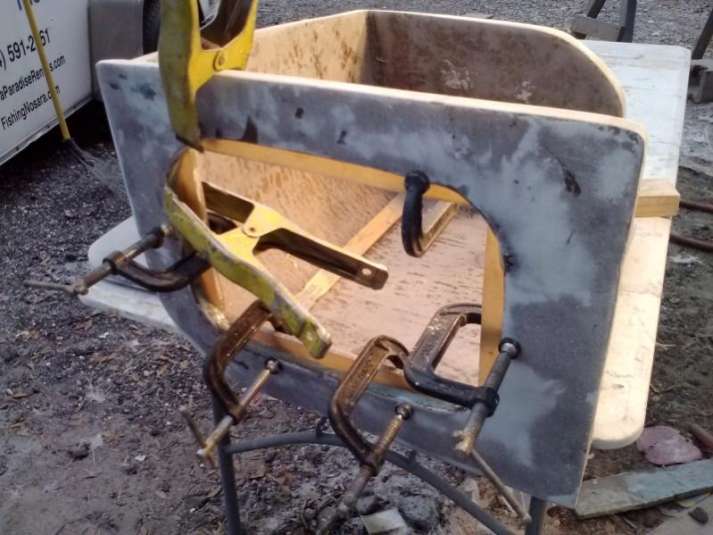
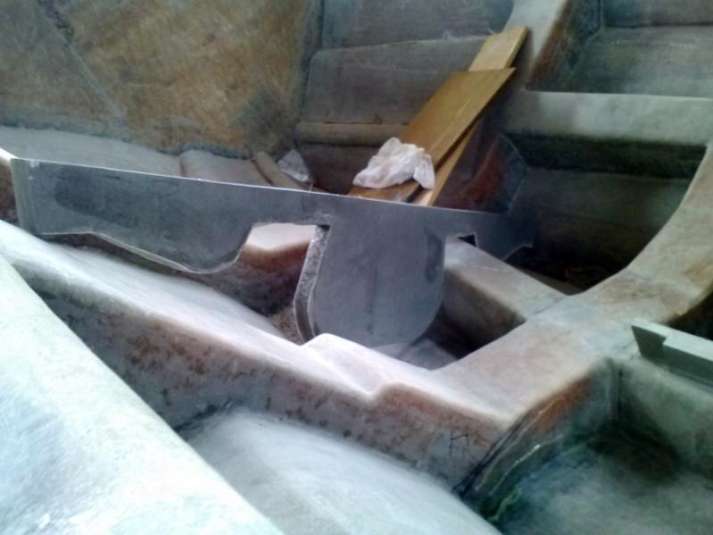
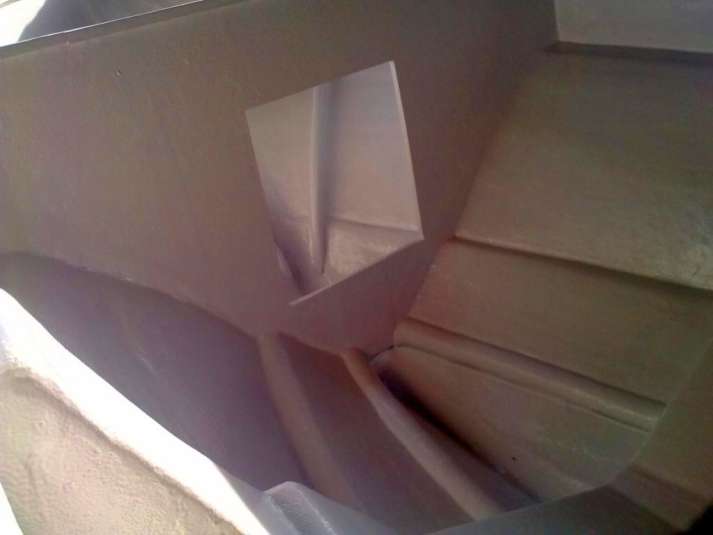
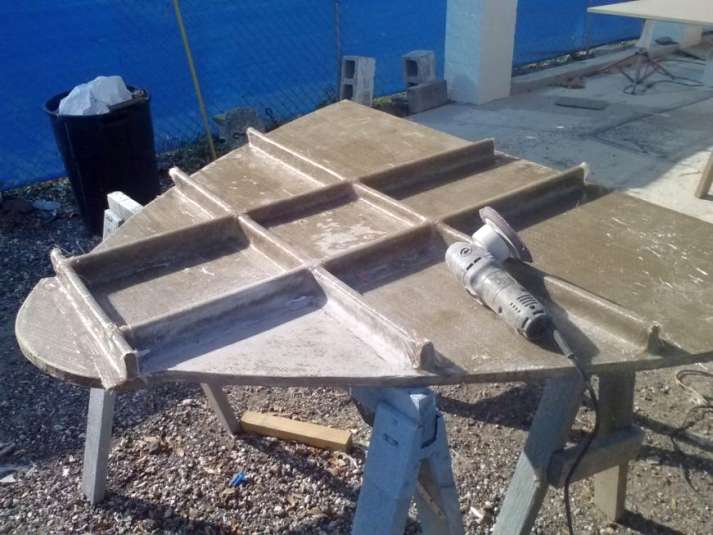
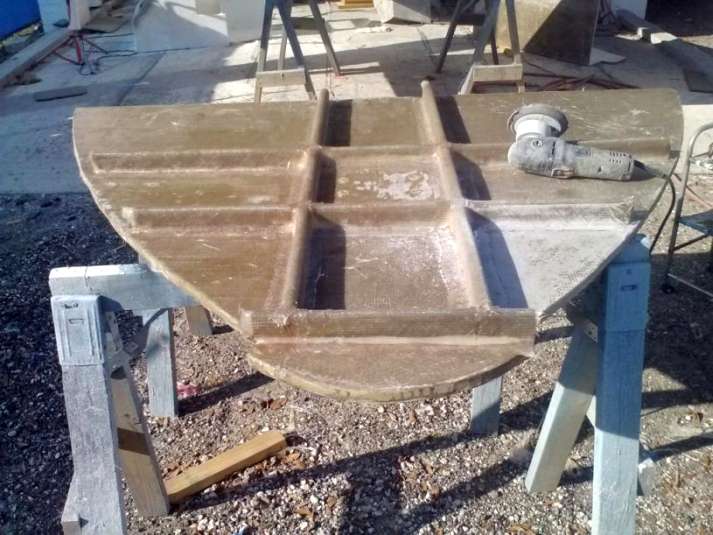
Check out this force-sharing arrangement between the stringers and the consoles:


Once we glass these bad boys into place they will literally become part of the hull.
We’ll be moving on to the rear coolers and tackle boxes next week.
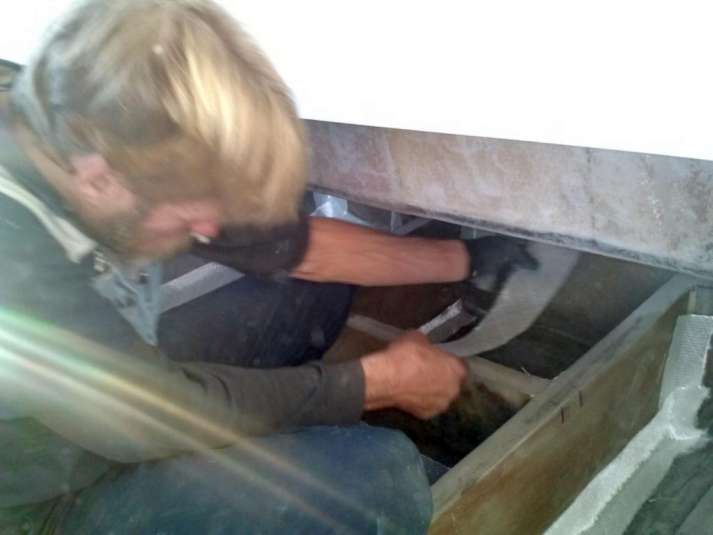
November 22, 2014 – Day 10
The construction rolls on as the team struggles to lay up a lot of fiberglass in the face of gusty winds and low temperatures.
We have been patient in waiting on the thermometer to climb north of 50 degrees before working, and are using 2% catalyzer to make sure this glass kicks off properly.


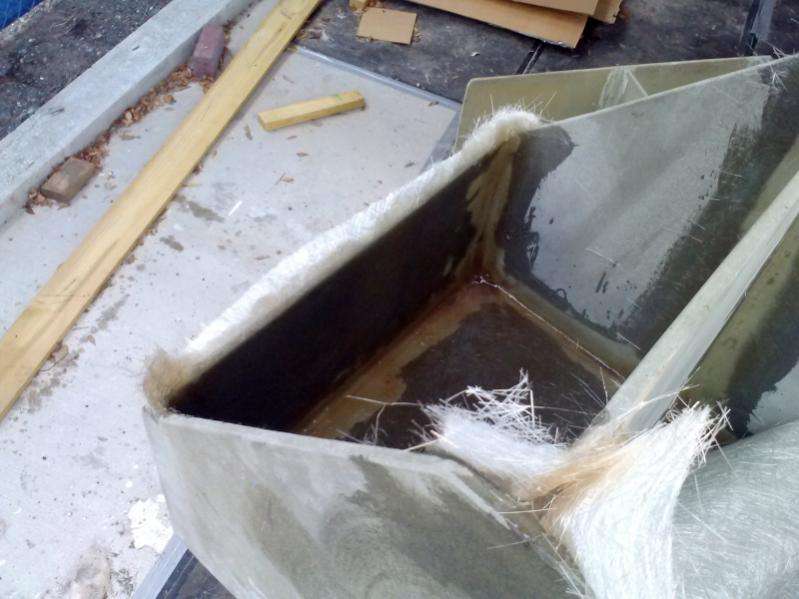

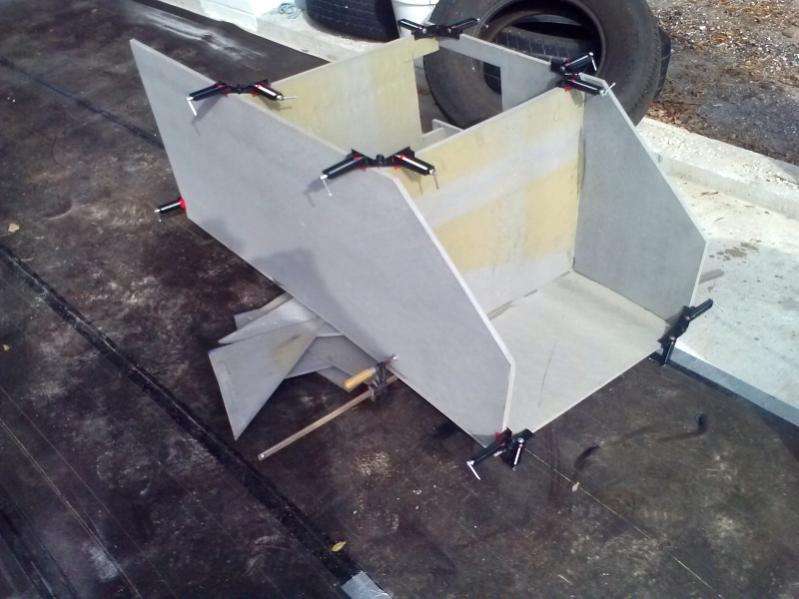
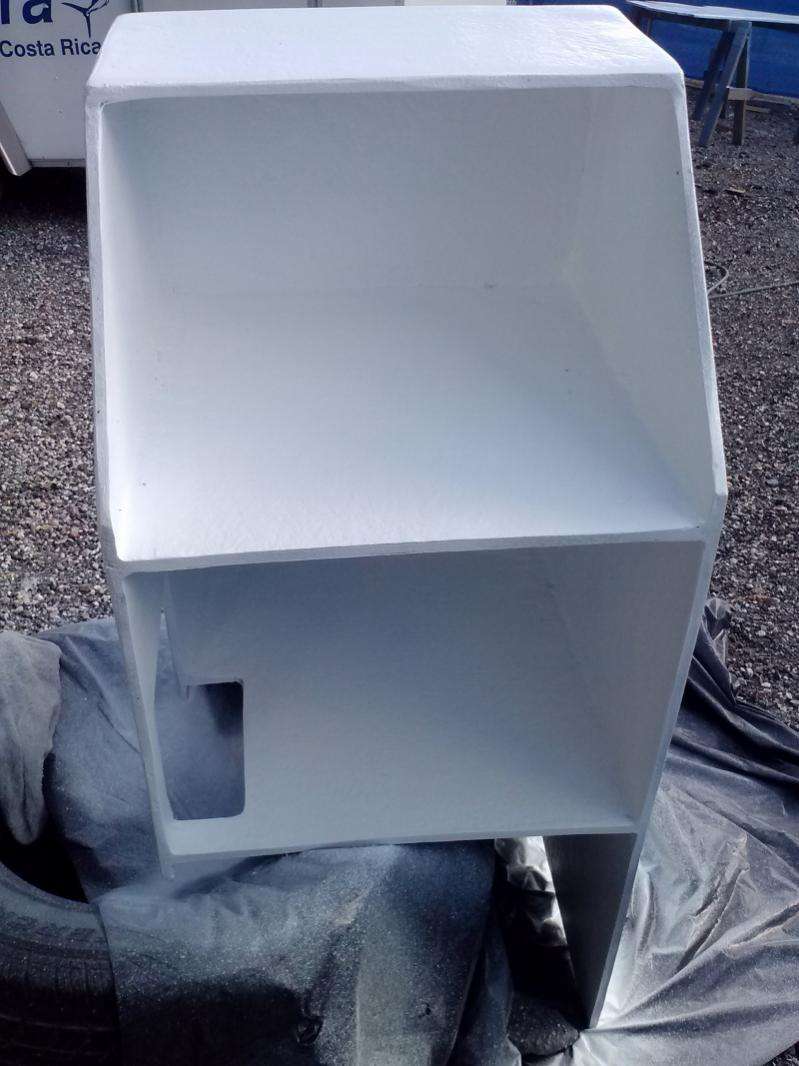
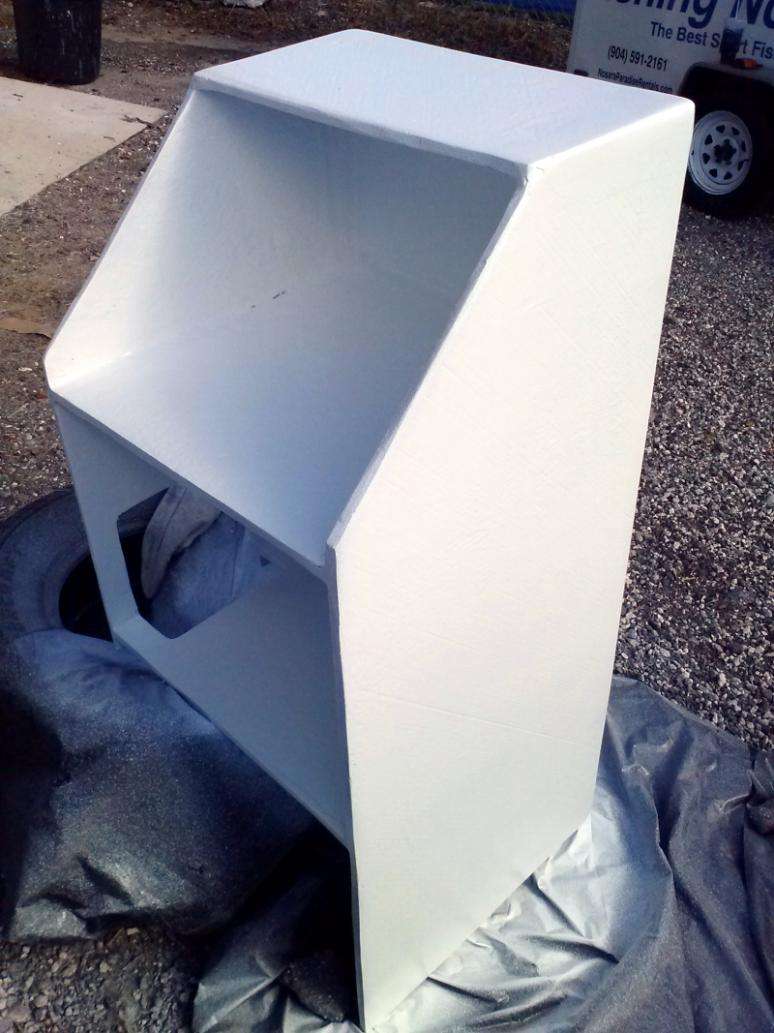
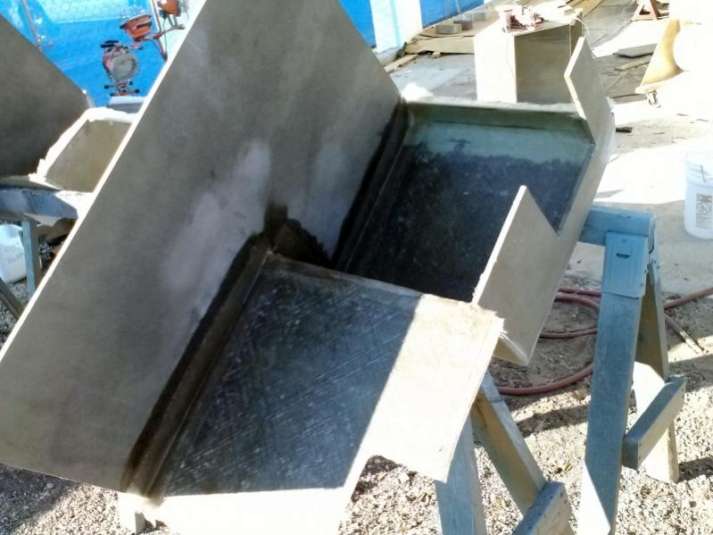
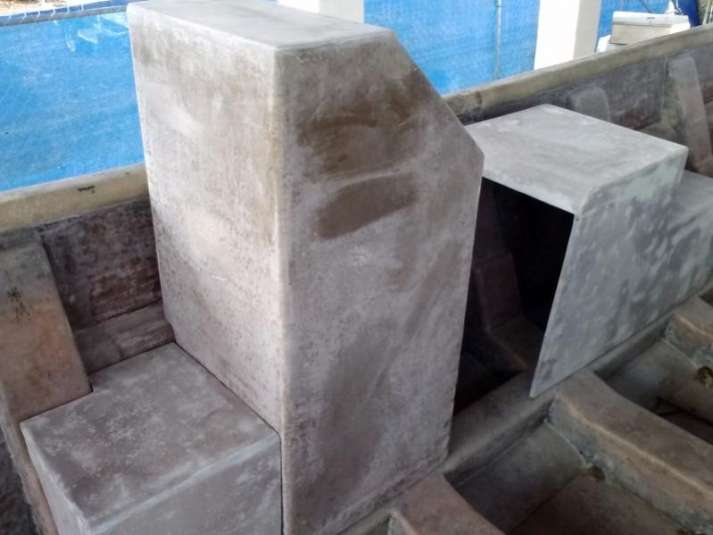
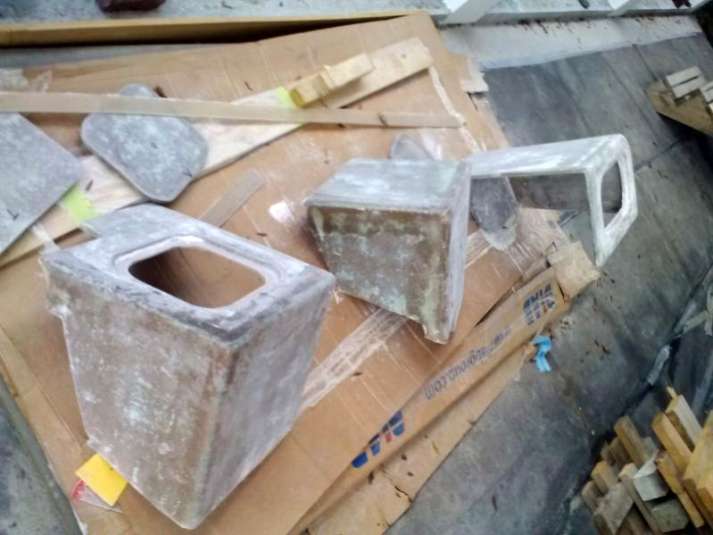
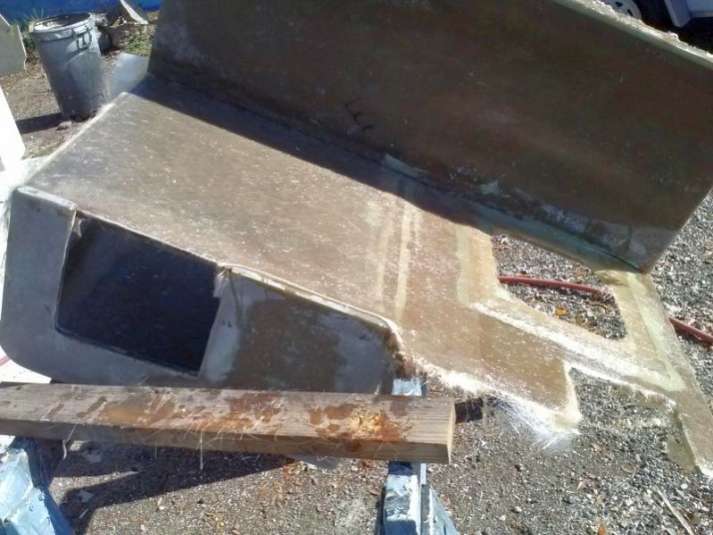
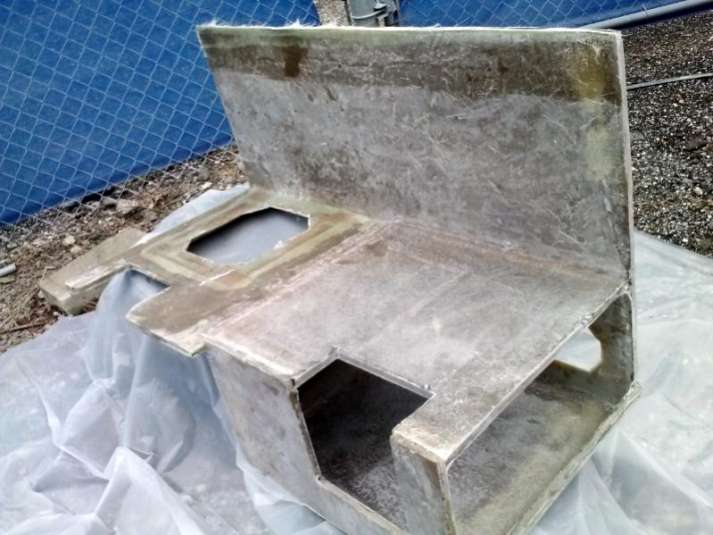
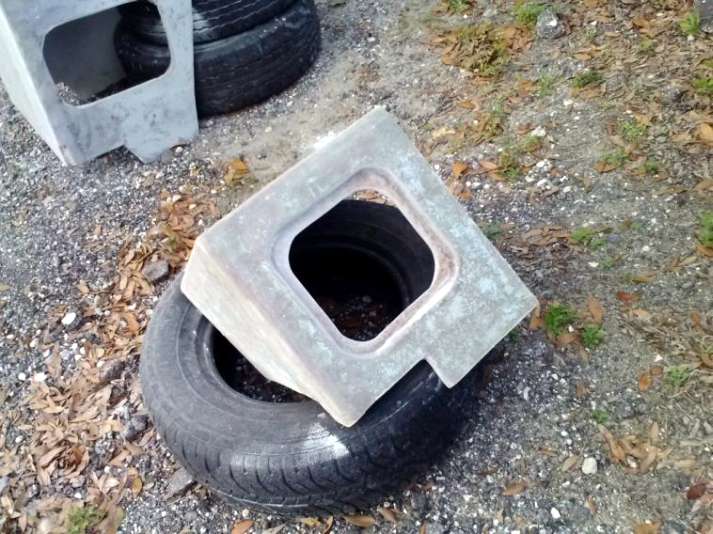
Meanwhile, Brian has completed both of the large cockpit boxes; these installations will function as seats, coolers, and leaning post/fighting chairs. Like the consoles they are designed to attached directly to the stringers and will be installed before the floor.
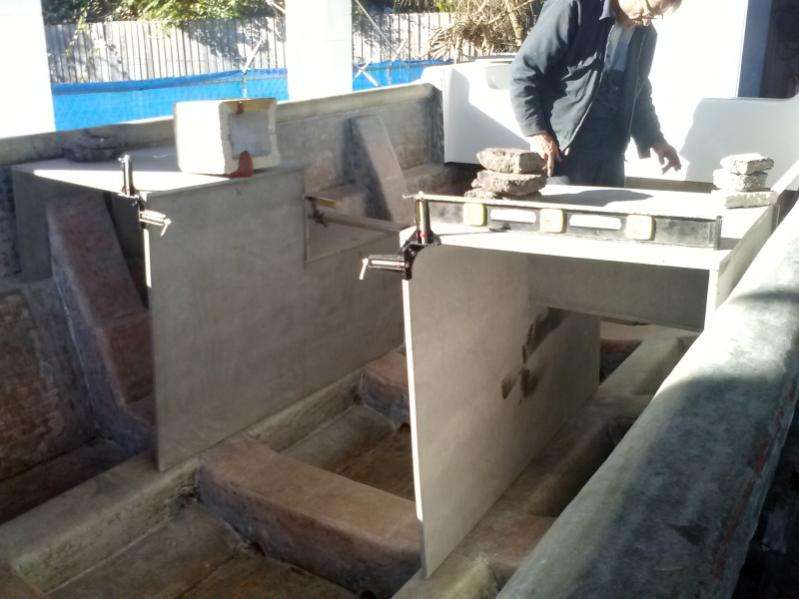


Wonder where the consoles are? Over in Matty’s gelcoat spraying booth, that’s where!

The weather should warm up this week and we hope that means more progress on The Harvester Project!
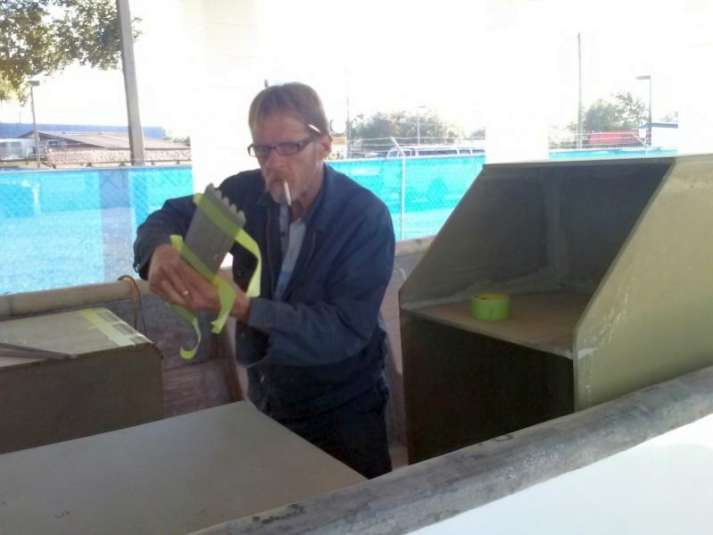
December 10. 2014 – Day 28
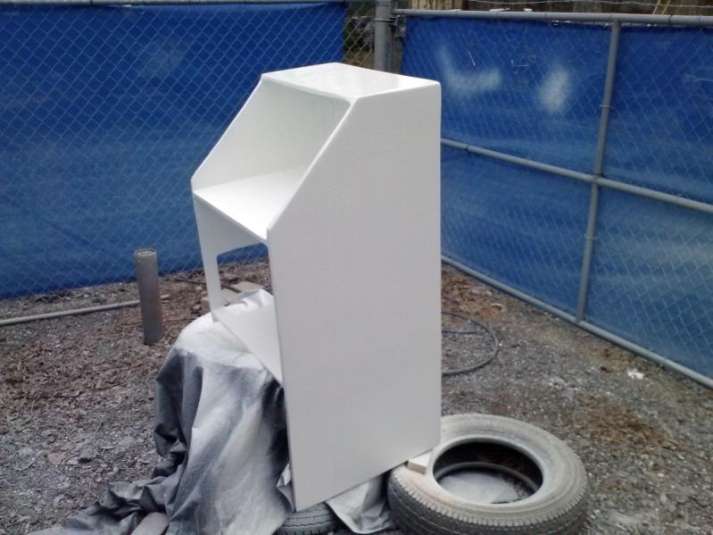
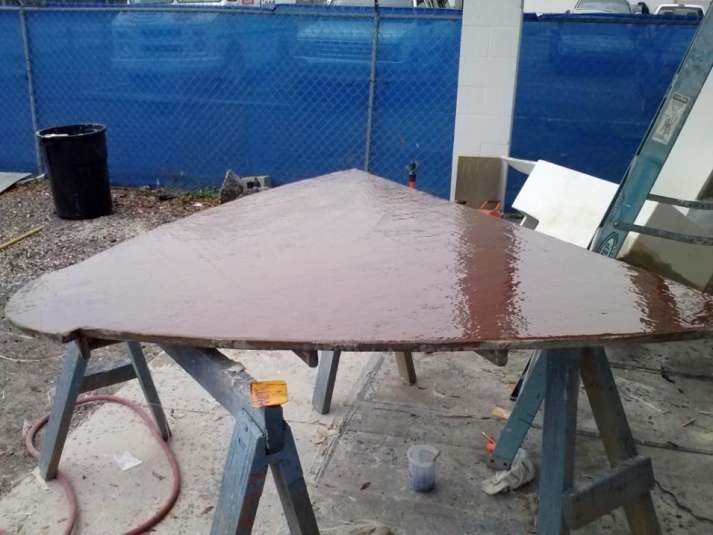
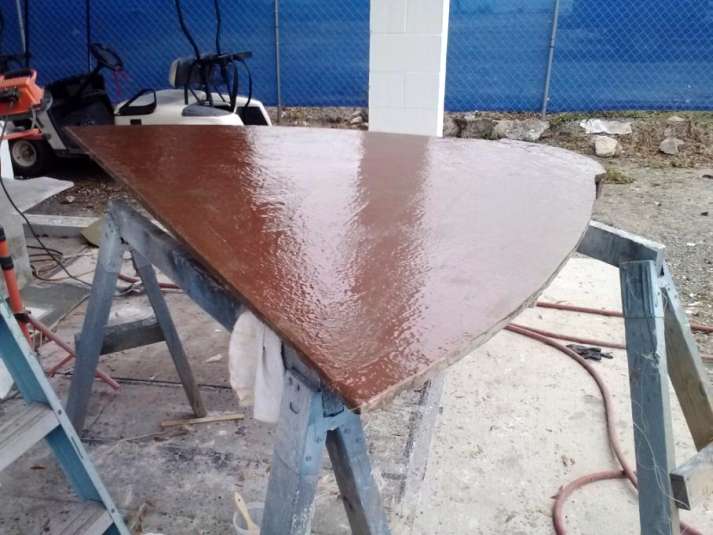
Two big jobs underway right now. First up are the pair of consoles:


We wrapped the final layer of chop strand with wax paper to create a nice flat surface.

Then a lot of time on the level board sander before hitting it with 3 coats of gelcoat.
<


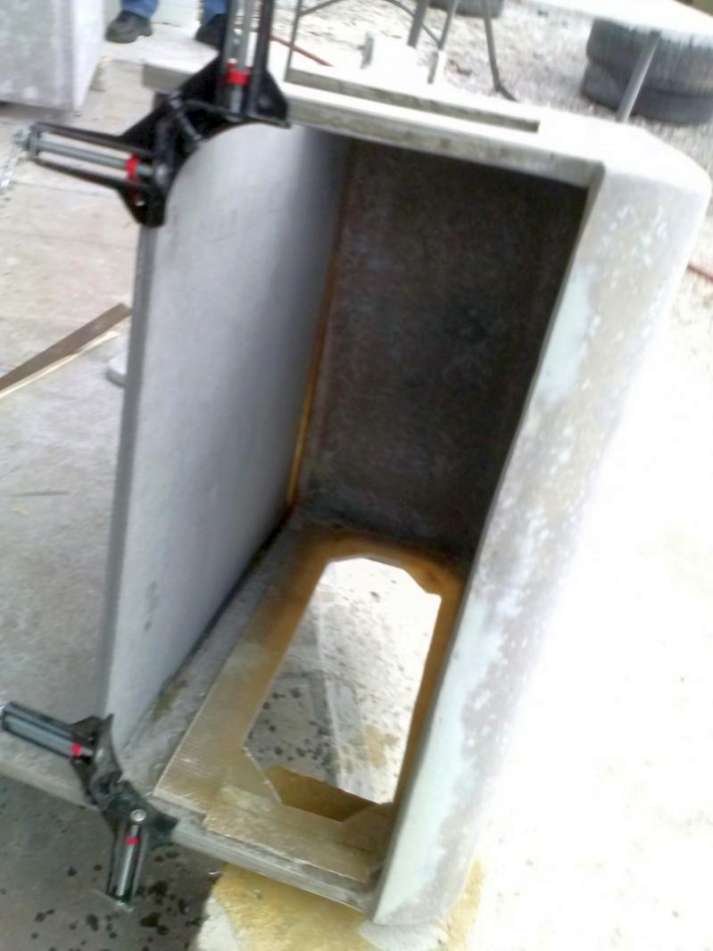
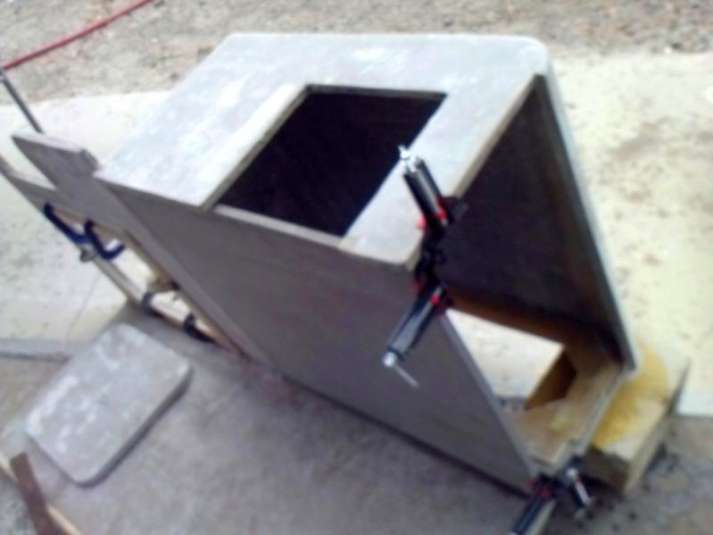
Meanwhile, Brian has created a wicked-cool system for creating progressive curves on the faces of the coolers:


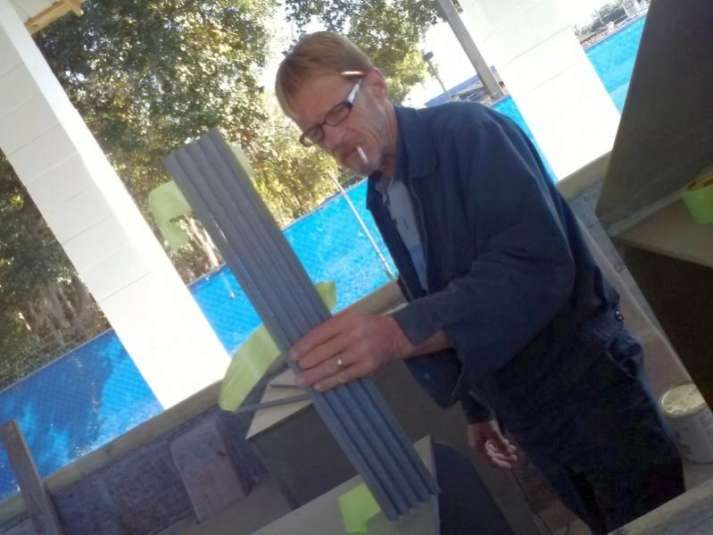

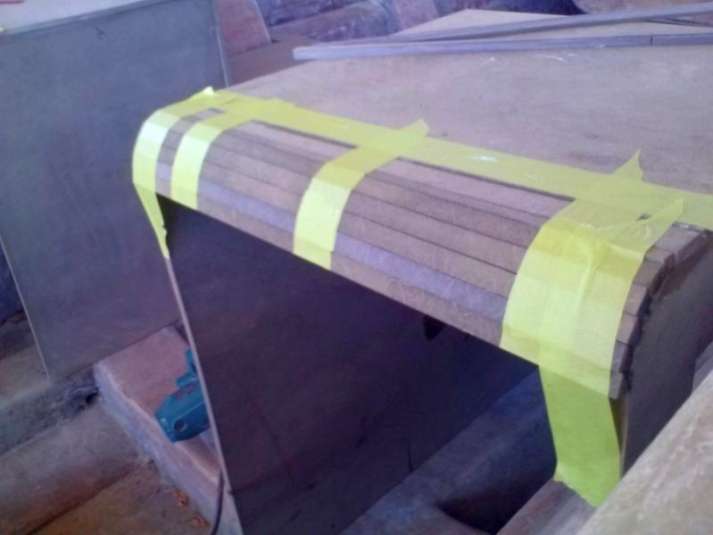
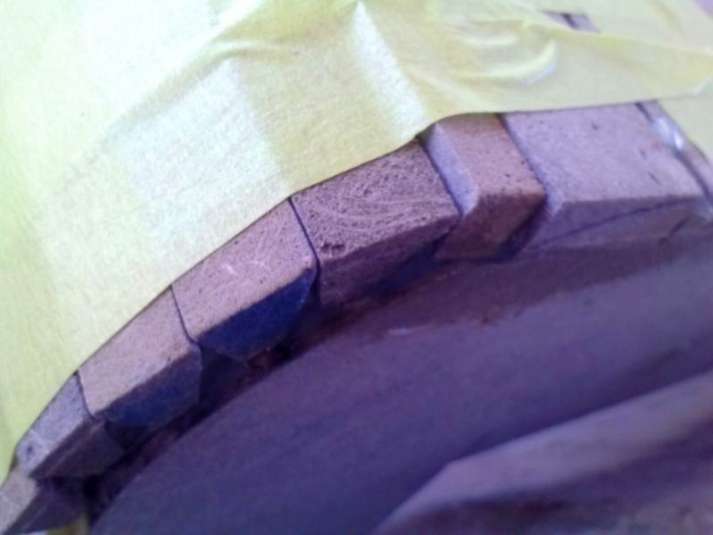

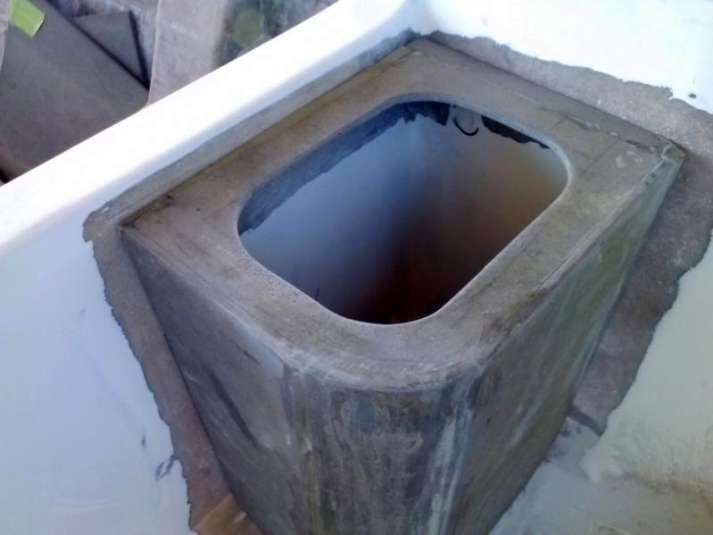
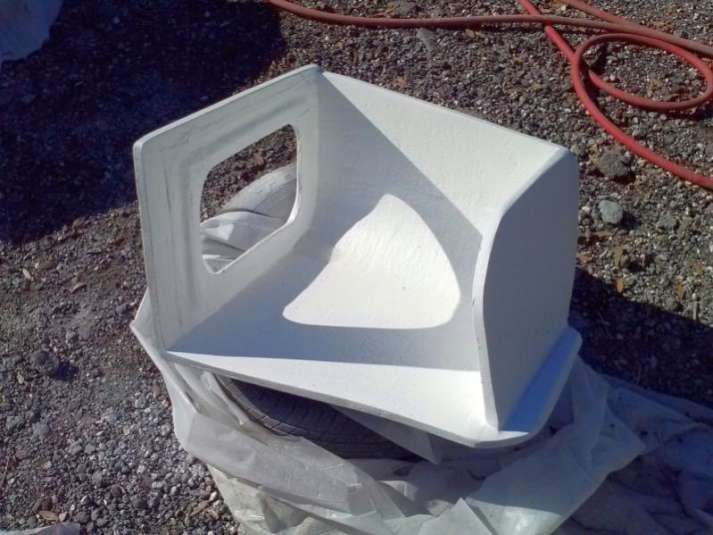
We are excited to see how this thing sets up once we lay-up some glass on it. Until then we are confident enough to start with the livewell:


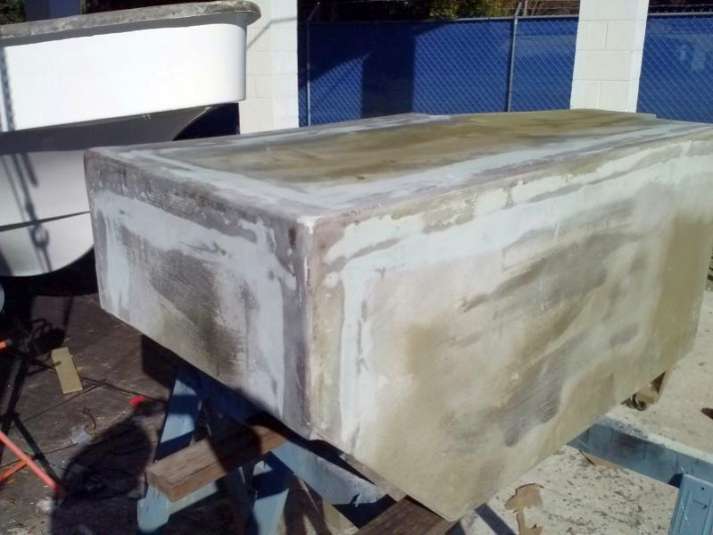
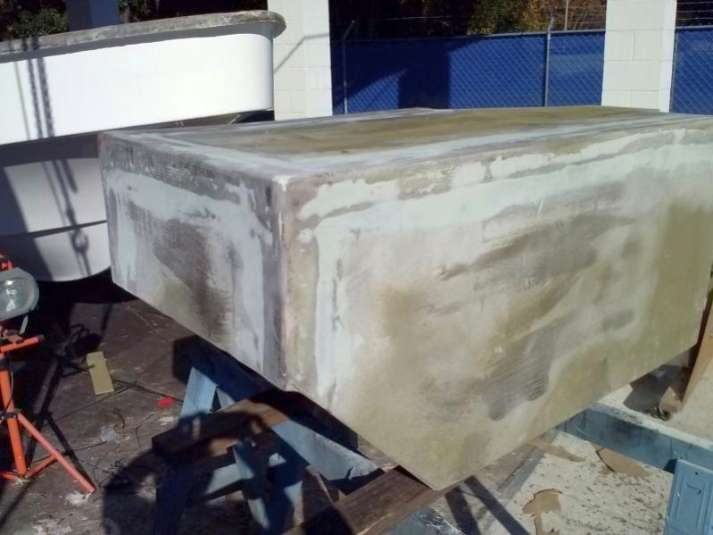
December 15, 2014 – Day 32

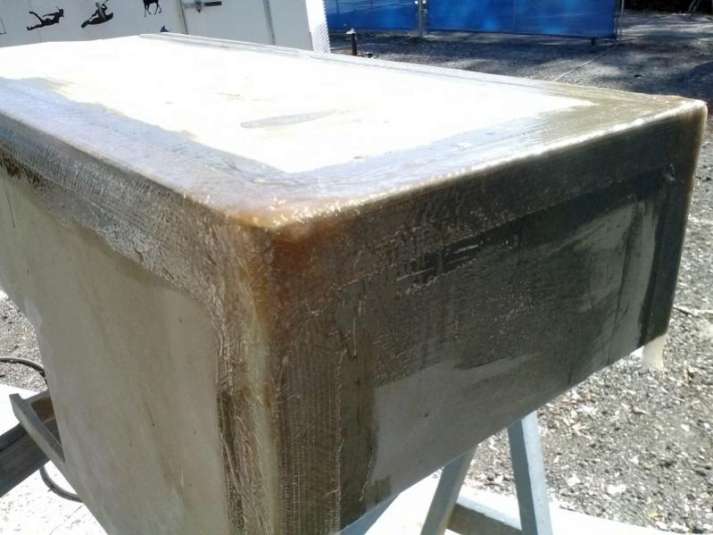
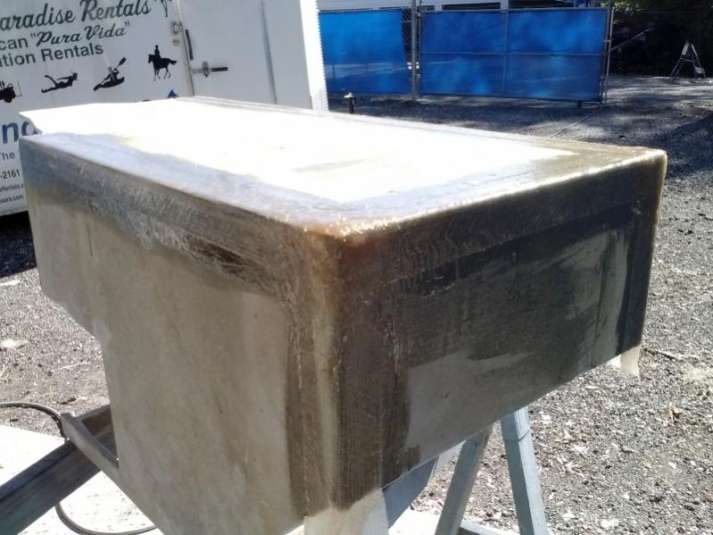
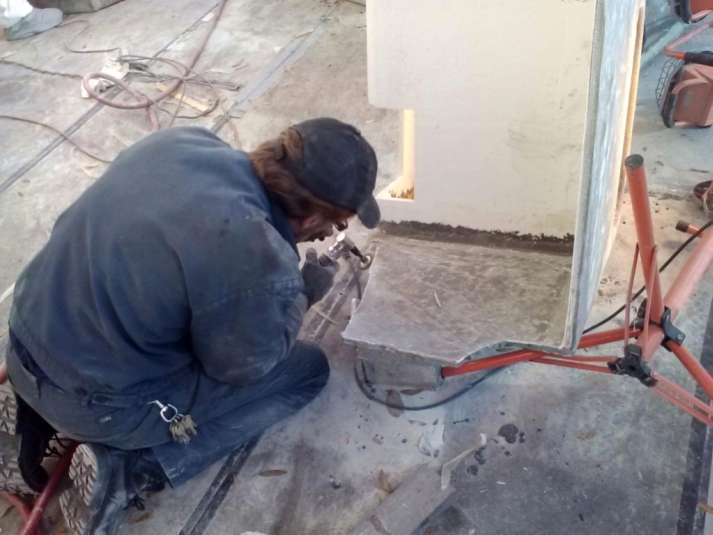
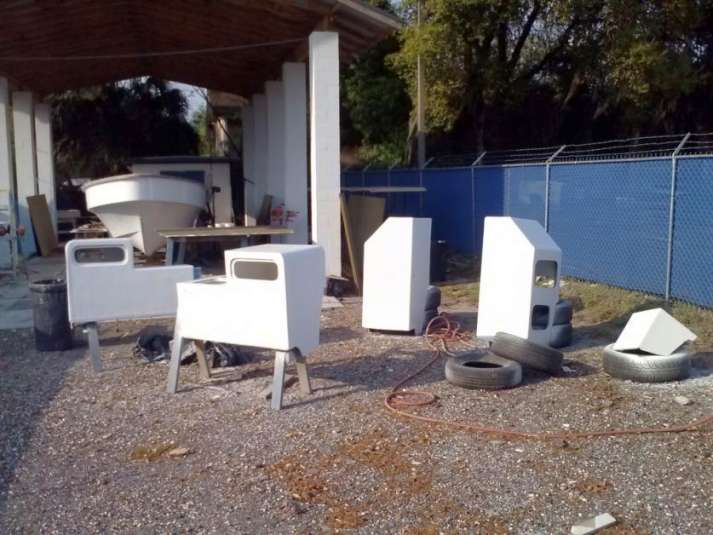
So we’ve spent the last month building the consoles, seats, and coolers into the hull of the Harvester, and now everything has been pulled out so that we can make these pieces into permanent, water-proof, fiberglass-wrapped boat parts.

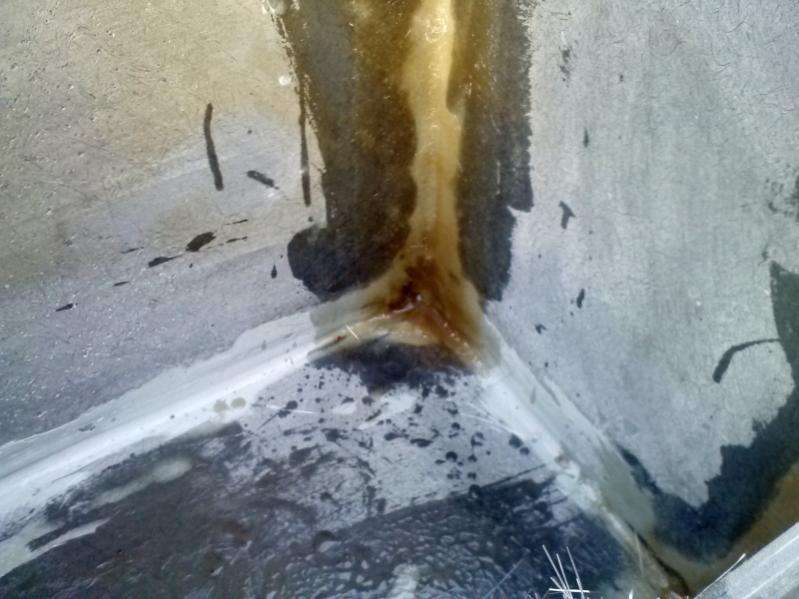
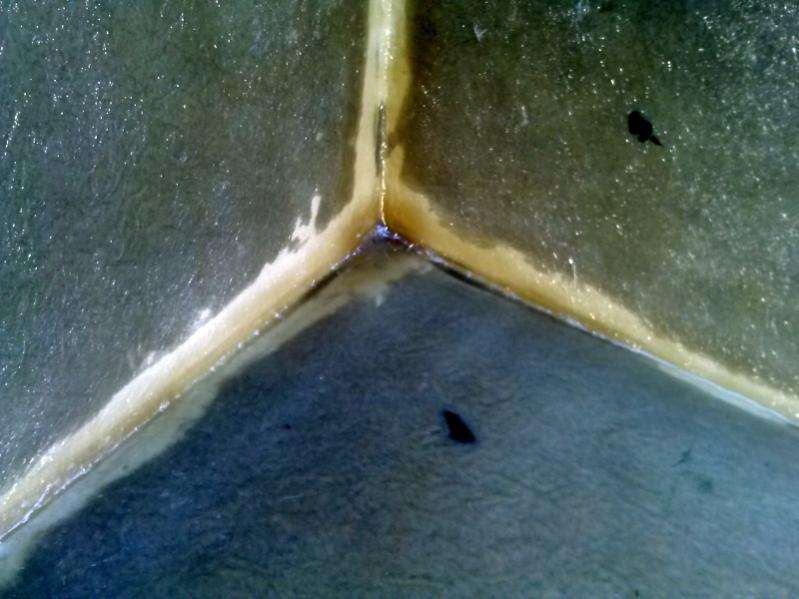
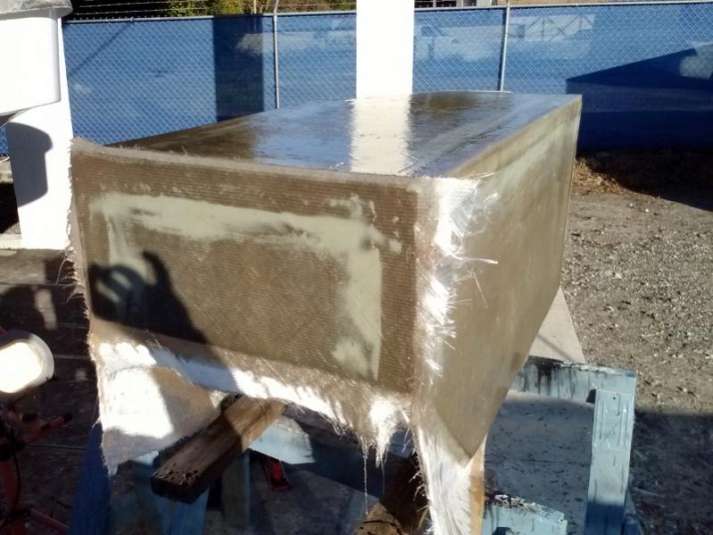
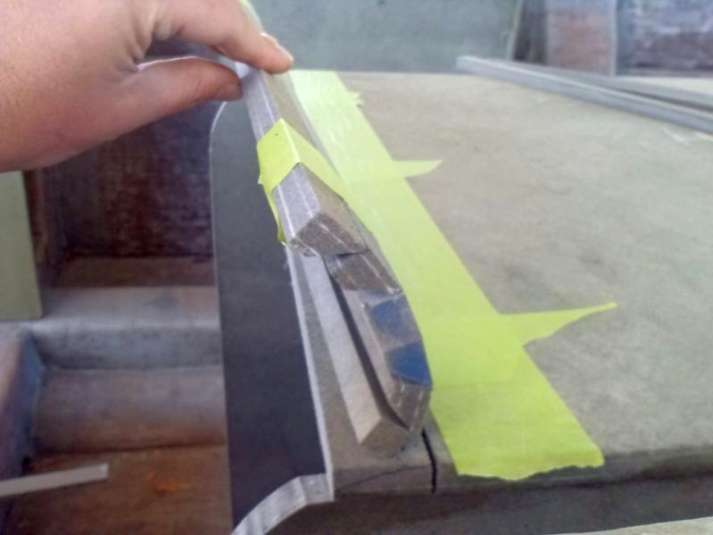
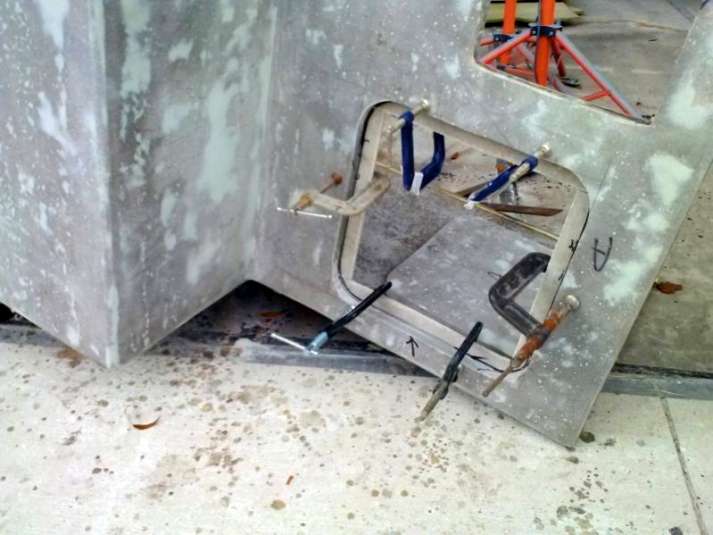
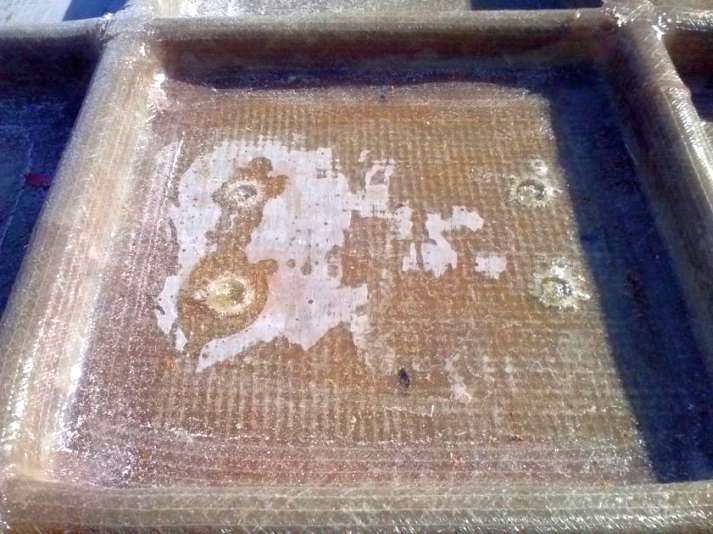
Each piece starts with 4″ wide fiberglass tape in the corners. This helps round out the 90 degree corners so that they can accept woven fabric. Also the corners will carry the most stress, so the more glass the better.
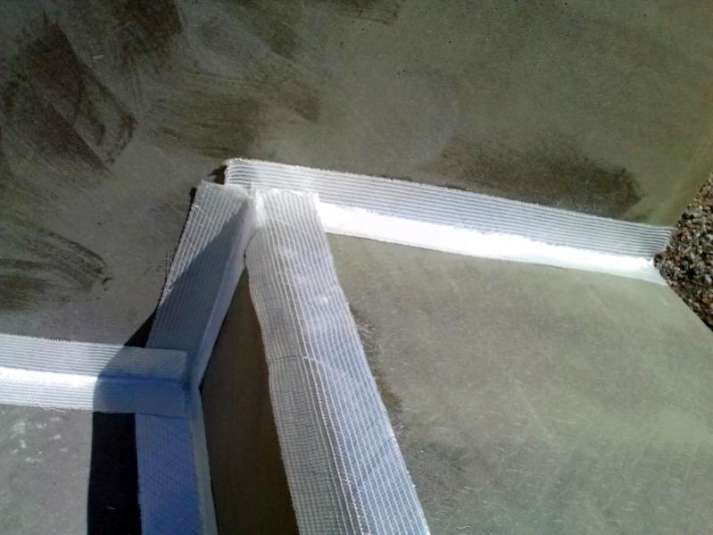
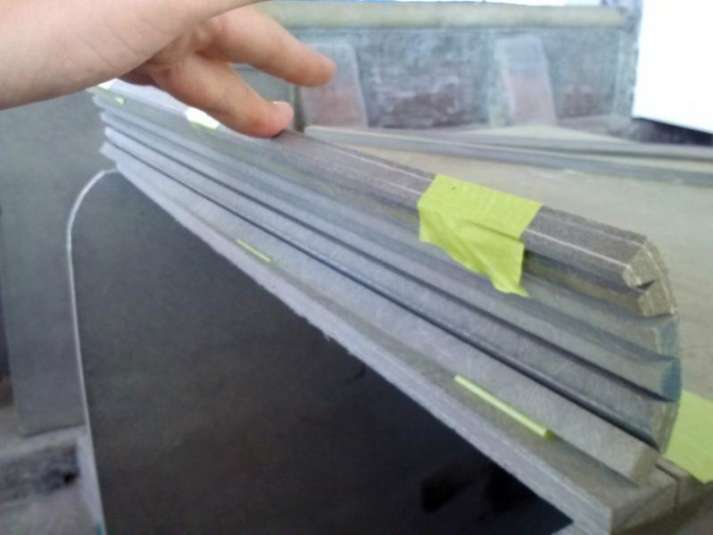
Then each piece gets a layer of biaxial/matte weave for strength.


The last layer is 1.5oz chopped strand mat (which in the old days was called finishing mat) which allows for us to sand the outer layer to a perfectly flat surface.
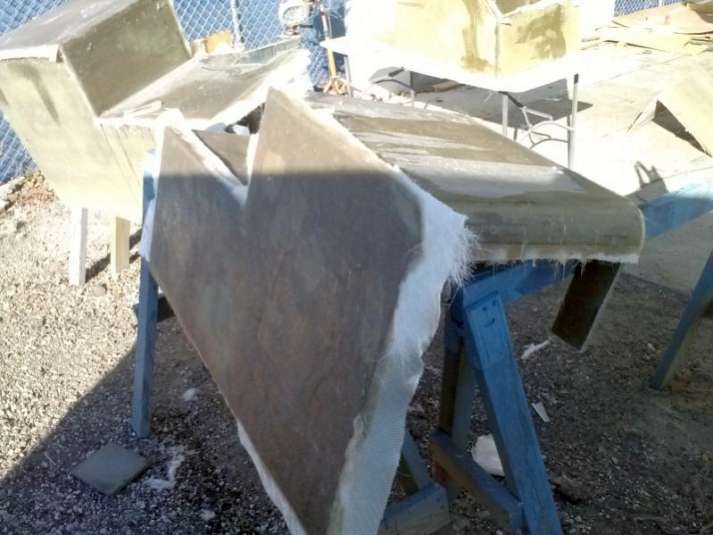


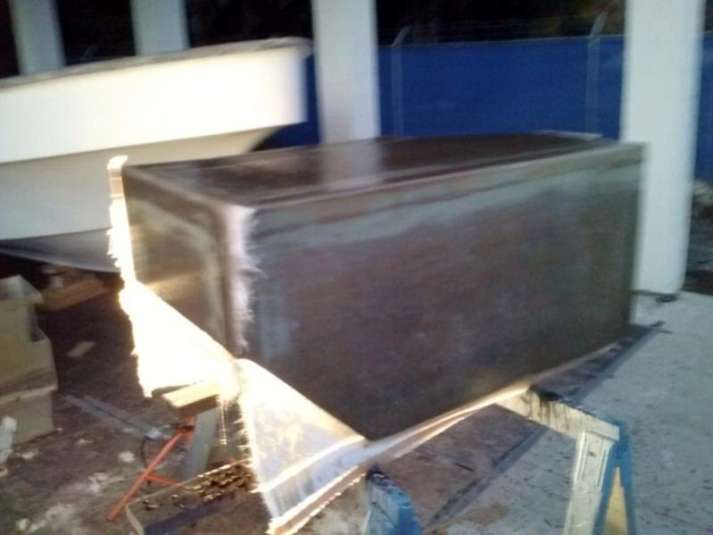
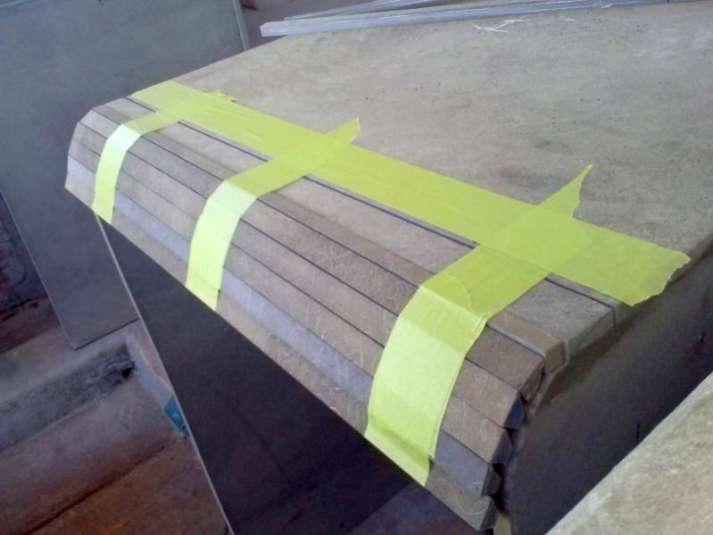
These pieces have a top and a bottom; that is, on side will be facing the inside of the boat where people can see it and the other will be forever out of view. We wrap the visible pieces in wax paper after the chopped strand to give us a leg-up on sanding them flat.

This work is time intensive, dirty/sticky, and quite frankly not any fun at all. The process of applying glass and resin only to sand it off reminds me of Oscar Wilde’s writing method: “I spend the morning inserting a comma, then spend the afternoon removing it”
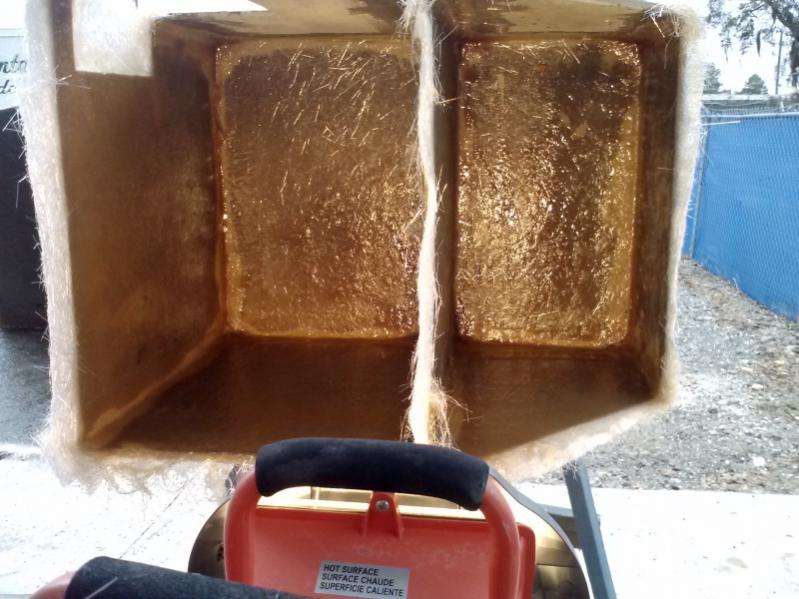
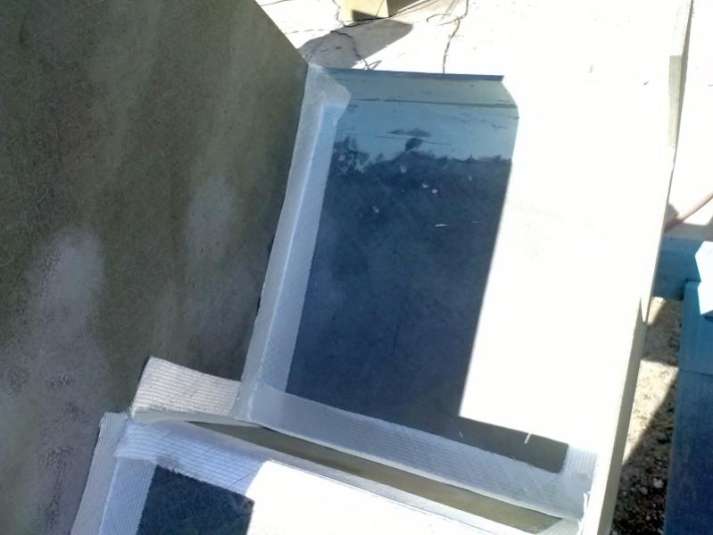
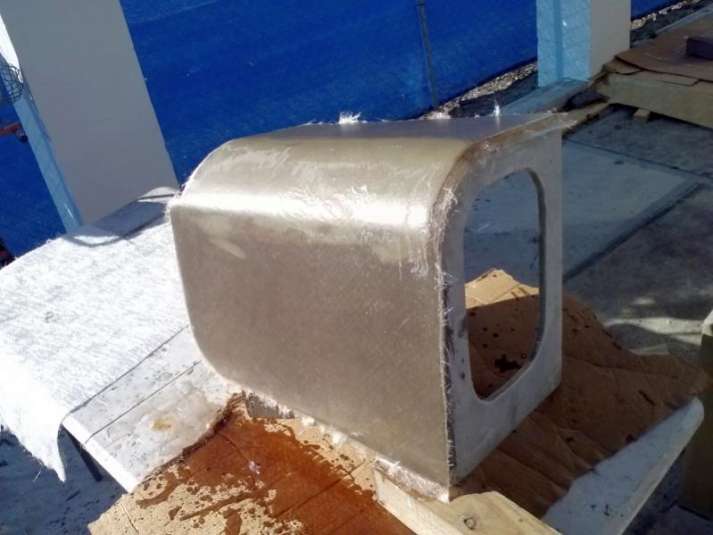
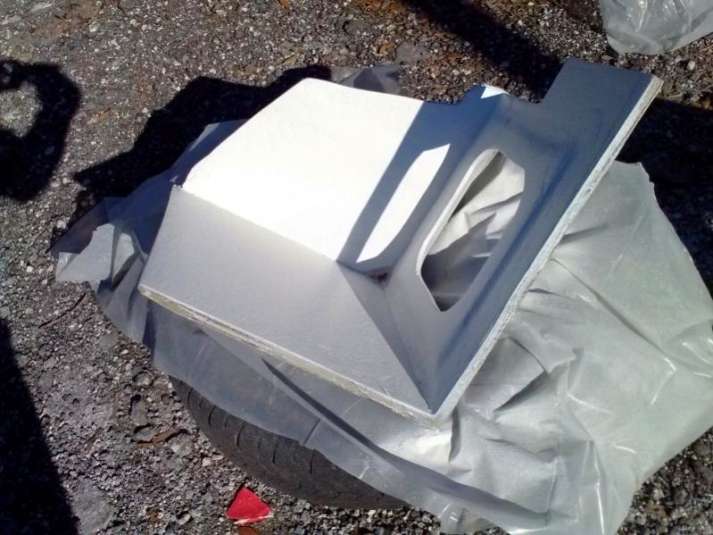
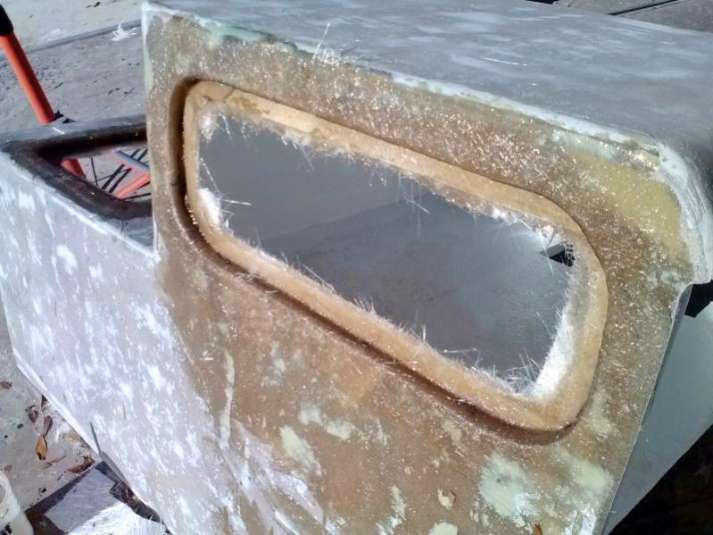
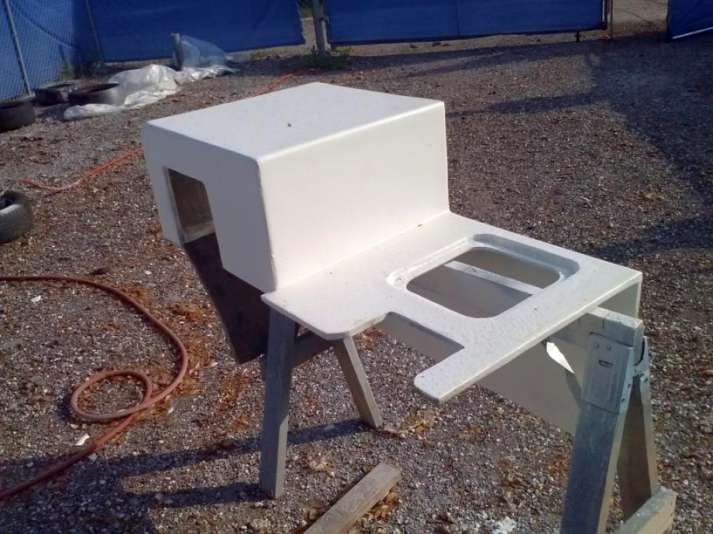
However as these pieces take shape we get fleeting glimpses at the finished product. Check out the progress on the livewell:

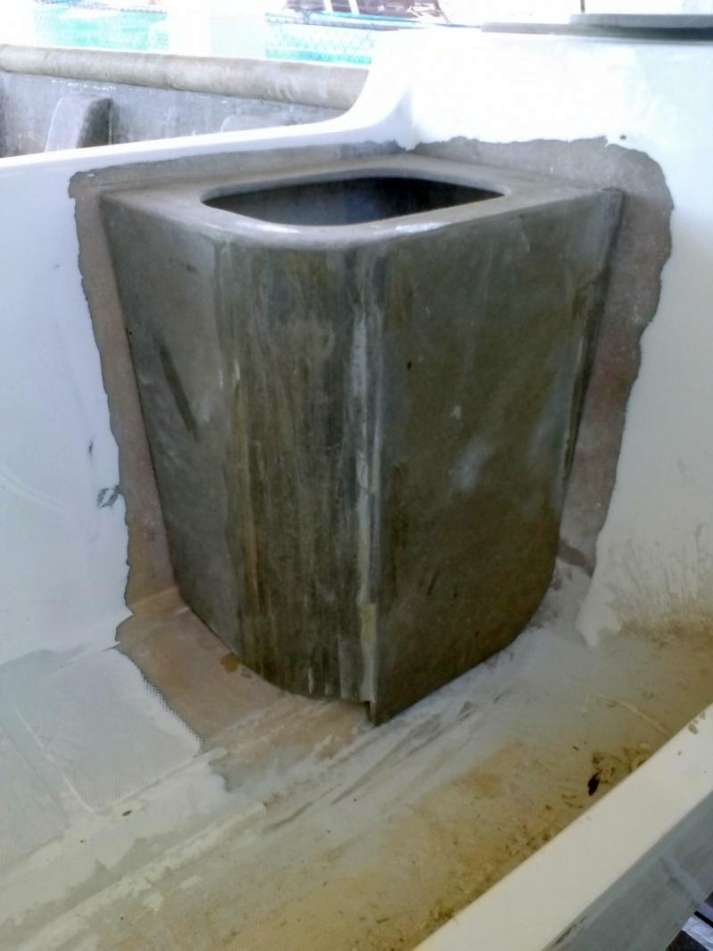


We’re looking forward to good weather this week and that means more progress on The Harvester Project!
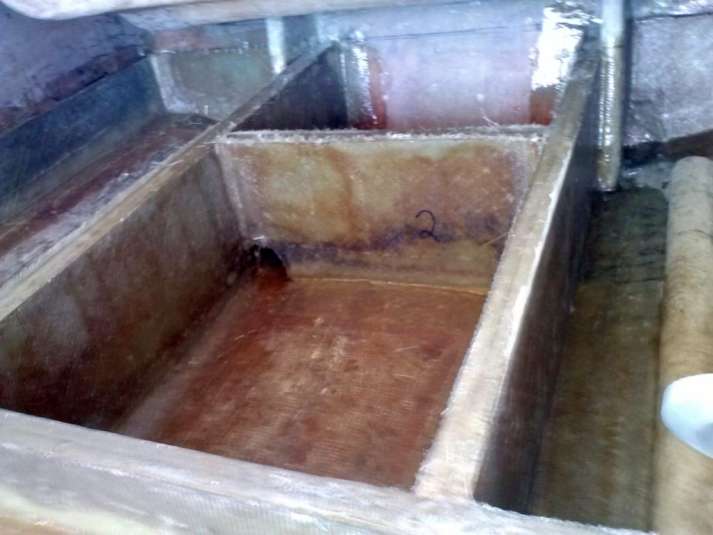
December 23, 2014 – Day 40
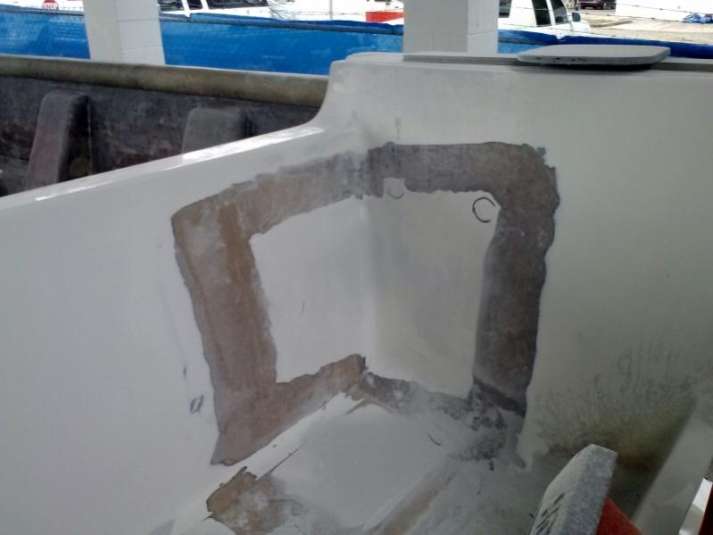
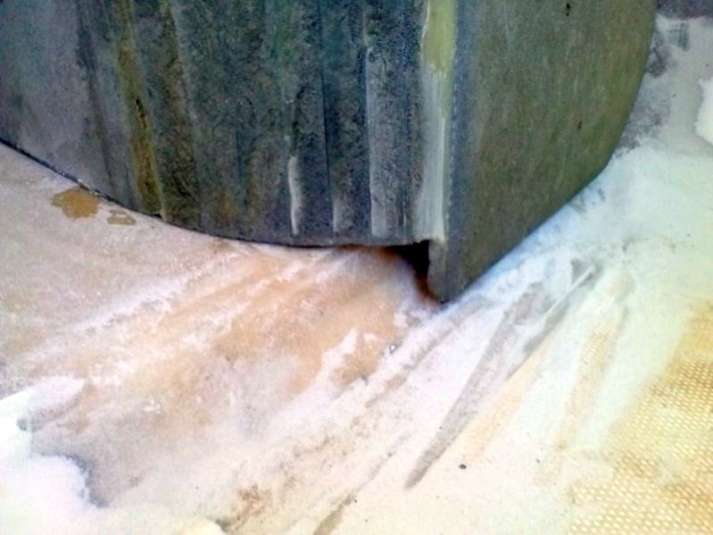
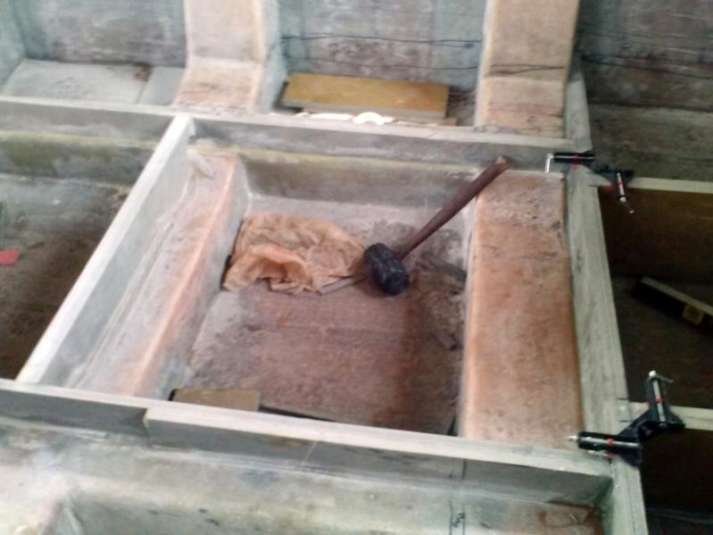
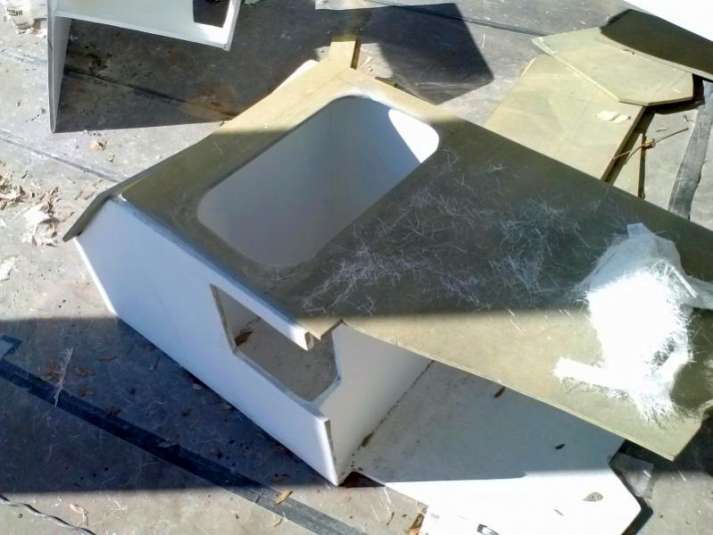
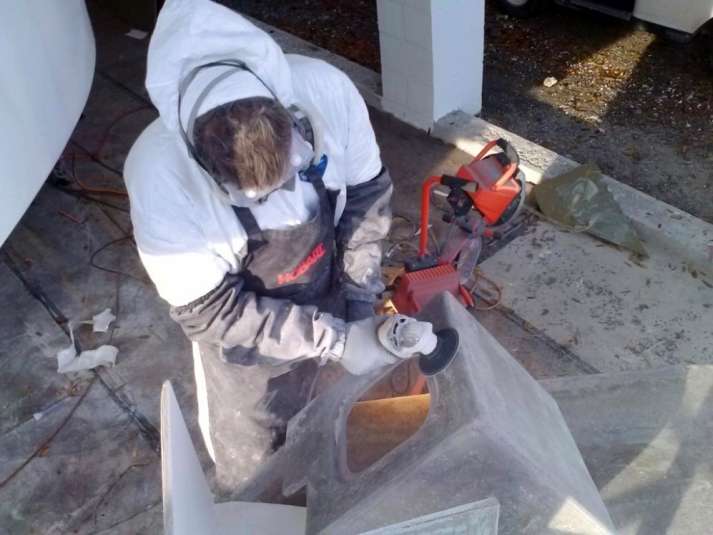
This weekend we are focusing on the livewell, which in addition to validating our fiberglass/gelcoating process will also be the first step in plumbing the Harvester.
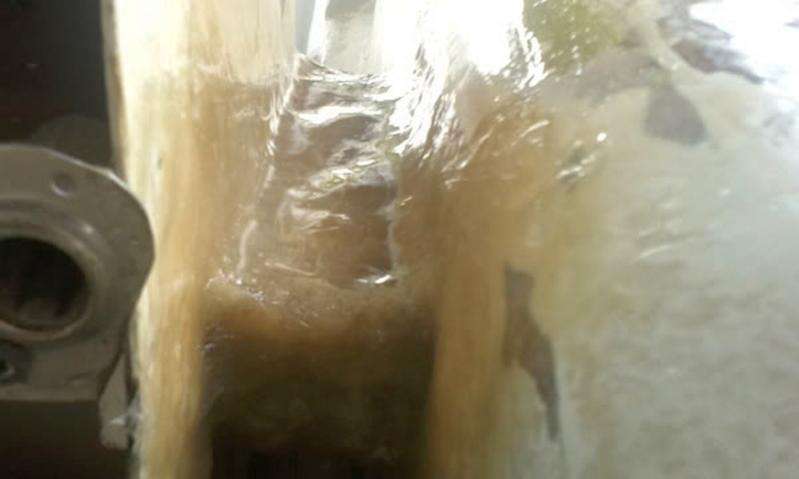
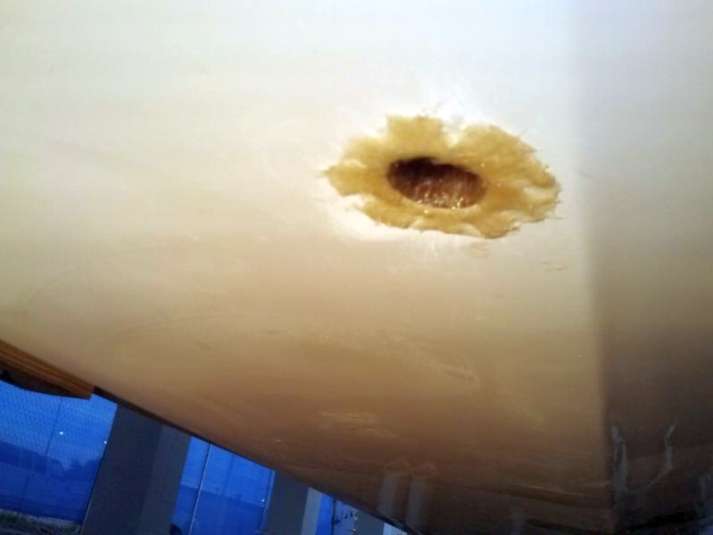
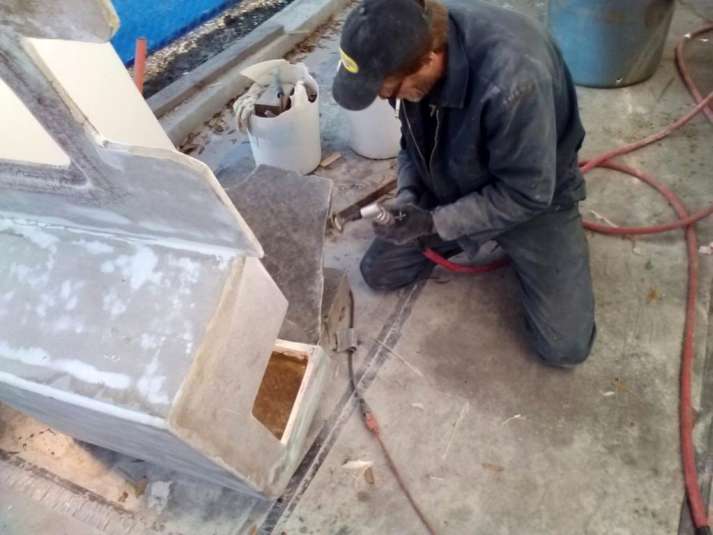
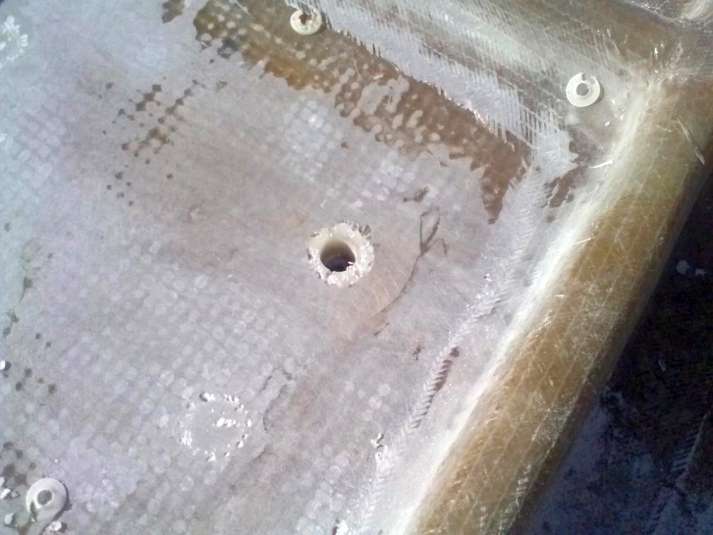
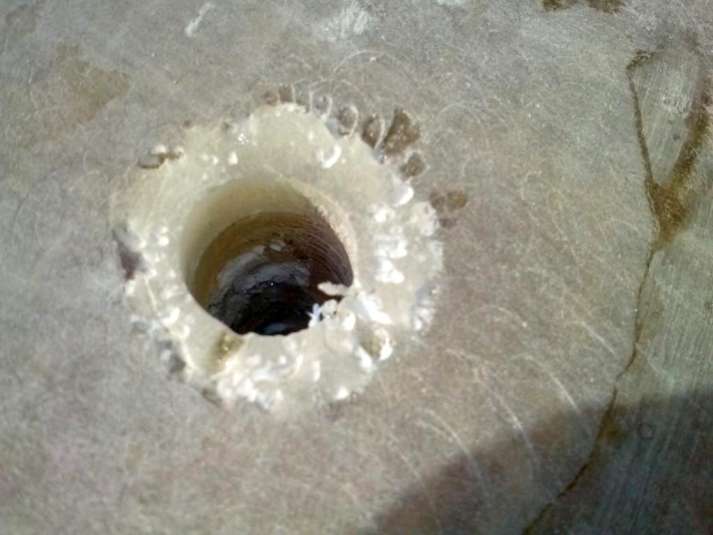
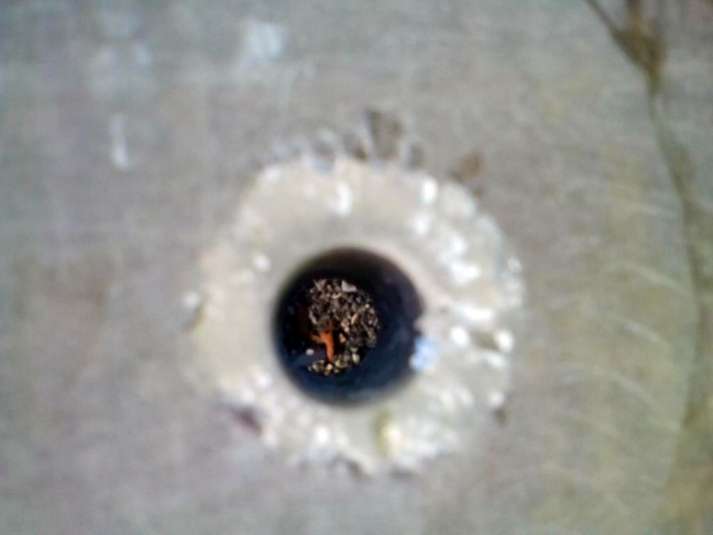
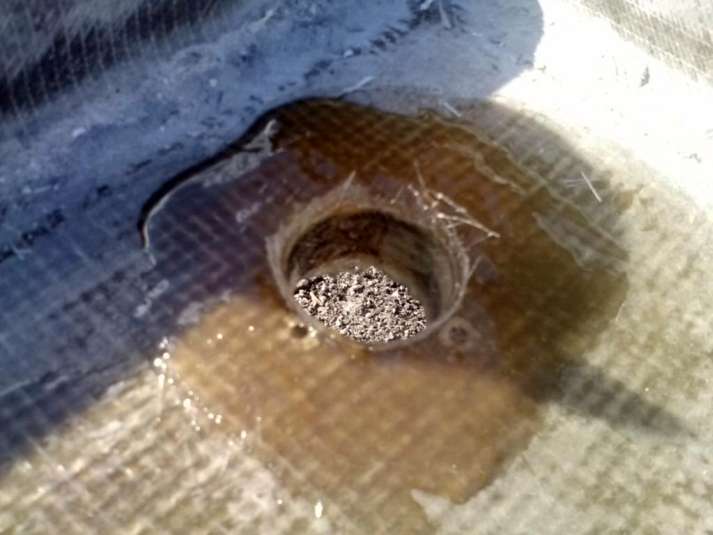
Brian and Craig have drilled out holes in the lower hull for scuppers to pick up seawater.
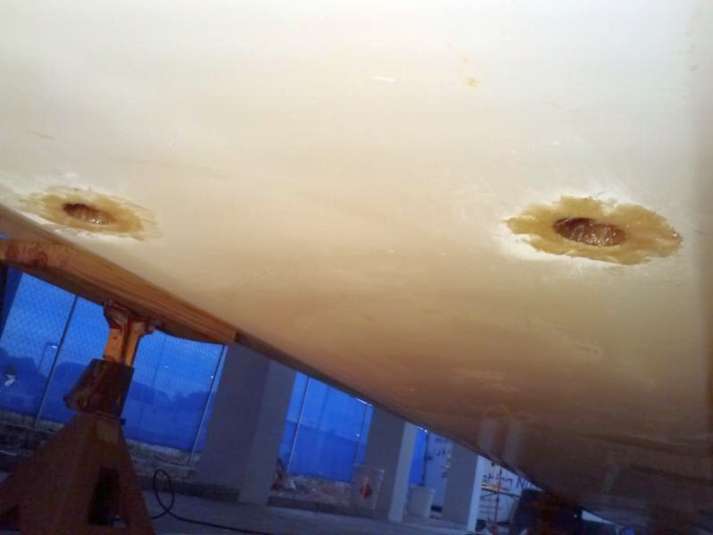
It is crucial to wrap these holes with new fiberglass and a thin layer of epoxy, rather than rely solely on 5200 to keep the water out of the hull.
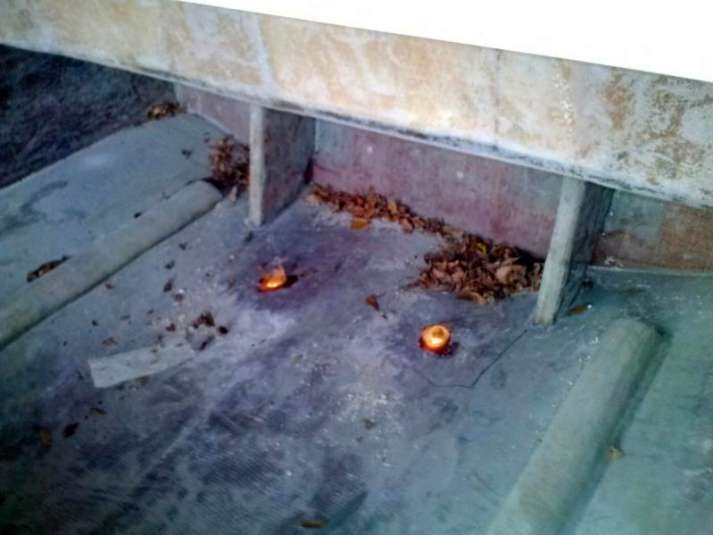
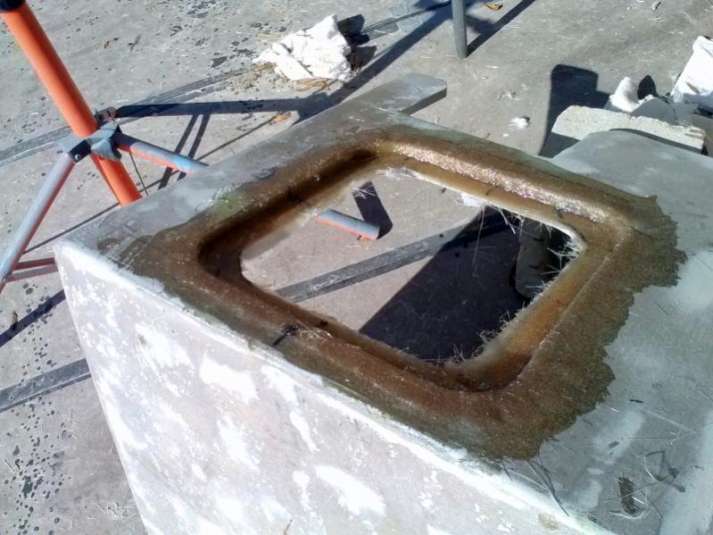
Also we have made the blow-out hole on the starboard side. Of course you need this hole to be lower that than the intake hole so that the livewell drains properly.
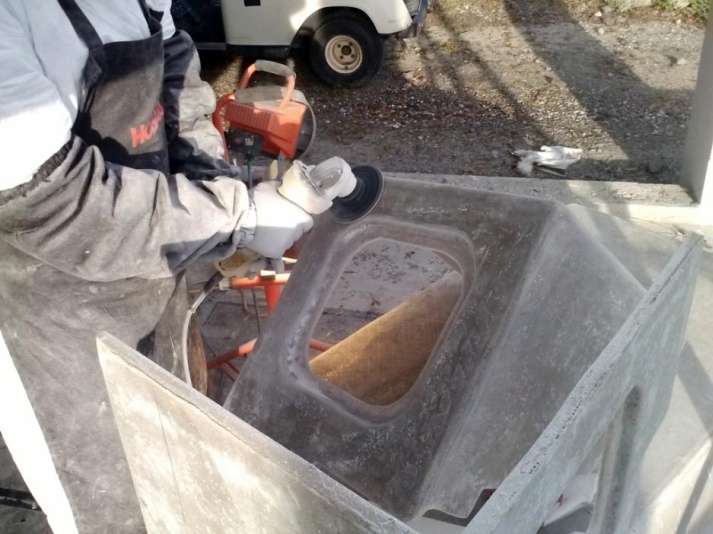
Cosmetically we are taking extra care in the surface prep of the livewell and the livewell lid; since this element is visible it is important to make the finish as smooth as possible so it matches the rest of the hull.
The lid will be stopped by these shelf pieces which have been epoxied into place. The lips themselves are made of 5 layers of biaxial weave, pressed together with resin between two pieces of wax paper.

Meanwhile we are continuing to prepare the rest of the large pieces for gelcoat and eventual installation into the Harvester.

We got a lot going on, but progress is in the air and we are jamming away on The Harvester Project!
December 31, 2014 – Day 48
While the rest of y’all are eating pig-in-a-blanket and watching football we are still jamming on The Harvester Project.

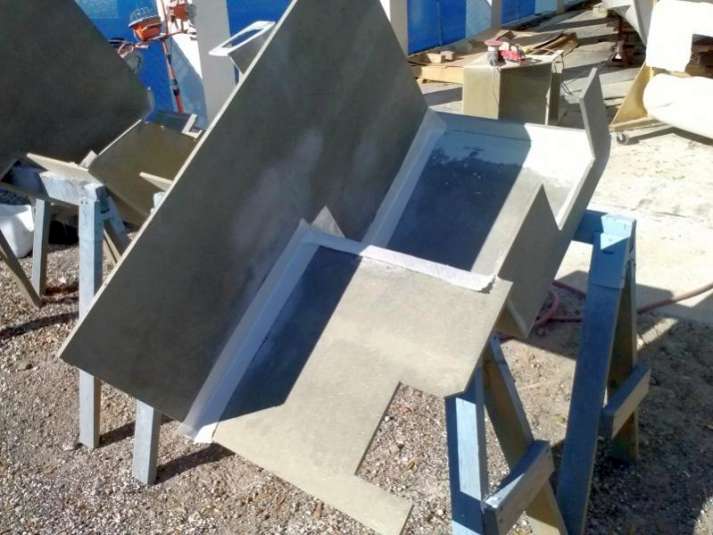
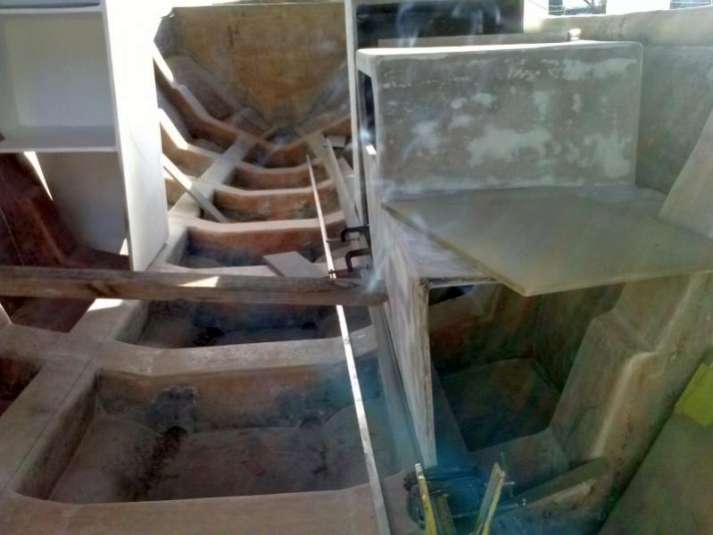
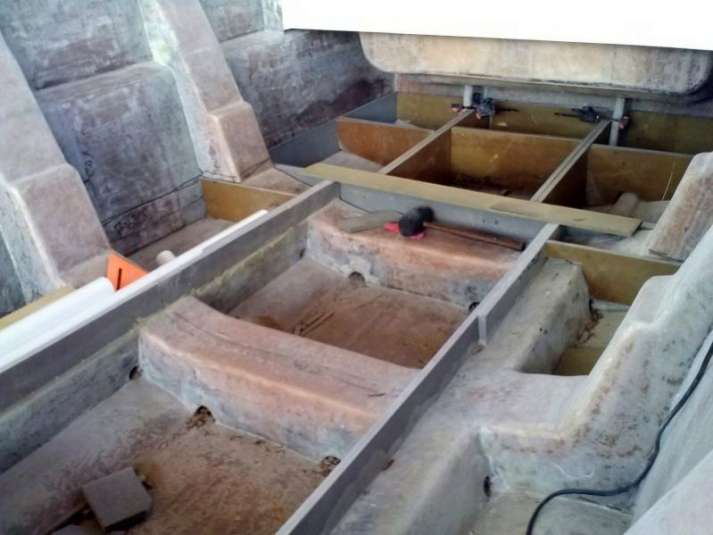
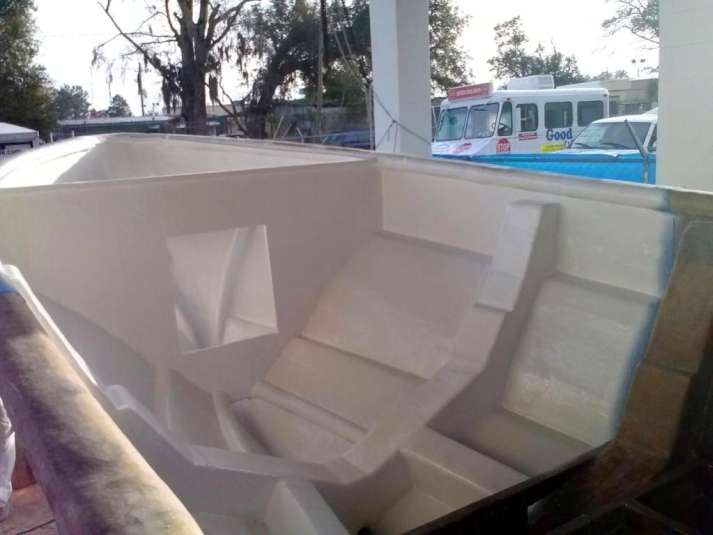
It was neat to mock-fit the consoles and seats…starting to get a feeling of how it will feel in the cockpit once we are finished.
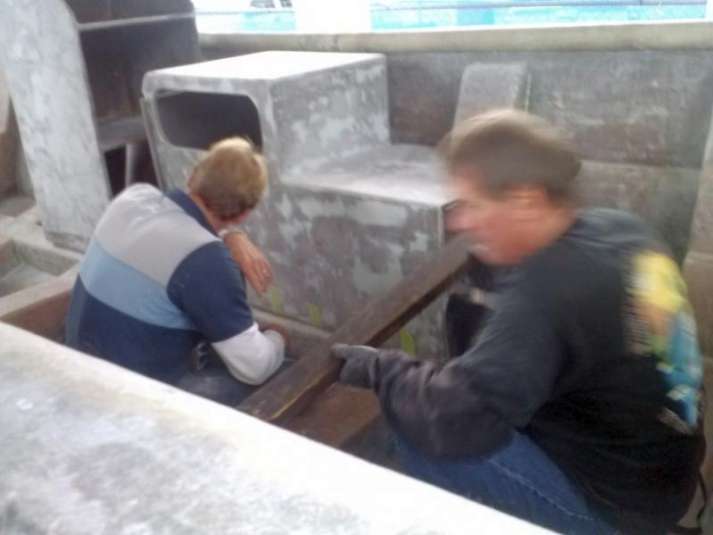
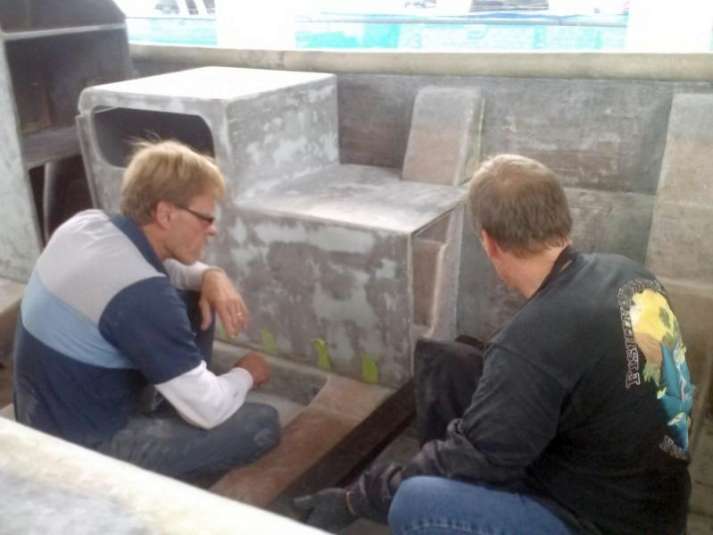
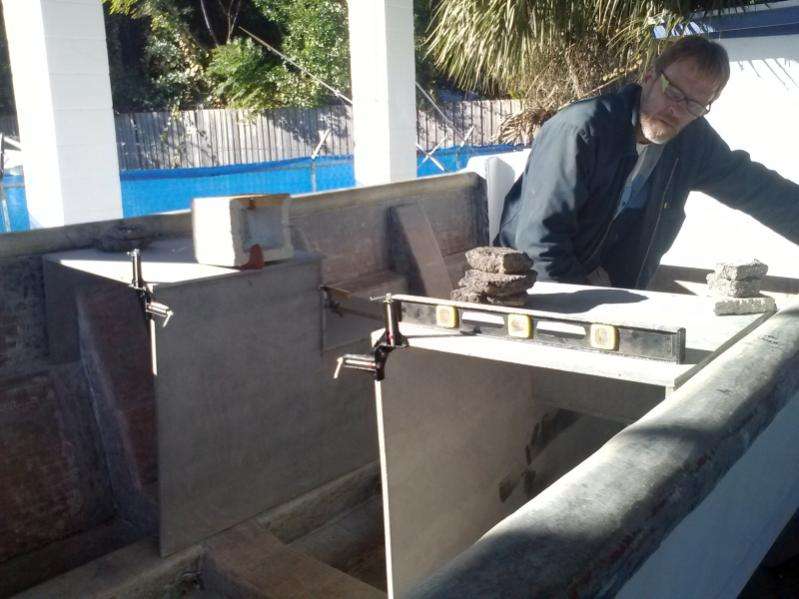
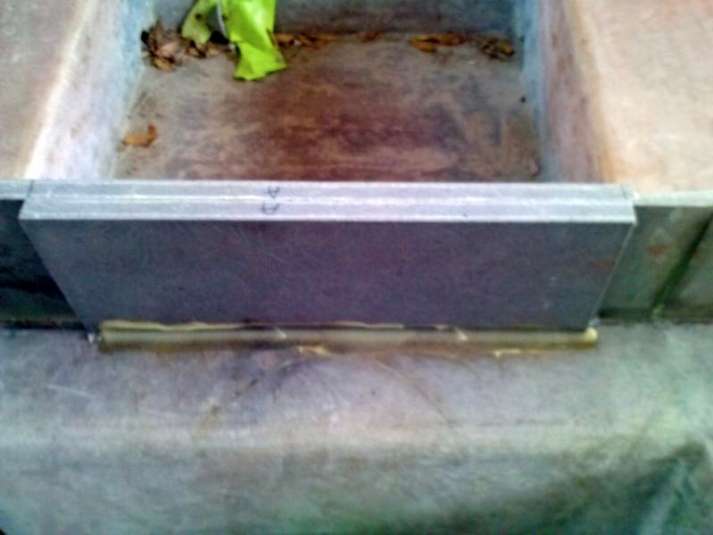
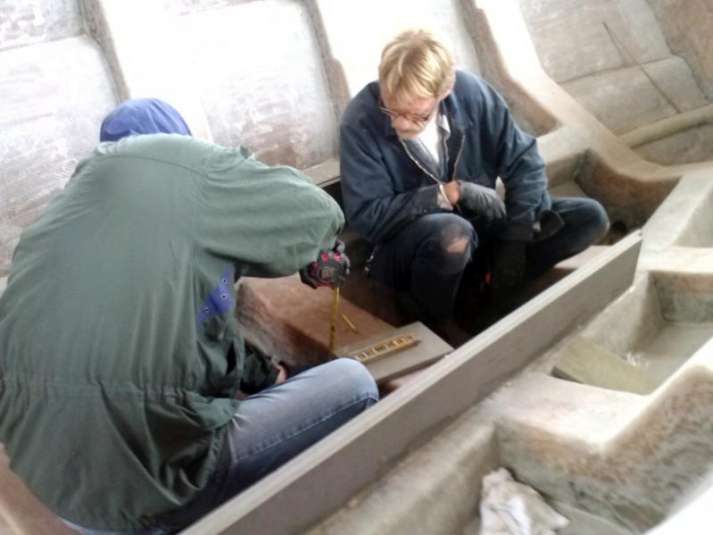
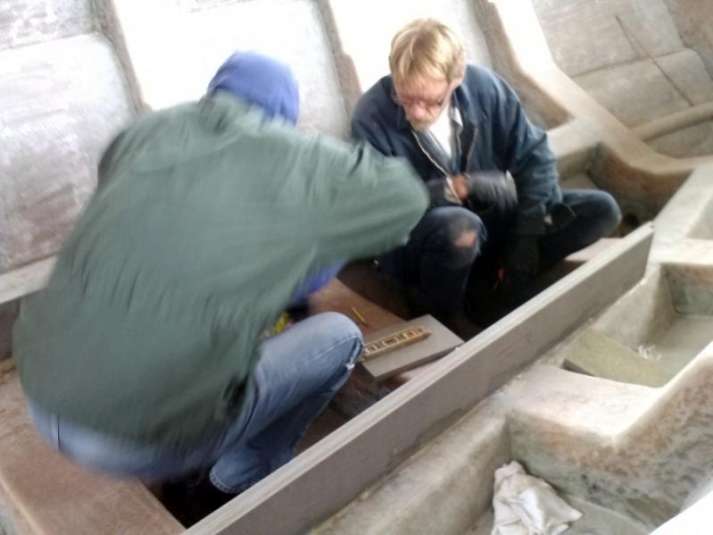
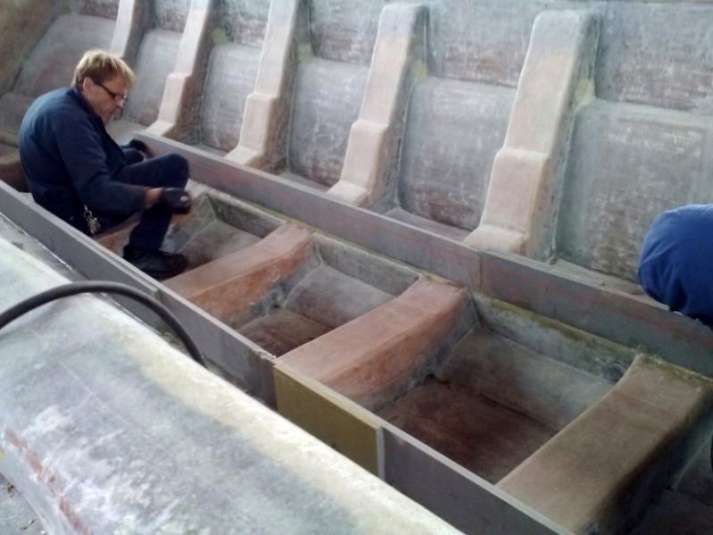
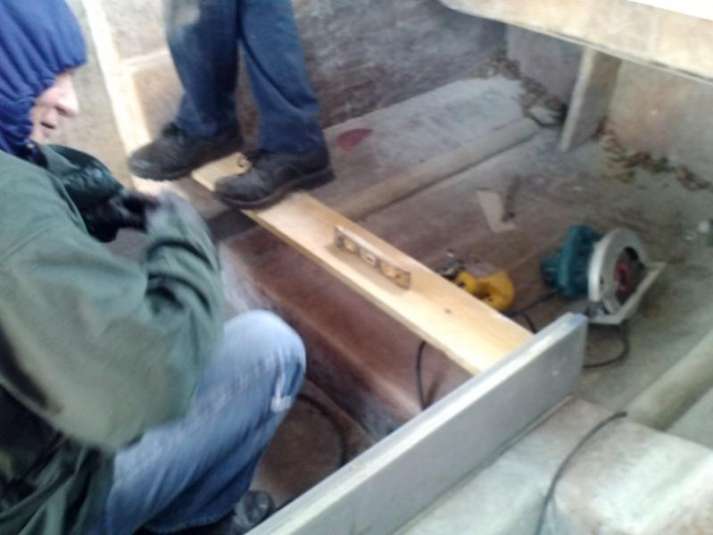
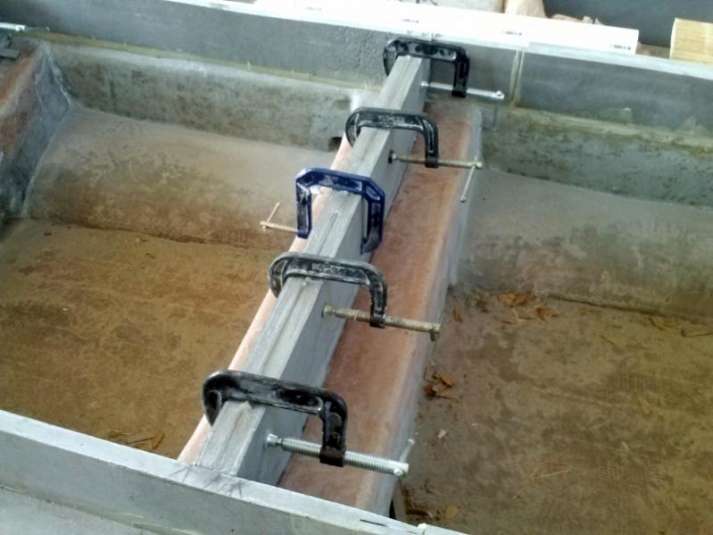
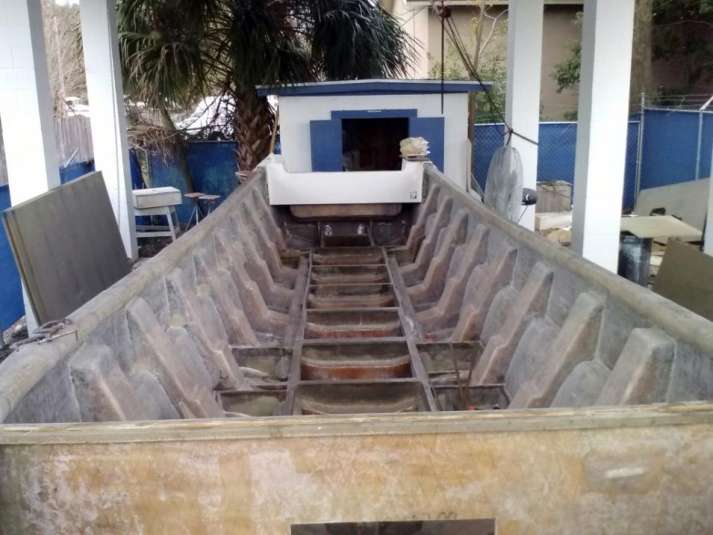
For now the reason the big pieces are in place is so that we can run the two stringers that will support the floor of the boat. We are going to mate these stringers to the consoles in order to add strength to both.


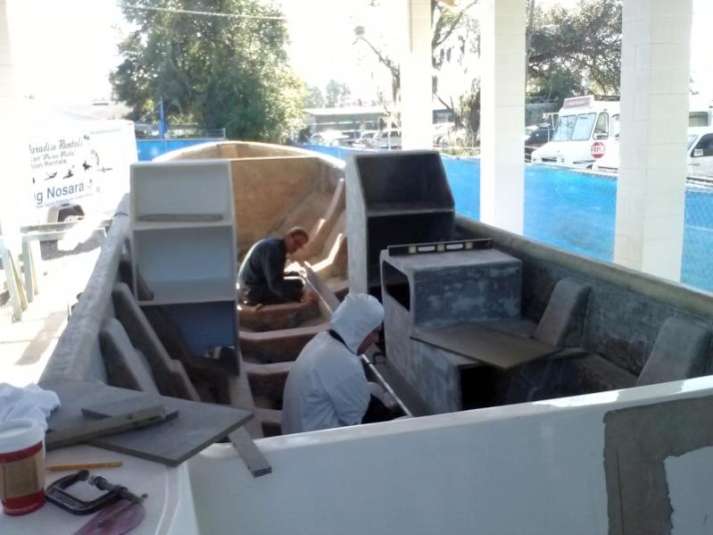
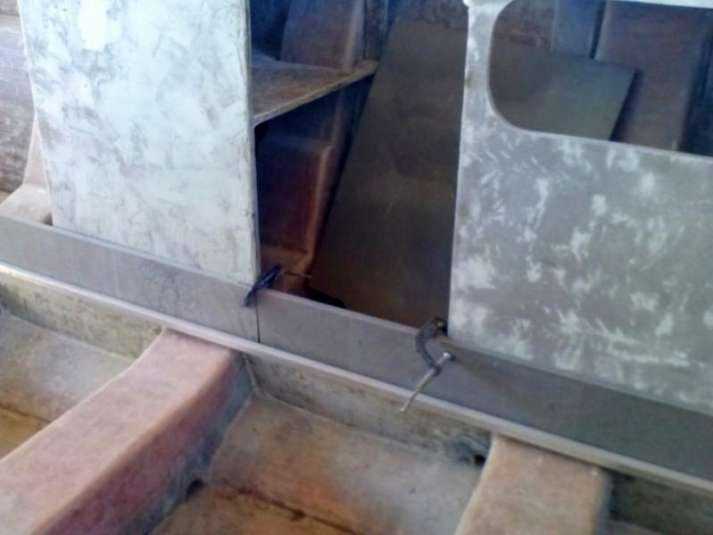
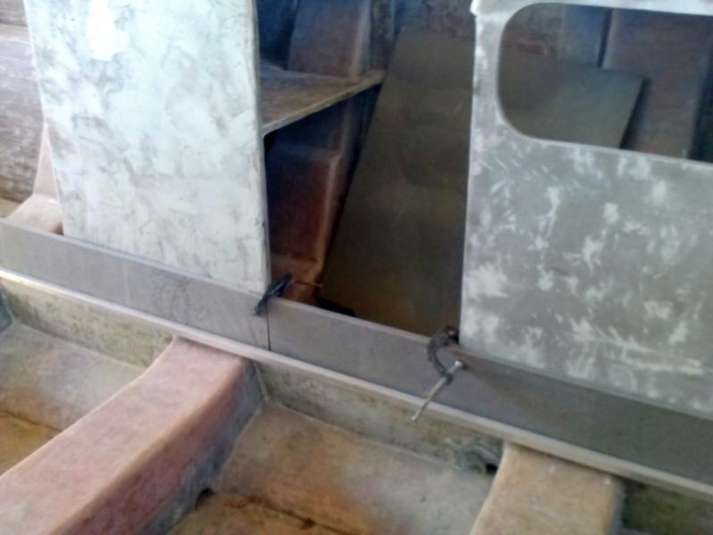
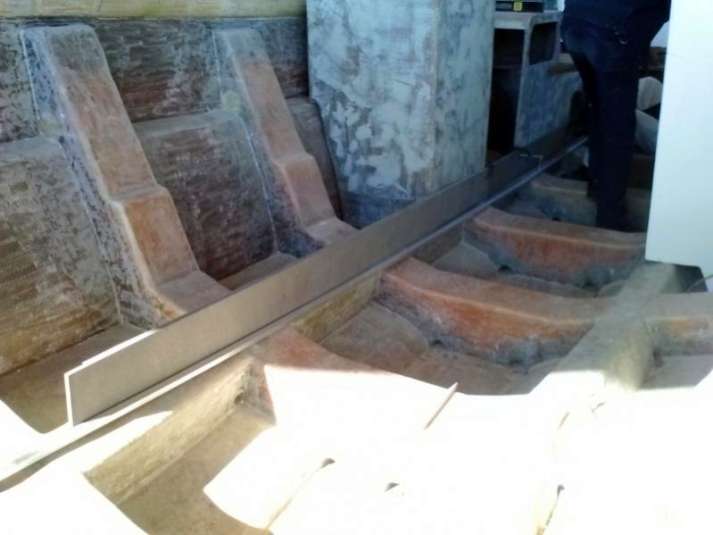

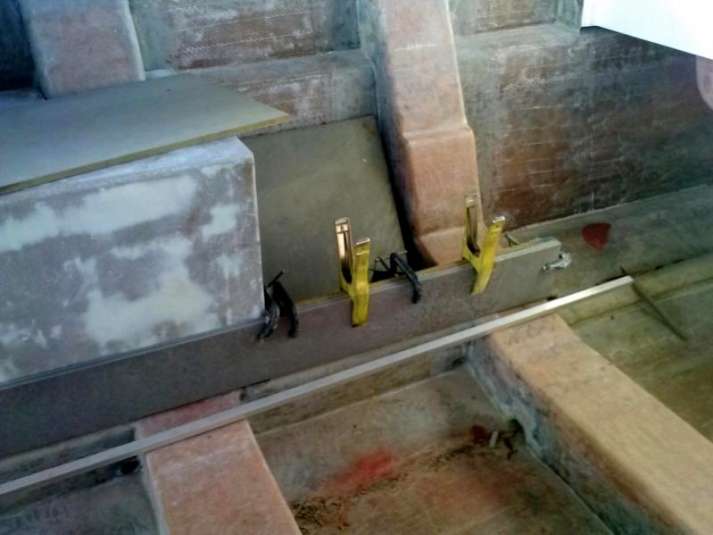
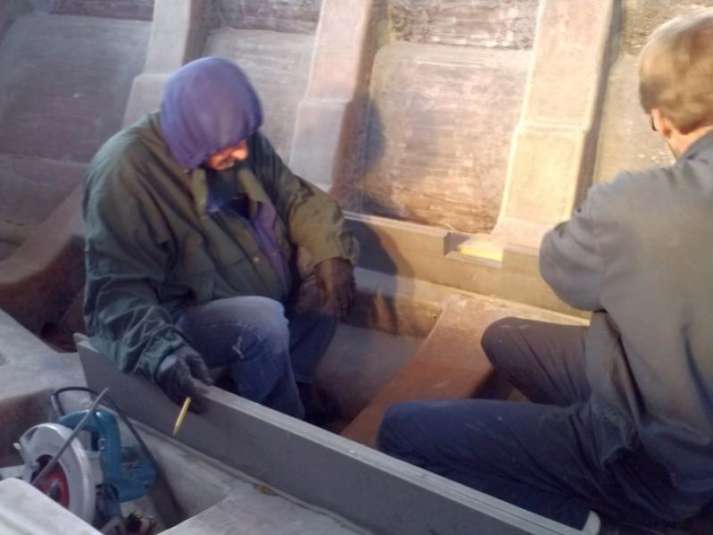
Craig and Brian used a chalk line and level to establish a common depth between the two stringers. As long as they are level to each other than the irregularities of the main ribs will be eliminated.


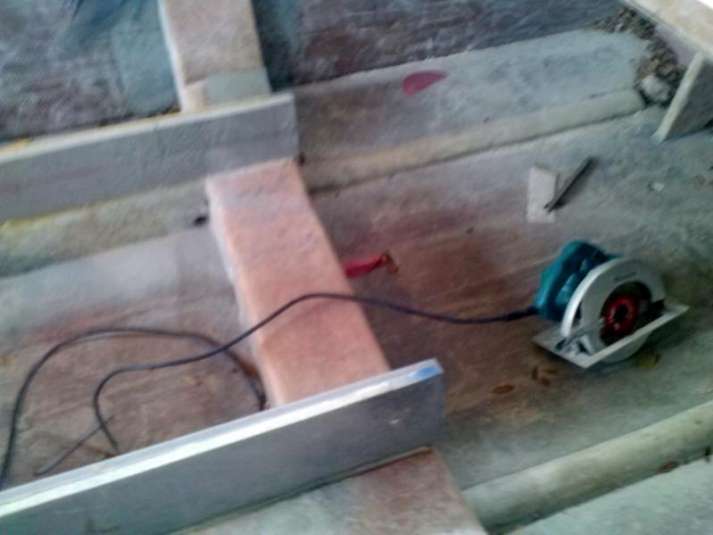

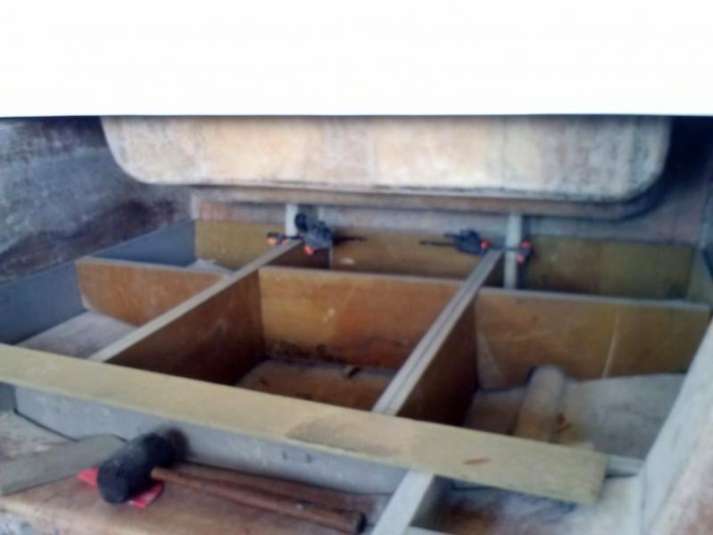
Meanwhile, we can’t decide on a high-quality line of hatches so we are going to build our own. You can see here that several of the hatches have been cut and we are currently milling and fitting the doors so they fit snug.


It’s fun on New Years Eve to think back to the last few NYE’s and where you were/what you were doing. Here’s a peek back at what was going on in the boat shop on:
December 31, 2013
December 31, 2012

December 31, 2011
Happy New Year!
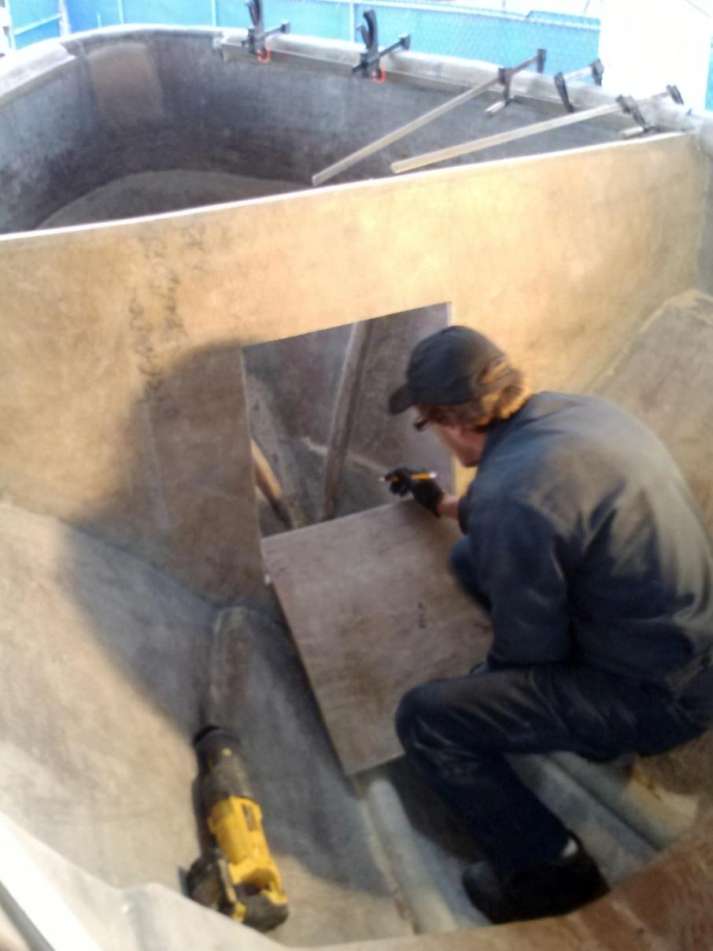
January 5, 2015 – Day 53
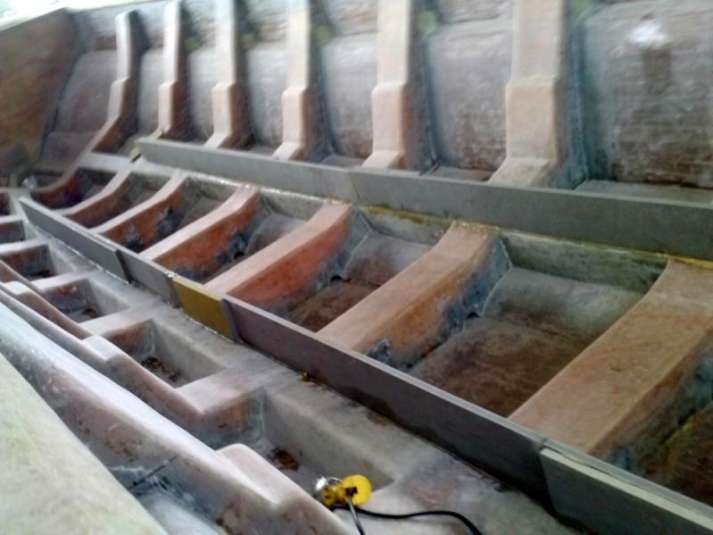
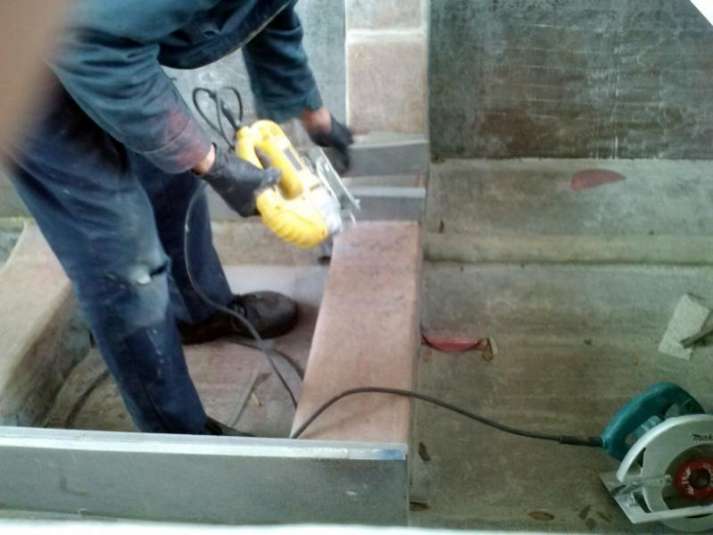
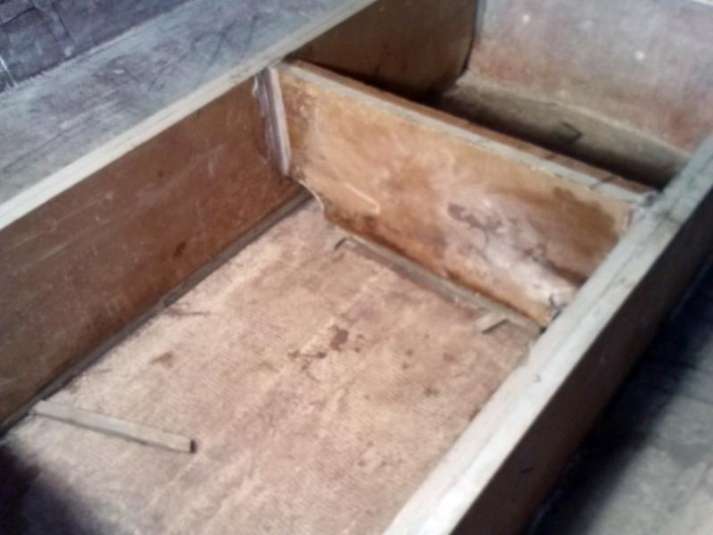
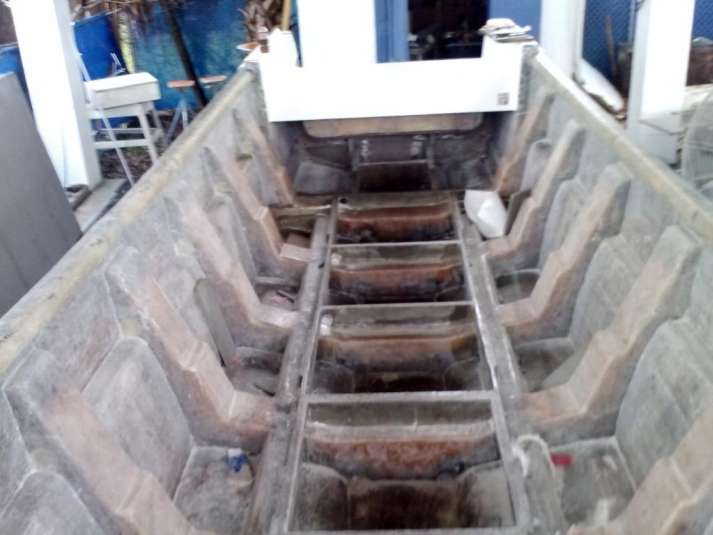
Last post we got the main floor stringers in place and cut to the proper height. This week we have built all the ribs that will support the floor.

The back end was a little tricky because the braces the abut the hull wall needed to be custom cut on one edge and flat cut on the other.


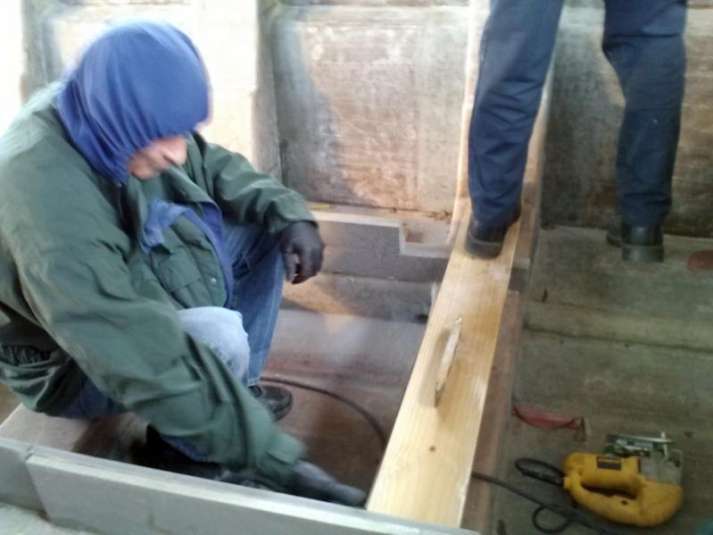
Of course we will use epoxy and fiberglass to correct any minor imperfections, but according to our level and place-holder 2×4 we seem to be right on the money.
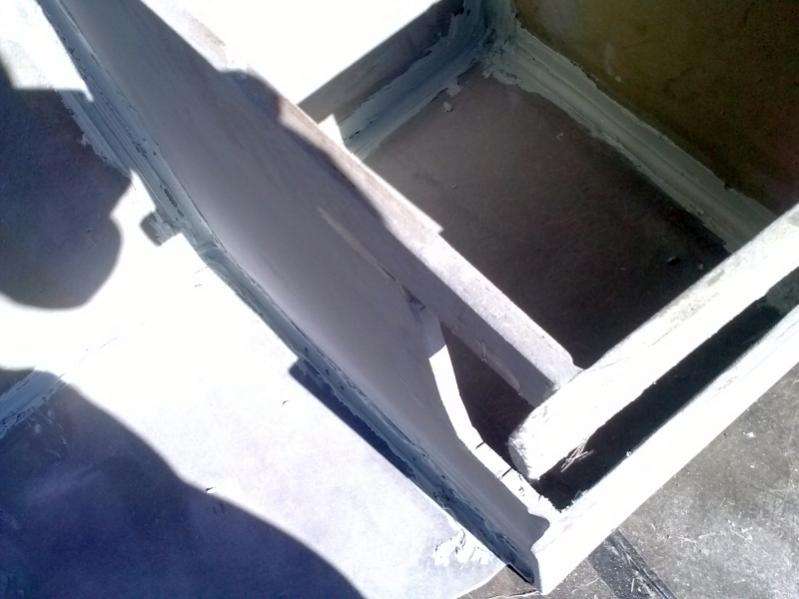
The front of the stringers attached to the cabin bulkhead, which also requires a precisely cut cap piece:

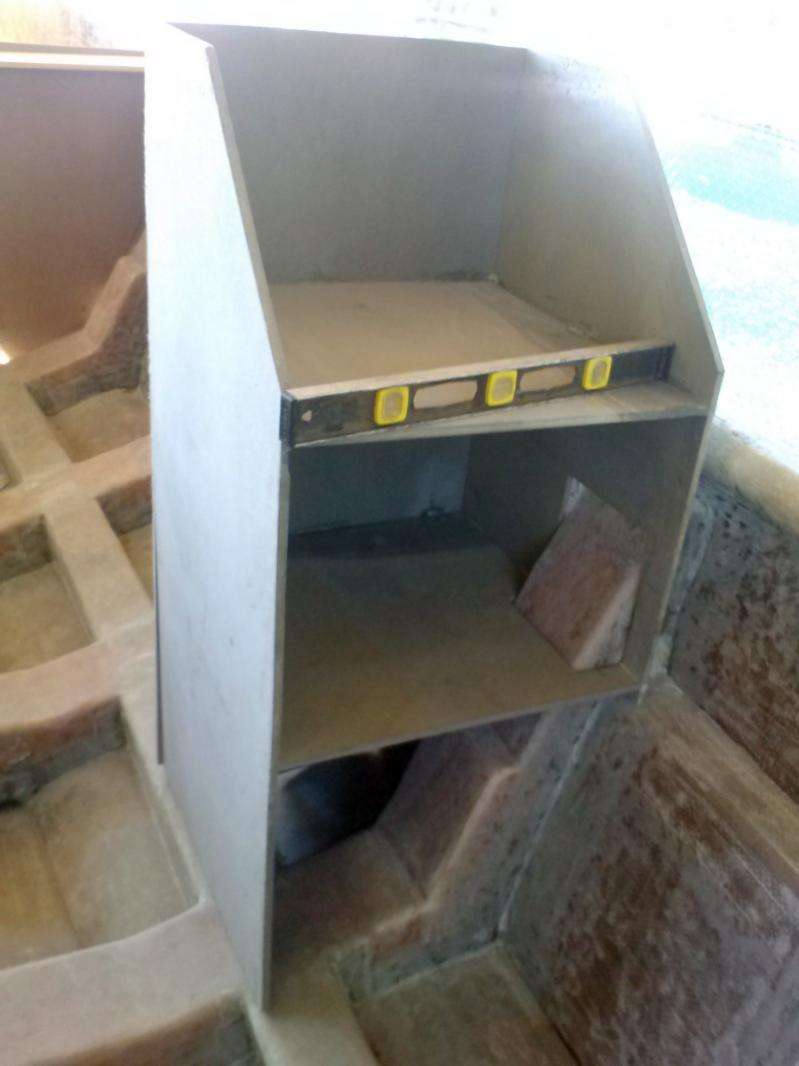
Also the slow process of building custom hatches into what we thought were already finished pieces continues. See here that we also added a shelf to each box, which means more fiberglass to tie the shelf into the piece.
Nice thing about building your own boat #37: Change orders don’t cost money, just time
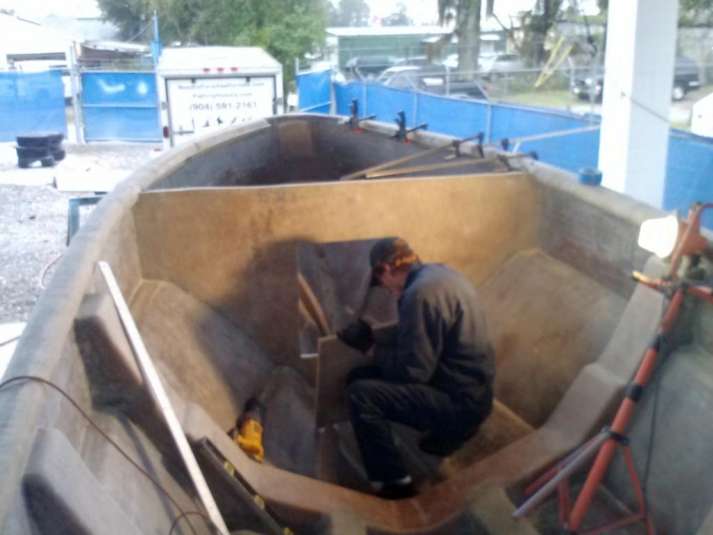
January 14, 2015 – Day 62
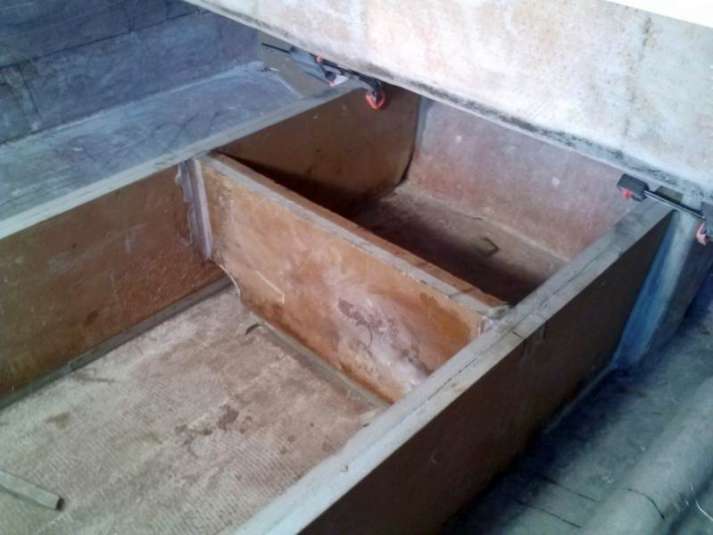
The subfloor stringers have been our principal focus this week and we are pumped at how the progress is going.
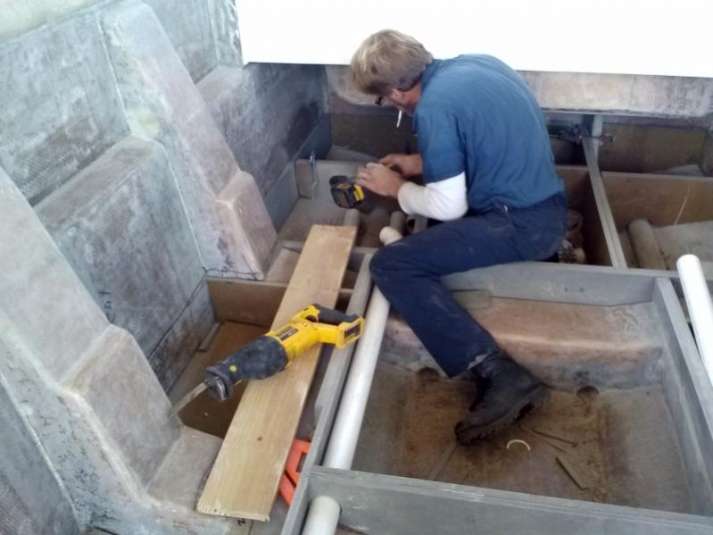

Brian has taken the lead on this, test fitting all of the horizontal supports and creating a pathway for a 2″ PVC pipe that will carry all of the battery cables, steering lines, and other utilities from the consoles to the motors.


Also he has created a pair of custom ribs to cap the front and rear of this floor system. This took a lot of cutting and fitting to make them snug up just right.


Meanwhile, Matt has continued to prep the major pieces for gelcoat. We are ready to spray, just waiting for the cold weather and fog to pass Jacksonville.


We anticipate having these pieces sprayed by this weekend at the latest.
Kind of boring work, but these are the details that are required if you want a boat you can be proud of. We are definately looking forward to the next phase when we start final assembly of these pieces and the floor.
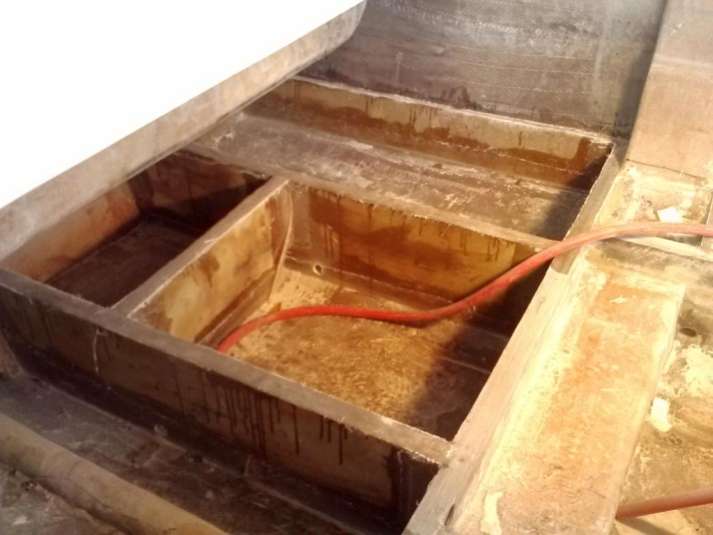
January 29, 2015 – Day 77
Thank god that the cold weather went back North where it belongs so we can climb the mountain of fiberglass and gelcoat on The Harvester Project.

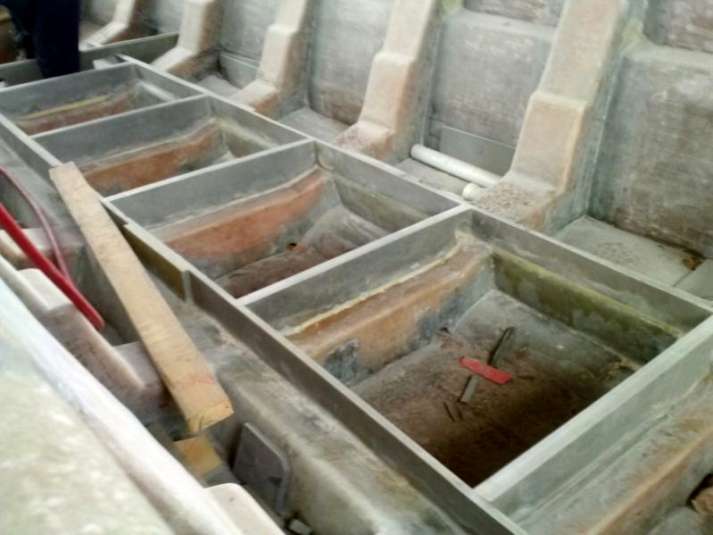
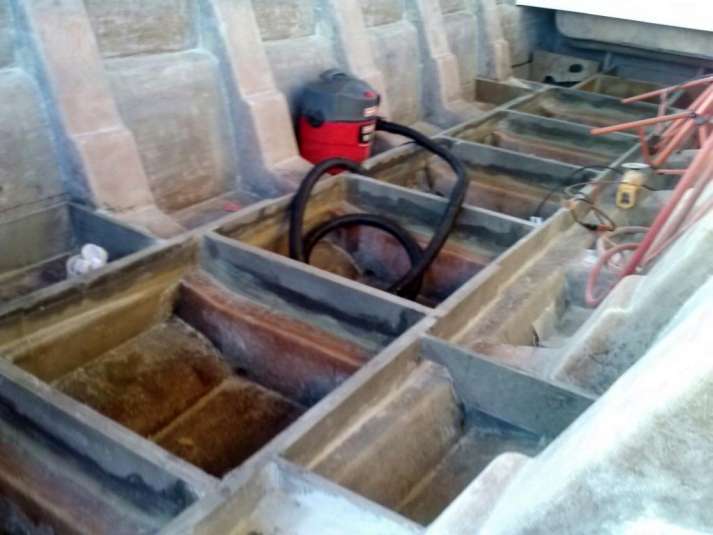
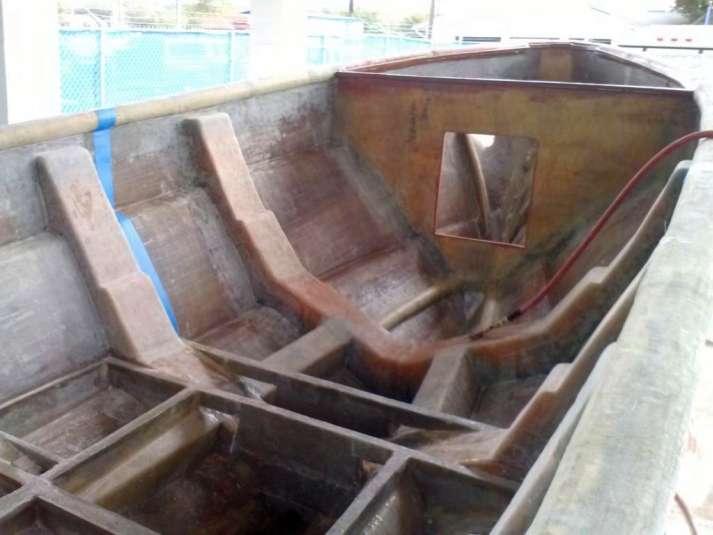
Inside the boat the stringer system is solidly in place, so Brian and Craig are working to double-wrap all the corners in fiberglass biaxial weave.
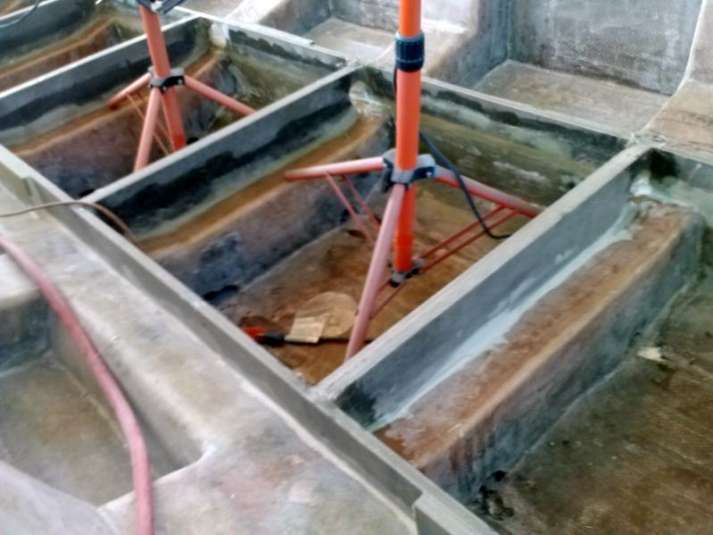


8 compartments x 4 corners each x 8 edges each = a *****load of fiberglass

Once this is done we can start laying out our wire runs and plumbing, then start constructing the floor.
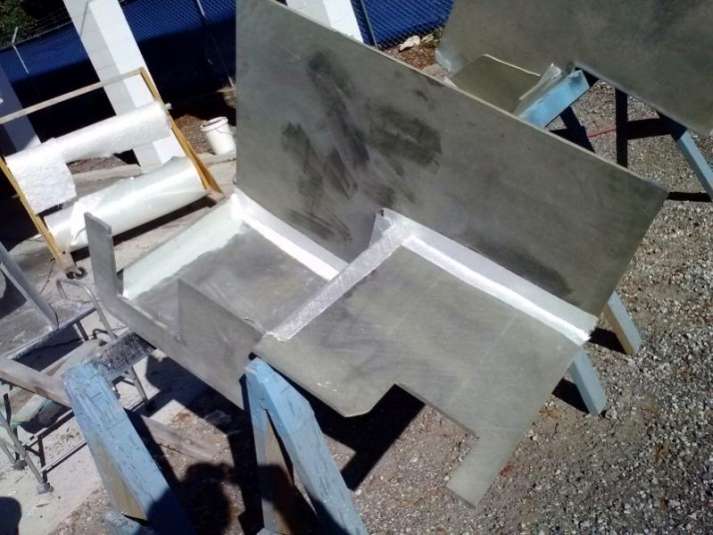
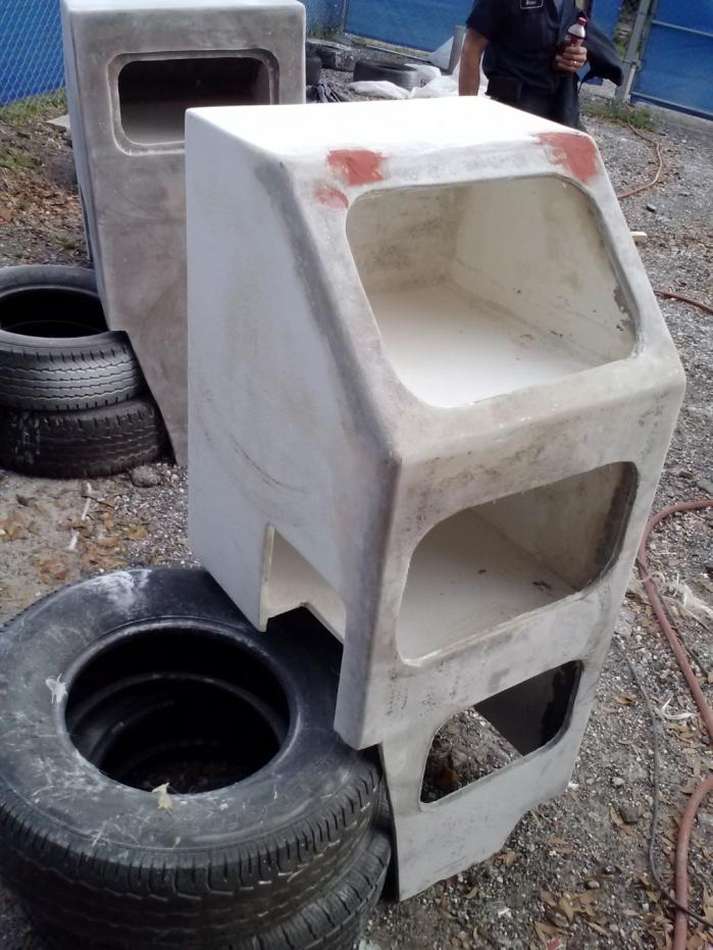
Meanwhile, the bulky console pieces have all been gelcoated on the insides.


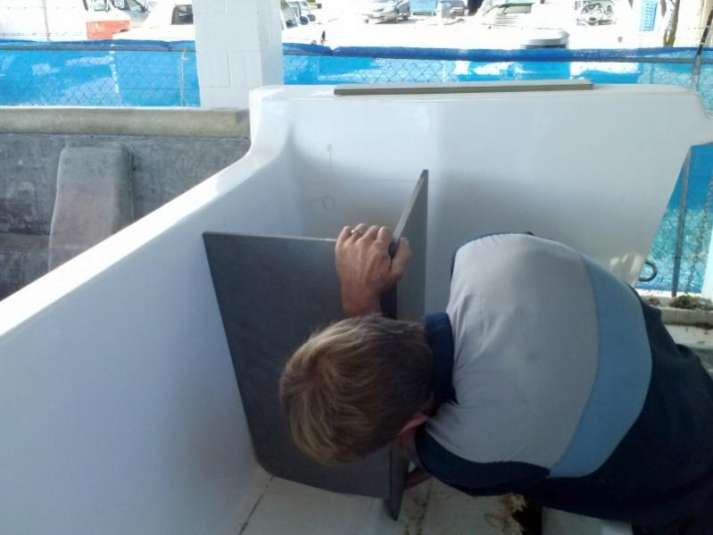
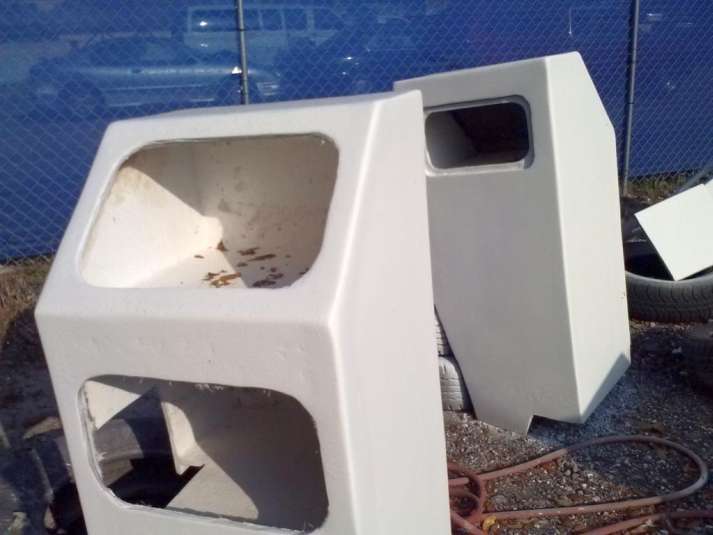
This means we can proceed to with a final test fit of all the pieces before we secure the faces on them. Here’s one of the faces already test cut, so you can get the idea of where we are headed on these things:

Lastly, we are hand-shaping all of the opening for our custom hatches. The lids are off being milled so that they will settle snugly into the openings.

We’re plowing along, however with the boat show season about to fire up we are cautious knowing that for the next couple of months we will shorthanded here and there. Still we are feeling good about getting this thing finished before the Kingfish tournaments get started this summer.
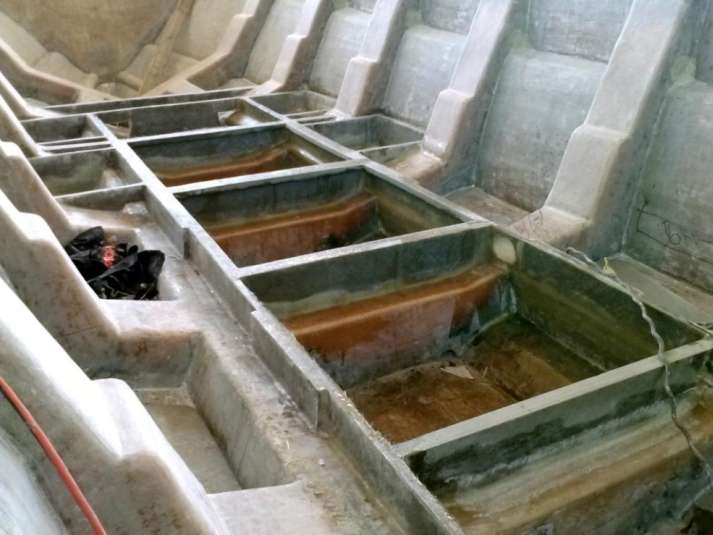
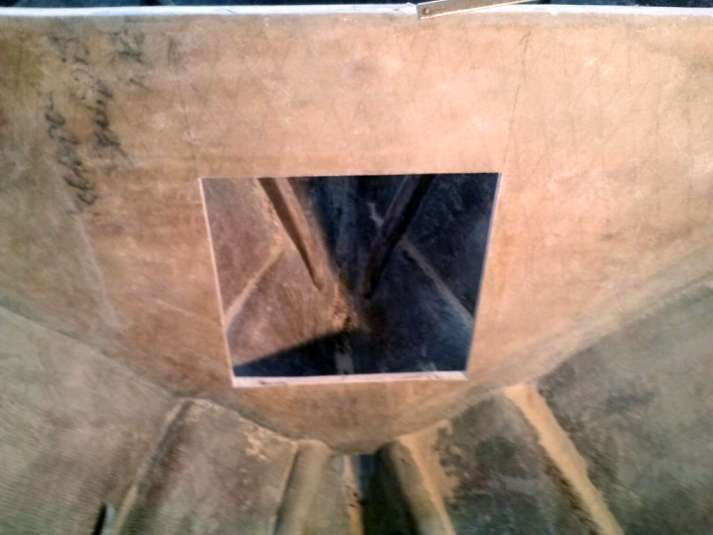
February 5, 2015 – Day 83
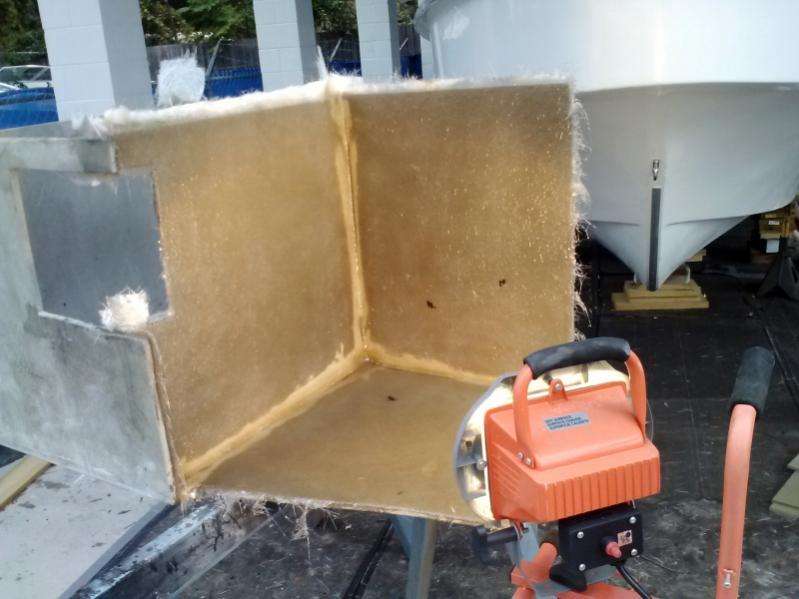
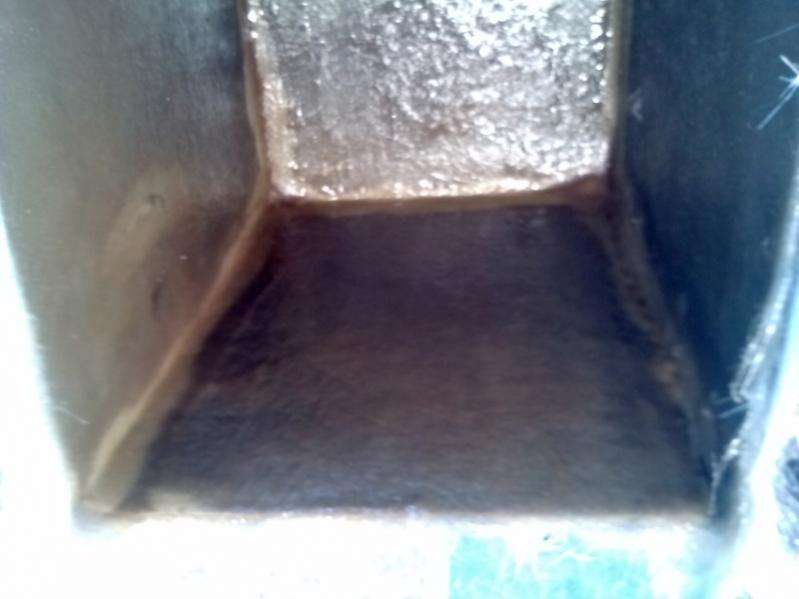
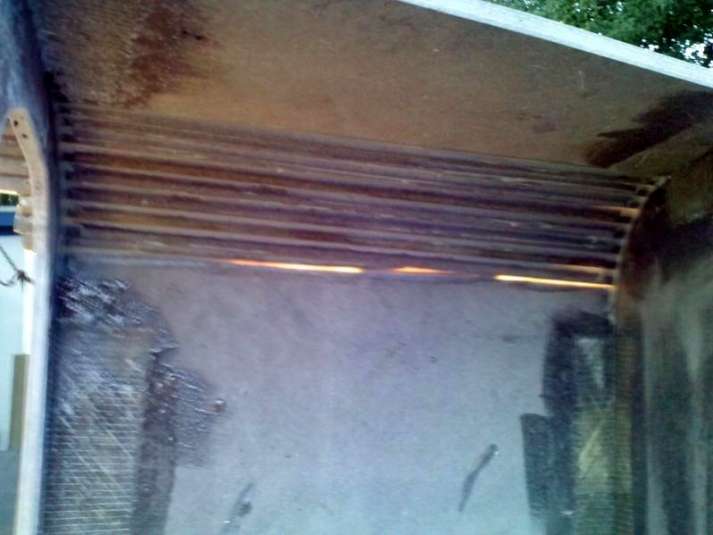
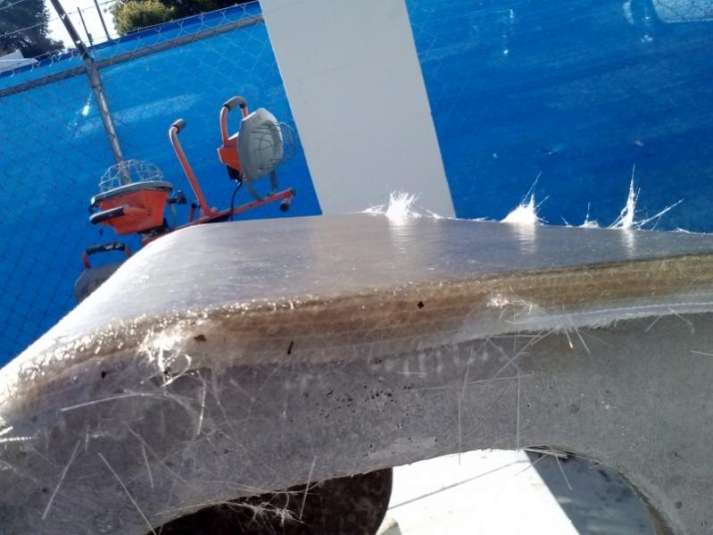
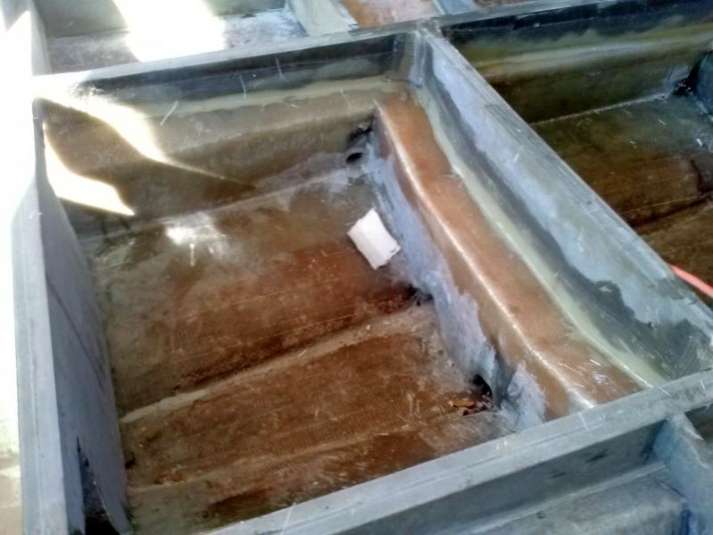
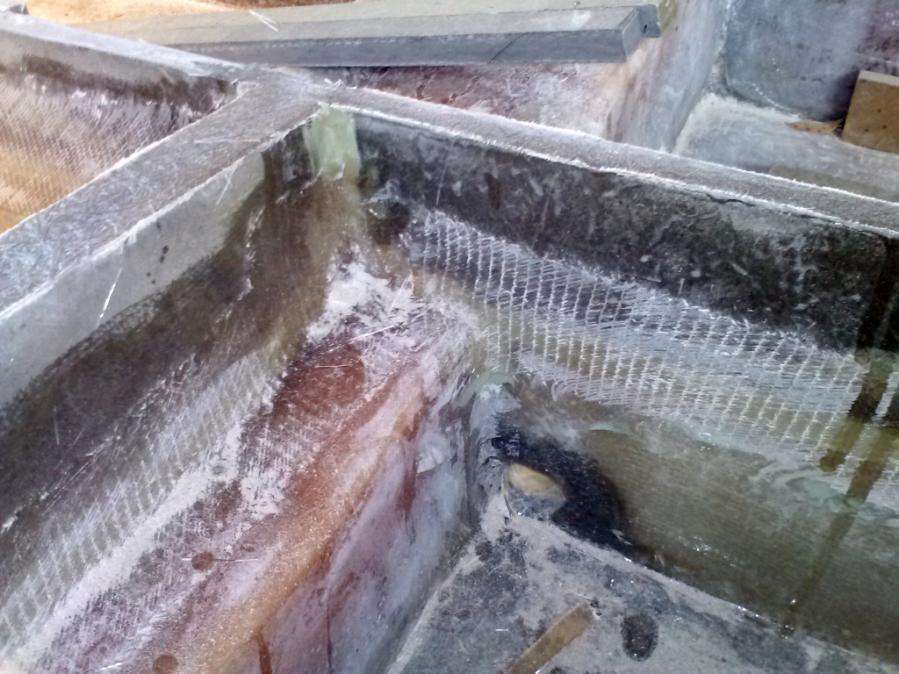
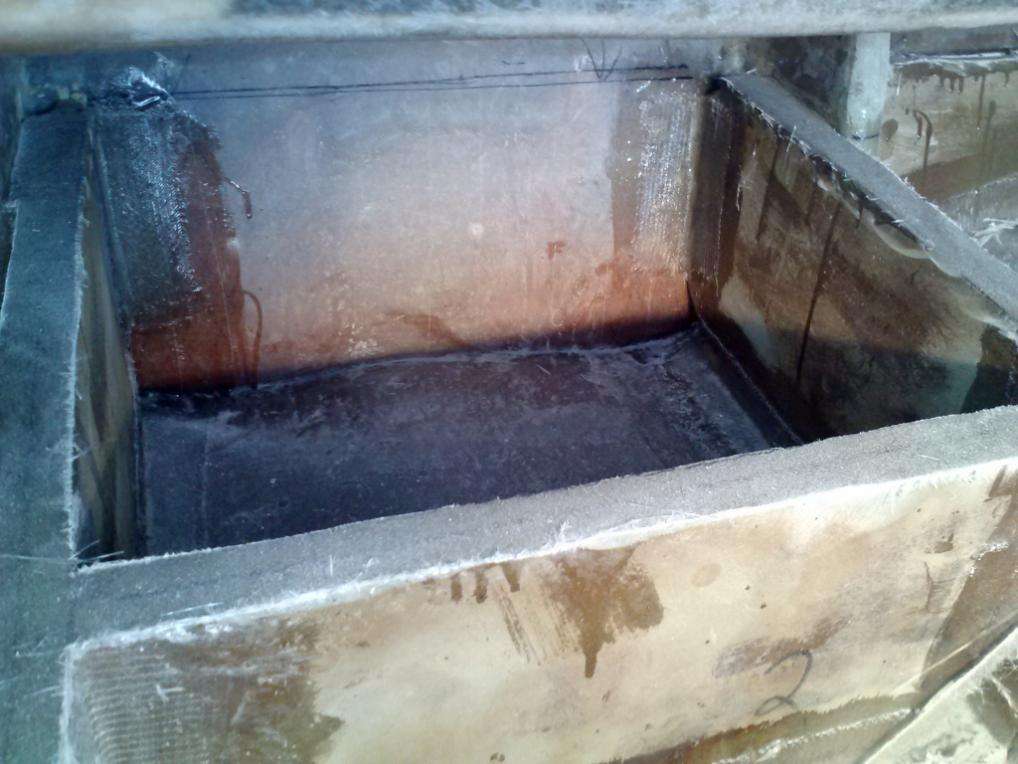
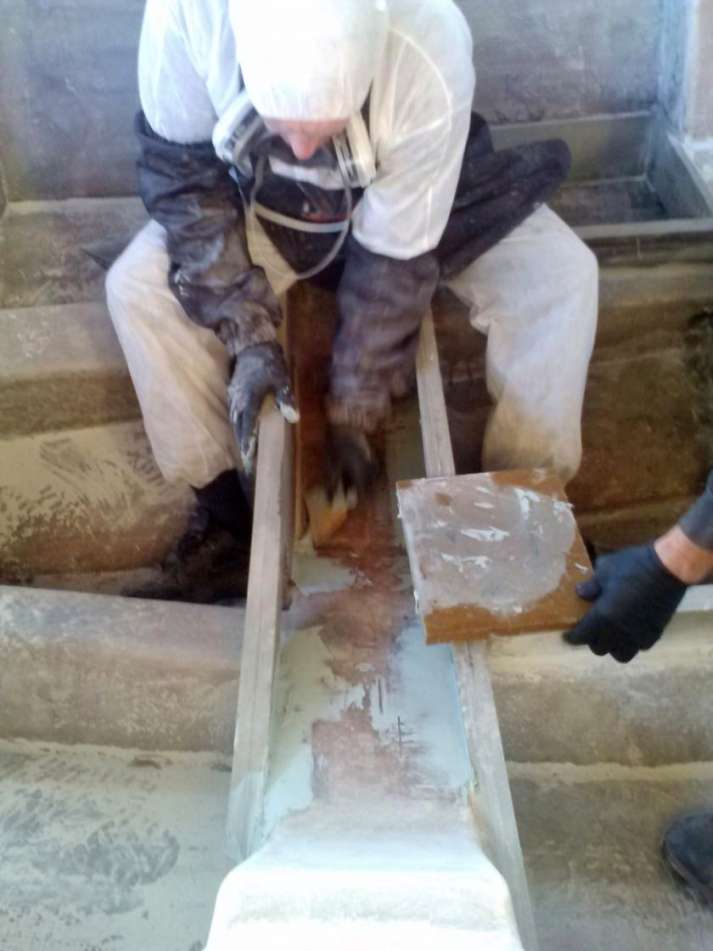
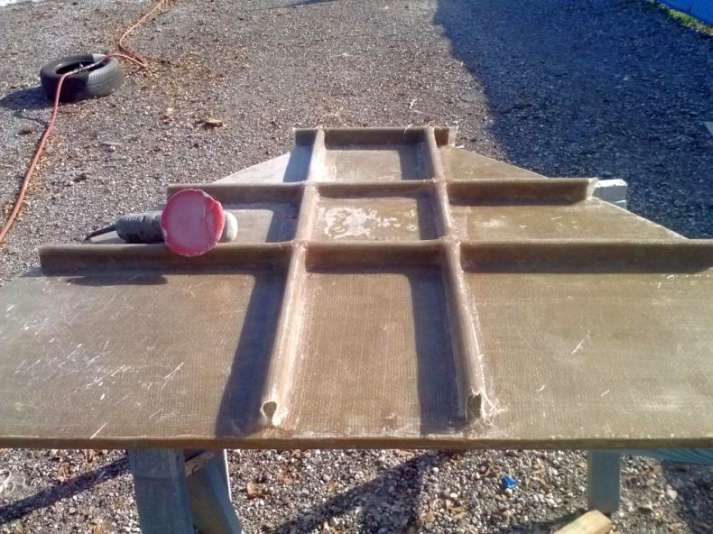
Let’s take a closer look at all the nuanced fiberglass wraps needed to make the floor stringer system last forever:


Between the waterproof nature of Coosa wood and 3 full layers of fiberglass, we are fairly certain that this floor will never develop soft spots.

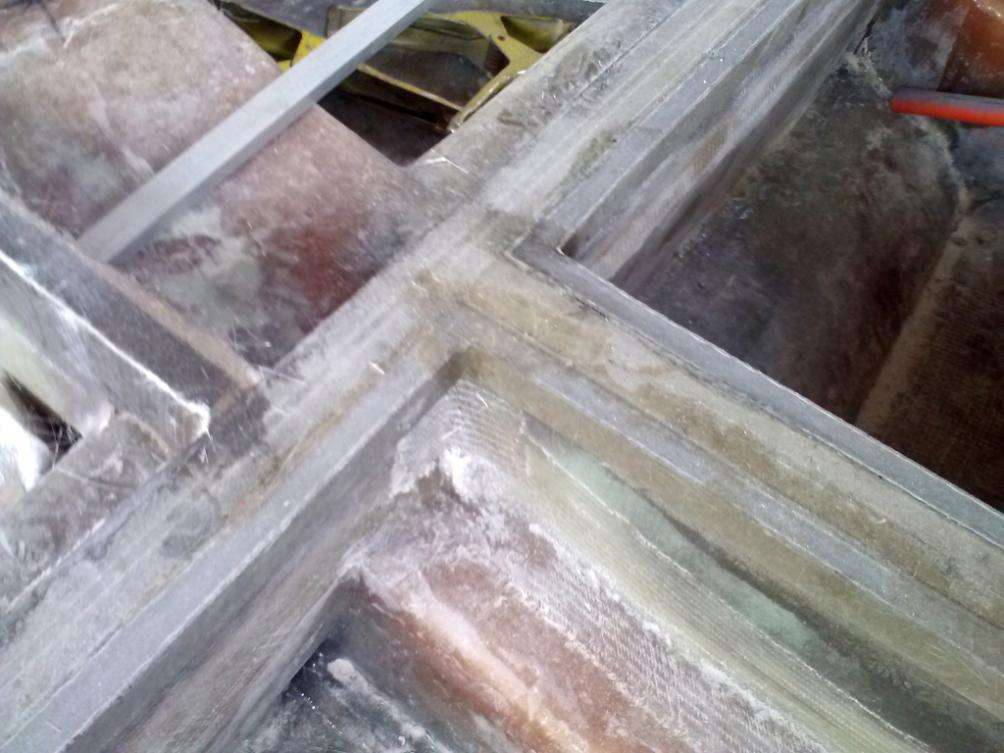


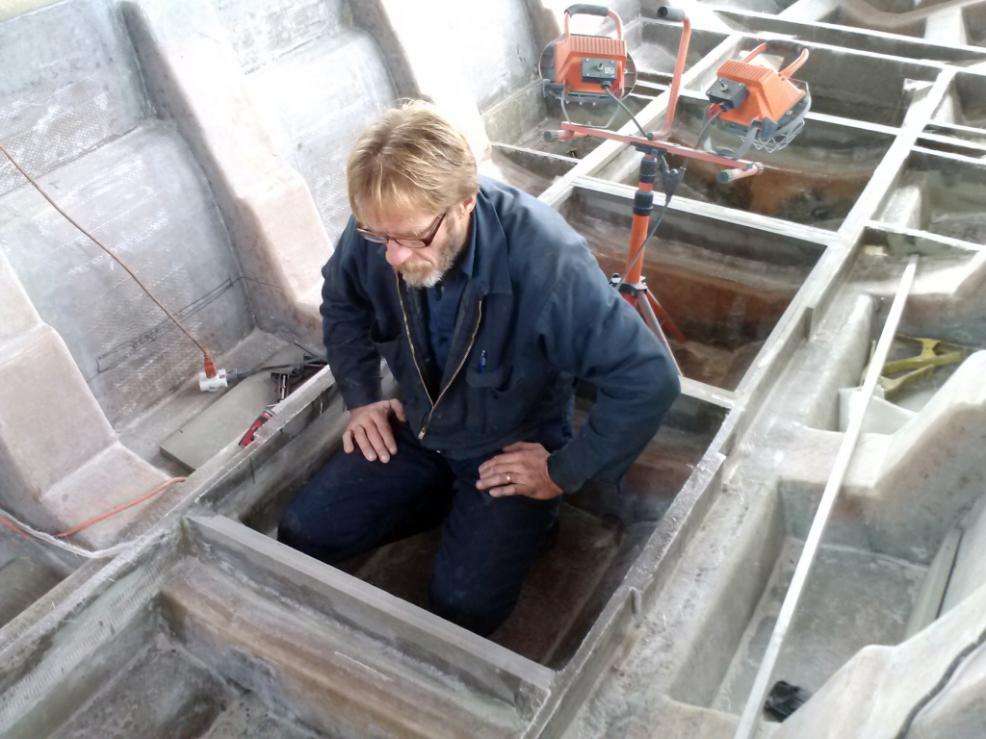
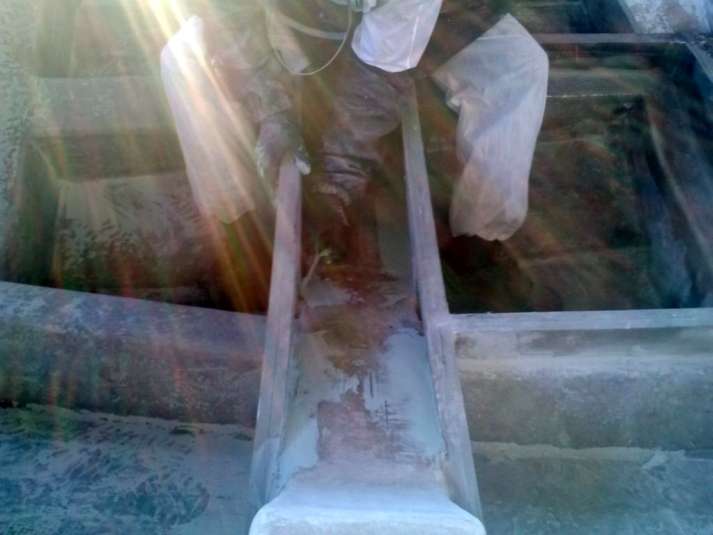
There isn’t much visible progress, but believe me that this is a ton of work.

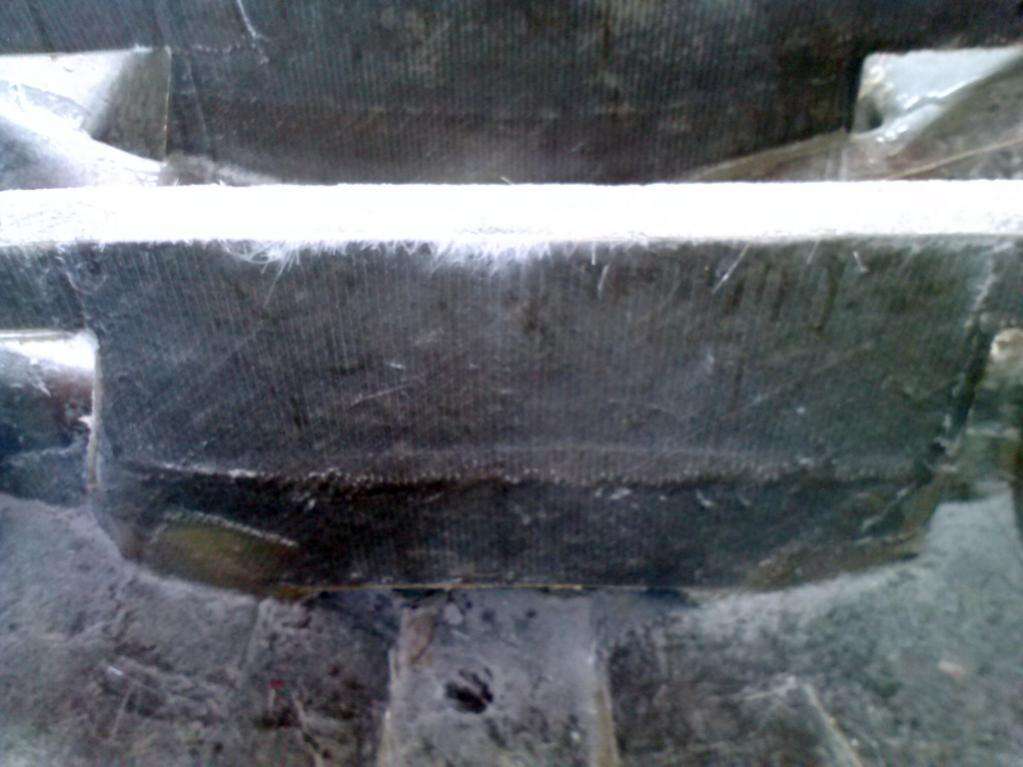
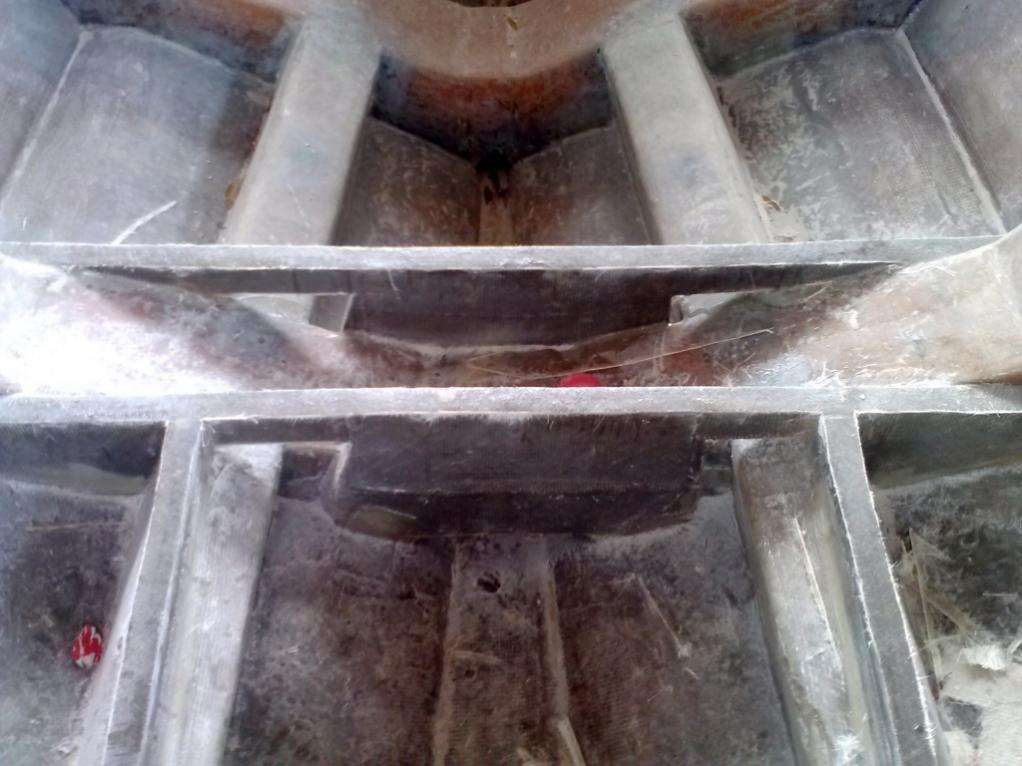
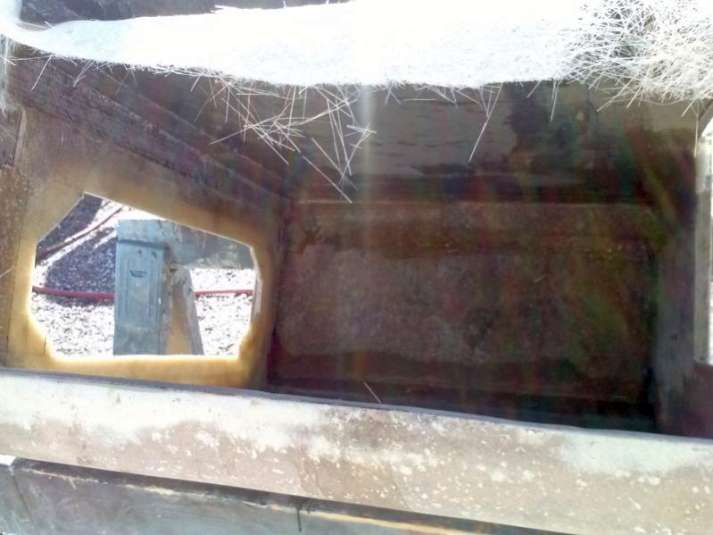
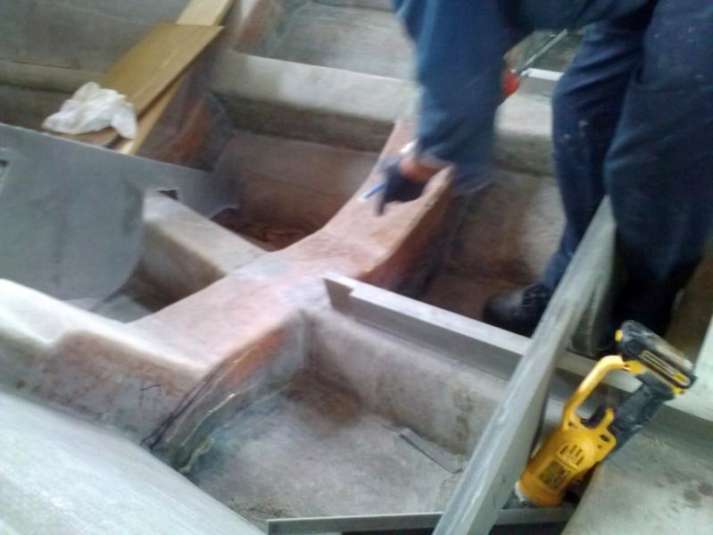
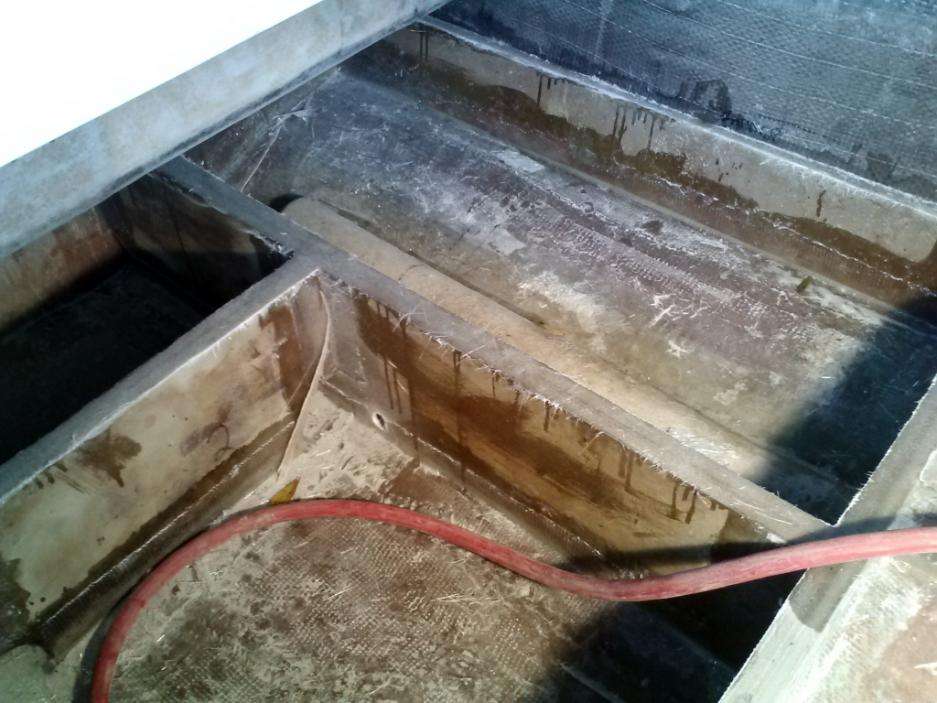
The back area was especially difficult to access:
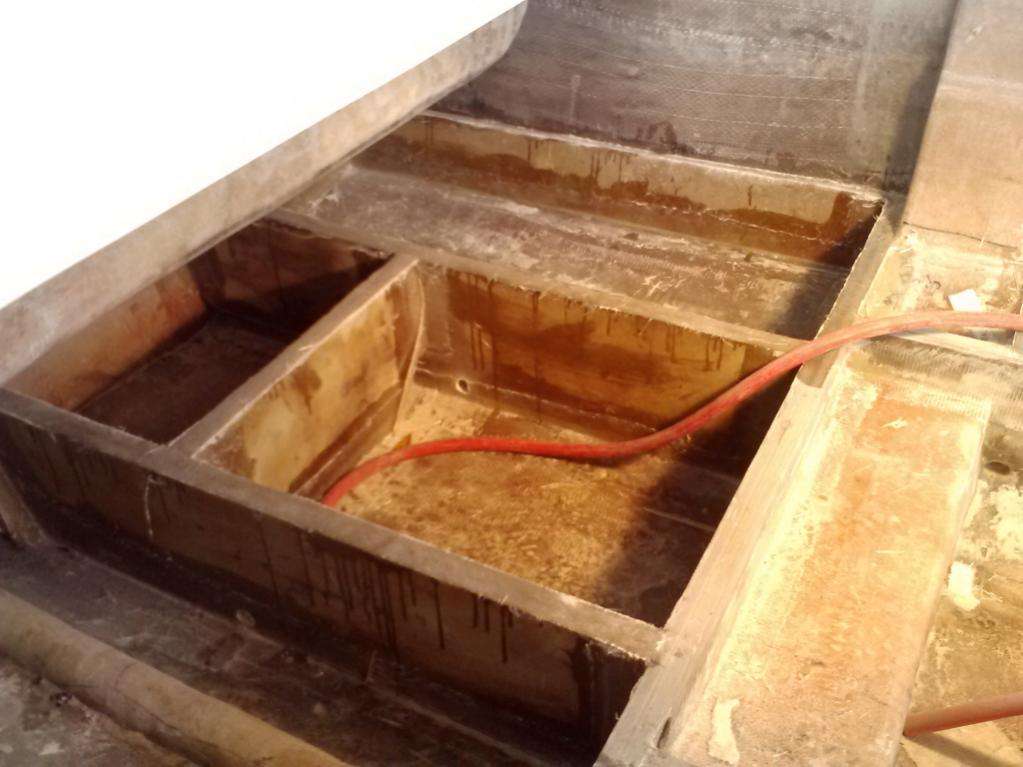
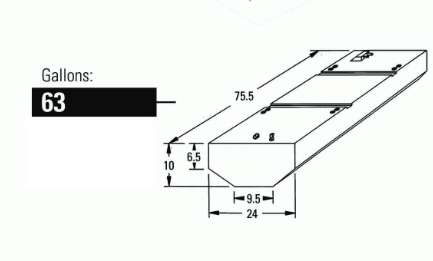
Previously we were going to go with three 22 gallon tanks however this would make for a complicate system of multiple filler necks and fuel pickups.
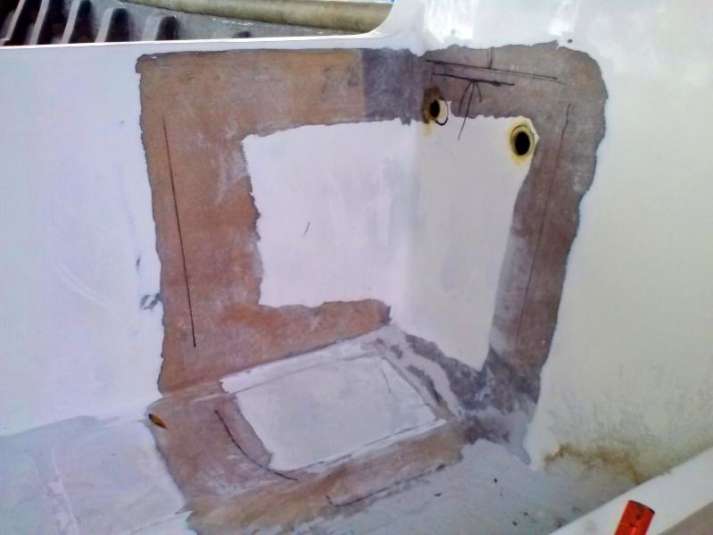
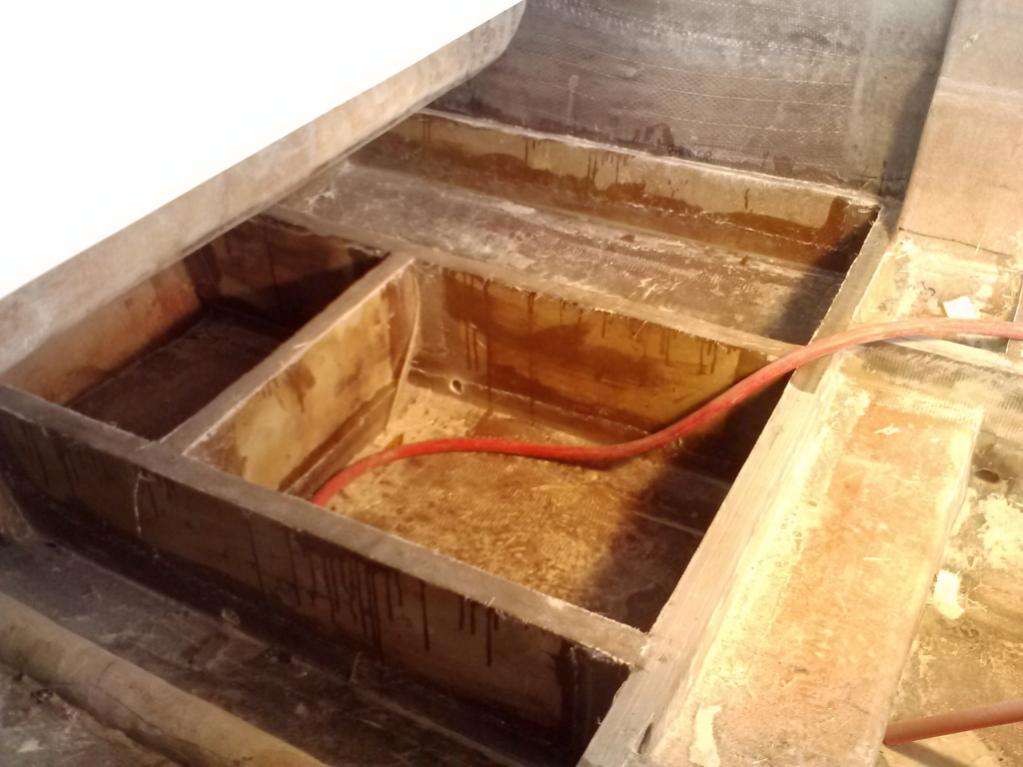
We will make the cuts here:

and here:
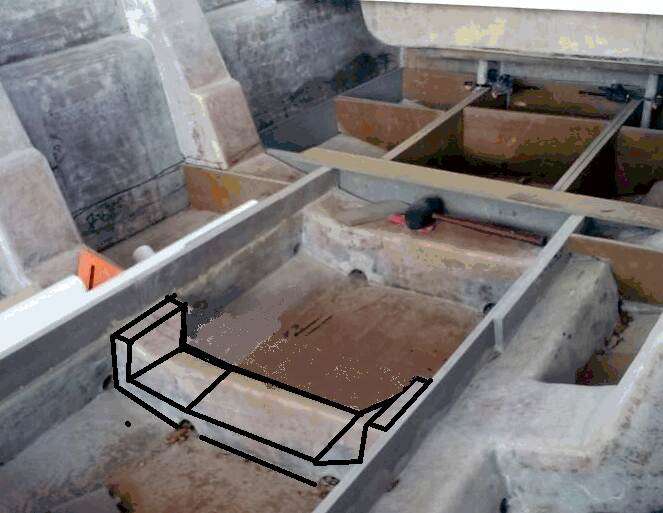
Then cap off the exposed stringers with lots of fiberglass.
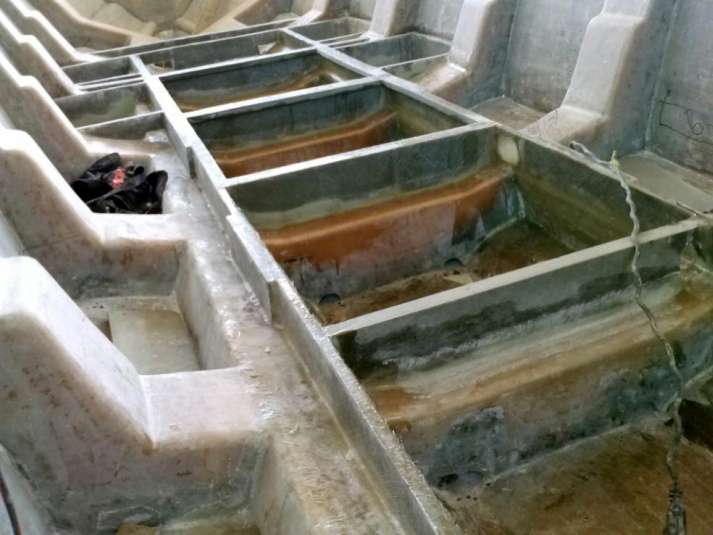
February 18, 2015 – Day 96
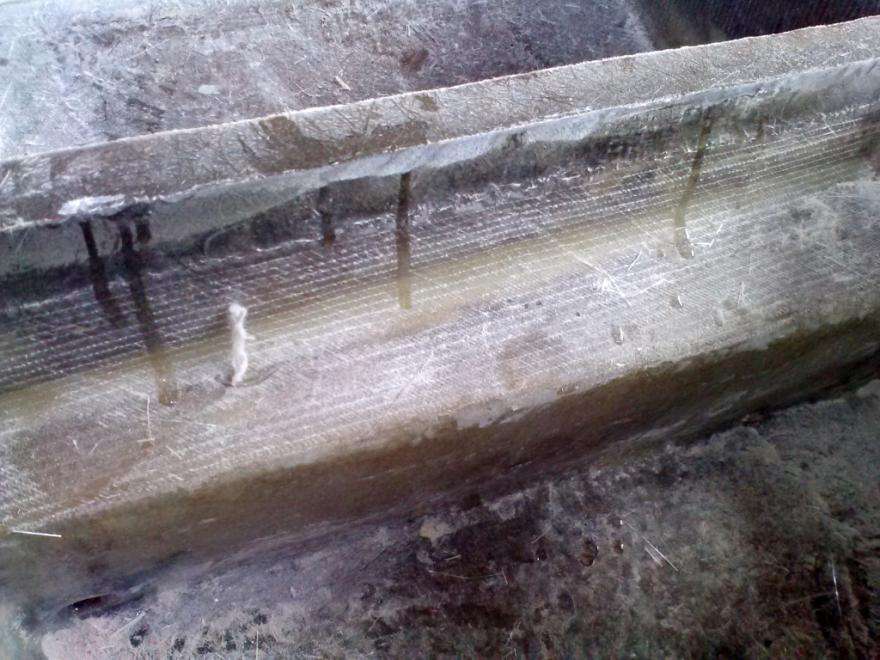
It was an arduous couple of weeks but the stringers for the floor are finally complete.


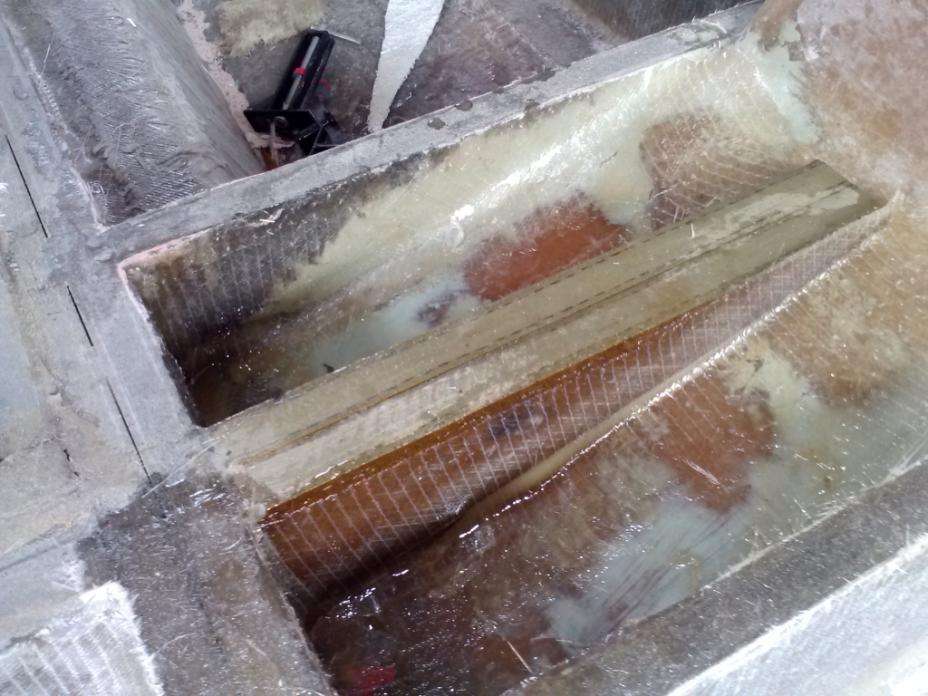
There are 4 total layers of fiberglass holding the new ribs and stringers to the original lateral stringers. Combine with the epoxy at the core, this sandwich should be strong forever.


With this done we can test fit the big pieces and make our final adjustments so they sit level. In the meantime, Brian cut the door to our anchor locker.


Not a big piece of work, but I think that Brian is happy to something other than crouching over pouring fiberglass into tiny little corners.
February 27, 2015 – Day 105
We’ve fought through the cold and come out blisterin’ hot on The Harvester Project.
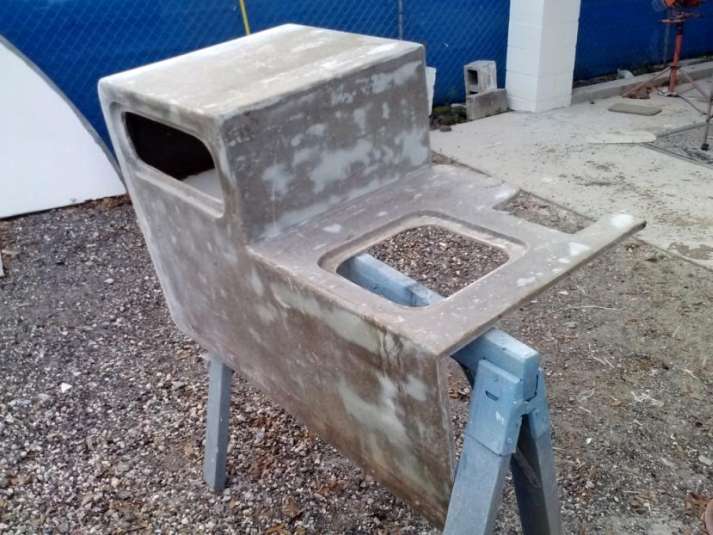
Craig and Brian have been full bore on enclosing the faces of the consoles and cabinets.
This is the final chance to make these things perfectly square before we start gelcoating.

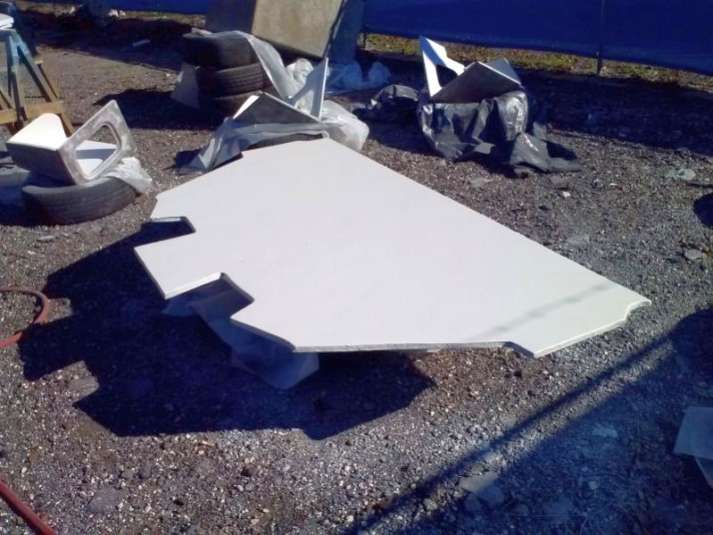
Also, the foredeck / casting platform has been cut and test fit.
We fabricated these little ledges out of Coosa Wood for the foredeck to sit upon and epoxied them into place.

Realizing that as soon as the cabin bulkhead and roof will be installed soon, we figured it would be a good idea to get some gelcoat down while the hull is still open.

6 quarts and about 2 hours with the cup gun and we got something that looks eerily like a boat.
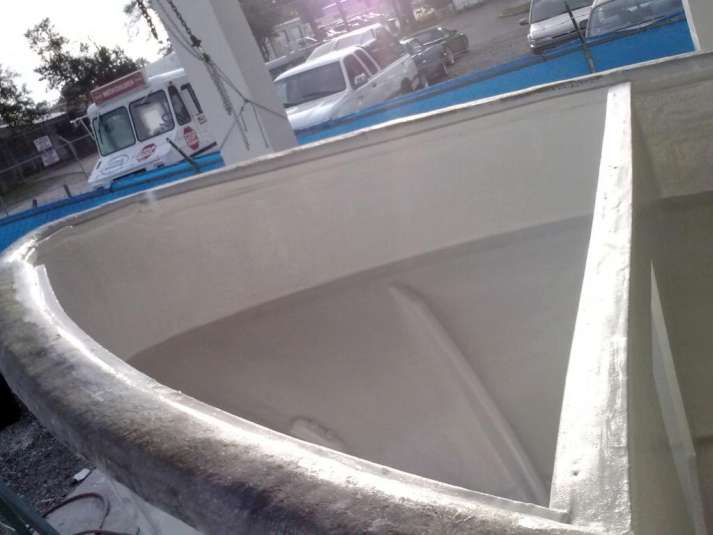


She’s ready for the cabin build-out to begin, along with the consoles, coolers, and eventually the floors. Stay tuned for some more good progress!
March 19, 2015 – Day 126
Sorry for the brief layoff but we are in the depths of Boat Show Season meaning 4 shows, 4 consecutive weeks, in 4 different cities.
Everytime Craig comes back to Jacksonville we have to reload, restock, and tend to the millions of details implicit in running Nosara Paradise Rentals and FishingNosara; therefore The Harvester Project hasn’t received top-billing the last few weeks.
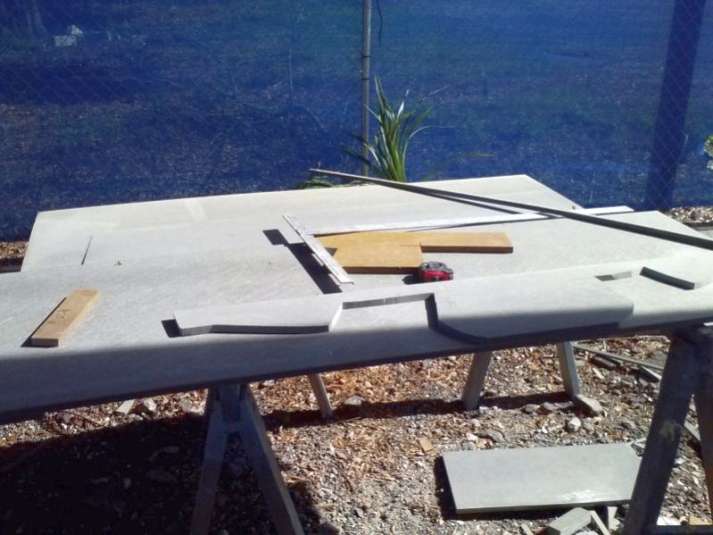
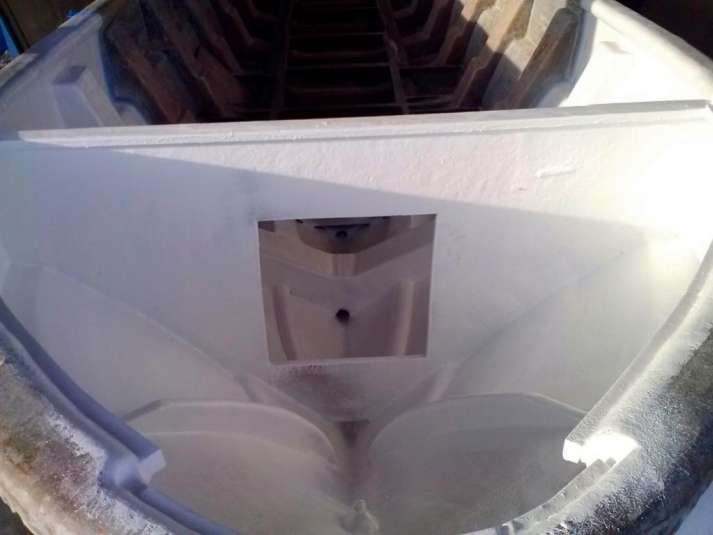
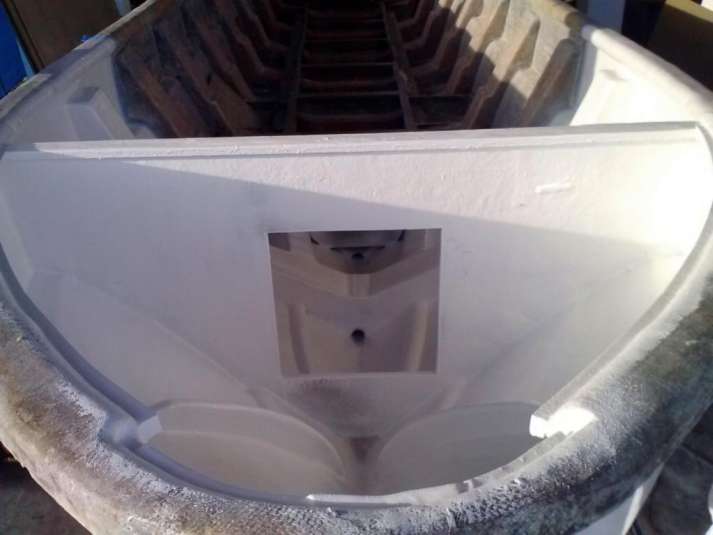
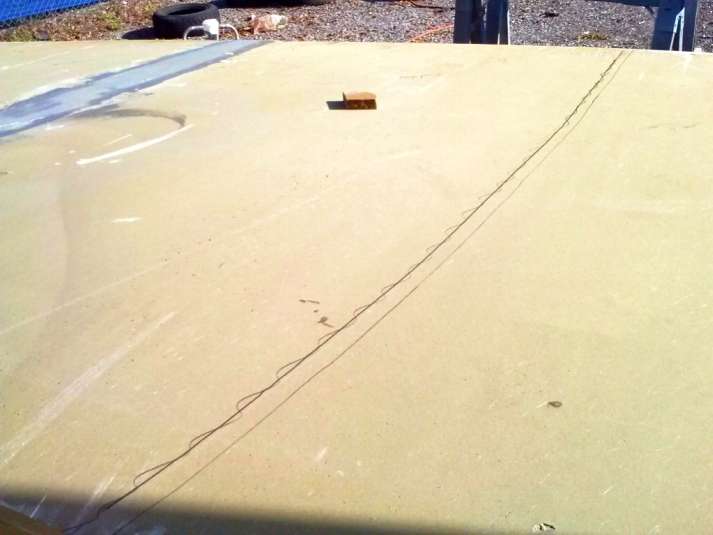
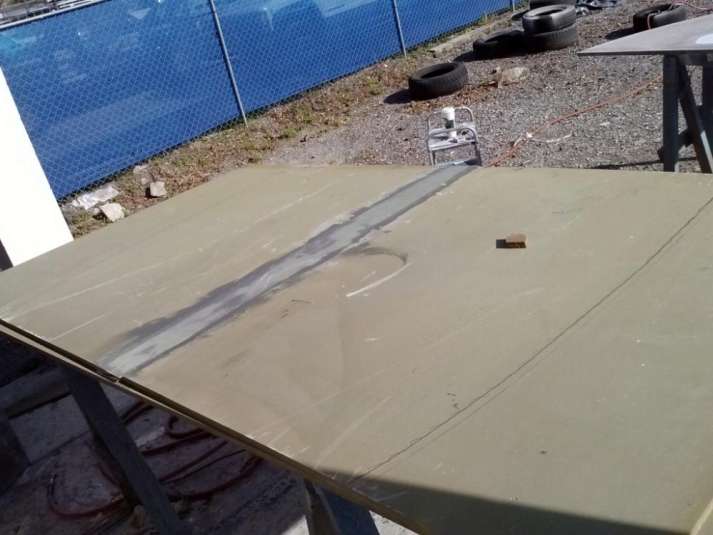
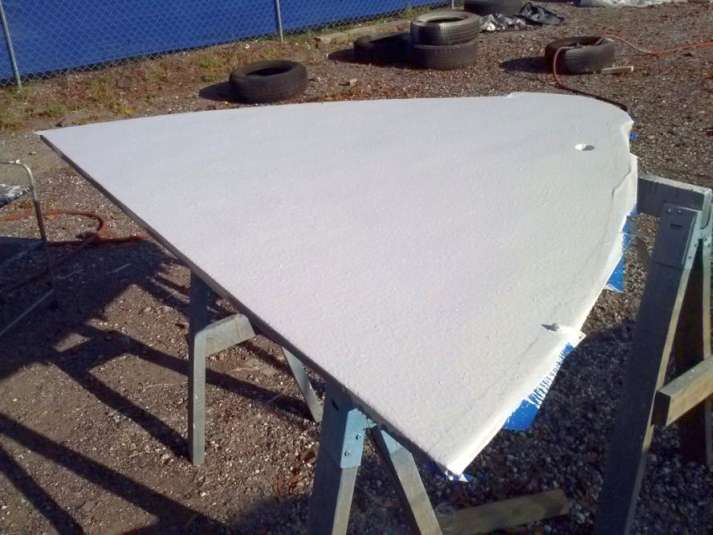
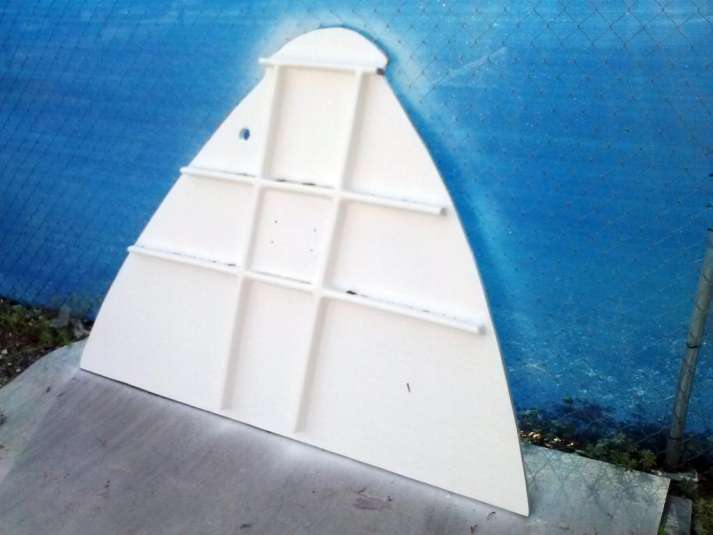
Still we have found time to move forward with building the fore deck.
Check out the double layer in the center pane; this will lend extra strength to the mooring bit.
Like usual, Craig jotted down the idea for this piece wherever it was convenient, in this case on one of the hull stringers:
Who needs blueprints?
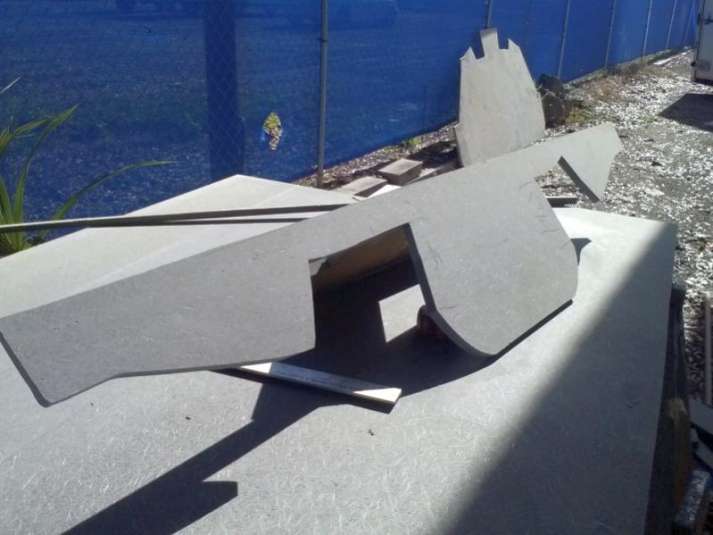
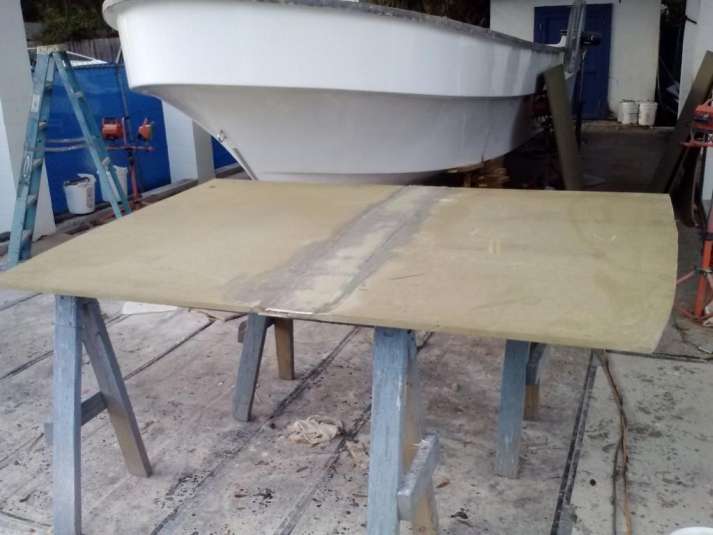
The oversized casting platform consists of two custom-cut pieces of Coosa Wood wrapped in fiberglass. They will rest on the ledges we’ve been working on inside of the hull.
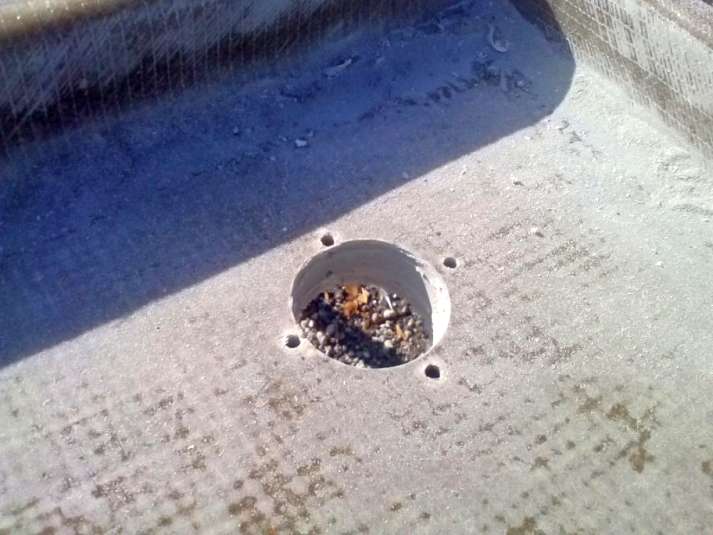
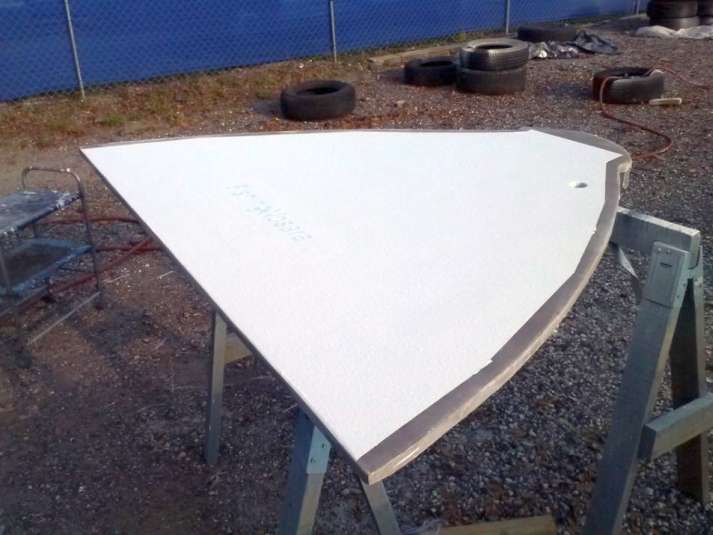
Once this deck is installed it will create an anchor box, meaning that access to the area will be tight. Therefore we are making all of the epoxy-sleeved holes in the deck for the mooring bit and the deck pipe.


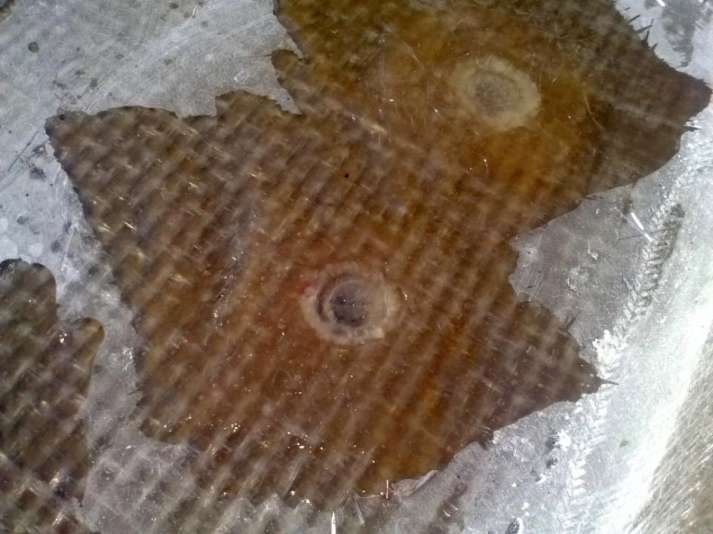
Also we tried a little trickiness on the front deck. First we laid down a coat of FishingNosara blue gelcoat:
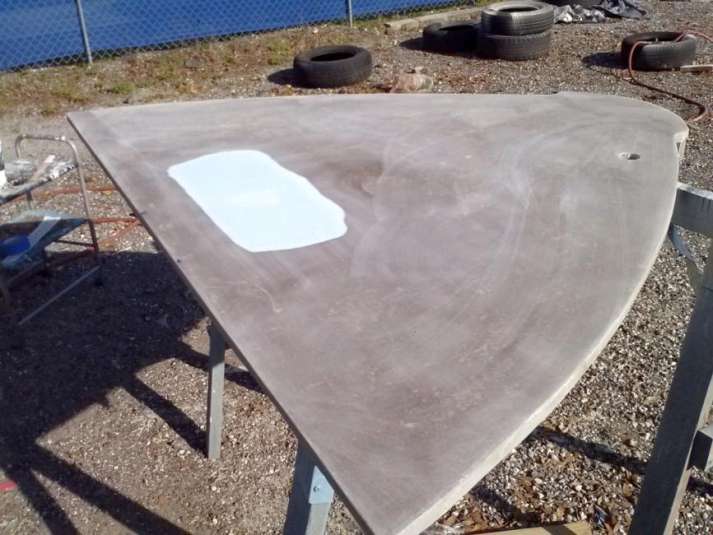
Then masked it off with a sticker:
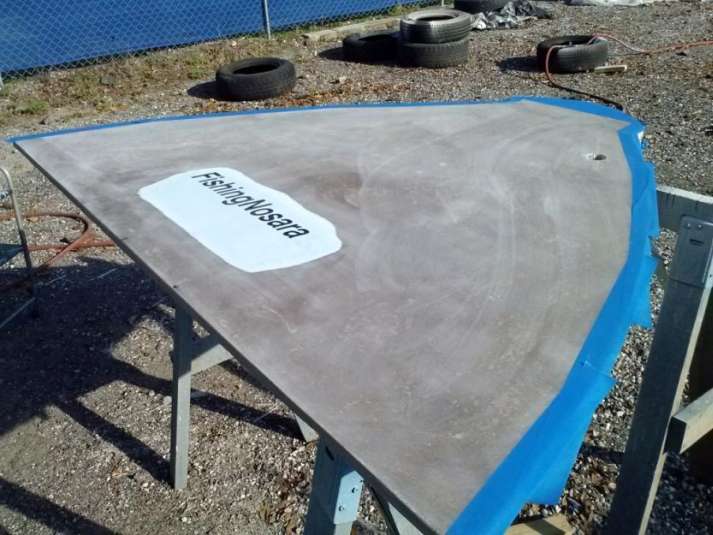
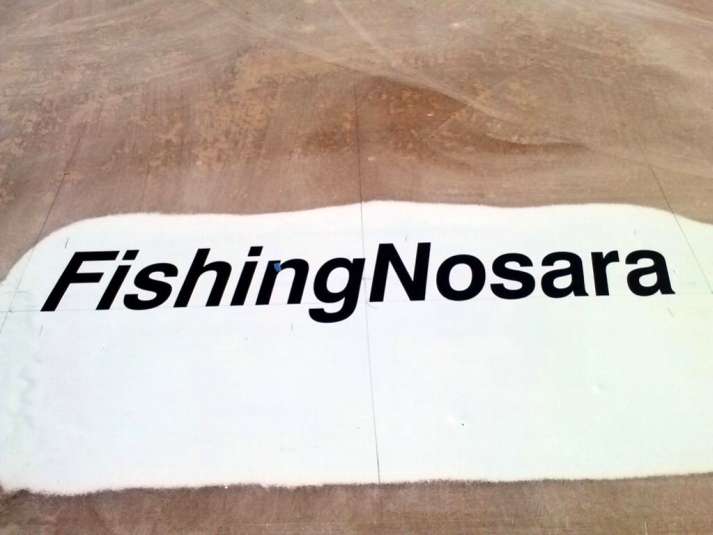
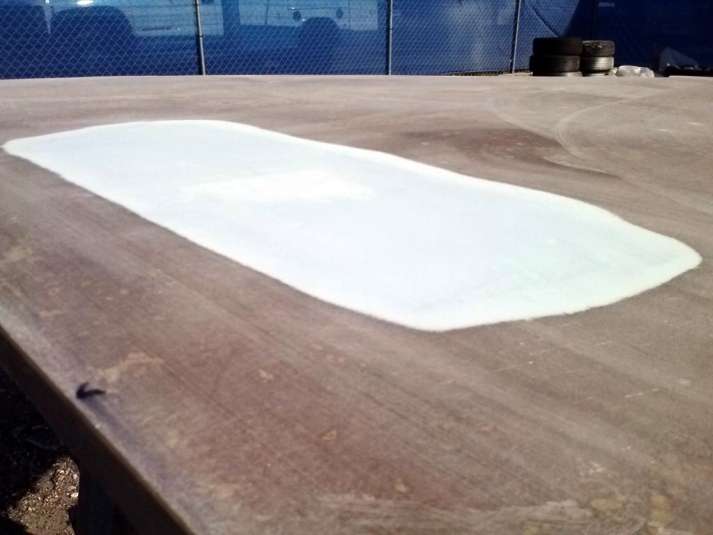
Roll a thick texture coat over the sticker:


Then remove the sticker:
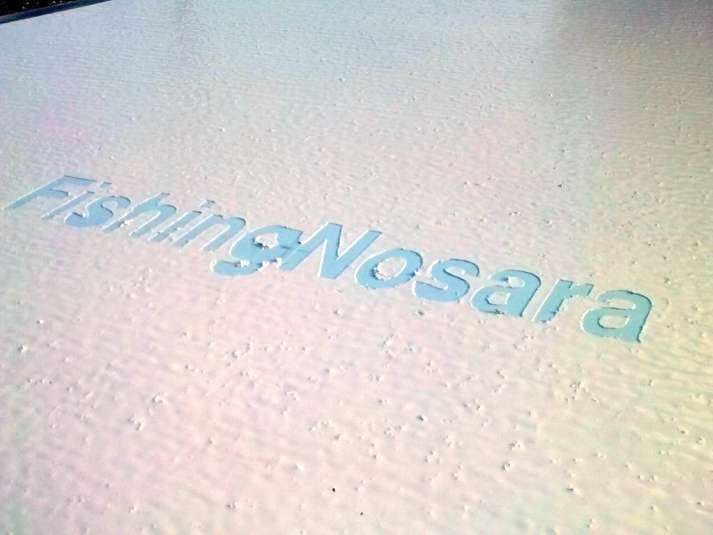

The effect is nice (especially on the capital letter ‘N’), however the white set up too quickly to make all the letters that nice. We sanded this attempt off and re-rolled the white gelcoat.
We will give this another try somewhere else on the boat.
Moving on, we are in the process of painting the consoles and coolers. We are using red spot putty to maintain the radii of the console faces:
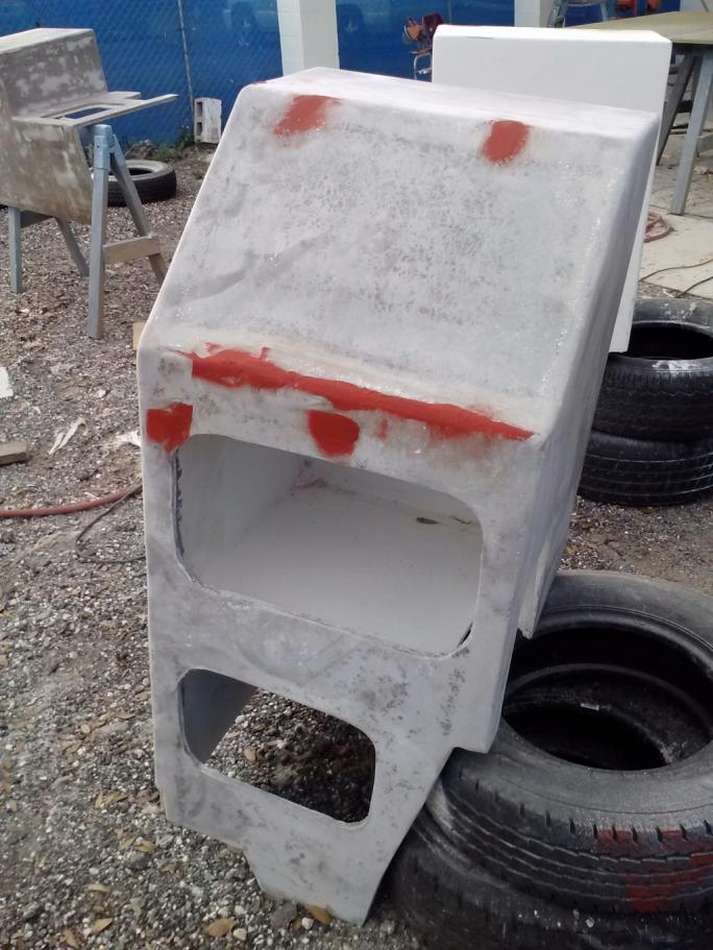

After a little last-minute sanding we got the first coat applied.


We will be sanding these all weekend and hopefully will applied the final gloss coat soon.