
April 9, 2015 – Day 148
We’re jamming on The Harvester Project with big progress to report on the cabin and forward casting platform.
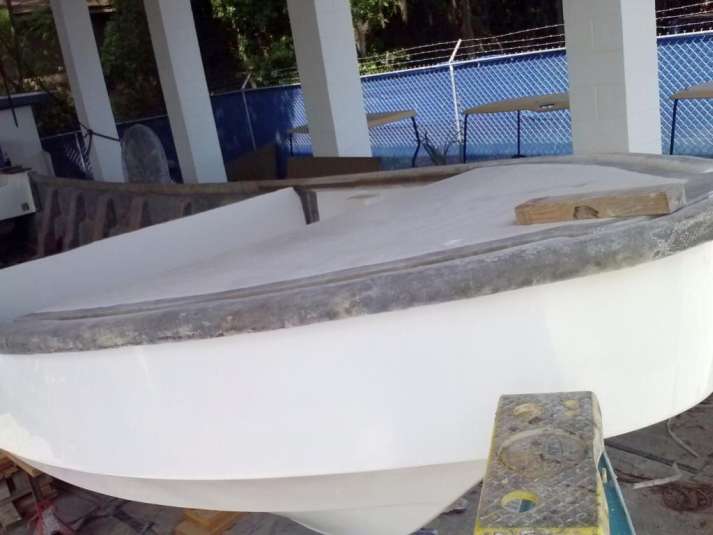
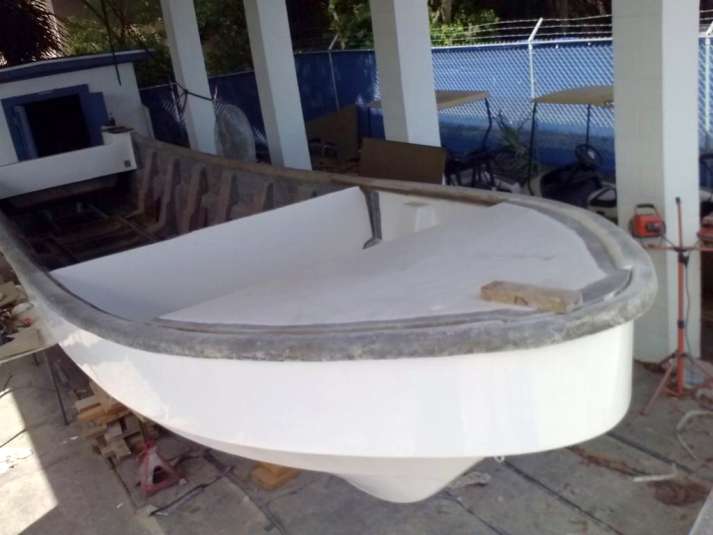
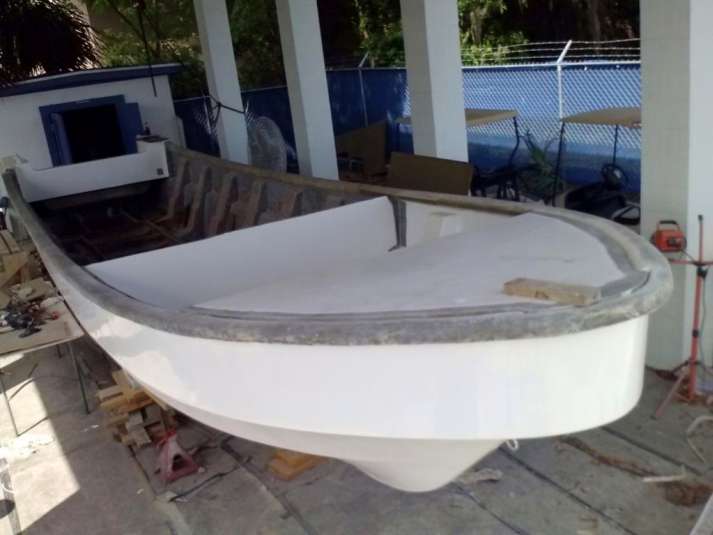
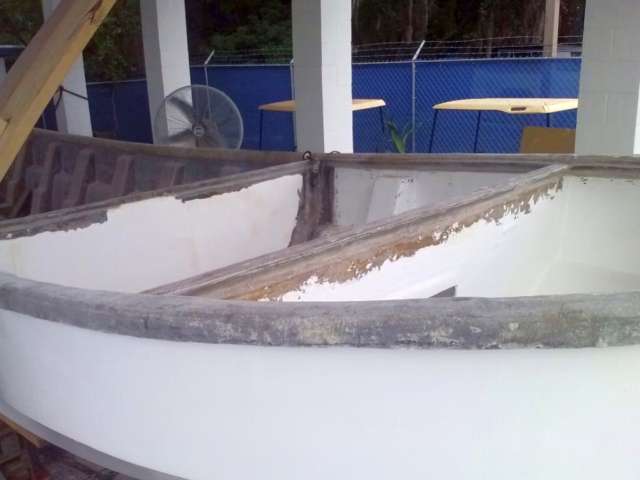
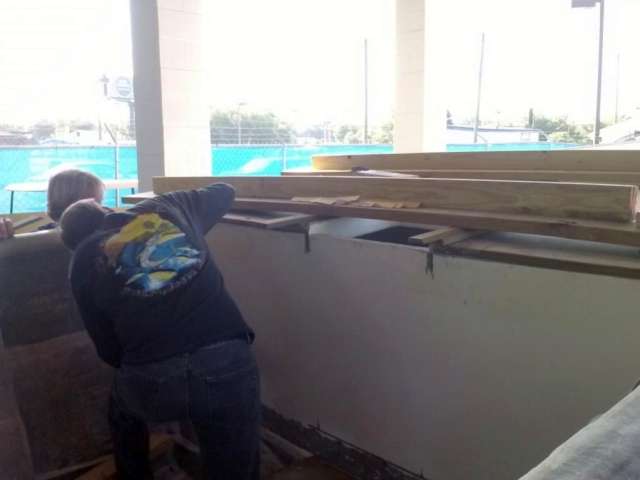
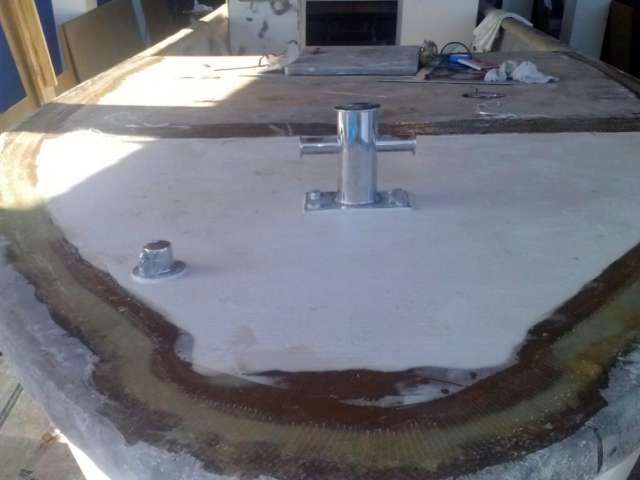
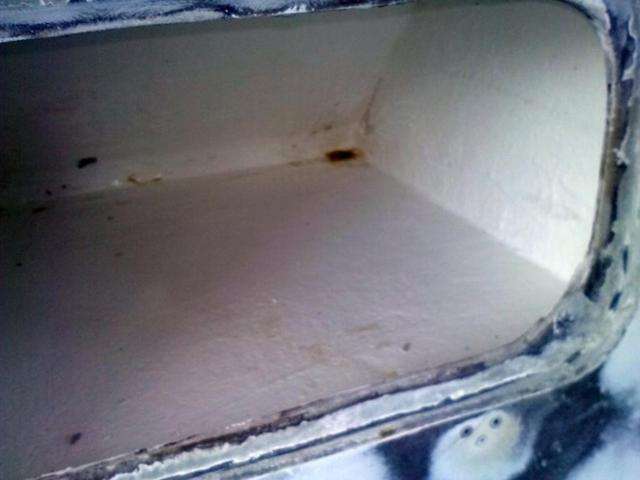
In our last post we had finished building the roof of the anchor locker, so now we have set it into place.
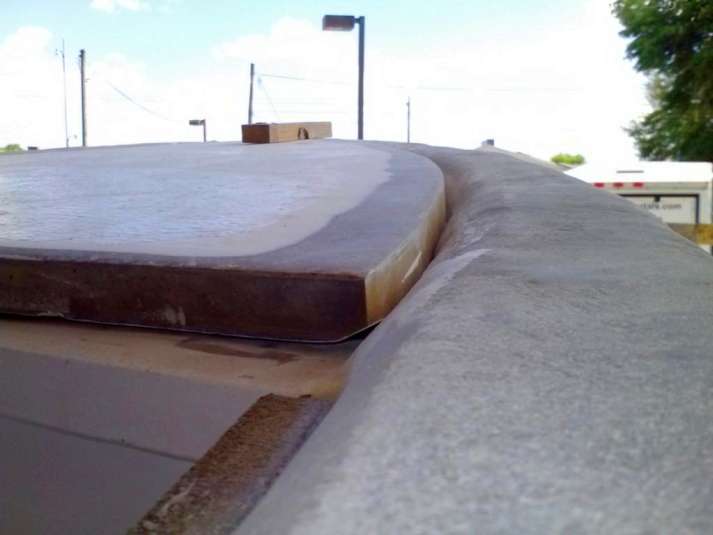
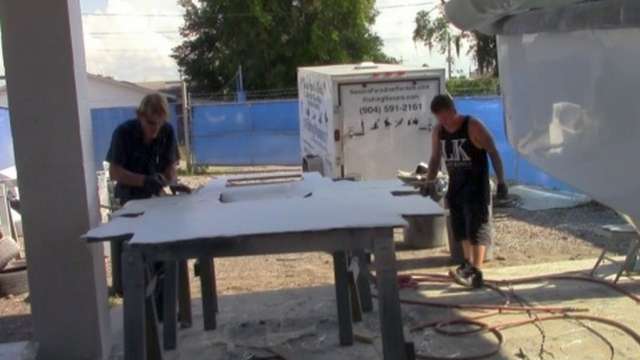
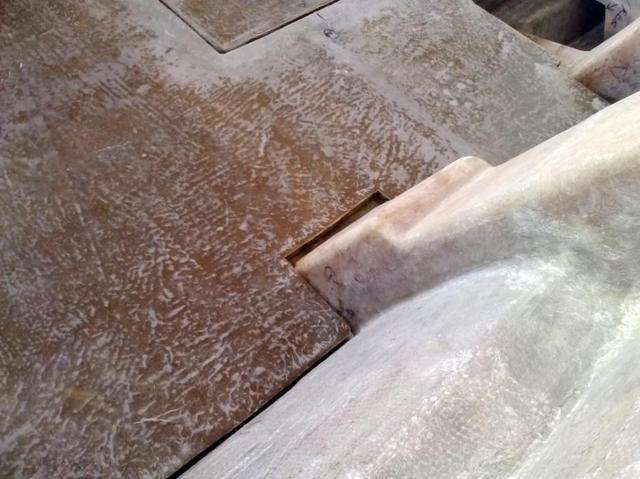
Brian and Craig trimmed the edges of the deck while it was in place, ensuring that it would settle firmly into place:

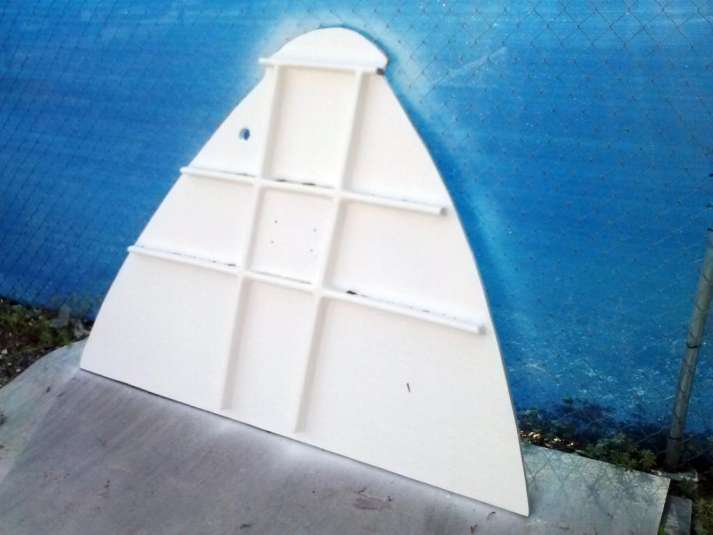
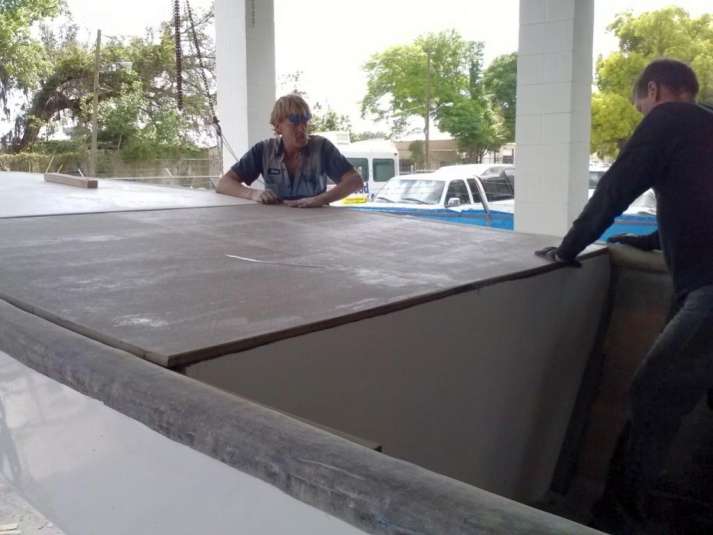
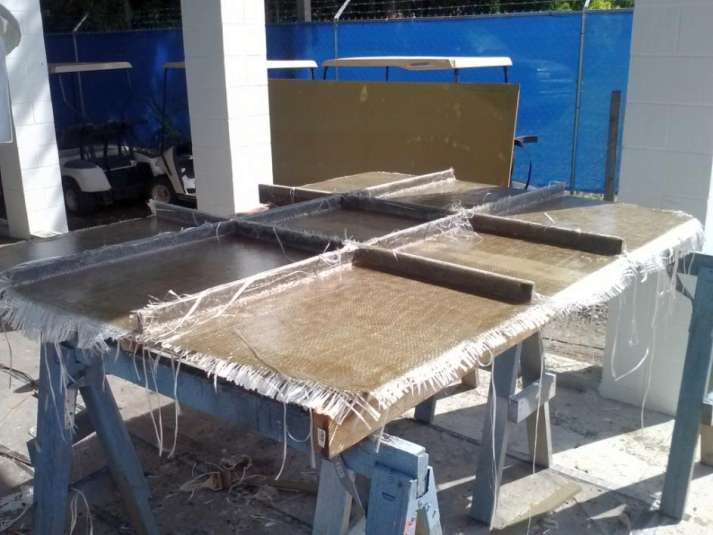
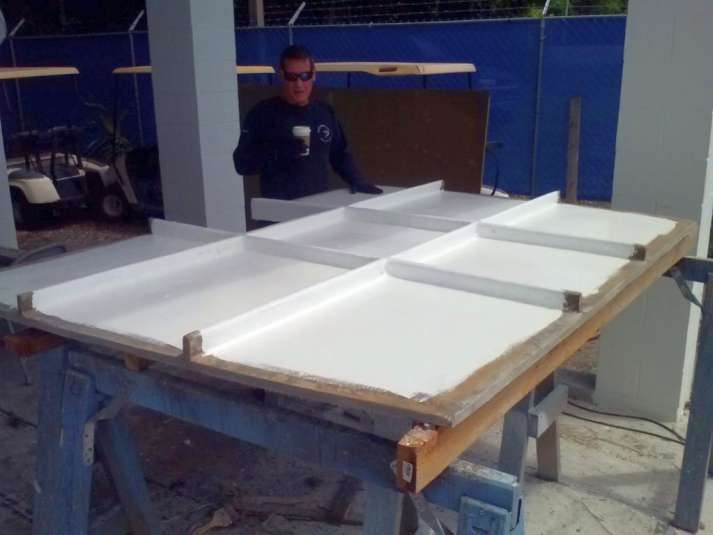
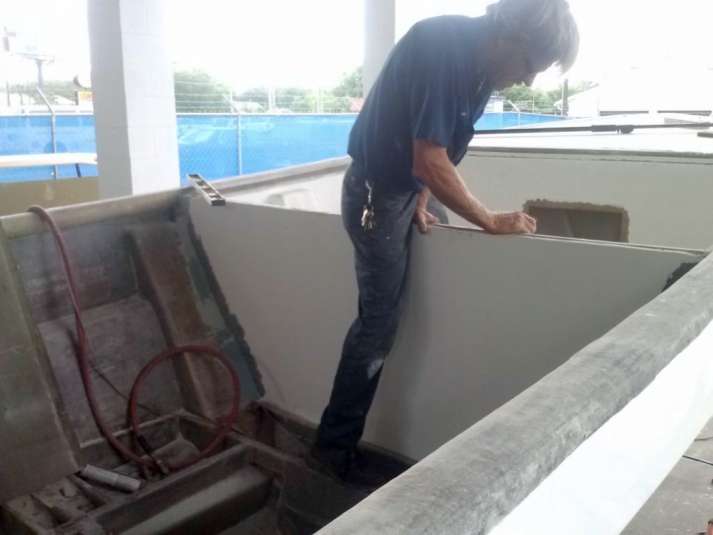
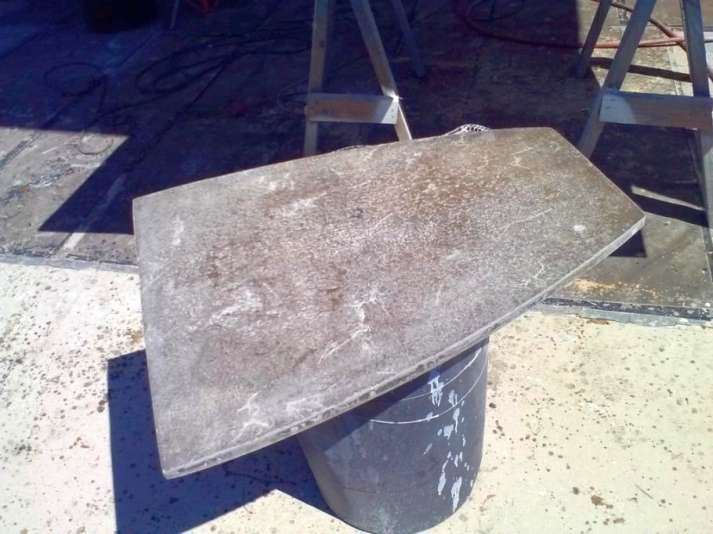
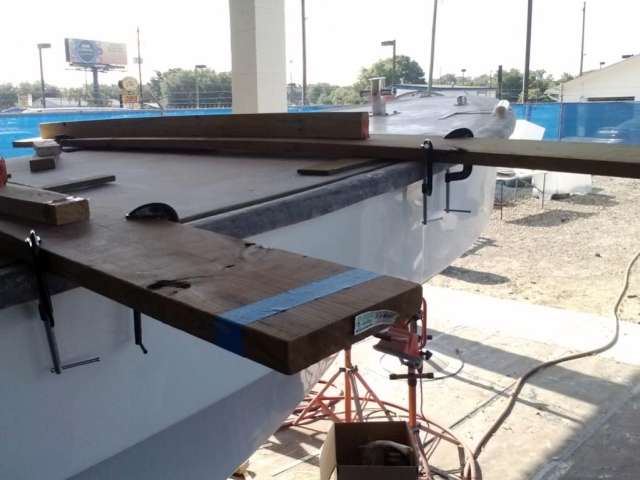
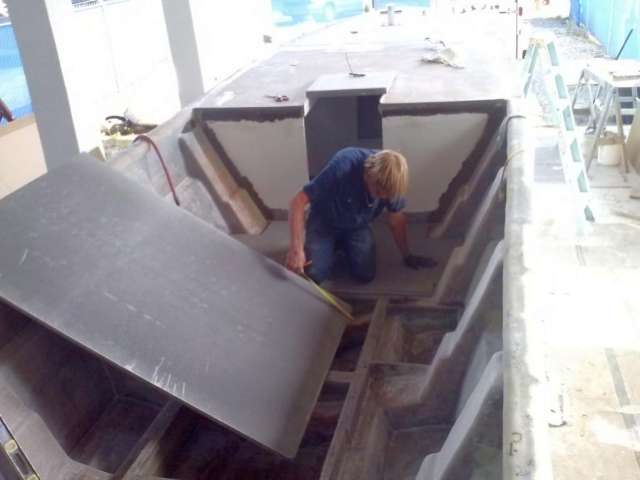
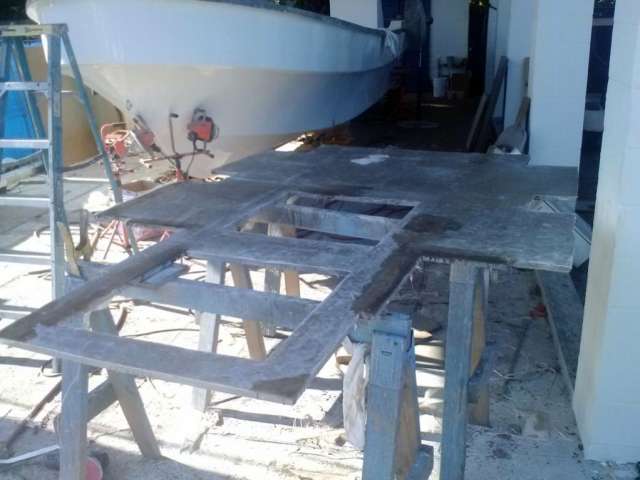
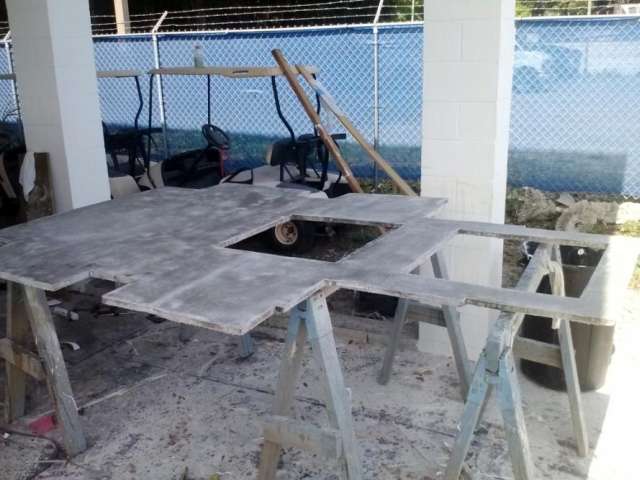
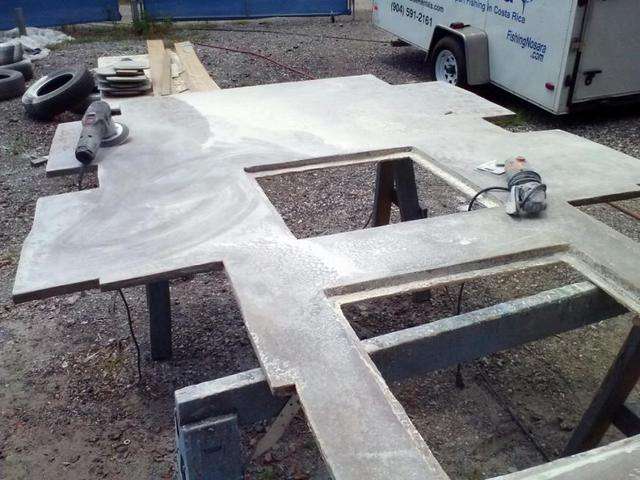
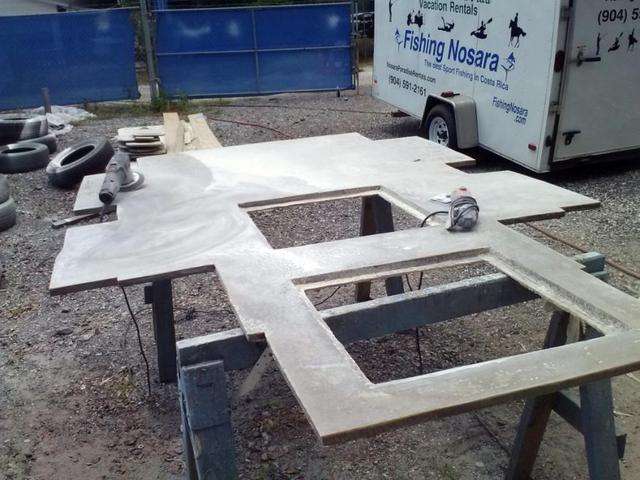
Feeling the flow, we continued by fitting in the larger aft portion of the foredeck. We already have formed the piece by mating two 4′ x 8′ sheets into a single large sheet, and here we are testing the fit in a similar fashion to the first piece.

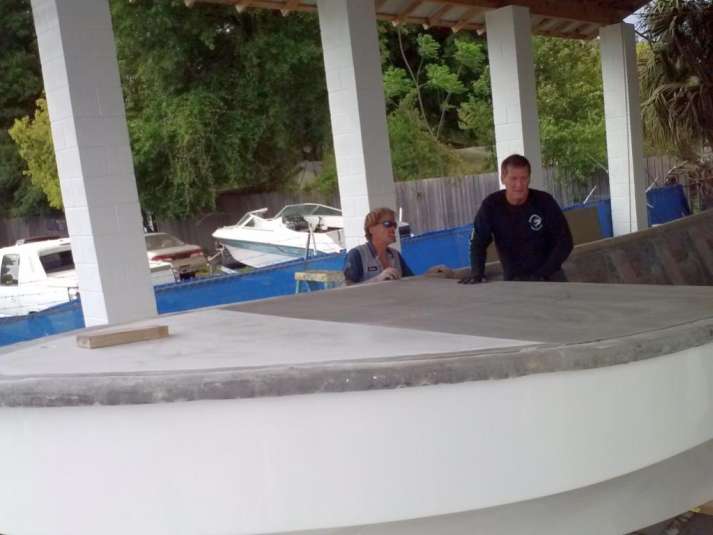
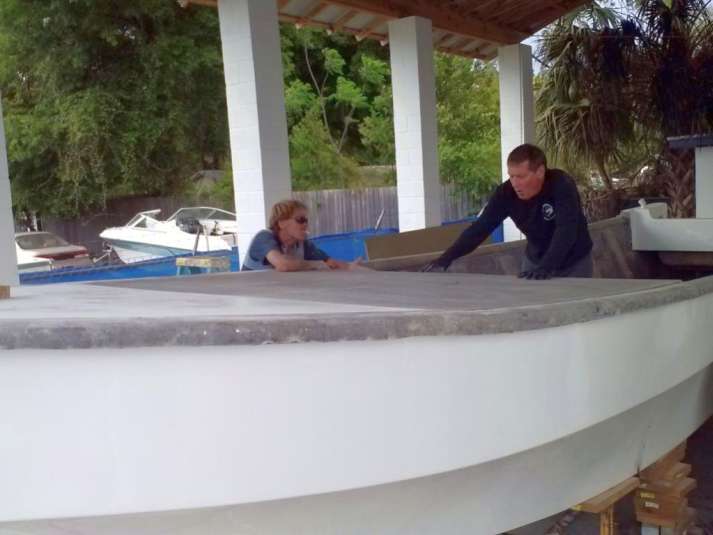
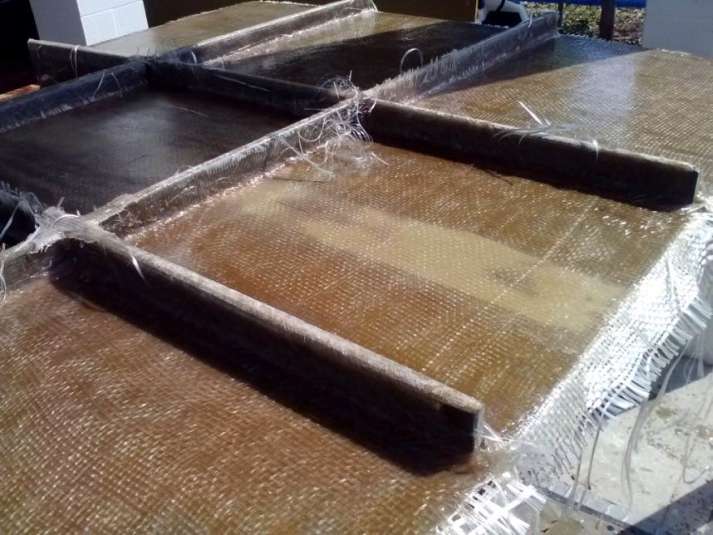
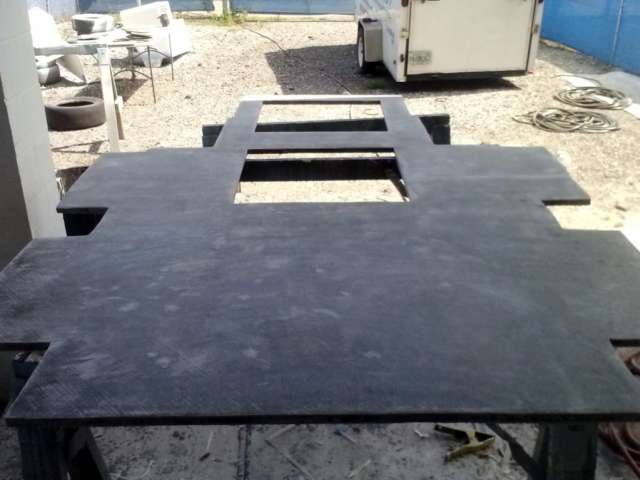
Satisfied with the fit, we flipped it over and constructed the rib system that will take the flex out of the piece and provide the strength to support several anglers up on this platform.

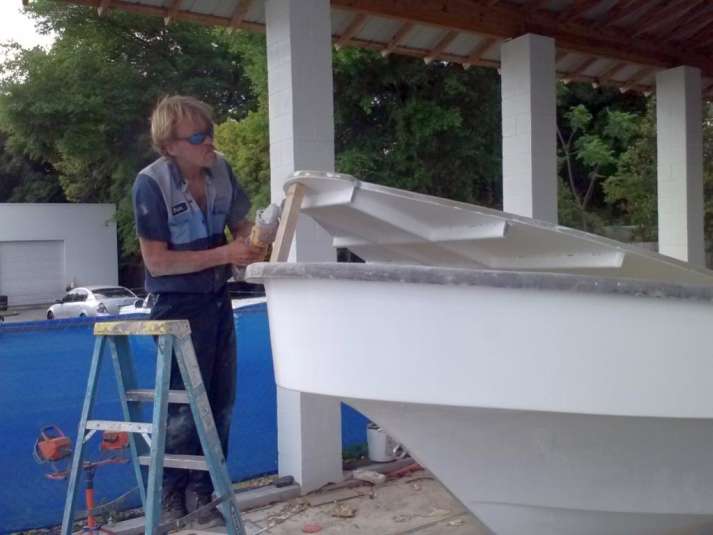
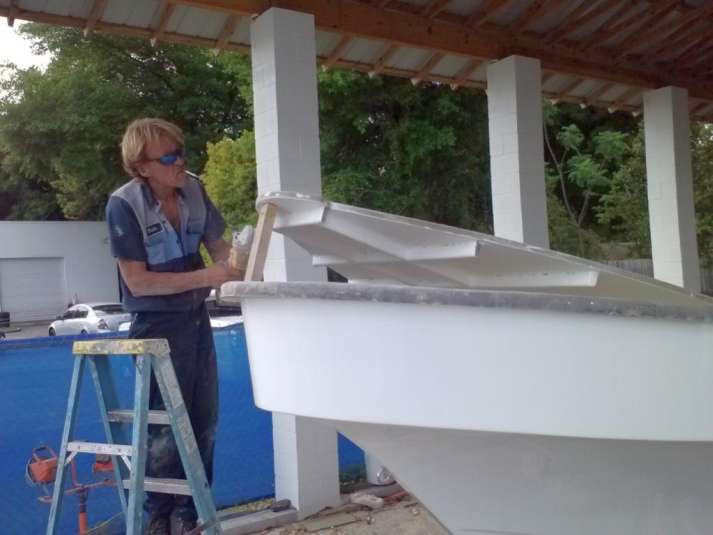
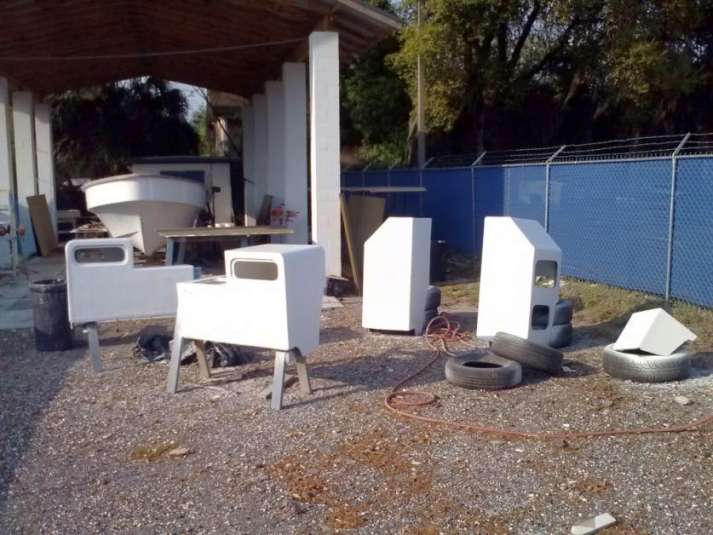
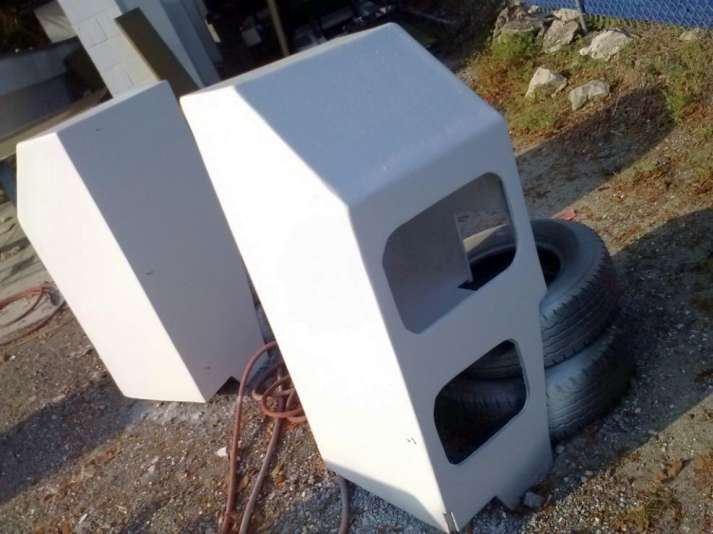
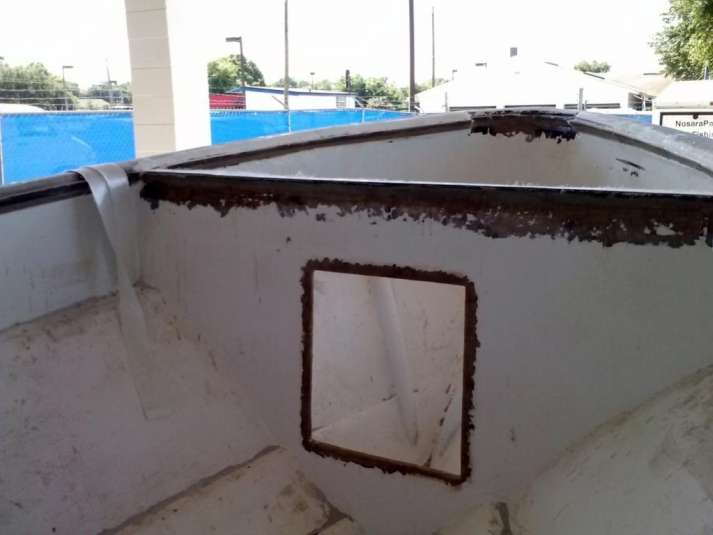
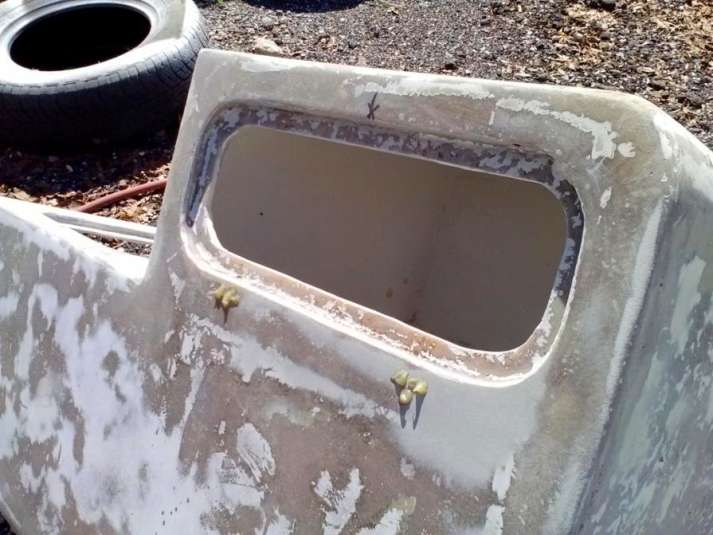
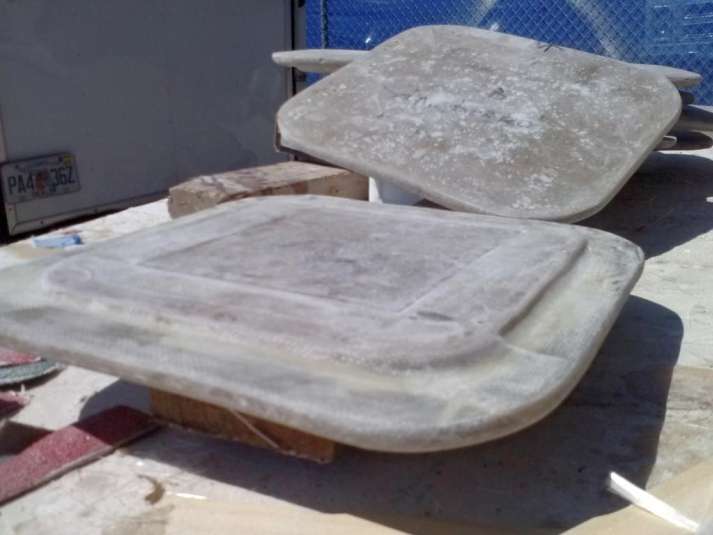
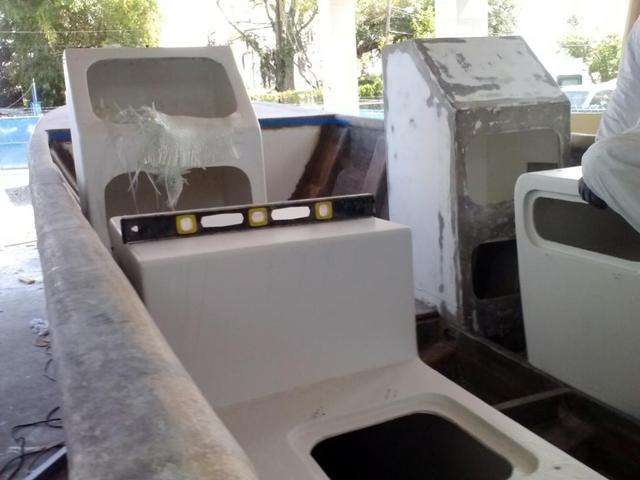
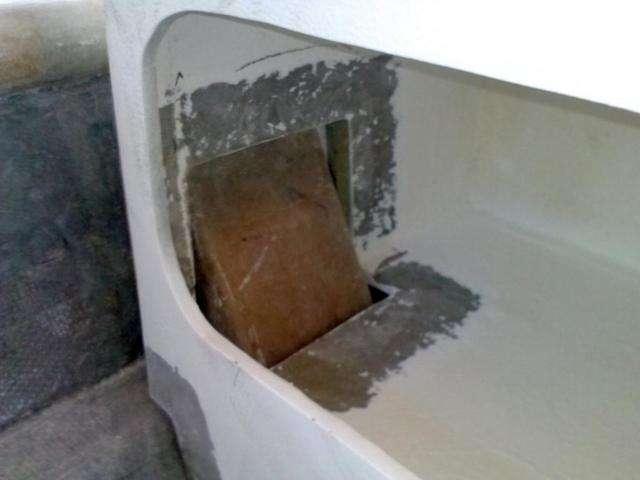
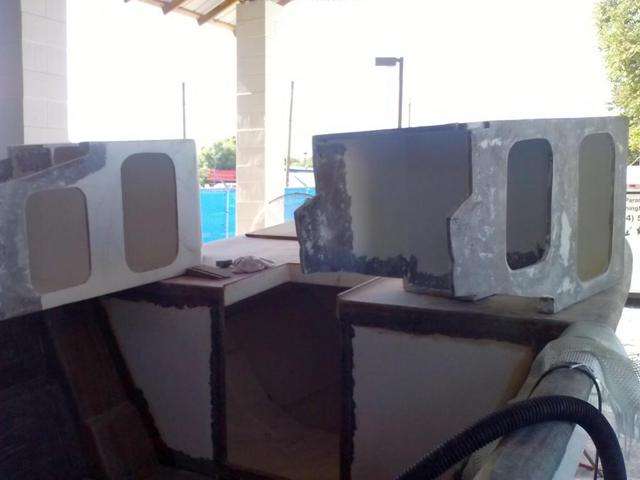
Elsewhere, we have perfected the surface of the coolers and consoles. It takes a lot of careful sanding and use of body filler to maintain smooth curves and sharp corners.
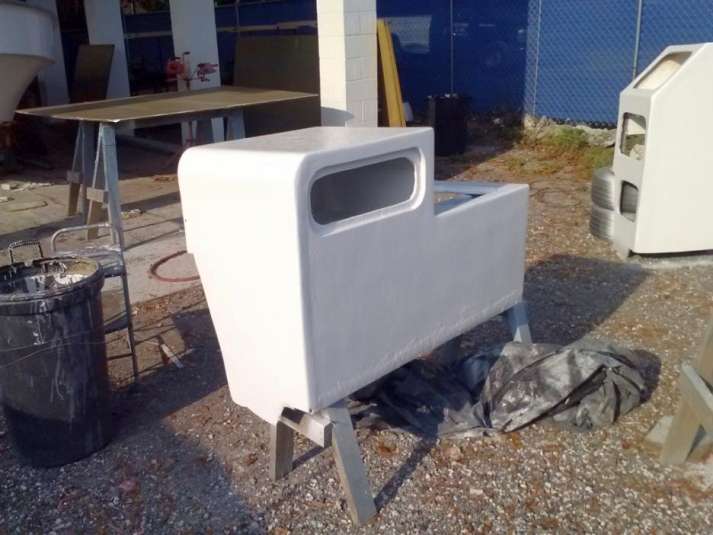
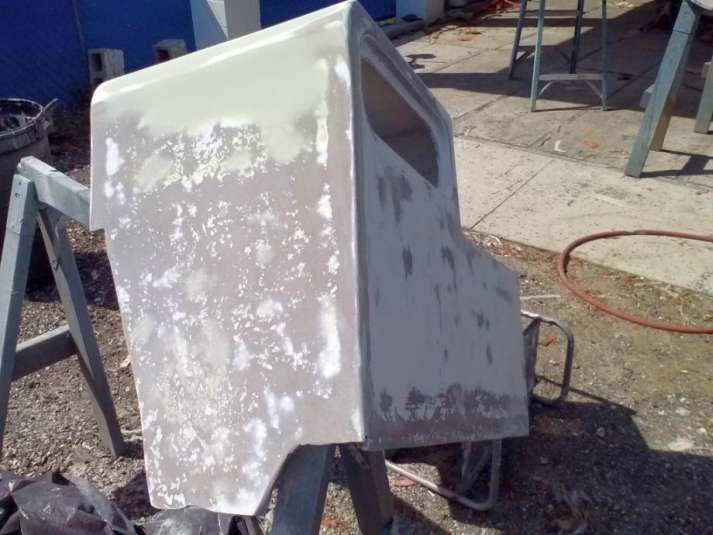

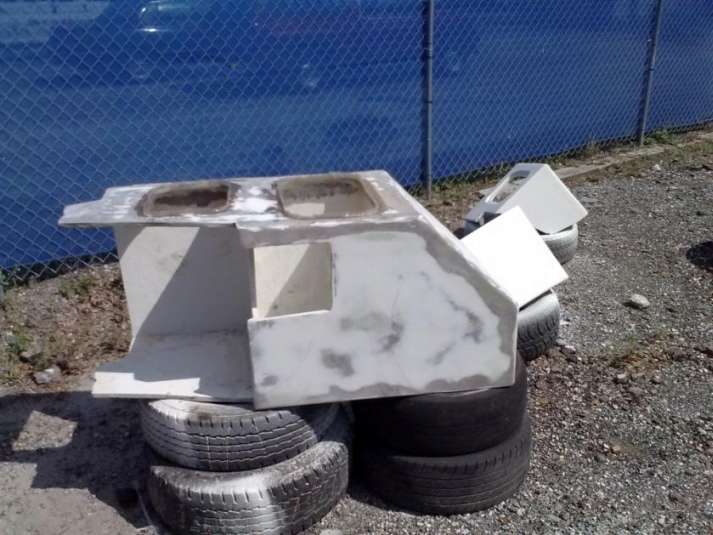
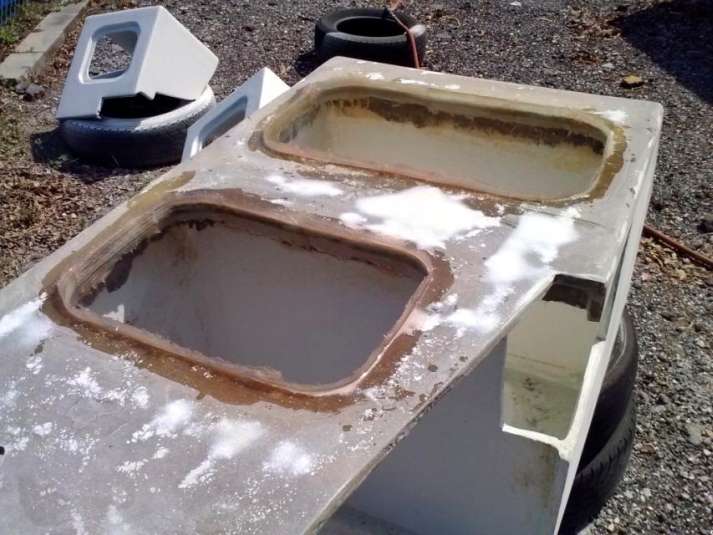
Also we added an extra layer of fiberglass to the console openings:
Now we are ready to dial-in the custom hatches:

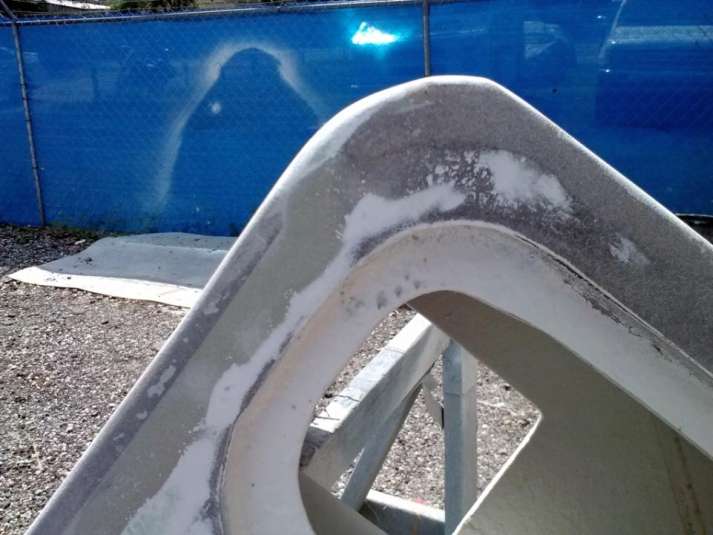
There are lots of little details we are chasing as well, such as wrapping the door to the anchor locker in fiberglass:

…and laying out the location of our aft rod holders:

We expect to install both cabin roof pieces this week and soon we will be installing the consoles and coolers.
Stay tuned for more good progress as we barrel down the tracks towards getting the Harvester splashed!
April 22, 2015 – Day 161
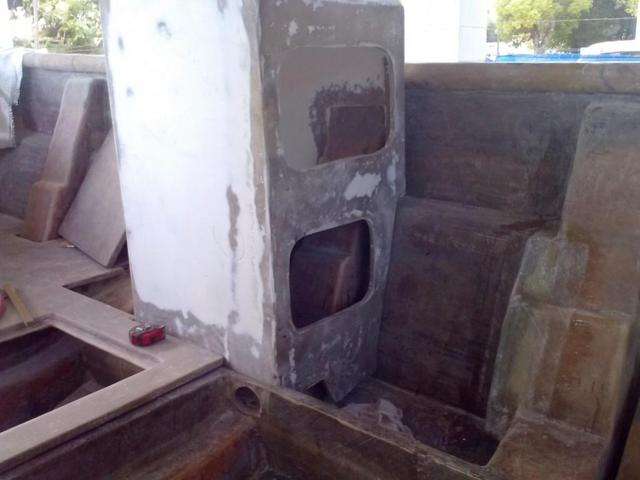
The Harvester Project rolls along as we continue to work on the anchor box / cabin area while also putting the finishing touches on the consoles, cabinets, and hatches.

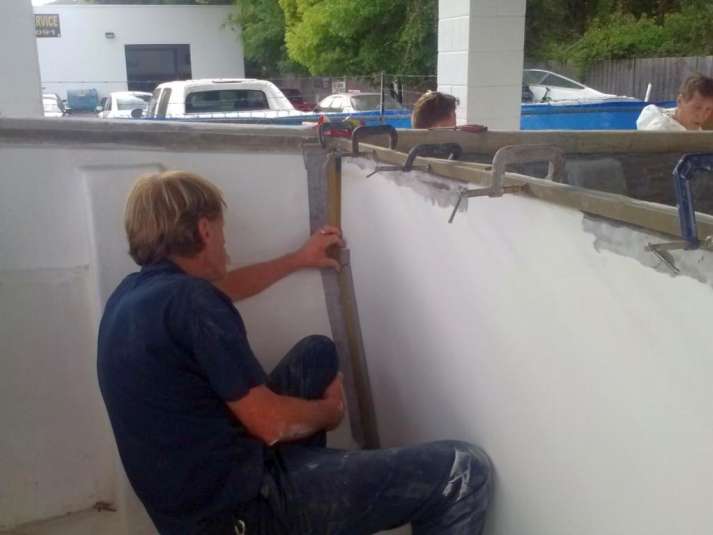
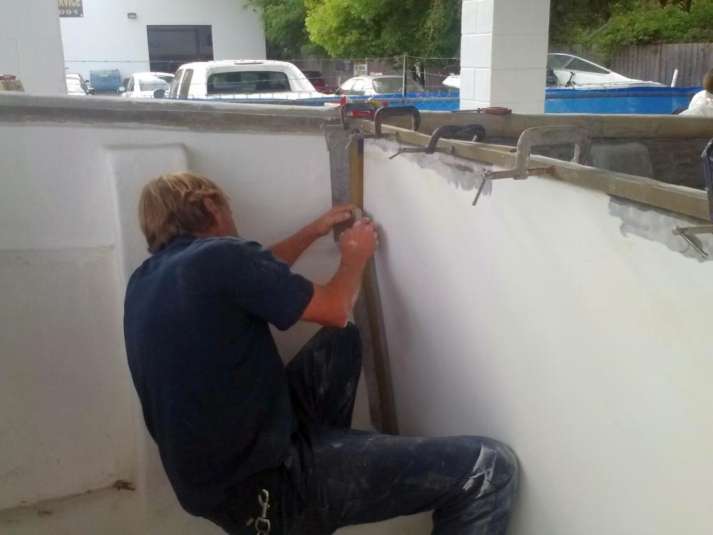
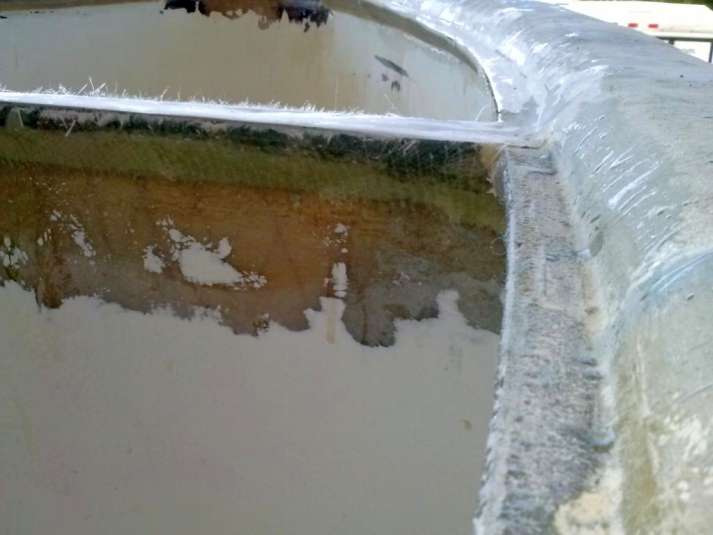
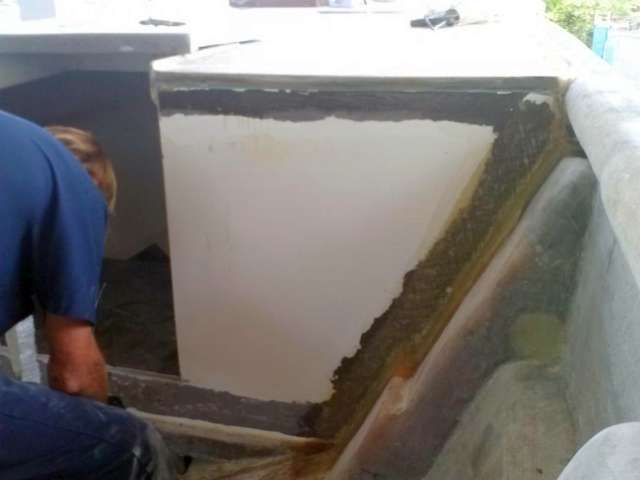
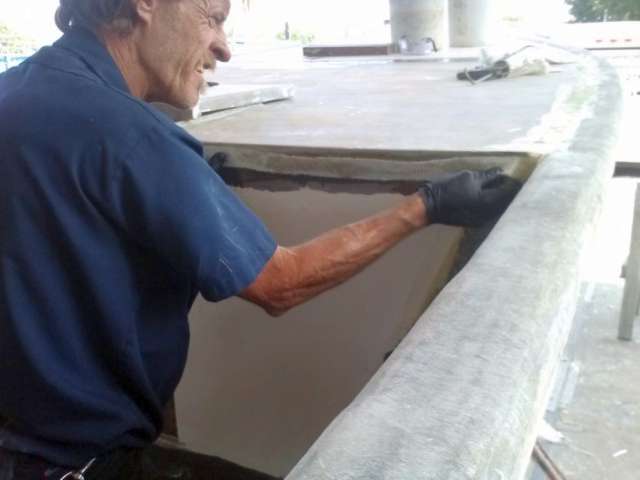
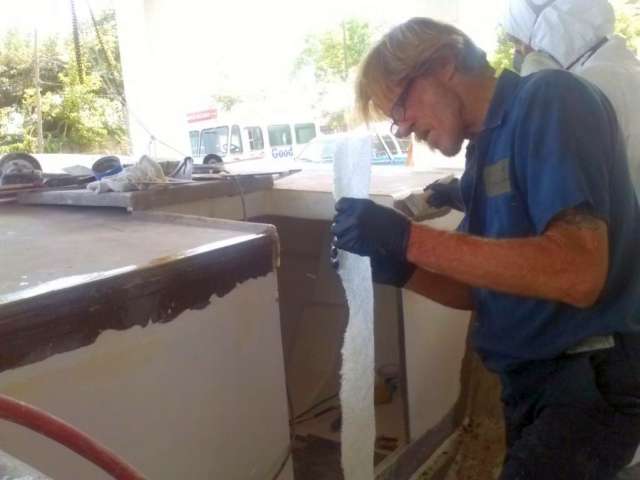
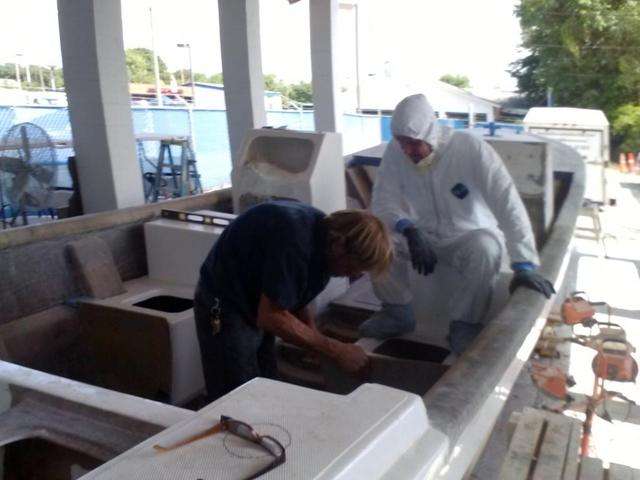
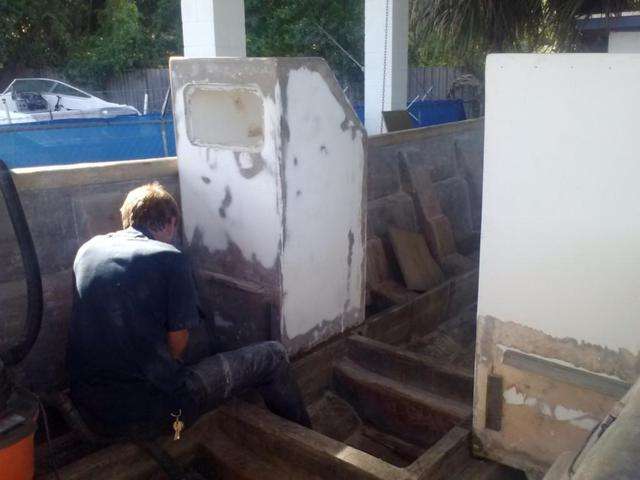
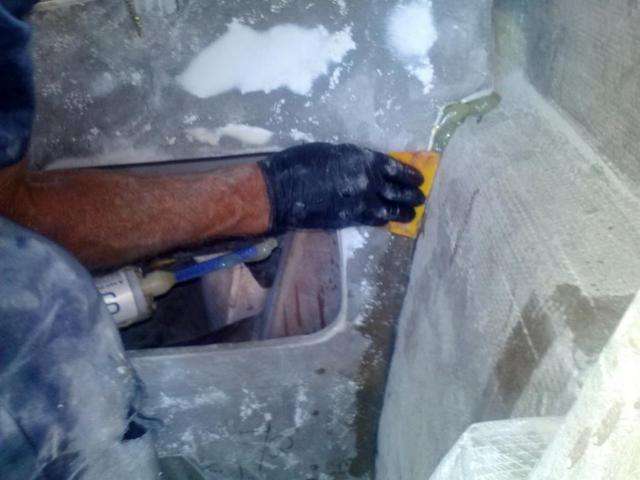
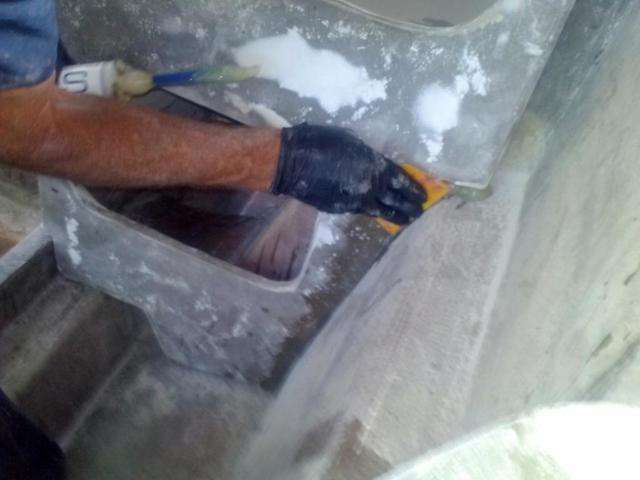
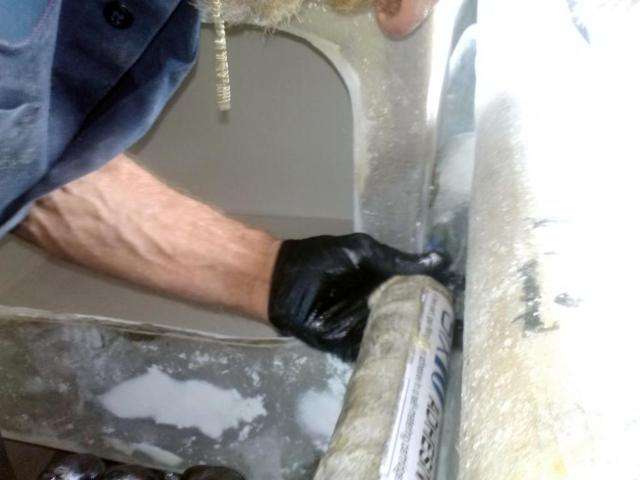
The main bulkhead for the cabin is now in place and epoxied to the hull, so now Brian has begun to wrap the piece into the hull using progressive layers of biaxial fiberglass.

The idea here is that between the epoxy (at the core) and increasingly larger wraps of fiberglass that this piece will be held in place by multiple avenues of force.

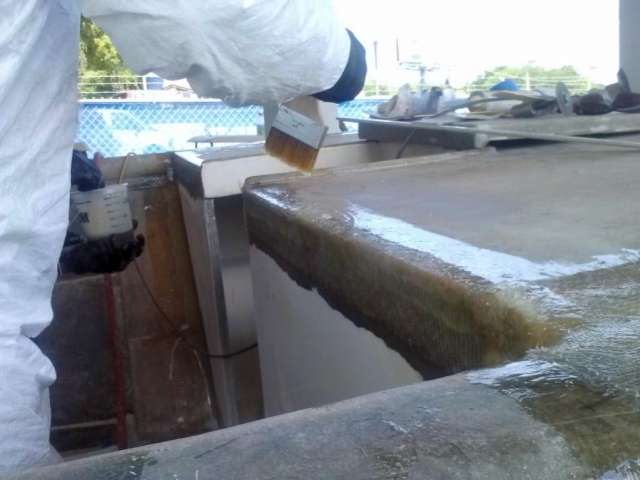
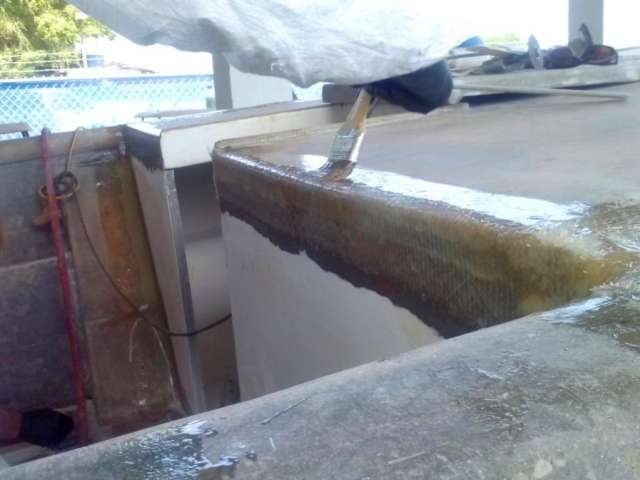
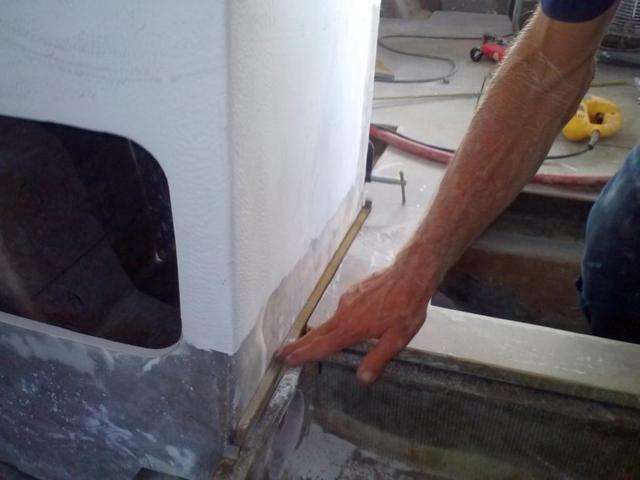
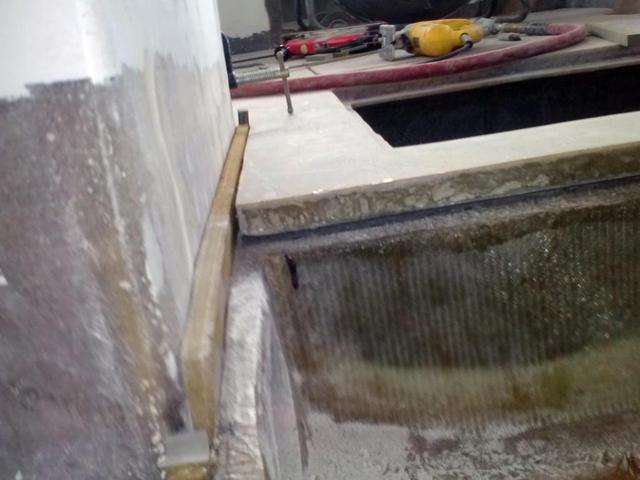
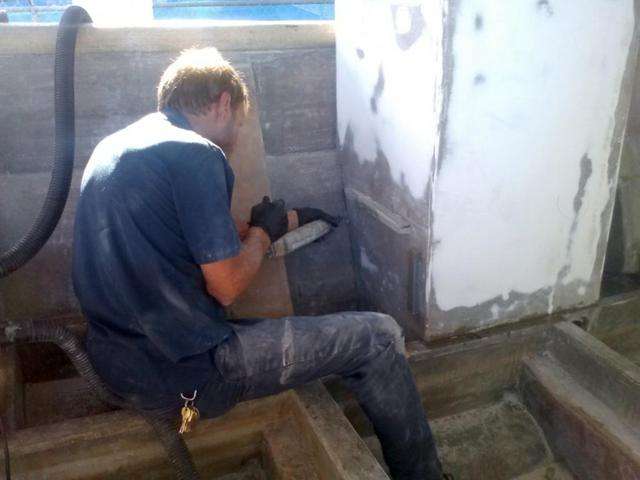
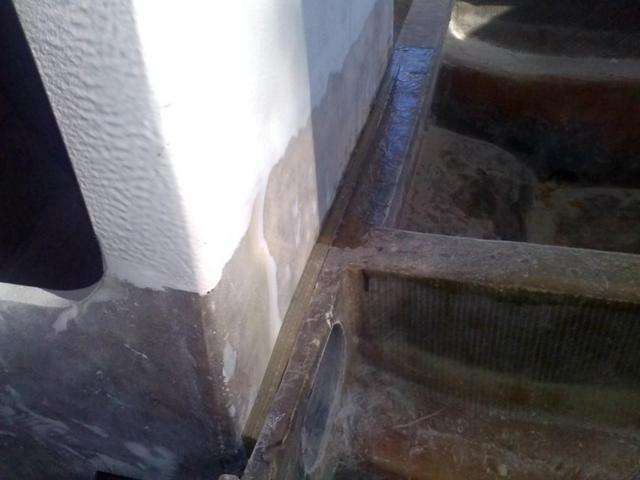
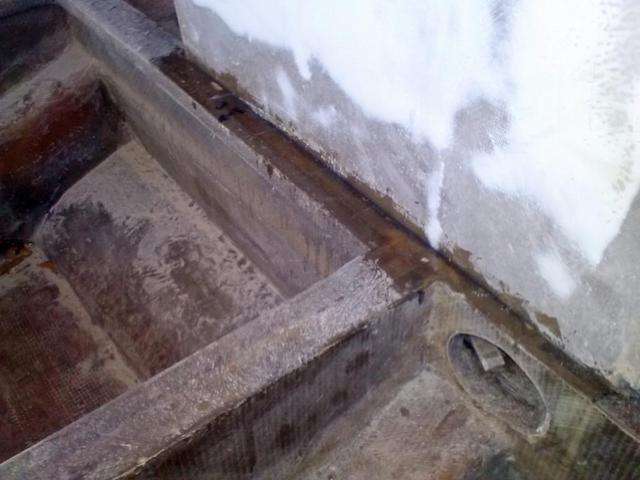
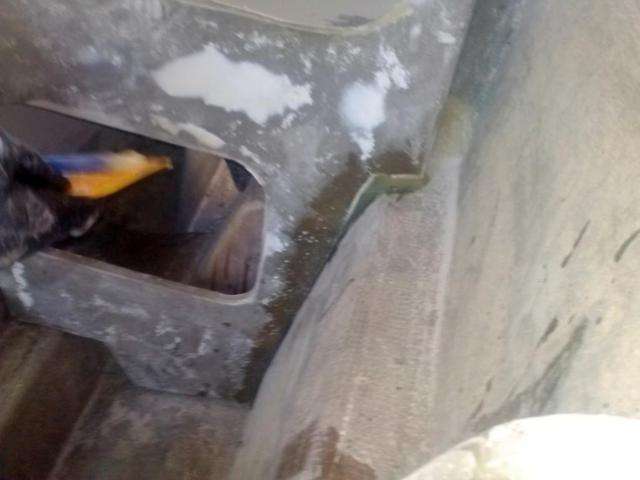
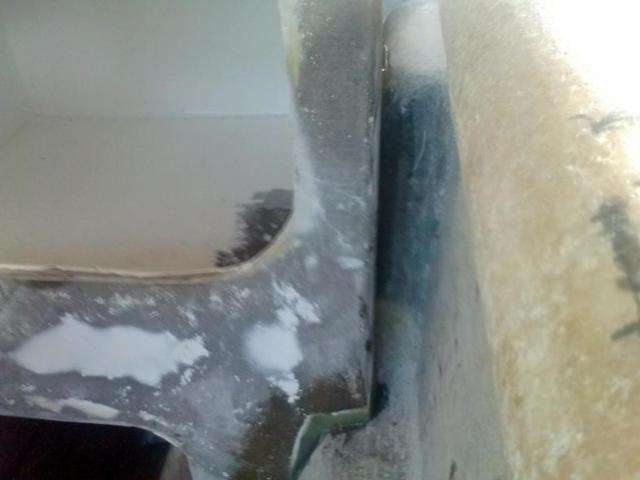
Also Brian is wrapping the lips that we have epoxied around the upper edge of the hull. Once they are fully-wrapped to the hull, these lips will support the roof pieces.
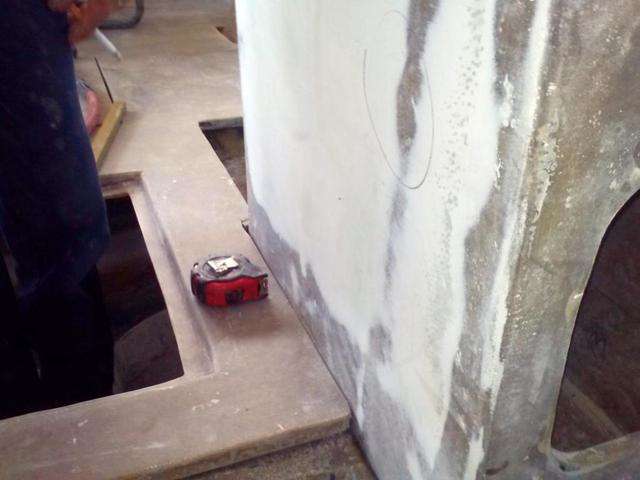
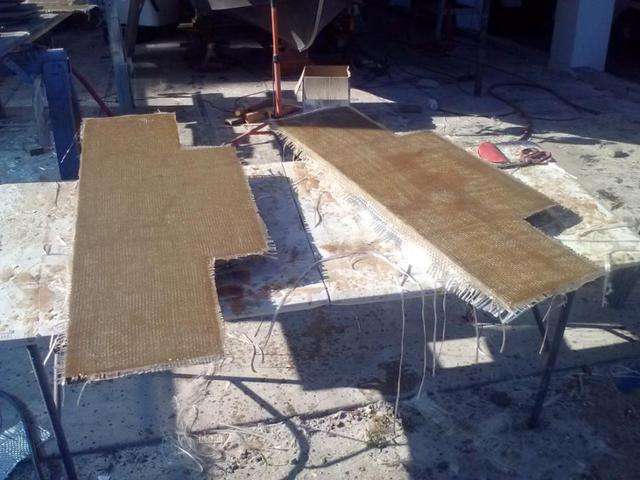
Once the roof goes on, getting into the cabin to perform work will be tricky. Therefore we have also built two pieces of floor that will complete the interior of the cabin.
Brian also had to built a small custom stringer to help support the bigger of the two pieces.
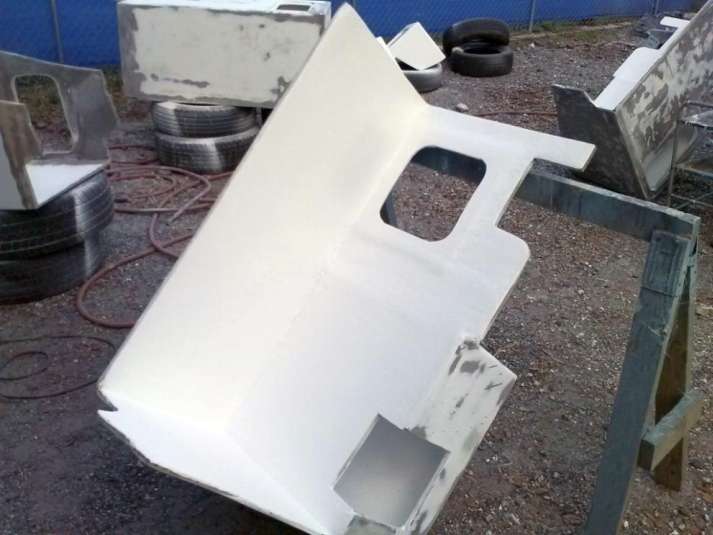
Outside the boat we have continued on the consoles and coolers by epoxying sleeving the holes for the hinges:
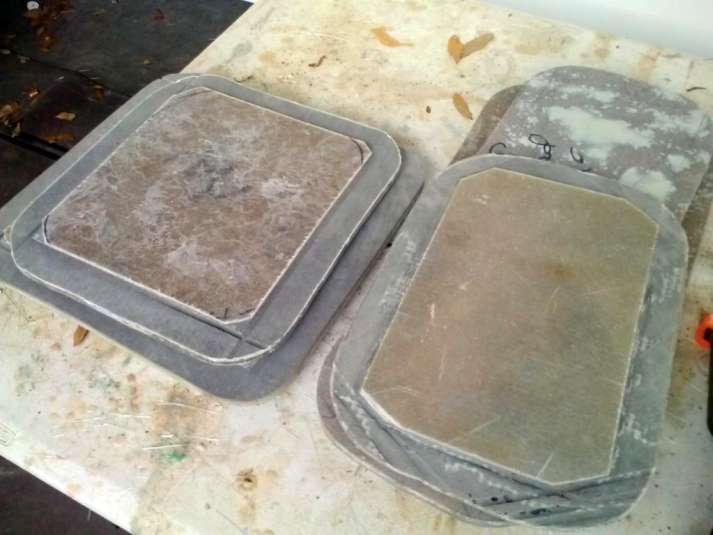
…and by perfecting the hatch doors.

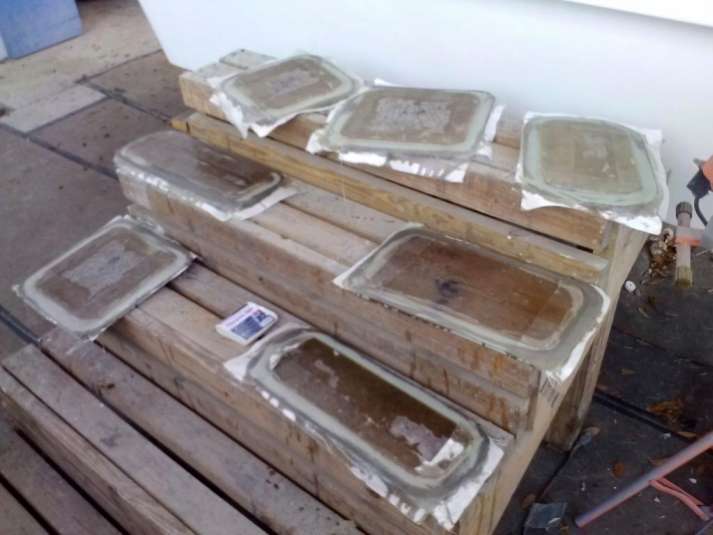
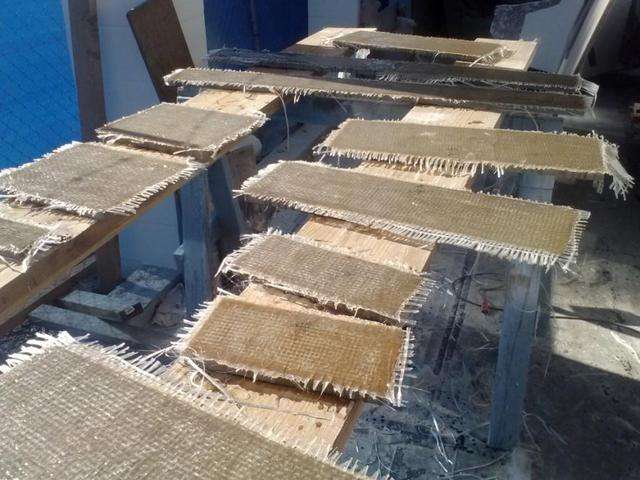
Though it may not look like it, these doors have taken 100+ hours to get just right…between the milling of the lids and the wrapping and re-wrapping of fiberglass these 7 doors feel like a whole boat’s-worth of work by themselves.
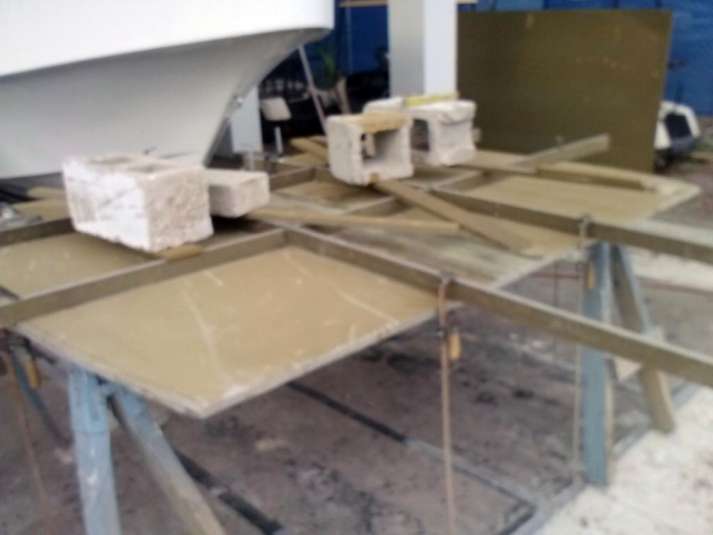
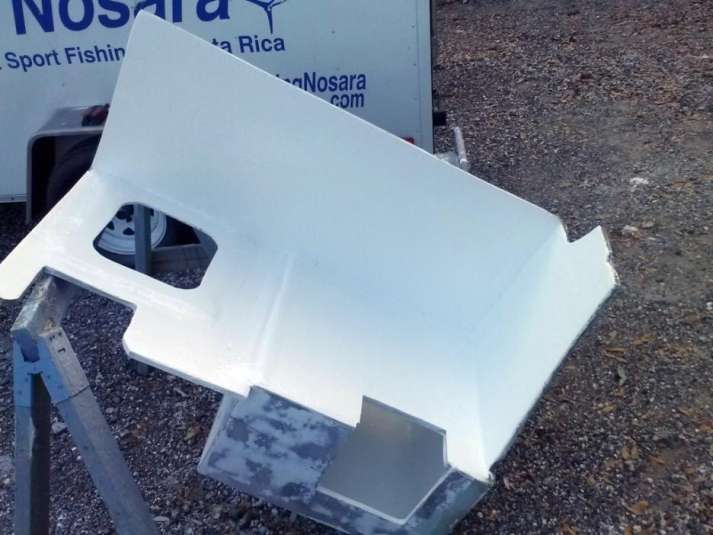
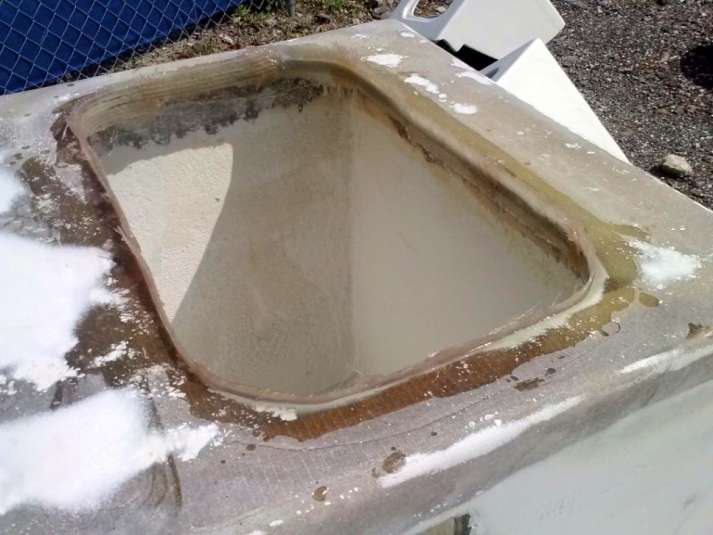
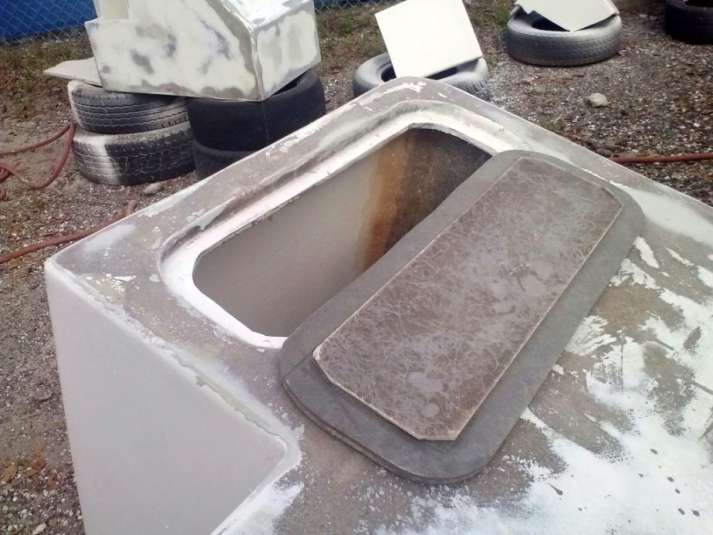
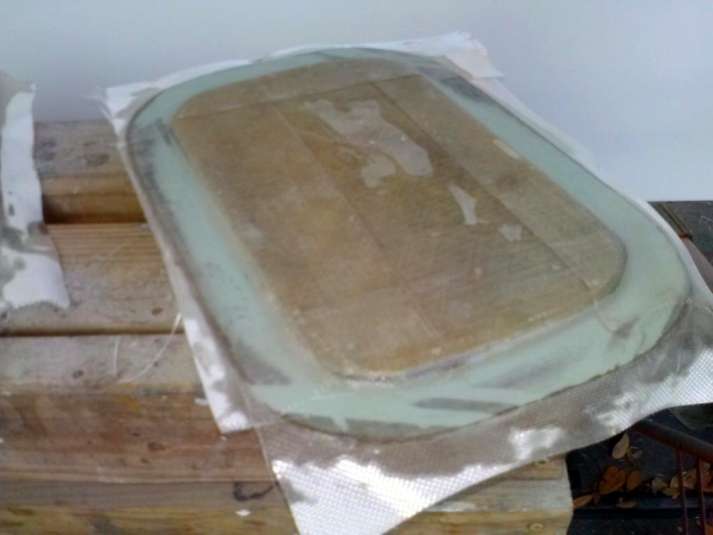
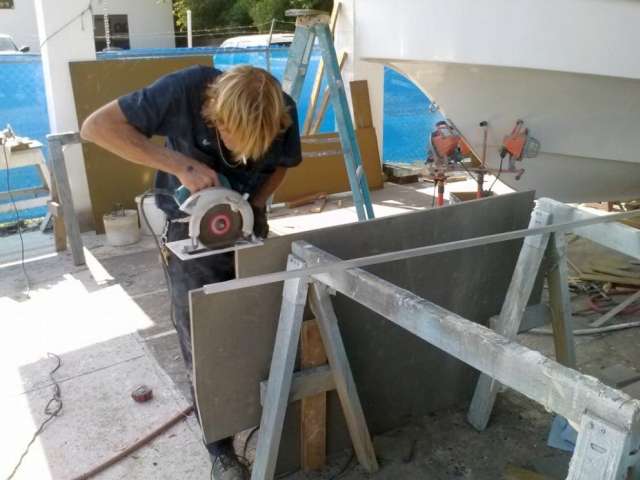
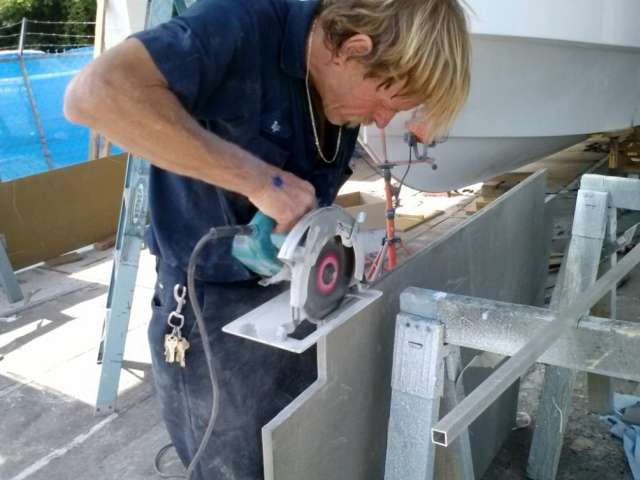
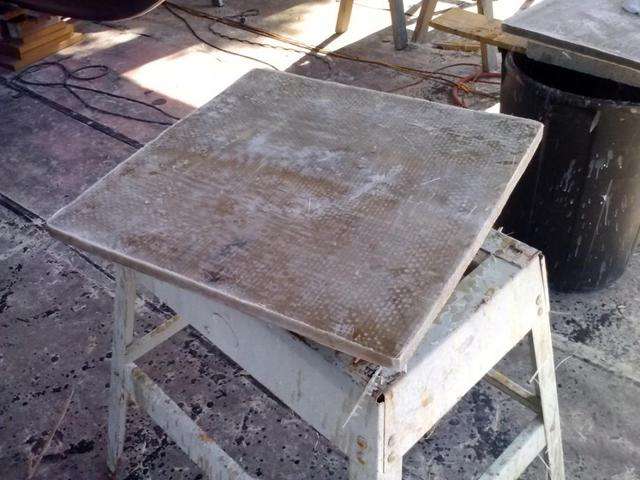
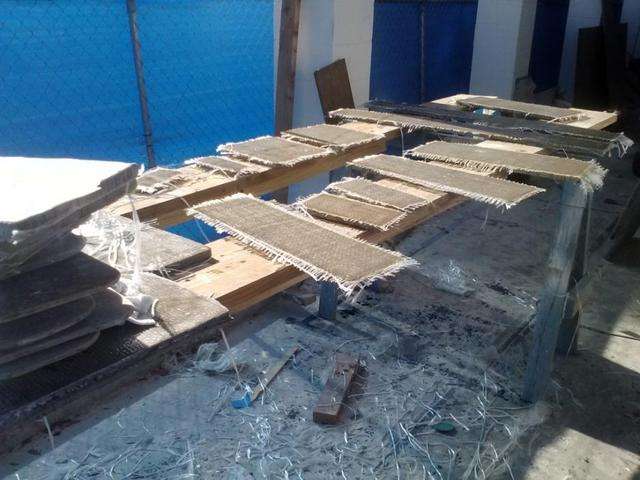
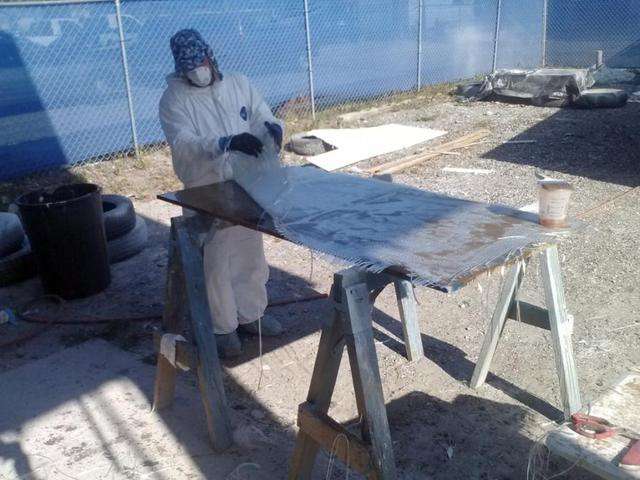
As we rapidly approach the day where we put the roof on the cabin, we are taking the time to build the covering hatch and the lip around the hatch now (rather than when it is up on the boat)
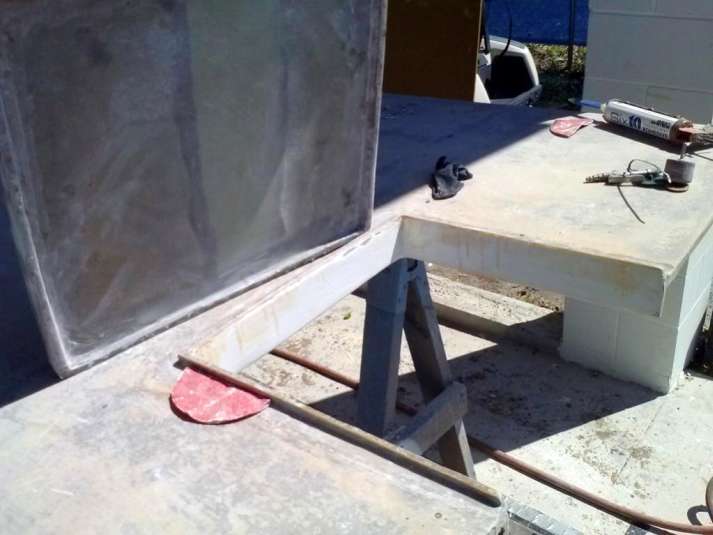
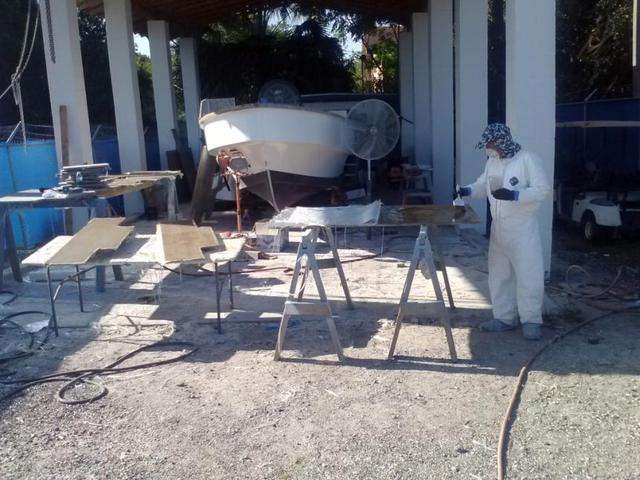
Anytime you can do detail-level fiberglass work on a sawhorse rather than the boat, it is certainly the preferable way to go.
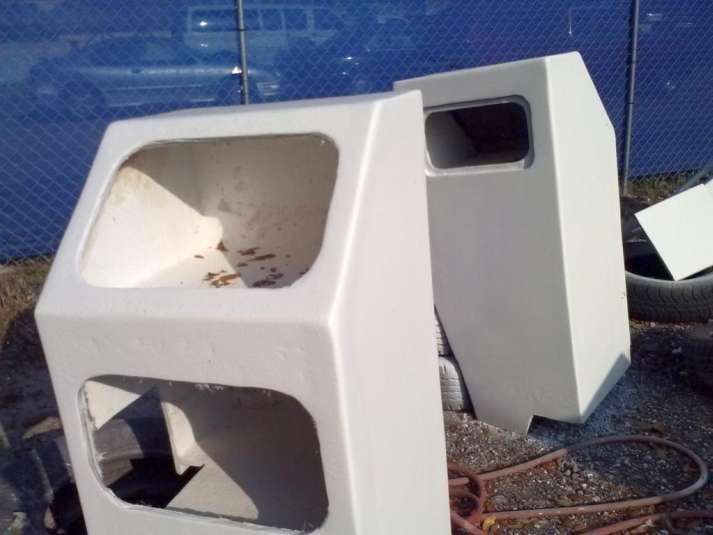
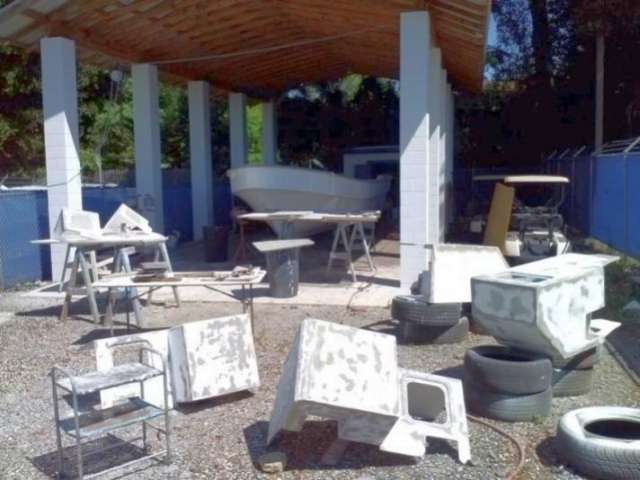
It feels weird to see the boat in all these different pieces around the boatyard, however we are confident that most of these pieces will be 99% complete before we even put them in the boat.

We got good weather on the horizon and lots of work in the pipeline, so stay tuned!
May 11, 2015 – Day 180
The pieces are starting to fall into place on The Harvester Project!
Even through all the pieces of this boat are one-off custom jobs, we still have to apply a little bit of “assembly line thinking” to keep from screwing ourselves.
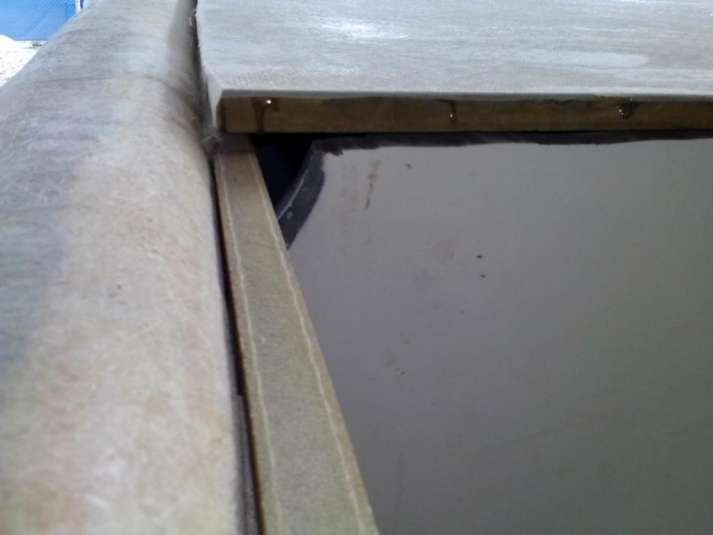
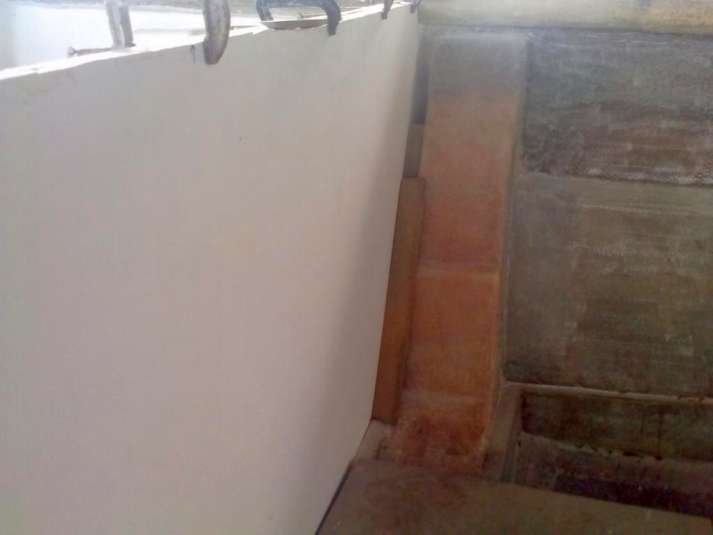
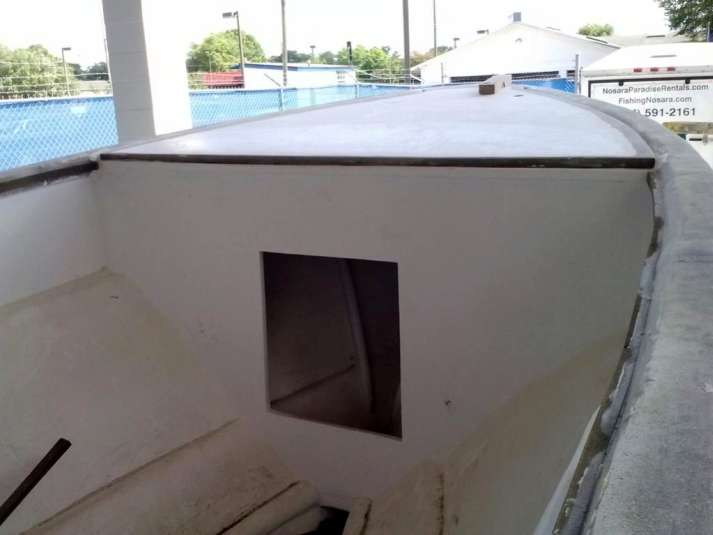
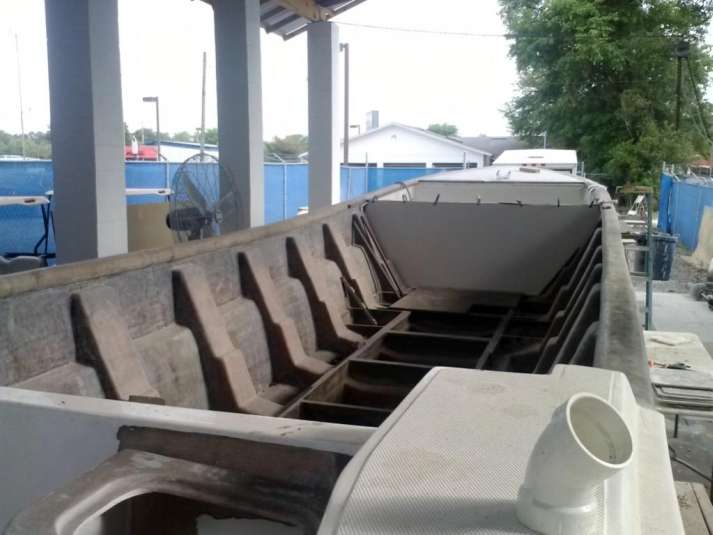
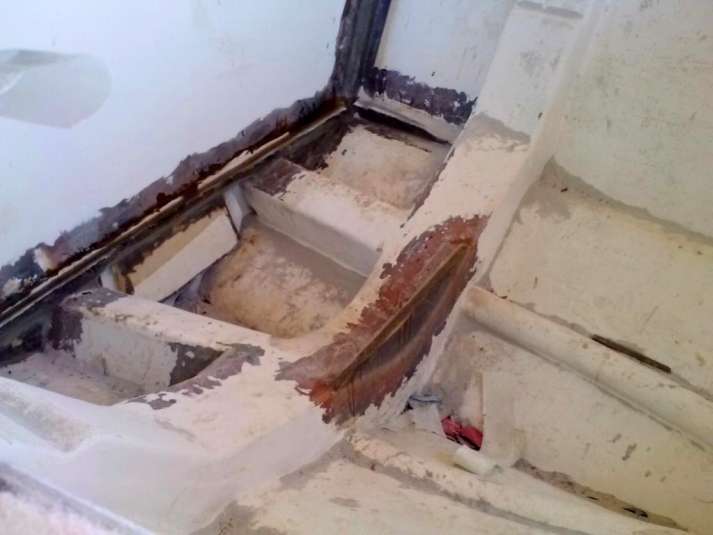
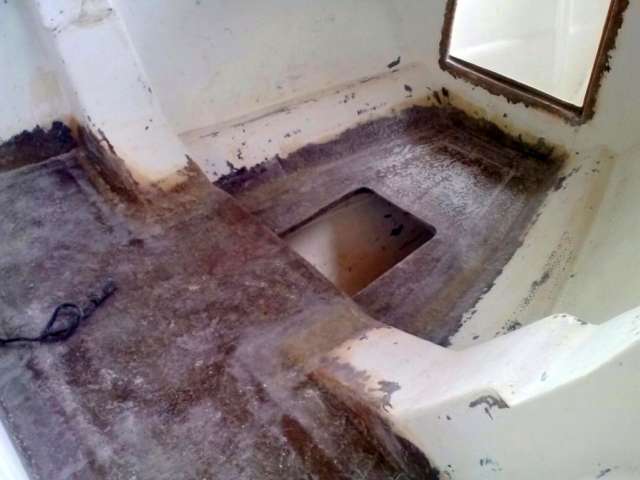
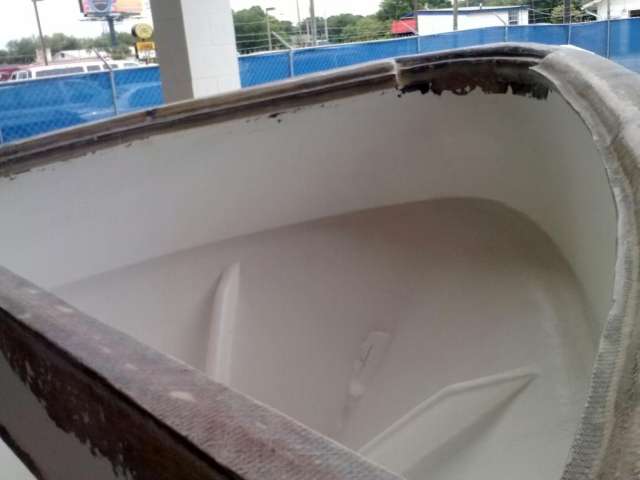
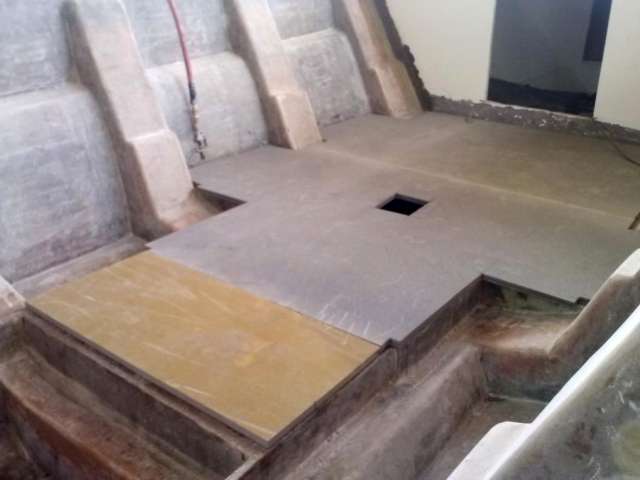
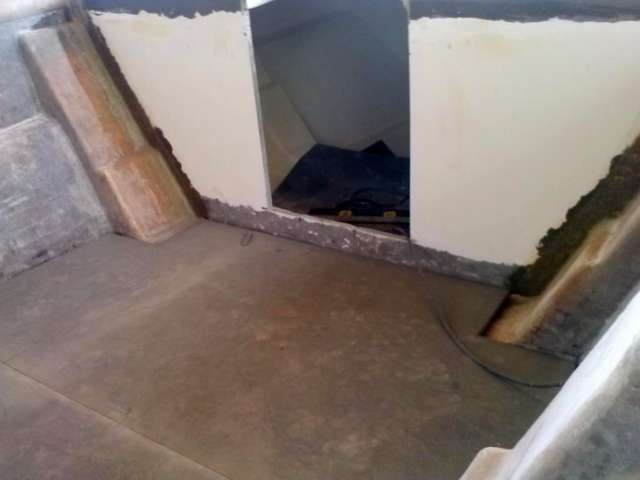
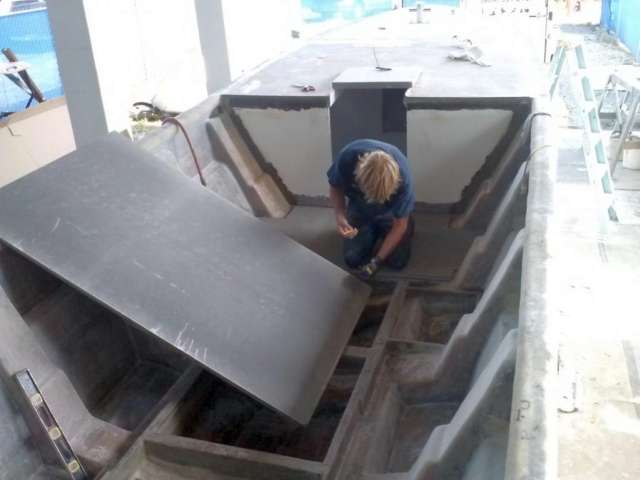
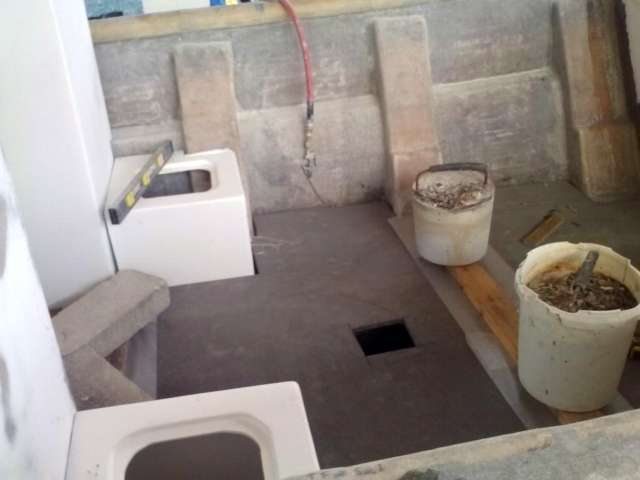
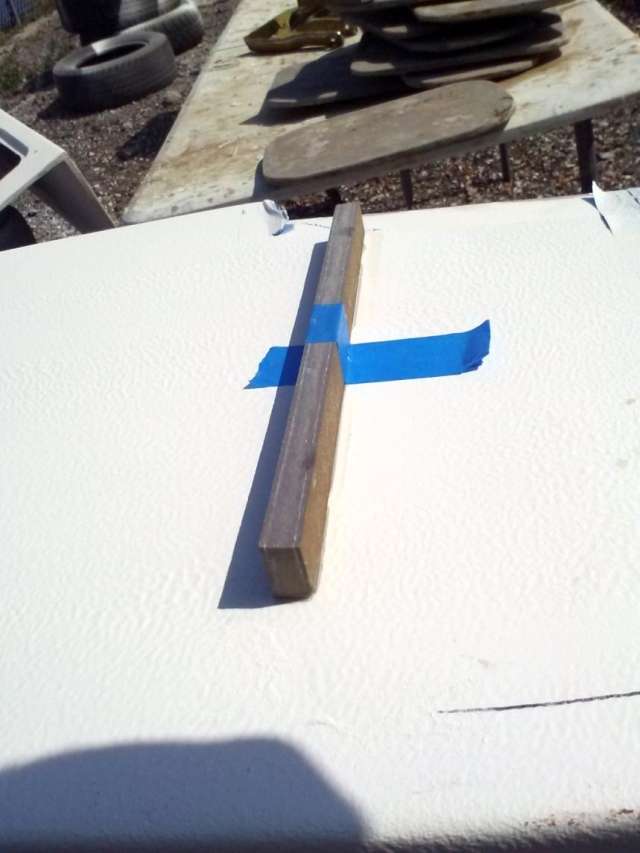
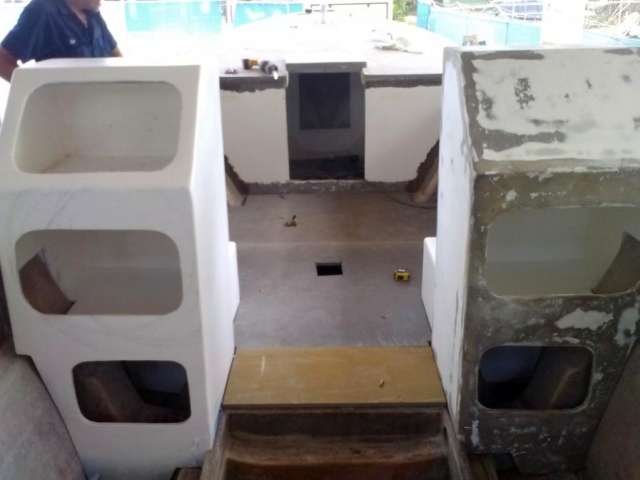
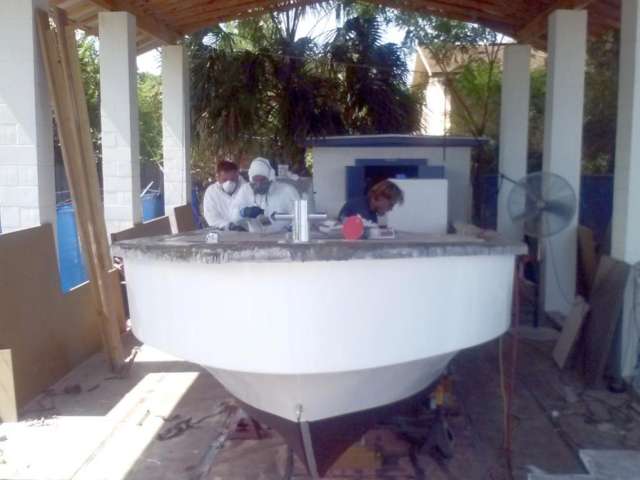
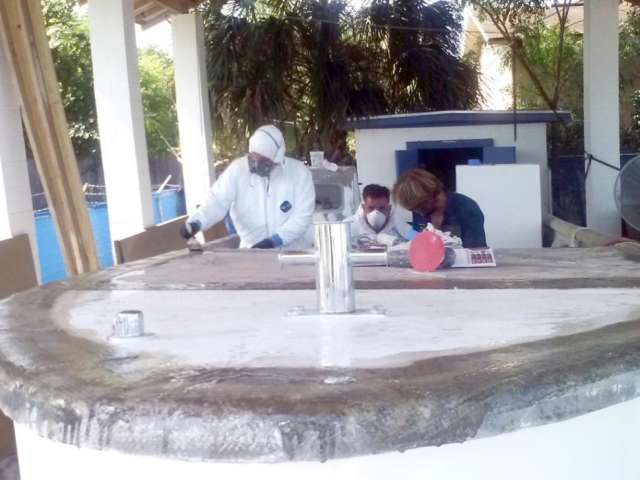
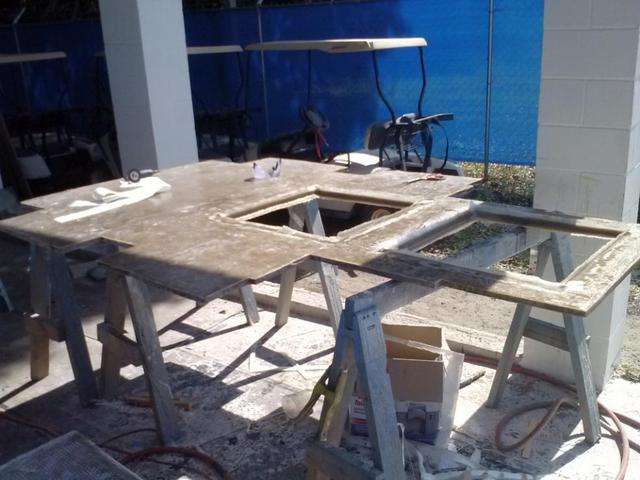
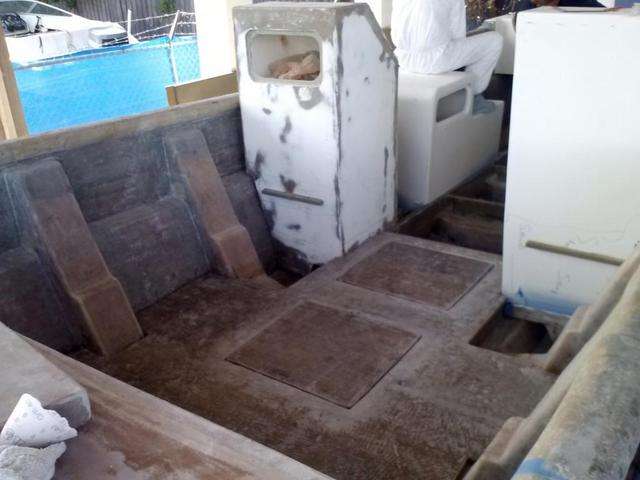
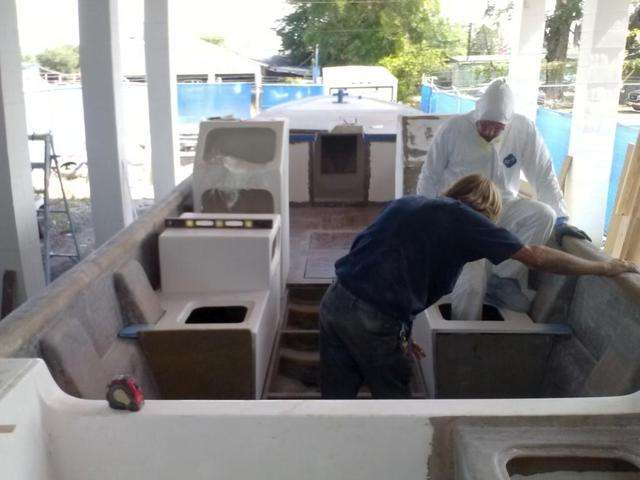
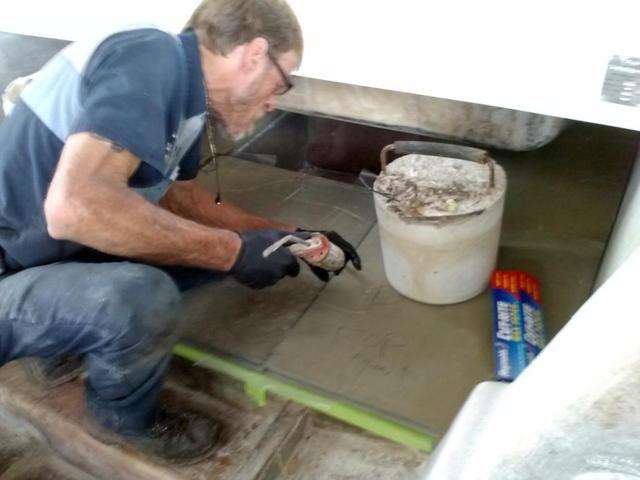
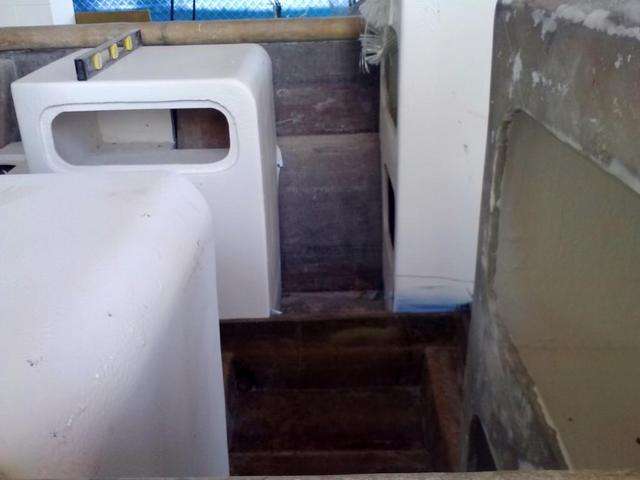
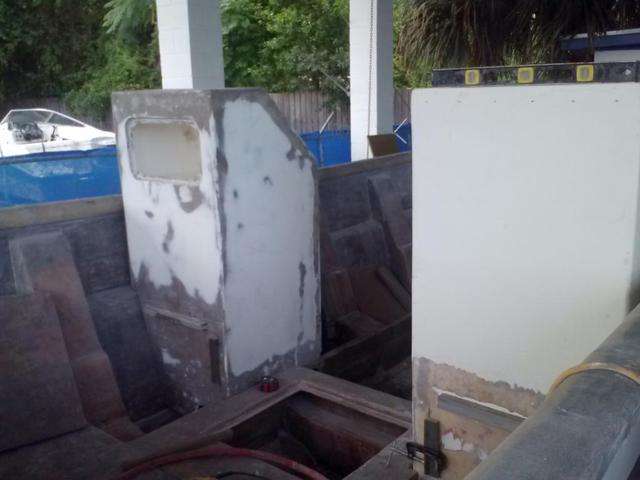
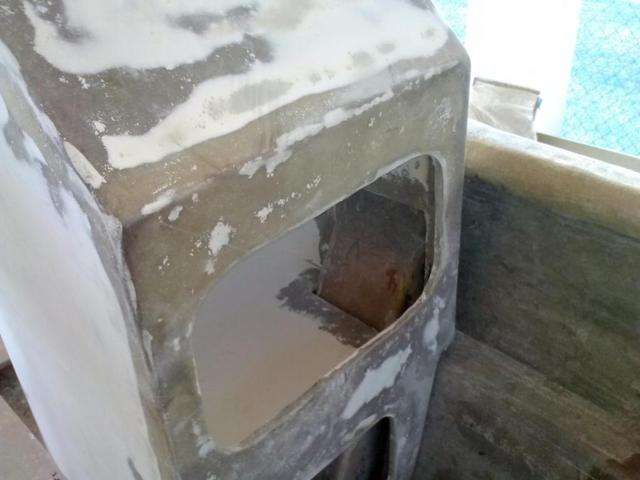
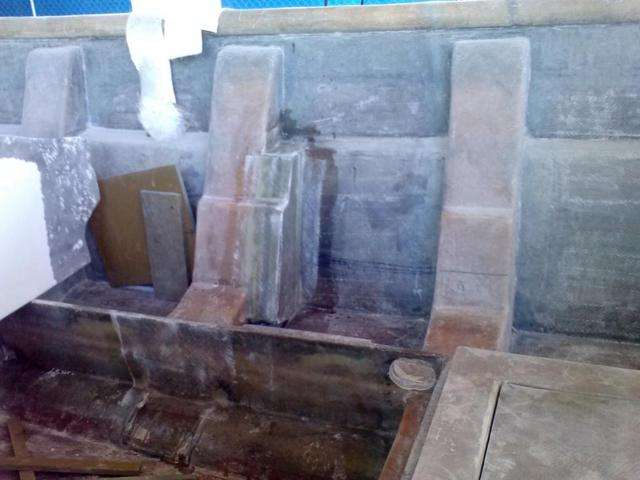
Most importantly, we need to install everything in an order that doesn’t limit accessibility to areas that still need work. For instance, here is a view from the top looking down into the main cabin:
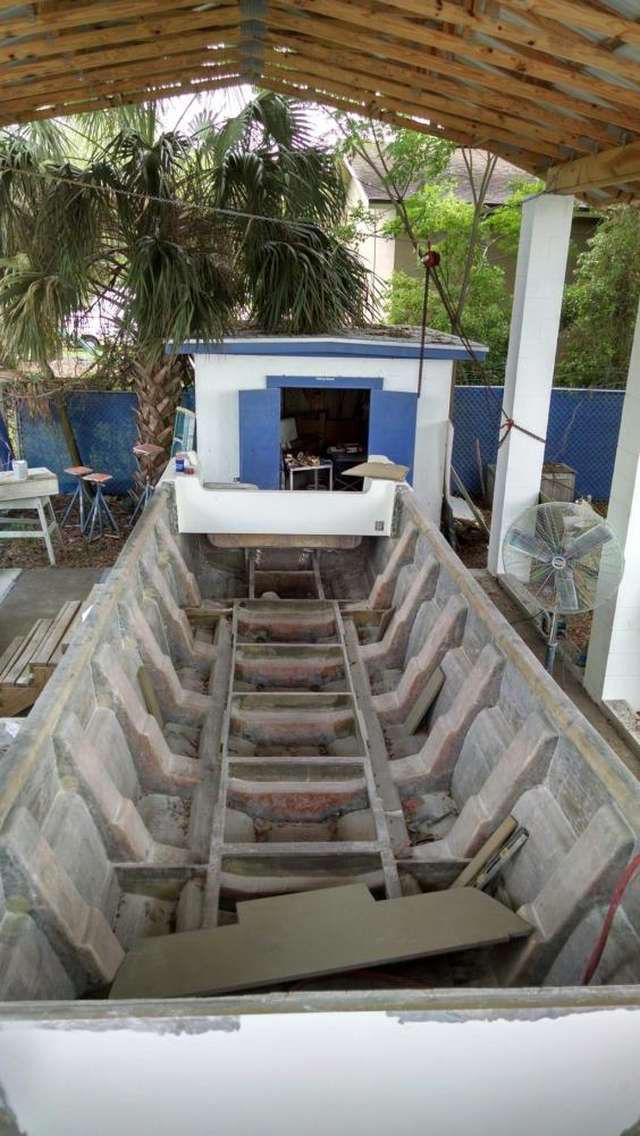
That T-Shaped piece of Coosa wood is one of two floor sections for the cabin.
Once this cabin is enclosed, it will be very difficult to perform further tasks like build a floor, fiberglass the floor into place, and gelcoat the floor. So clearly it is important to do that before the roof goes on.
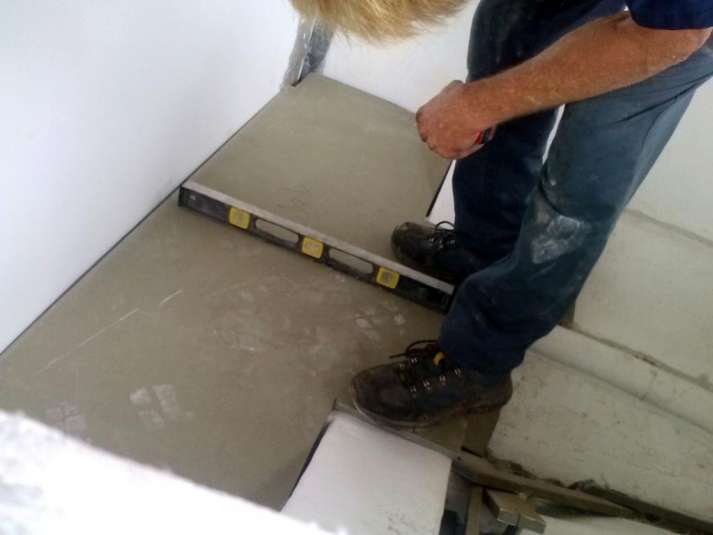
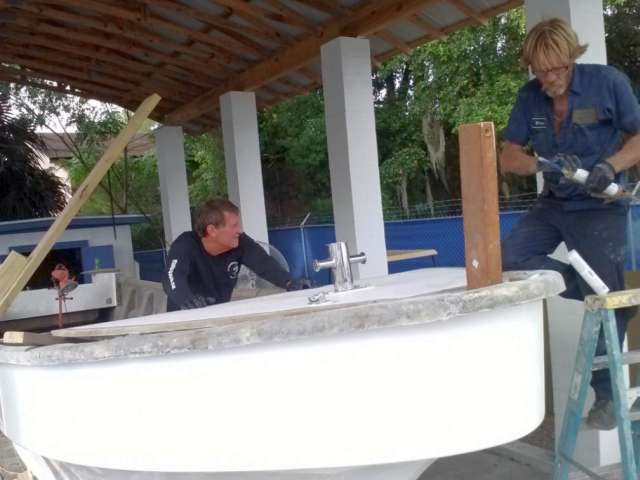
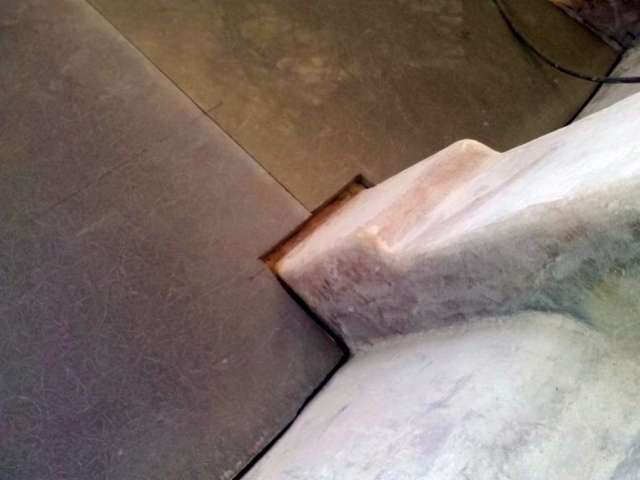
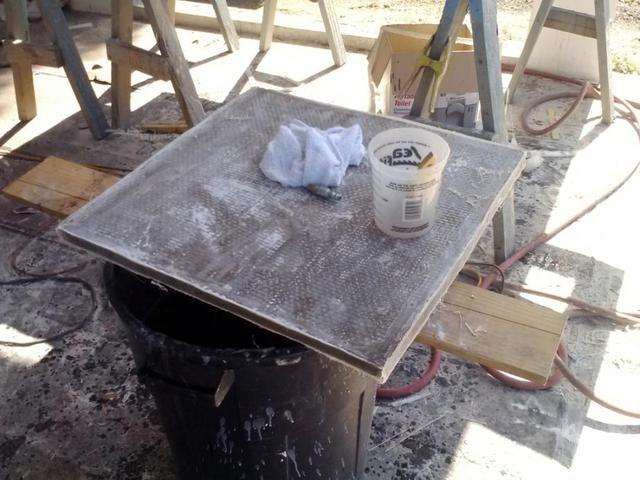
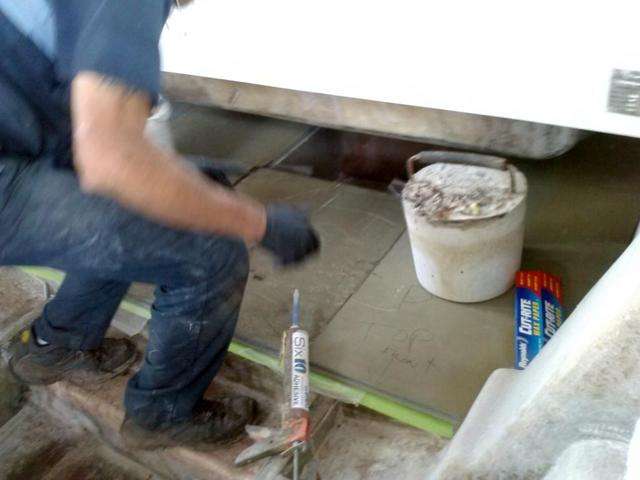
In the past we used heavy buckets and cinder blocks for ballast to hold down glued pieces, but this time we have advanced our technique. We clamped a 2×6 board from gunwale to gunwale, then use bottle jacks to provide even pressure across the piece.
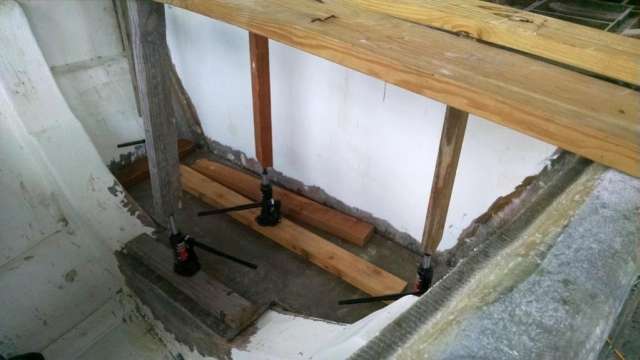
We bought several of the same kind of bottle jack so that we can count the clicks and keep the pressure even.
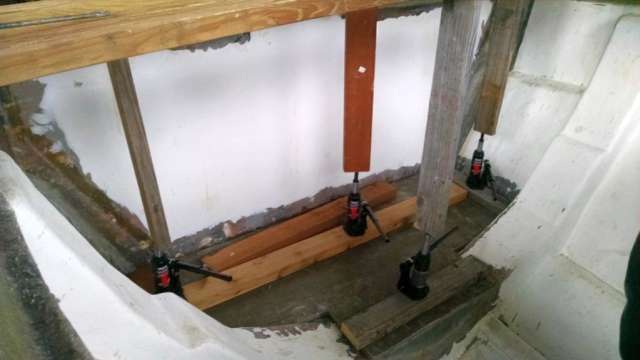
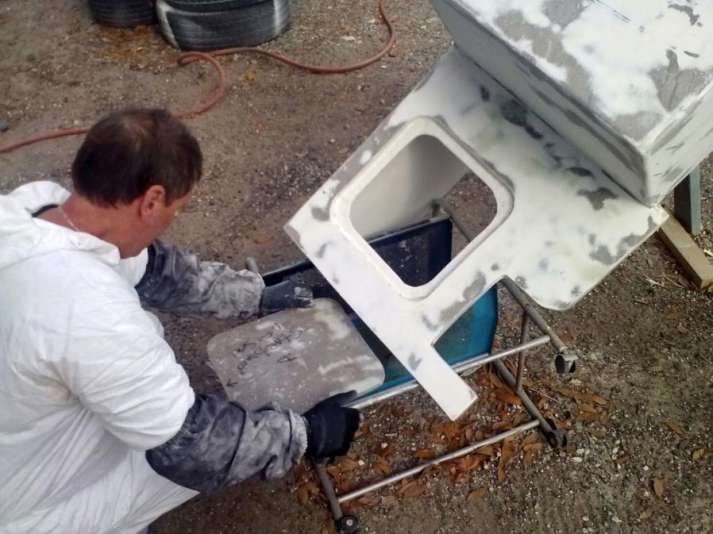
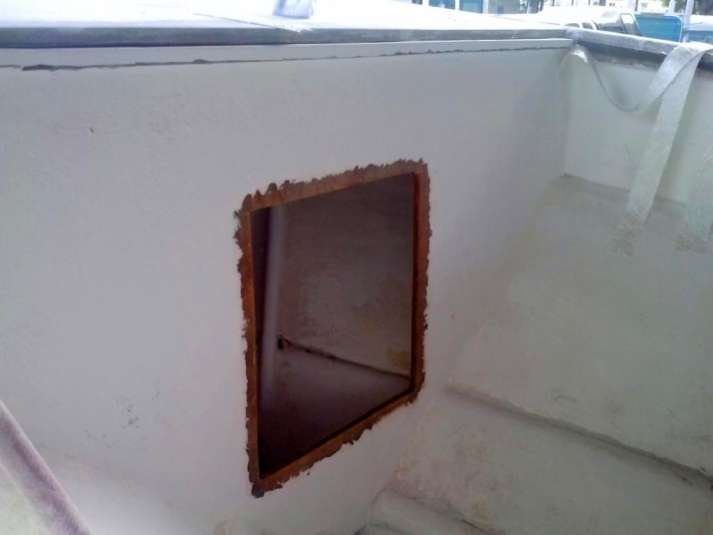
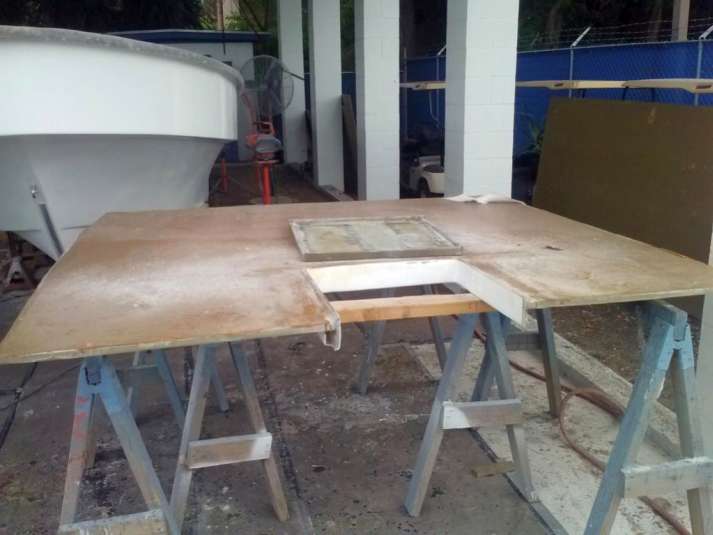
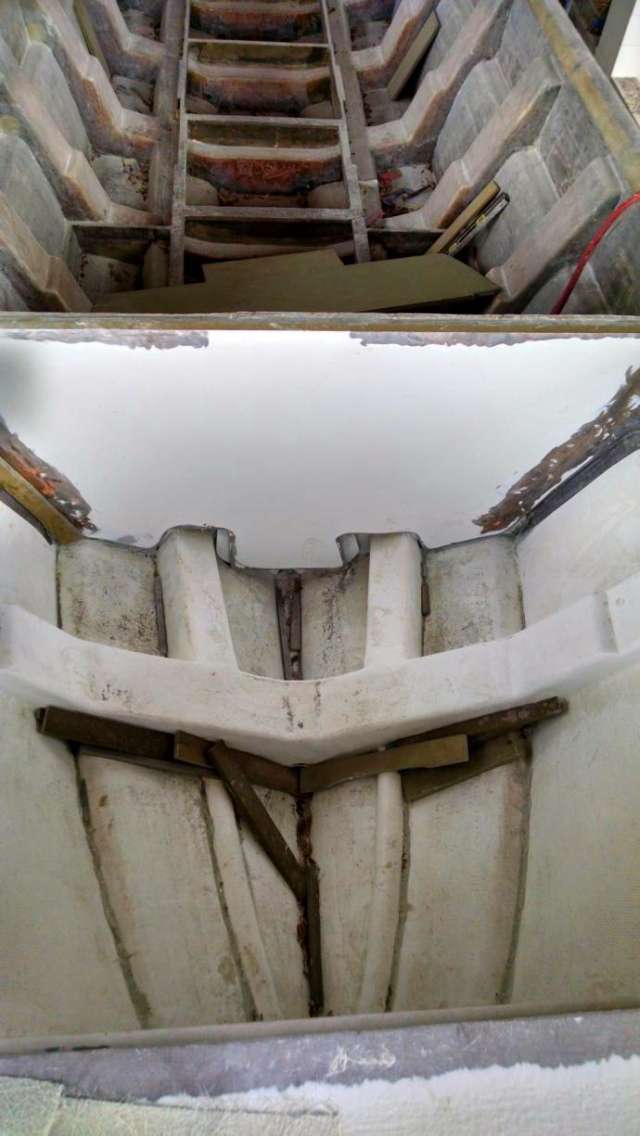
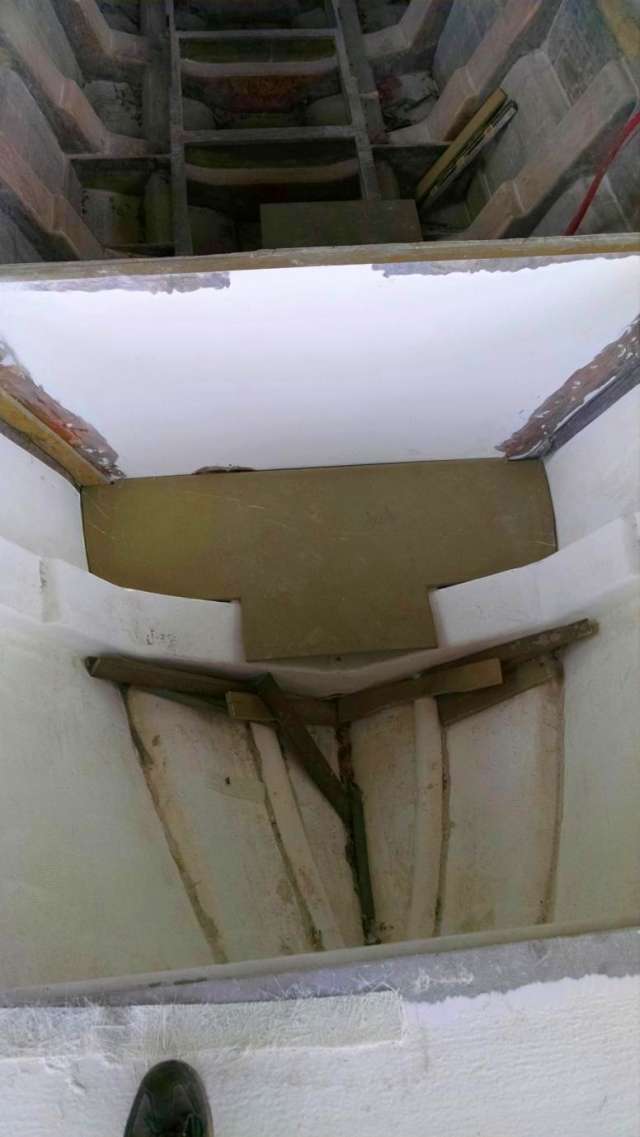
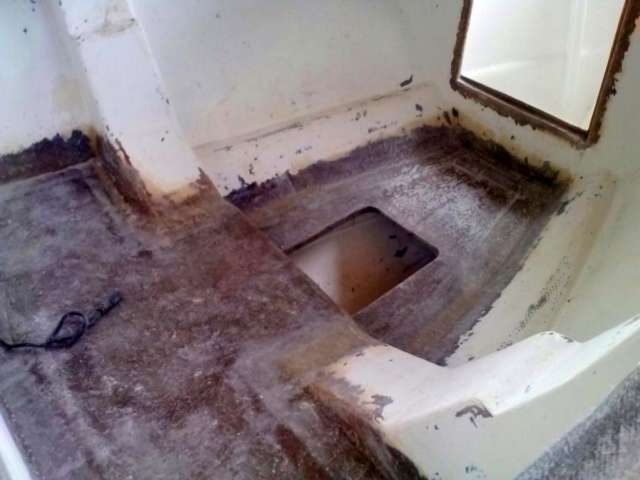
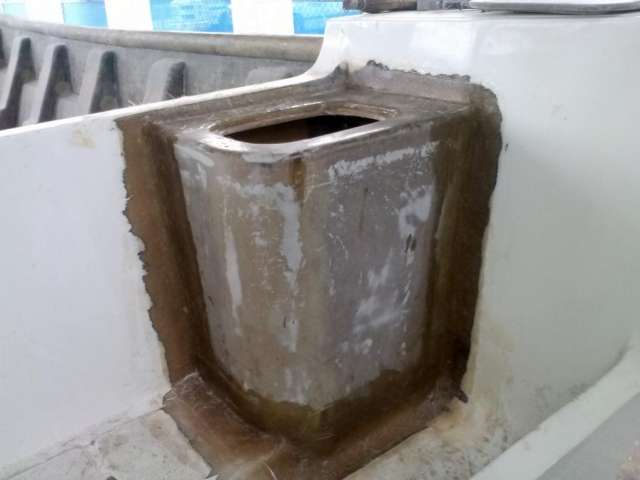
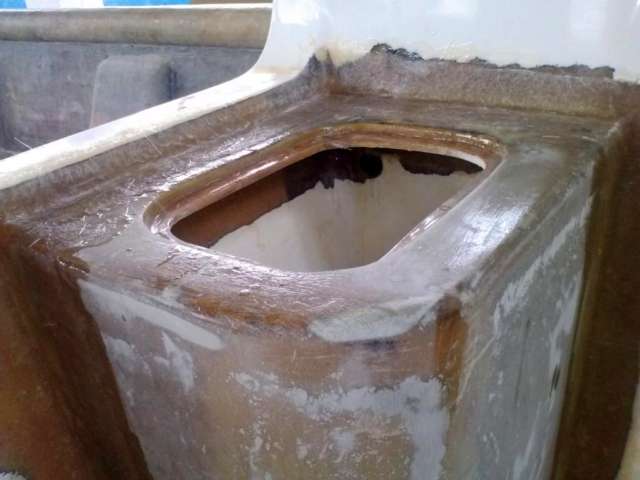
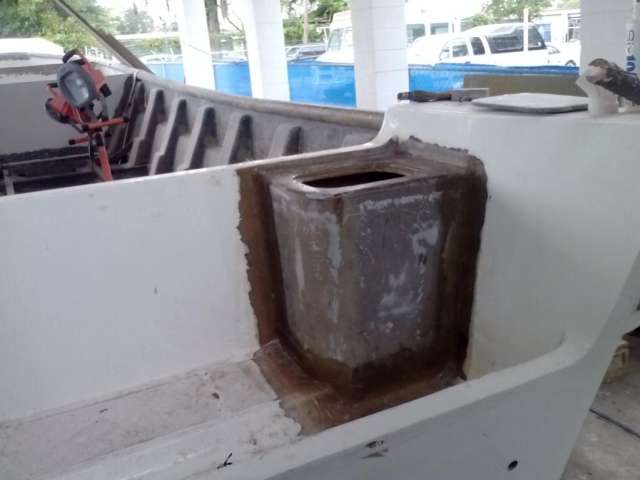
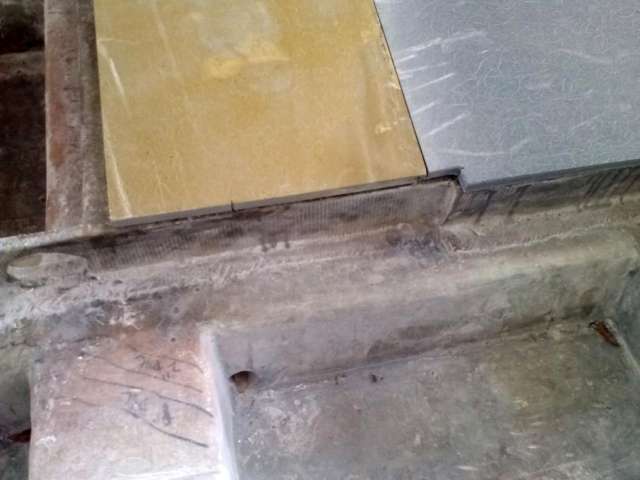
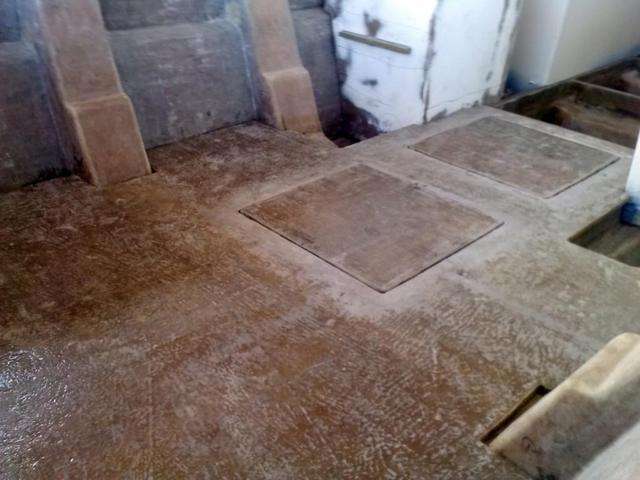
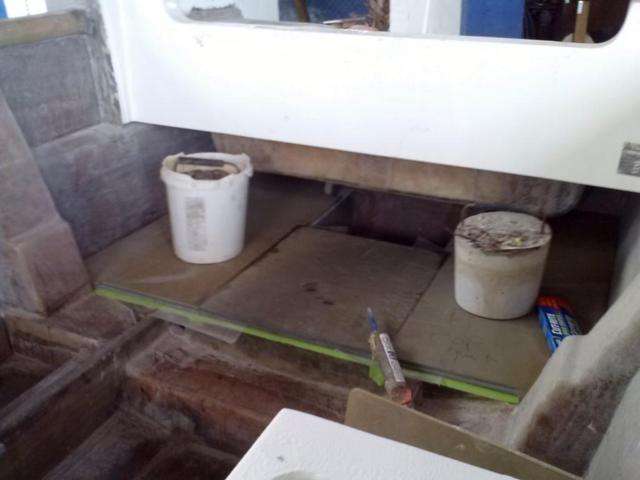
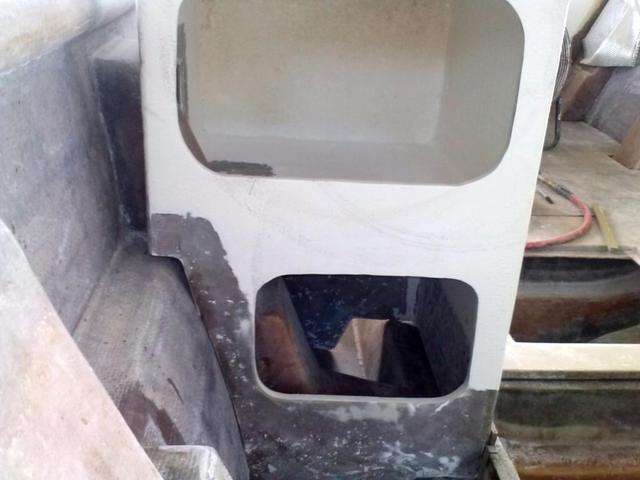
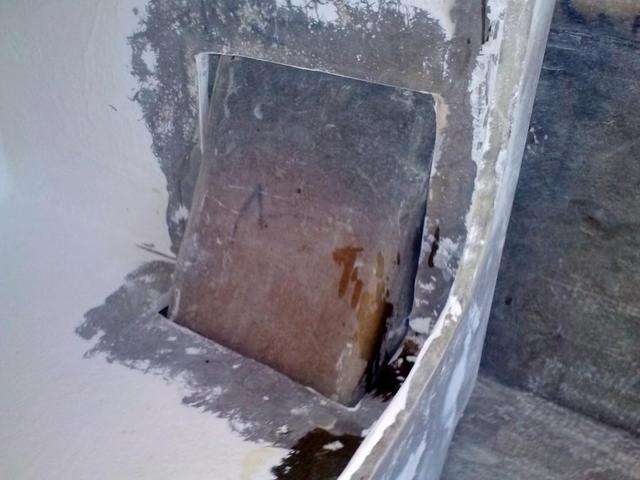
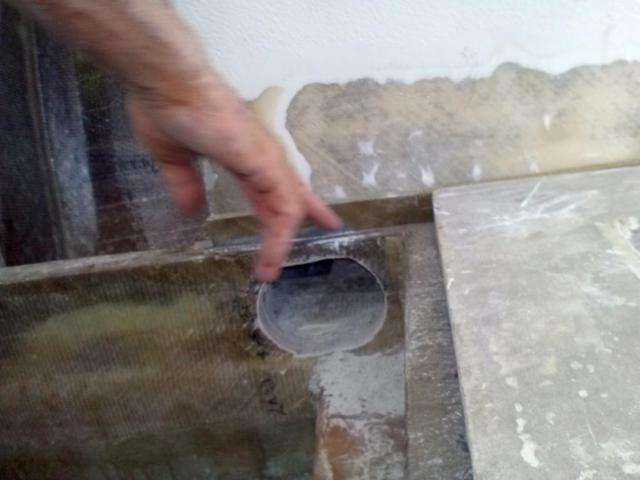
This lower floor piece is cut out to hold the portable head in place…imagine how tough it would be to make this cut and fiberglass the edges if it were in a cramped space.
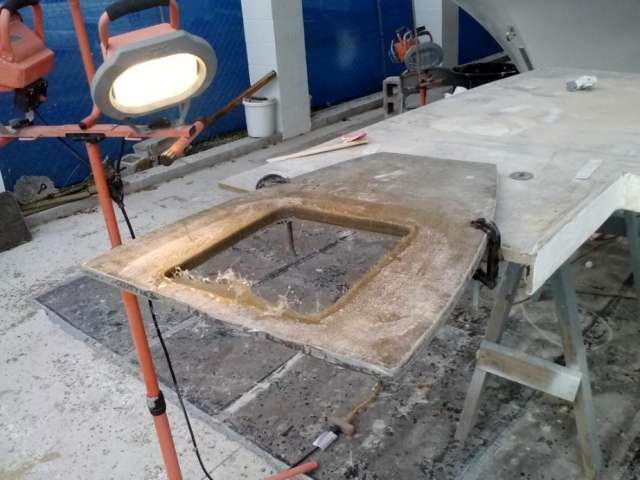
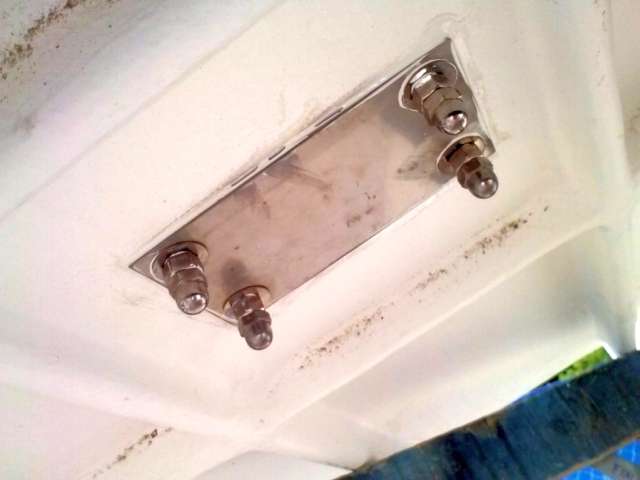
Likewise on the roof panel itself…you want to try to get the nuts, bolts, washers, and 5200 to all lay out clean from up inside a small anchor locker?
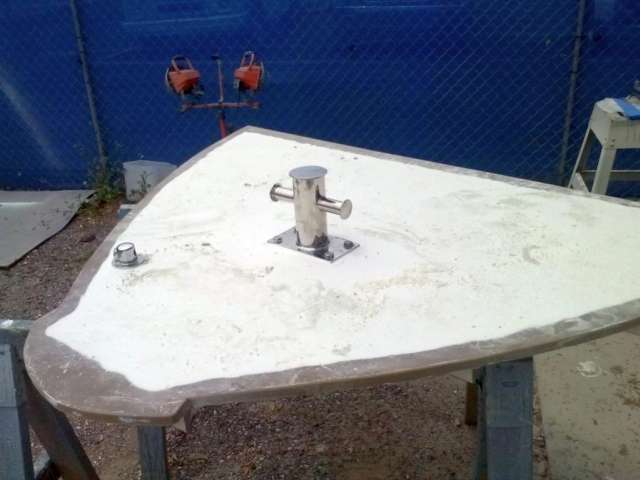
I prefer to do it on sawhorses with plenty of walk around room!
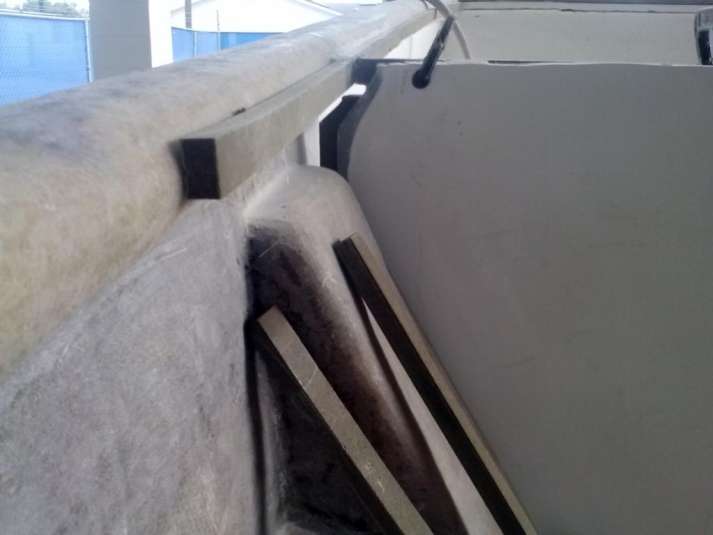
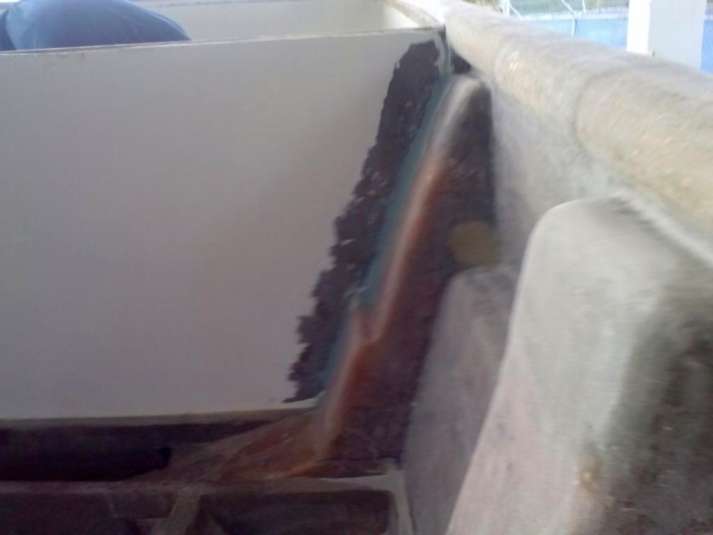
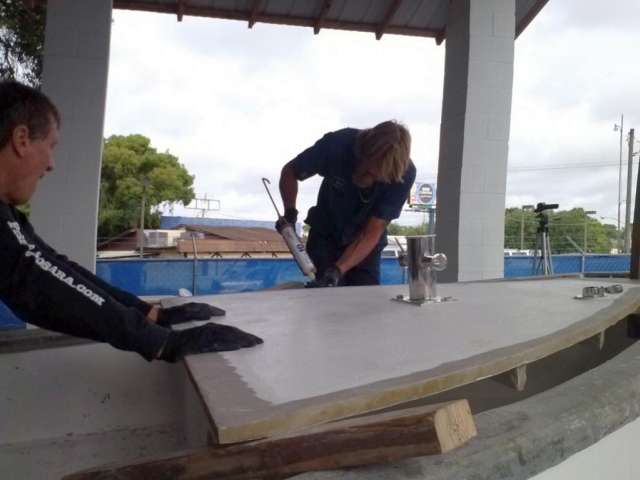
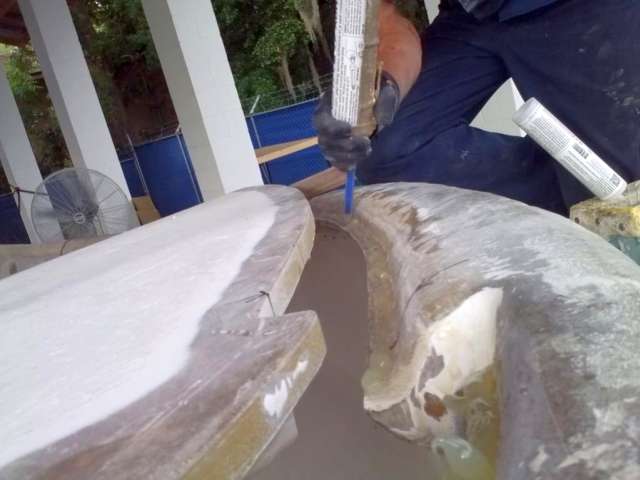
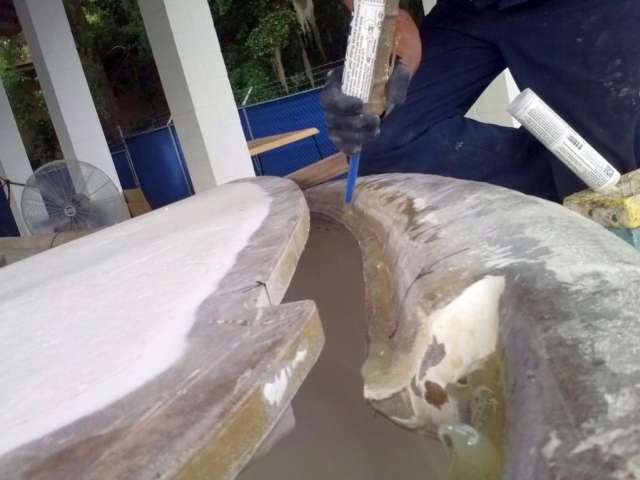
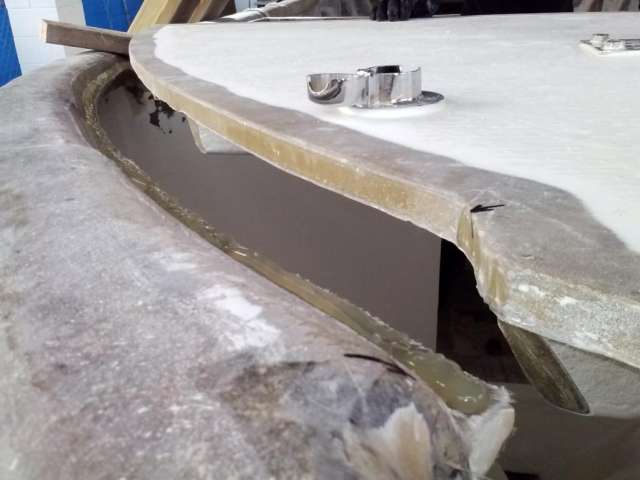
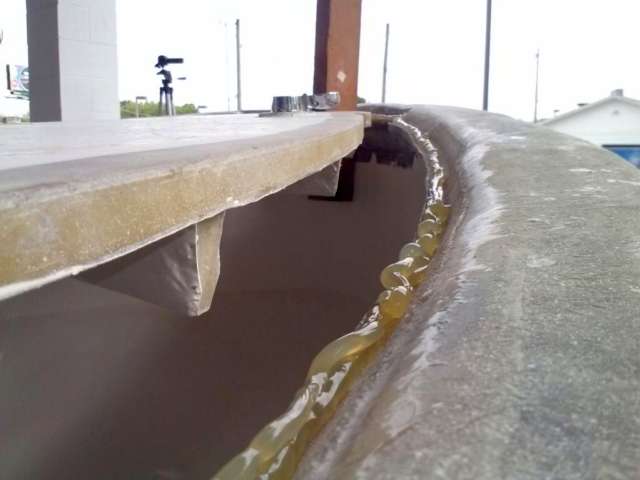
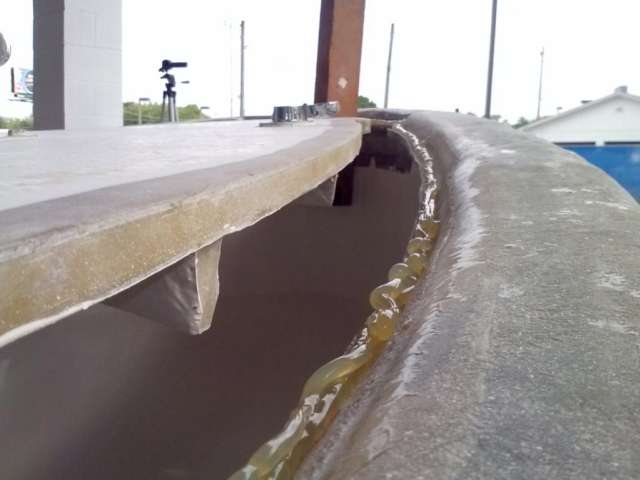
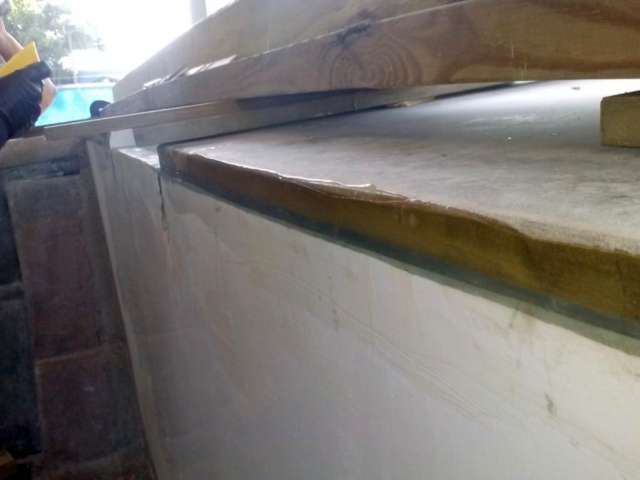
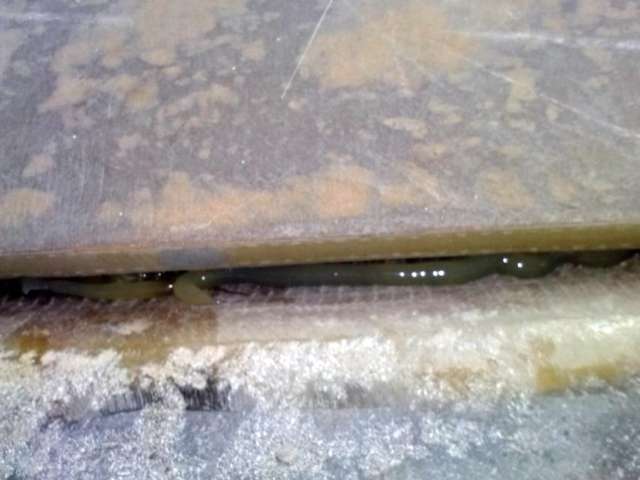
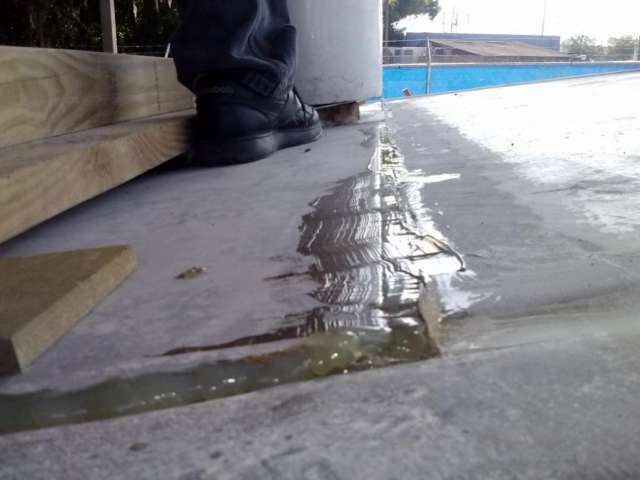
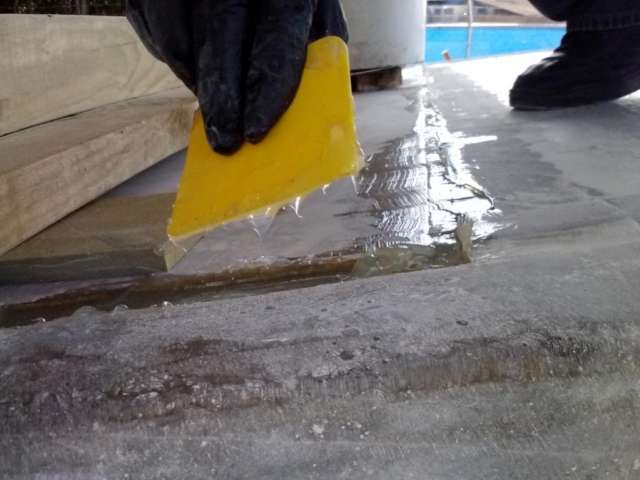
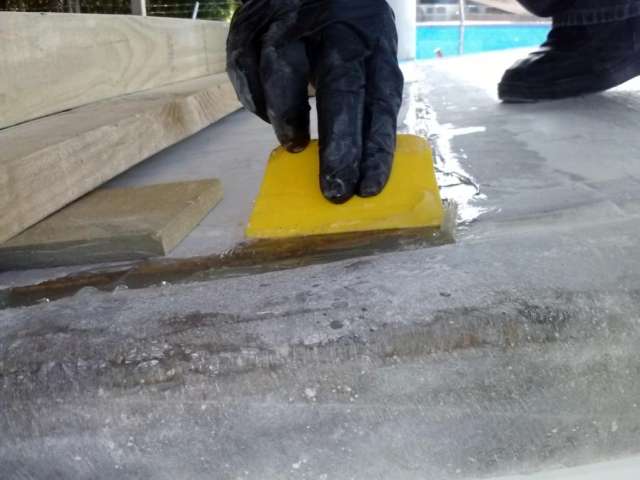
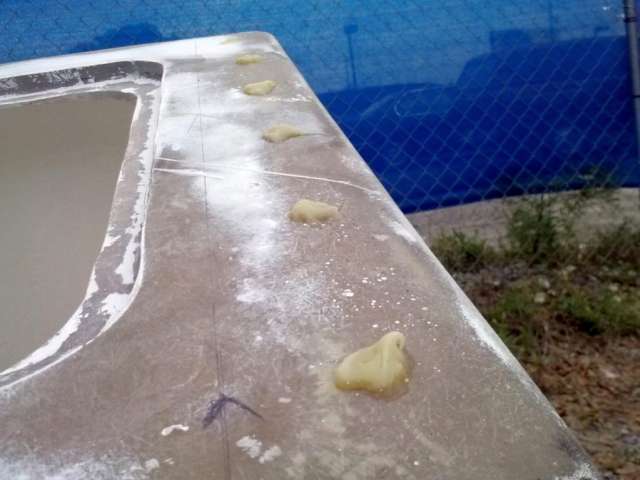
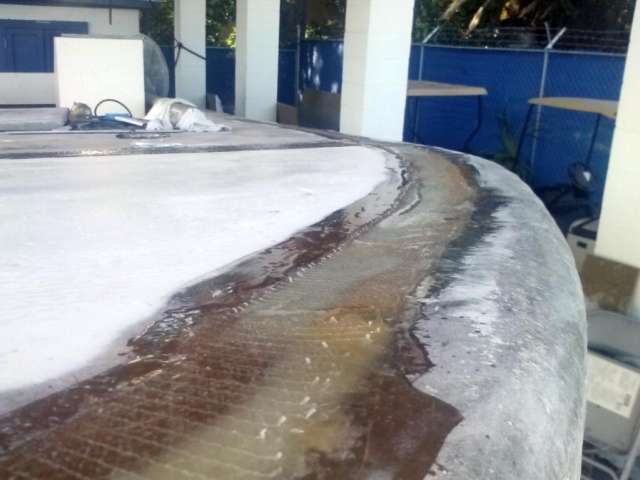
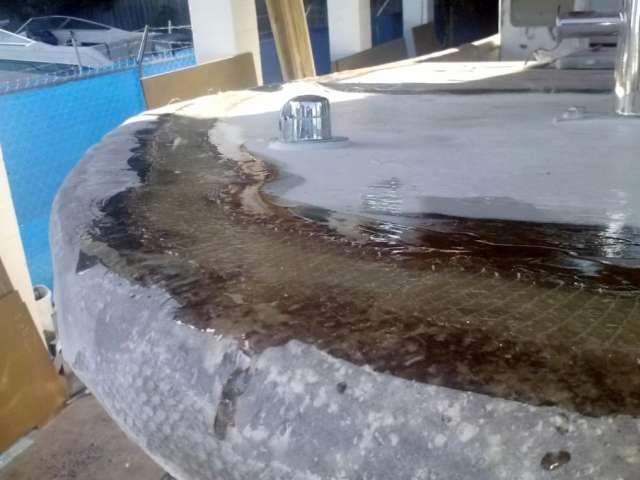
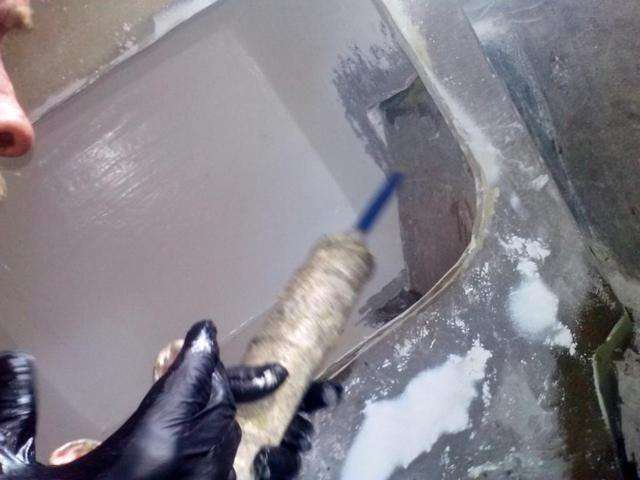
With the floor installed and fresh gelcoat all around, we feel good about running an epoxy bead and laying the roof in place.
We tried to keep the gelcoat away from the mating areas to ensure the closest fiberglass-to-fiberglass bond. The thick bead of epoxy will completely fill the gap once downward pressure it applied.
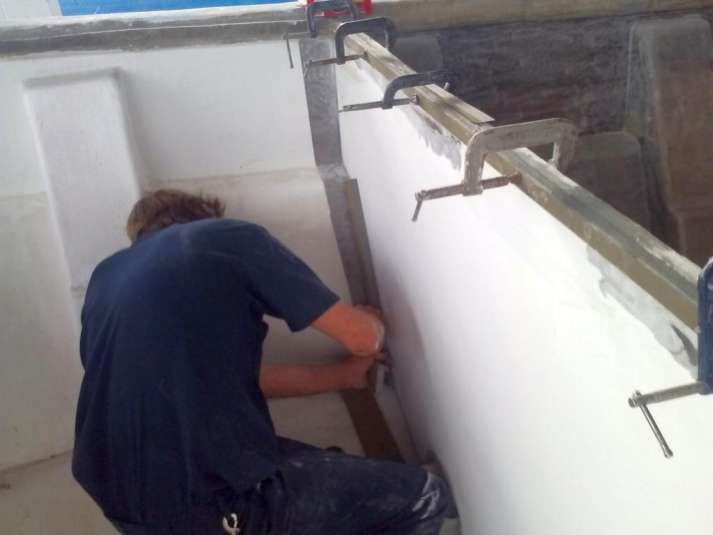
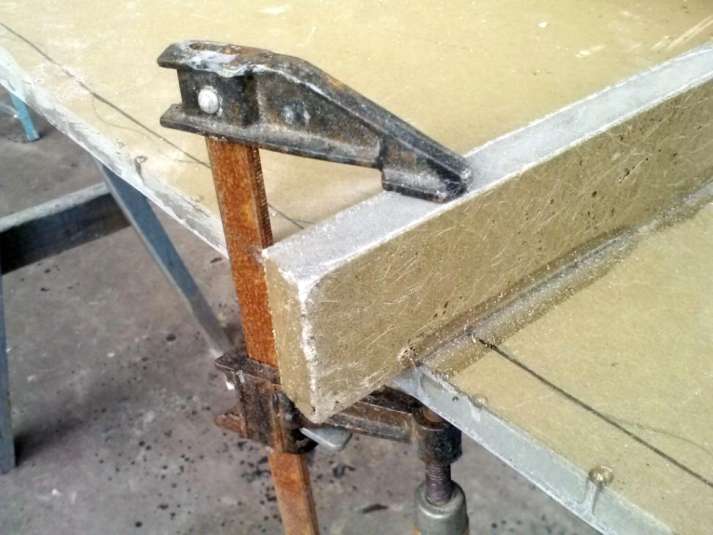
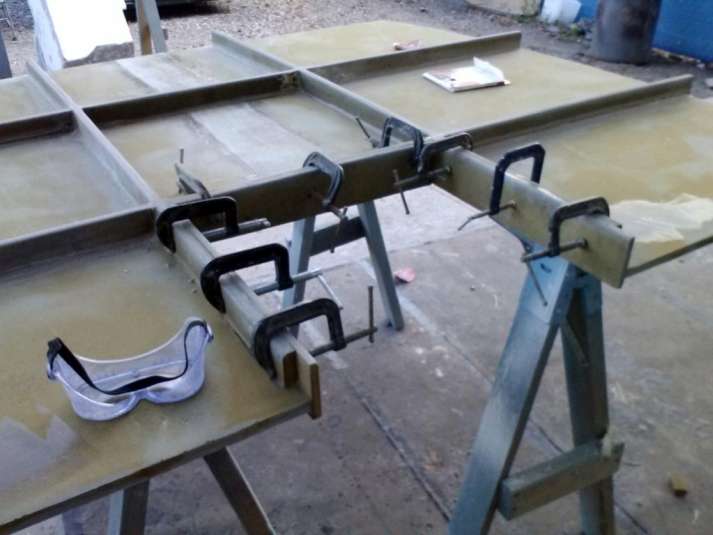
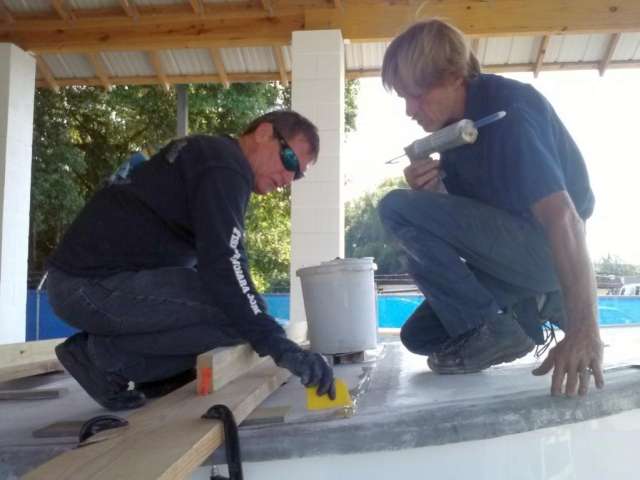
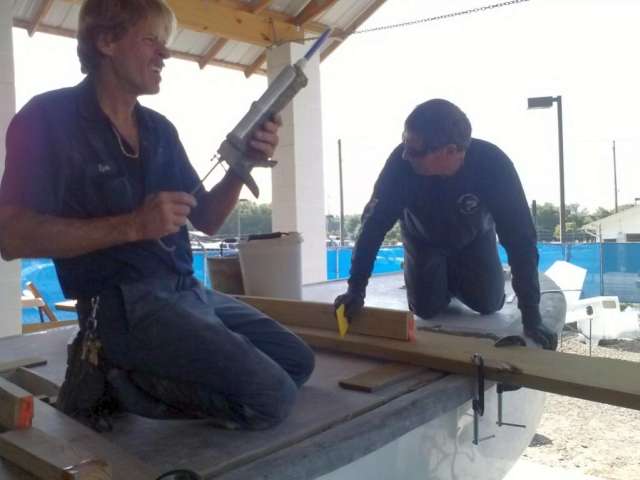
We devised another rig to press the roof sections into place.
This rig provides evenly-distributed pressure using 4-inch clamps and blocks of holding wood, pinned under a main horizontal plank.
The force is better distributed and the clamps allow for fine adjustment of the pressure so that a nice smoothly bowed curve is achieved. Plus we can re-use this rig when we get to the main floor panels.
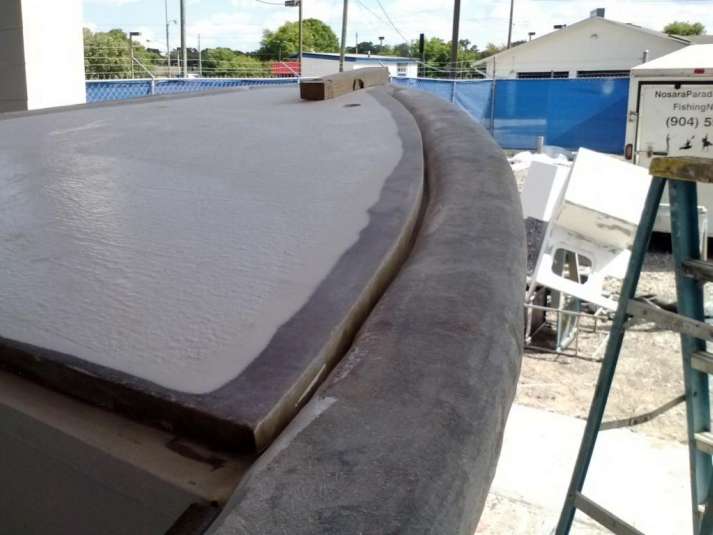
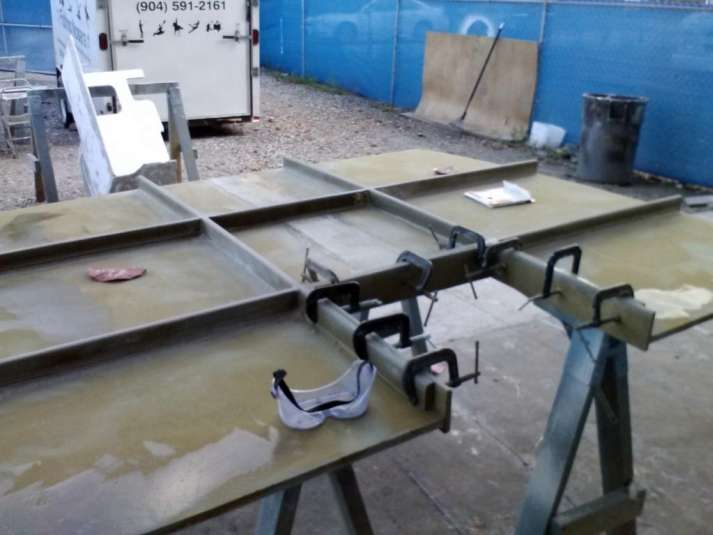
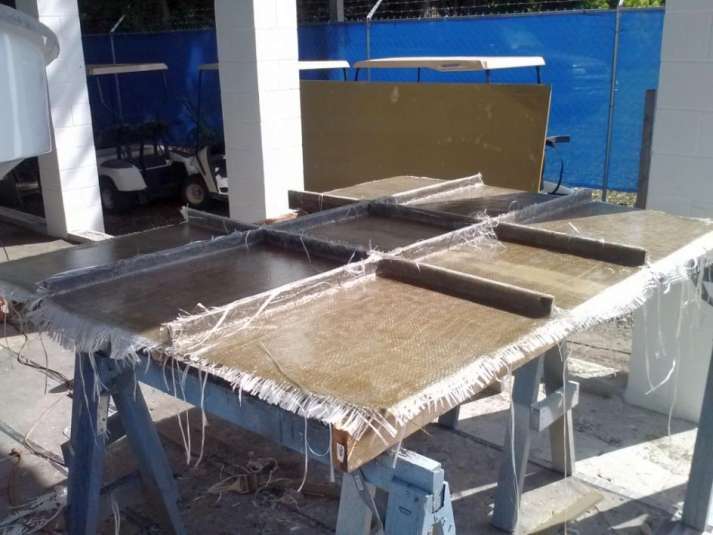
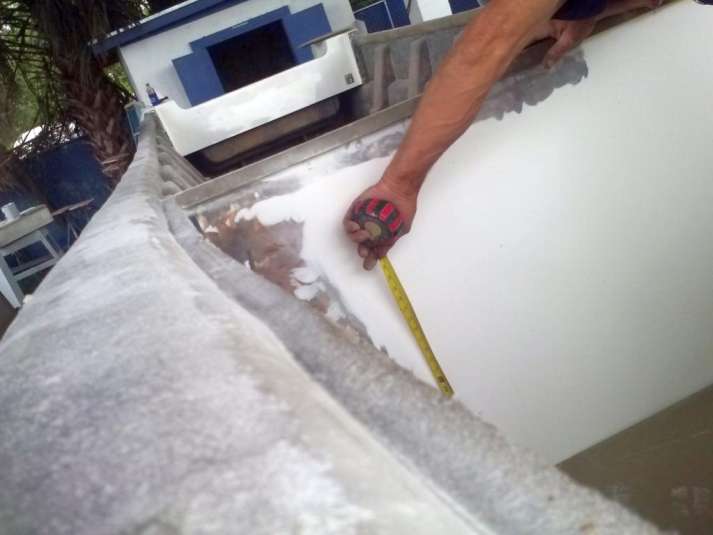
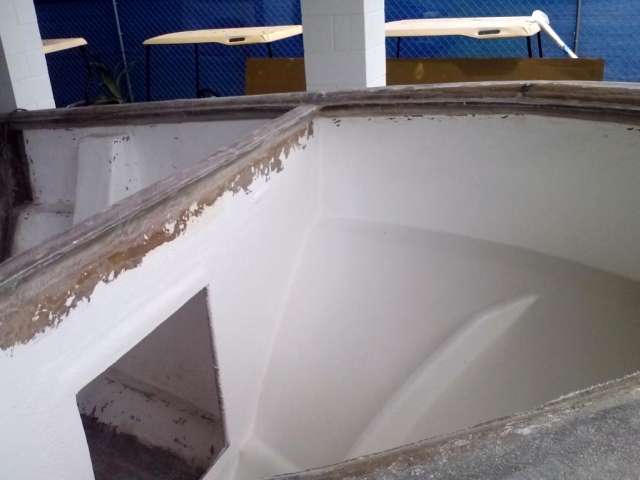
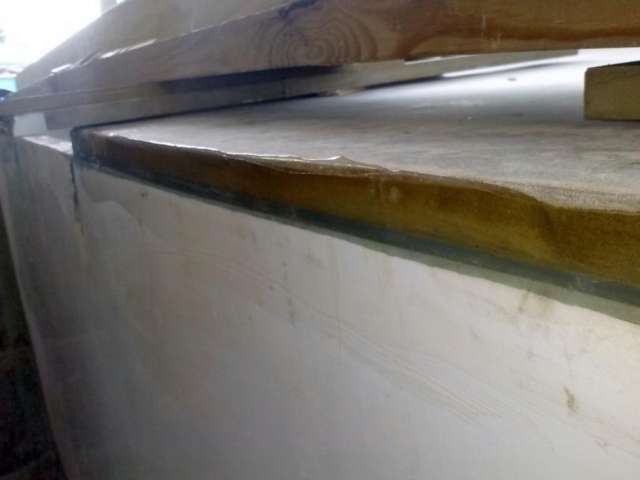
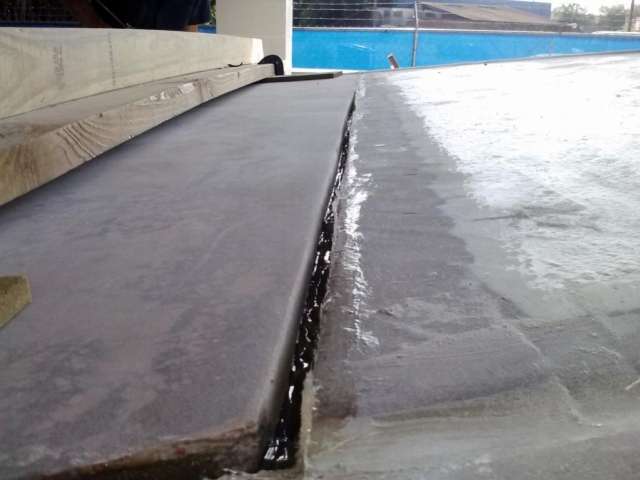
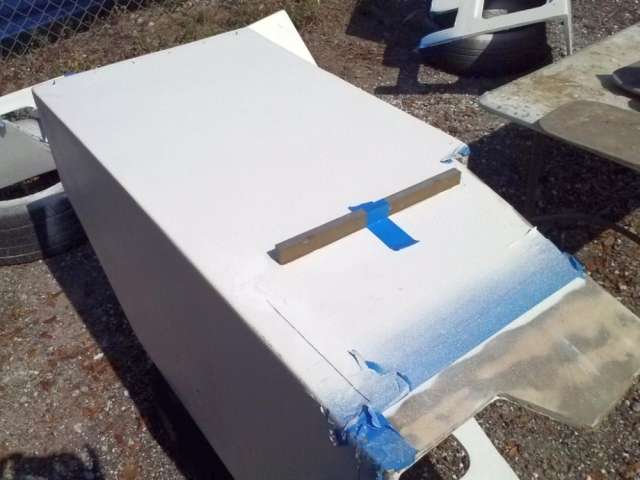
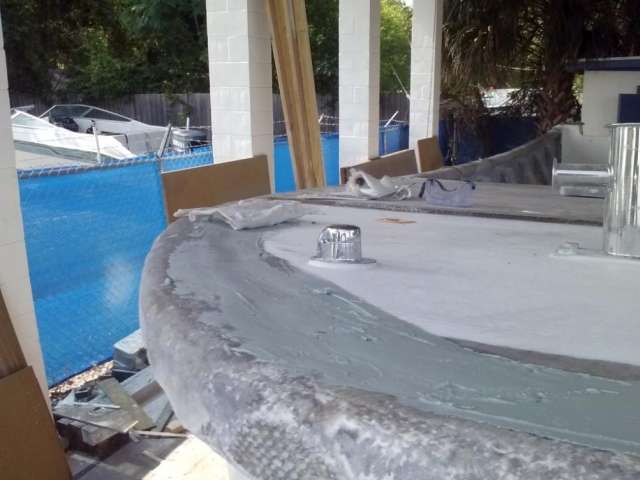
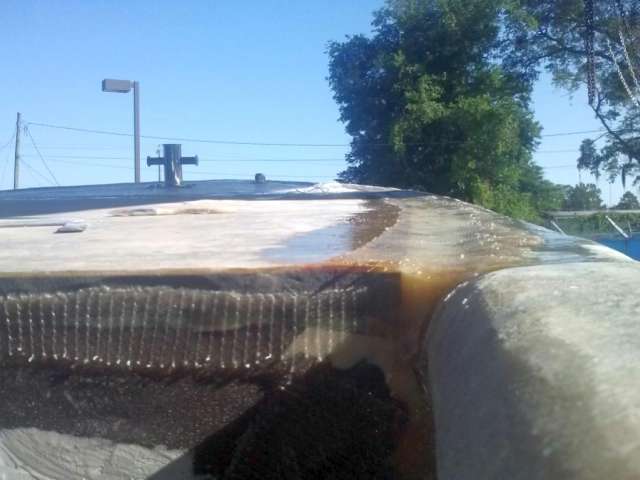
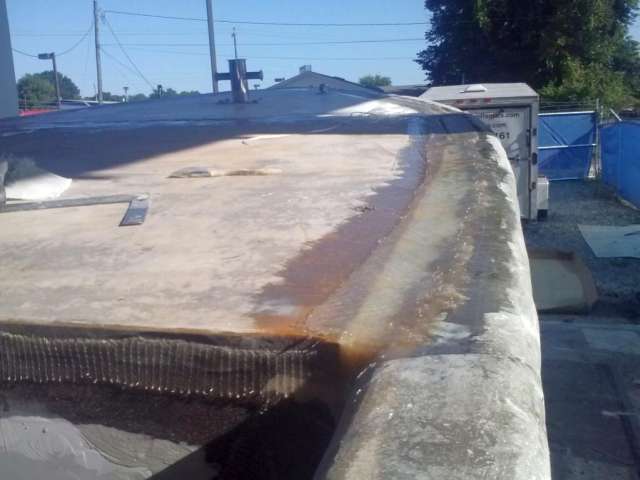
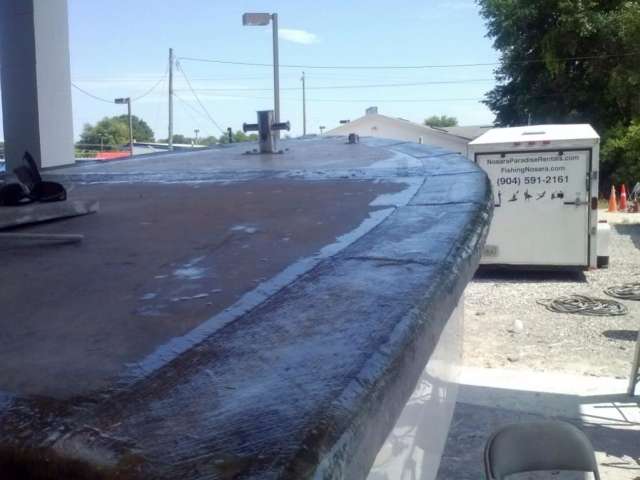
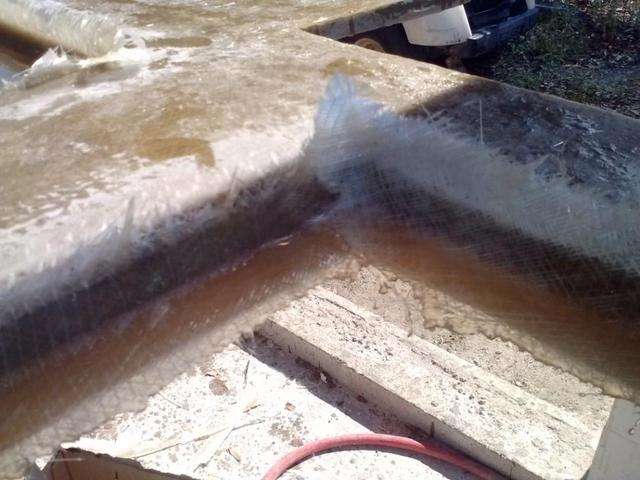
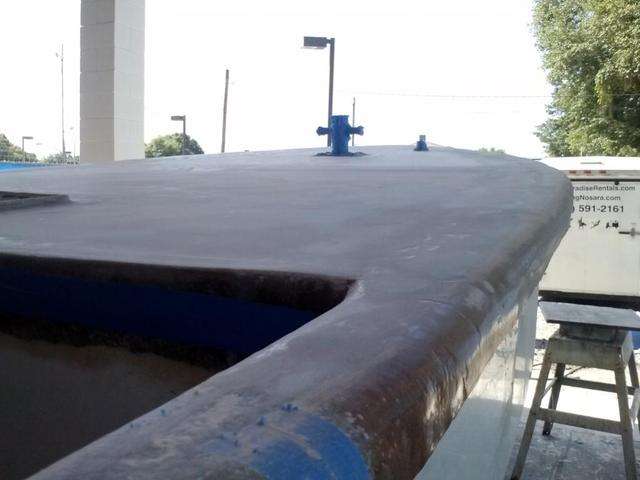
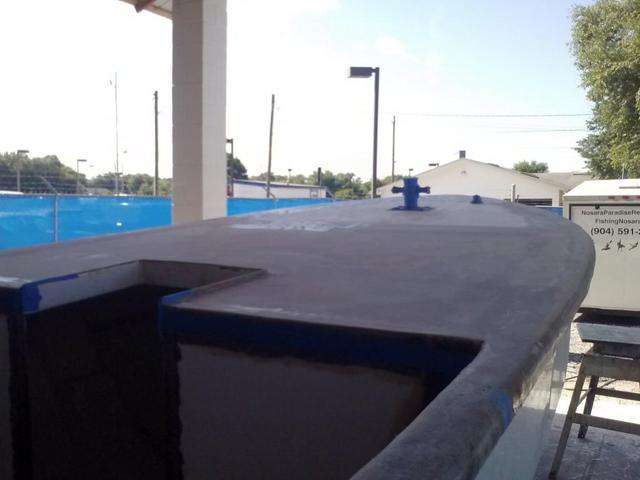
After a night for the epoxy to cure, the foredeck didn’t budge a hair when the clamping rig was removed. Here you can see the final product, ready for a few laps of fiberglass:

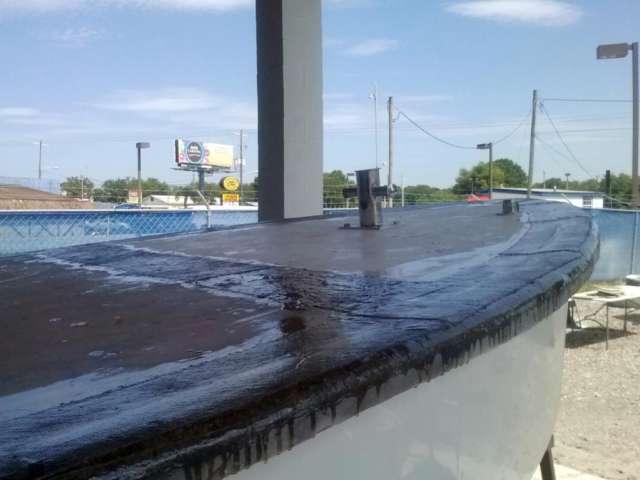
We repeated this procedure with the aft roof section and it also settled in perfectly.
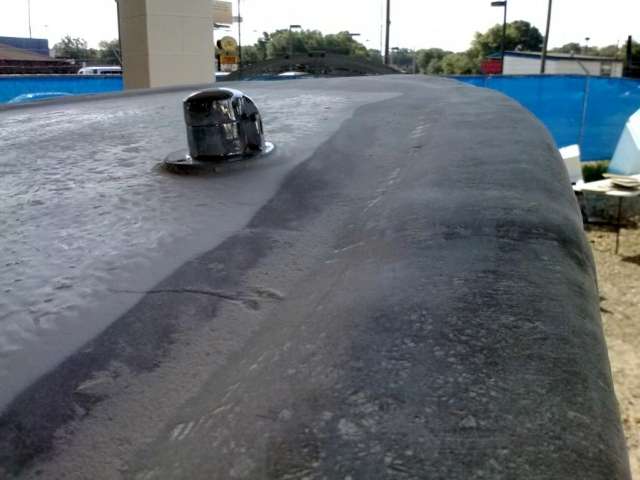
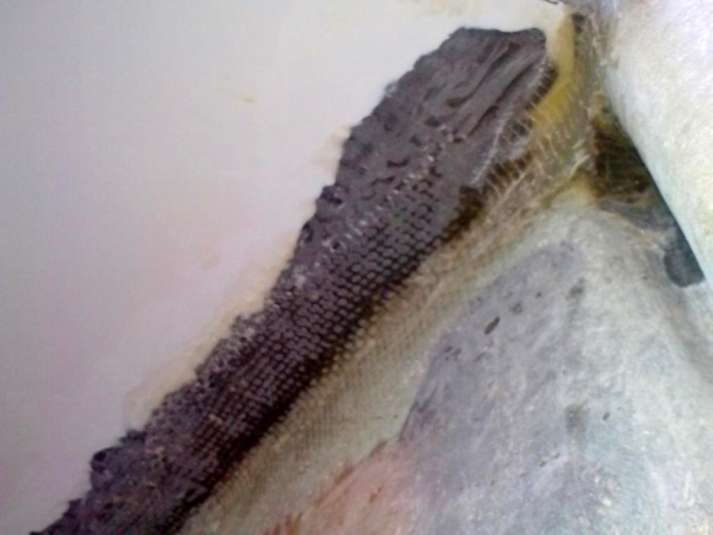
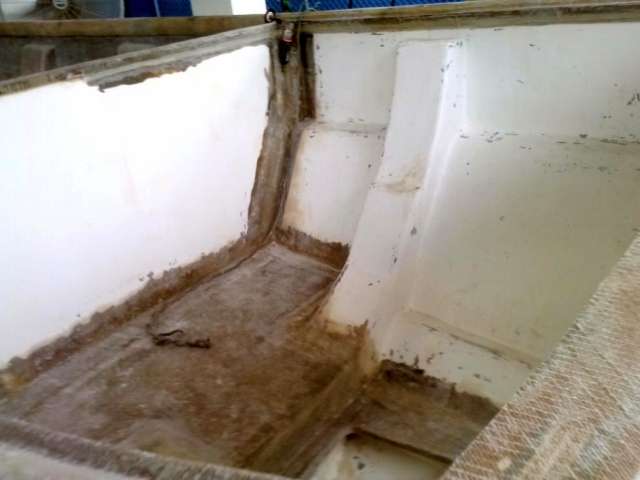
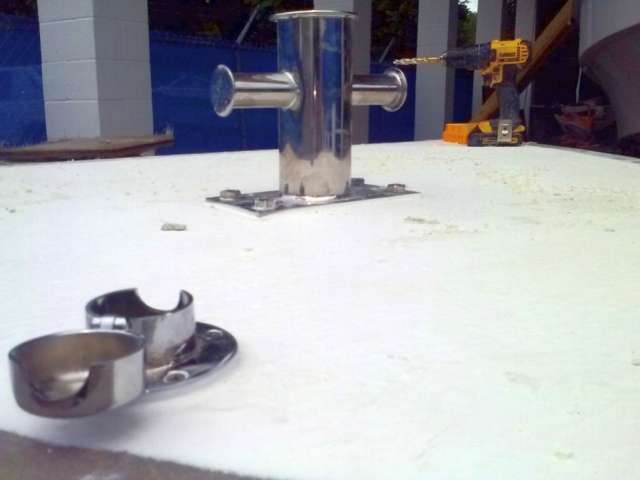
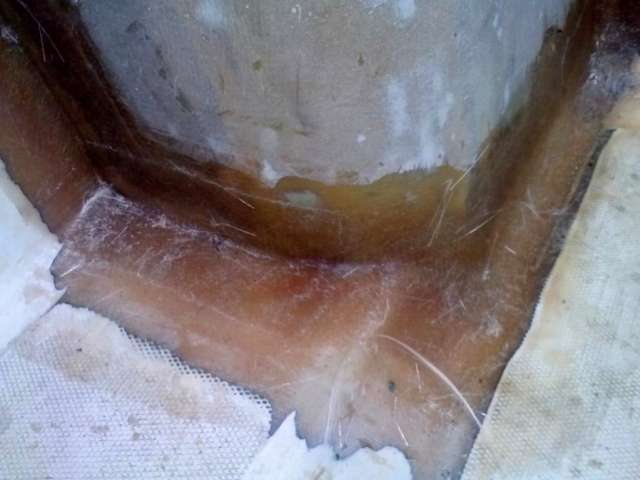
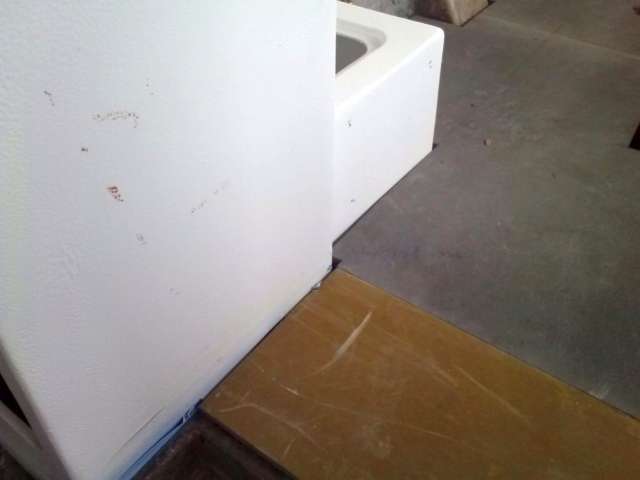
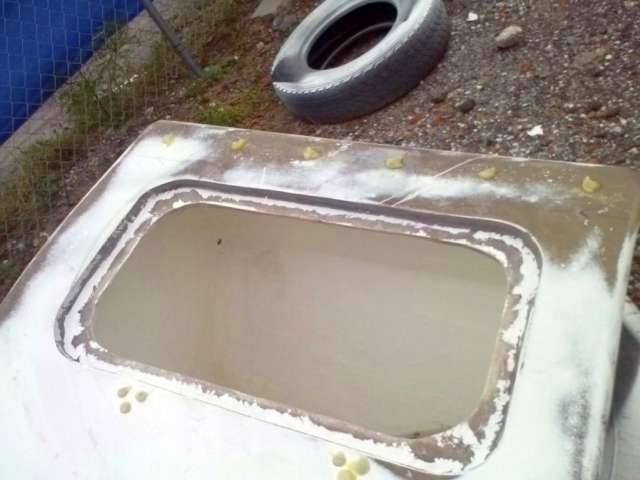
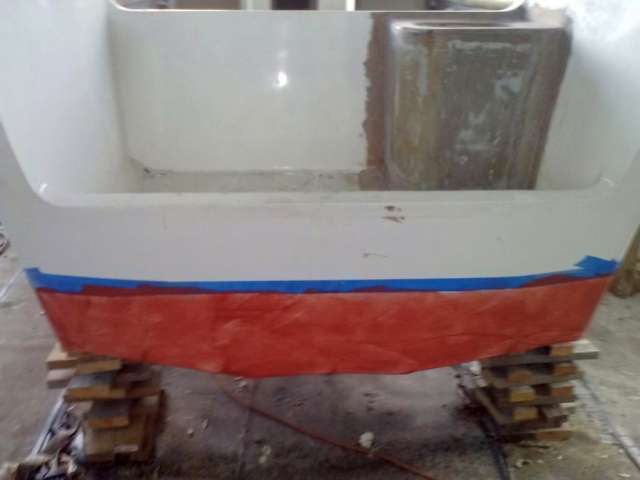
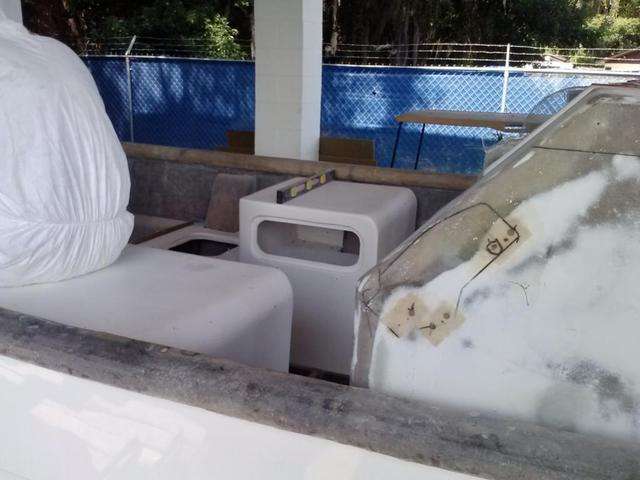
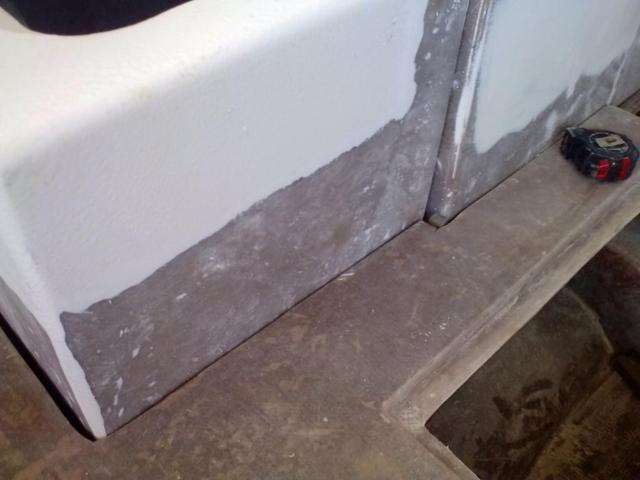
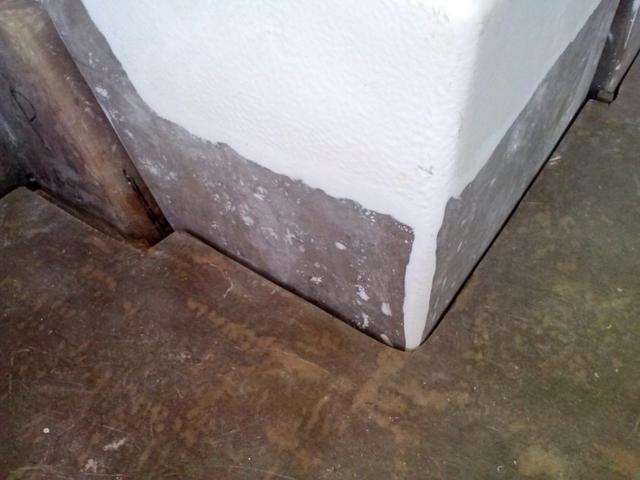
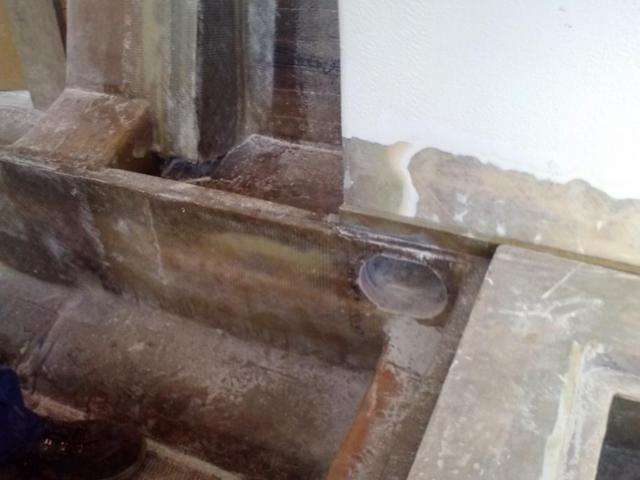
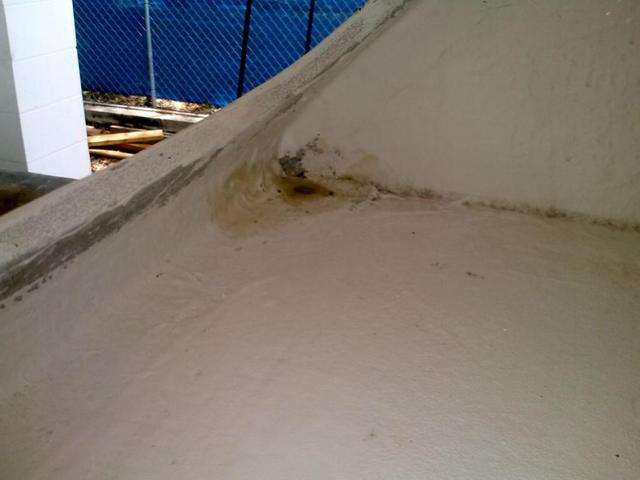
Our next steps are to place the consoles and coolers in preparation for the floor installation. It’s fun to see all the disparate pieces finally fitting together. For a teaser, check out how smoothly the livewell has mated to the hull:
More to come!
Alright, alright! We are close to making waves around here on The Harvester Project.
Now that we have the cabin built, it’s time to build the floor.
We are starting with the front floor so that we have a little more time to complete the plumbing and wiring runs in the back of the boat.
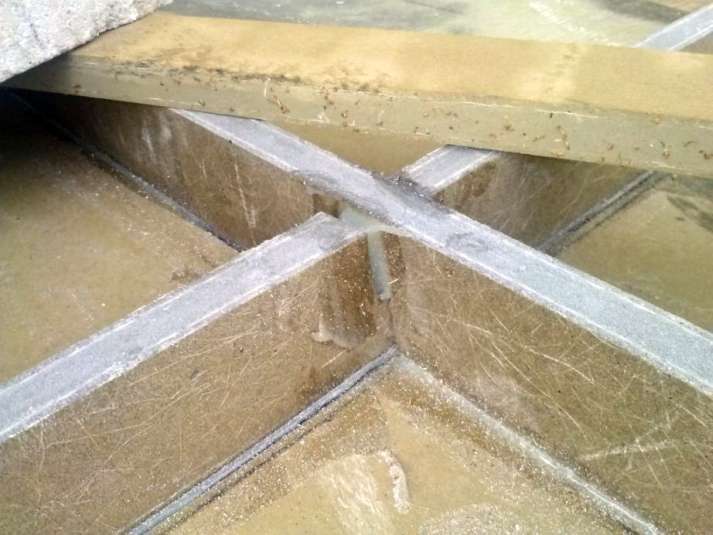
You can see that we half-lapped the edges to they lock together.
The epoxy provides plenty of strength, but the lapped seam gives us the extra toughness to the seam that we are looking for.
The next step will be to fiberglass this triple-piece with continuous layers of fiberglass, thus further unifying the strength of the overall piece.
This is also a good time to mock up the consoles, which let us set everything else level and put support lips for the forward facing seats.
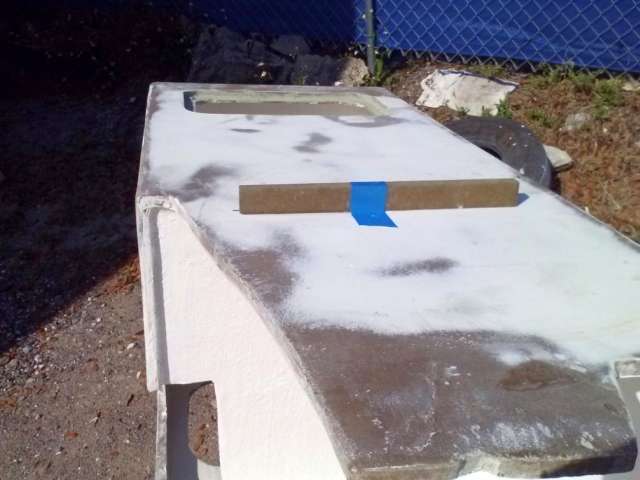
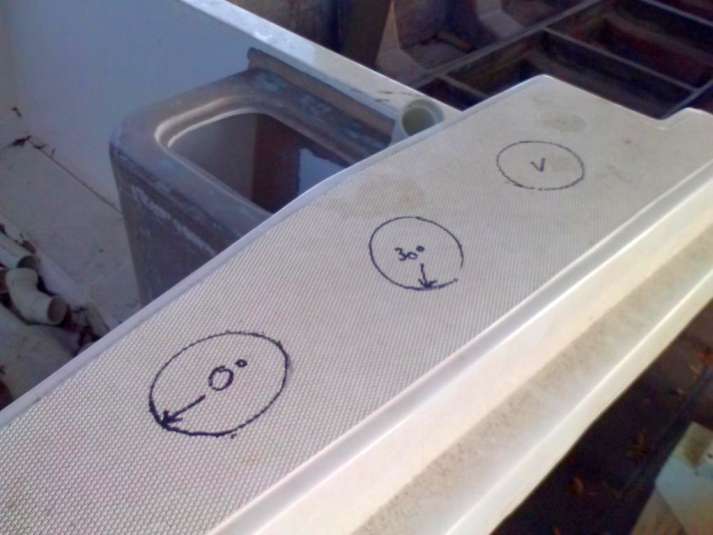
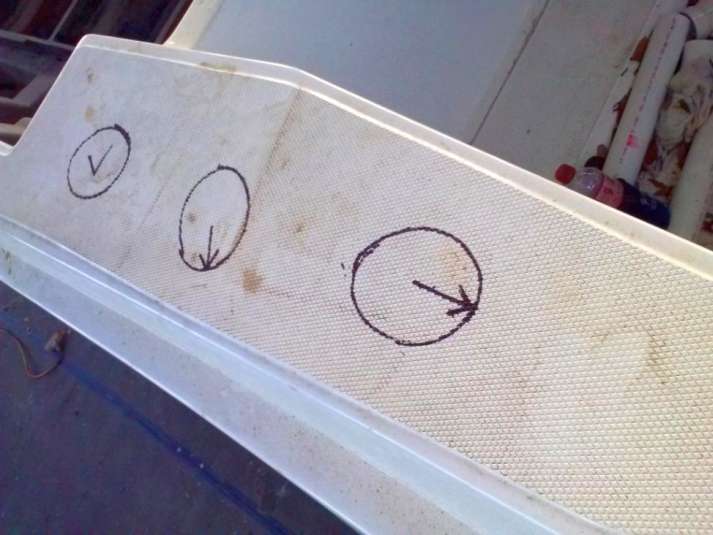
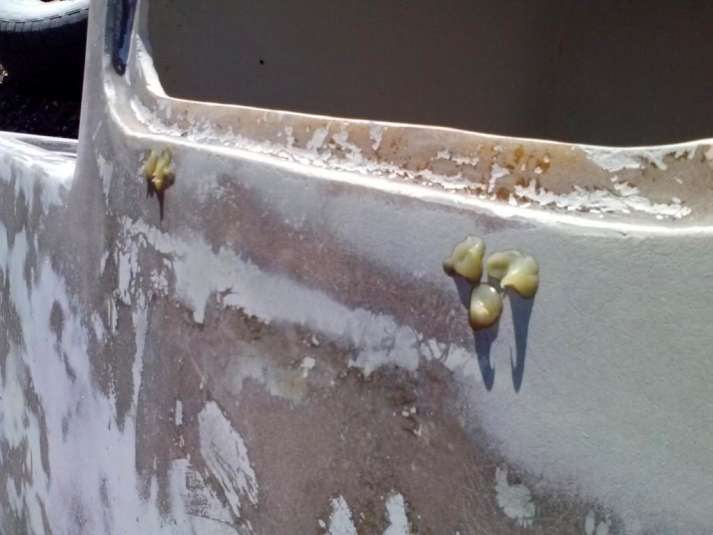
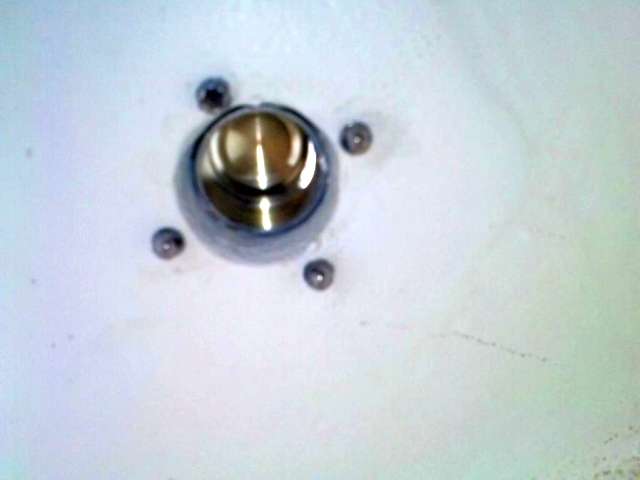
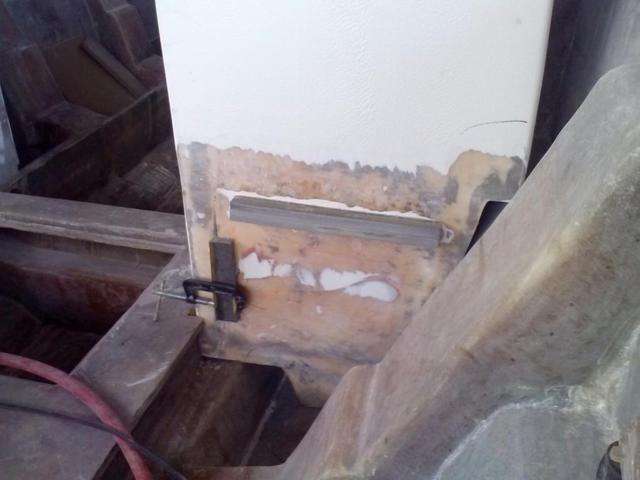
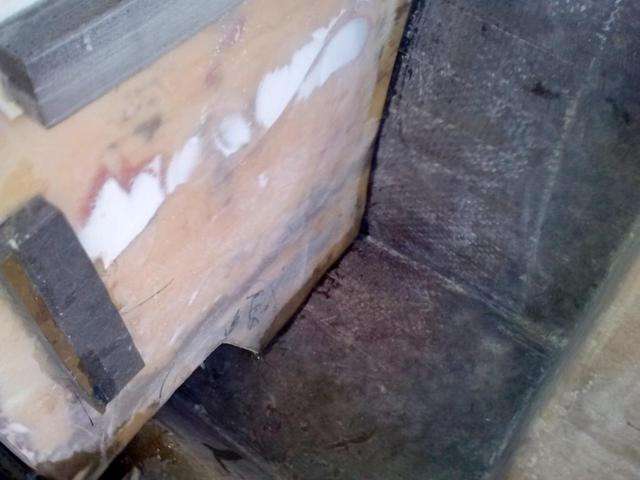
Elsewhere on the boat, we are thinking ahead by test fitting and epoxy sleeving the holes for the windshields and throttle assembly:
The upper line is the lower edge of the windshield; you can see all the sleeved holes where the bolt will affix the windshield.
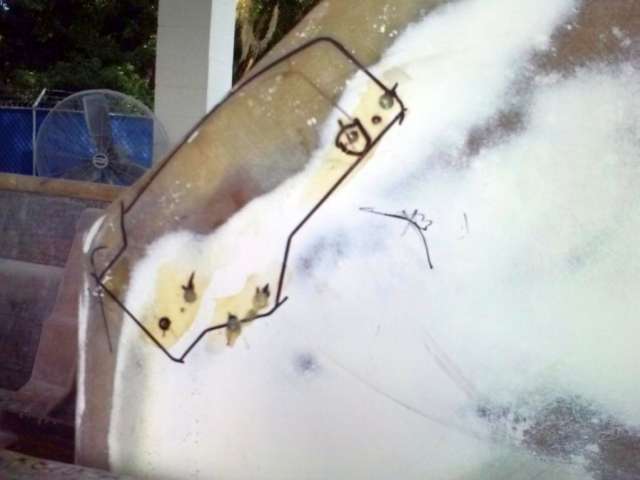
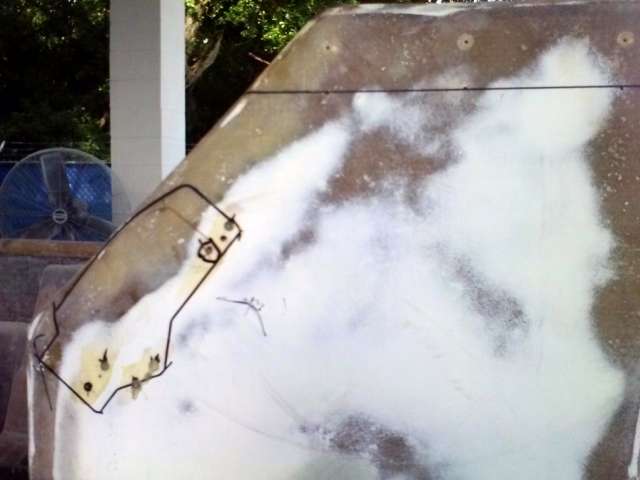
This will make it less destructive on the finished gelcoat when it is time to drill out these holes and install the hardware.
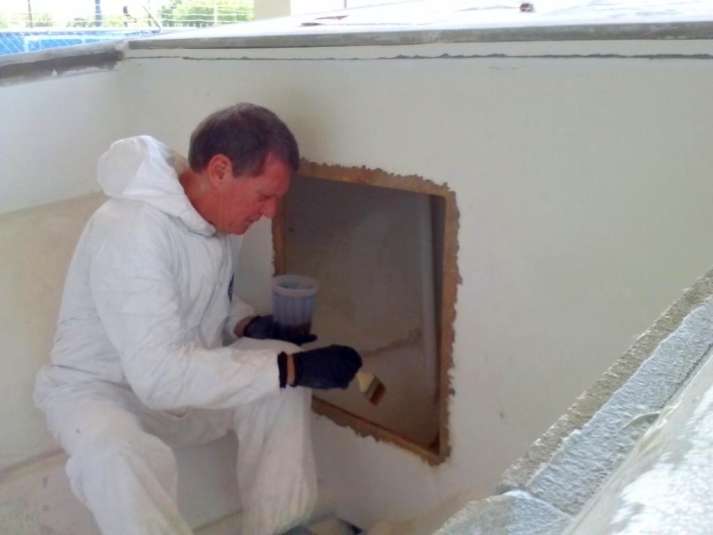
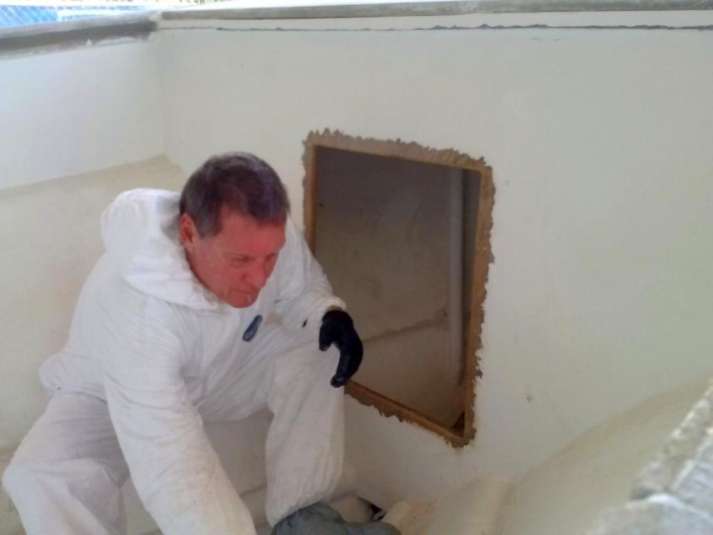
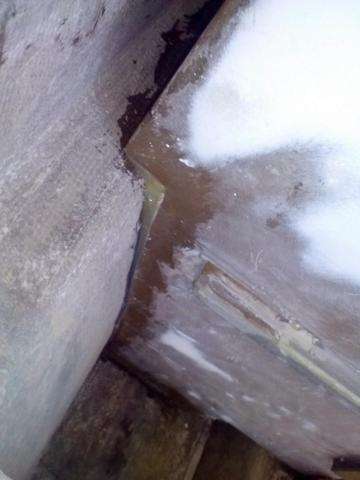
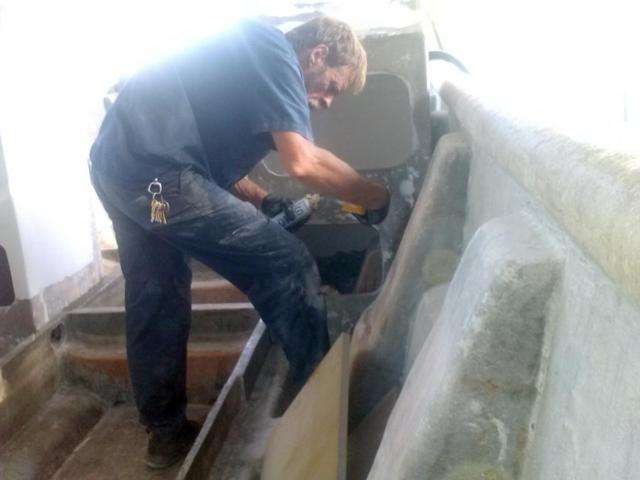
Also we are in the process of fortifying the cabin roof and cabin bulkheads with more fiberglass.
Starting to look like a boat though!
The clock is ticking until Kingfish season so all hands are on deck this week on The Harvester Project.
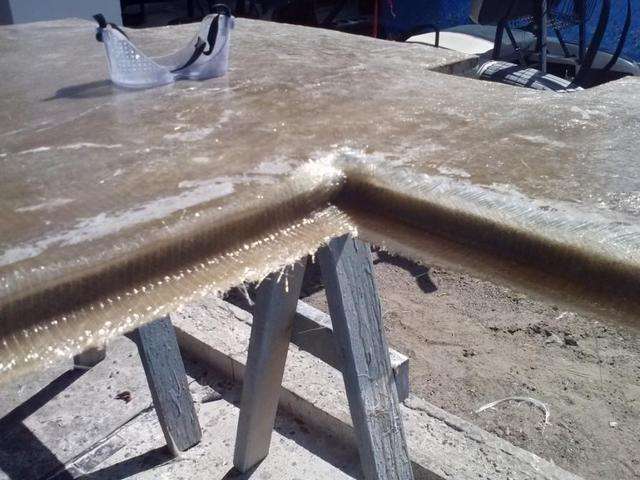
The primary priority right now is to complete the union of the cabin roof, the foredeck, and the cabin bulkhead.

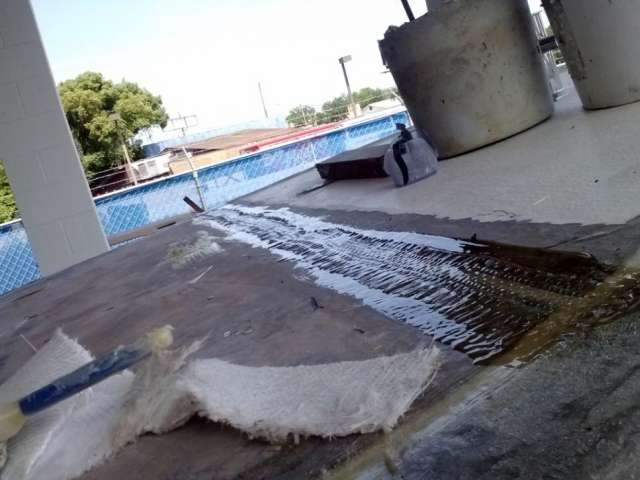
We are employing a 4 layer method to these unions. The main strength comes from a strip of Woven roven, then two courses of biaxial enhance the strength and create the general shape of the curve.


The fourth and final layer of is chop strand mat which we can easily sand and shape to create a smooth curve.

Meanwhile Brian completed the construction of the front floor and wrapped both sides with a similar 4 layer approach.


Also we received our brand new trailer from Magic Tilt Trailers
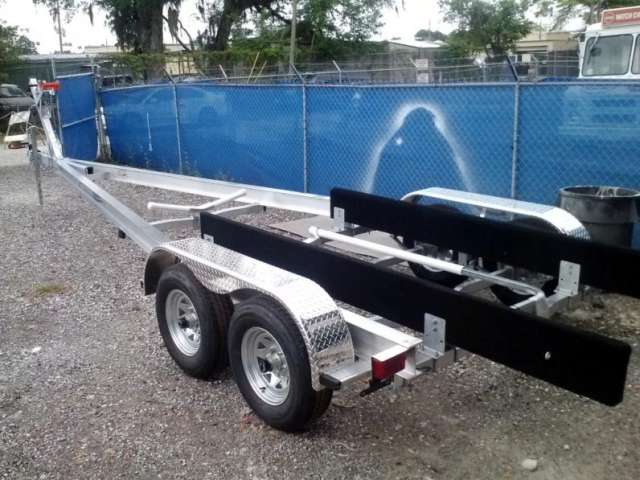
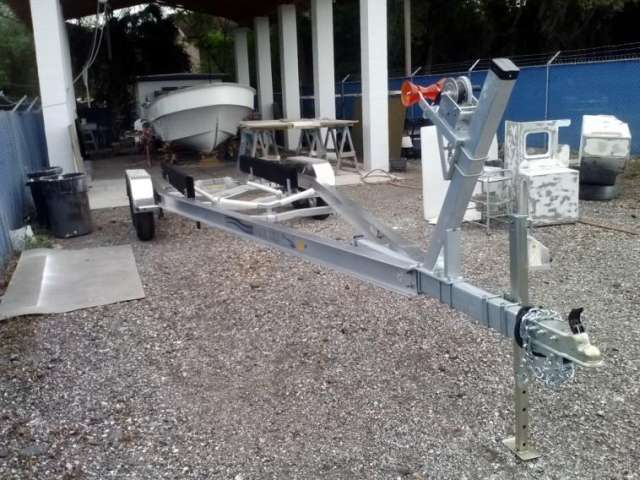
It’s the same model as the Discoverer trailer and we know that it is perfect to take on the conditions of our beach launches in Costa Rica:
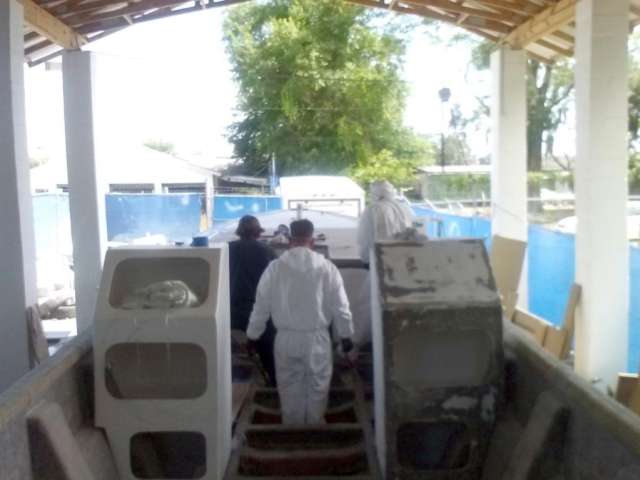
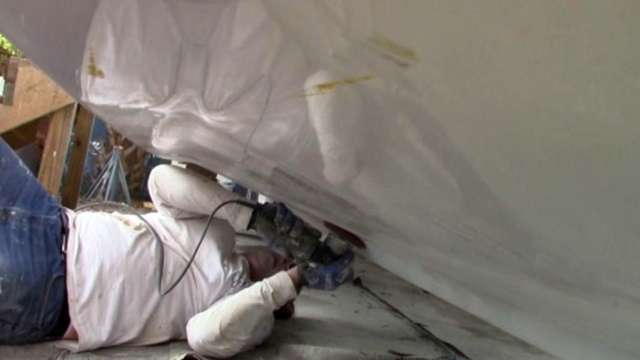
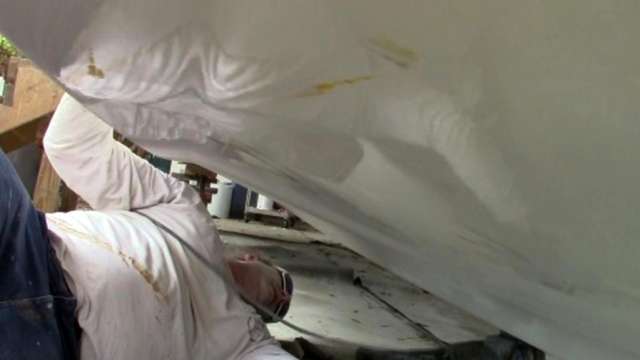
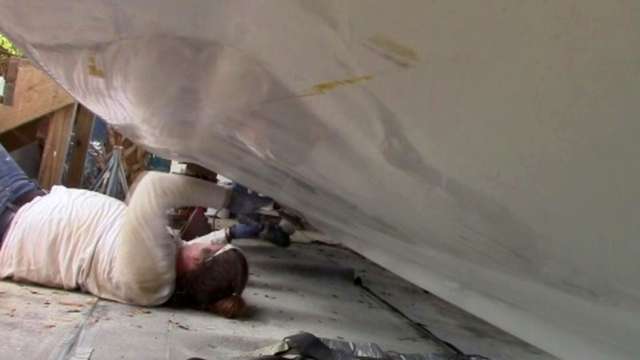
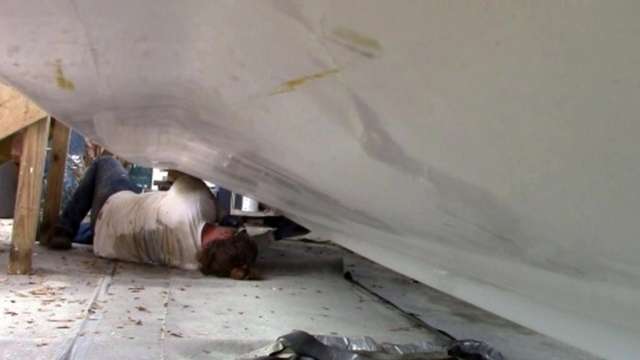
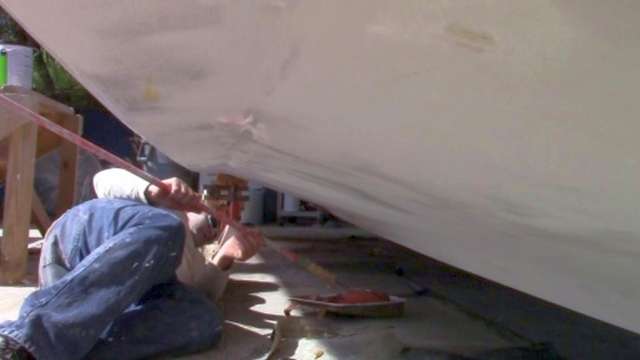
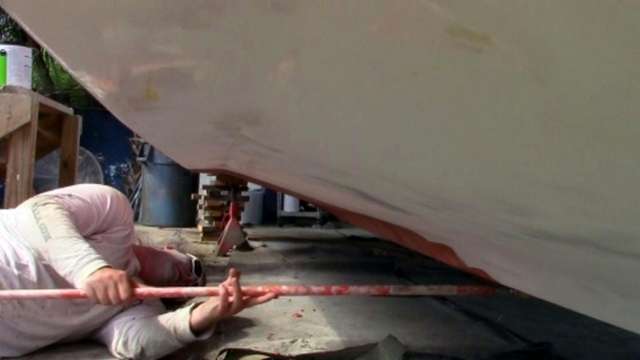
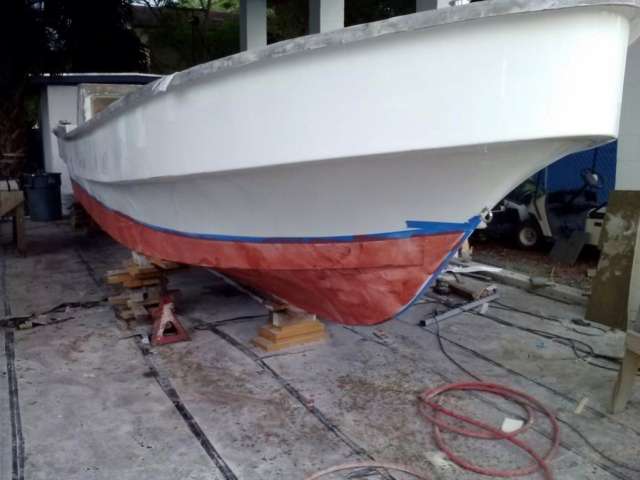
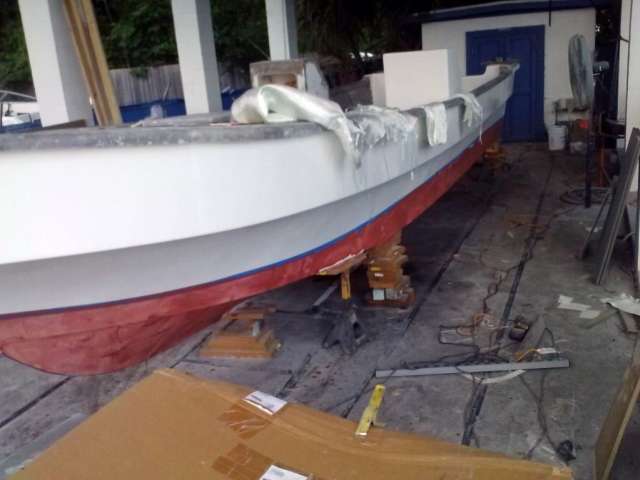
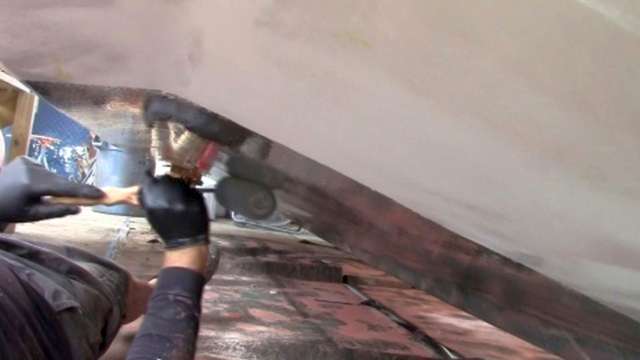
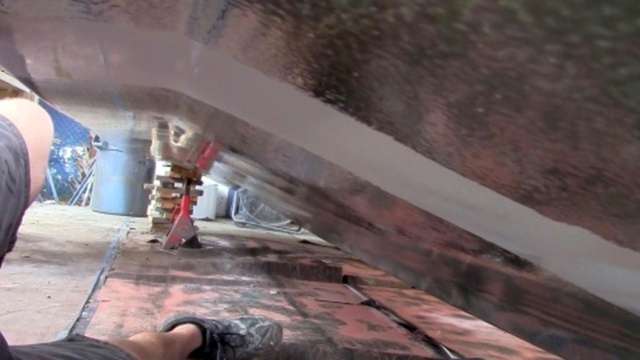
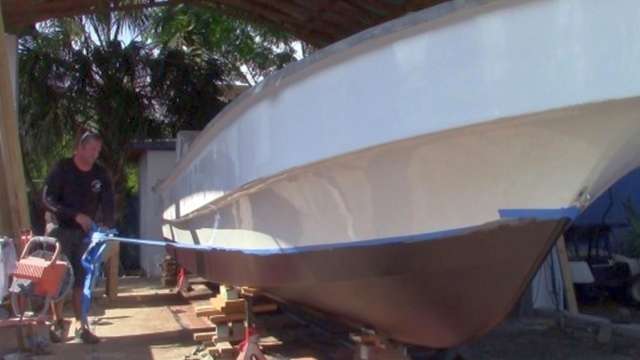
Since we have the trailer now, it’s only a matter of time until it’s time to use it. Therefore we took two days of from fiberglass in order to sand, prime, and paint the bottom of the Harvester
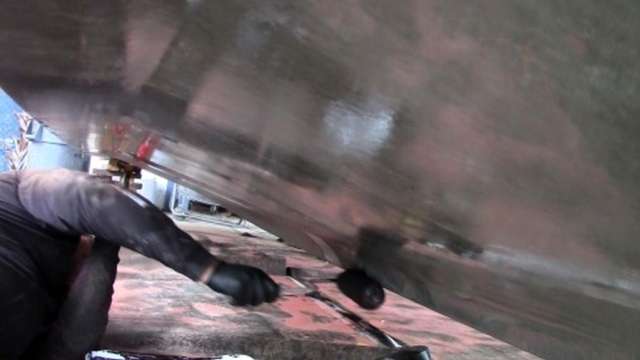
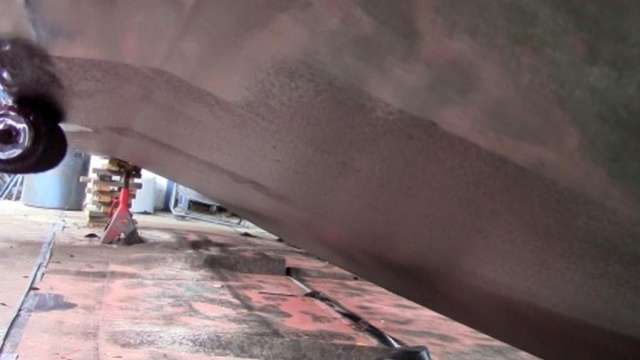
We used Interlux Bottomkote with it’s companion no-sand primer. First we use 80 grit sand paper to scuff the outer surface of the gelcoat.
This create a lot of gelcoat dust that is infused with mold release wax from the factory mold. The primer won’t set up properly with all that wax on the surface, so Interlux makes a fiberglass prep solvent.
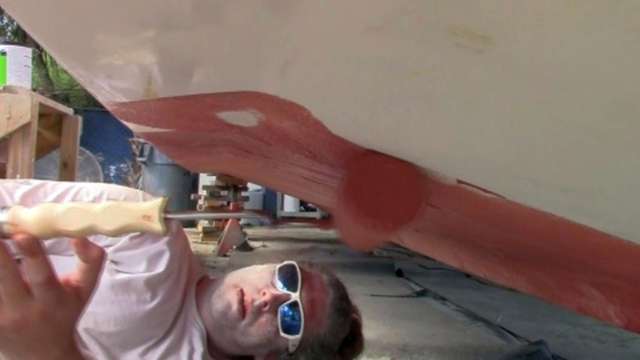
The citrus-based solvent sets up like thick wet clay overnight, then we hit it with a pressure washer until the water sheets off; if it beads up then you know there is still wax on the surface.
Traditional primer requires time to dry and cure, then you have to scuff it just like the original gelcoat. The trick with no-sand primer (also called skip-sand) is that you must be ready to apply the bottom paint while the primer is still tacking.
When you can leave a fingerprint in the primer without any getting on your finger, then it is just right.
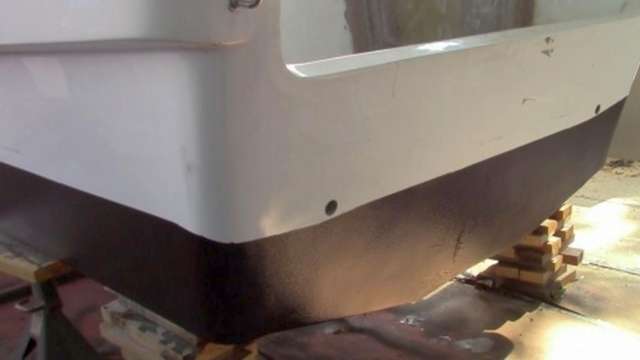
Now that this is finished we can put the boat on the trailer and only have to apply bottom paint to the half-dozen or so spots where the boat stands meet the hull.


We are hoping to finish up the cabin and get the front floor installed this week so we can move on to the simultaneous rigging/installing of the consoles and the rear plumbing.
We are getting excited and looking forward to more good progress on The Harvester Project!
June 5, 2015 – Day 205
It’s been a hot week as we are measuring our progress in pounds of sweat as much as gallons of fiberglass resin. The Harvester Project is plowing forward at full speed.
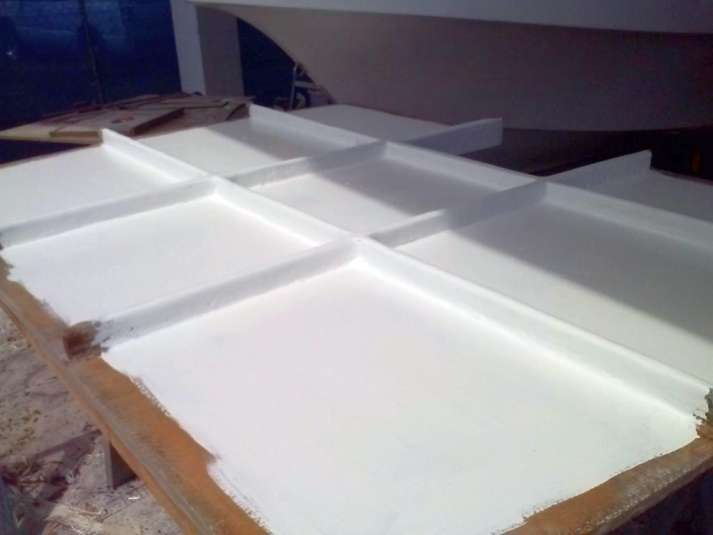
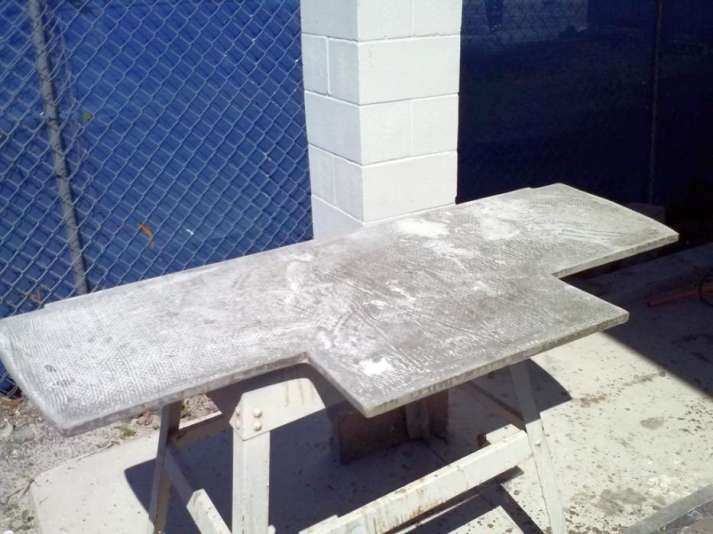
The front floor section is completed. with both hatches cut and fitted.
Also we have it fully sanded and ready to be epoxied to the stringers.
This gives us a chance to put all the components into the boat and make sure that everything still fits right.

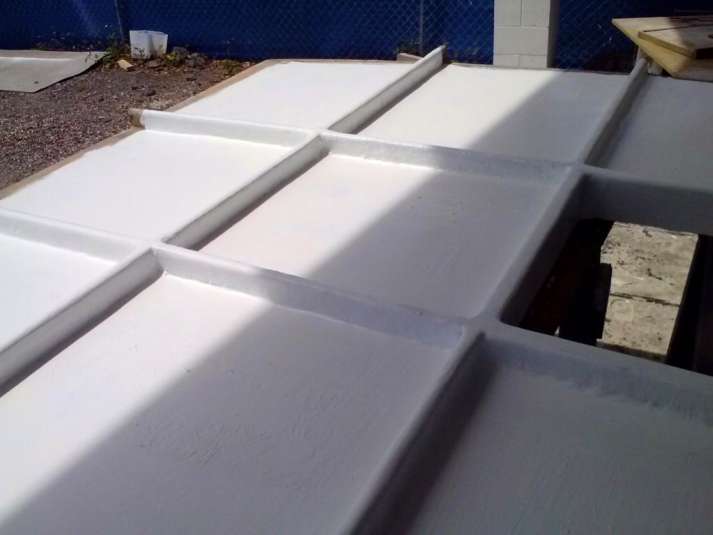
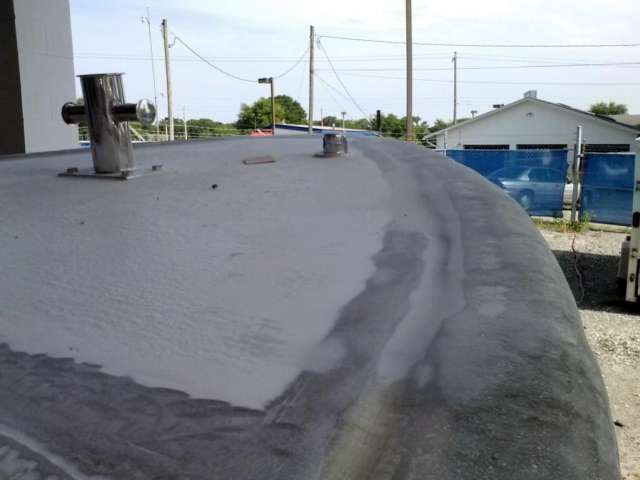
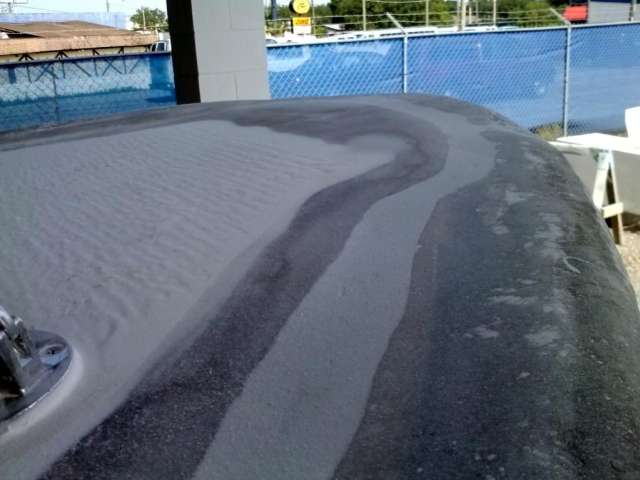
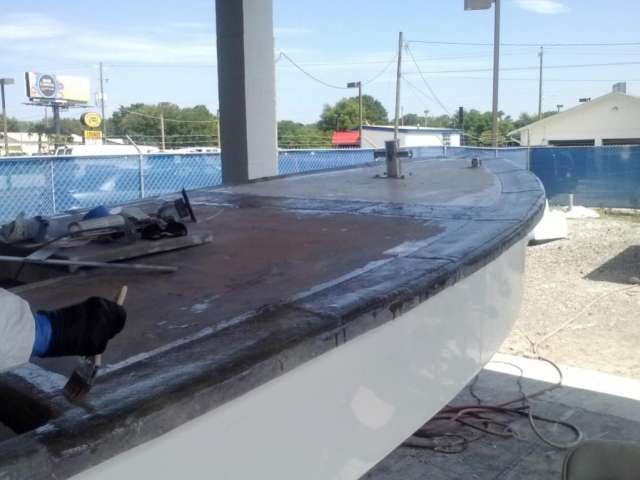
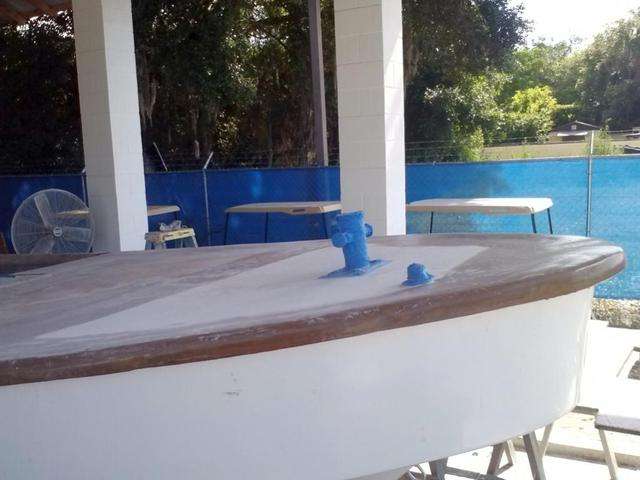
The foredeck is sanded flat and will look really good with a fresh layer of gelcoat laid on it.

Confident with the front floor construction, Brian has fabricated the rear floor.
We are in process of wrapping the rear floor sections in fiberglass and preparing the consoles, coolers, and seats for final installation sometime next week.
It’s great to see her look more and more boat-like as we keep on jamming on The Harvester Project.
June 17, 2015 – Day 217
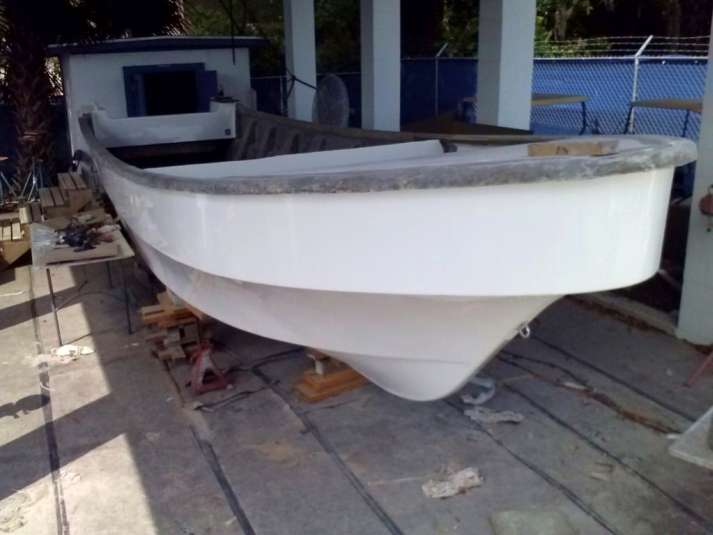
We’ve reached a major milestone on The Harvester Project!
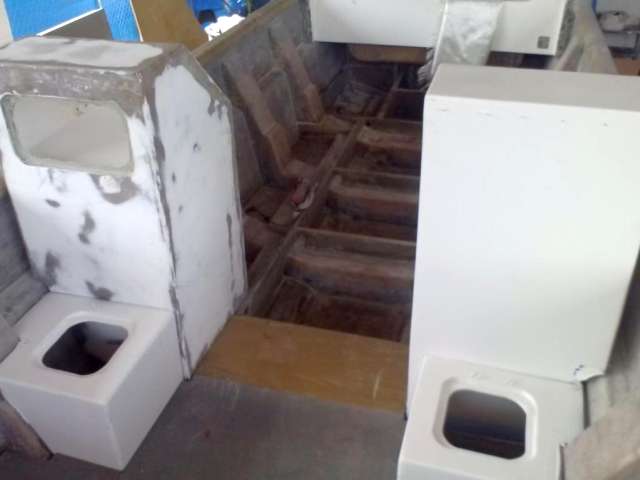
The last seven months has gotten us to the point where all the pieces are built, fiberglassed, measured, and ready for install…basically we have this:
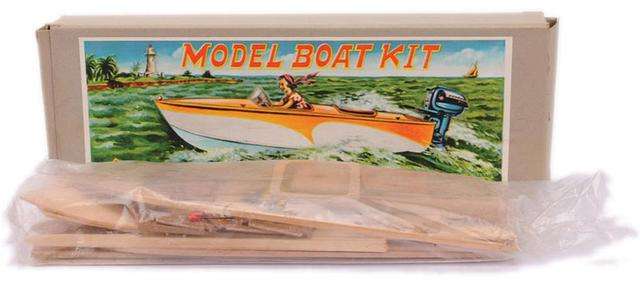
Much like a model kit, the order of installation is key to make sure that everything fits right.

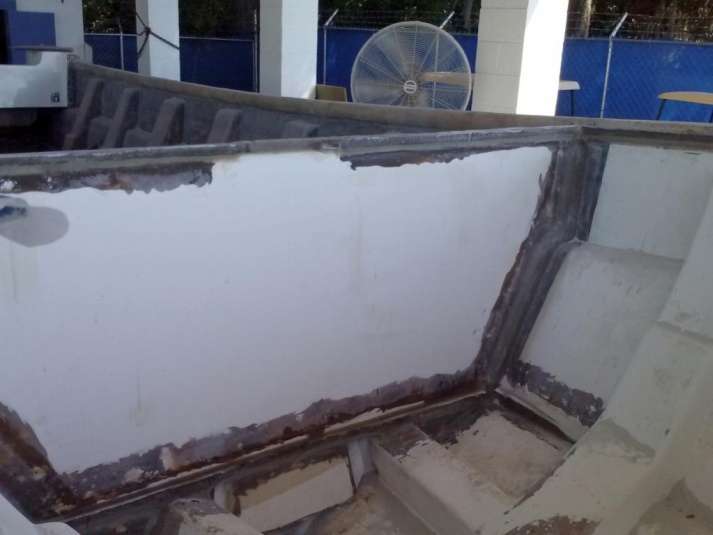
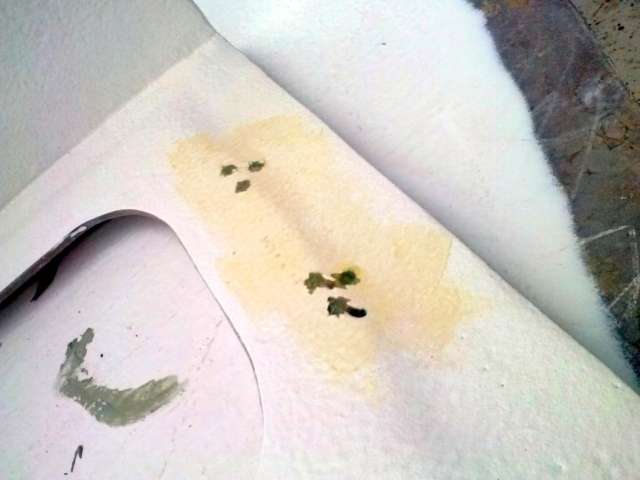
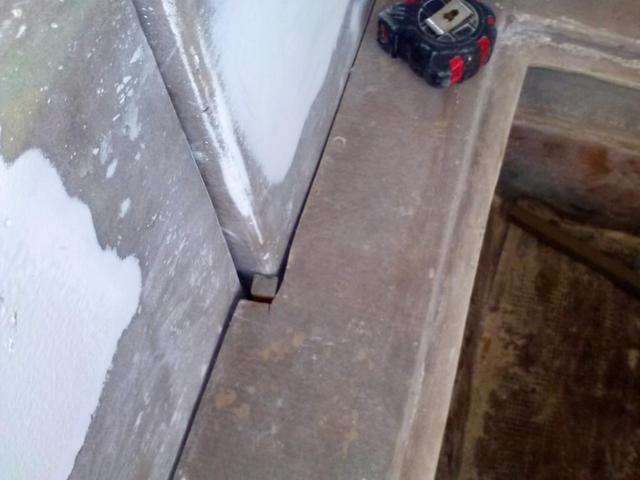
During the final test fit we found that some of the gaps are a little too big for the epoxy to traverse, so we slid some Coosa wood shims in place to fill the voids.
We have also sanded back the gelcoat on all of the pieces about 4 inches to allow for fiberglass to wrap them into place.
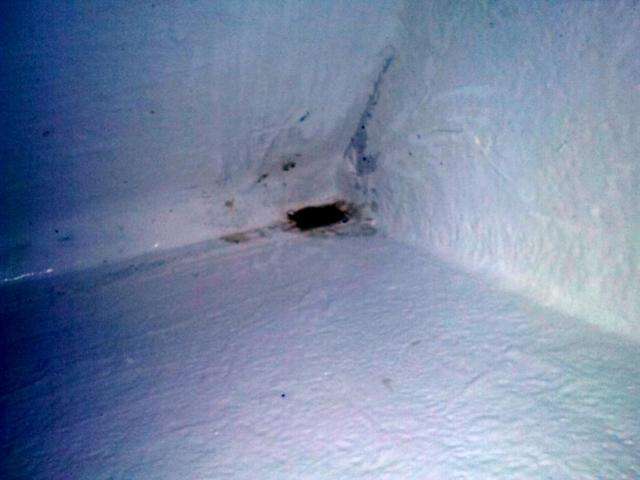
This was a good time to address little details that would be a pain once the consoles are installed; for instance, we plumbed a series of small drain holes so that the console cavities all drain down into the bilge.
Confident that everything is level and tight-fitting, we use 610 Epoxy to glue the consoles into place.
The epoxy takes 24 hours to fully cure, but we aren’t twiddling thumbs waiting on glue to dry: Craig is still plowing along on the universe of deck lids, hatches, and trim pieces that still require fiberglass.

We hope to simultaneously add fiberglass wraps to the consoles (where they meet the hull) and continue gluing down the coolers, seats, and floors…looks like we’ll need a few more tubes of this:

Of course once that’s finished it will be time for this:

The Harvester Project…just like a model boat, only at 1:1 scale!