March 22, 2023
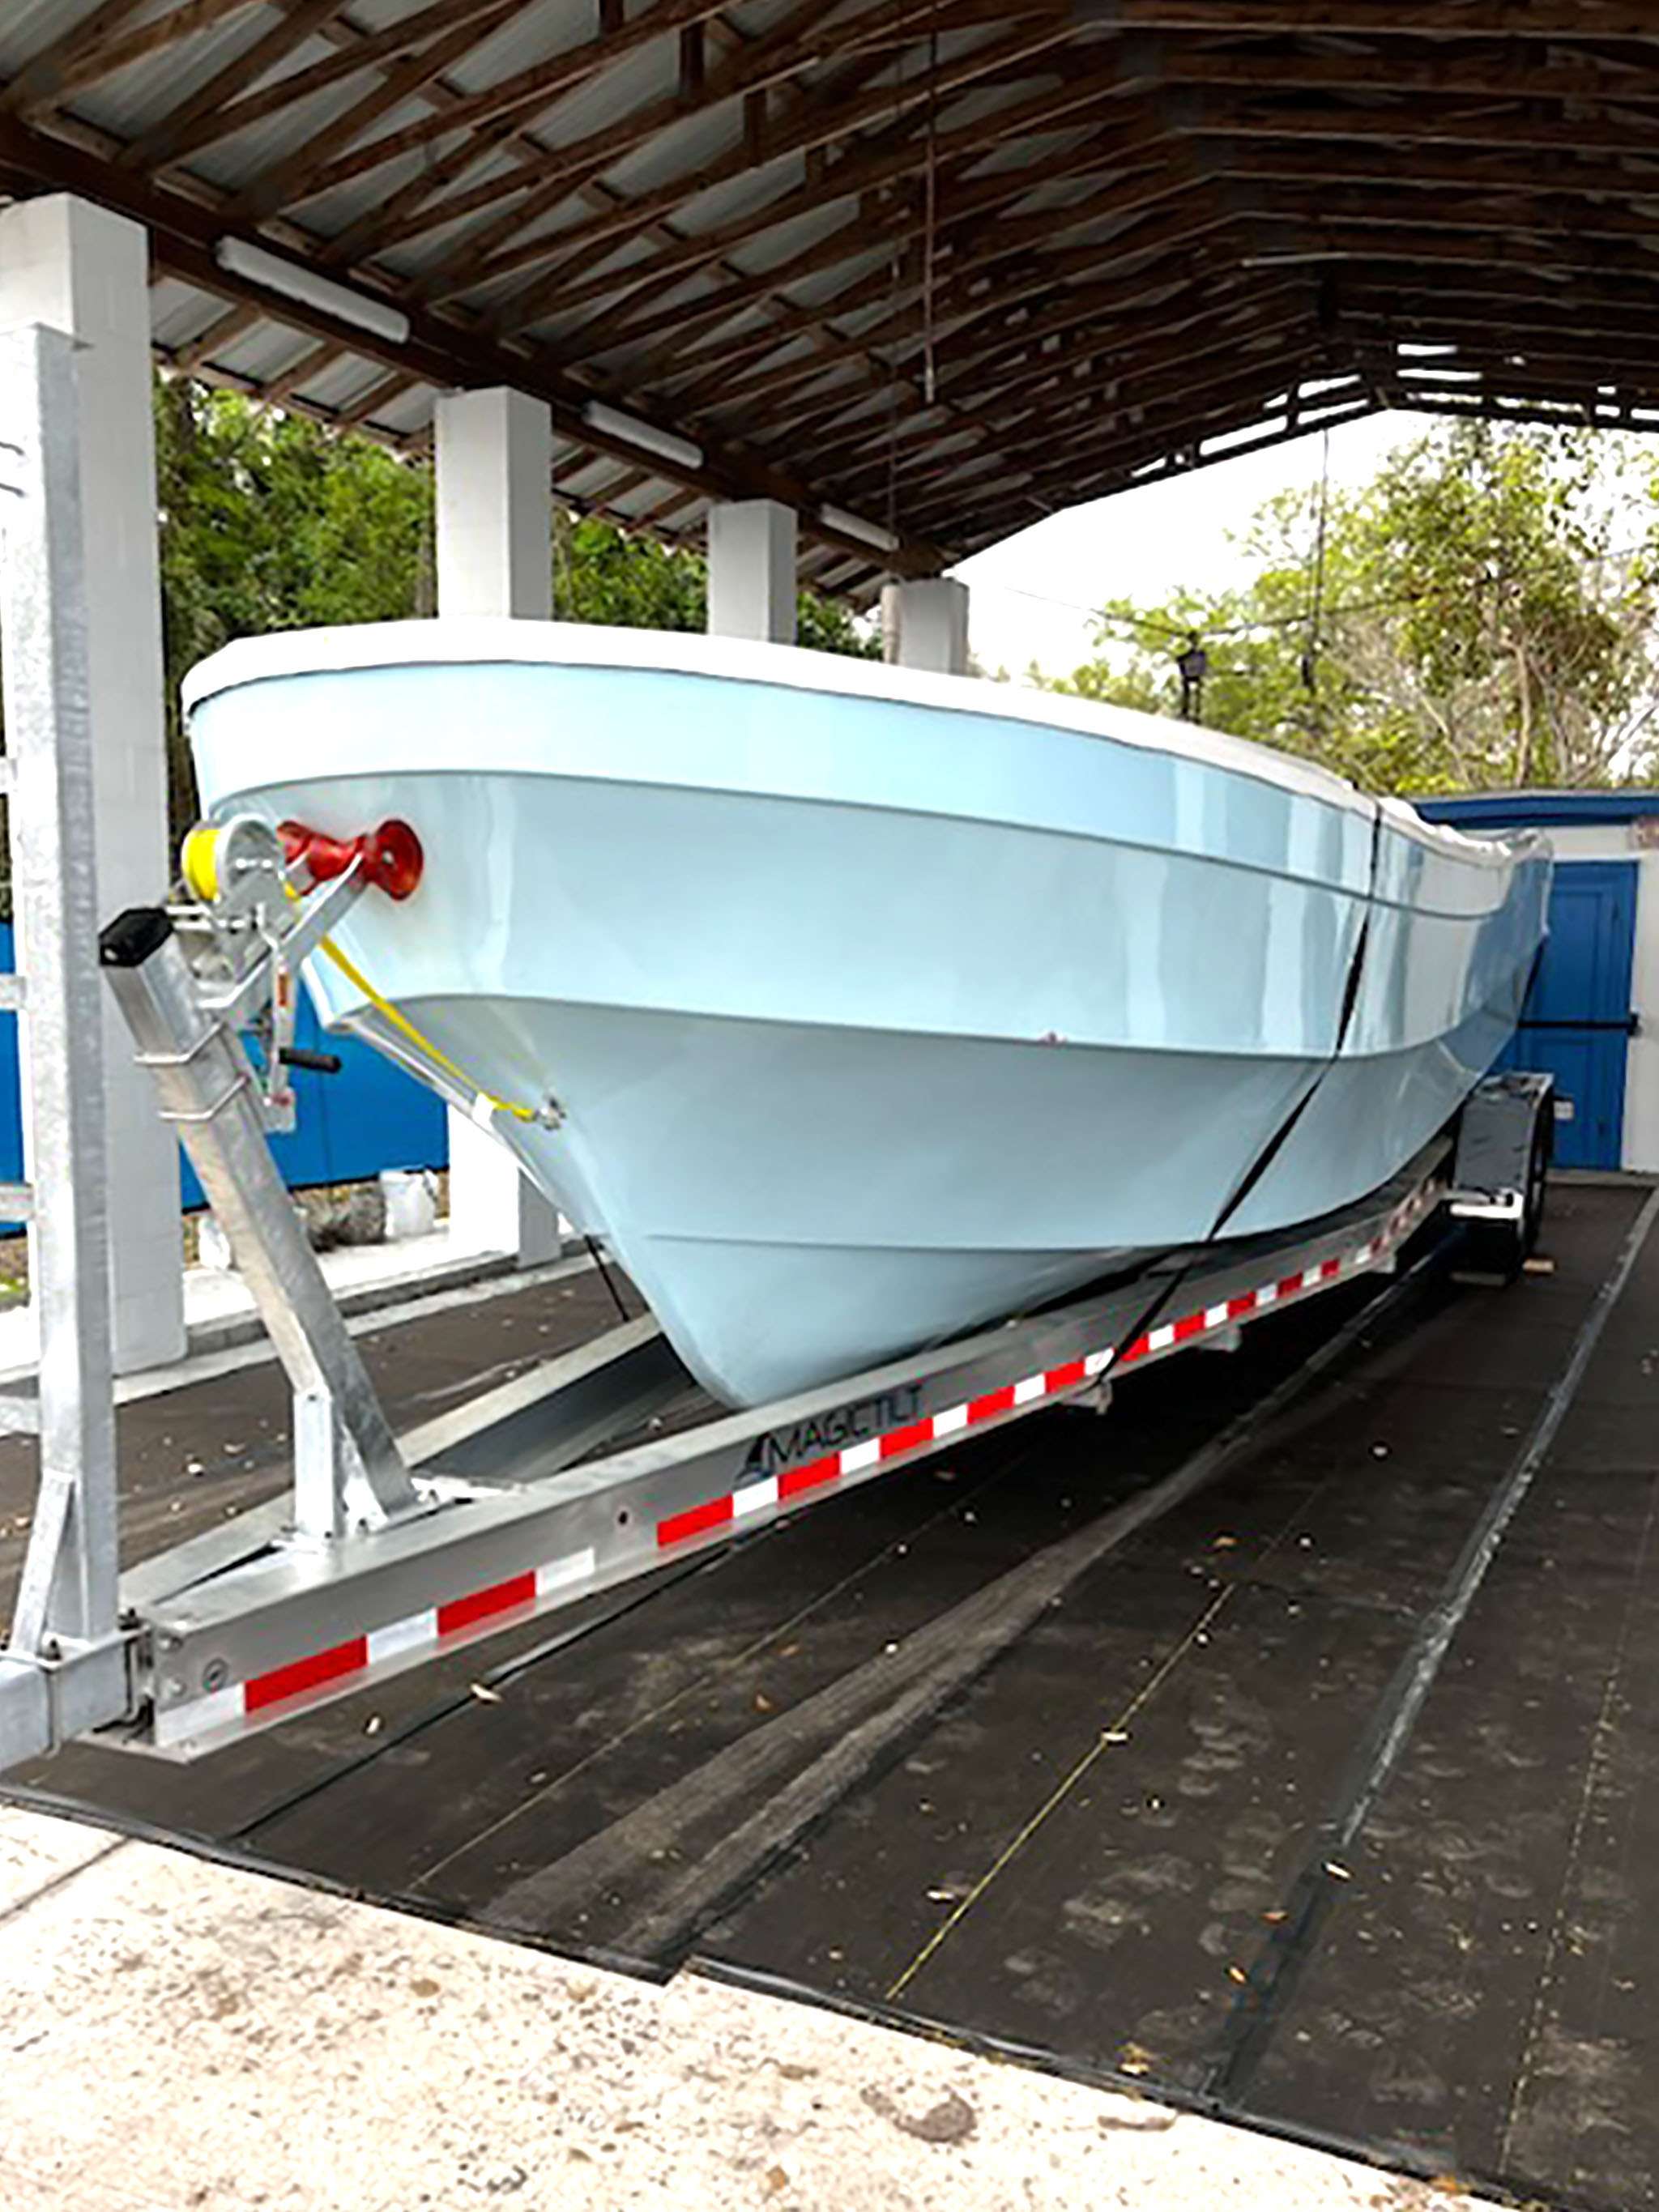
The FishingNosara Build Team has started a new project. The Fishtastic XL is a 38-foot Eduardono Corvina-style hull, and upon completion will be the only panga of this size in the US.
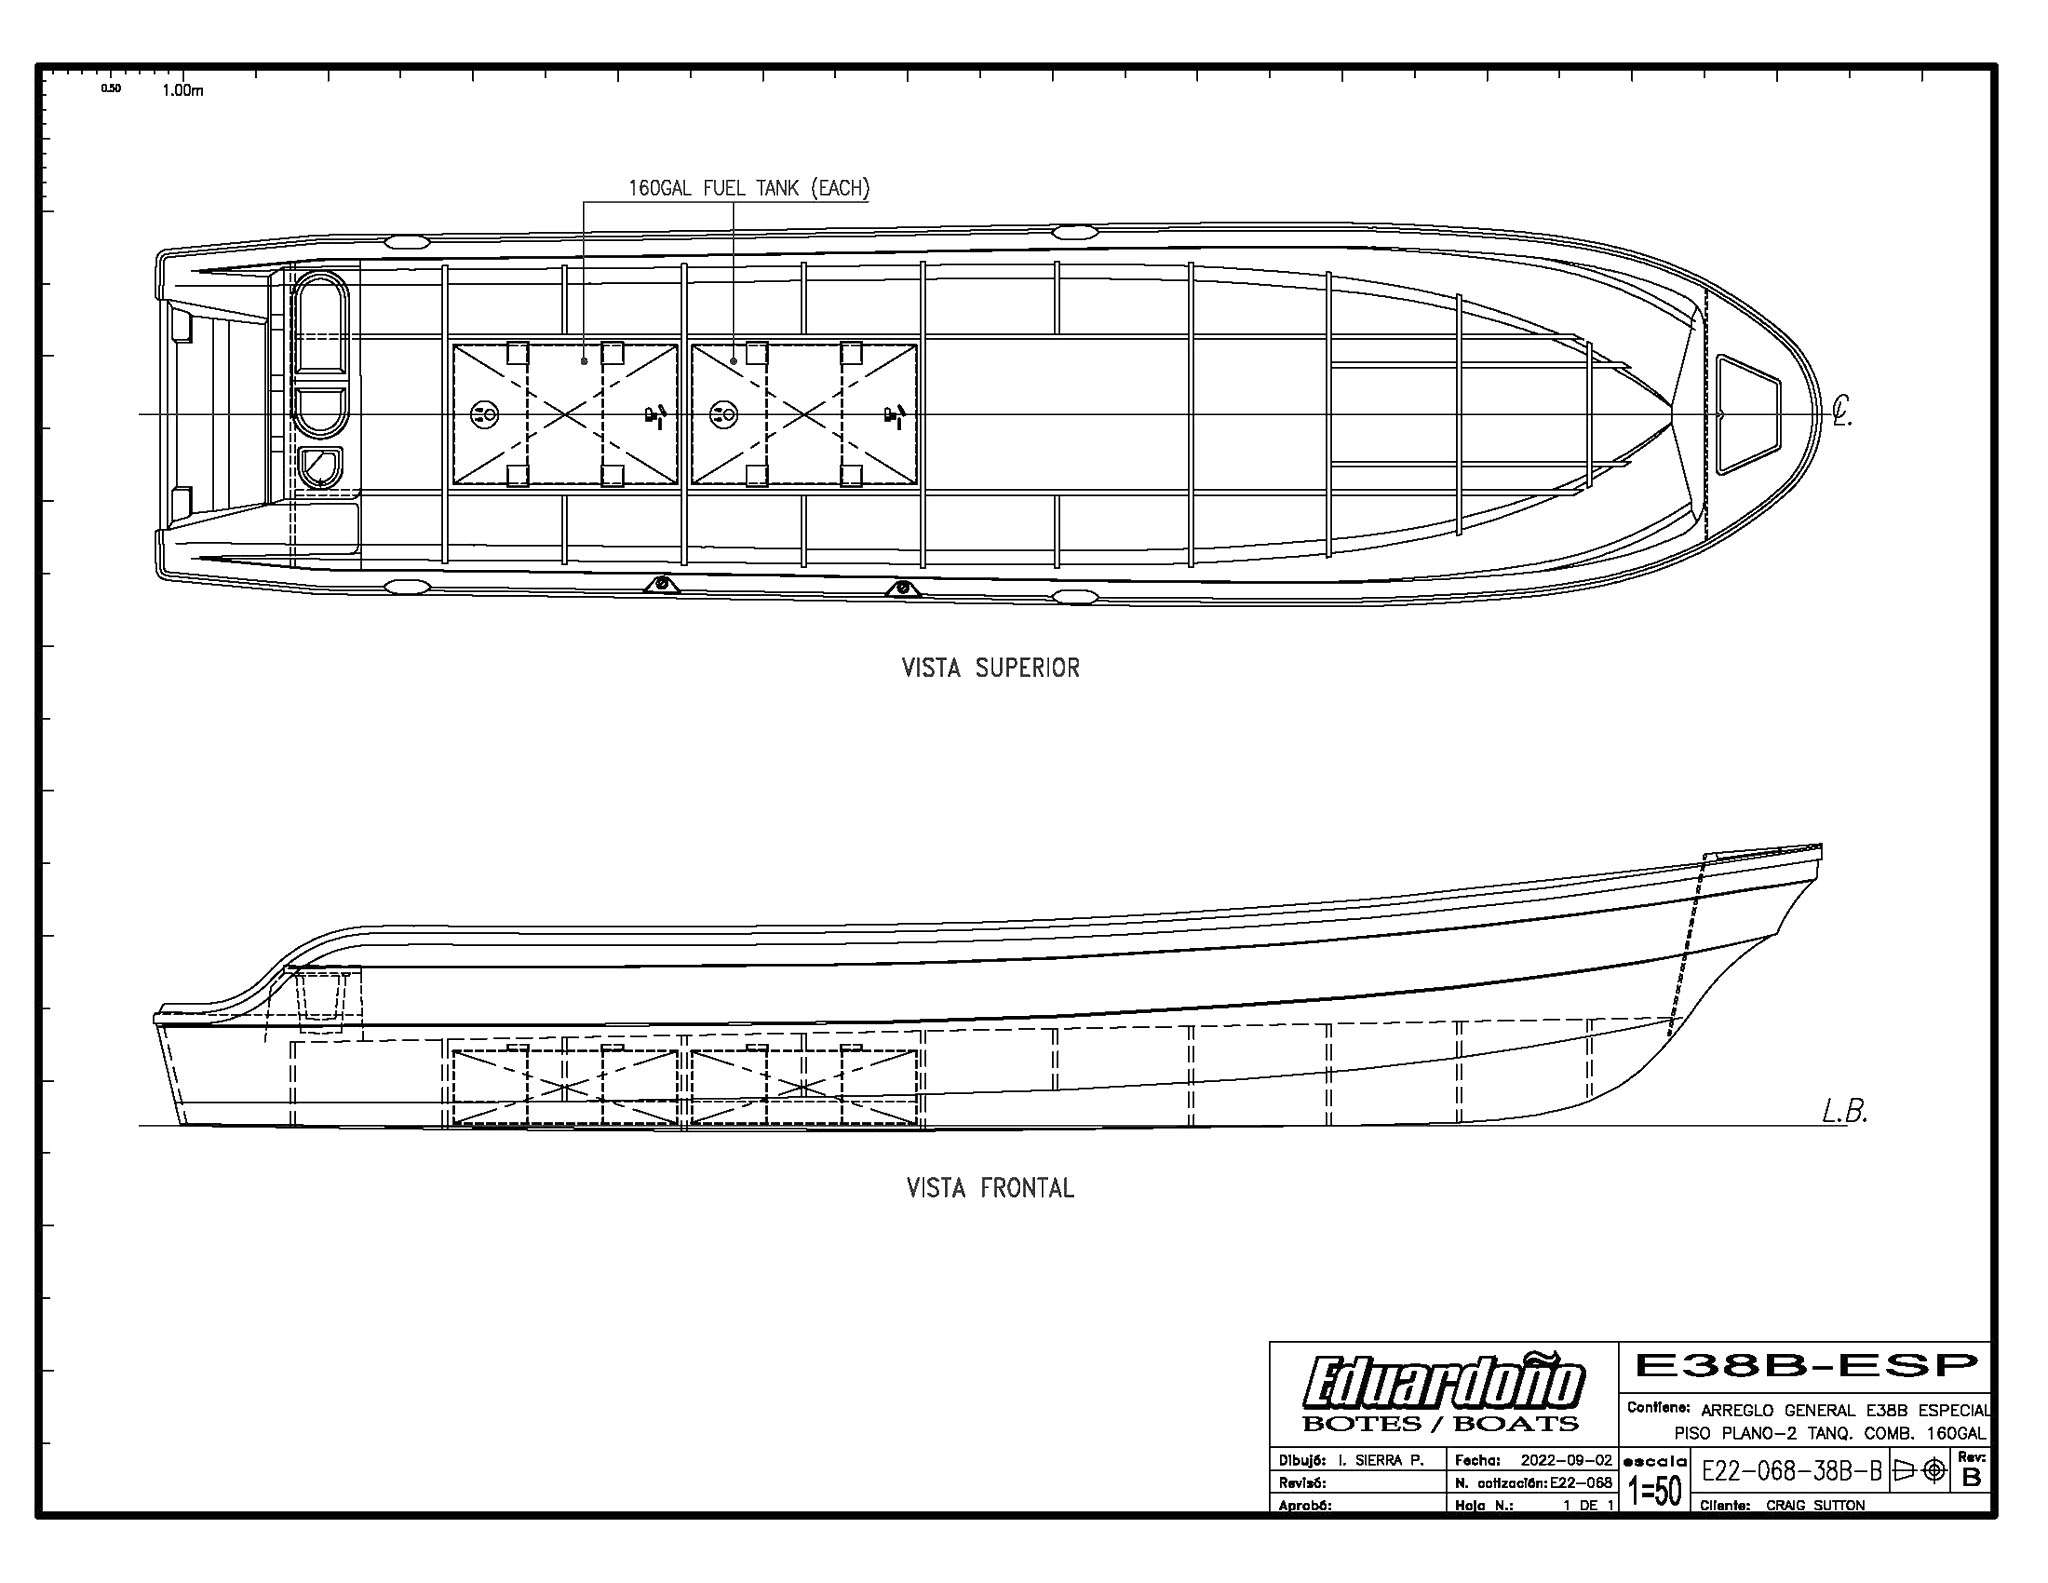

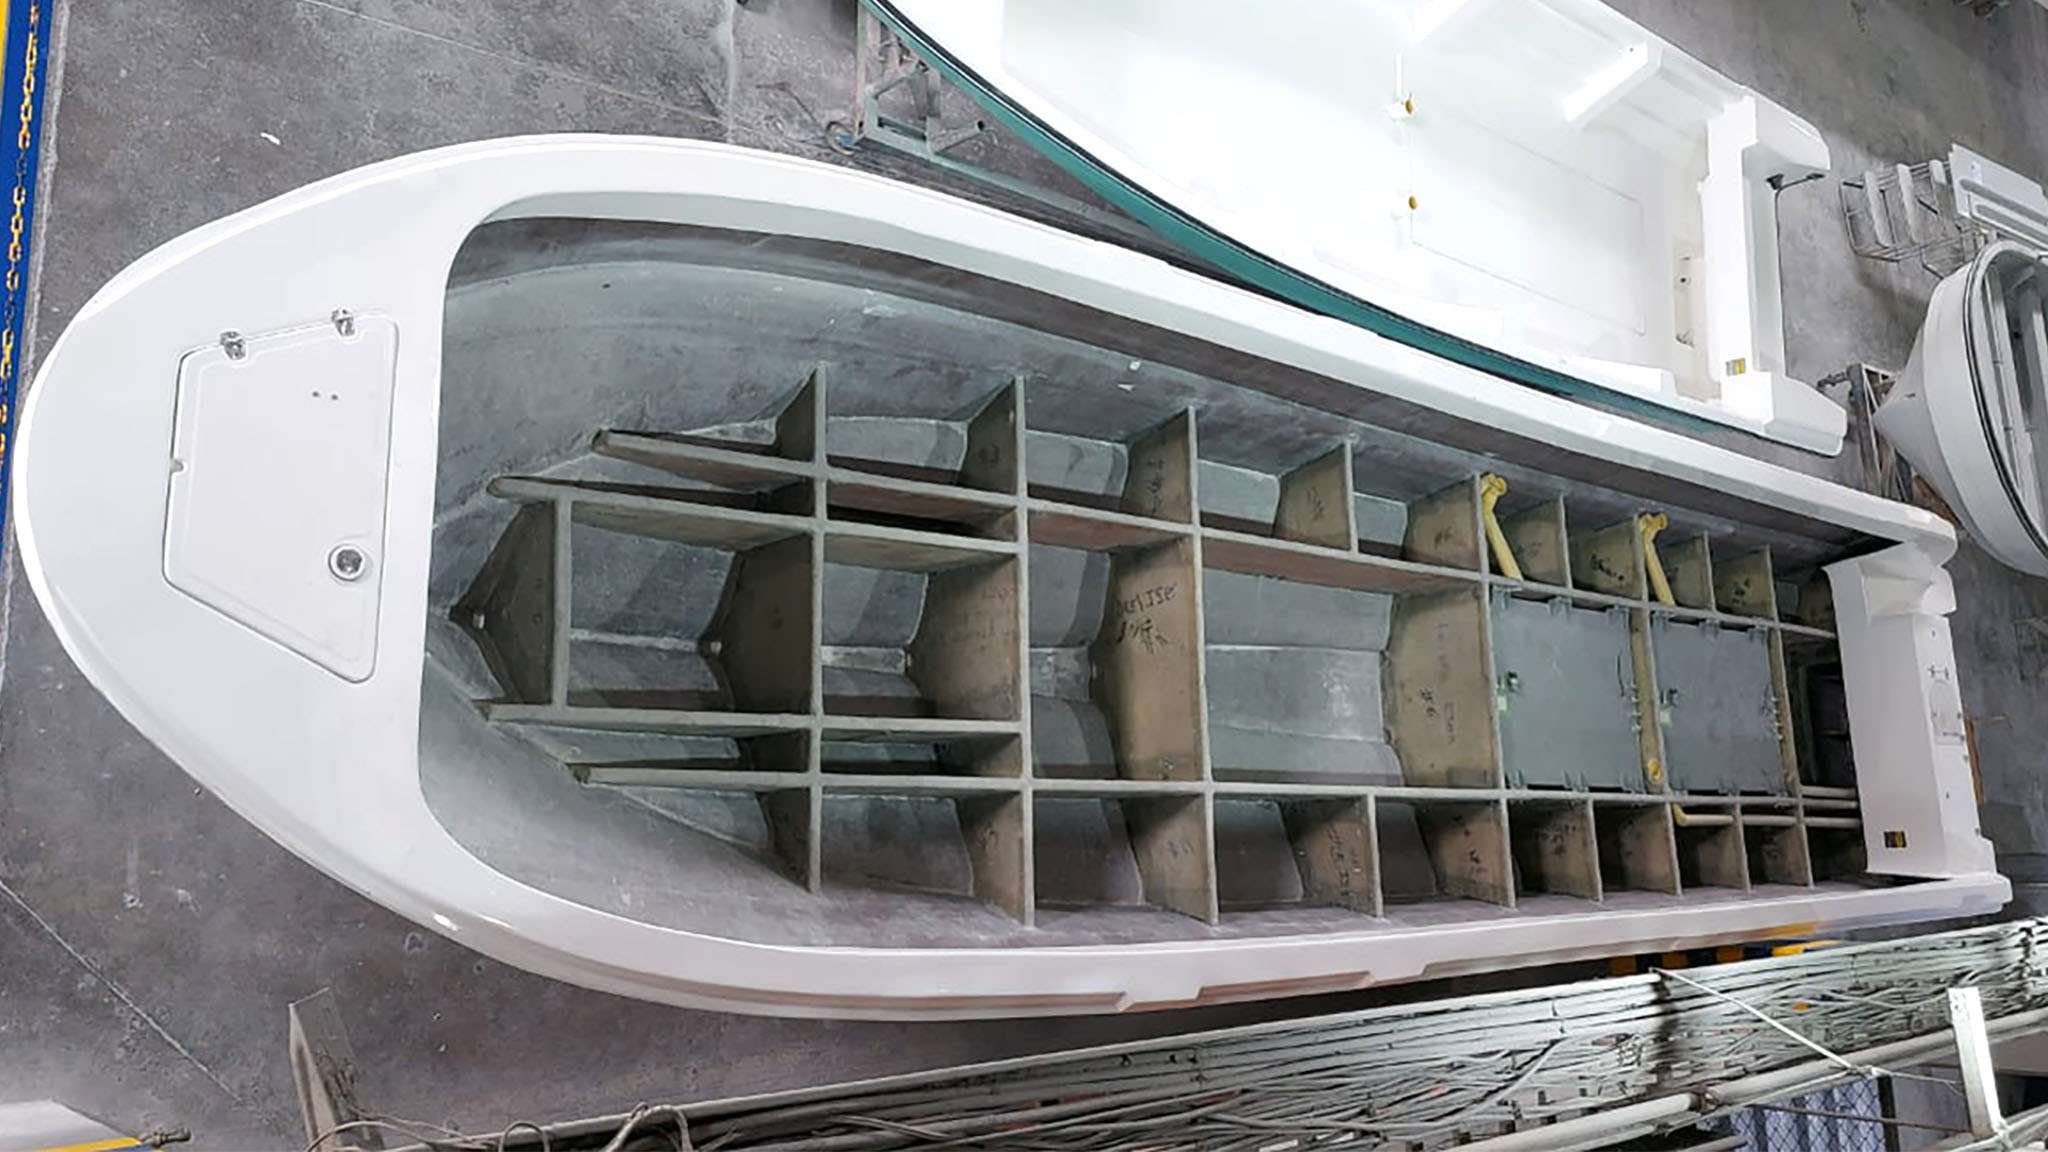
The hull was completed in the Eduardono factory in Medellin, Columbia and shipped to our shop in Jacksonville, FL.


April 11, 2023
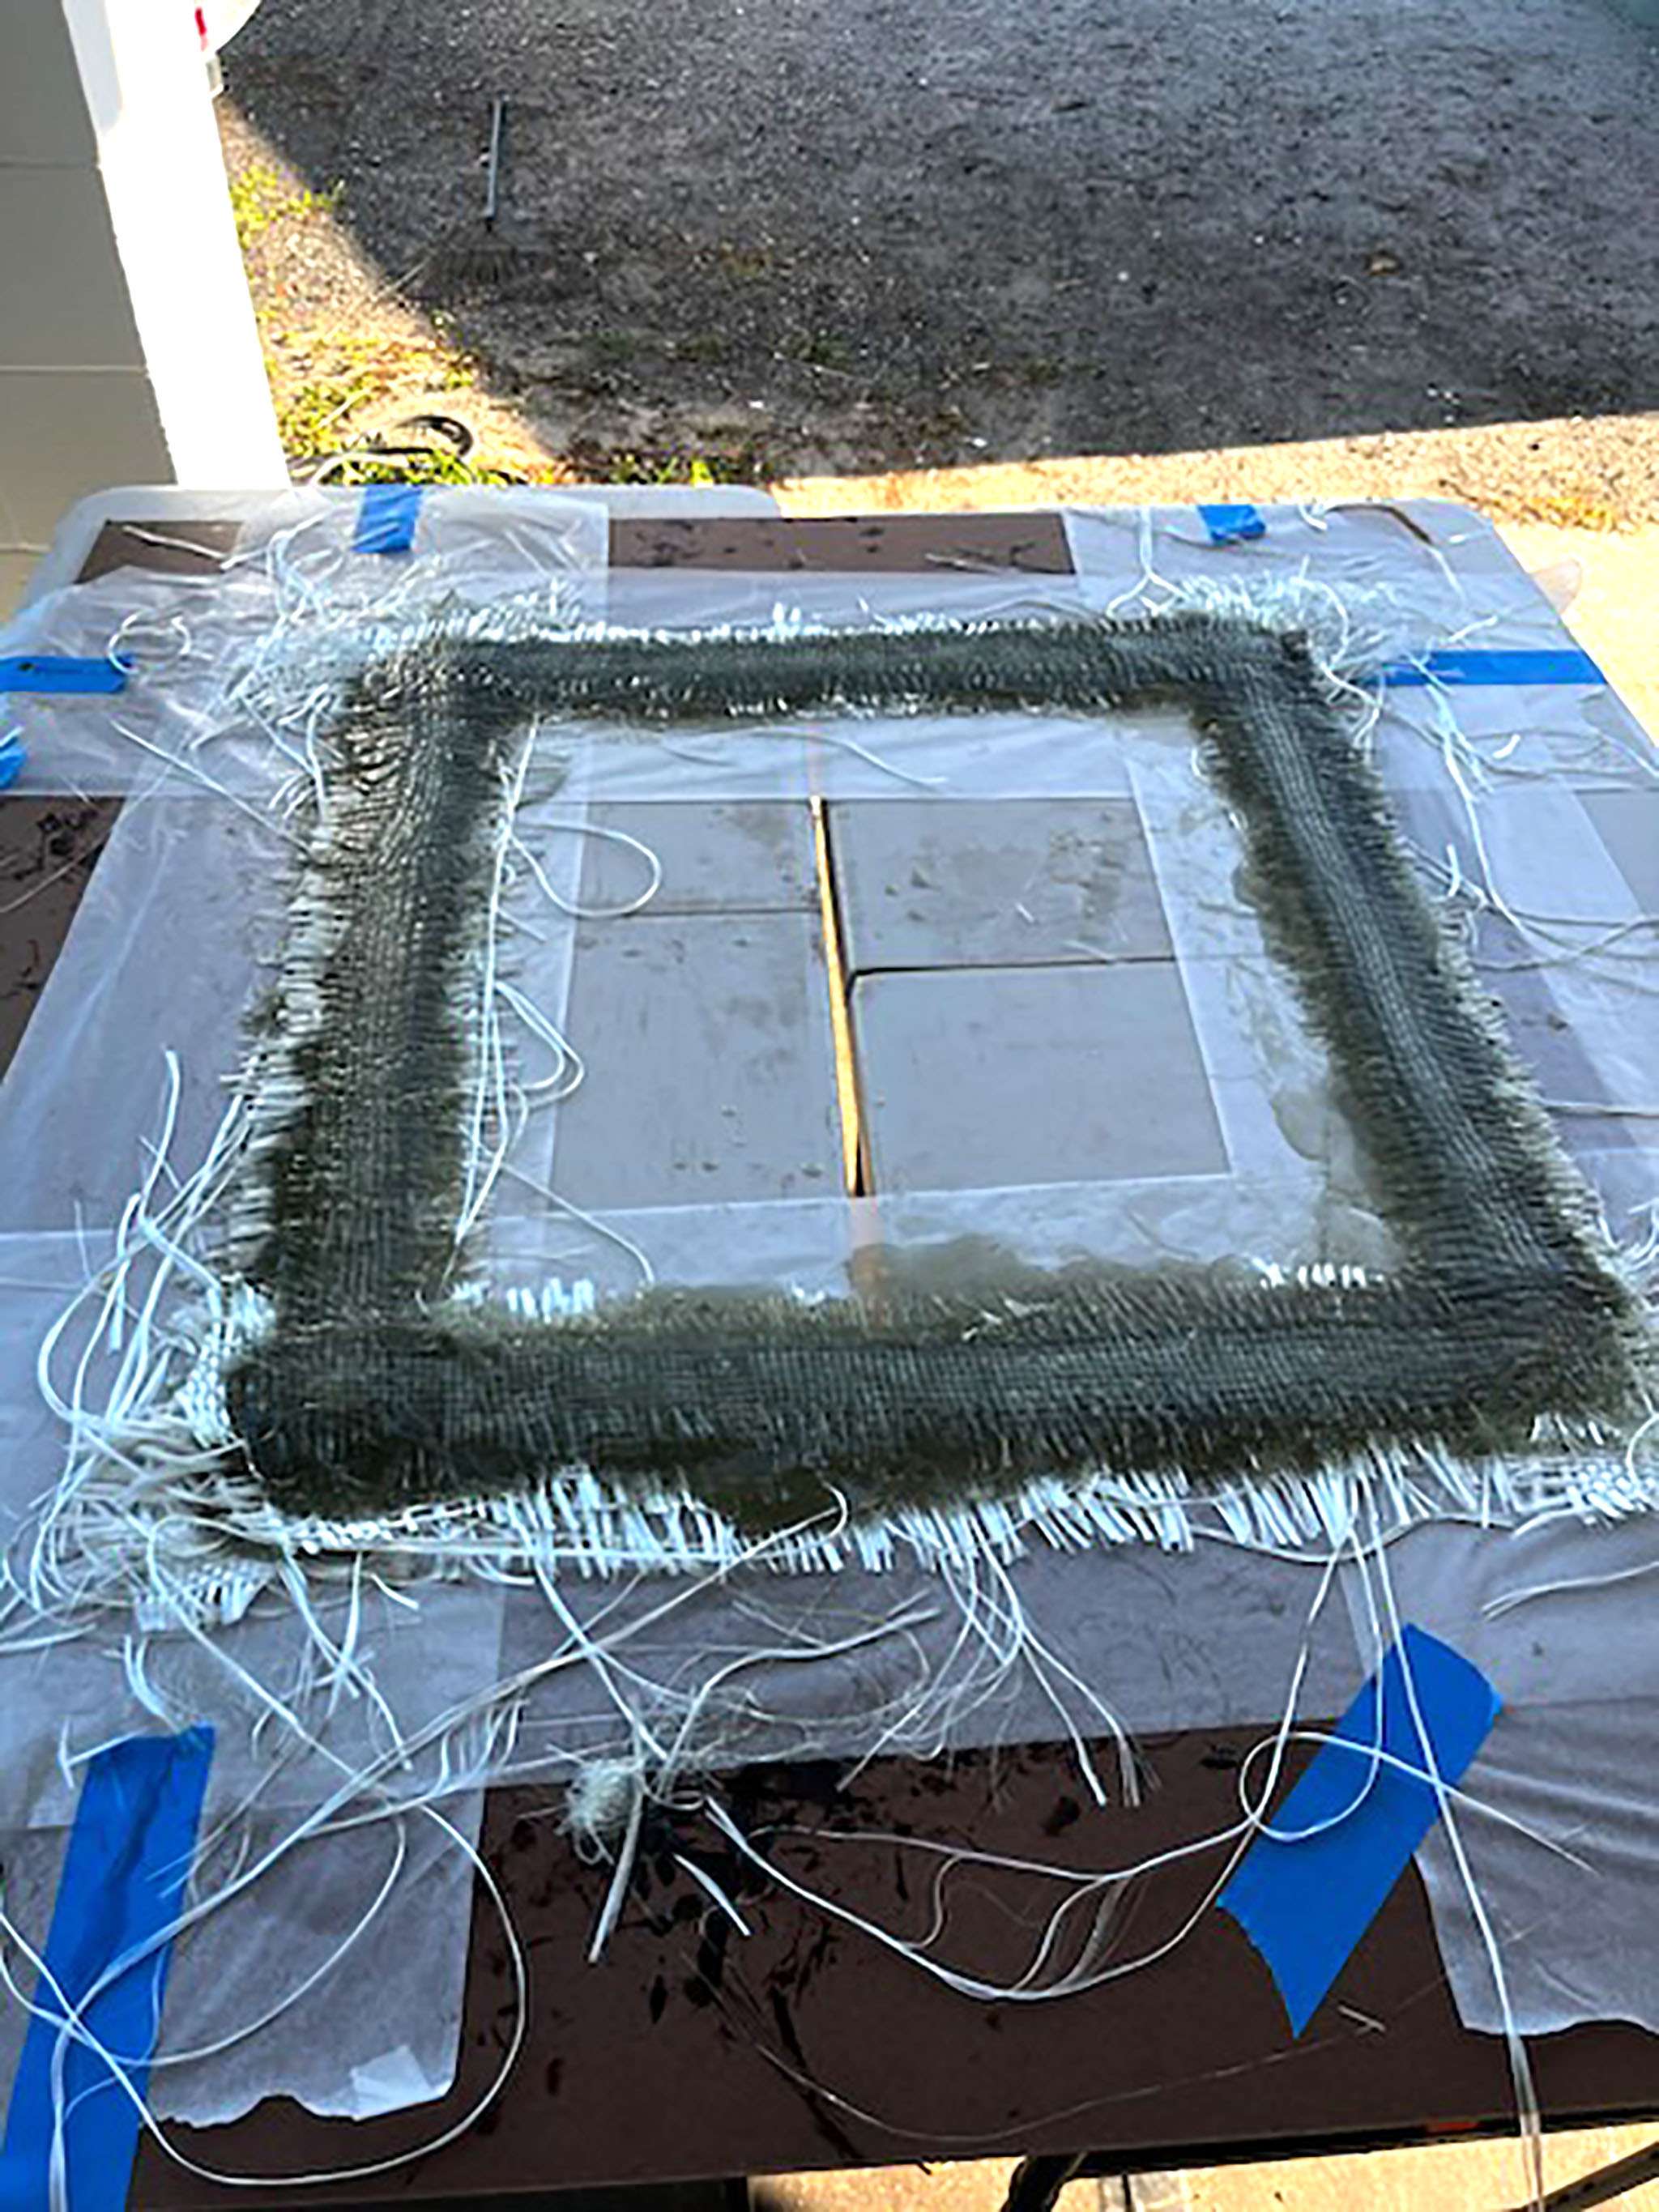
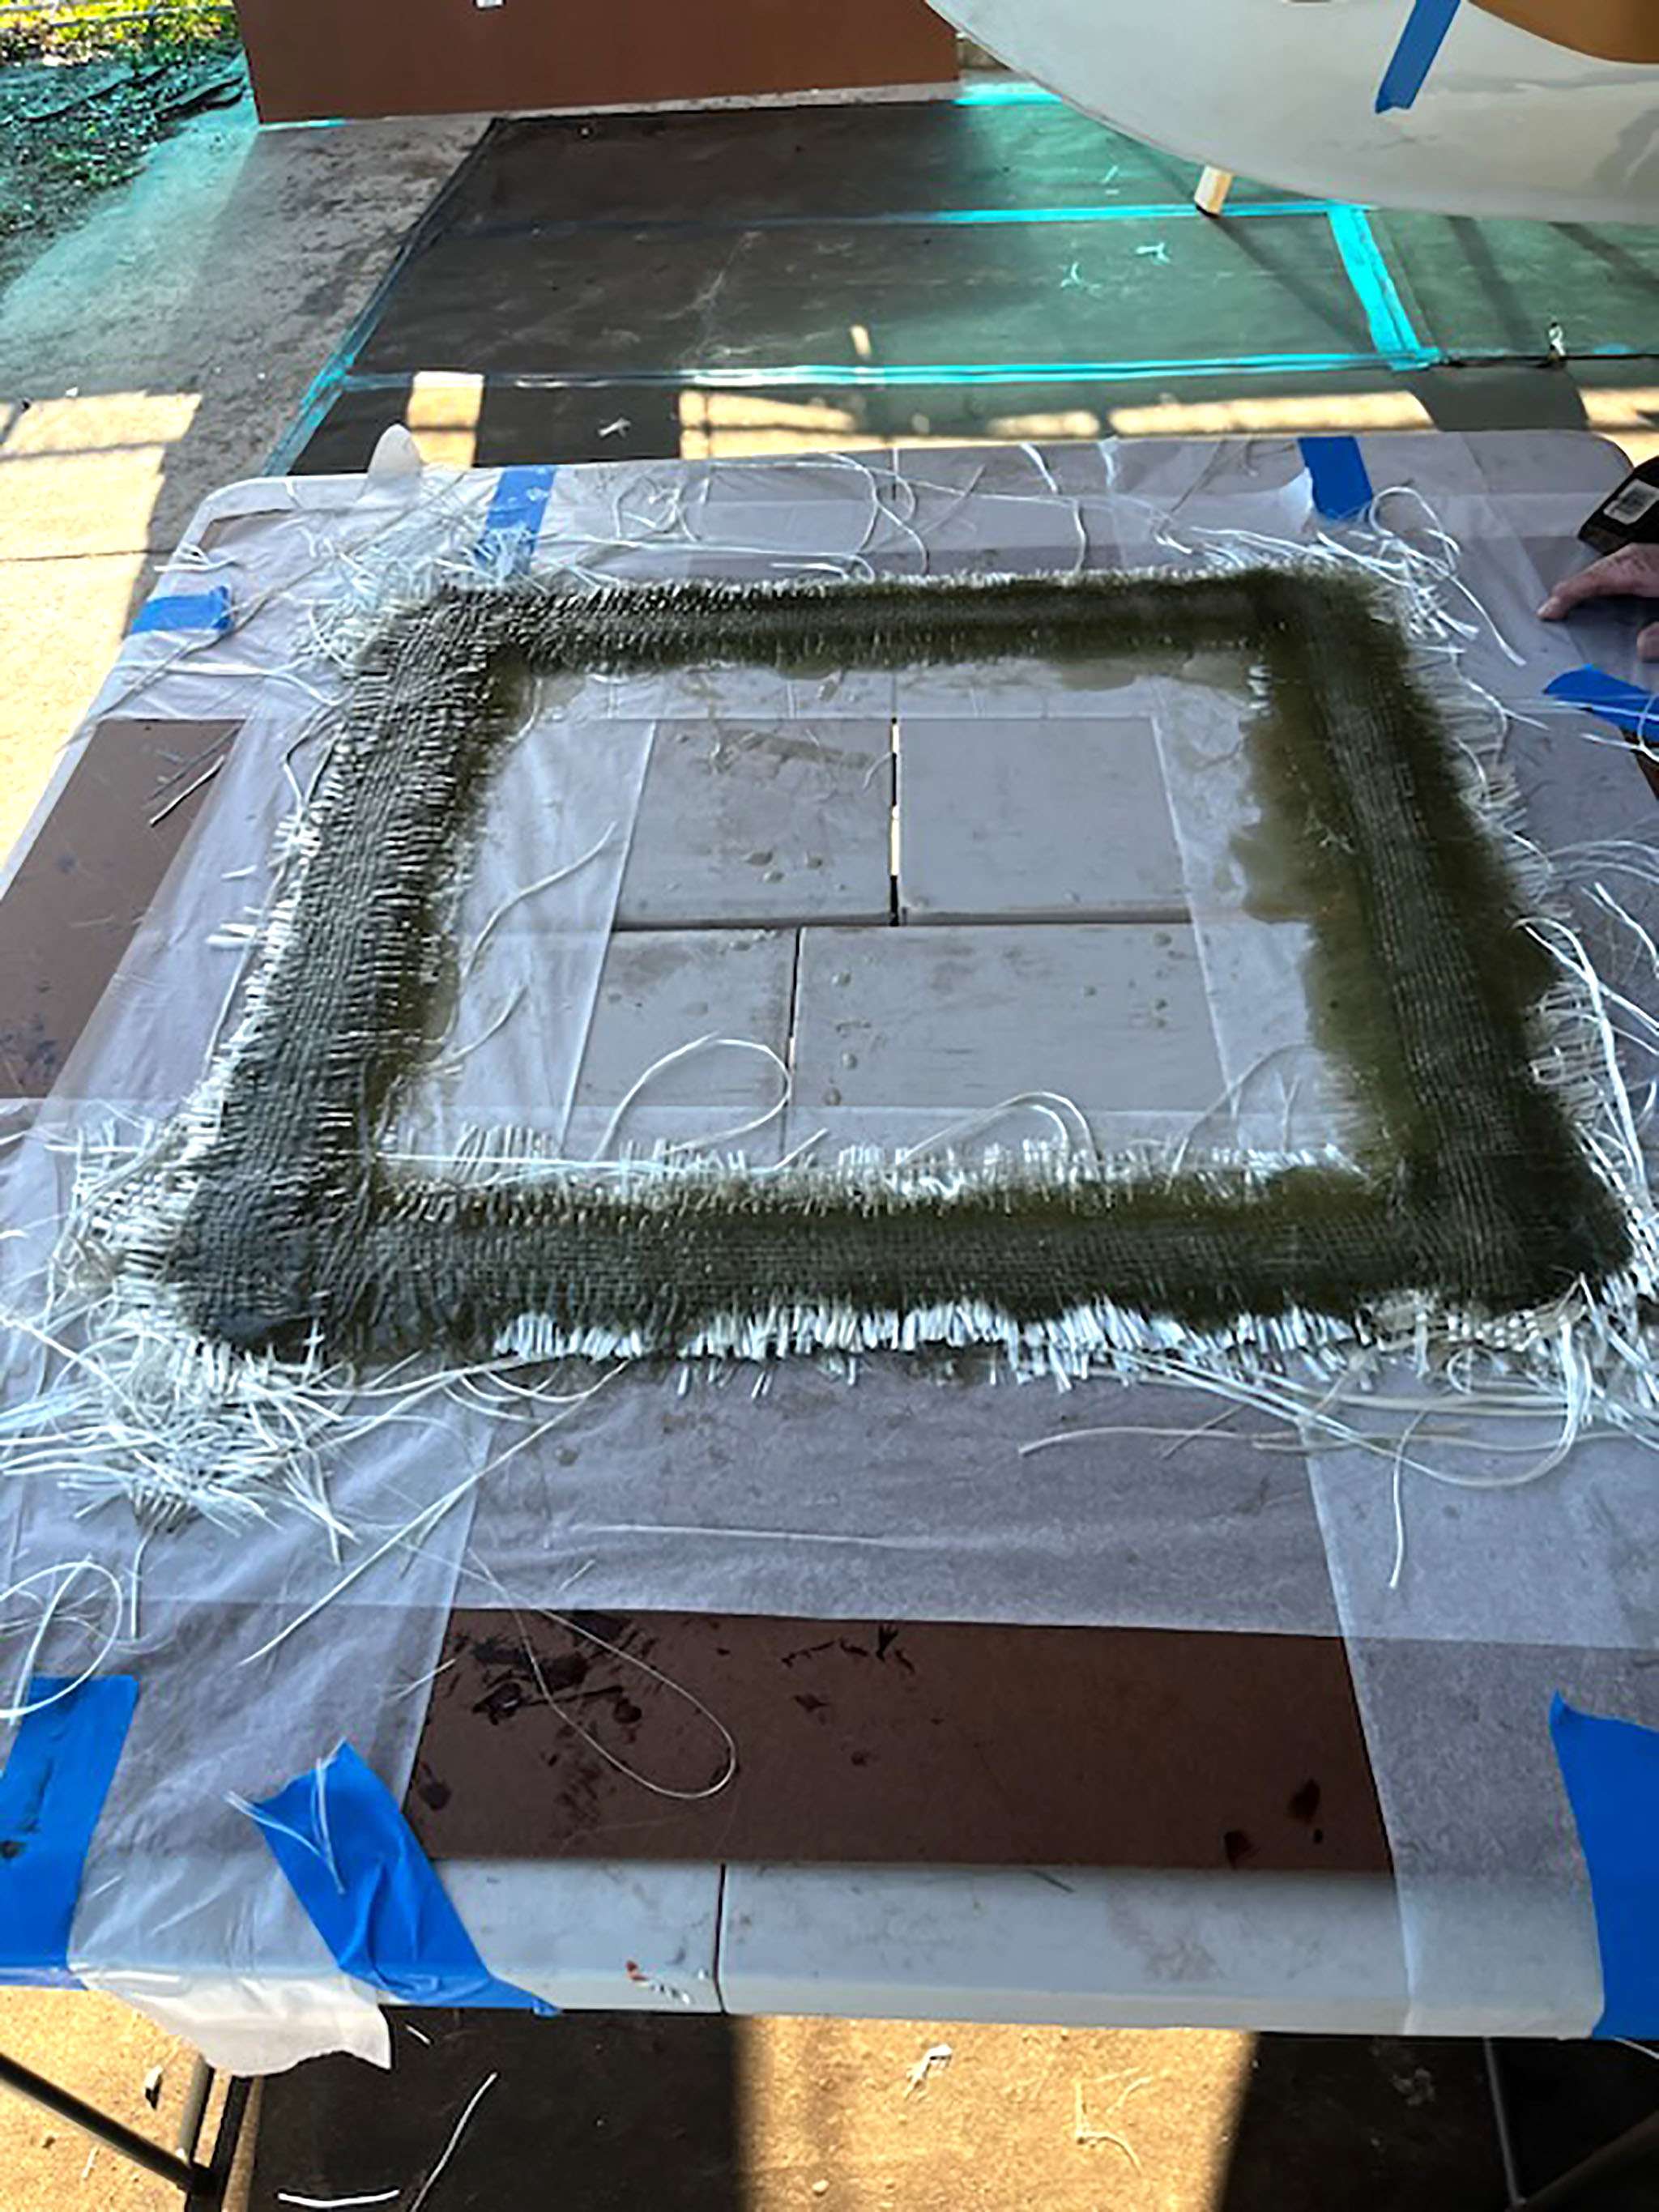
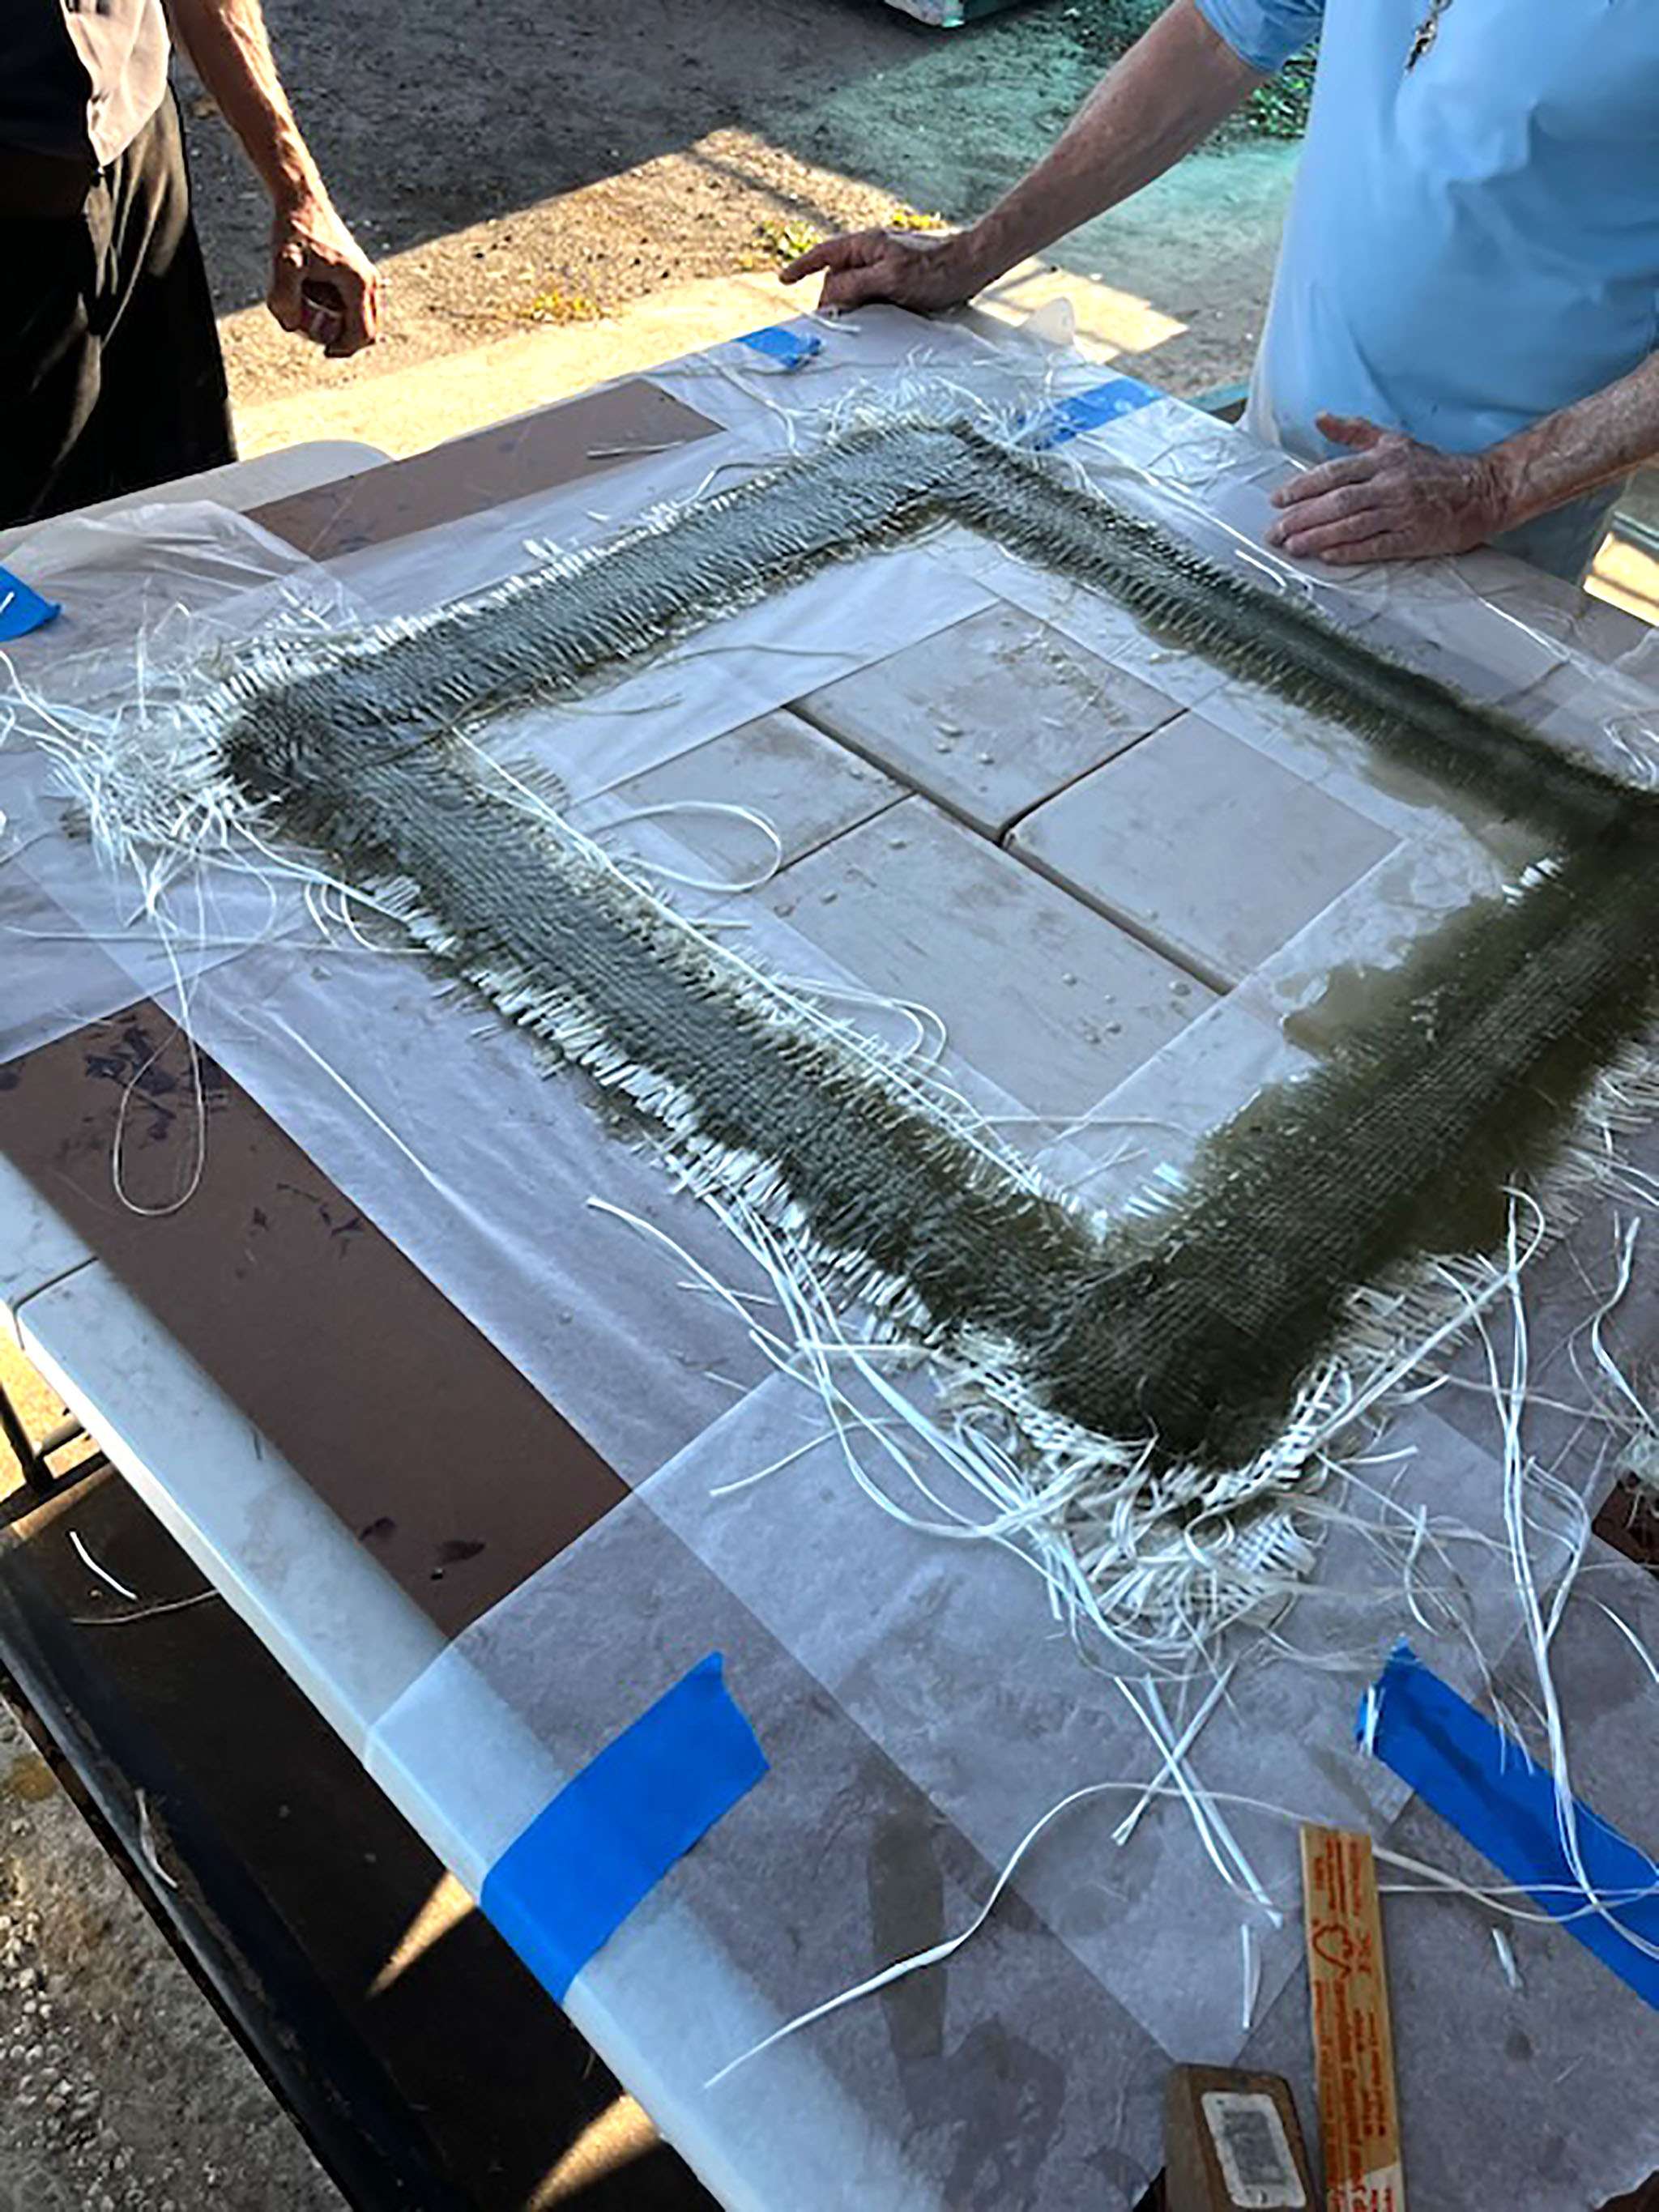
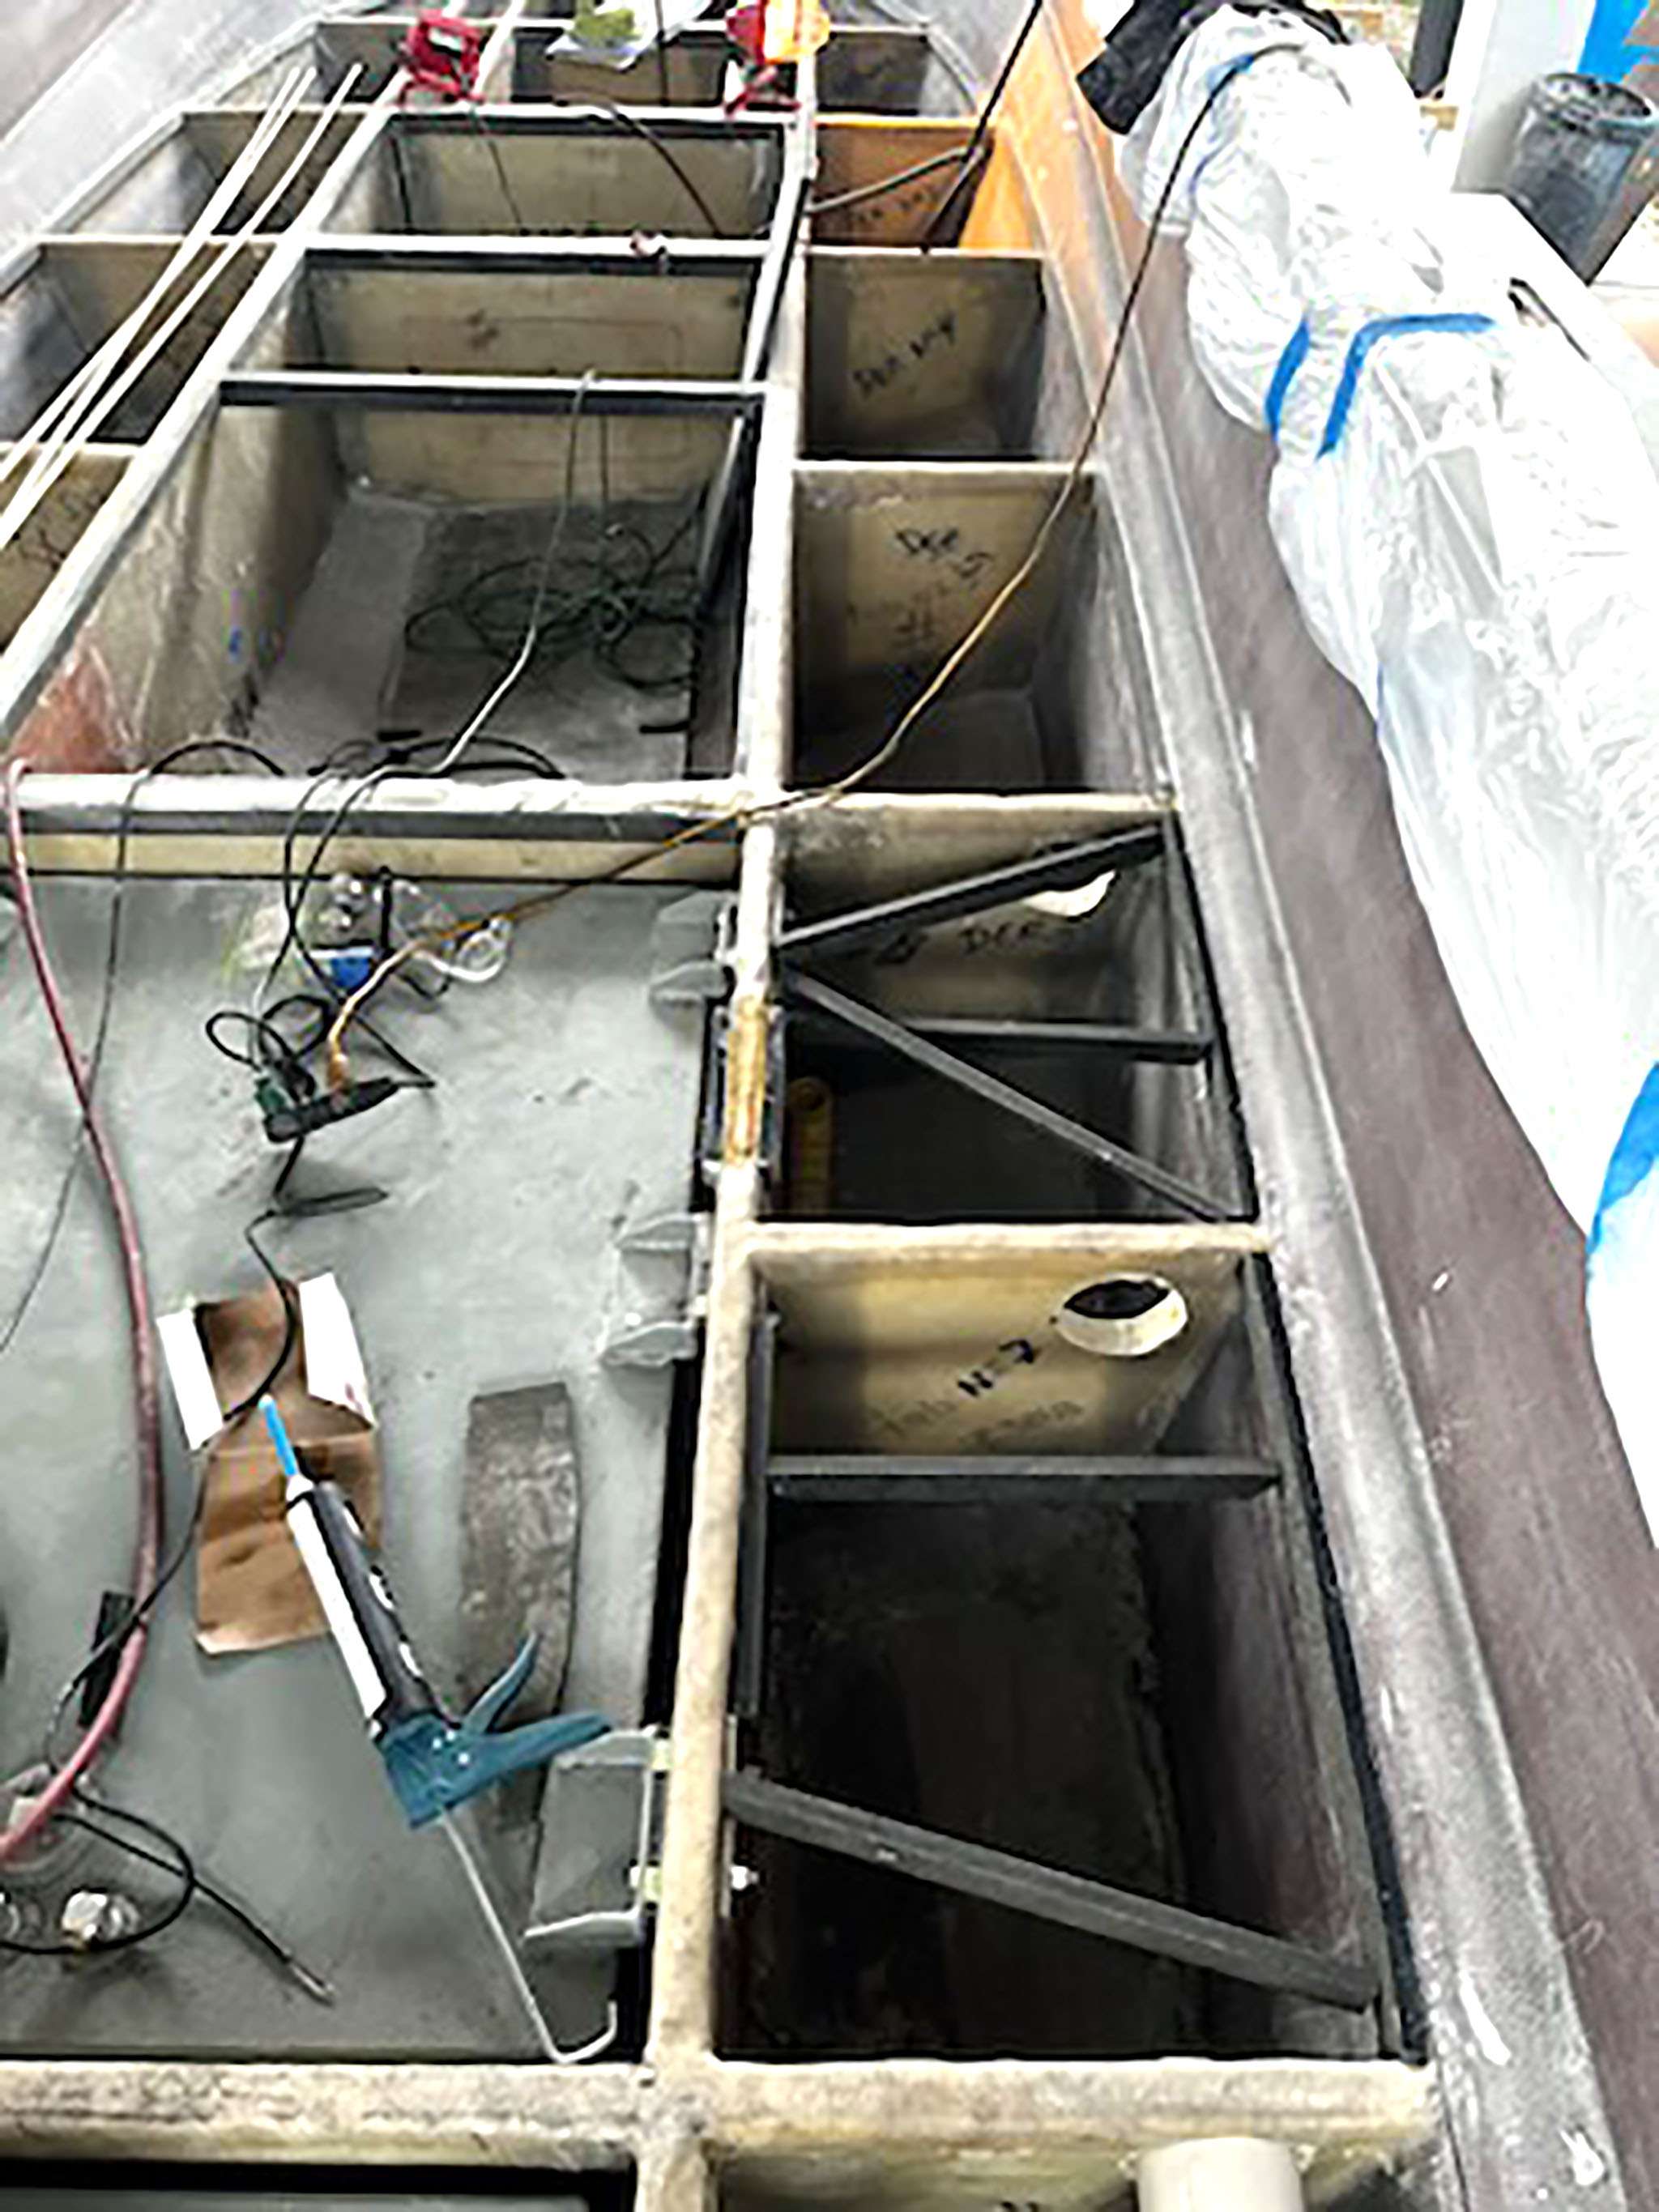
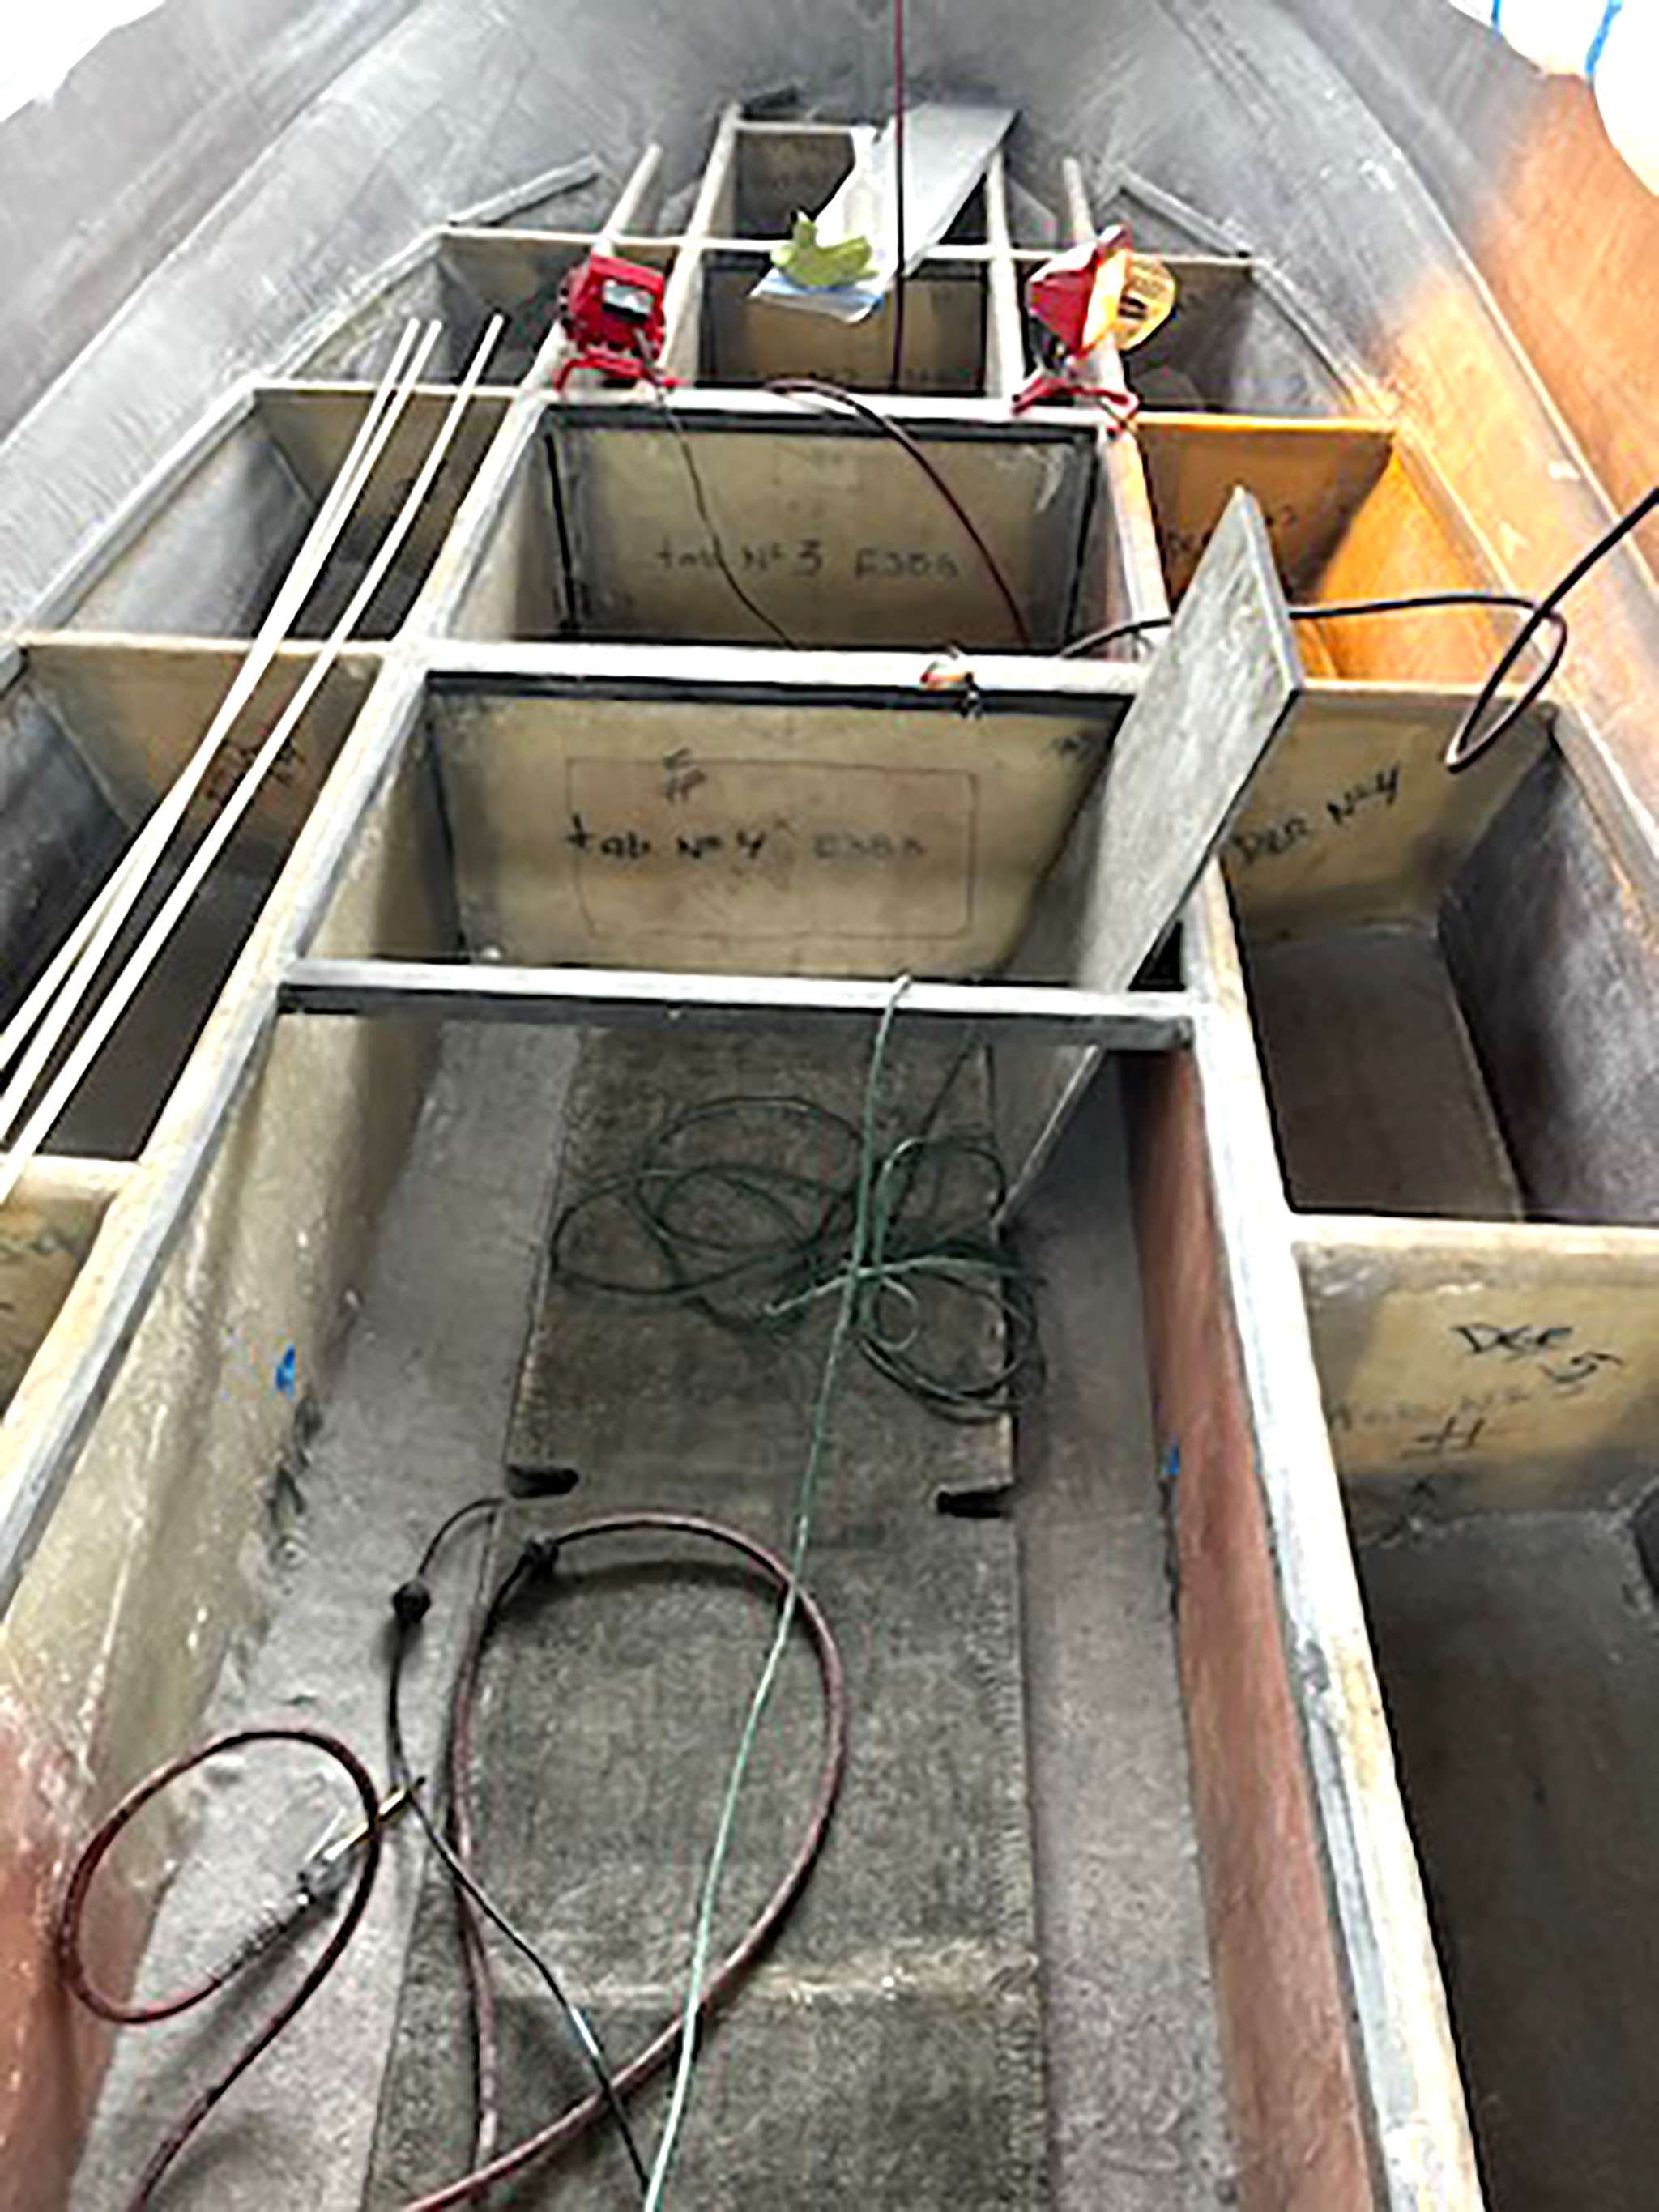
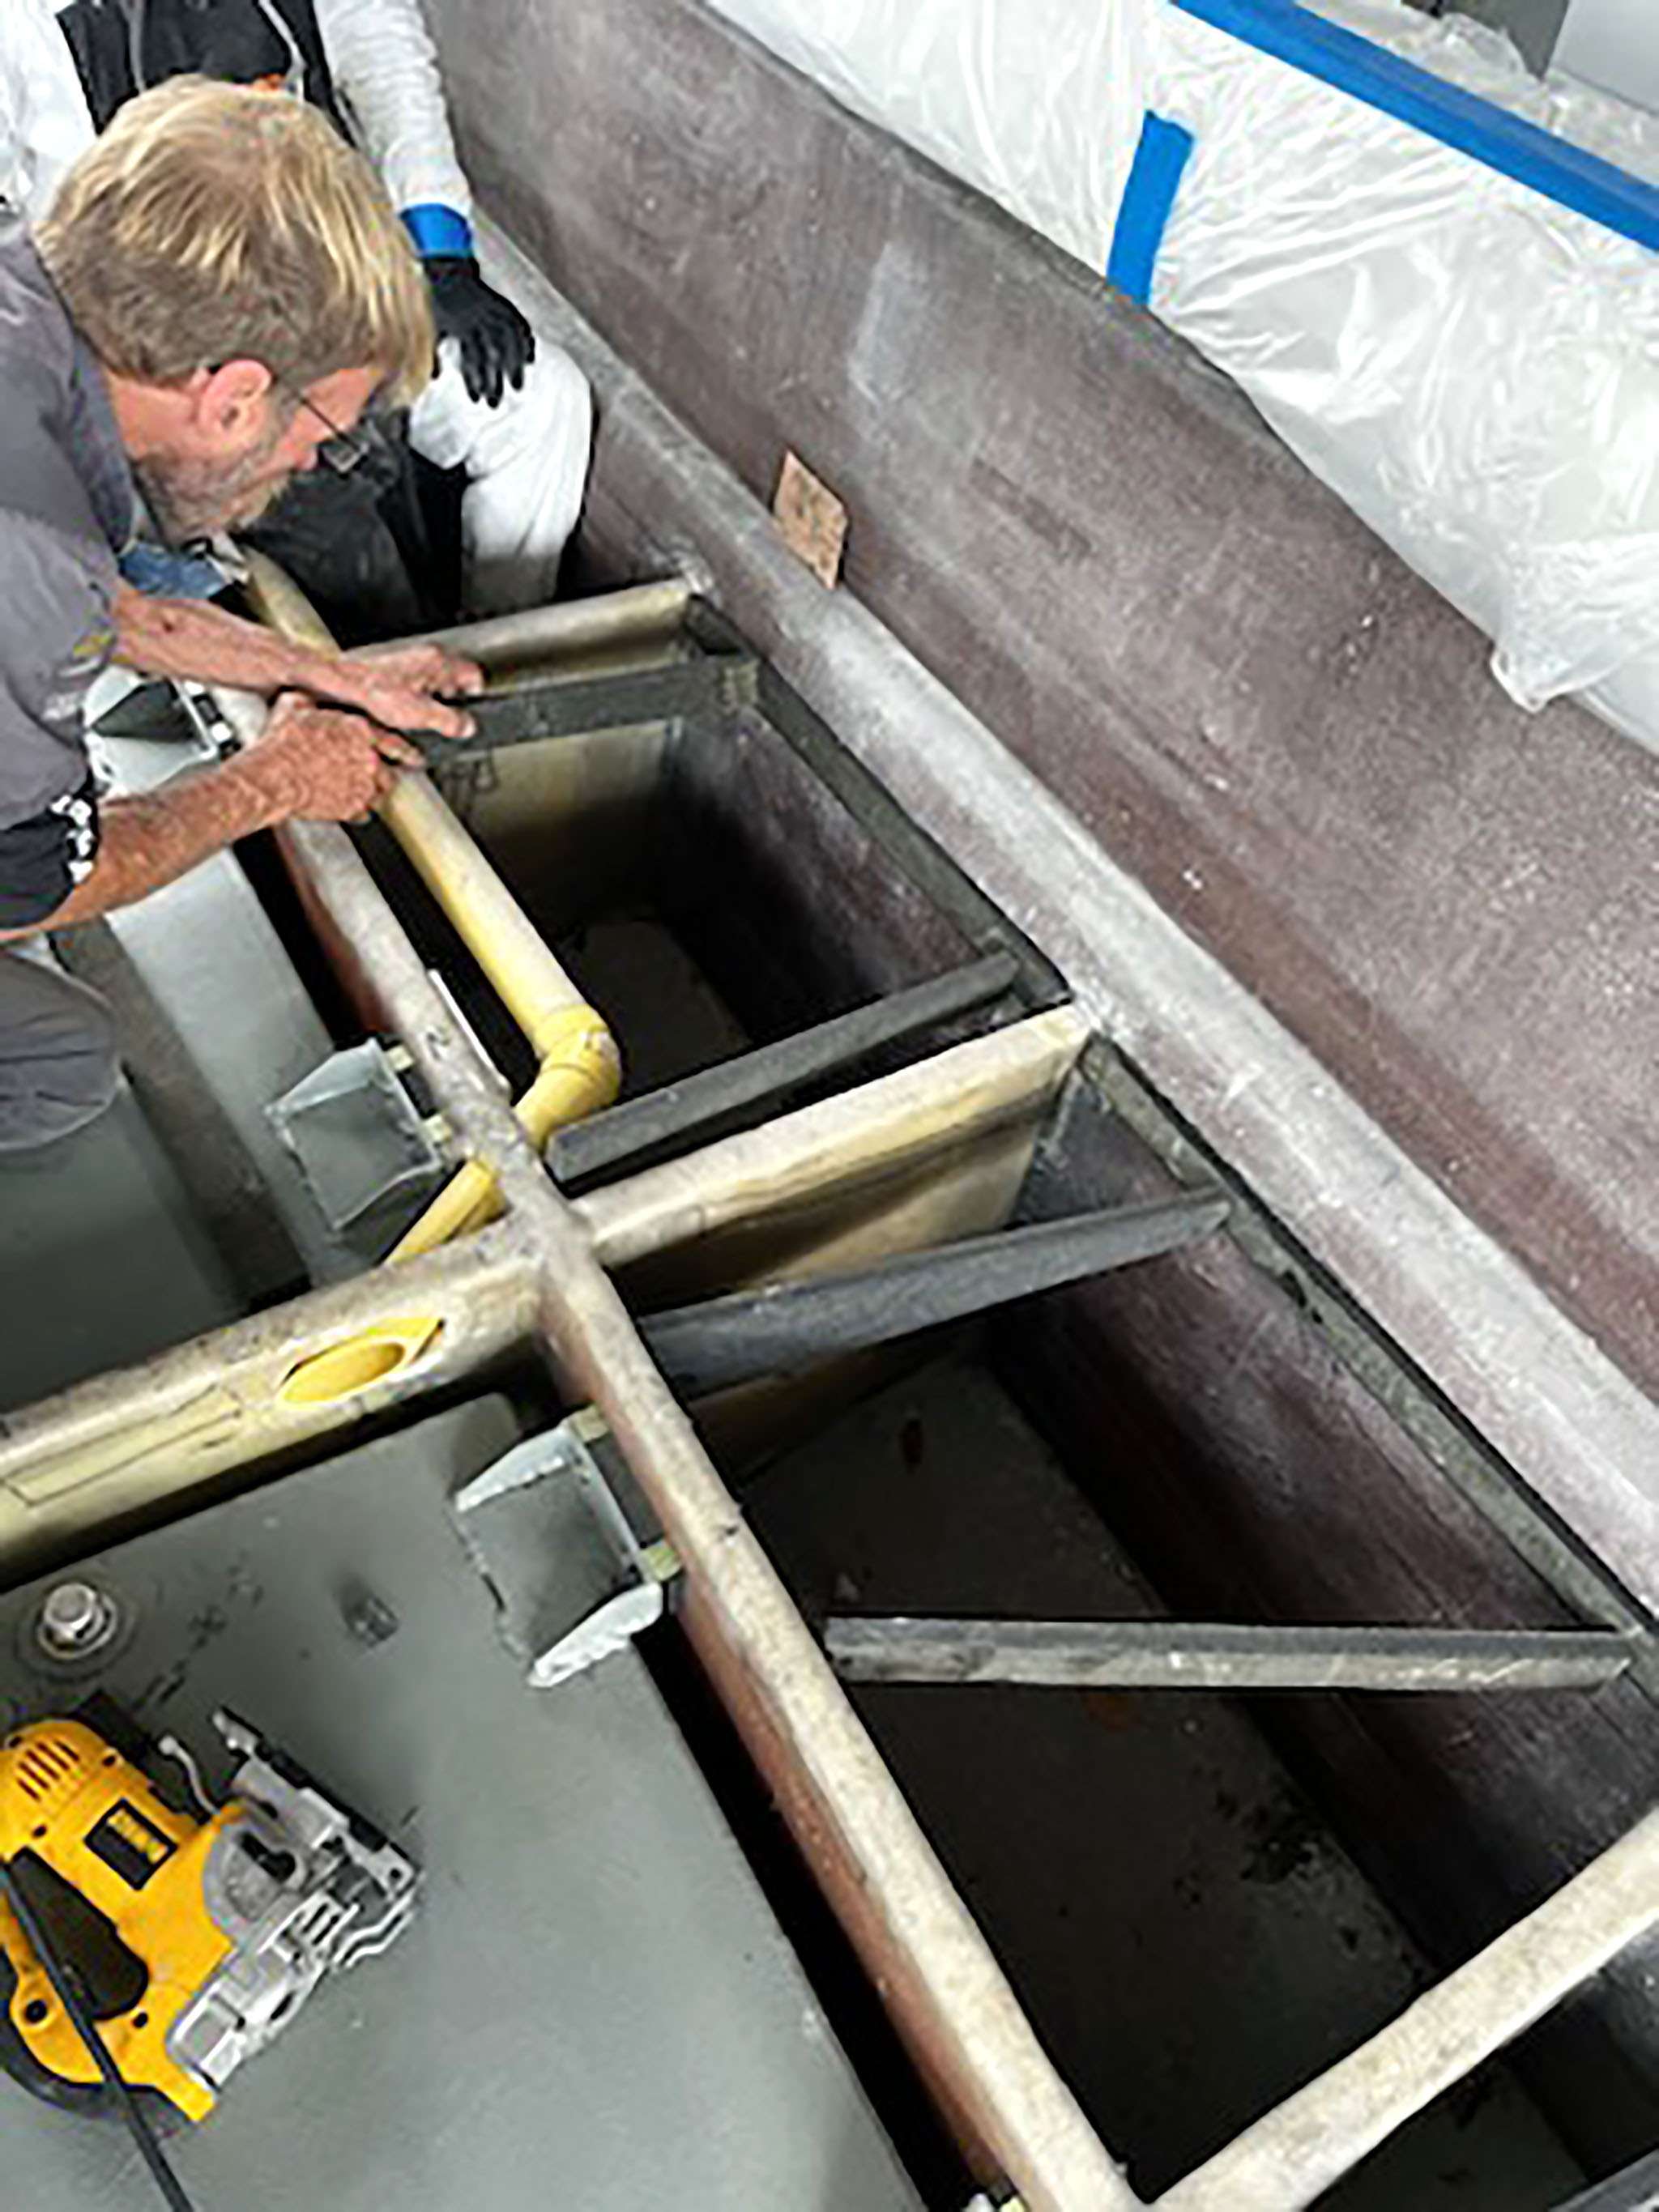
We are three weeks into the build an the Fishtastic XL is already taking shape. We are building from the bottom-up, so the first task is a series of floor panels and their affiliated hatches.






April 22, 2023
Progress continues on the Fishtastic XL at a breakneck pace.
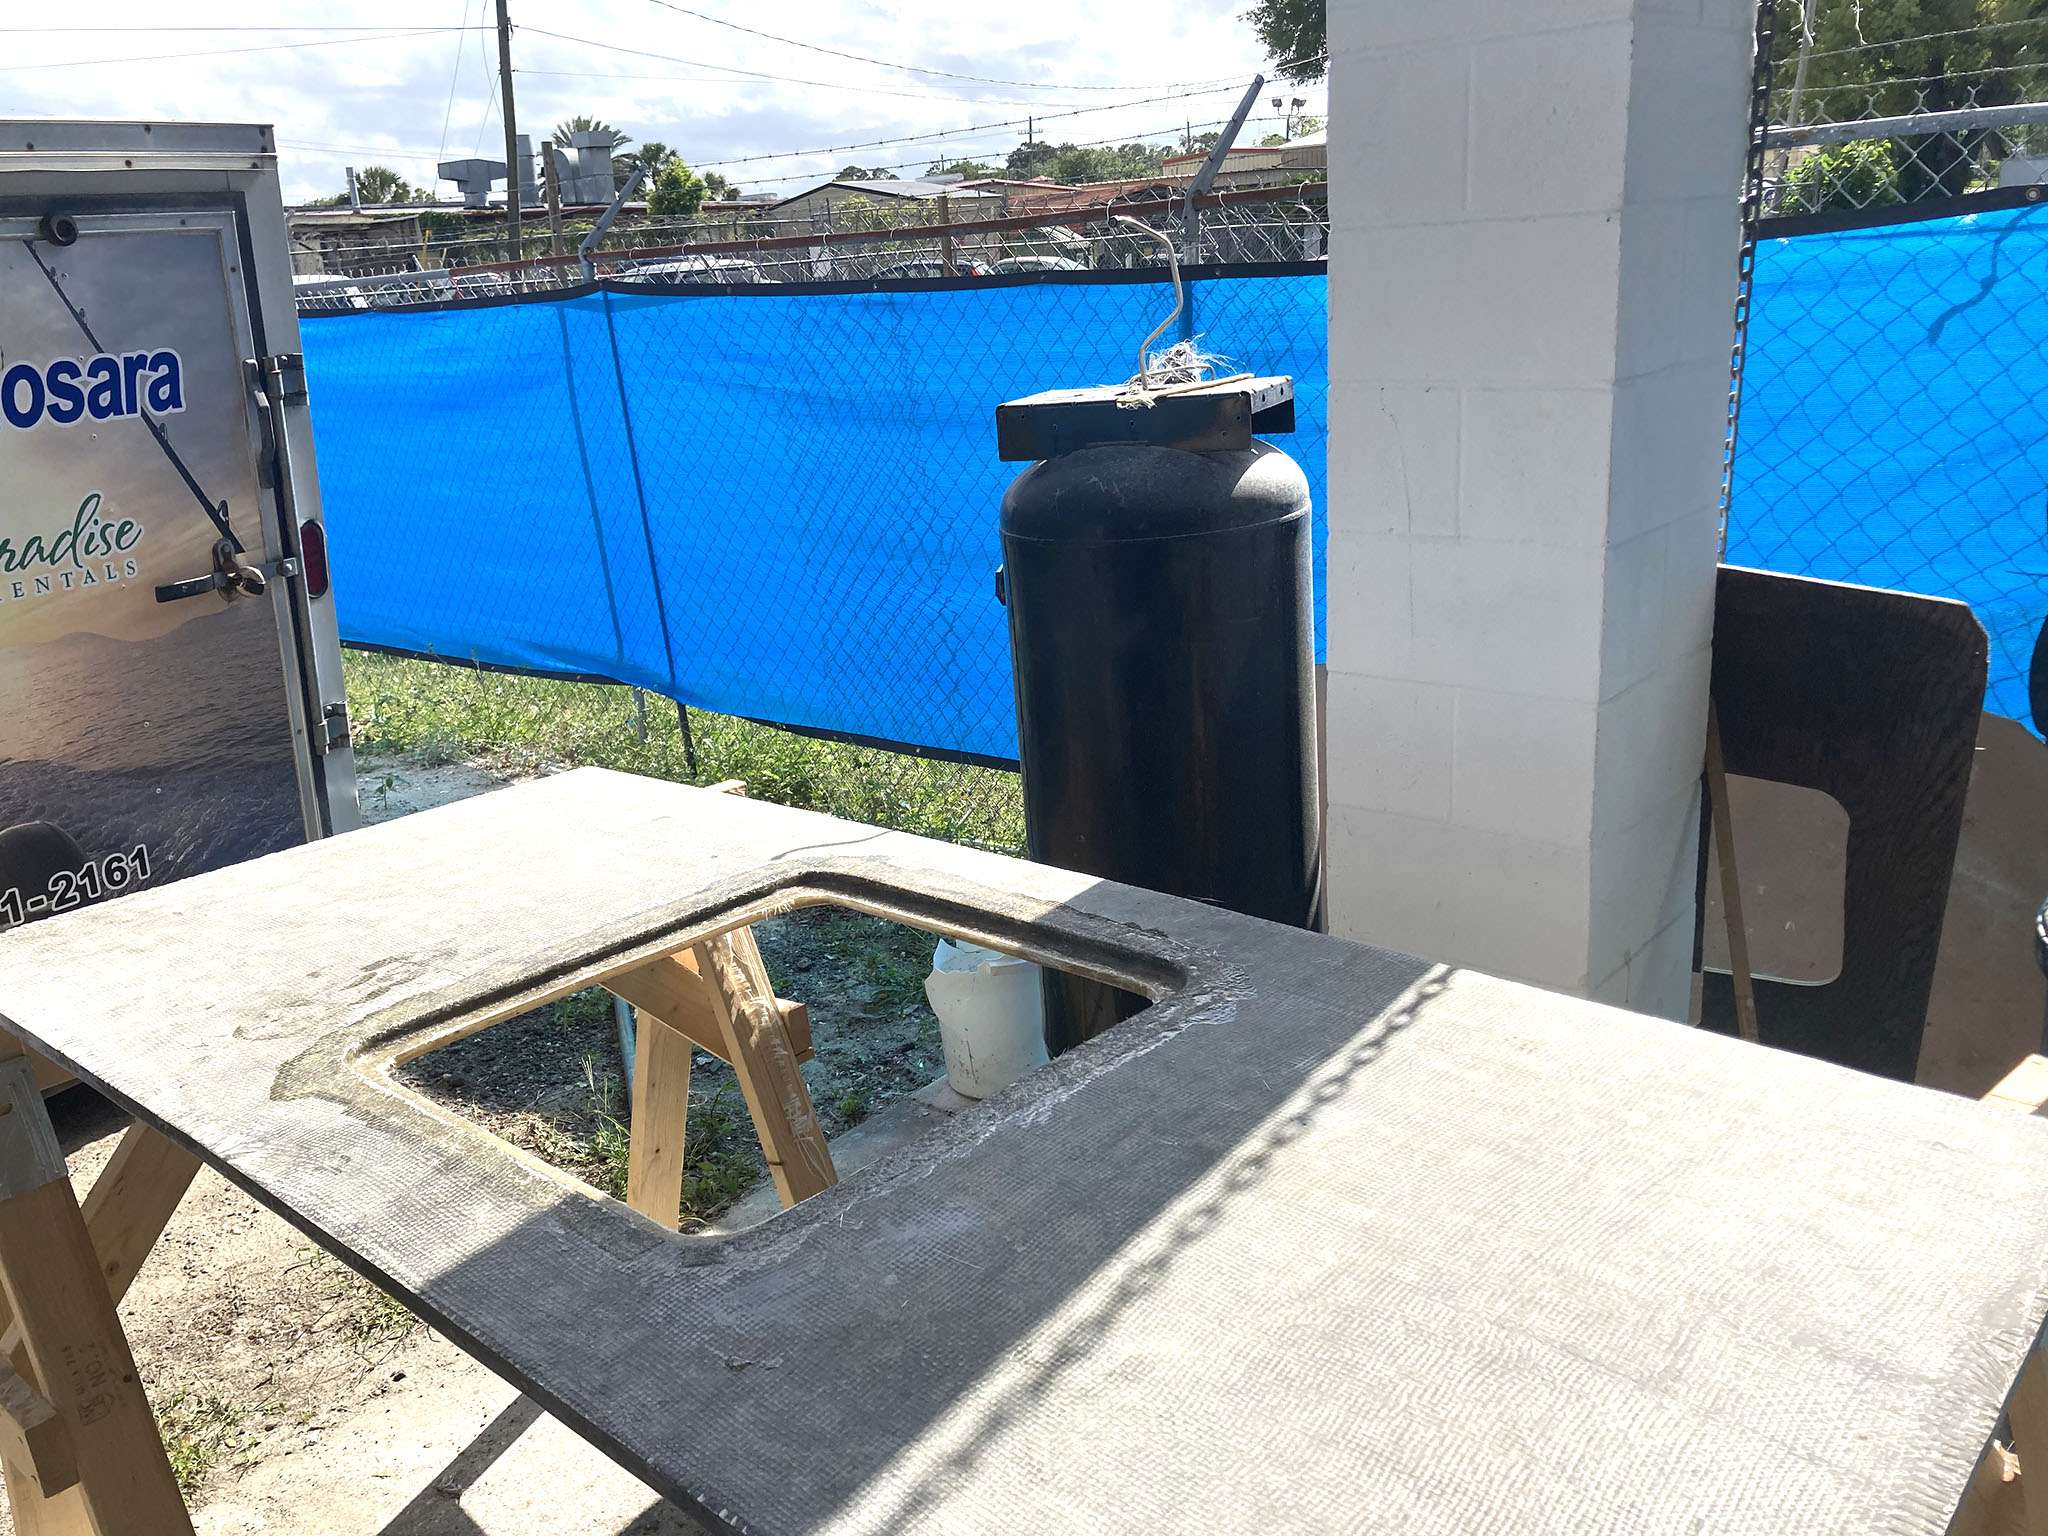

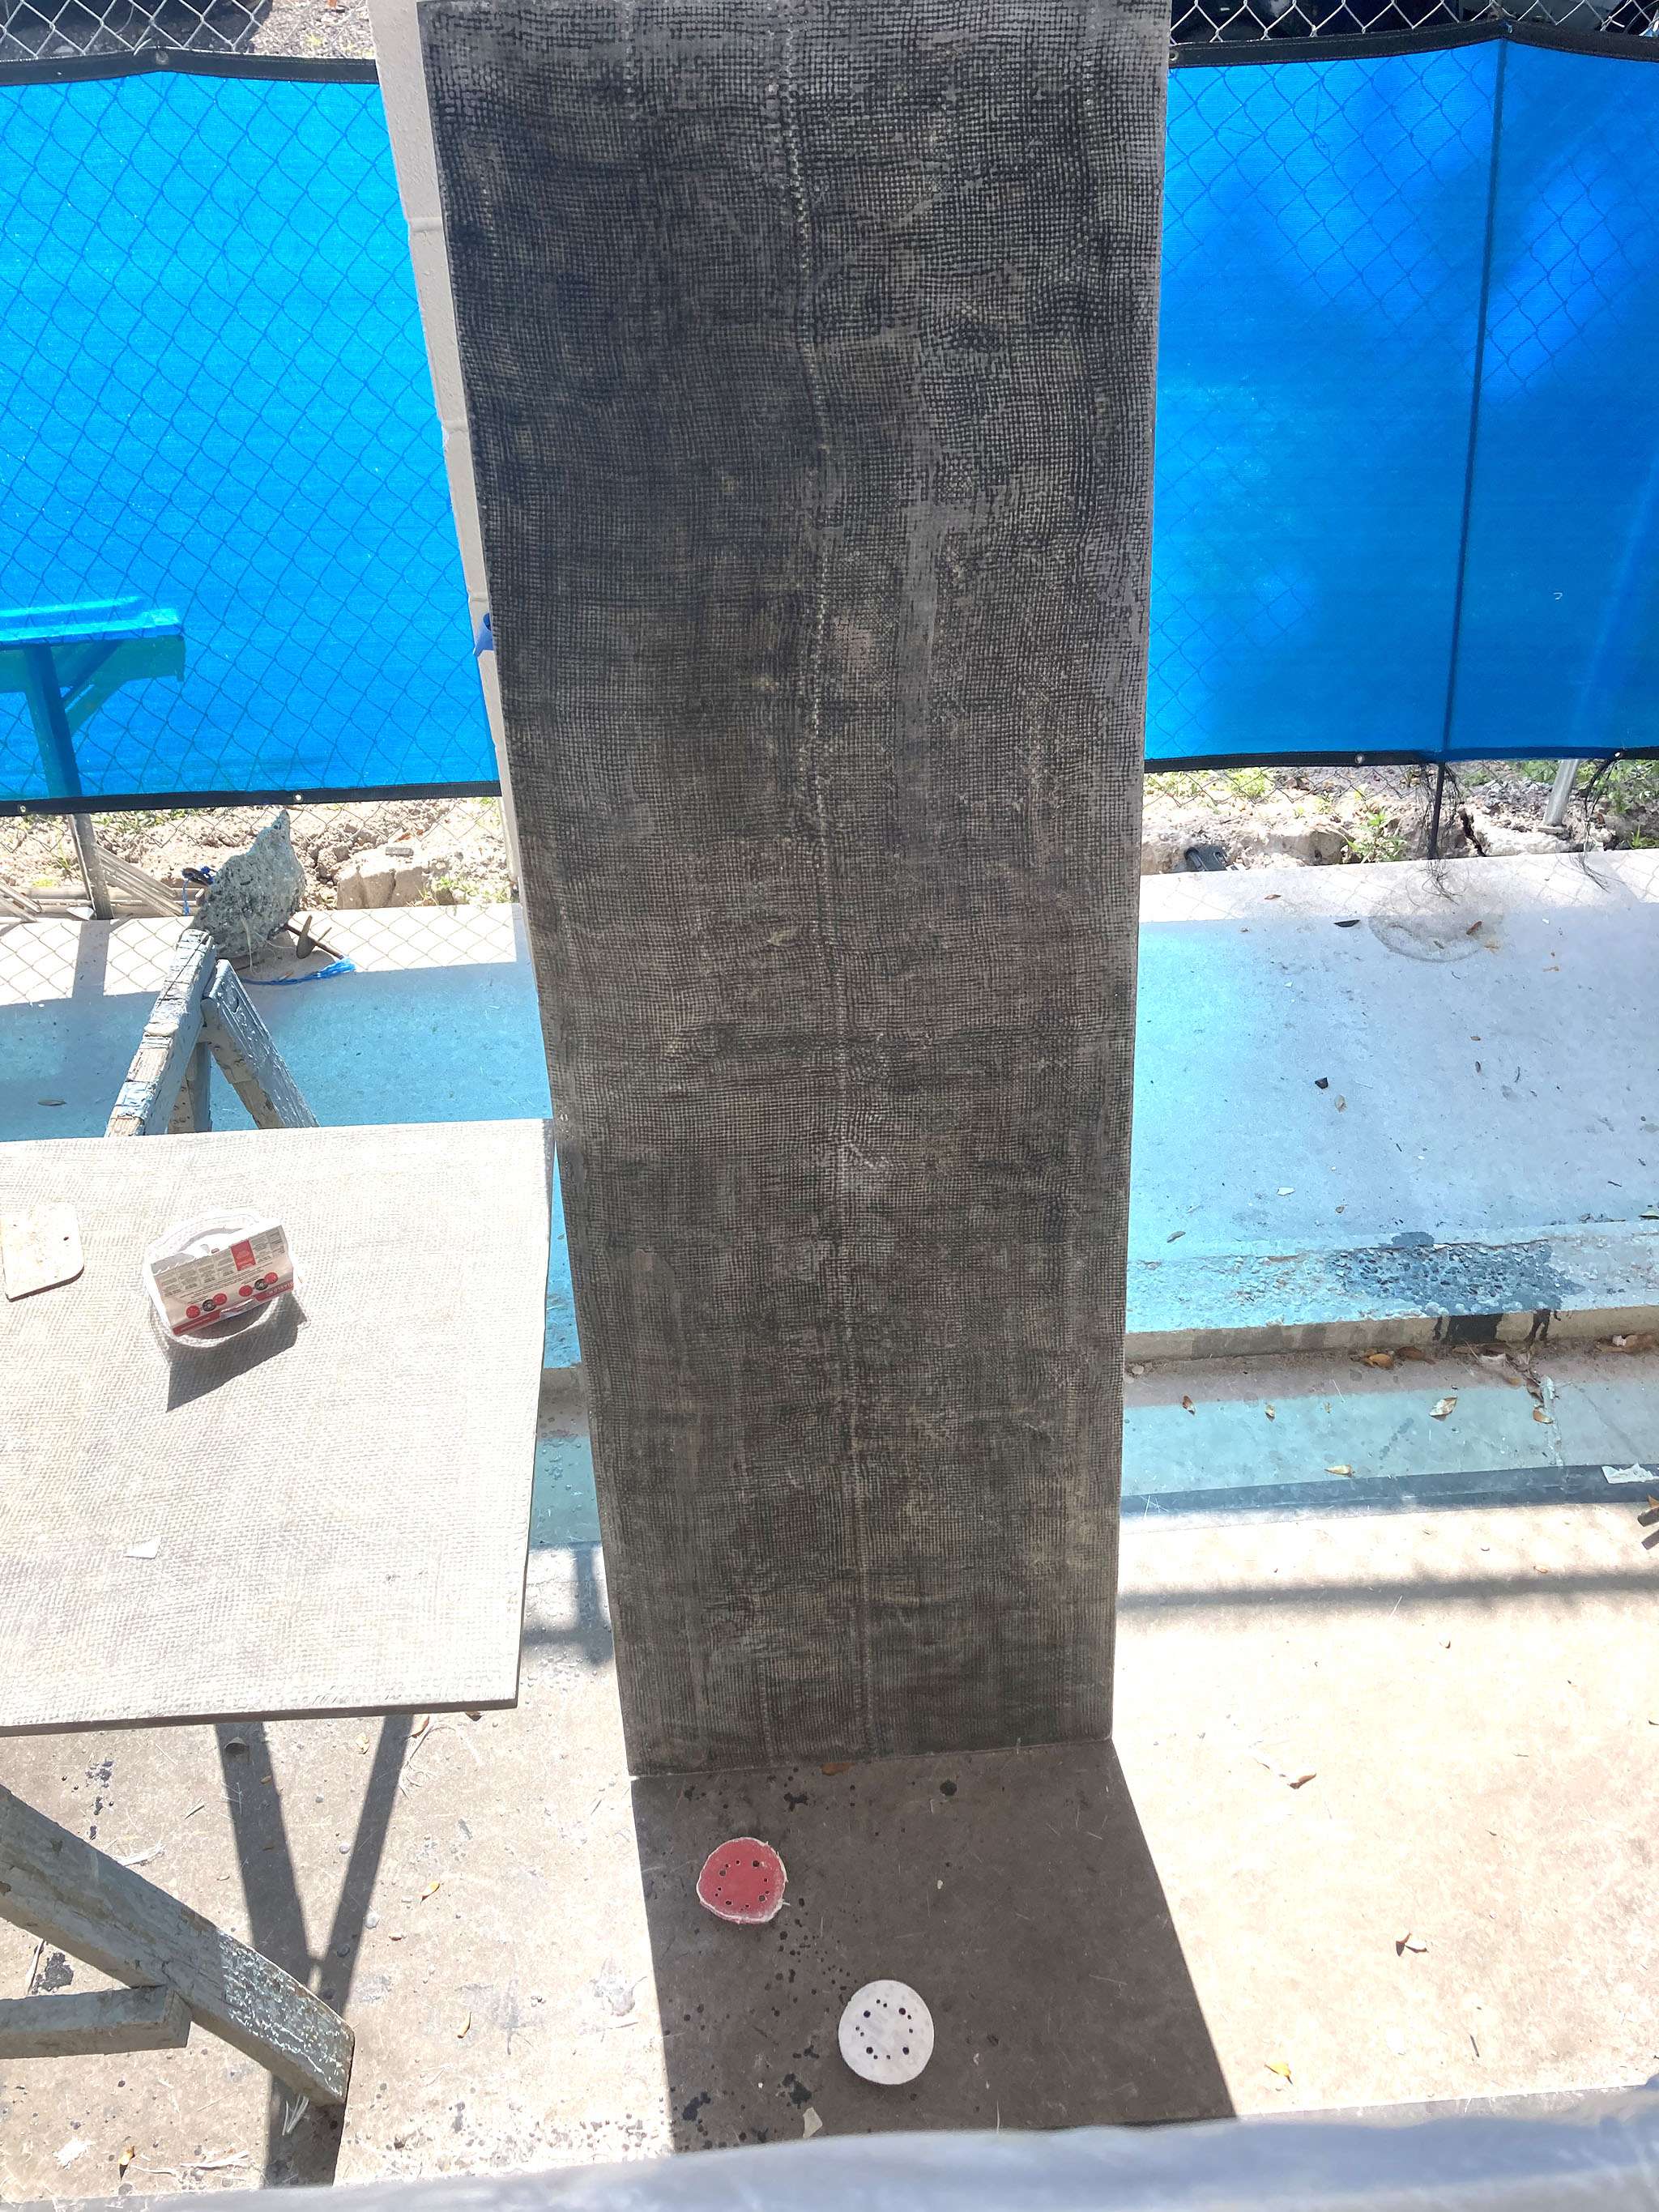
We have completed the fabrication of the floor pieces and coated both sides with multiple layers of fiberglass.

We invested a lot of time to perfect these stringers so that their are no high spots; a bad spot could potentially warp the deck panels if they aren’t properly flattened BEFORE installing the deck.

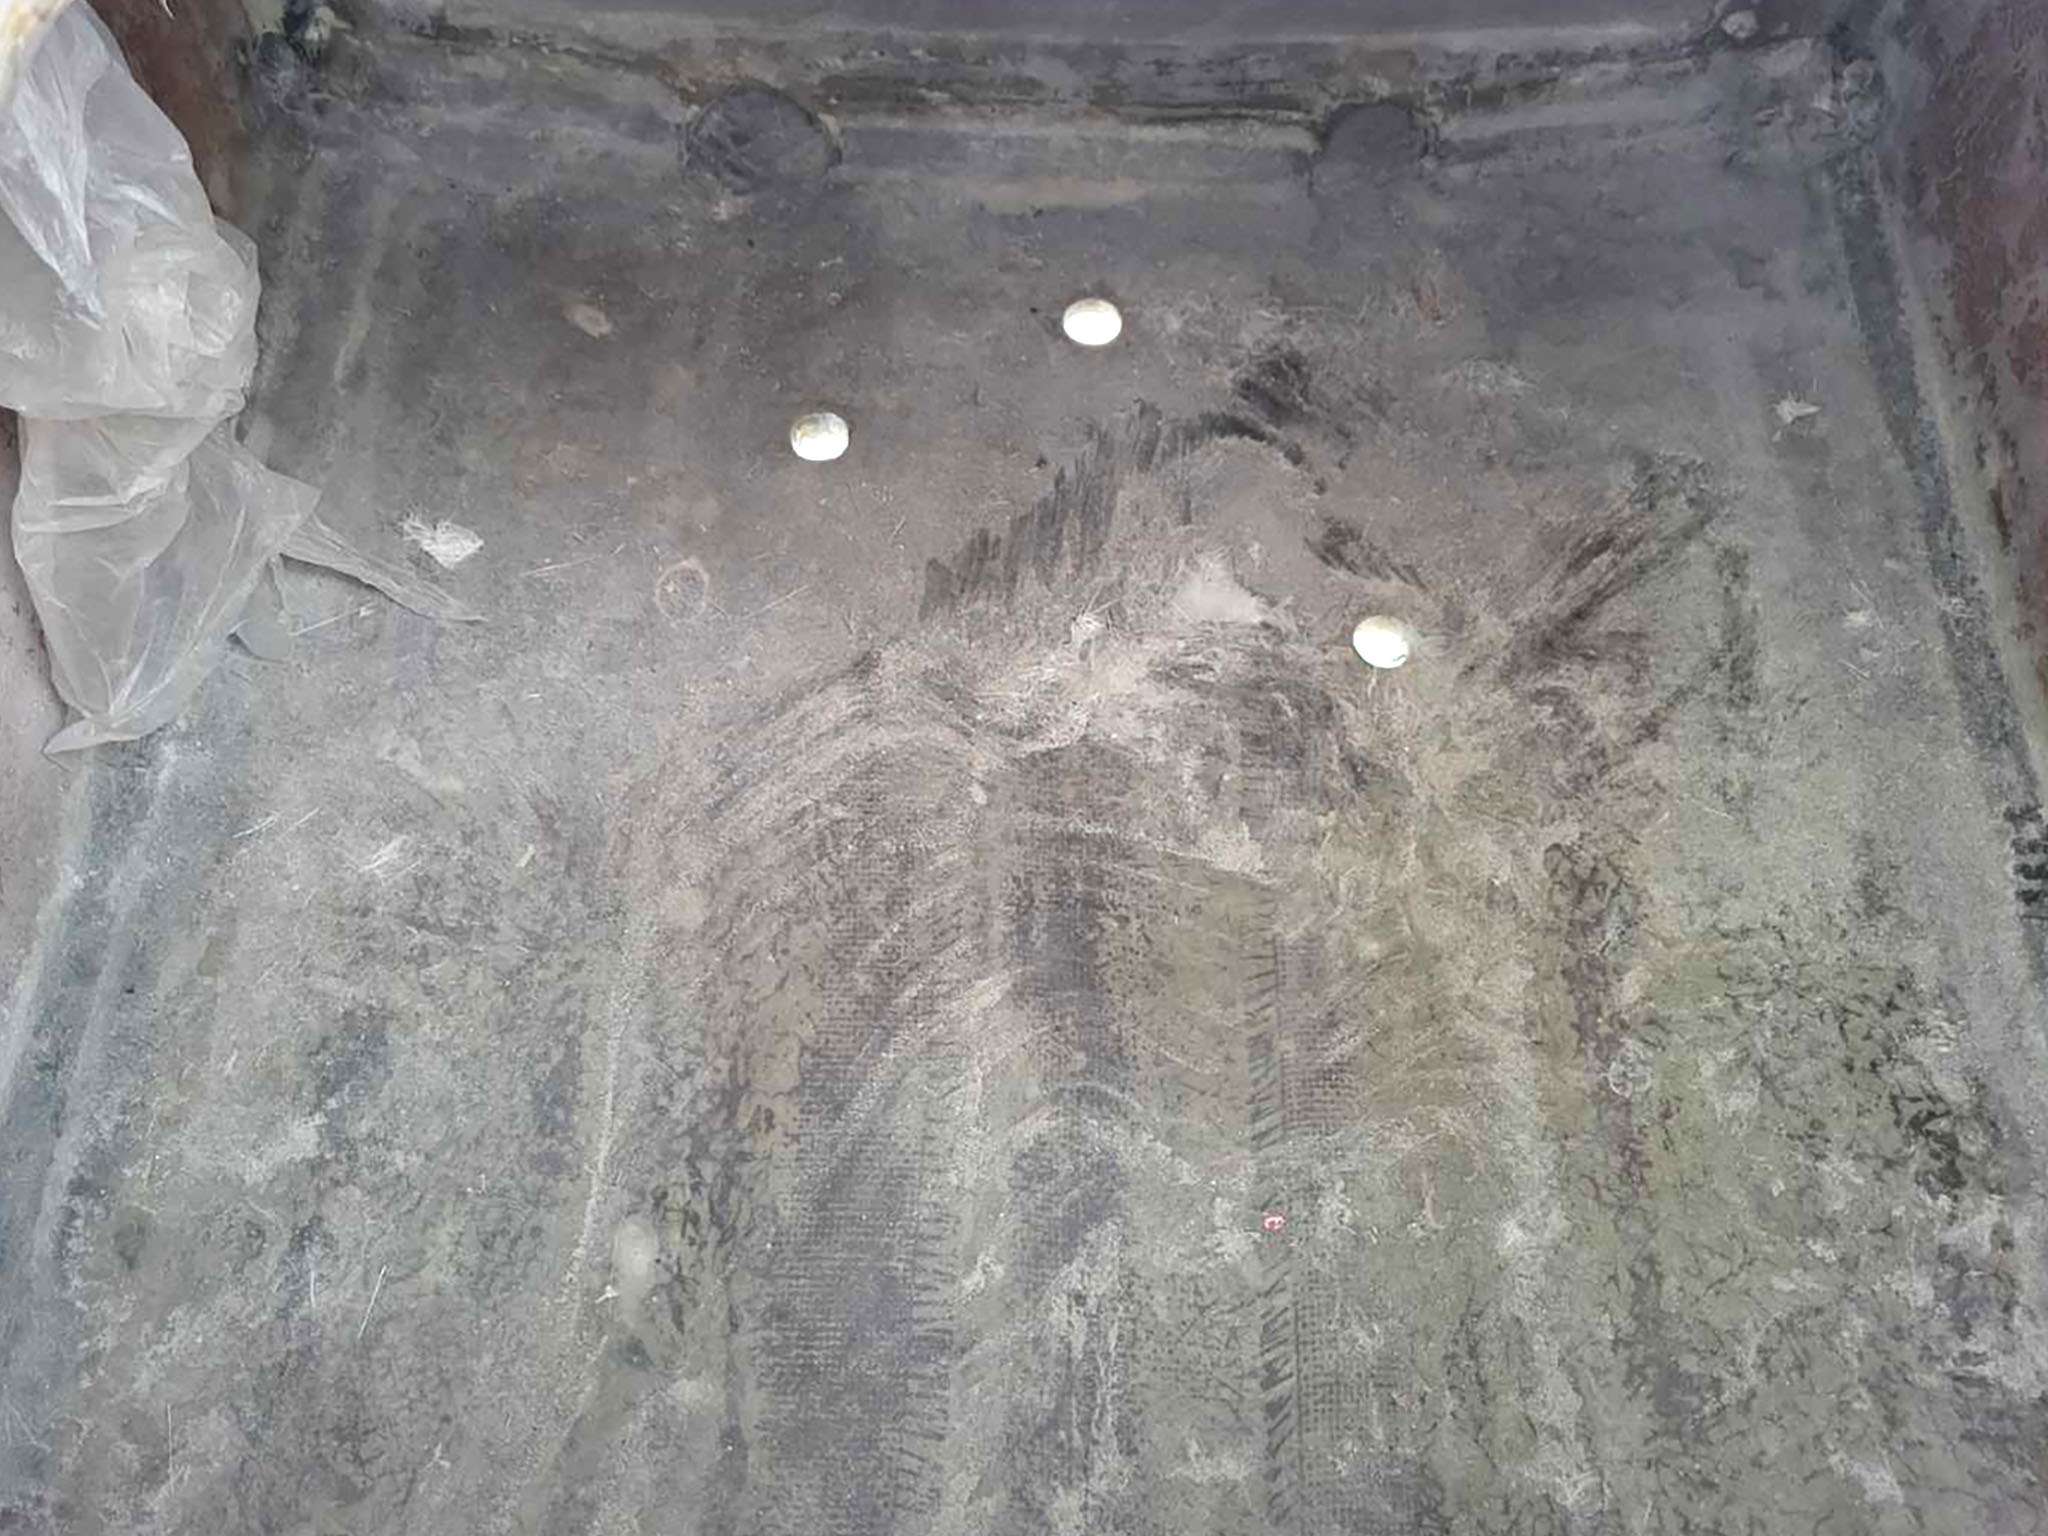
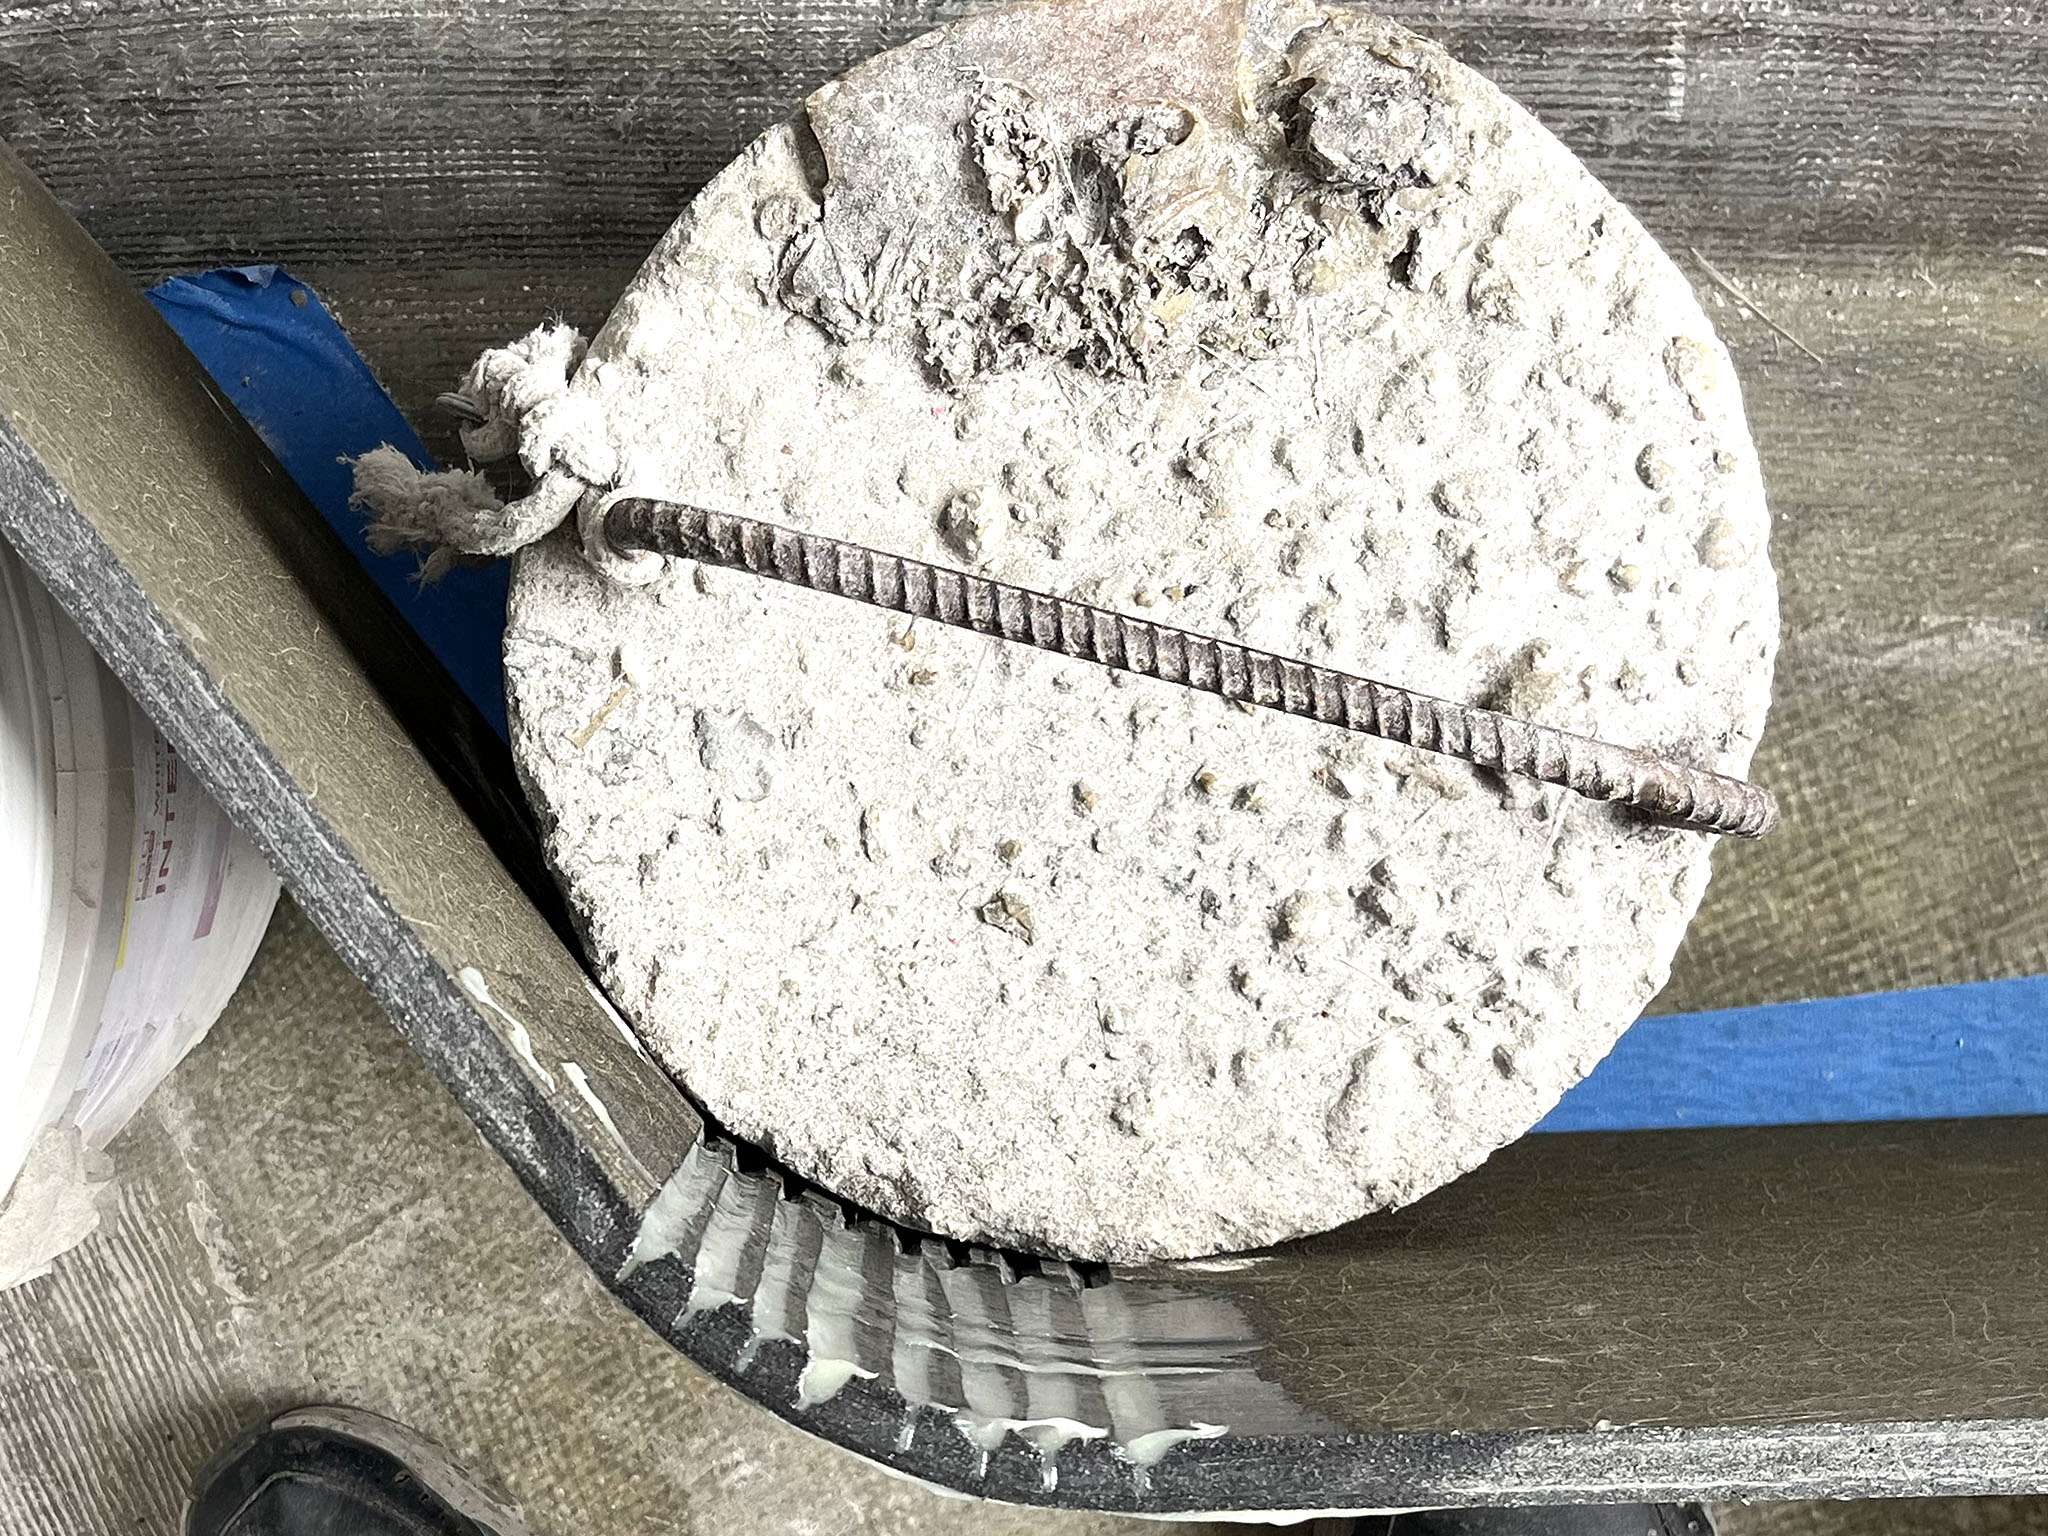
We gathered up all the ballast we could find around the shop to hold the panel in place while a thick bead of 610 epoxy cured.
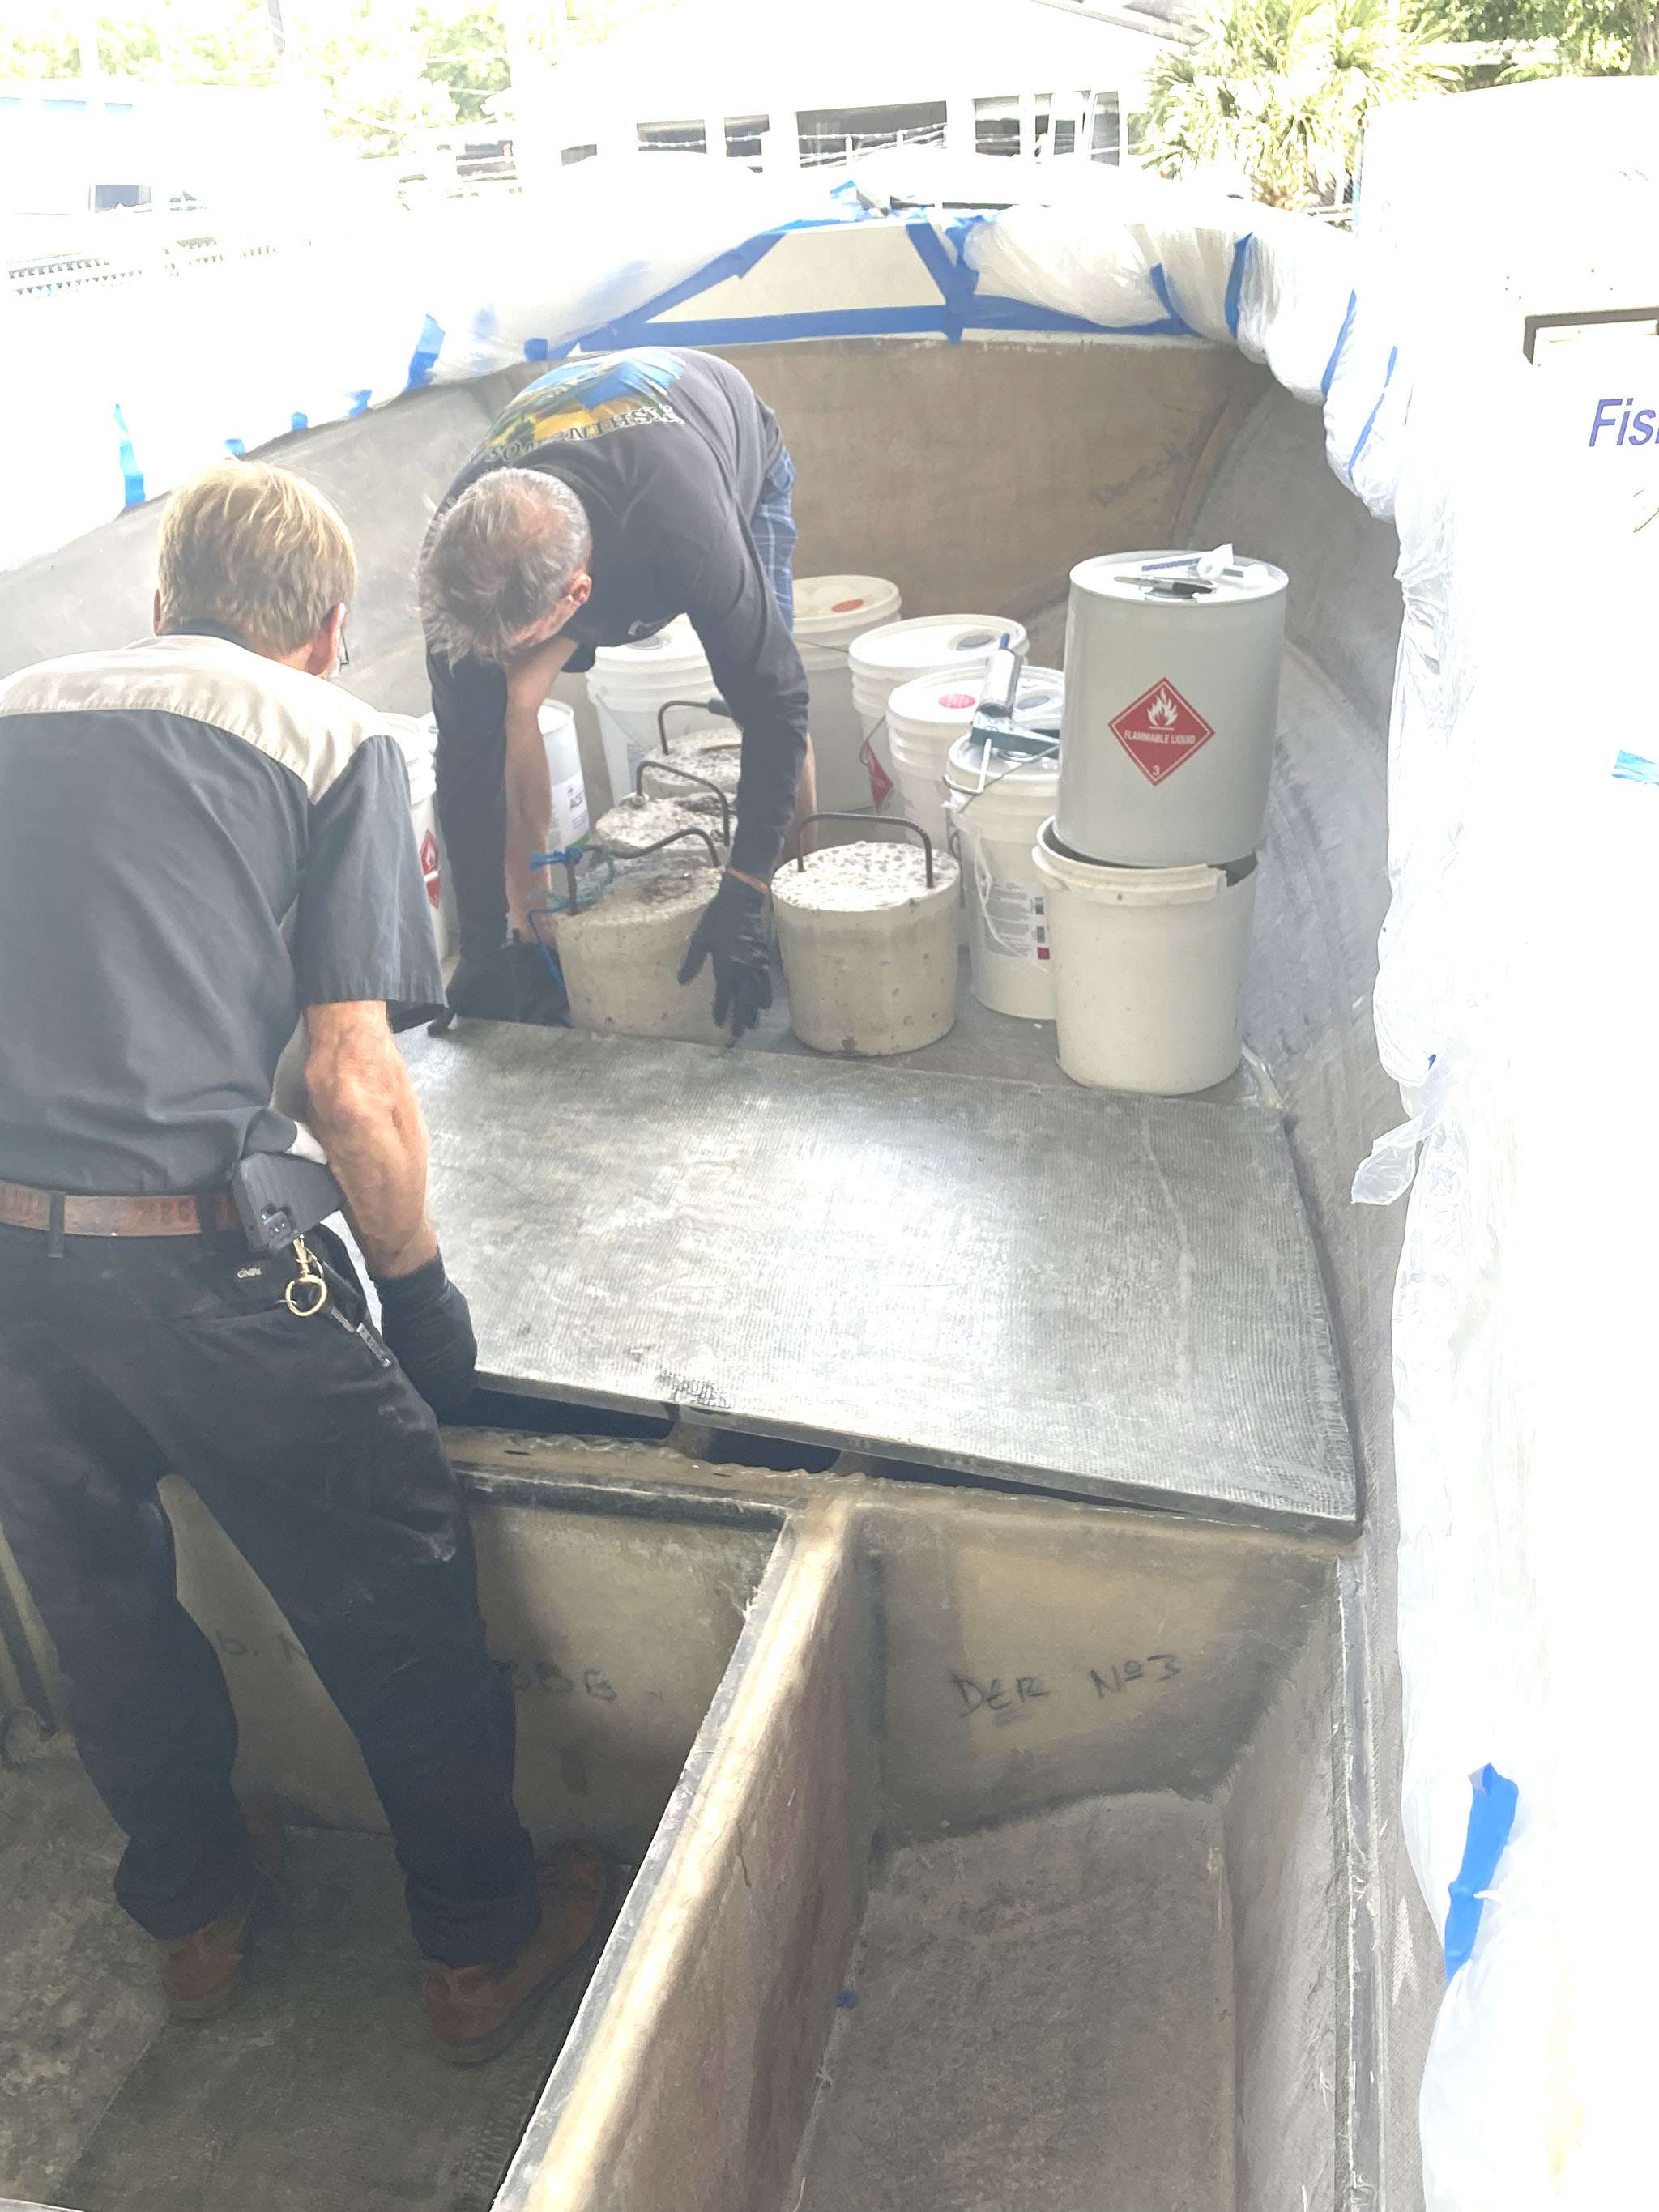
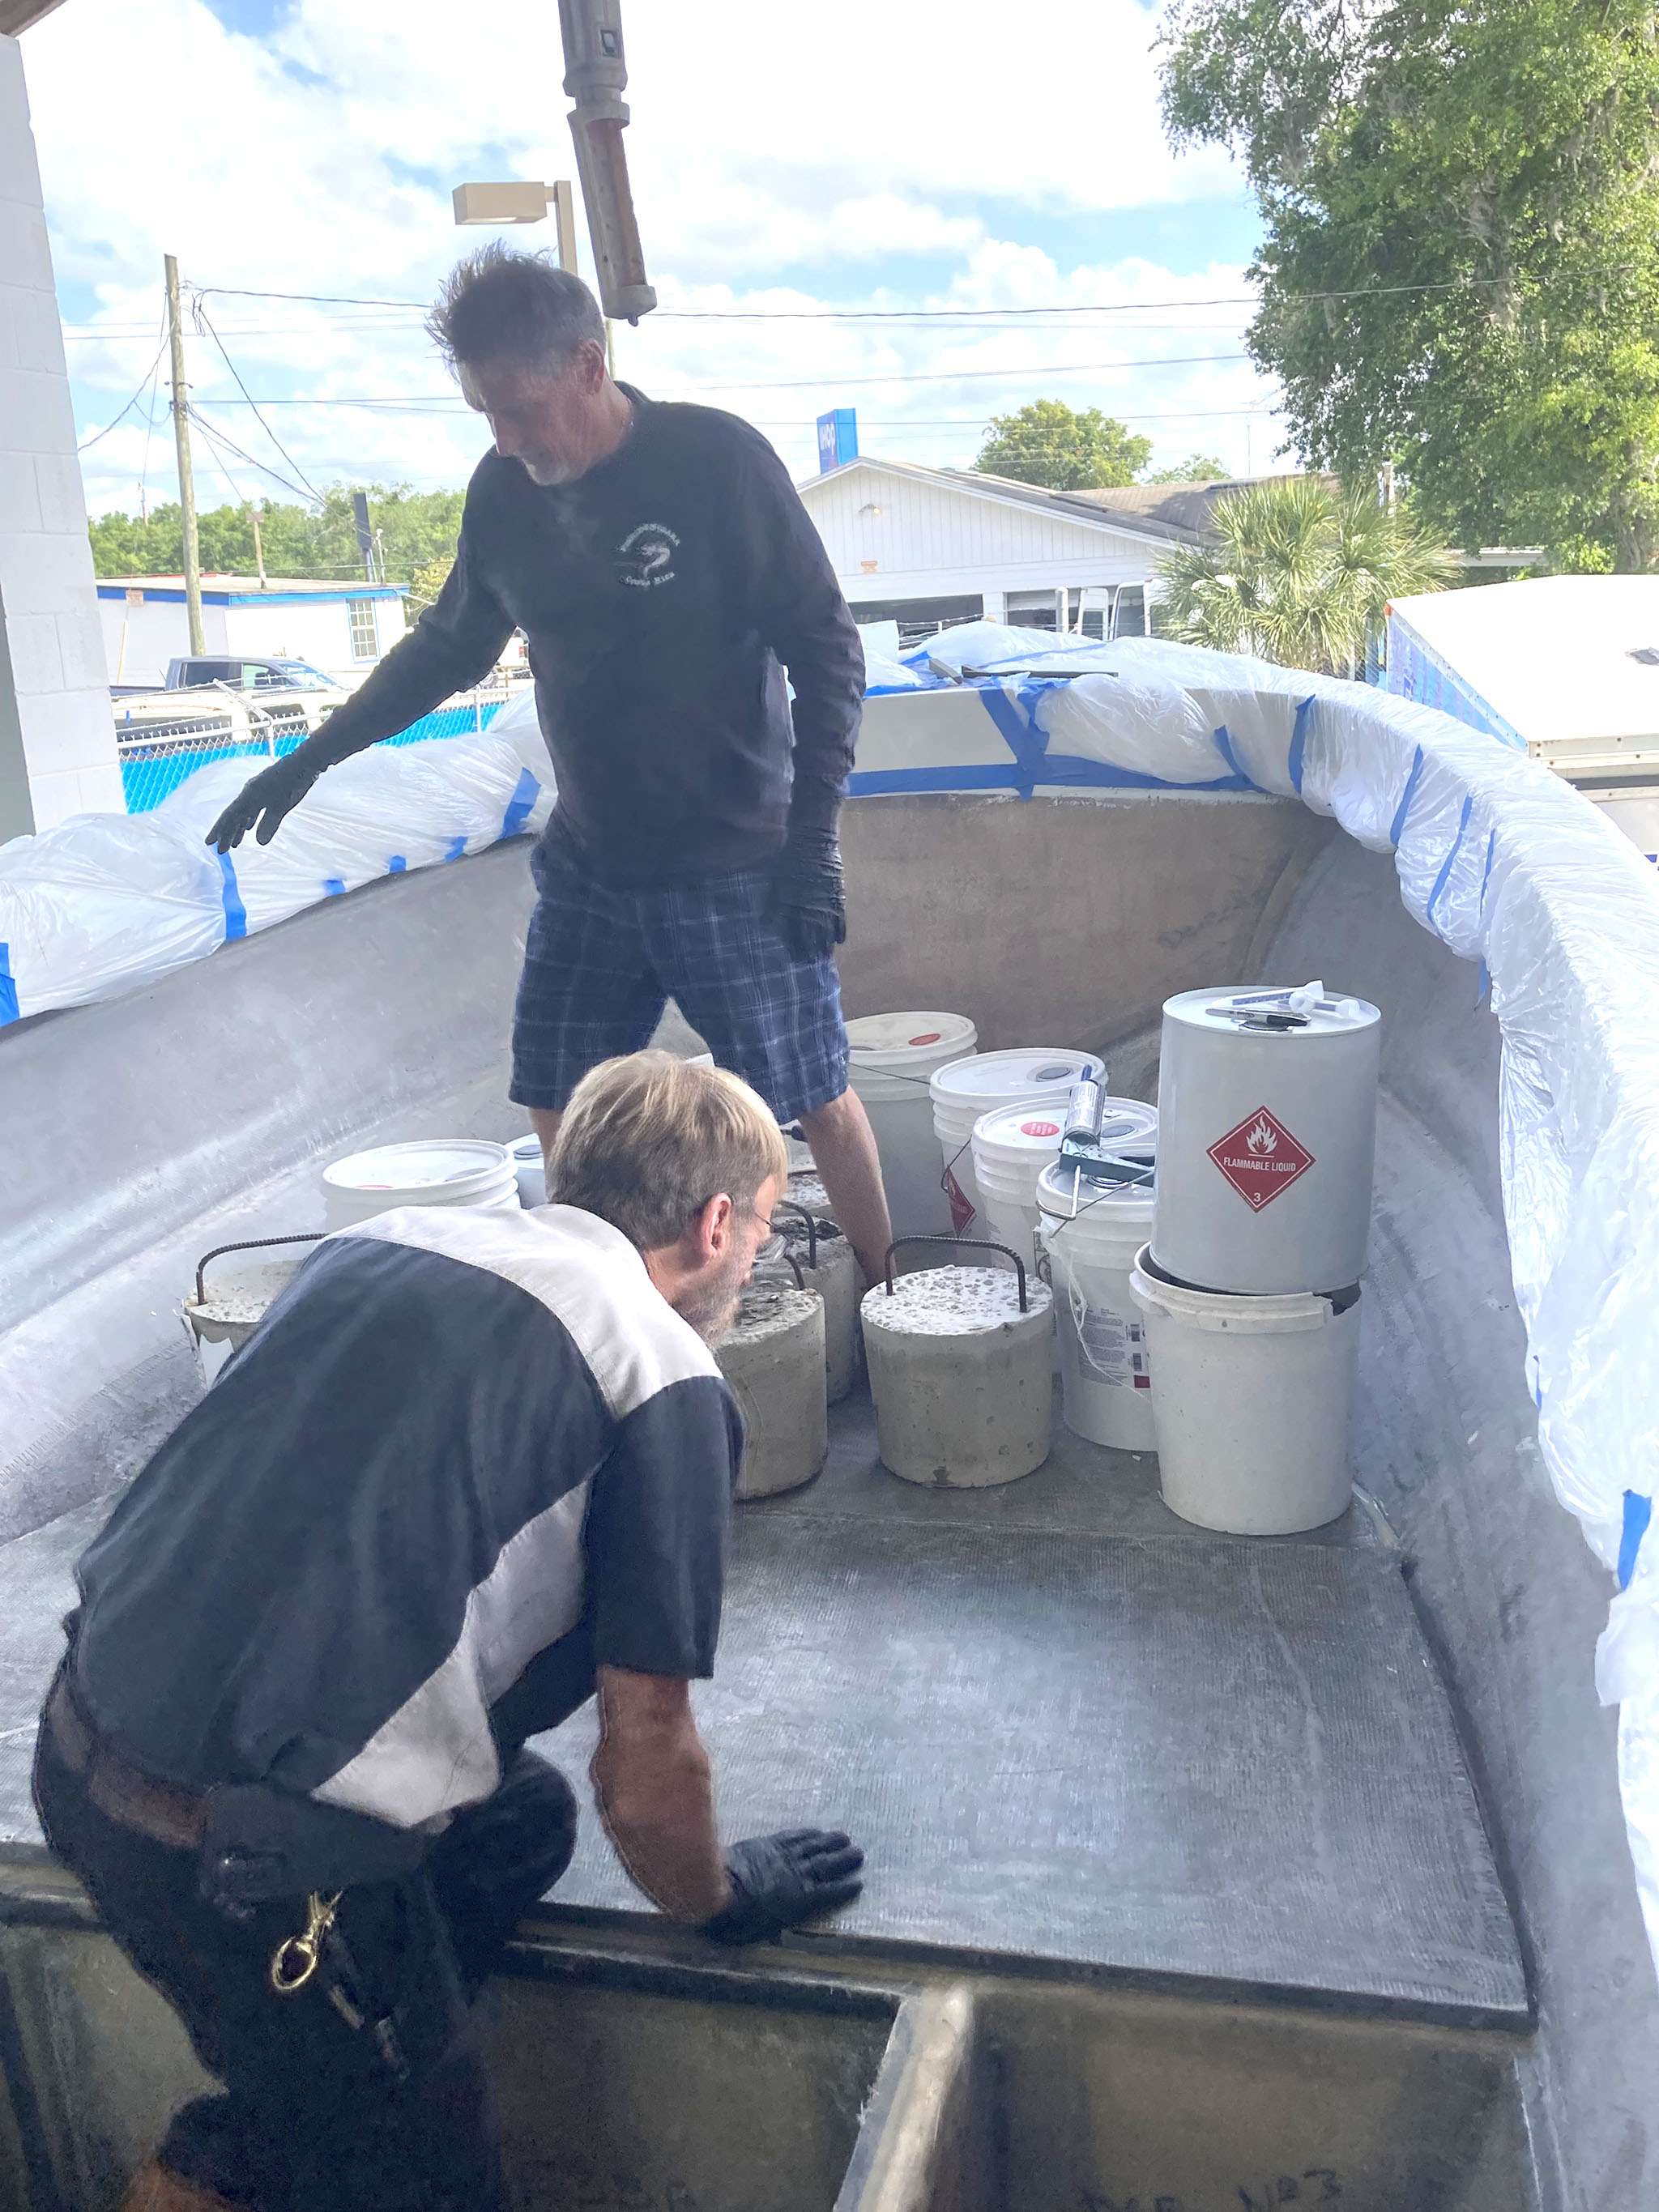
We are stoked with the progress and are looking forward to installing more panels in the coming weeks.
May 9, 2023
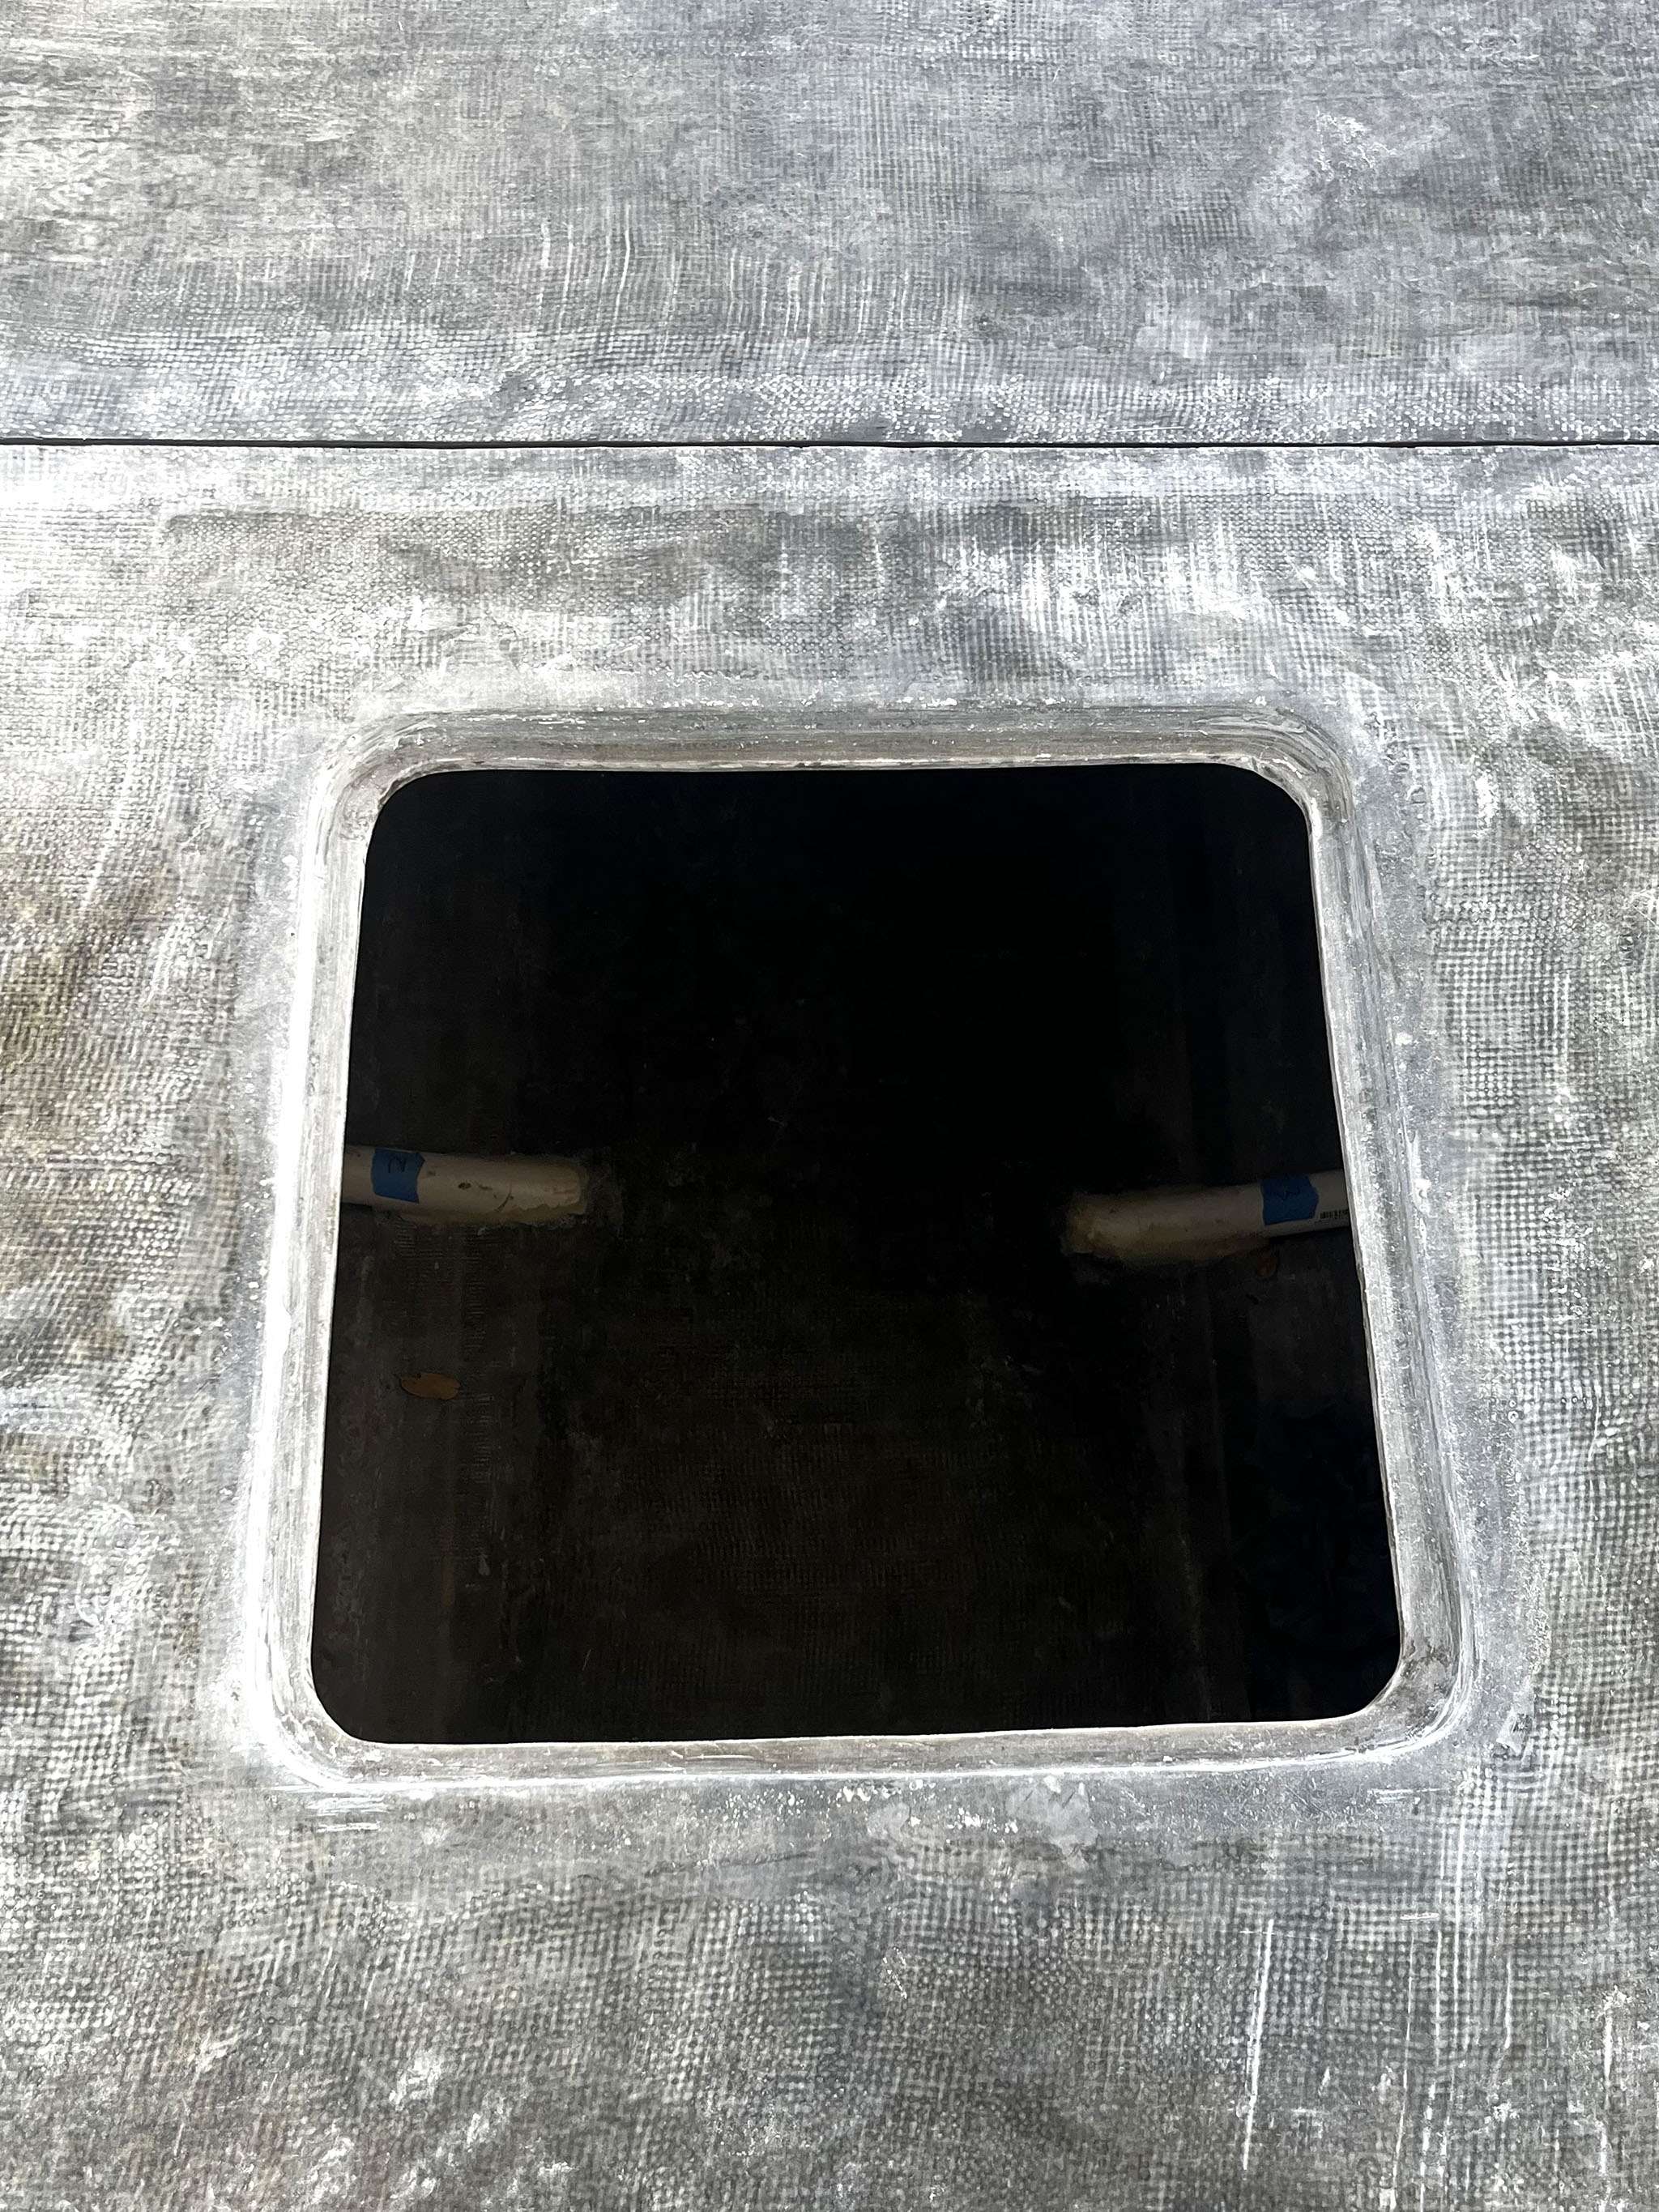
We have finished installing the front deck panels on the Fishtastic XL, and are now plowing through the installation/perfection of the deck portals.
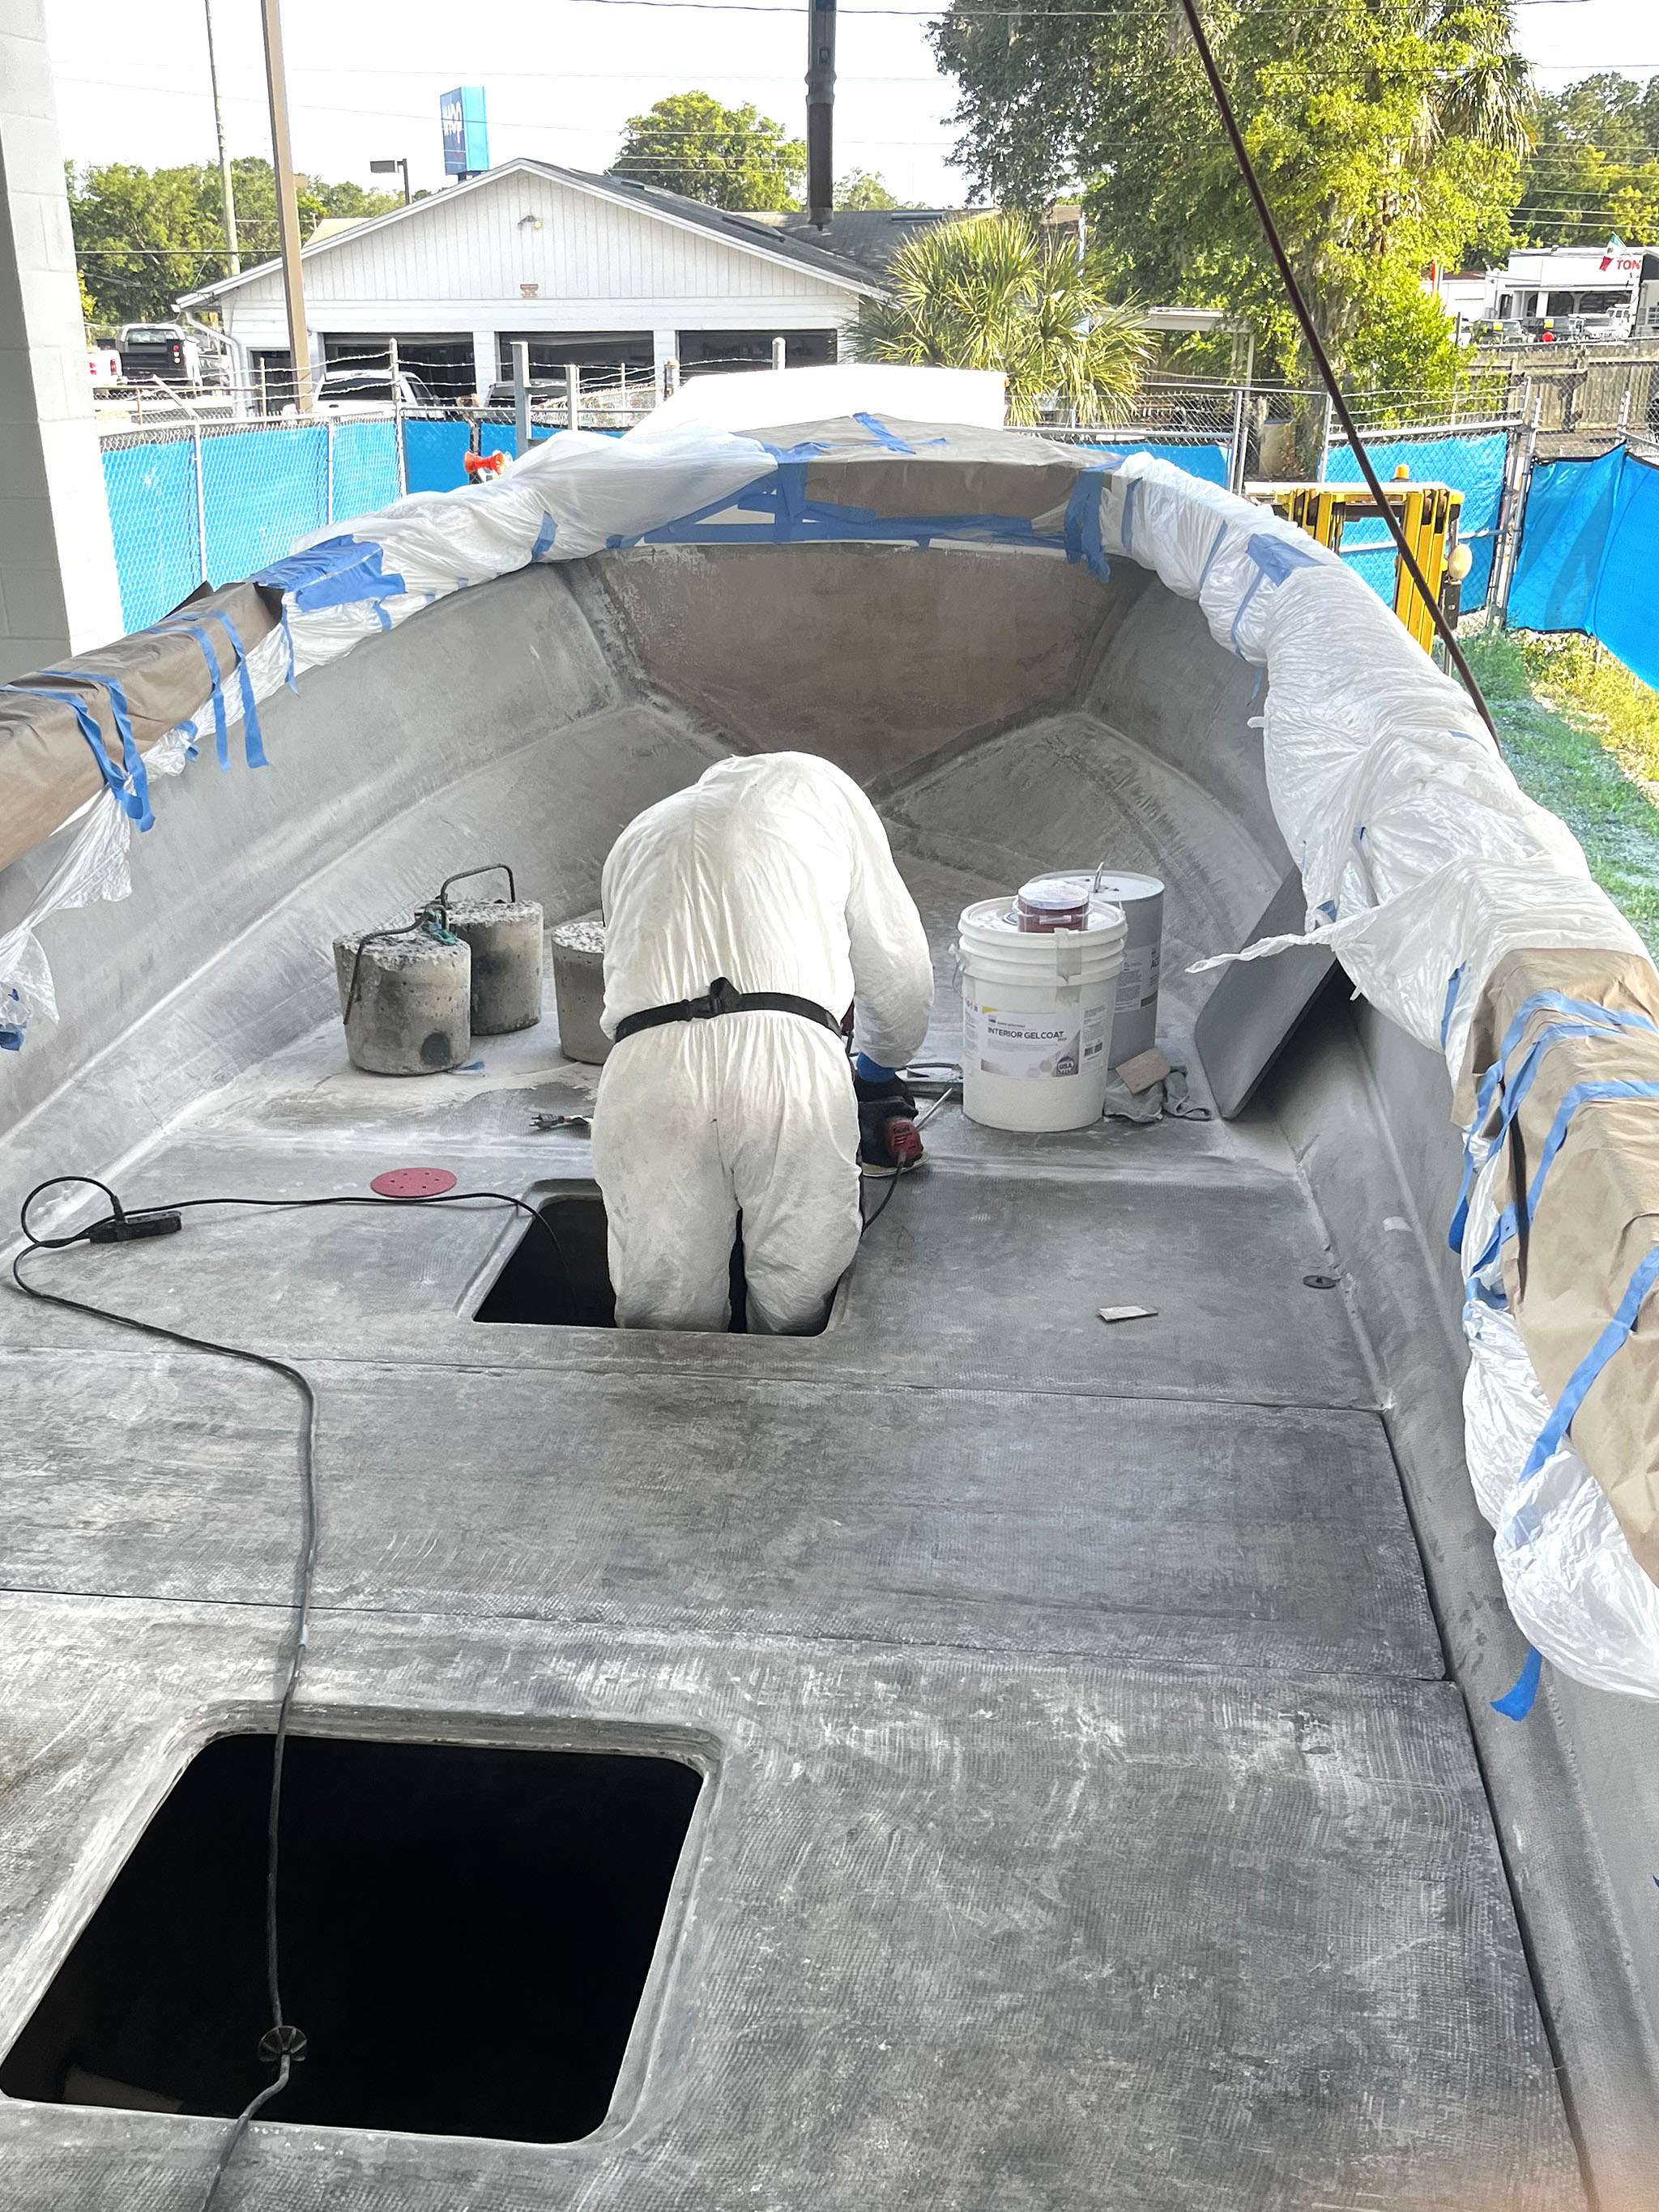
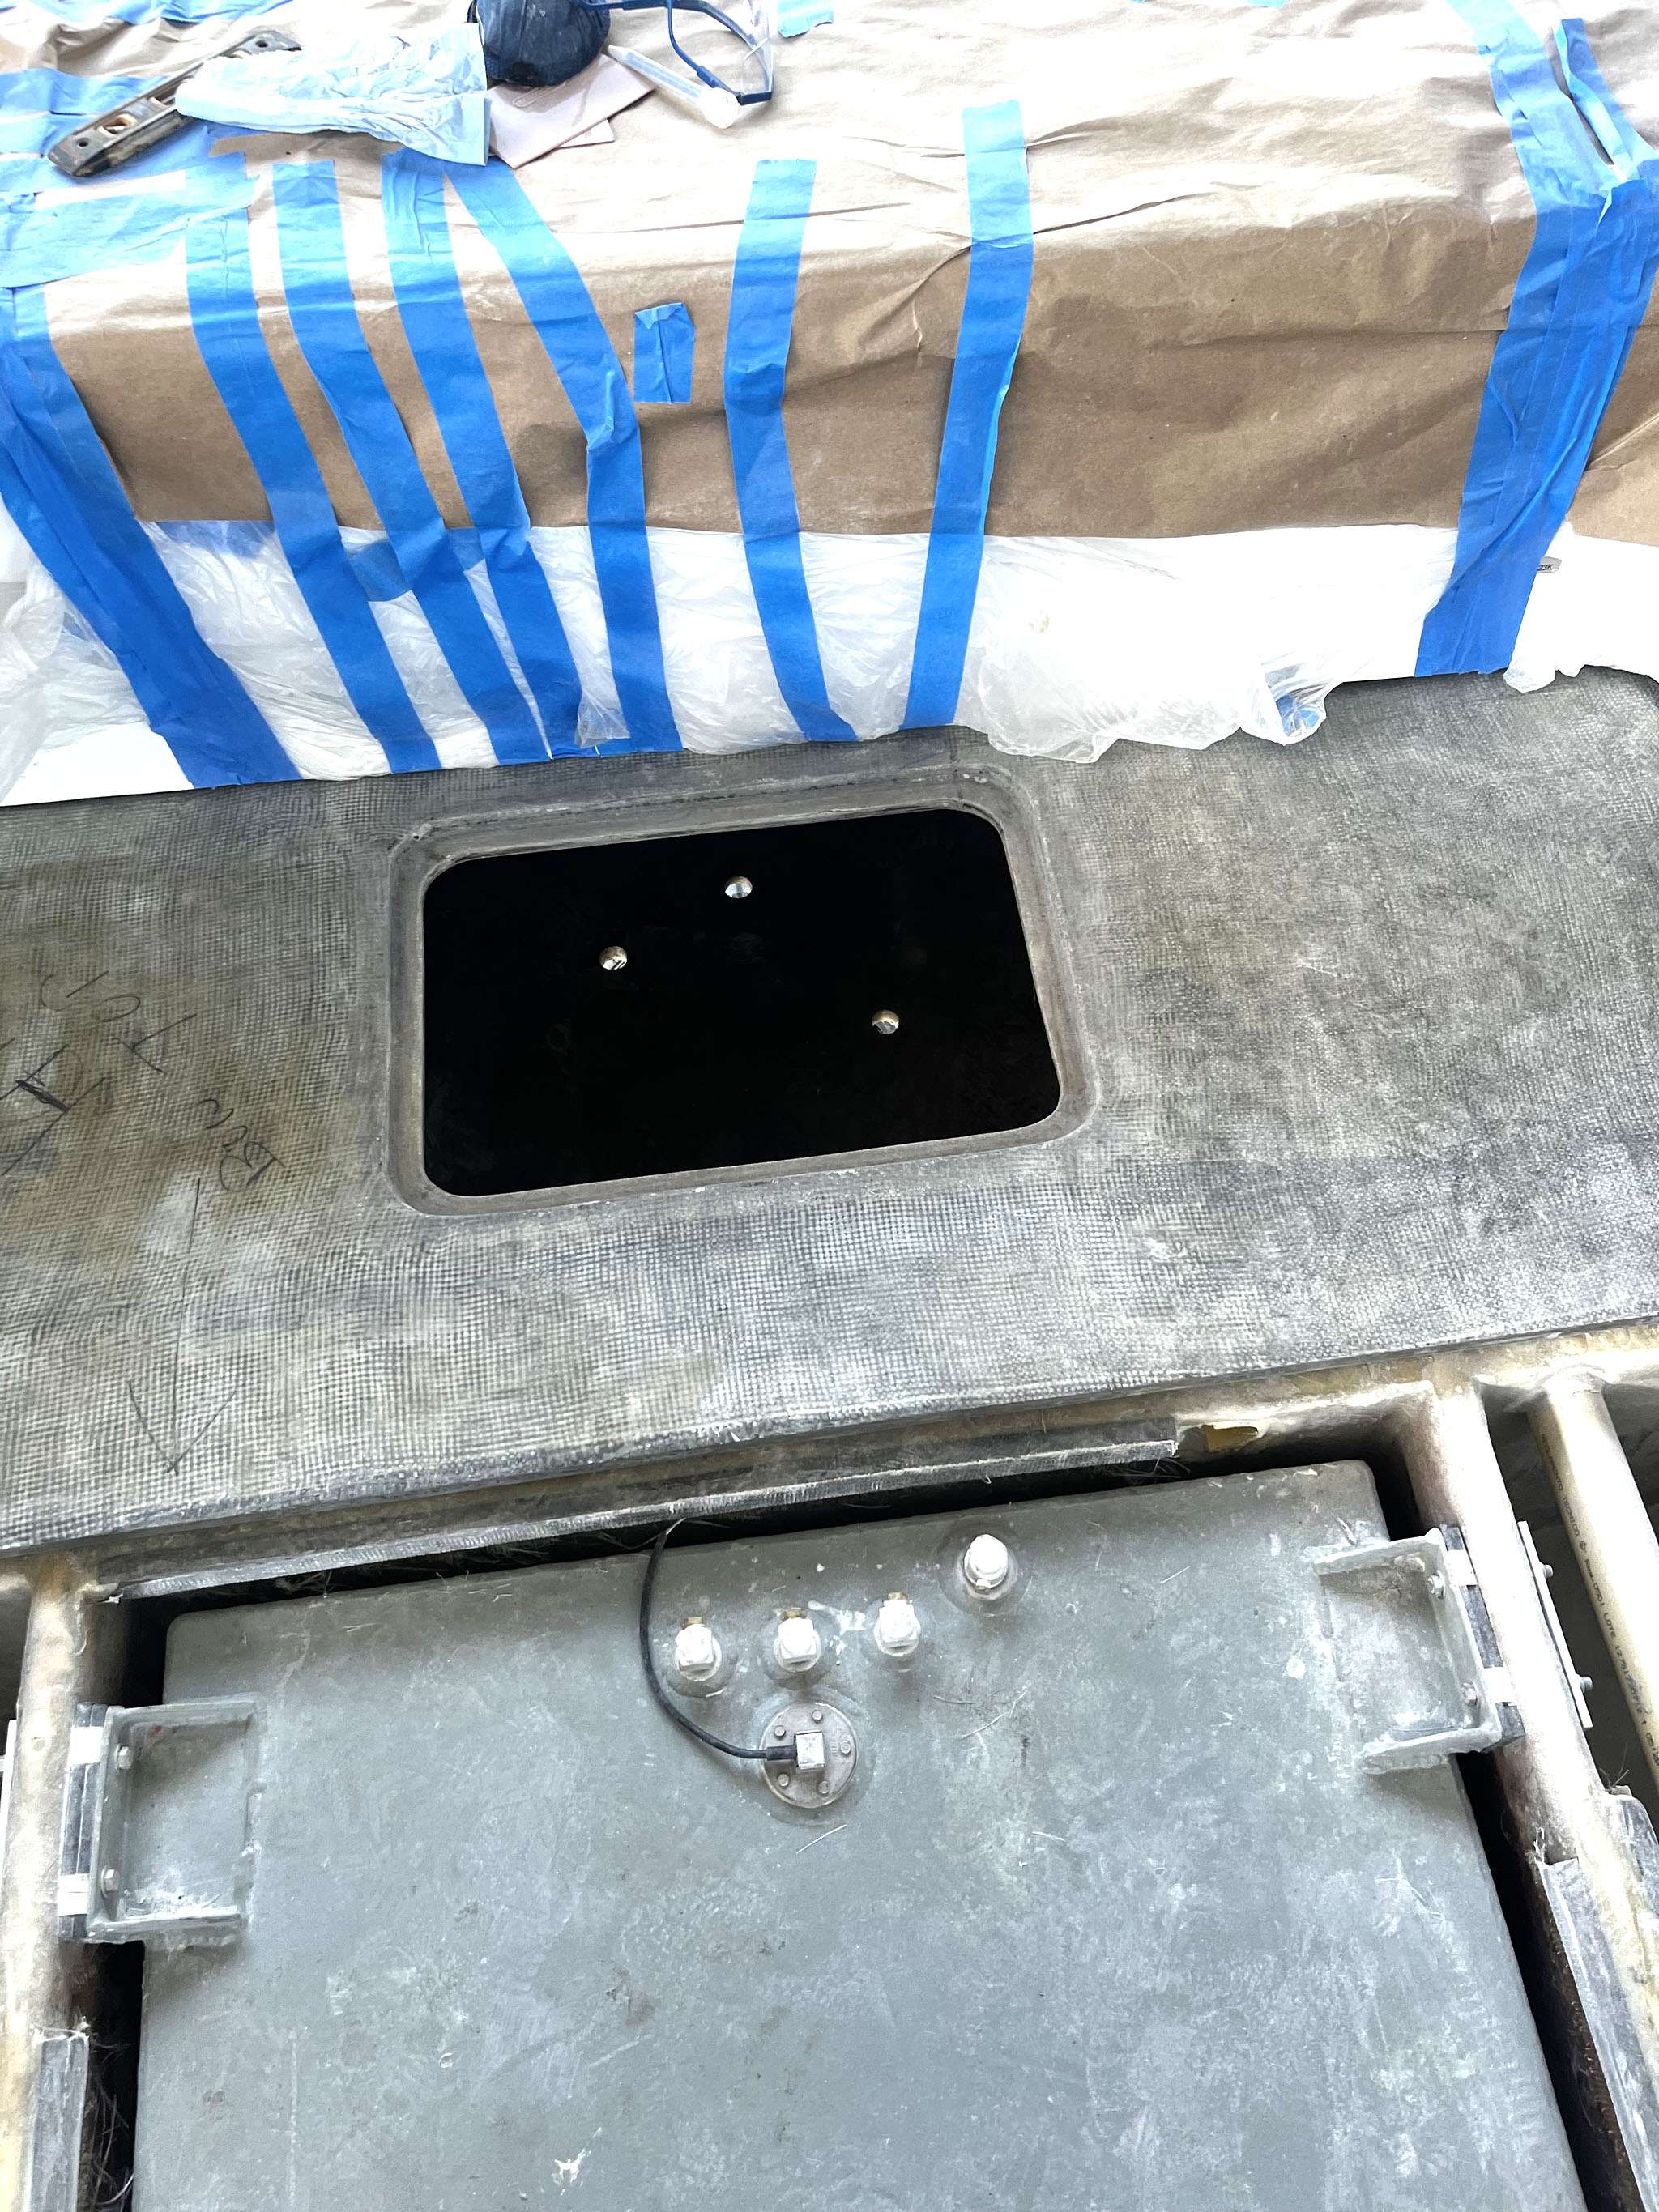
These are all one-offs, made of pure Coosa wood and fiberglass. Also these boxes will utilized Gem Products hinges and latches.

May 22, 2023
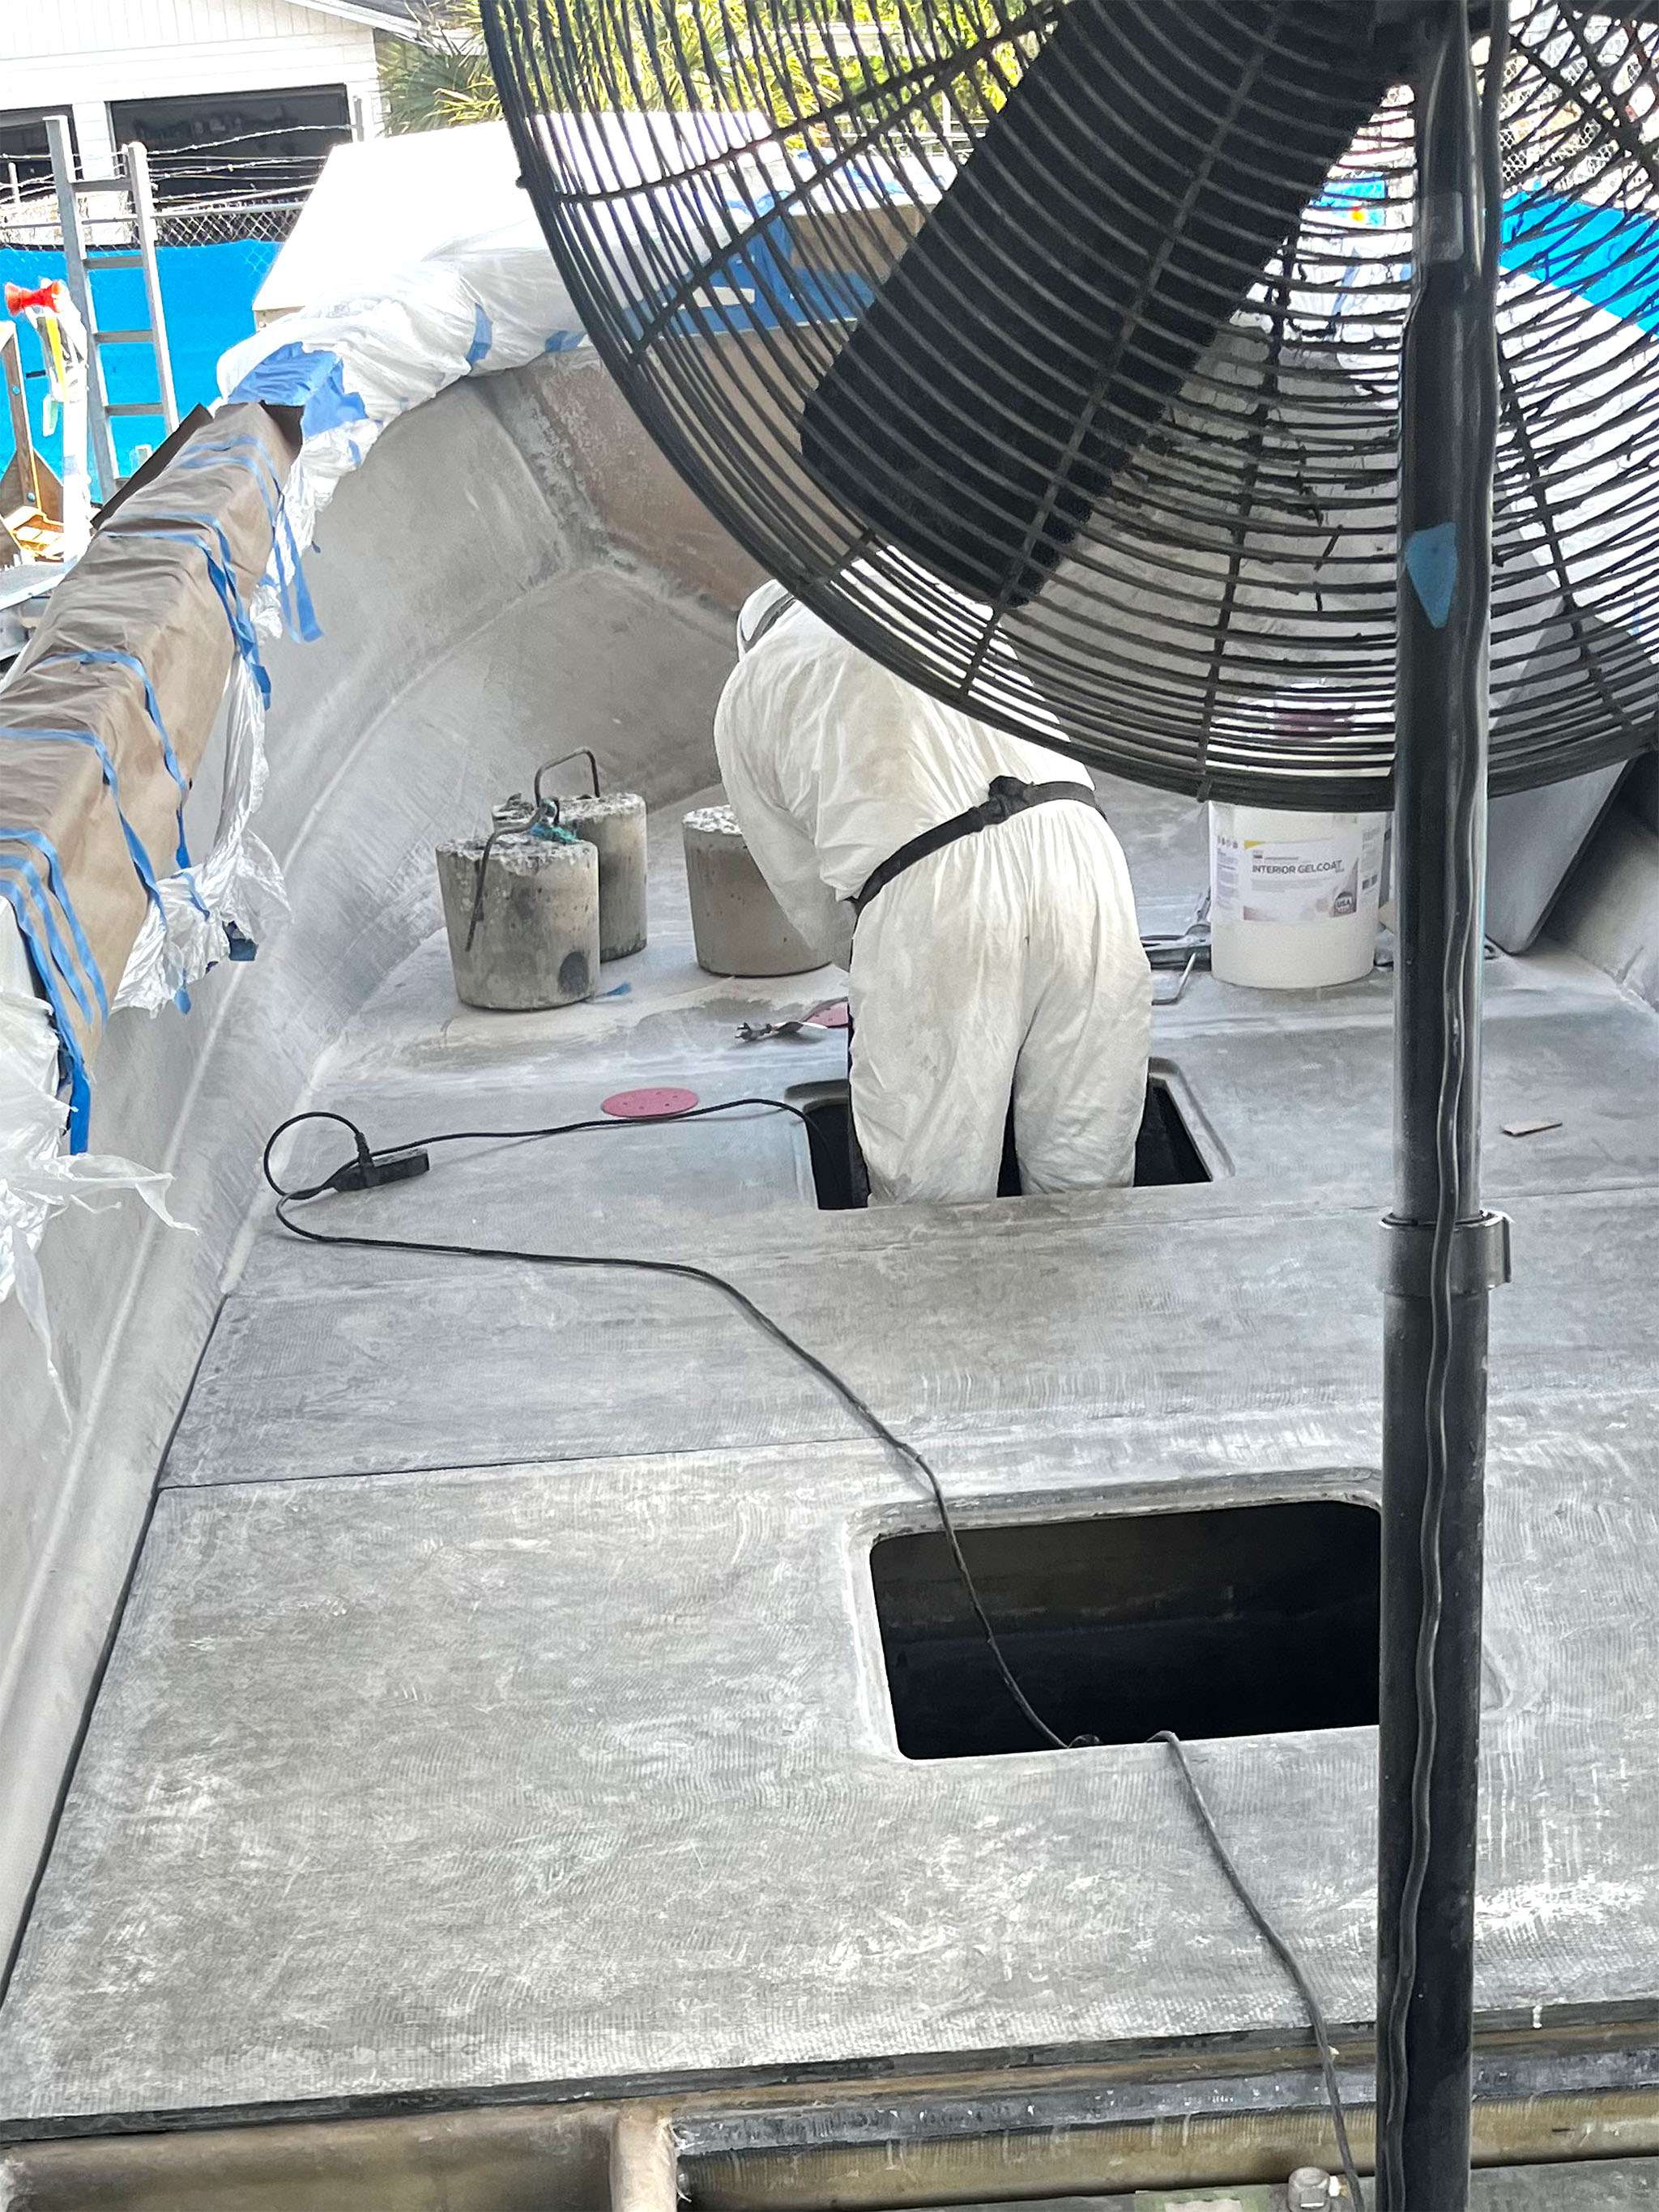
The Fishtastic XL team reached a major milestone this week; all of the major custom floor pieces are fitted and in place.
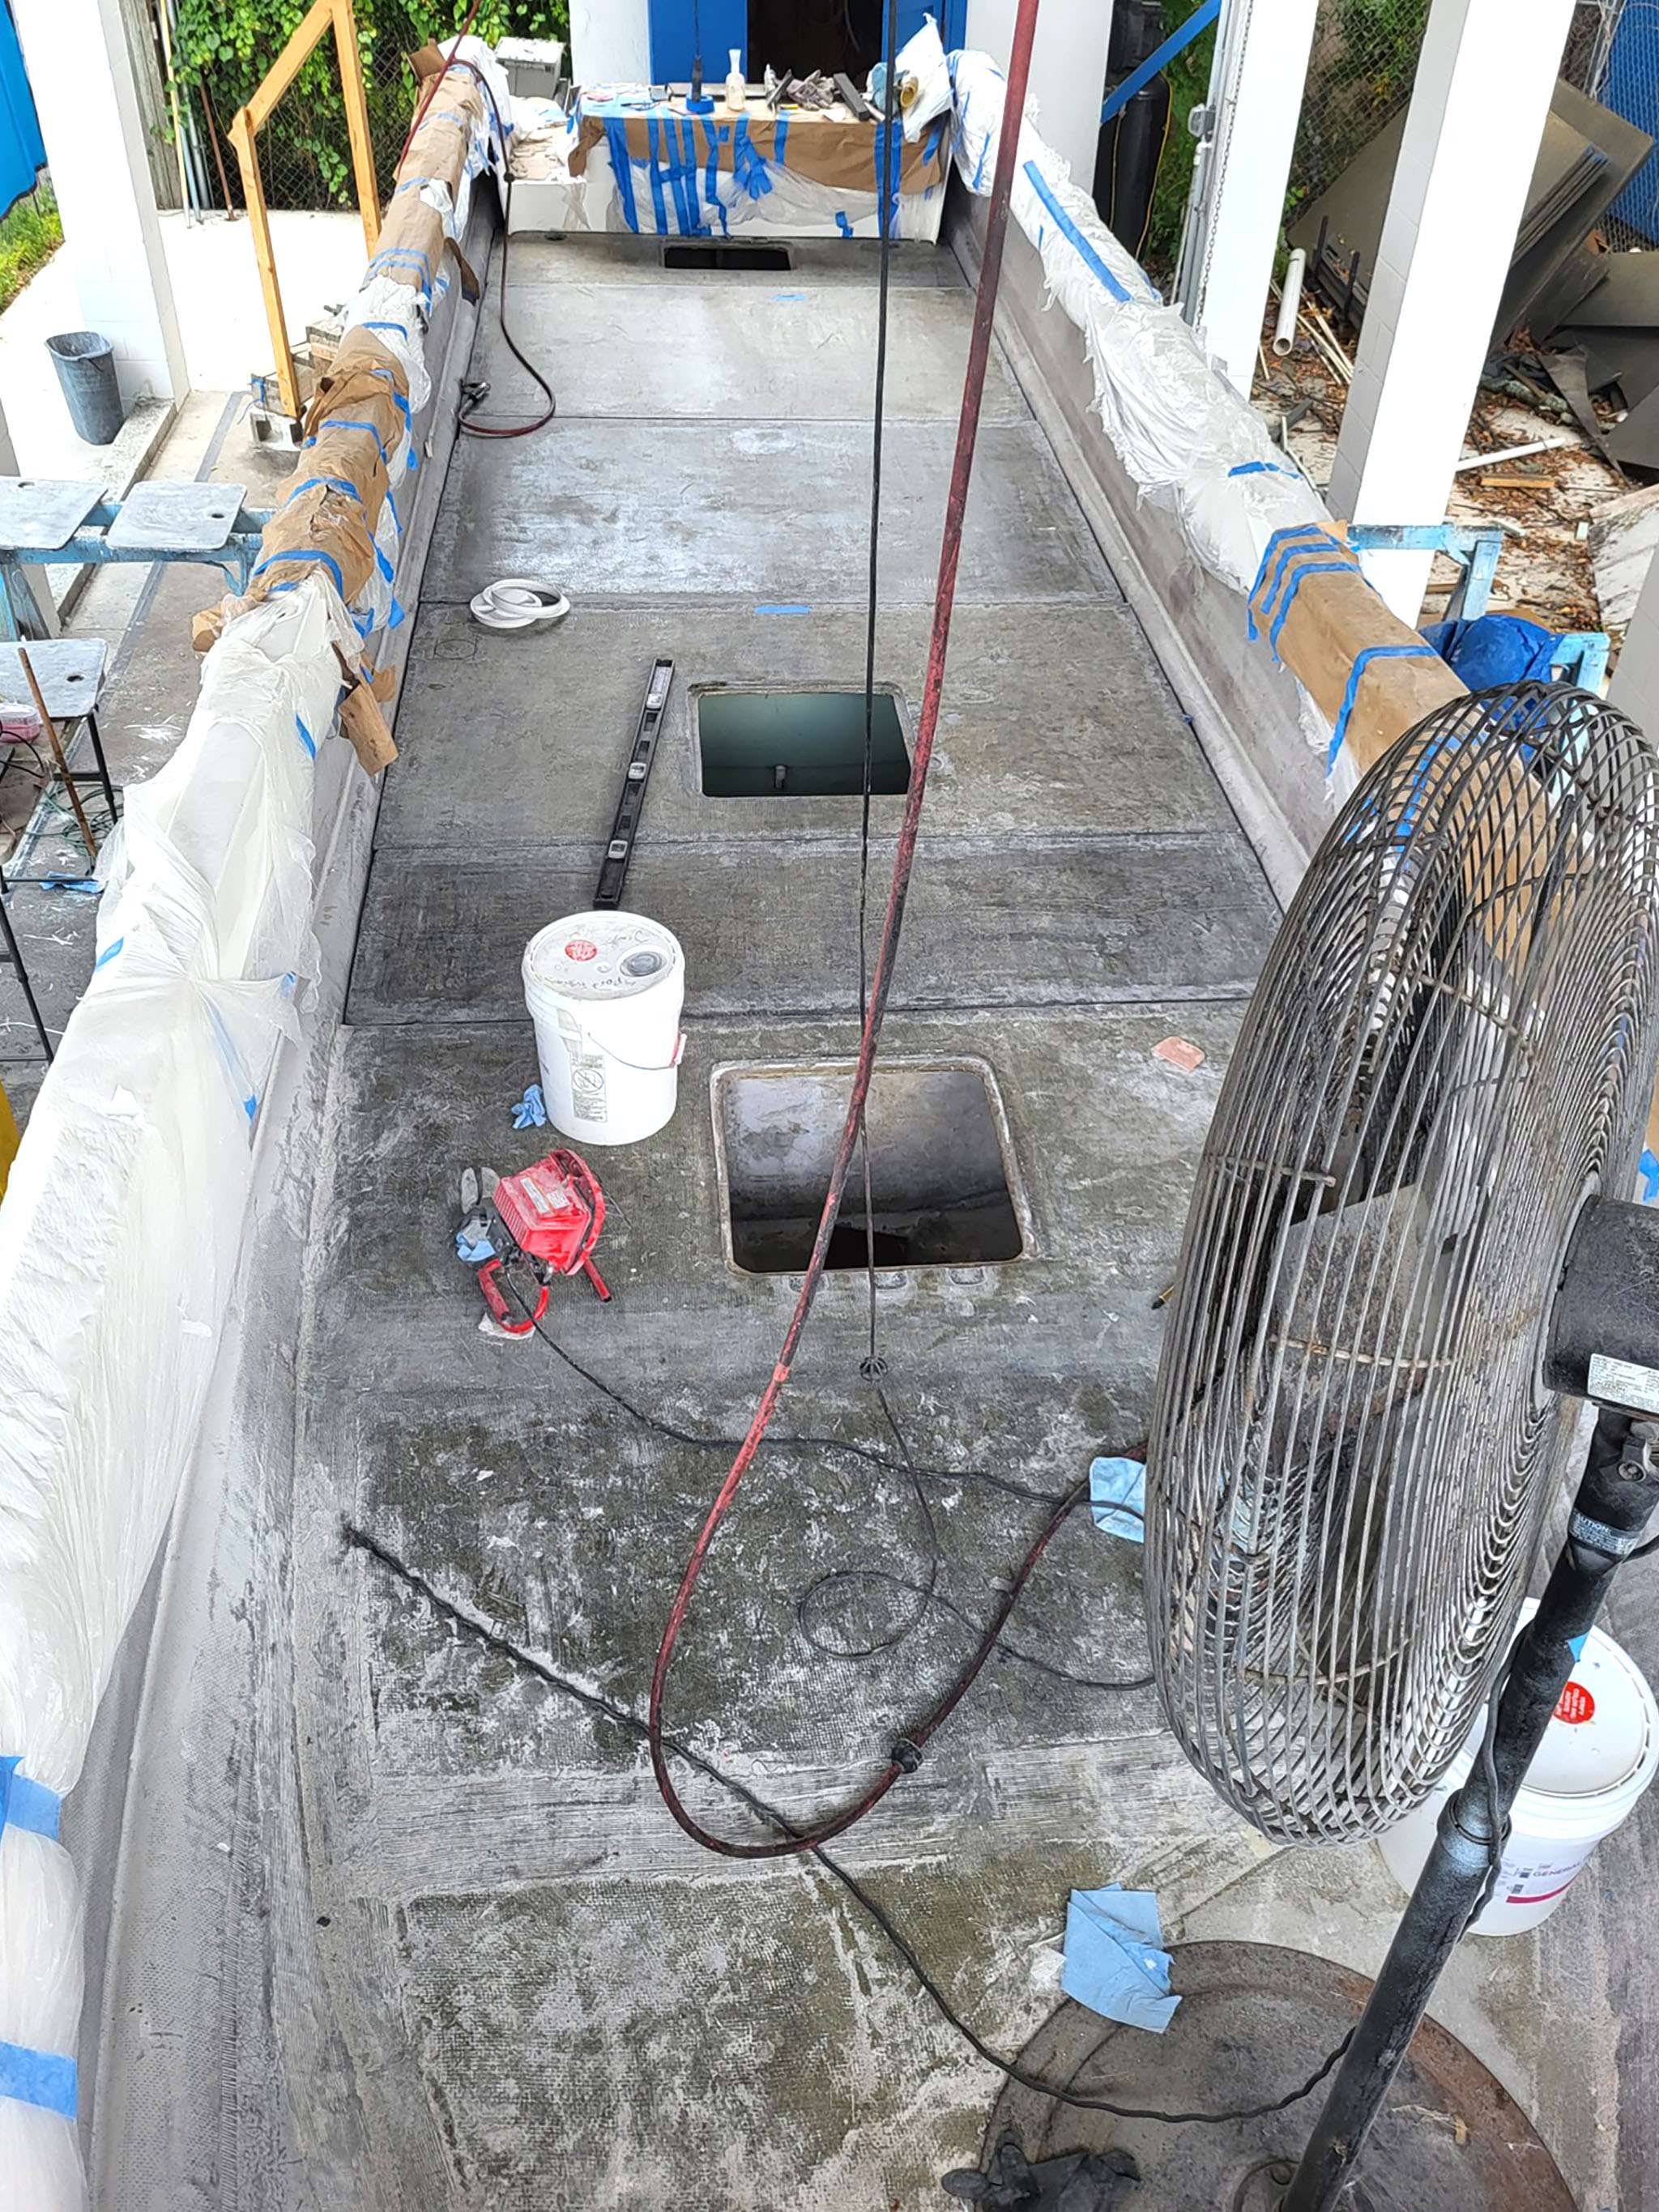
Getting here required a lot of attention to detail. The subfloor in the fish box required a lot of custom cuts and ballast to hold it in place while the epoxy cured:

All the floor hatches have three Gem Products hinges, and each required a custom-fit hinge pocket to be routed into the floor.


Each carve-out will be topped with fiberglass and gelcoat before the hinges are permanently installed.


Also the three holes for the ocean water pickups have been drilled in the floor of the hull beneath the transom. These holes will be epoxy-sleeved and sealed with fiberglass cloth.

June 1, 2023
We’ve made a bunch of progress on the Fishtastic XL Build.


The bench seat in the front V-berth is starting to take shape. We are using an old-fashioned carpentry method with this ultra-modern Coosa Wood; The curve is being achieved after removing parallel slits of material.

A big plus is that we get to wrap this single piece outside of the boat on sawhorses.
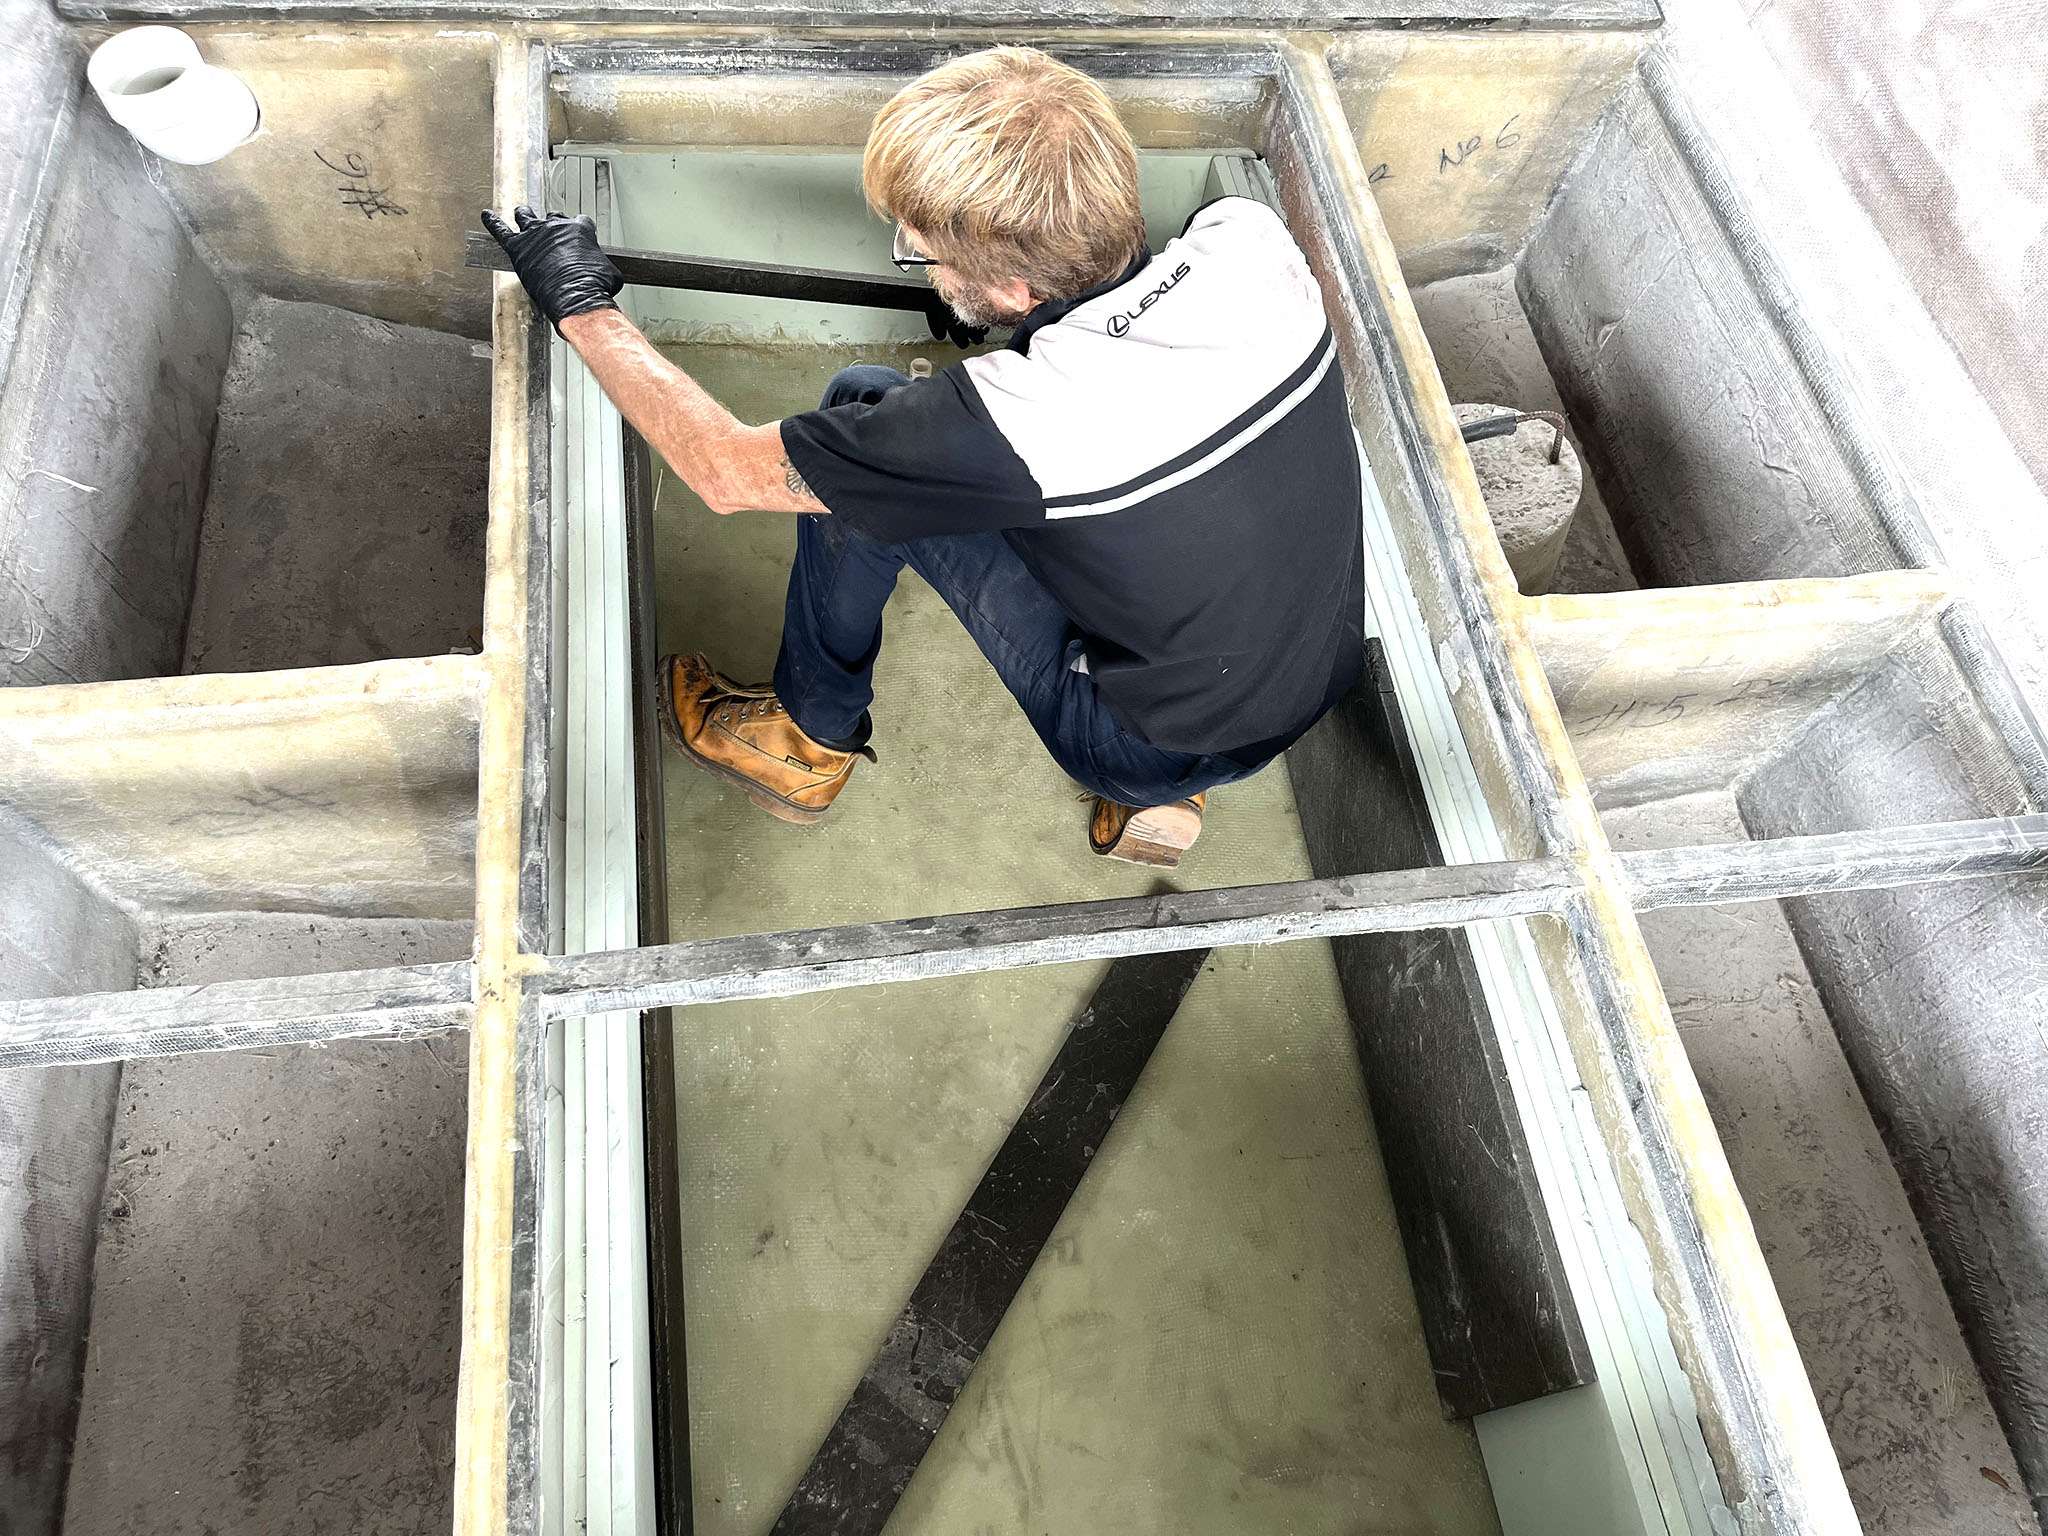


We are finishing up the foamcore board linings of the below-deck fishboxes, and the associated lids.


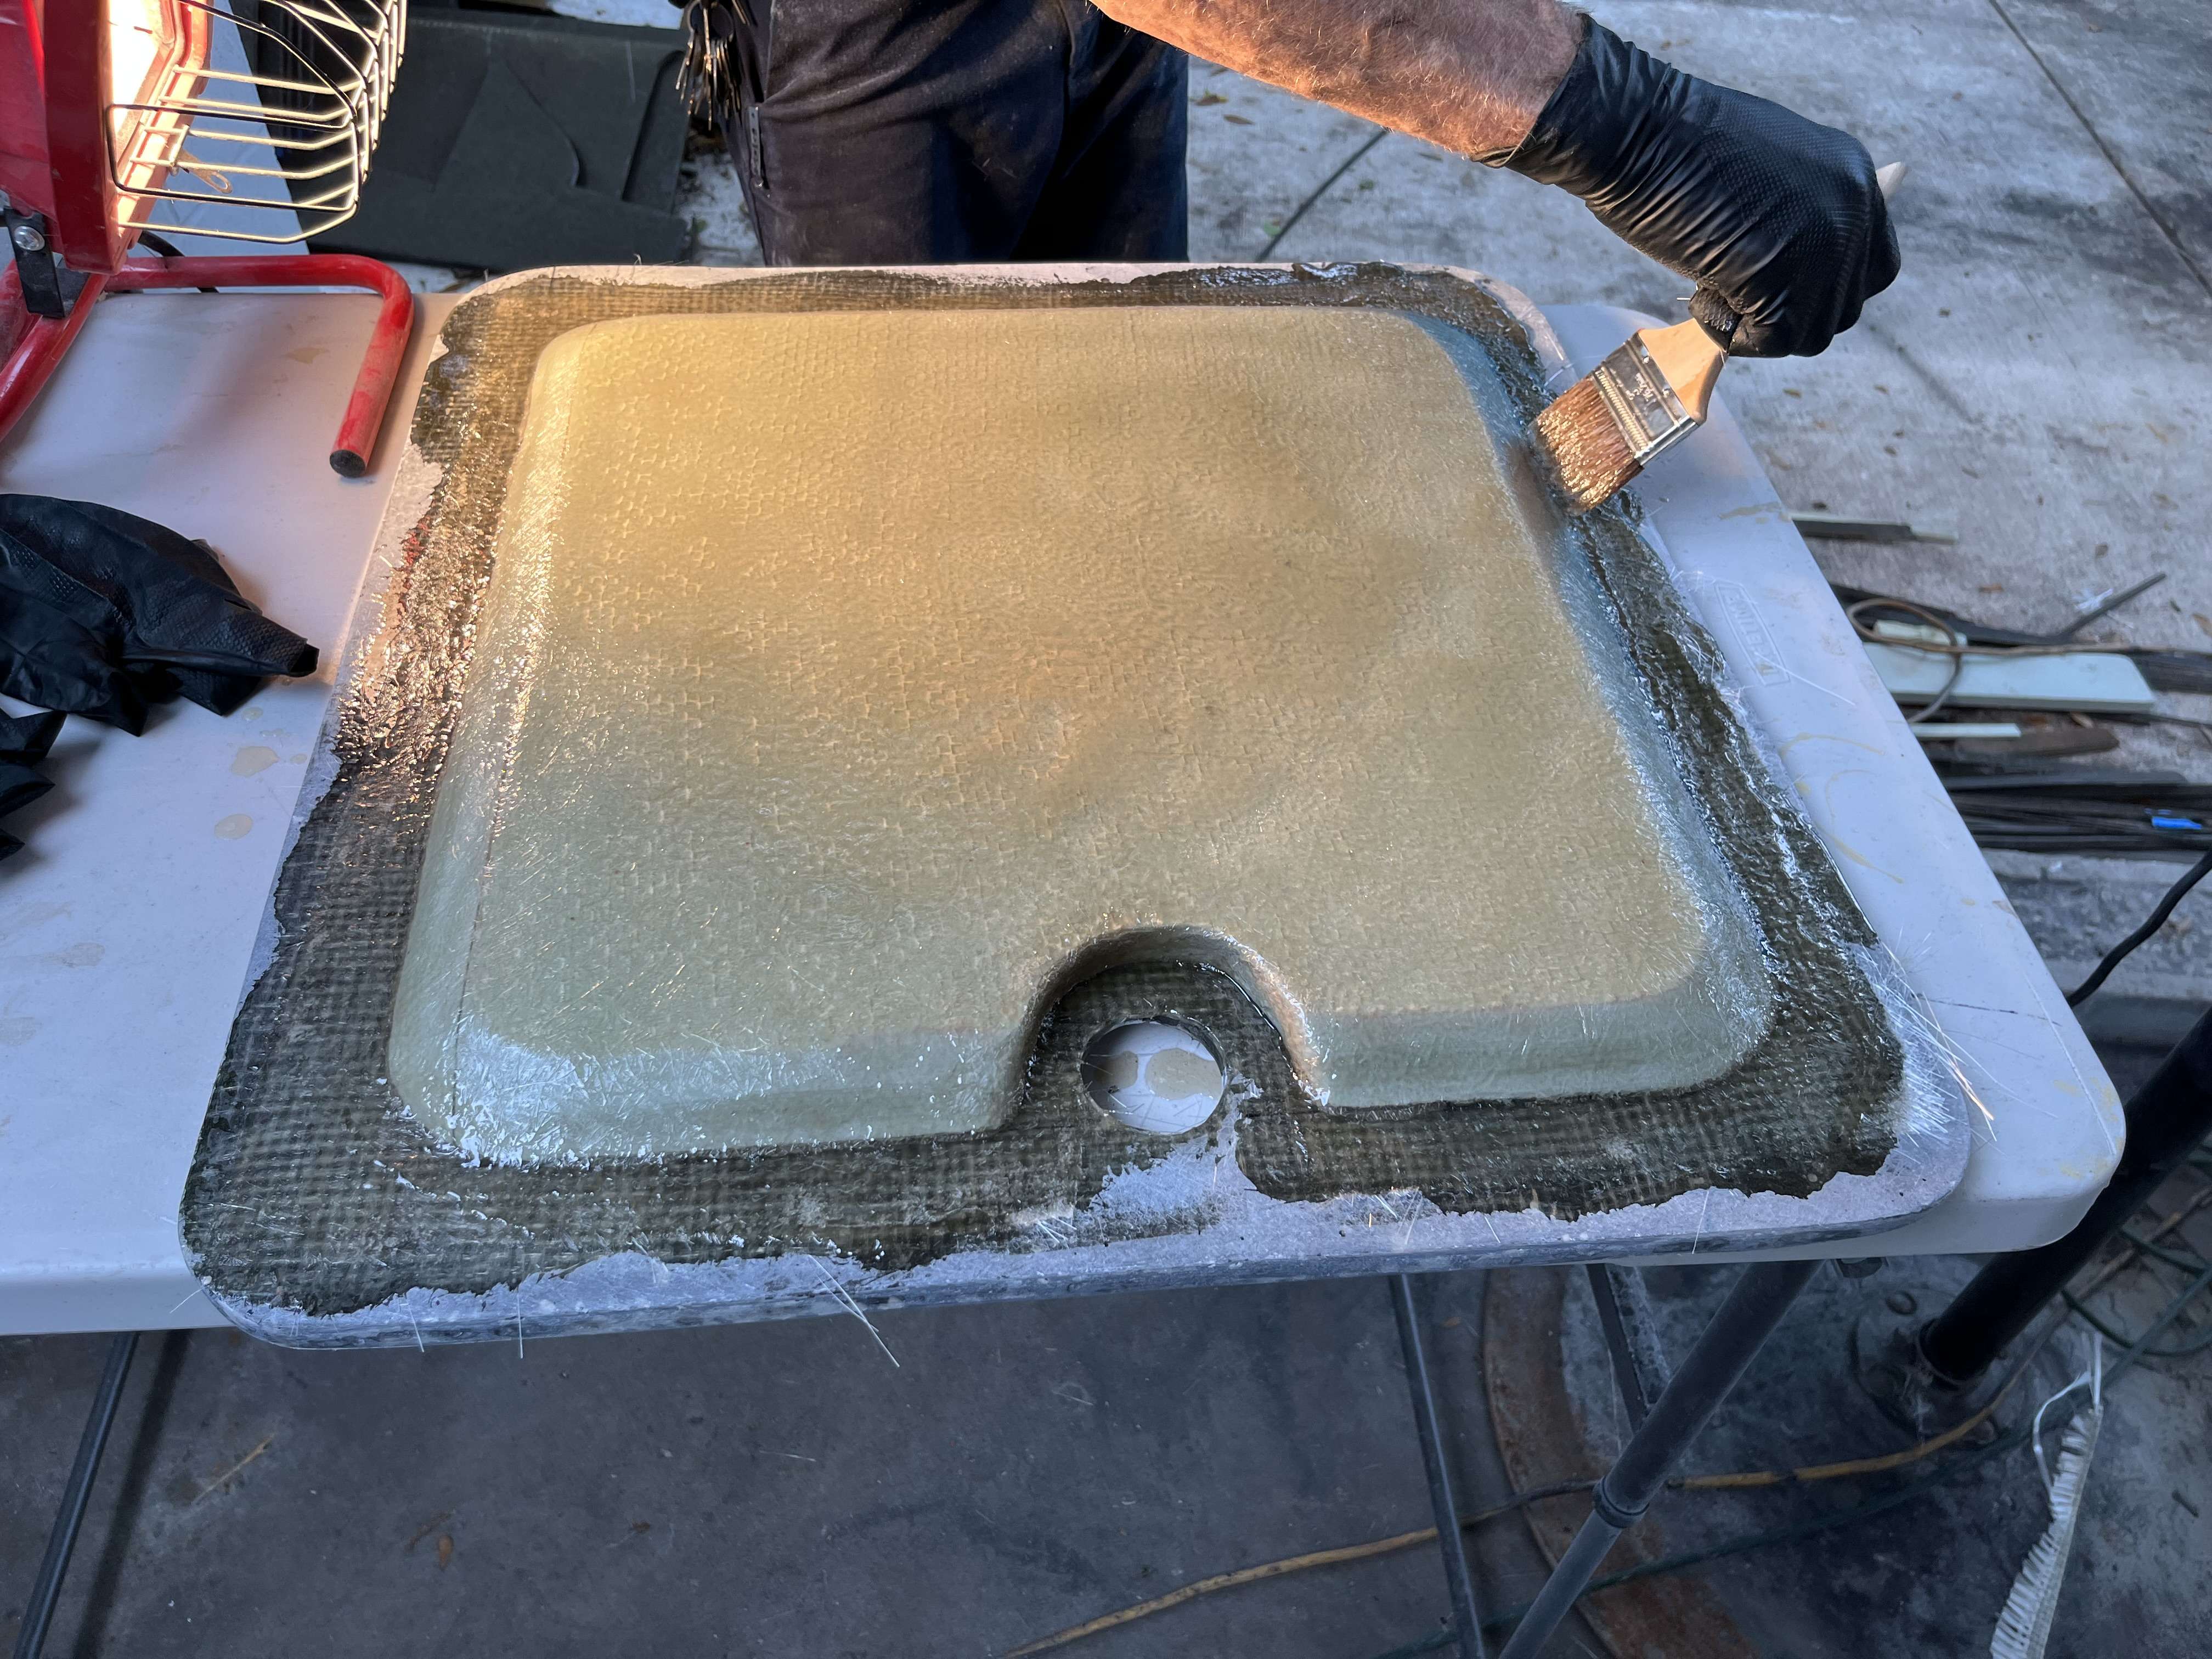


Also, the variety of floor hatches have been fully fiberglassed and the fits have been perfected.
June 21, 2023
We are into the meat and potatoes of the build on the Fishtastic XL. Here you can see the the early phase of the installation of the front seat:

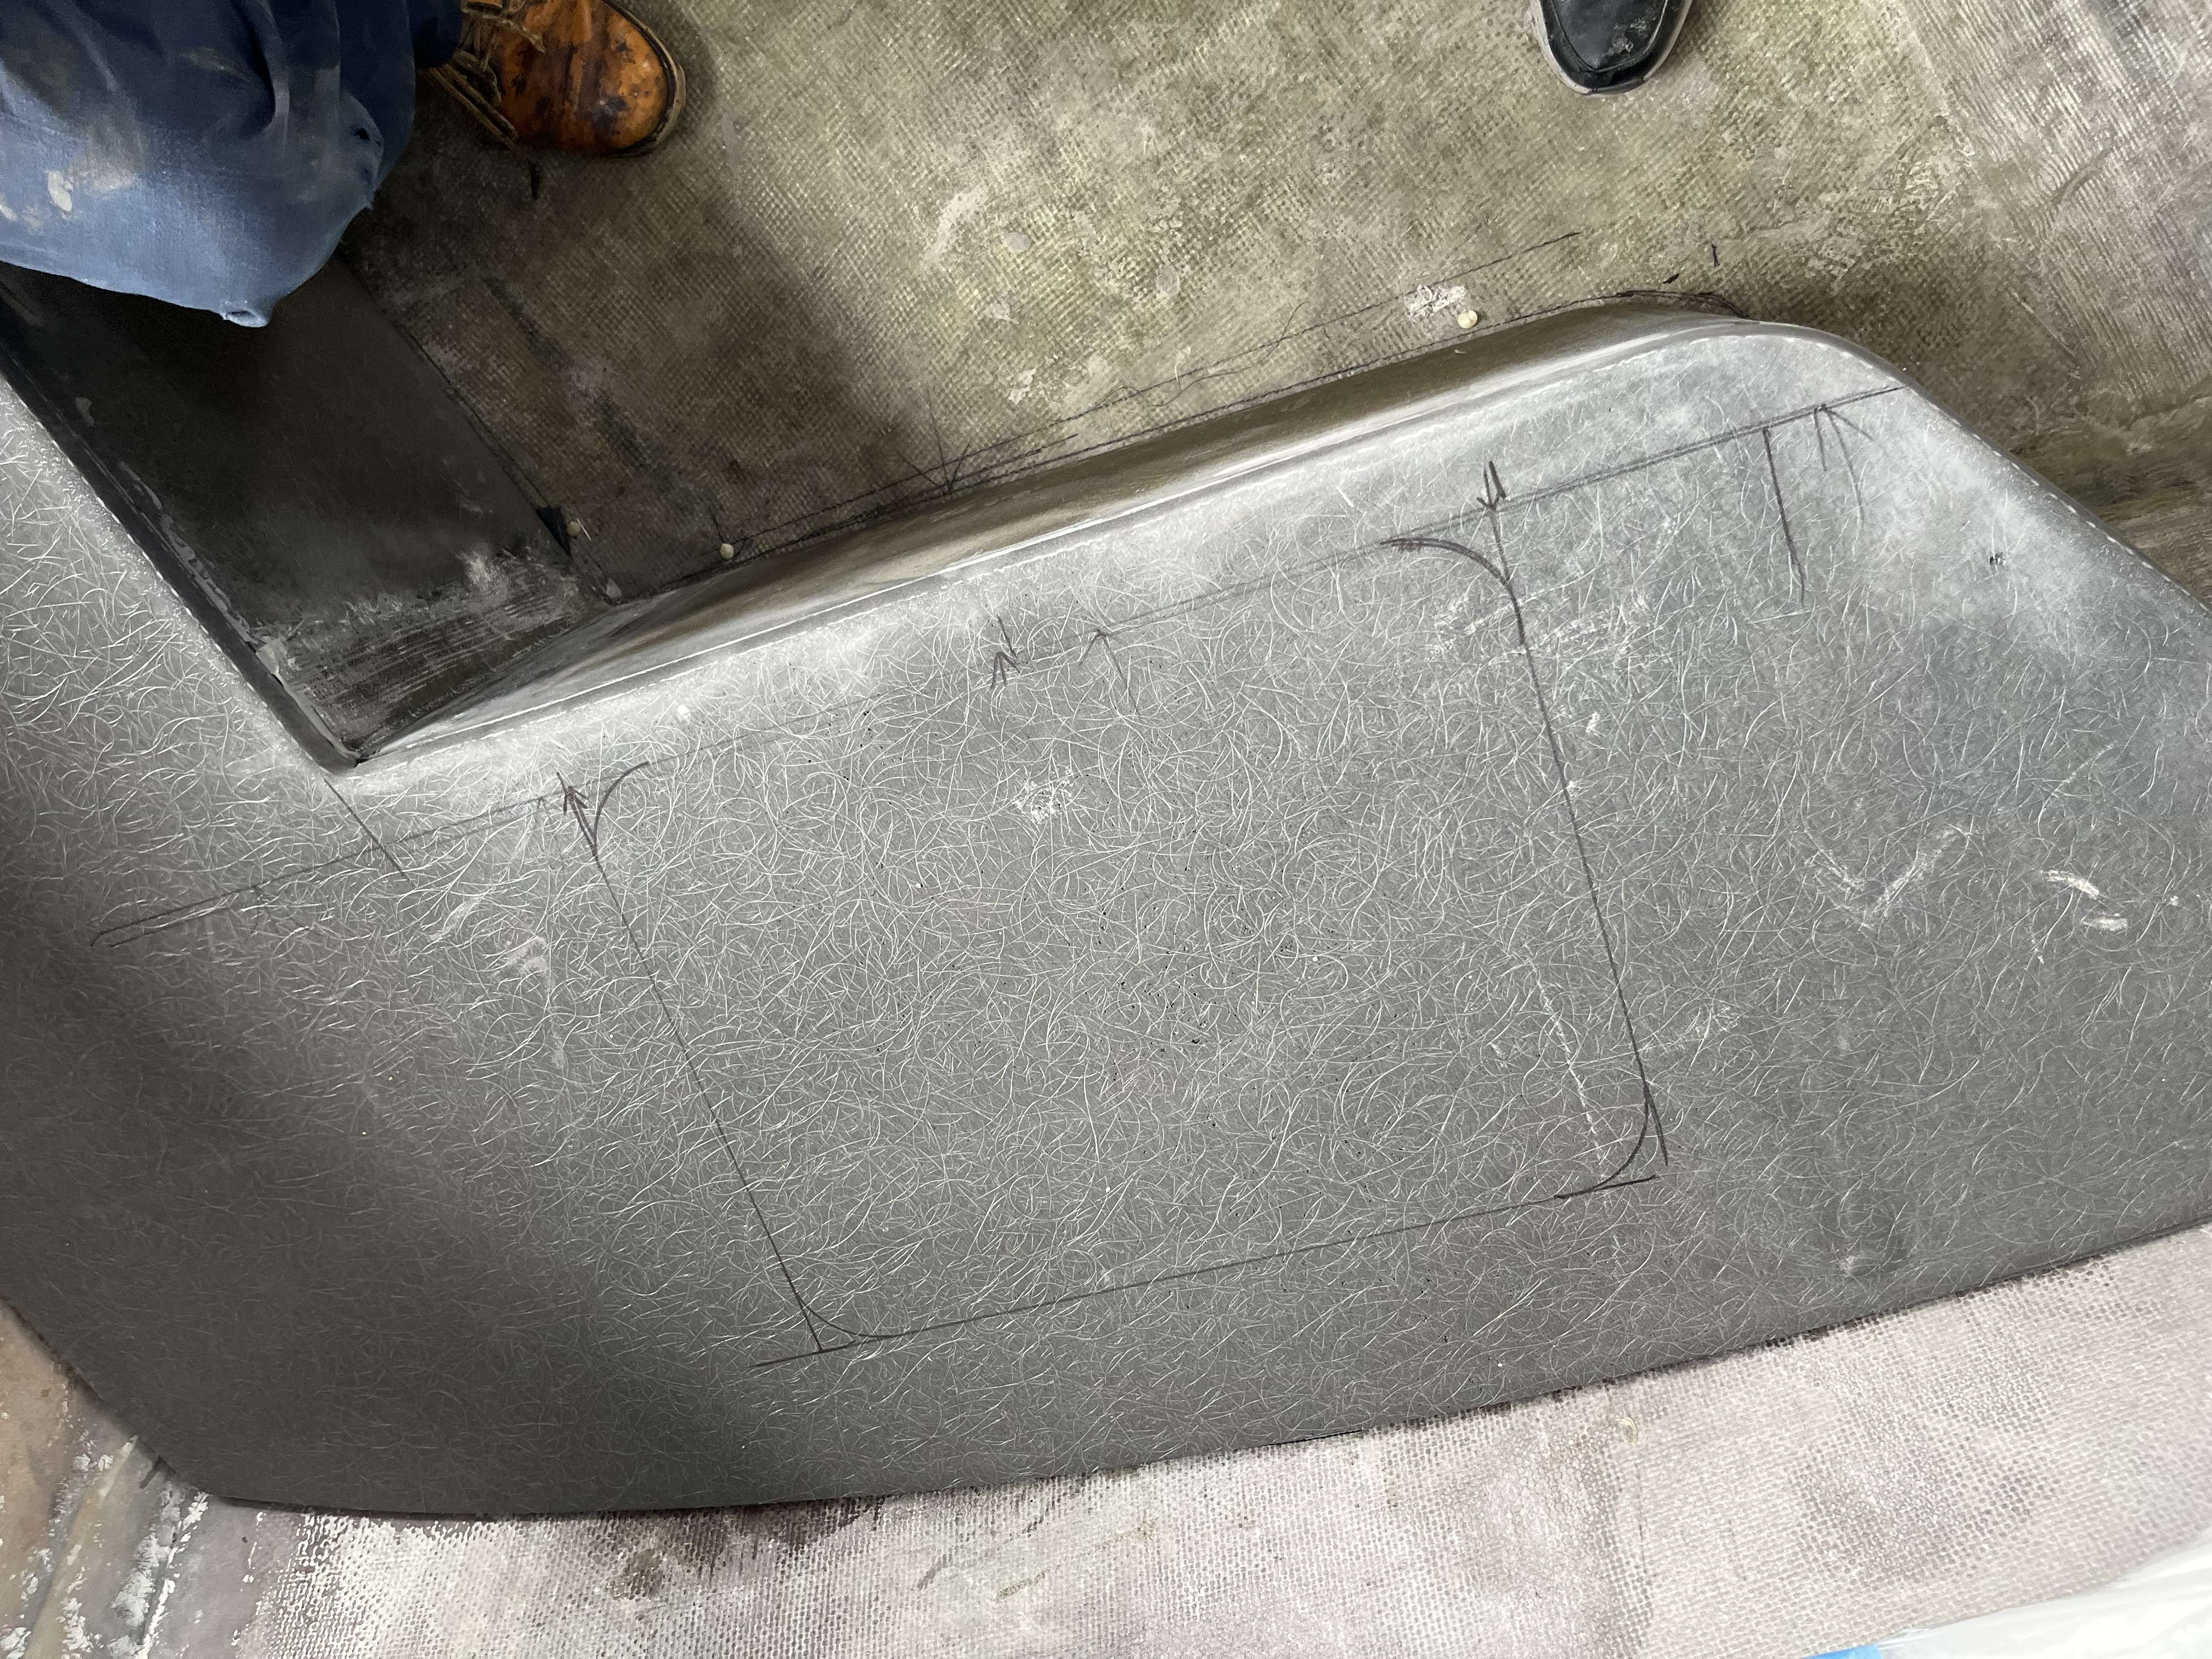


Aft of this seat, we have finalized each of the below-deck fishboxes and dry lockers. The fishboxes are lined with 3/4″ thick 6lbs. foam boards.


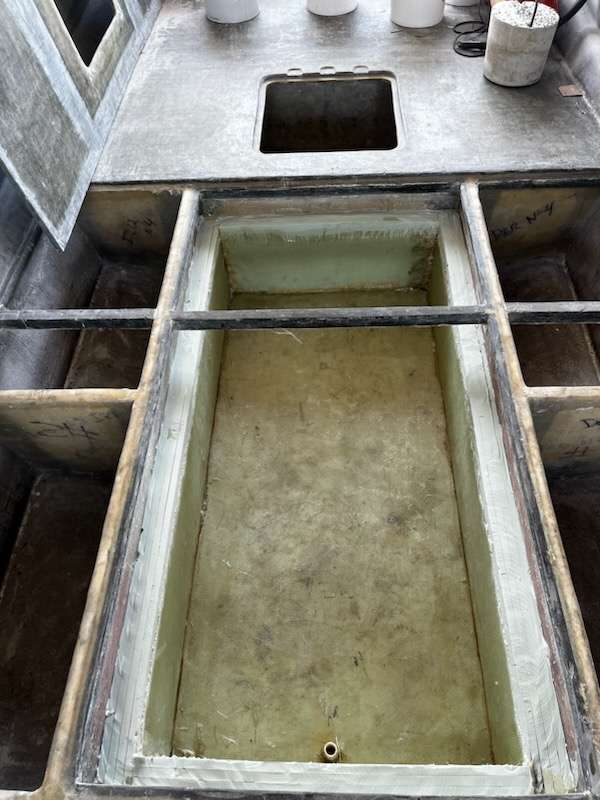
Each hatch lid is custom fit and wrapped in fiberglass.

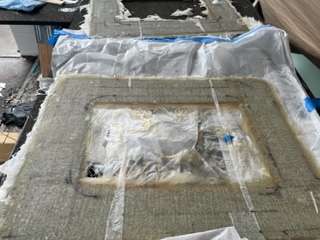

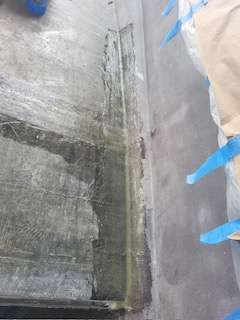
We have also begun permanently joining the deck panels to the stringers and the hull
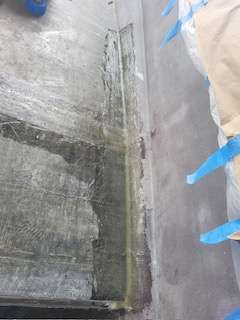


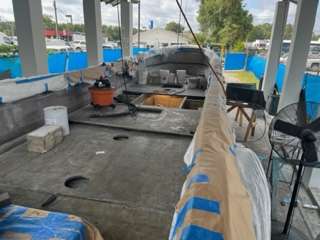
We are plowing ahead with more fit-and-finish on the front seat and will continue moving aft with the deck panels.

July 19, 2023
Big milestone on the Fishtastic XL build; we can announce that the custom front seat has been fully fitted and installed.
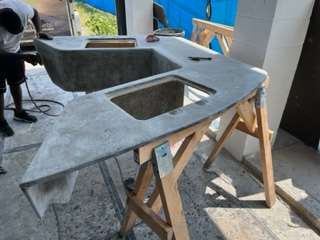
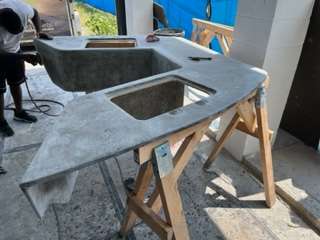
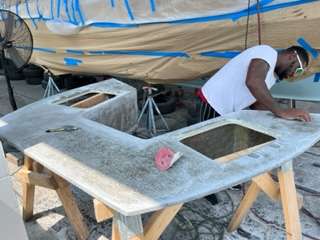
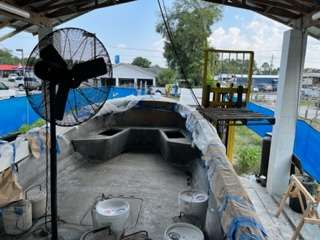
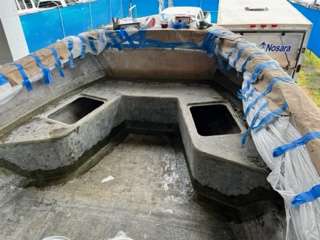
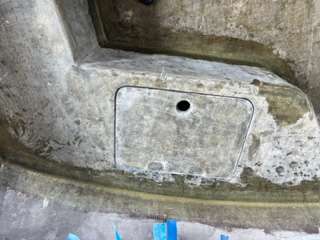
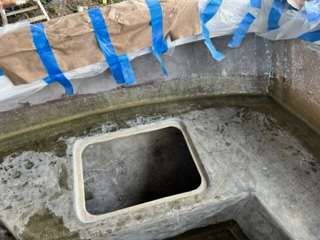
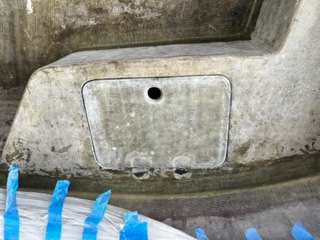
As we have built more and more hatches for this boat the quality keeps improving. We are really pleased with the tight fit on these forward hatches.

August 3, 2023
We have had a blistering couple of weeks on the Fishtastic XL build, with our progress only being matched by the 100+ degree temperatures.
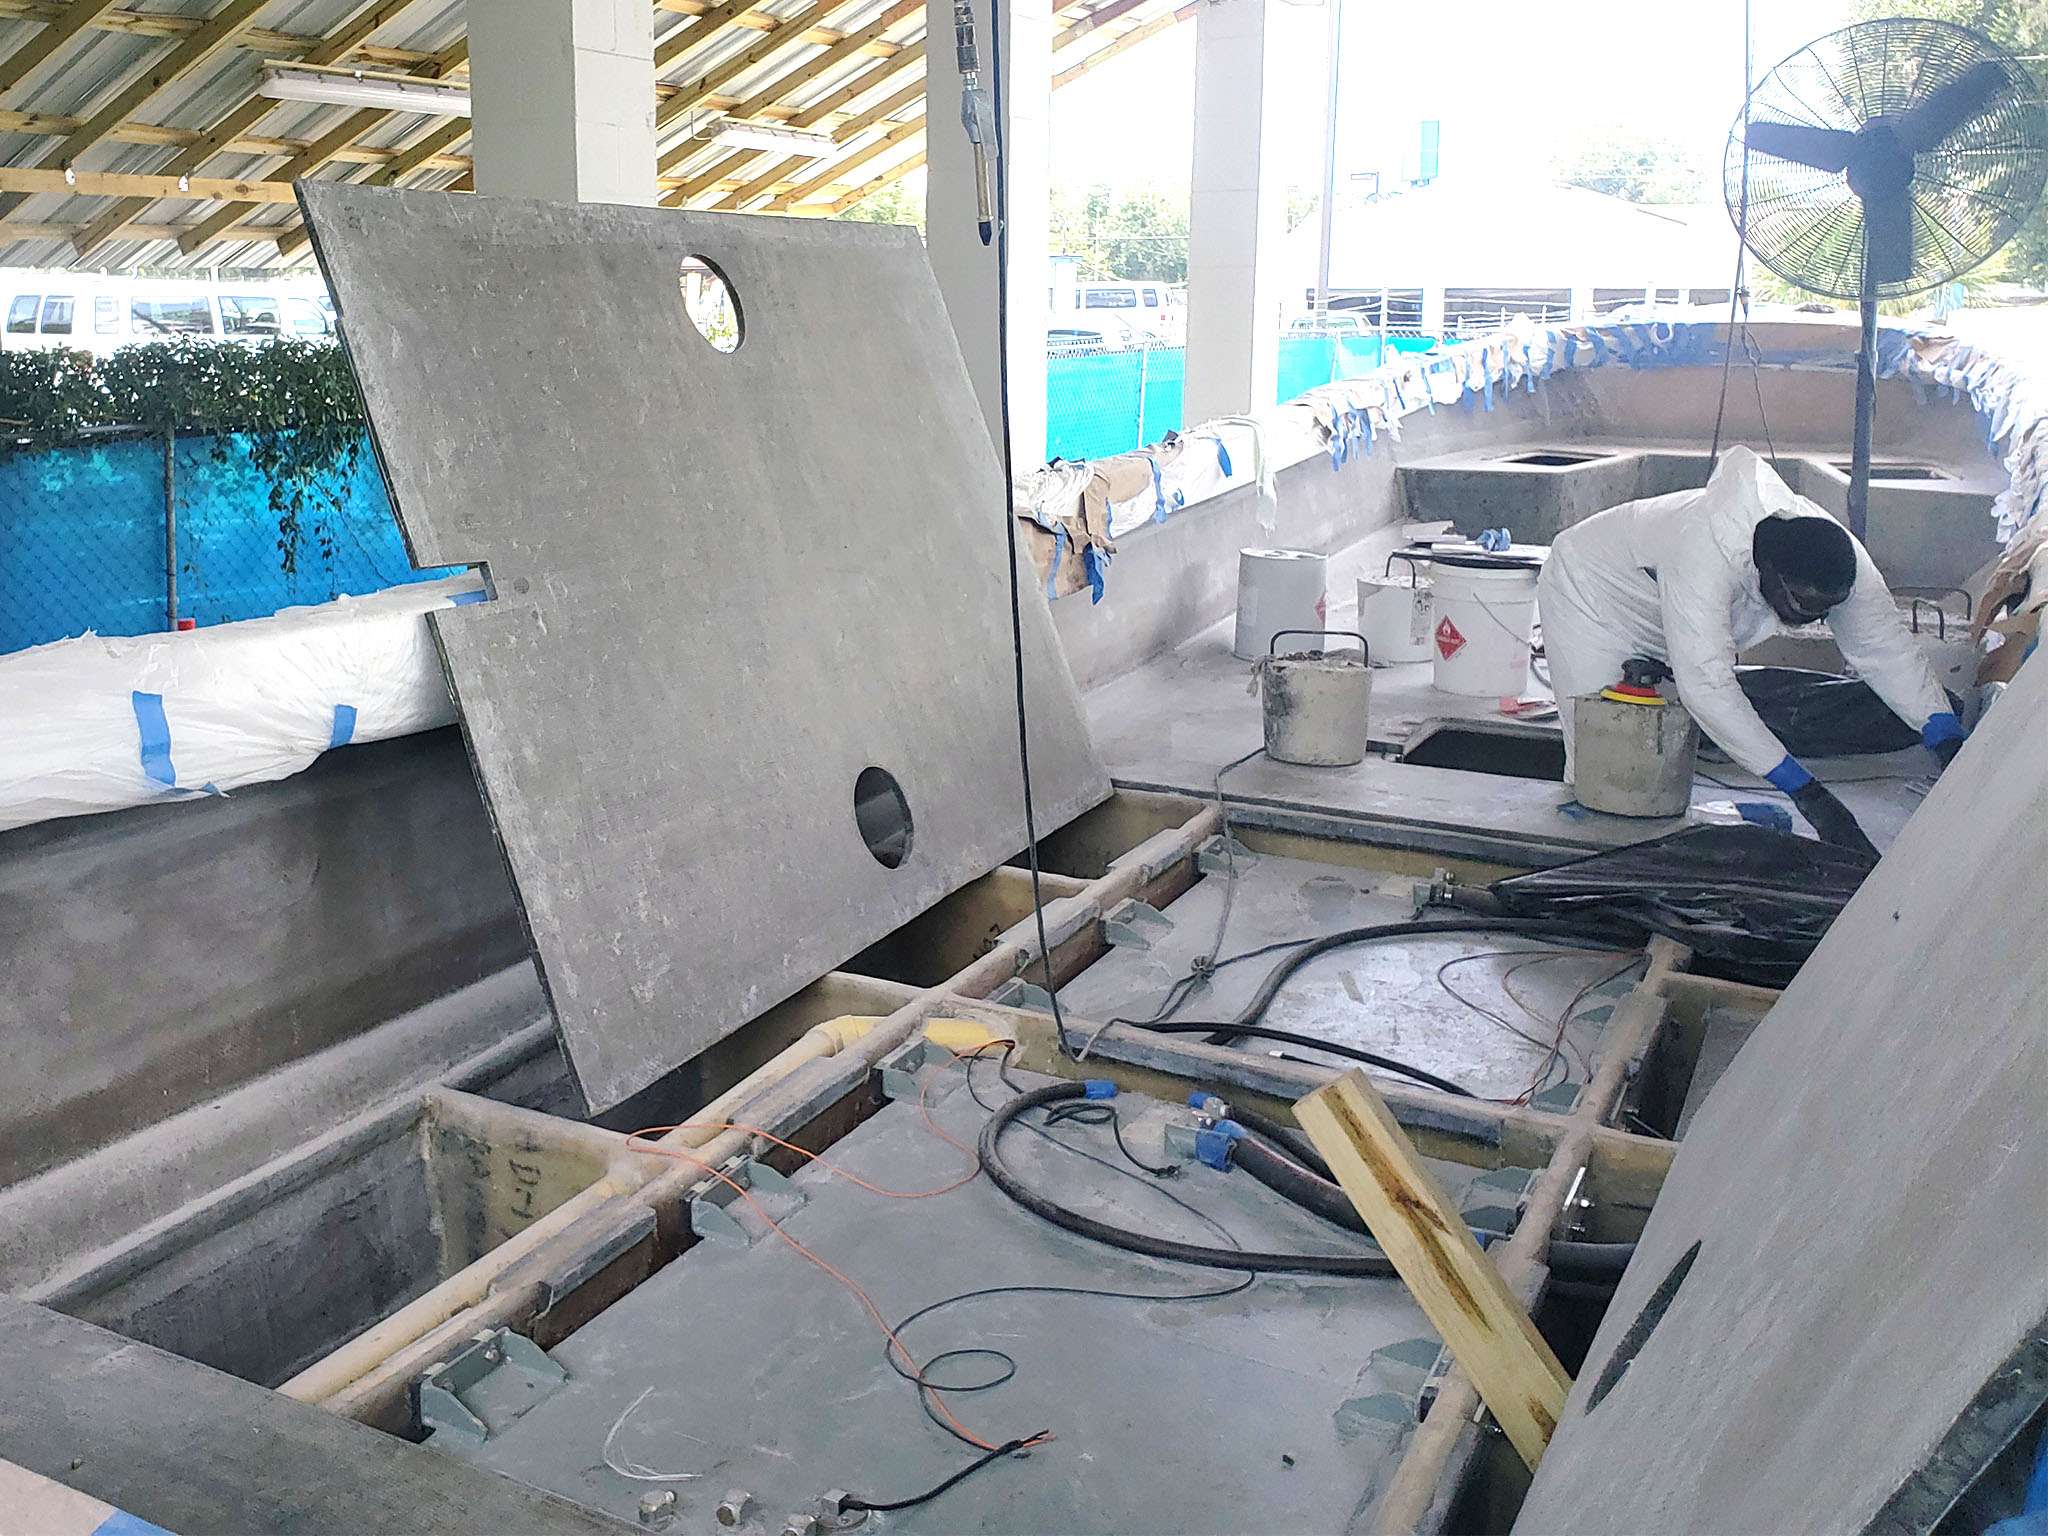
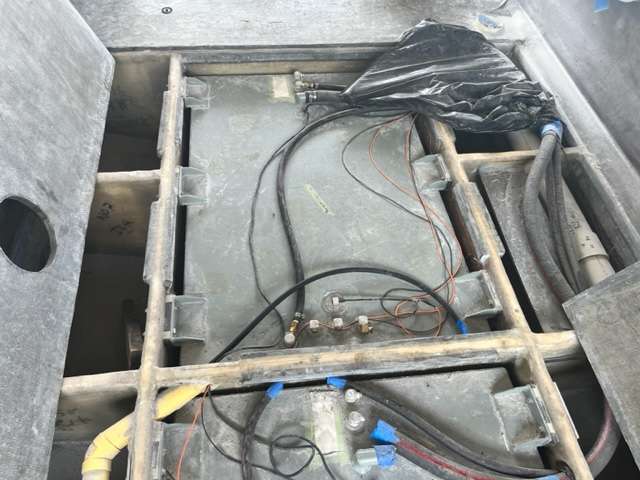
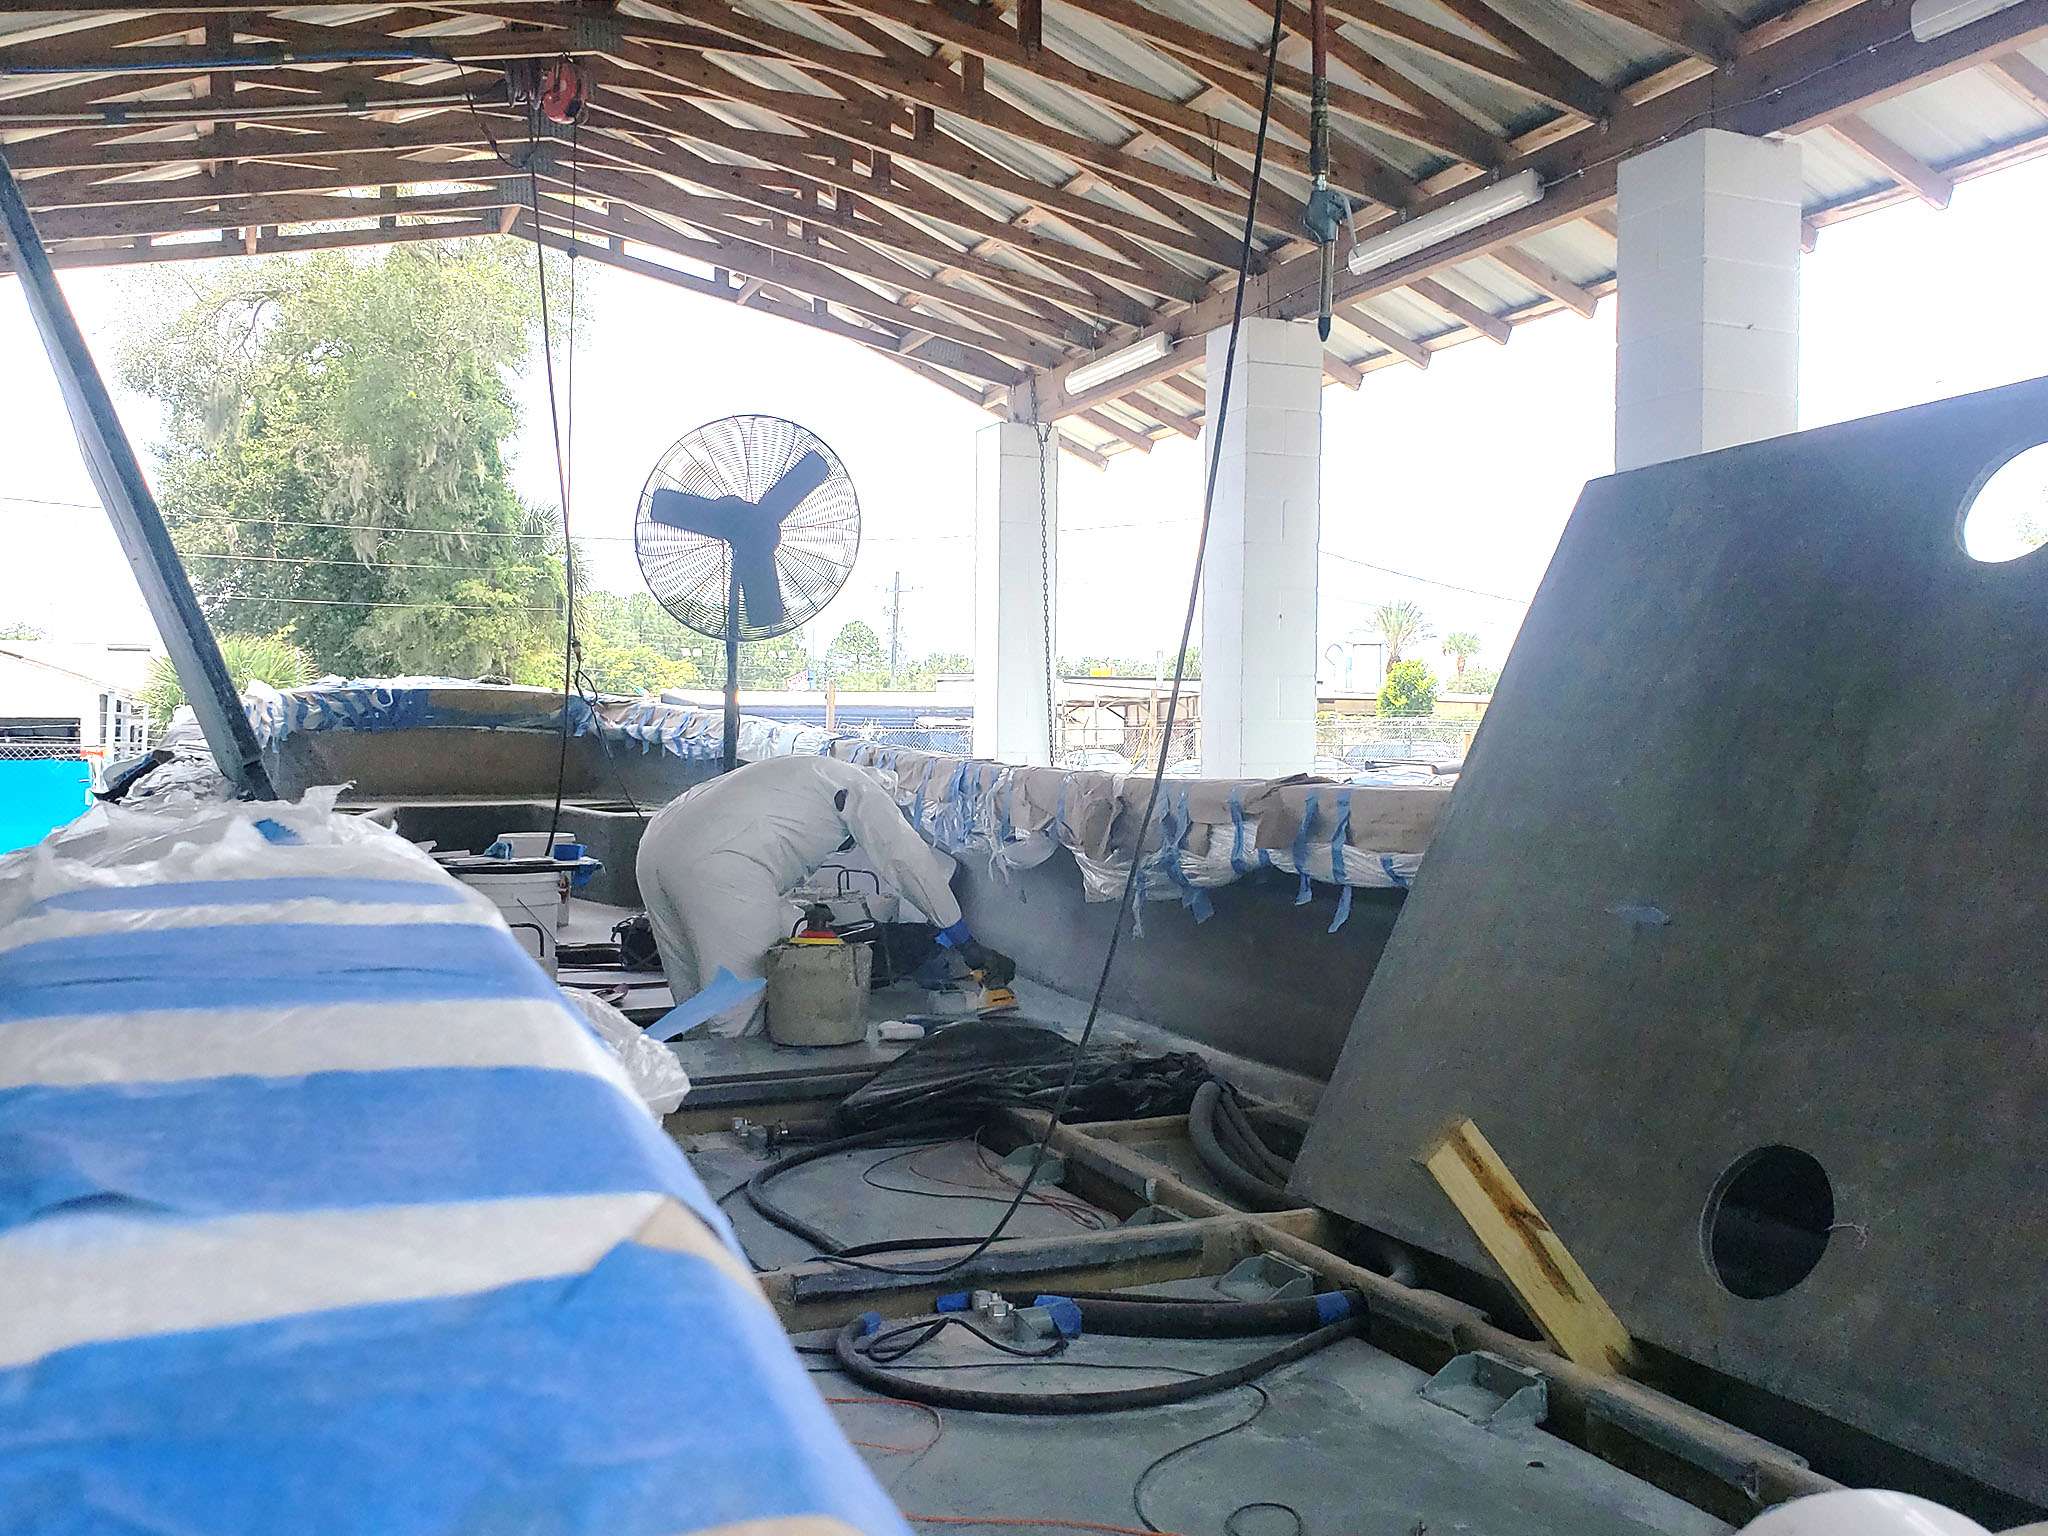
Now that the floor pieces are fully built and wrapped in fiberglass, we are doing the painstaking work of perfecting all of the edges and corners so that the floor pieces are flawlessly flat.

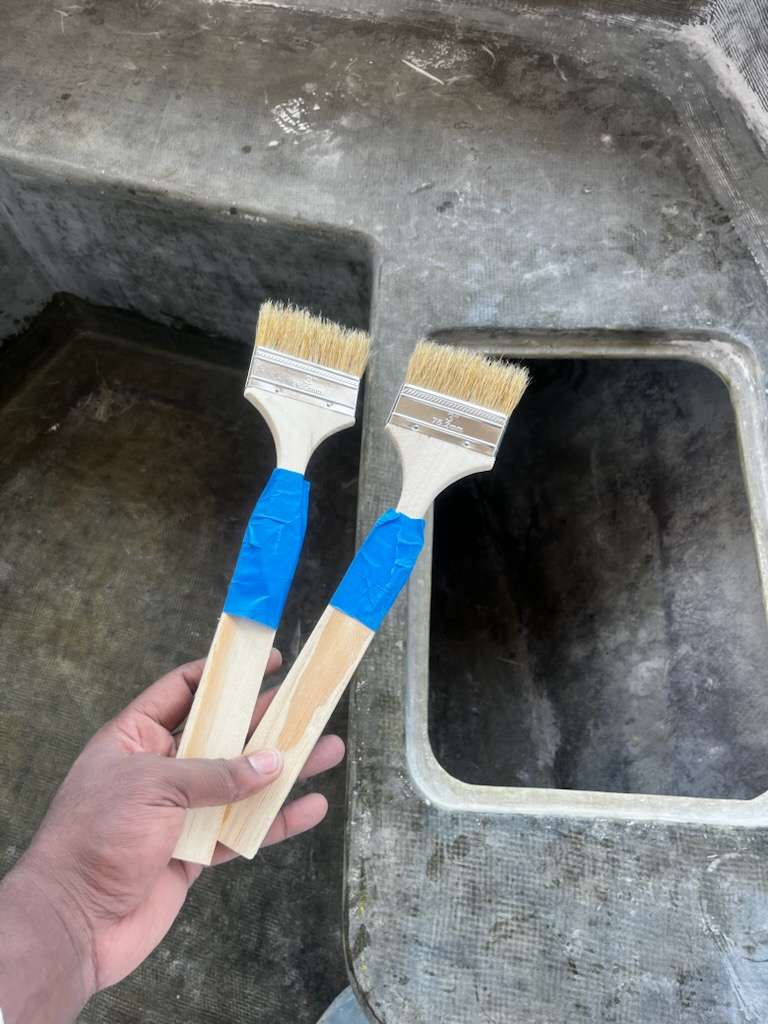
Some of the spaces are so tight that special tools are required; here is our brush extender:
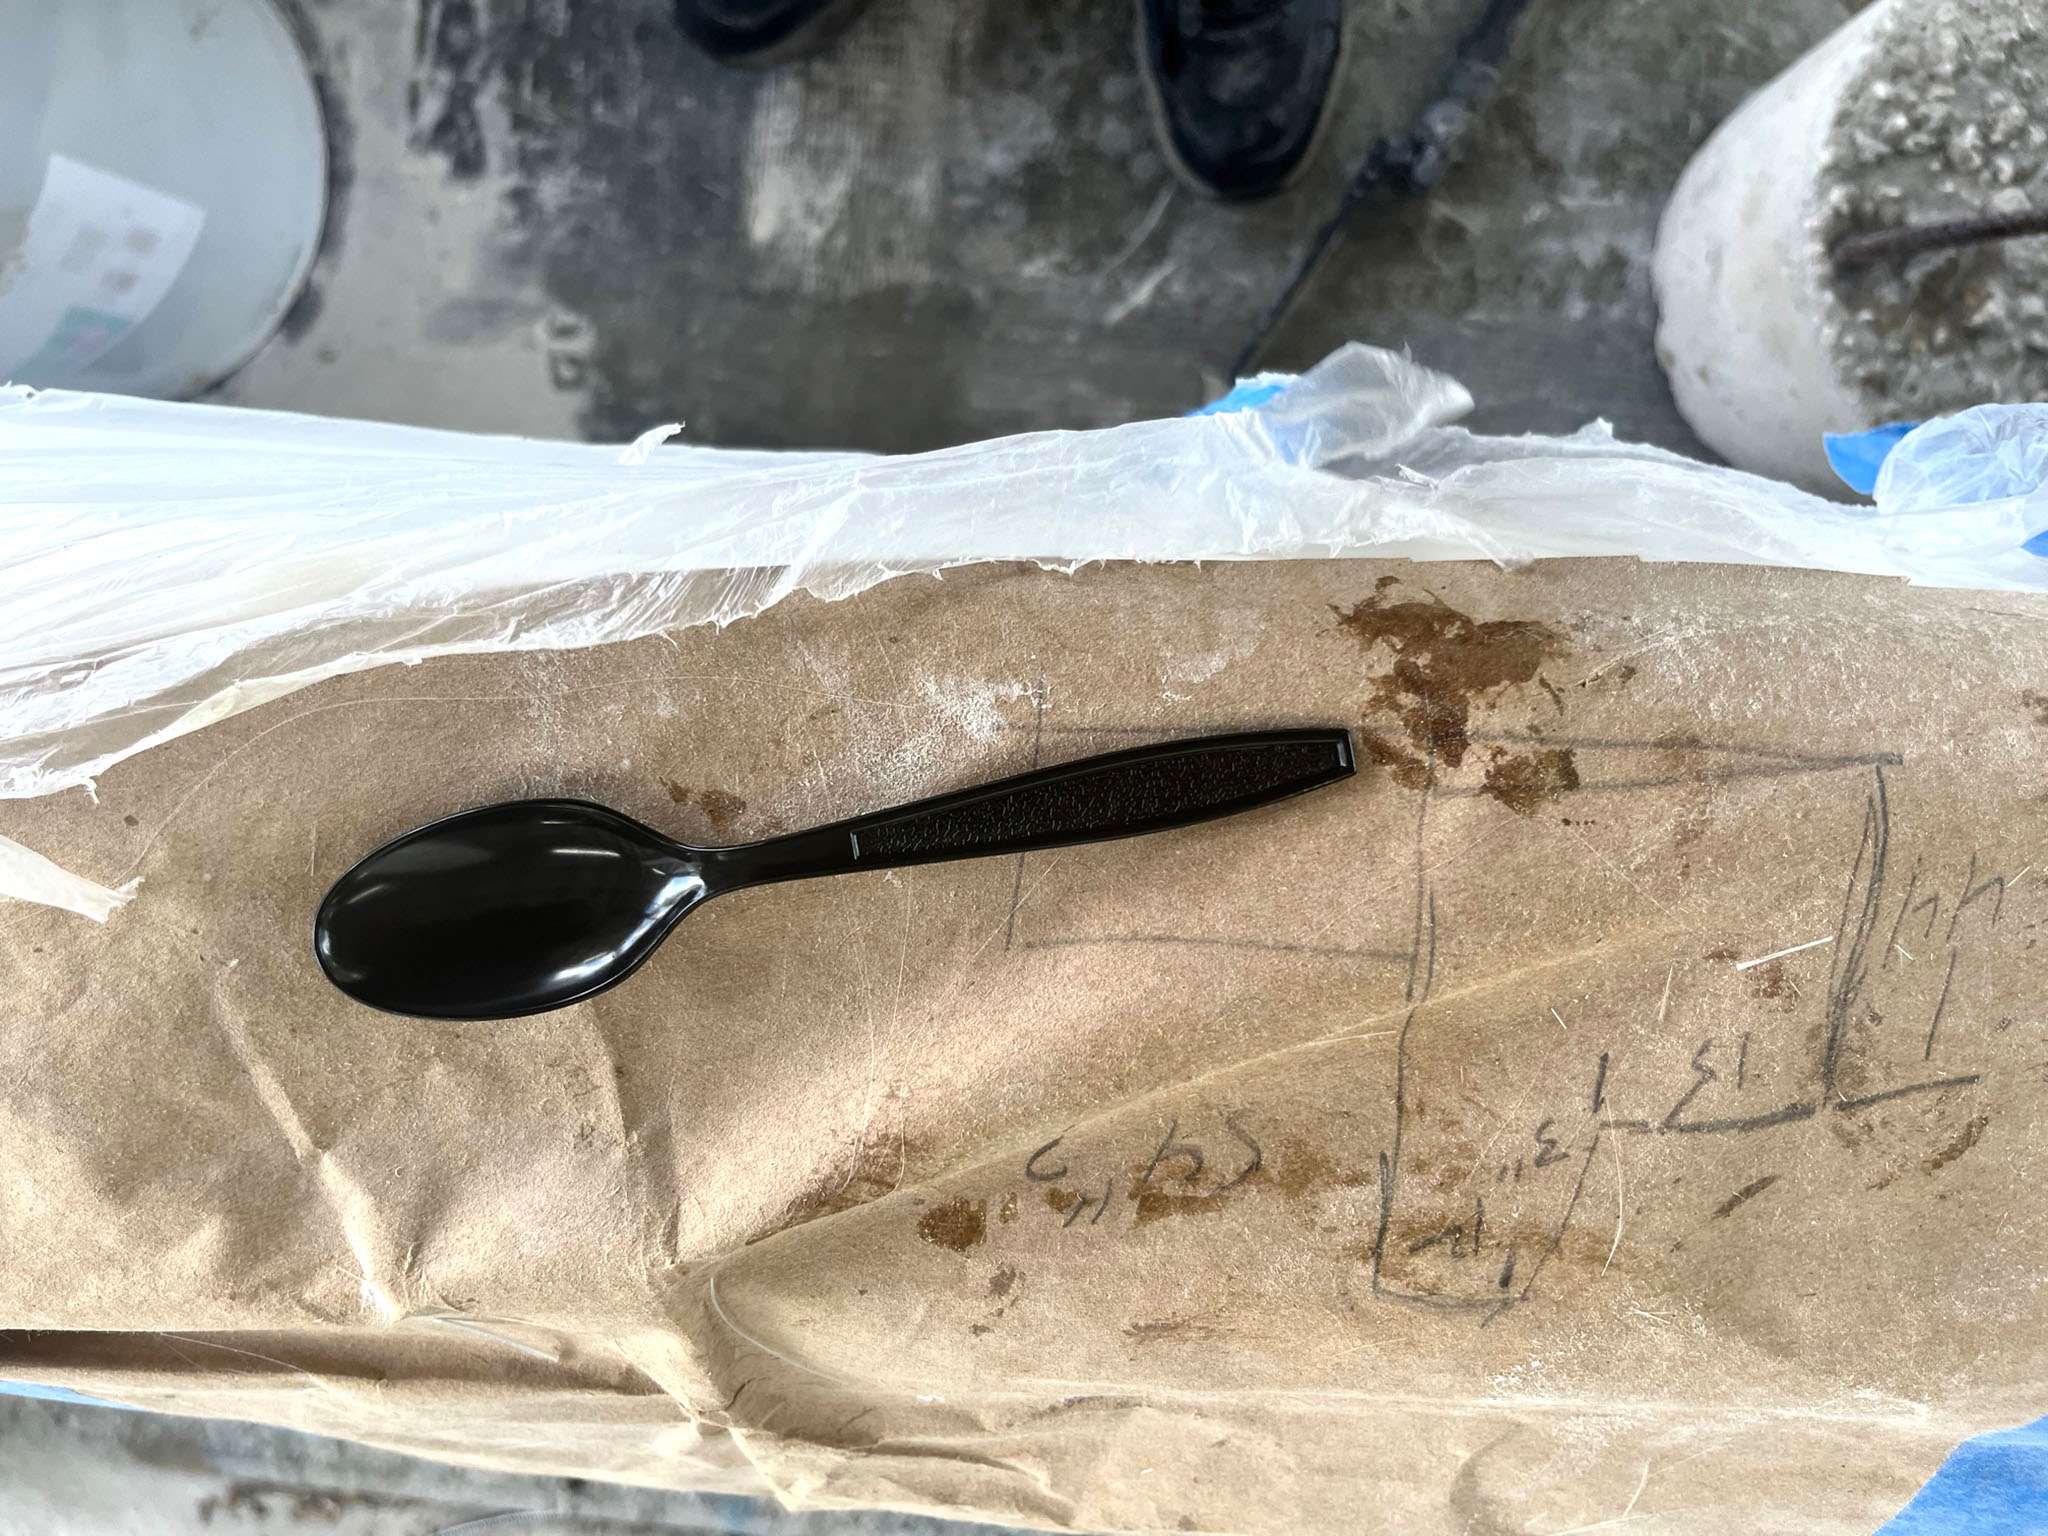
Here is our advanced epoxy spreading tool.
It’s all smiles over here. We will finish up the floor soon and then move on to the consoles.
August 18, 2023
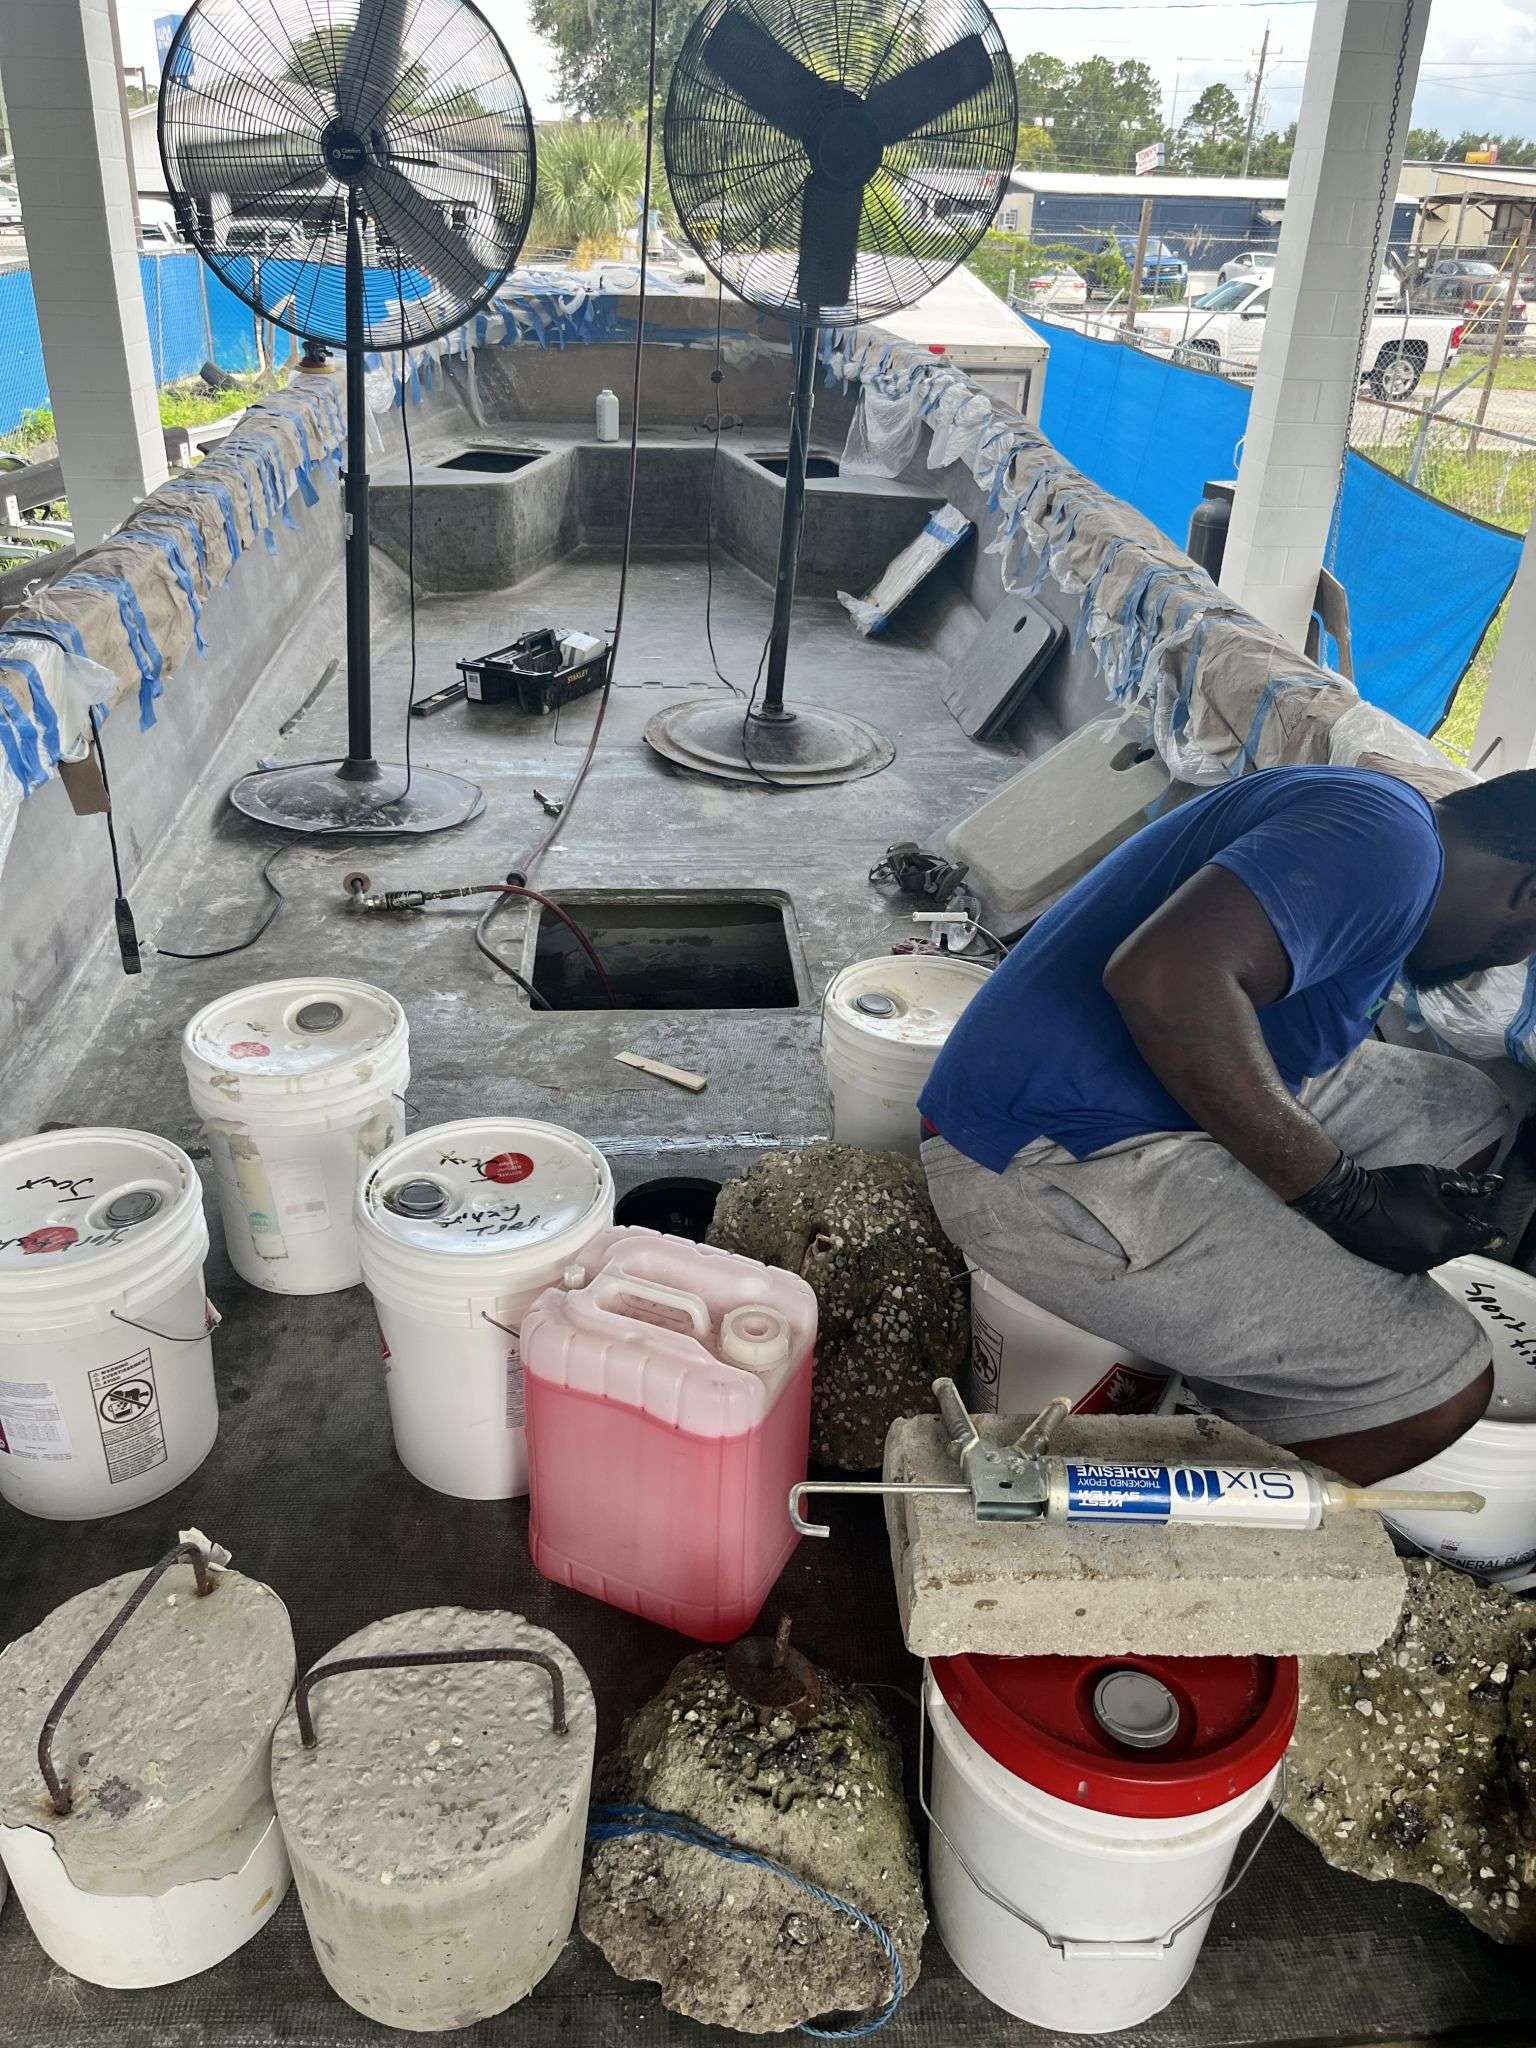
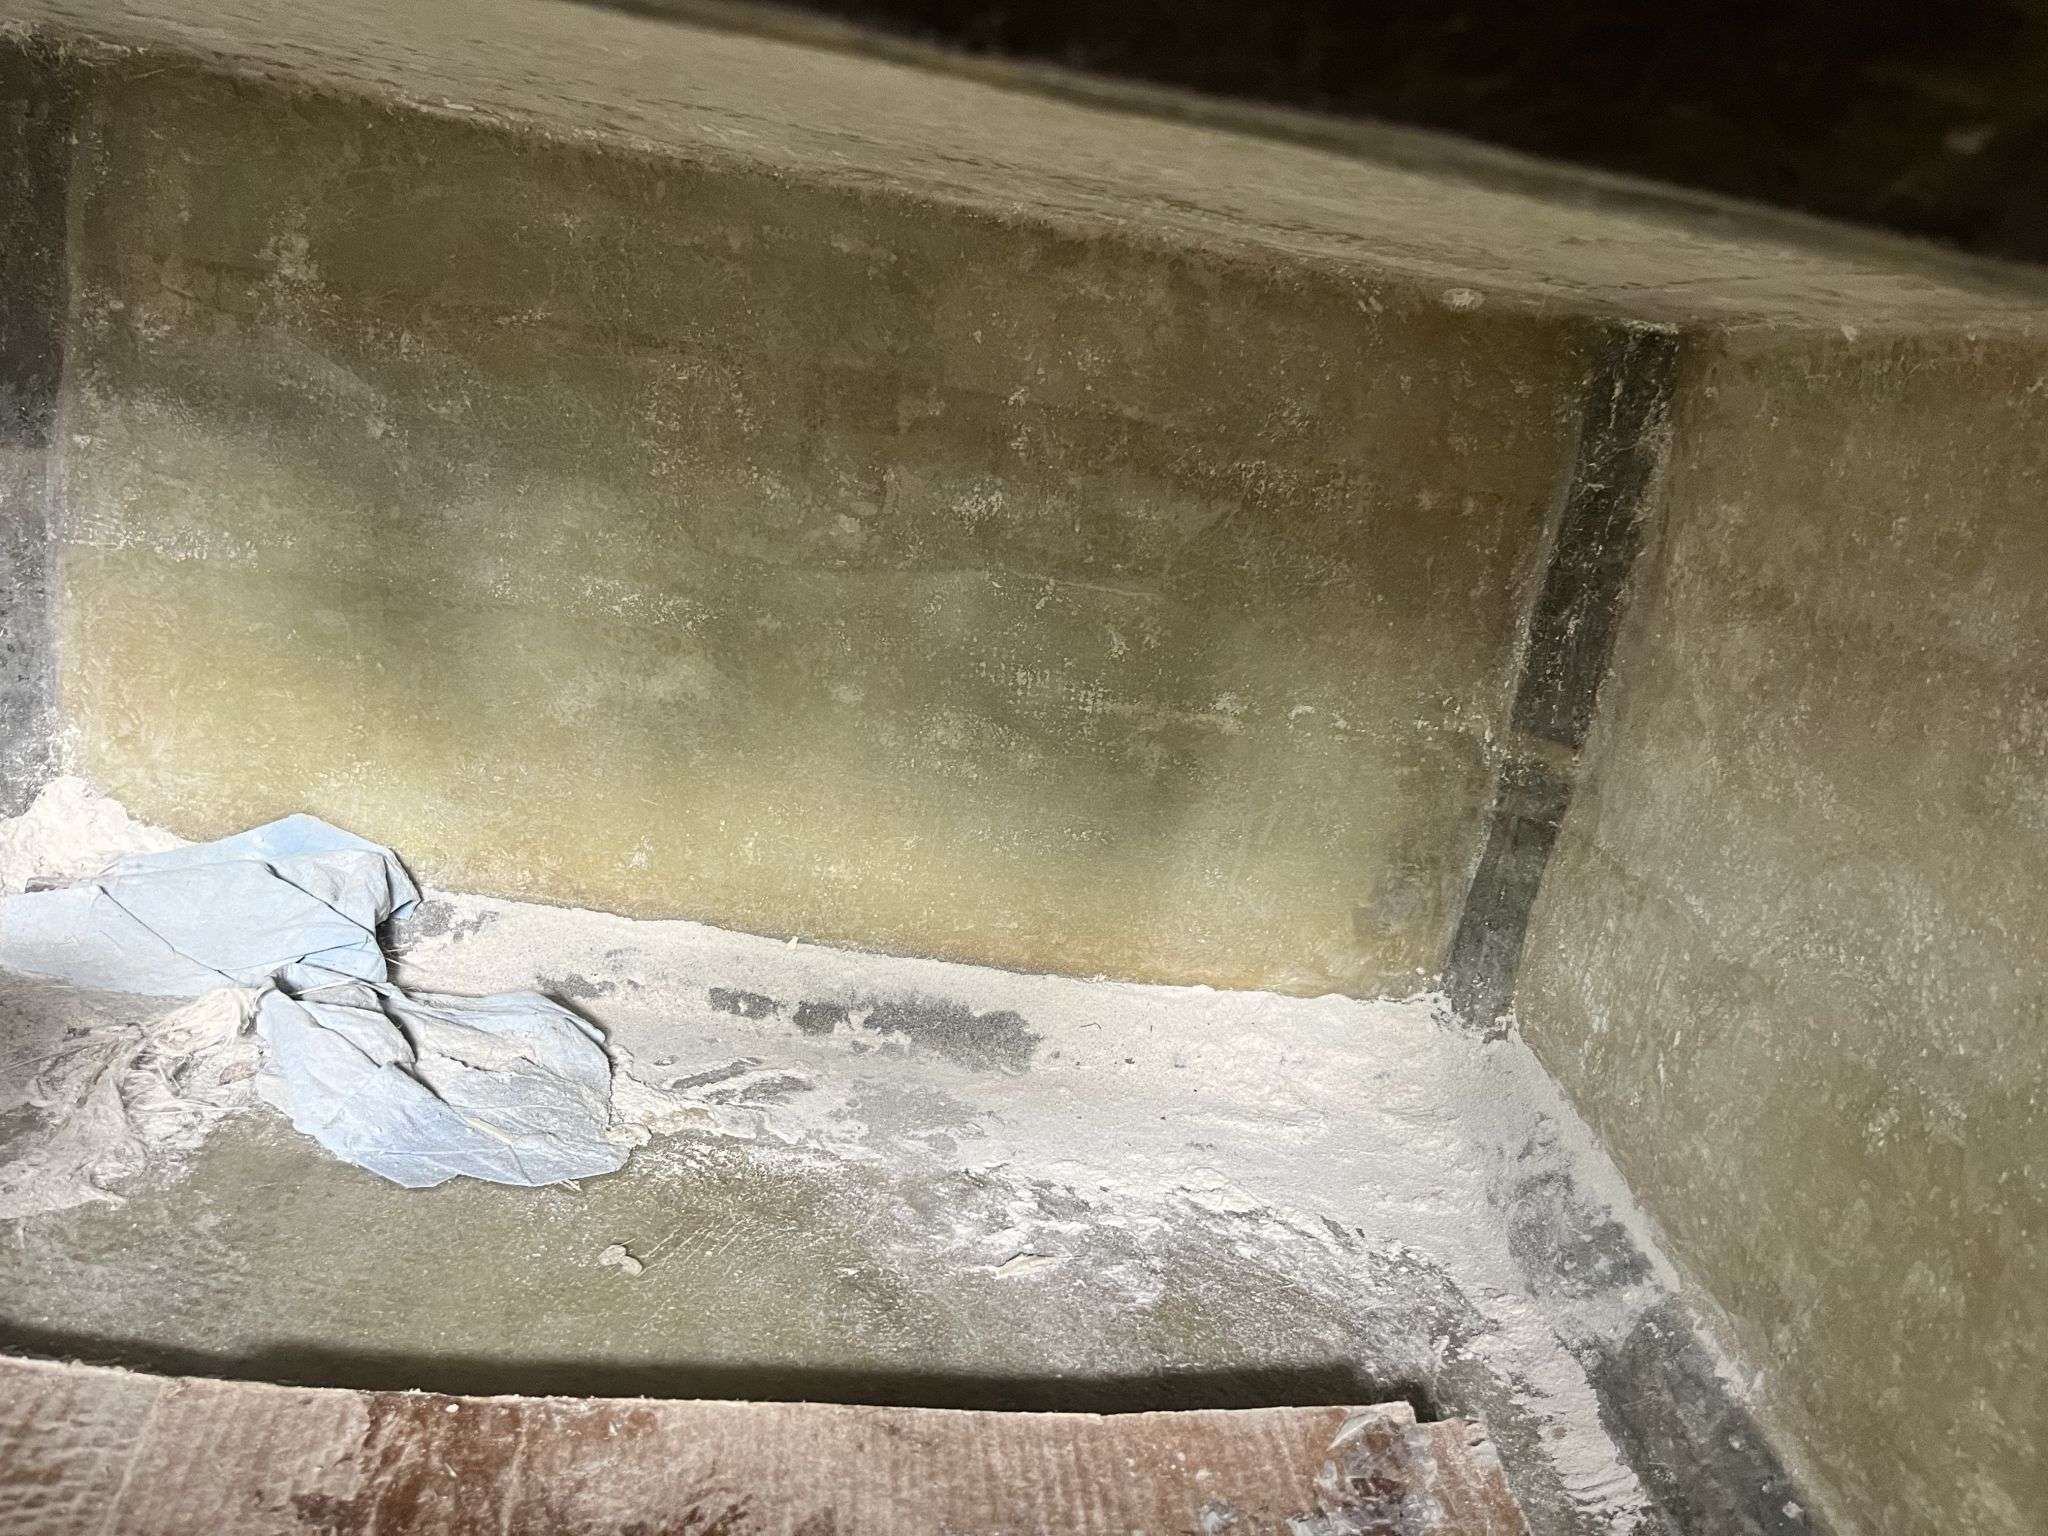
The Fishtastic XL build continues with lots of good progress. The rear floor panel is now permenantly secured, thanks to a lot of ballast from around the shop:

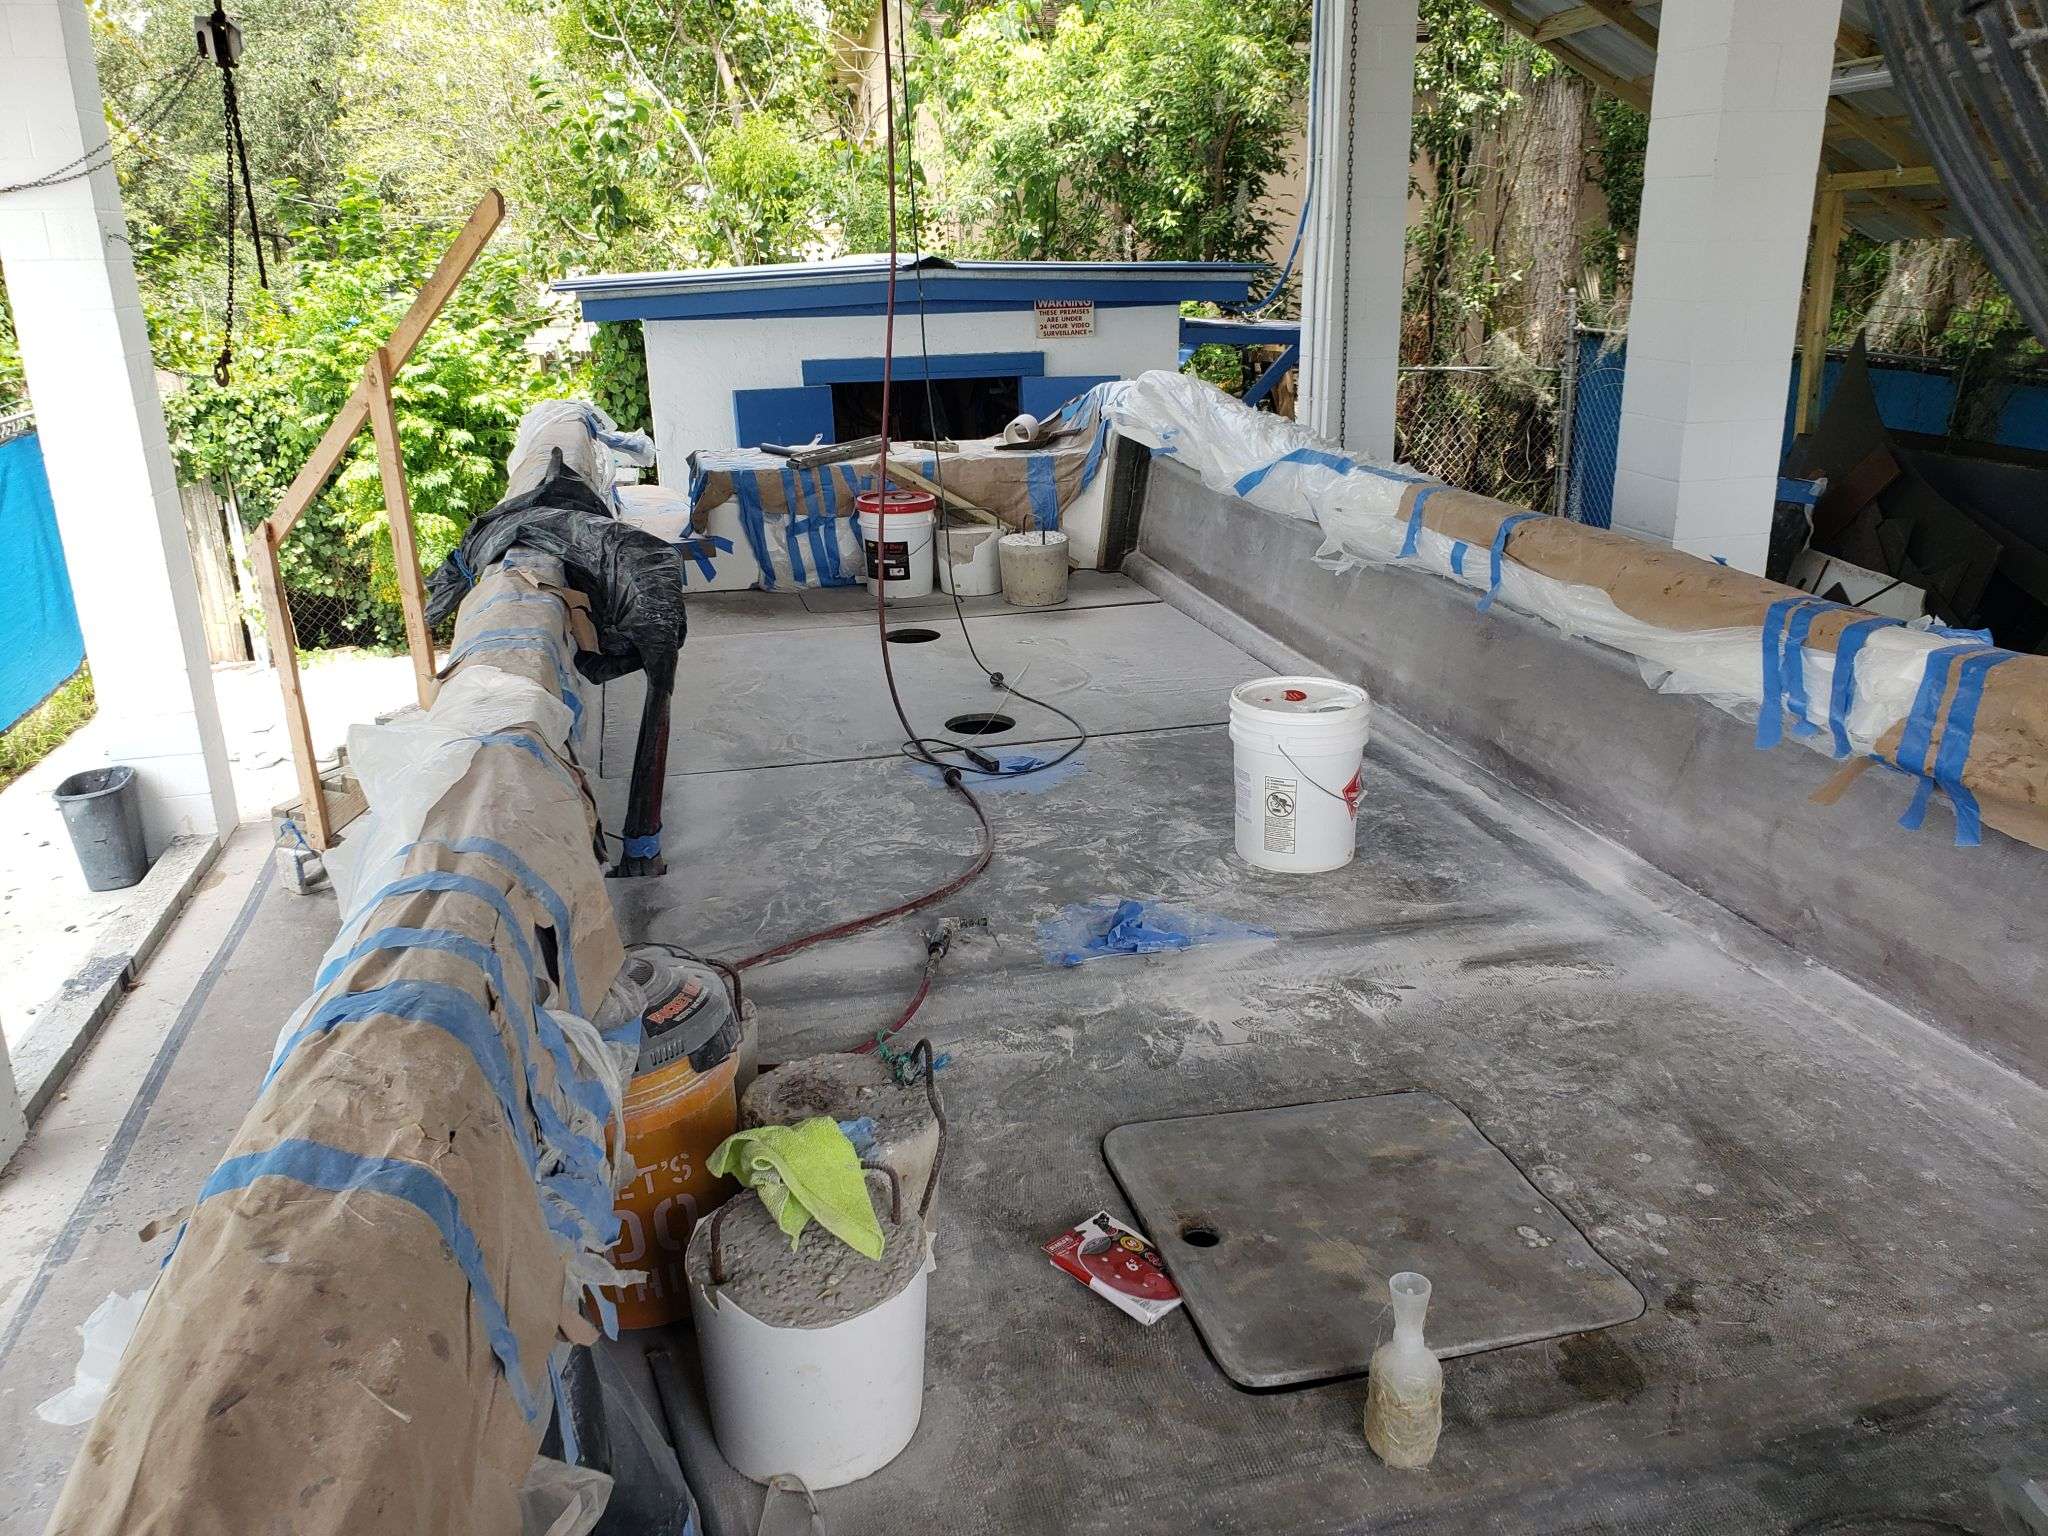
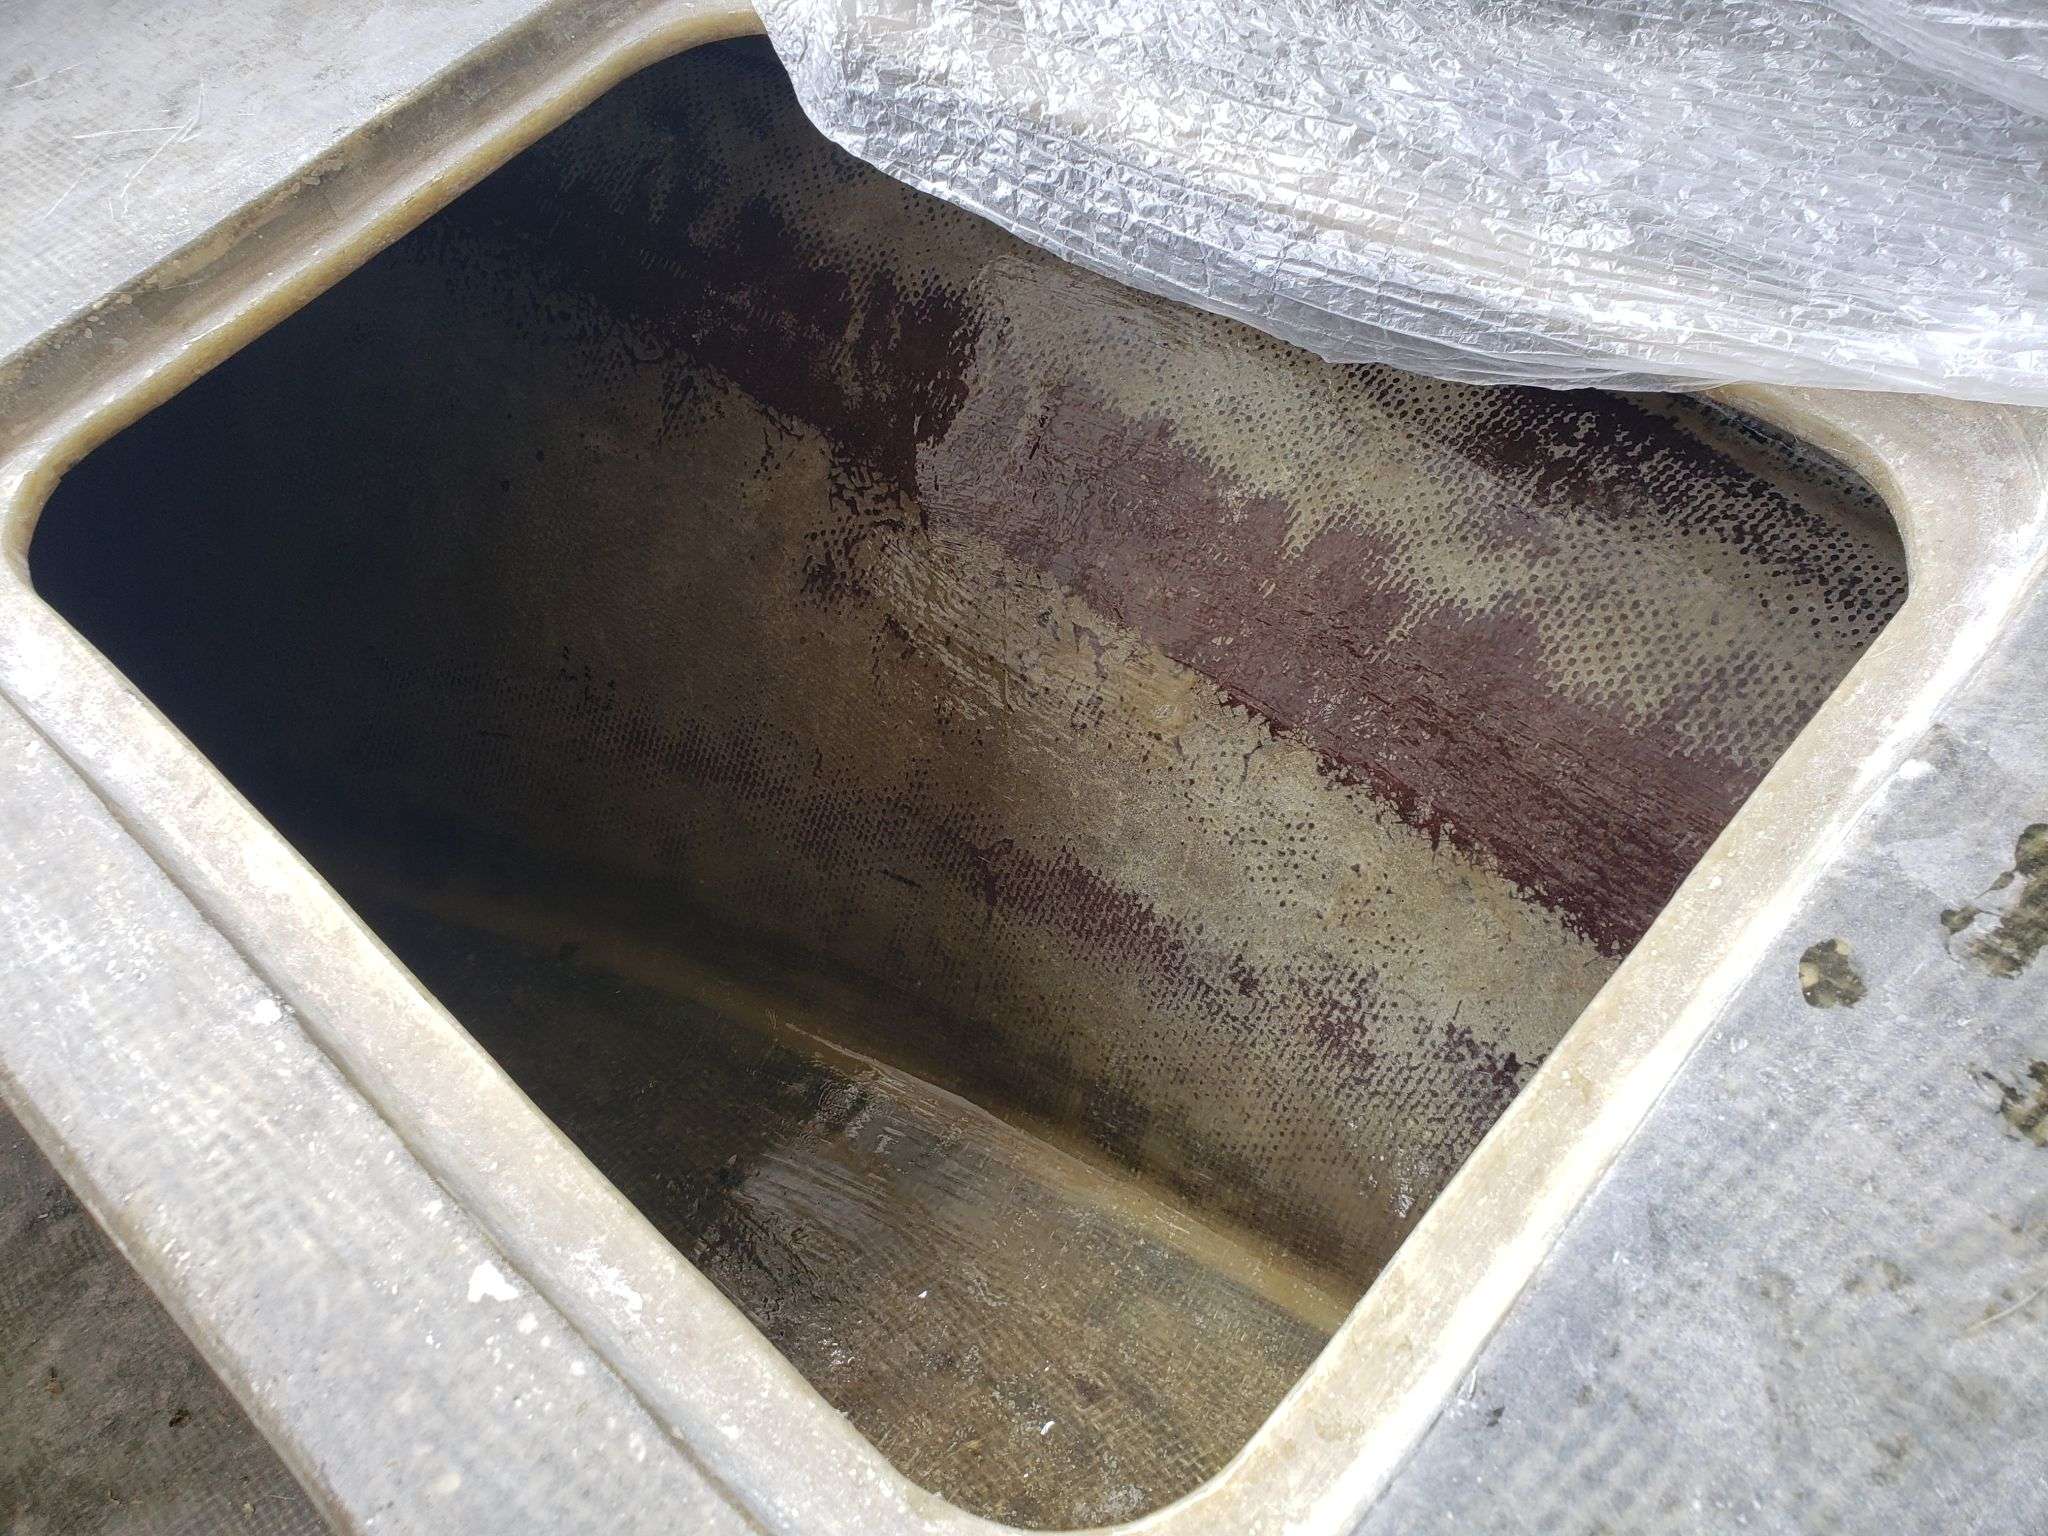
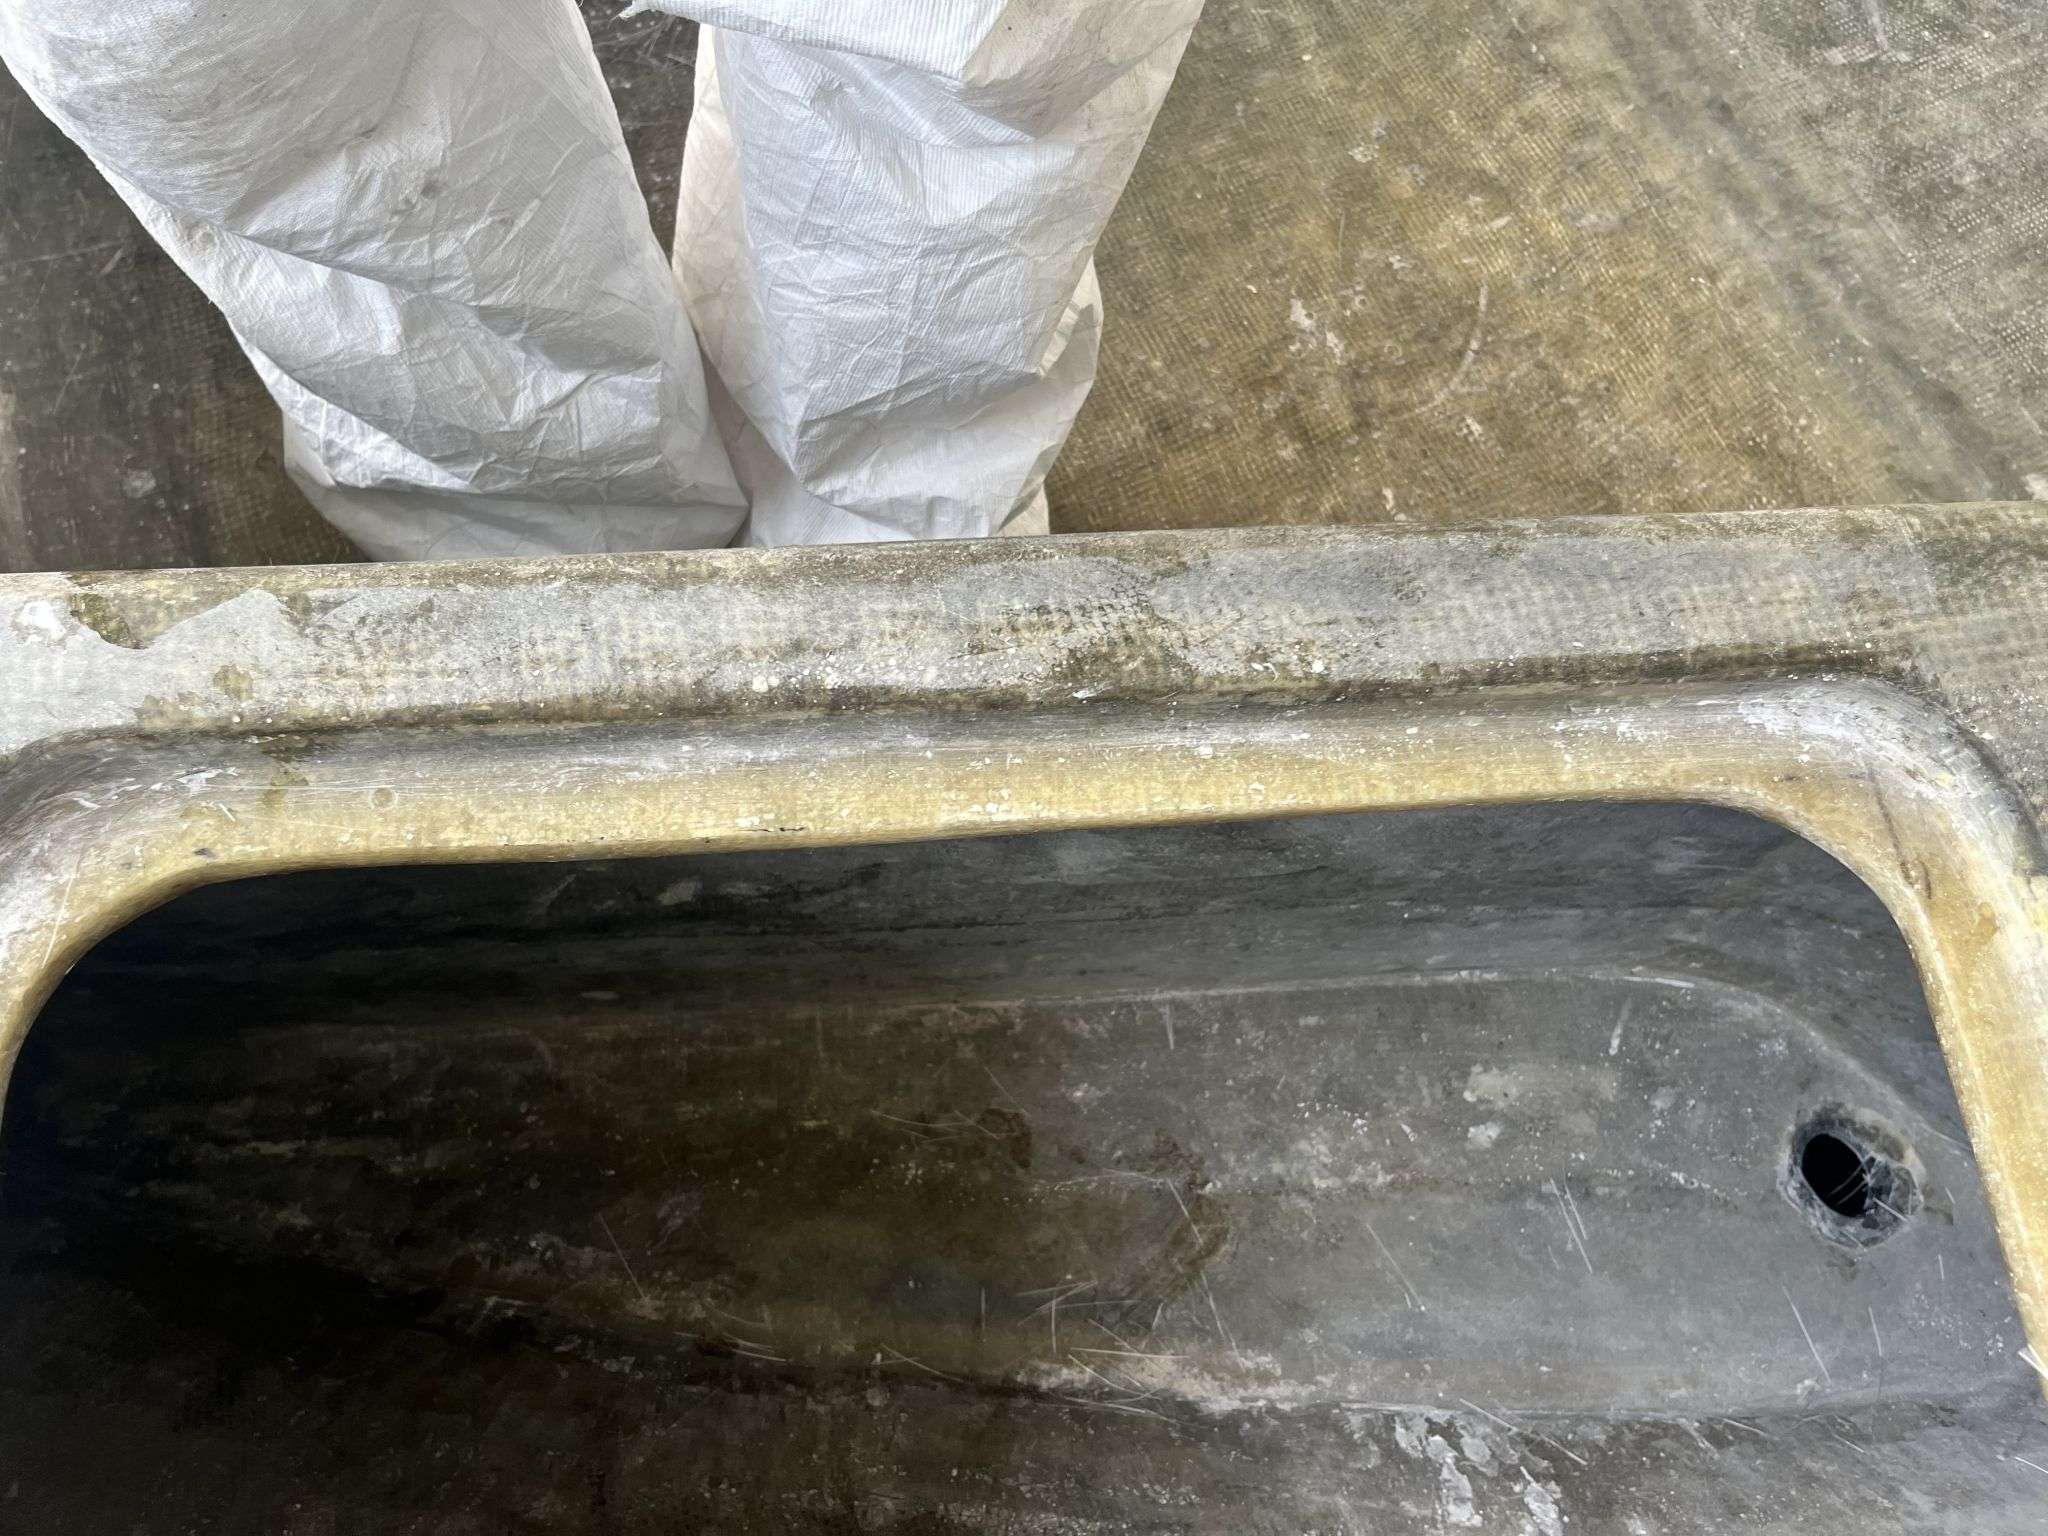
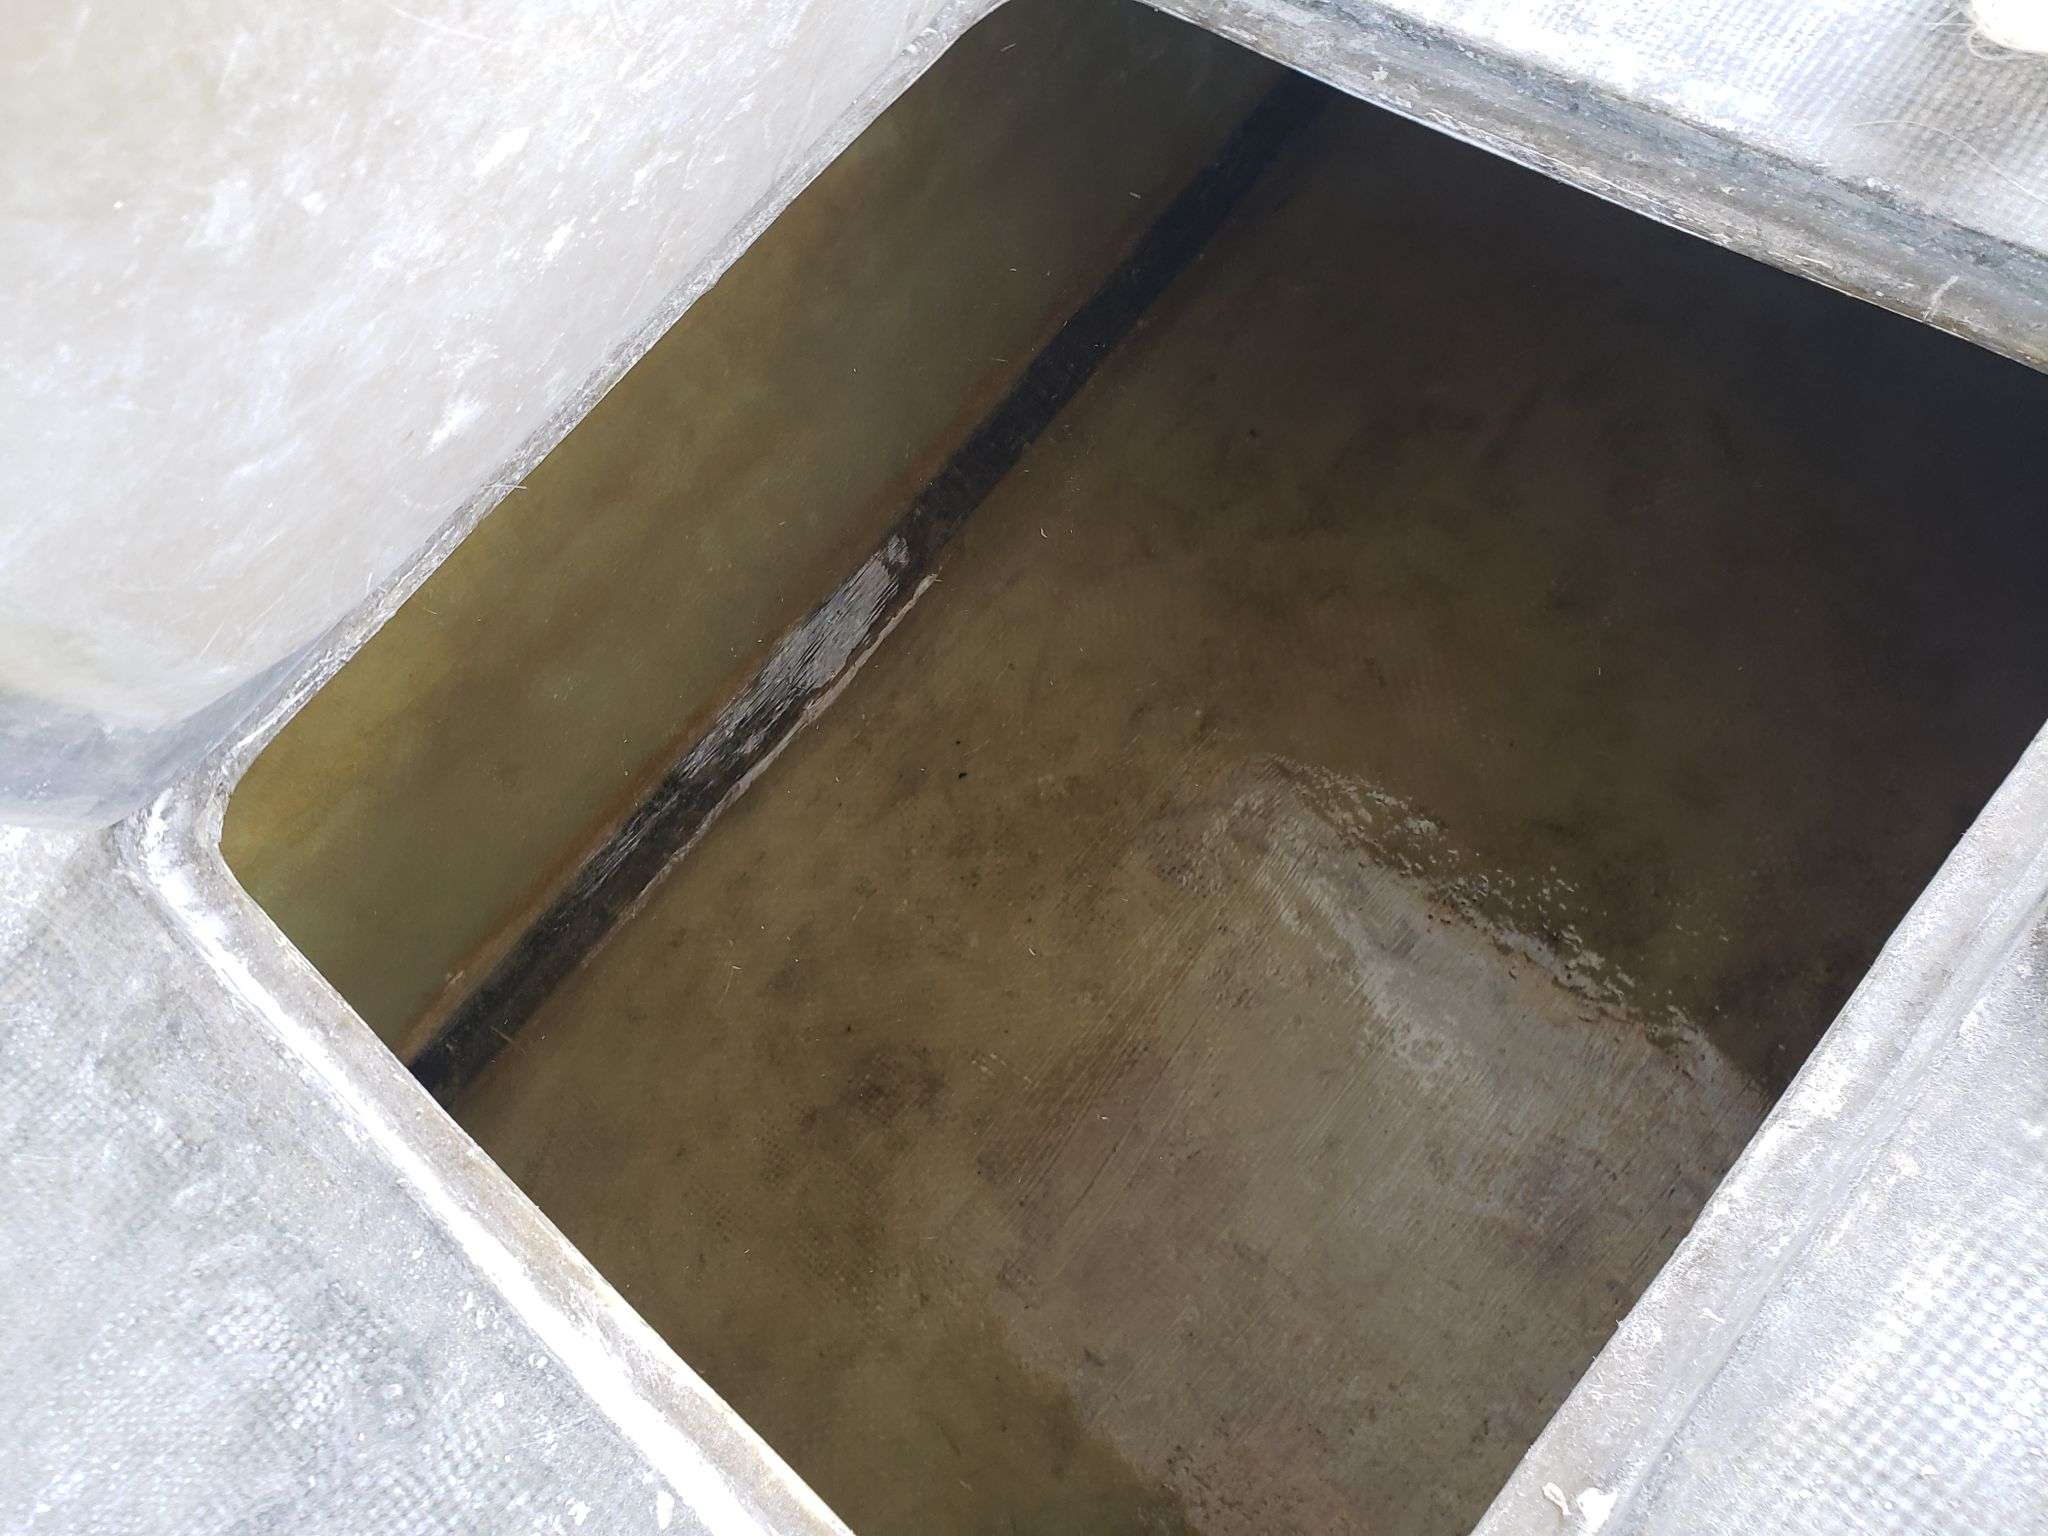
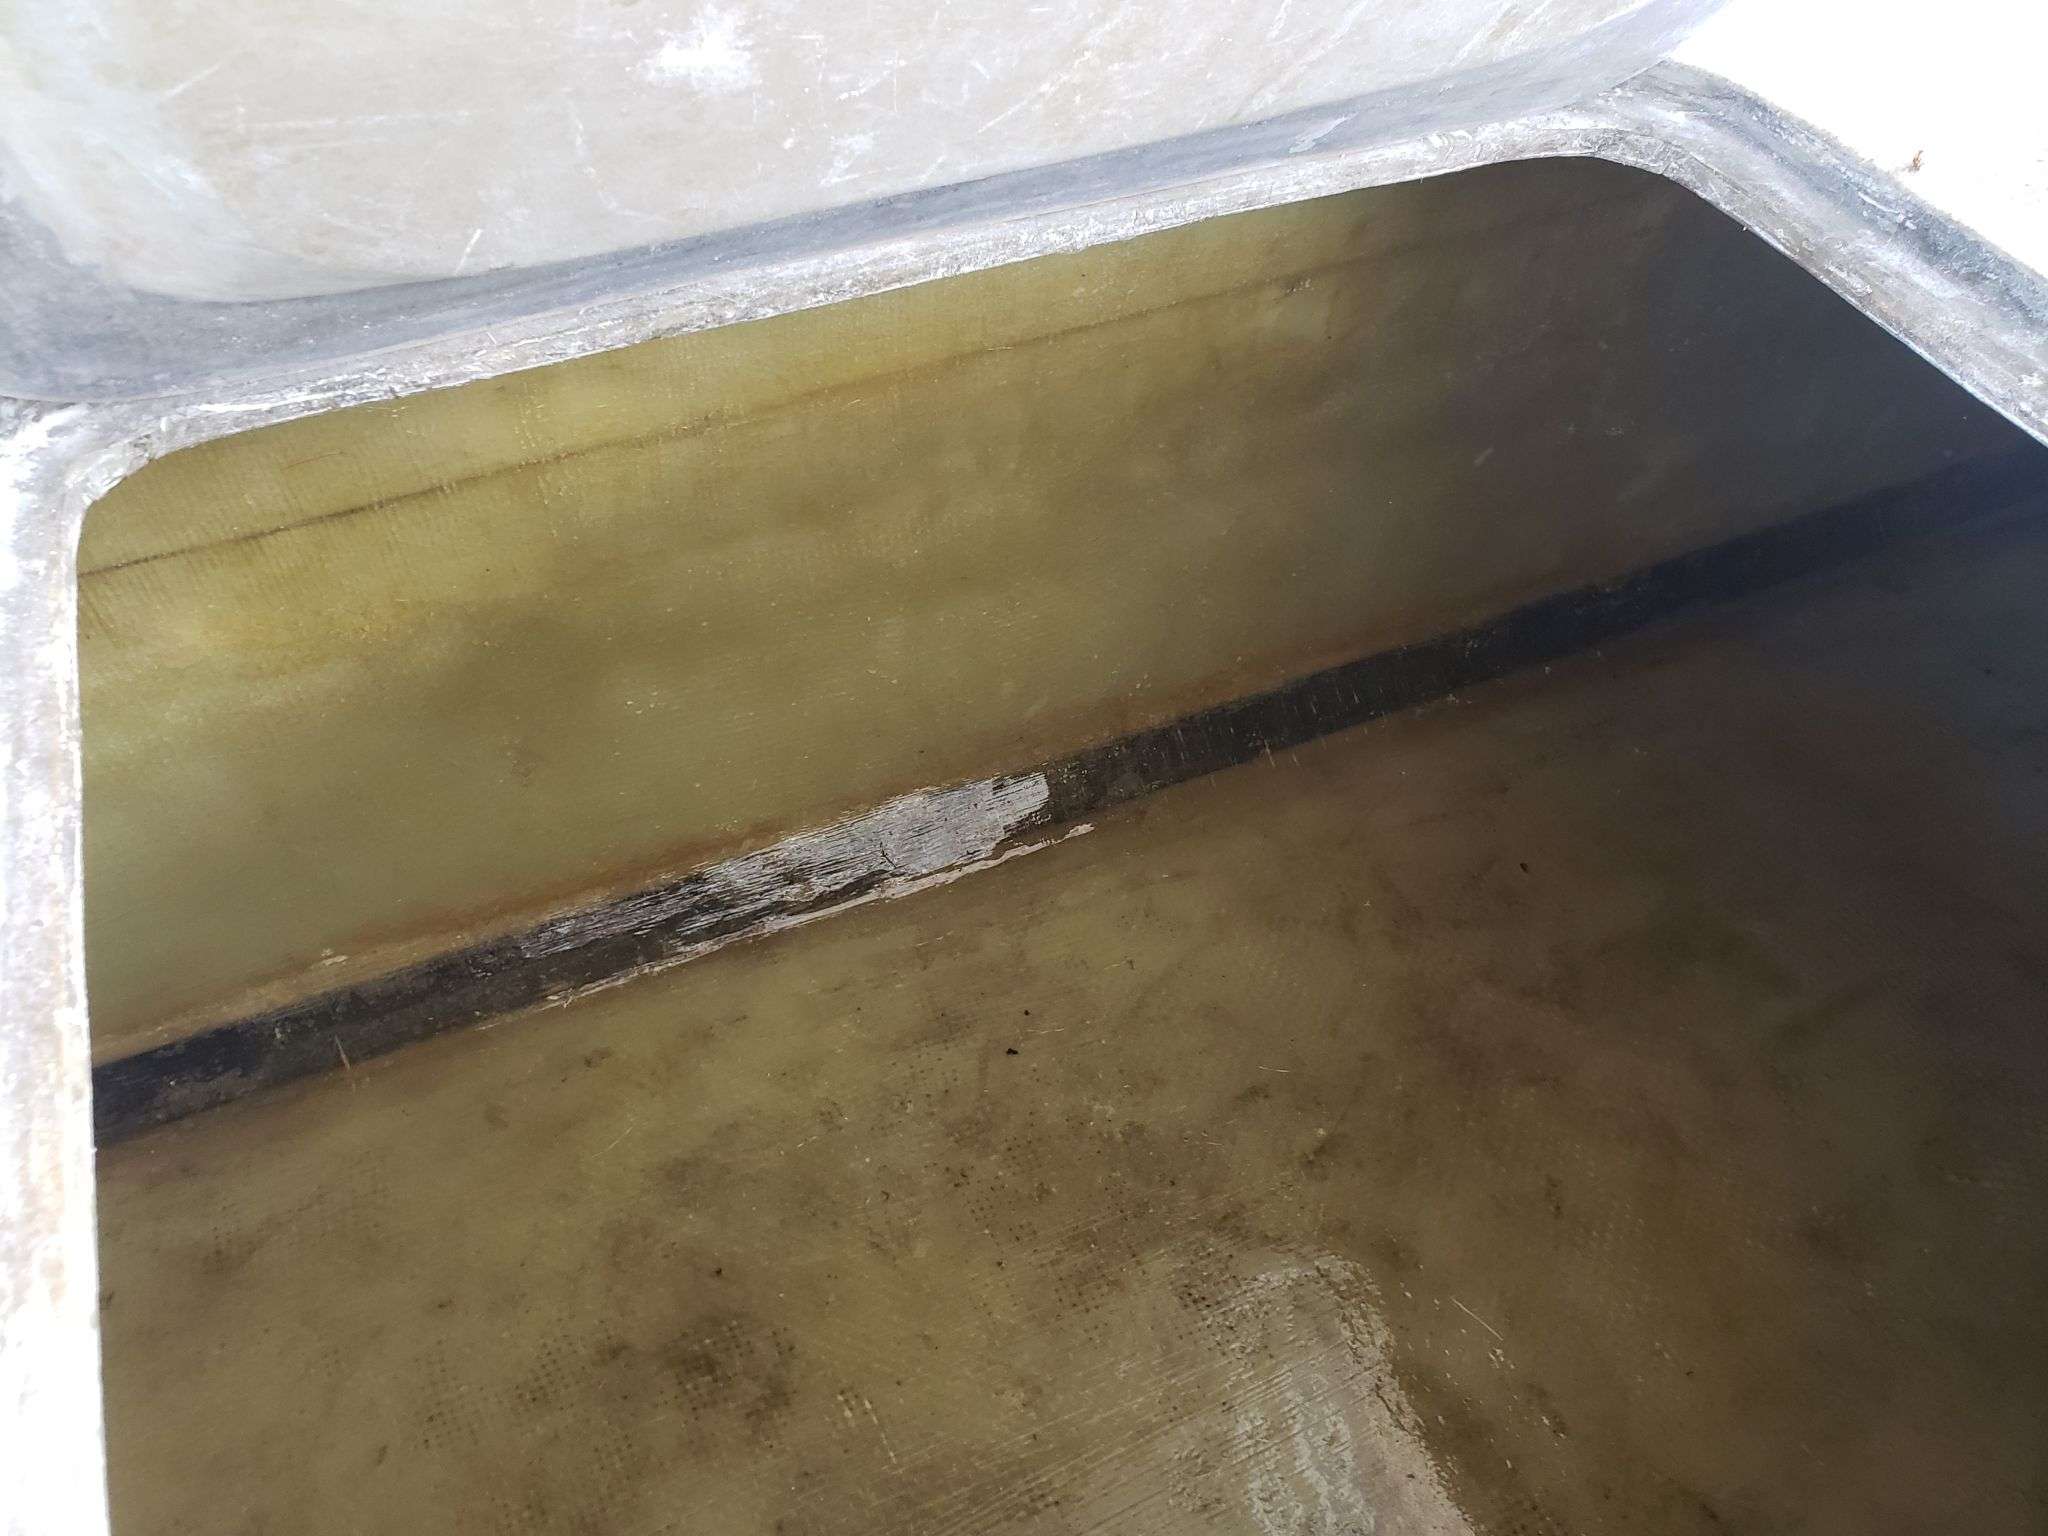
We also have perfected the hatches and lids for the boxes throughout the boat (forward seats, in-deck fishbox).
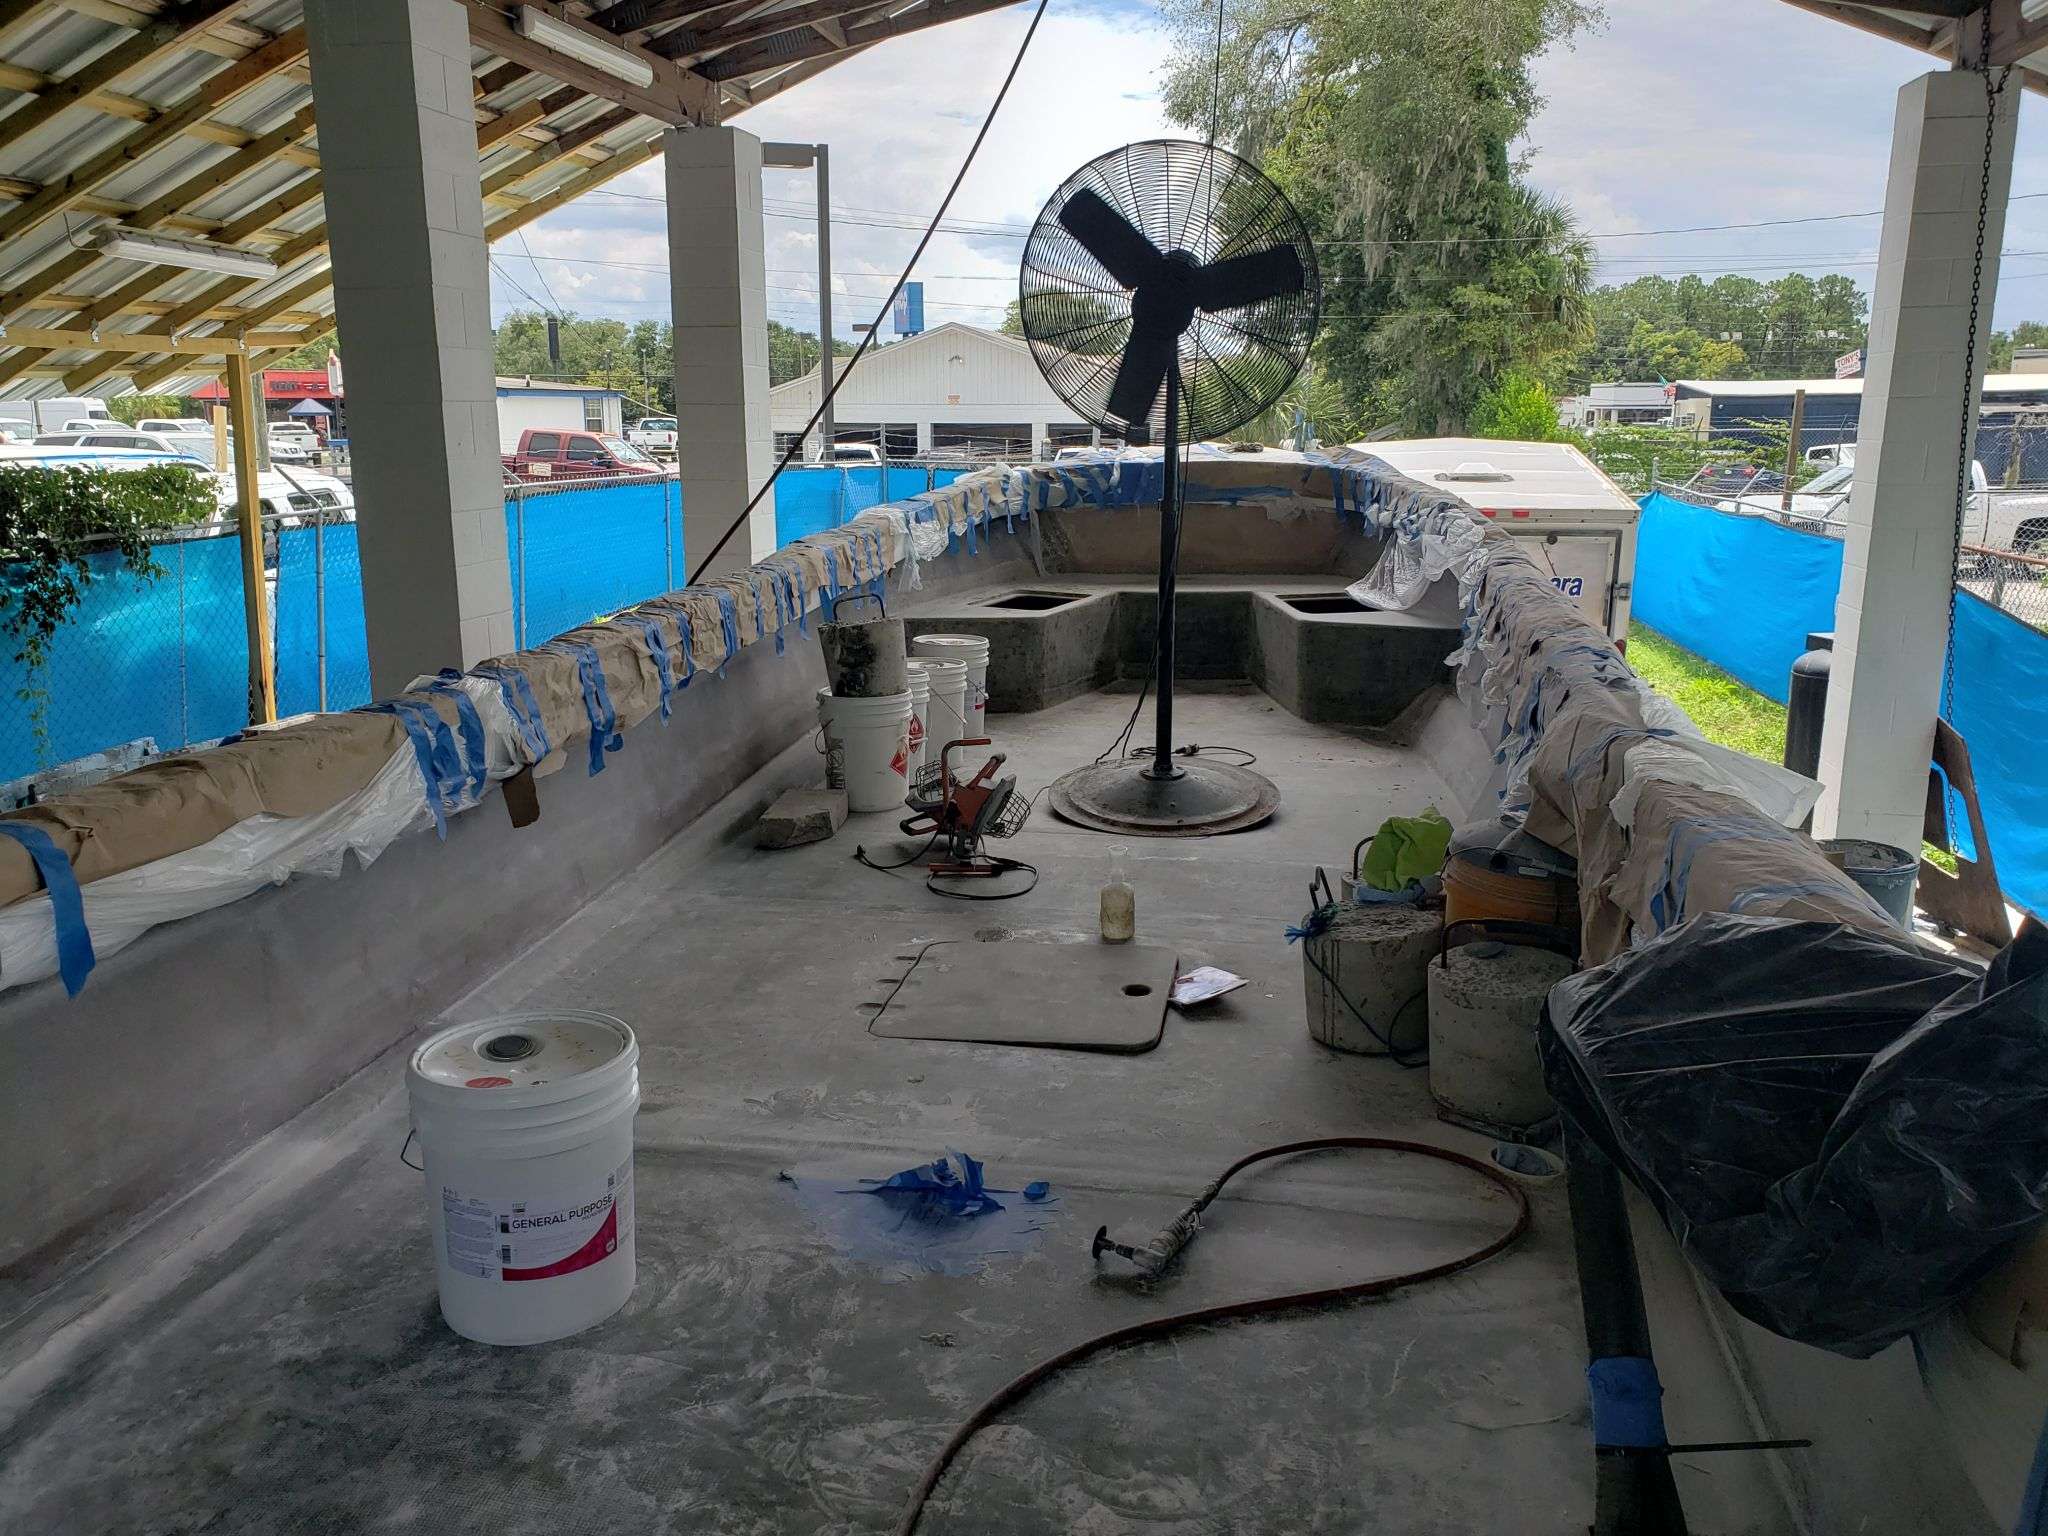
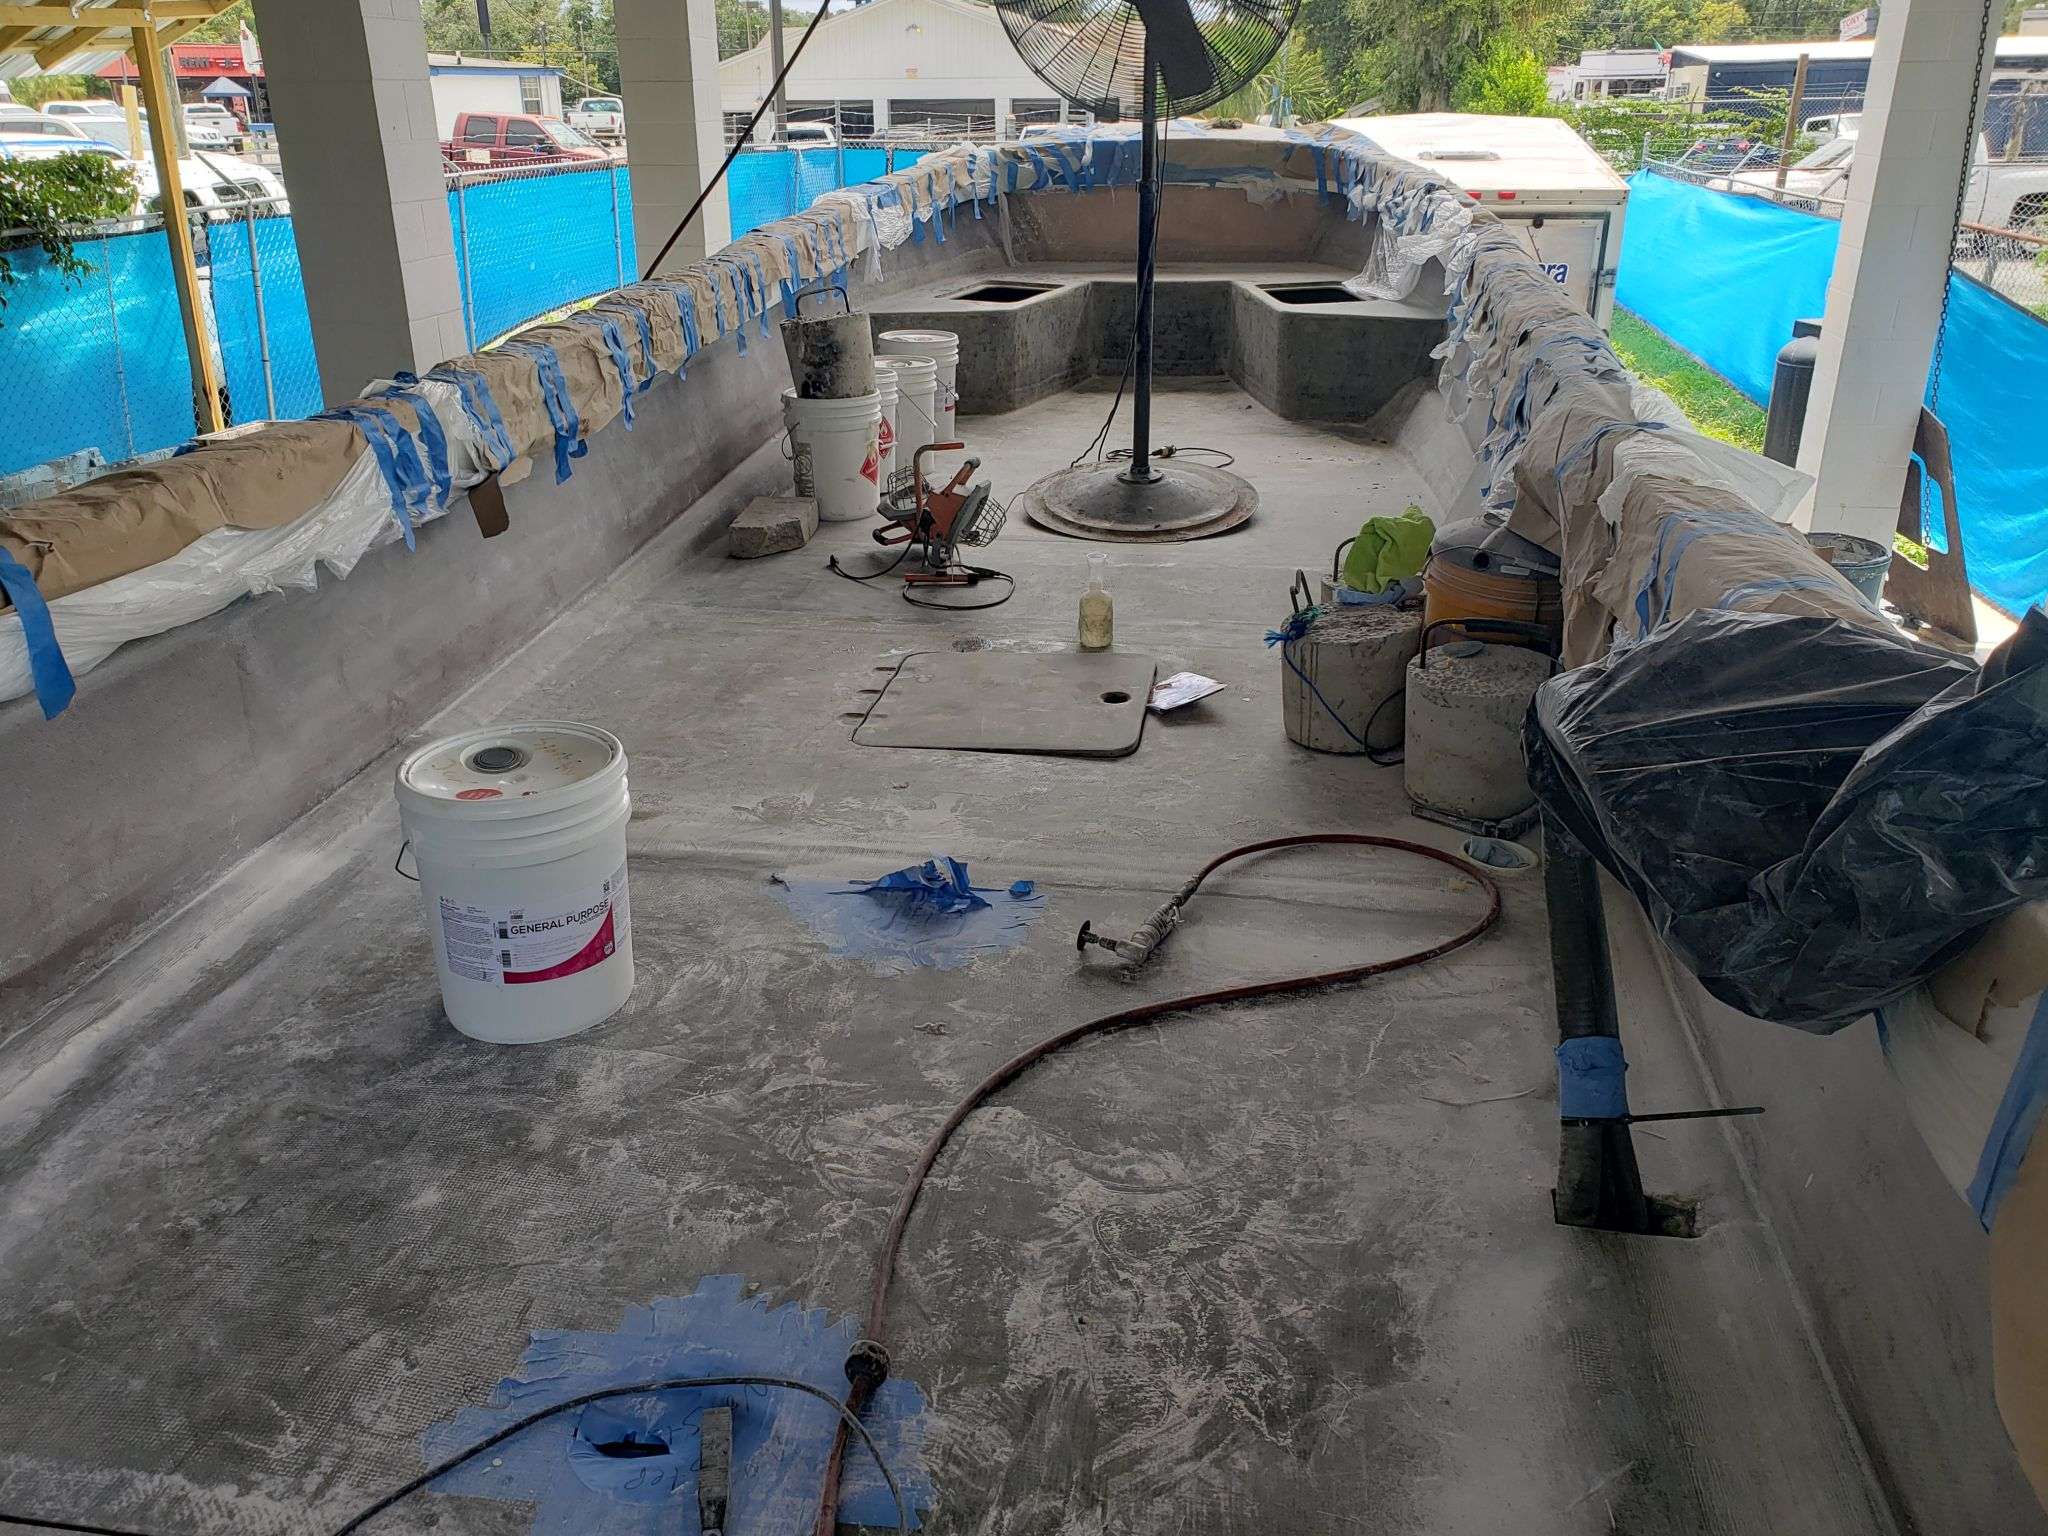





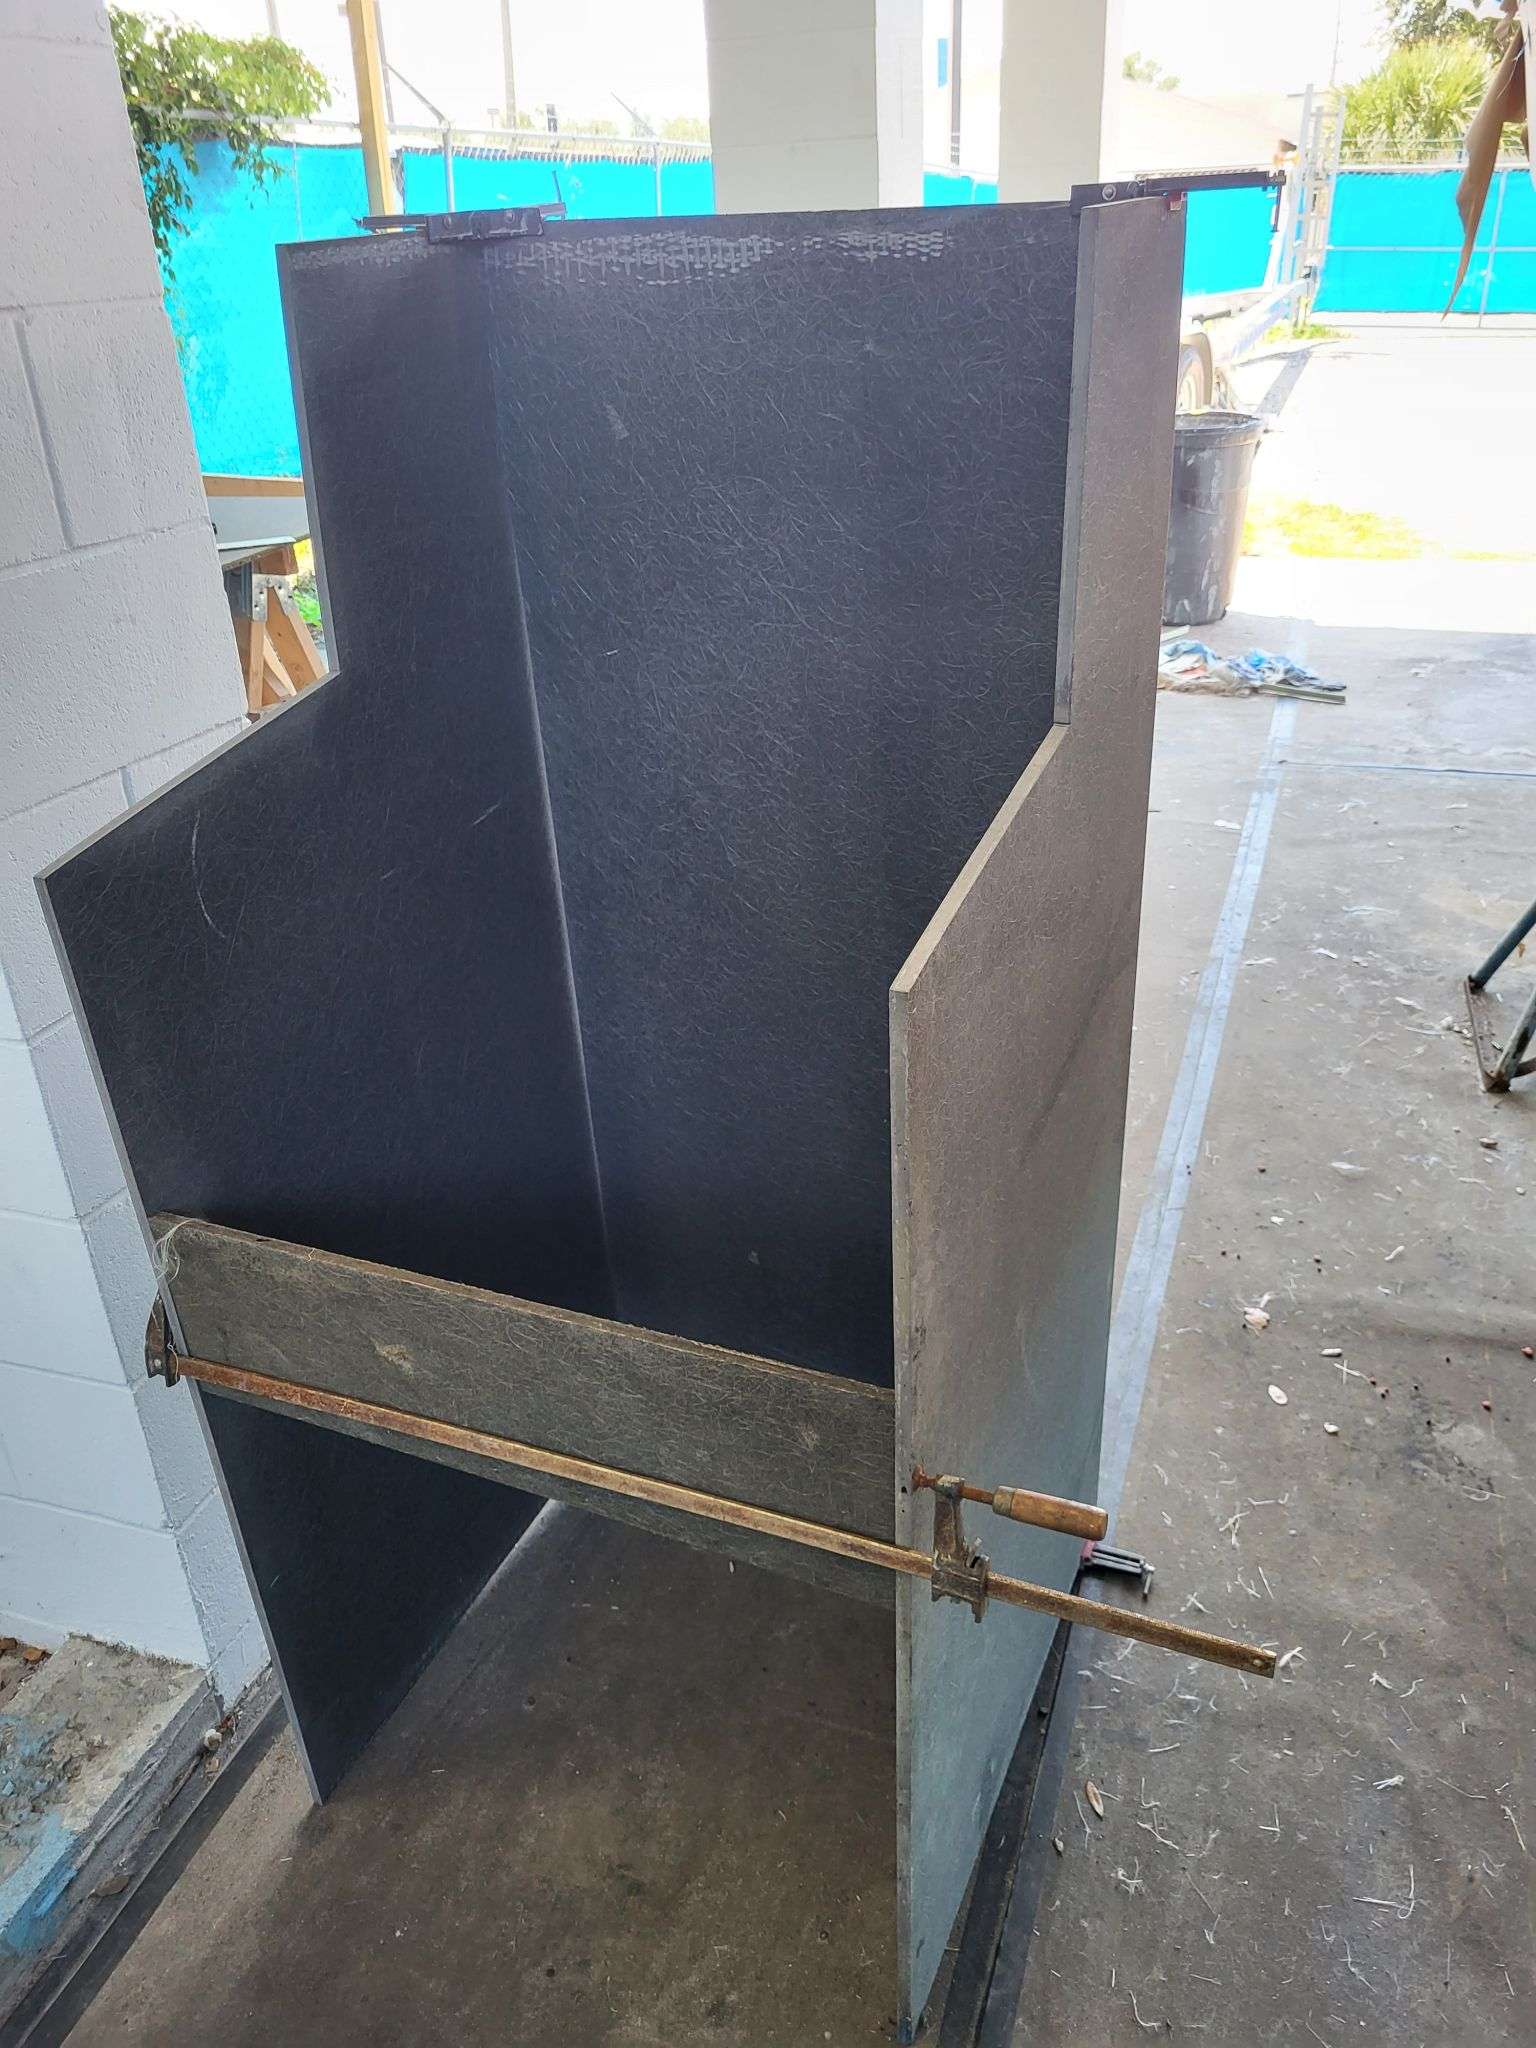
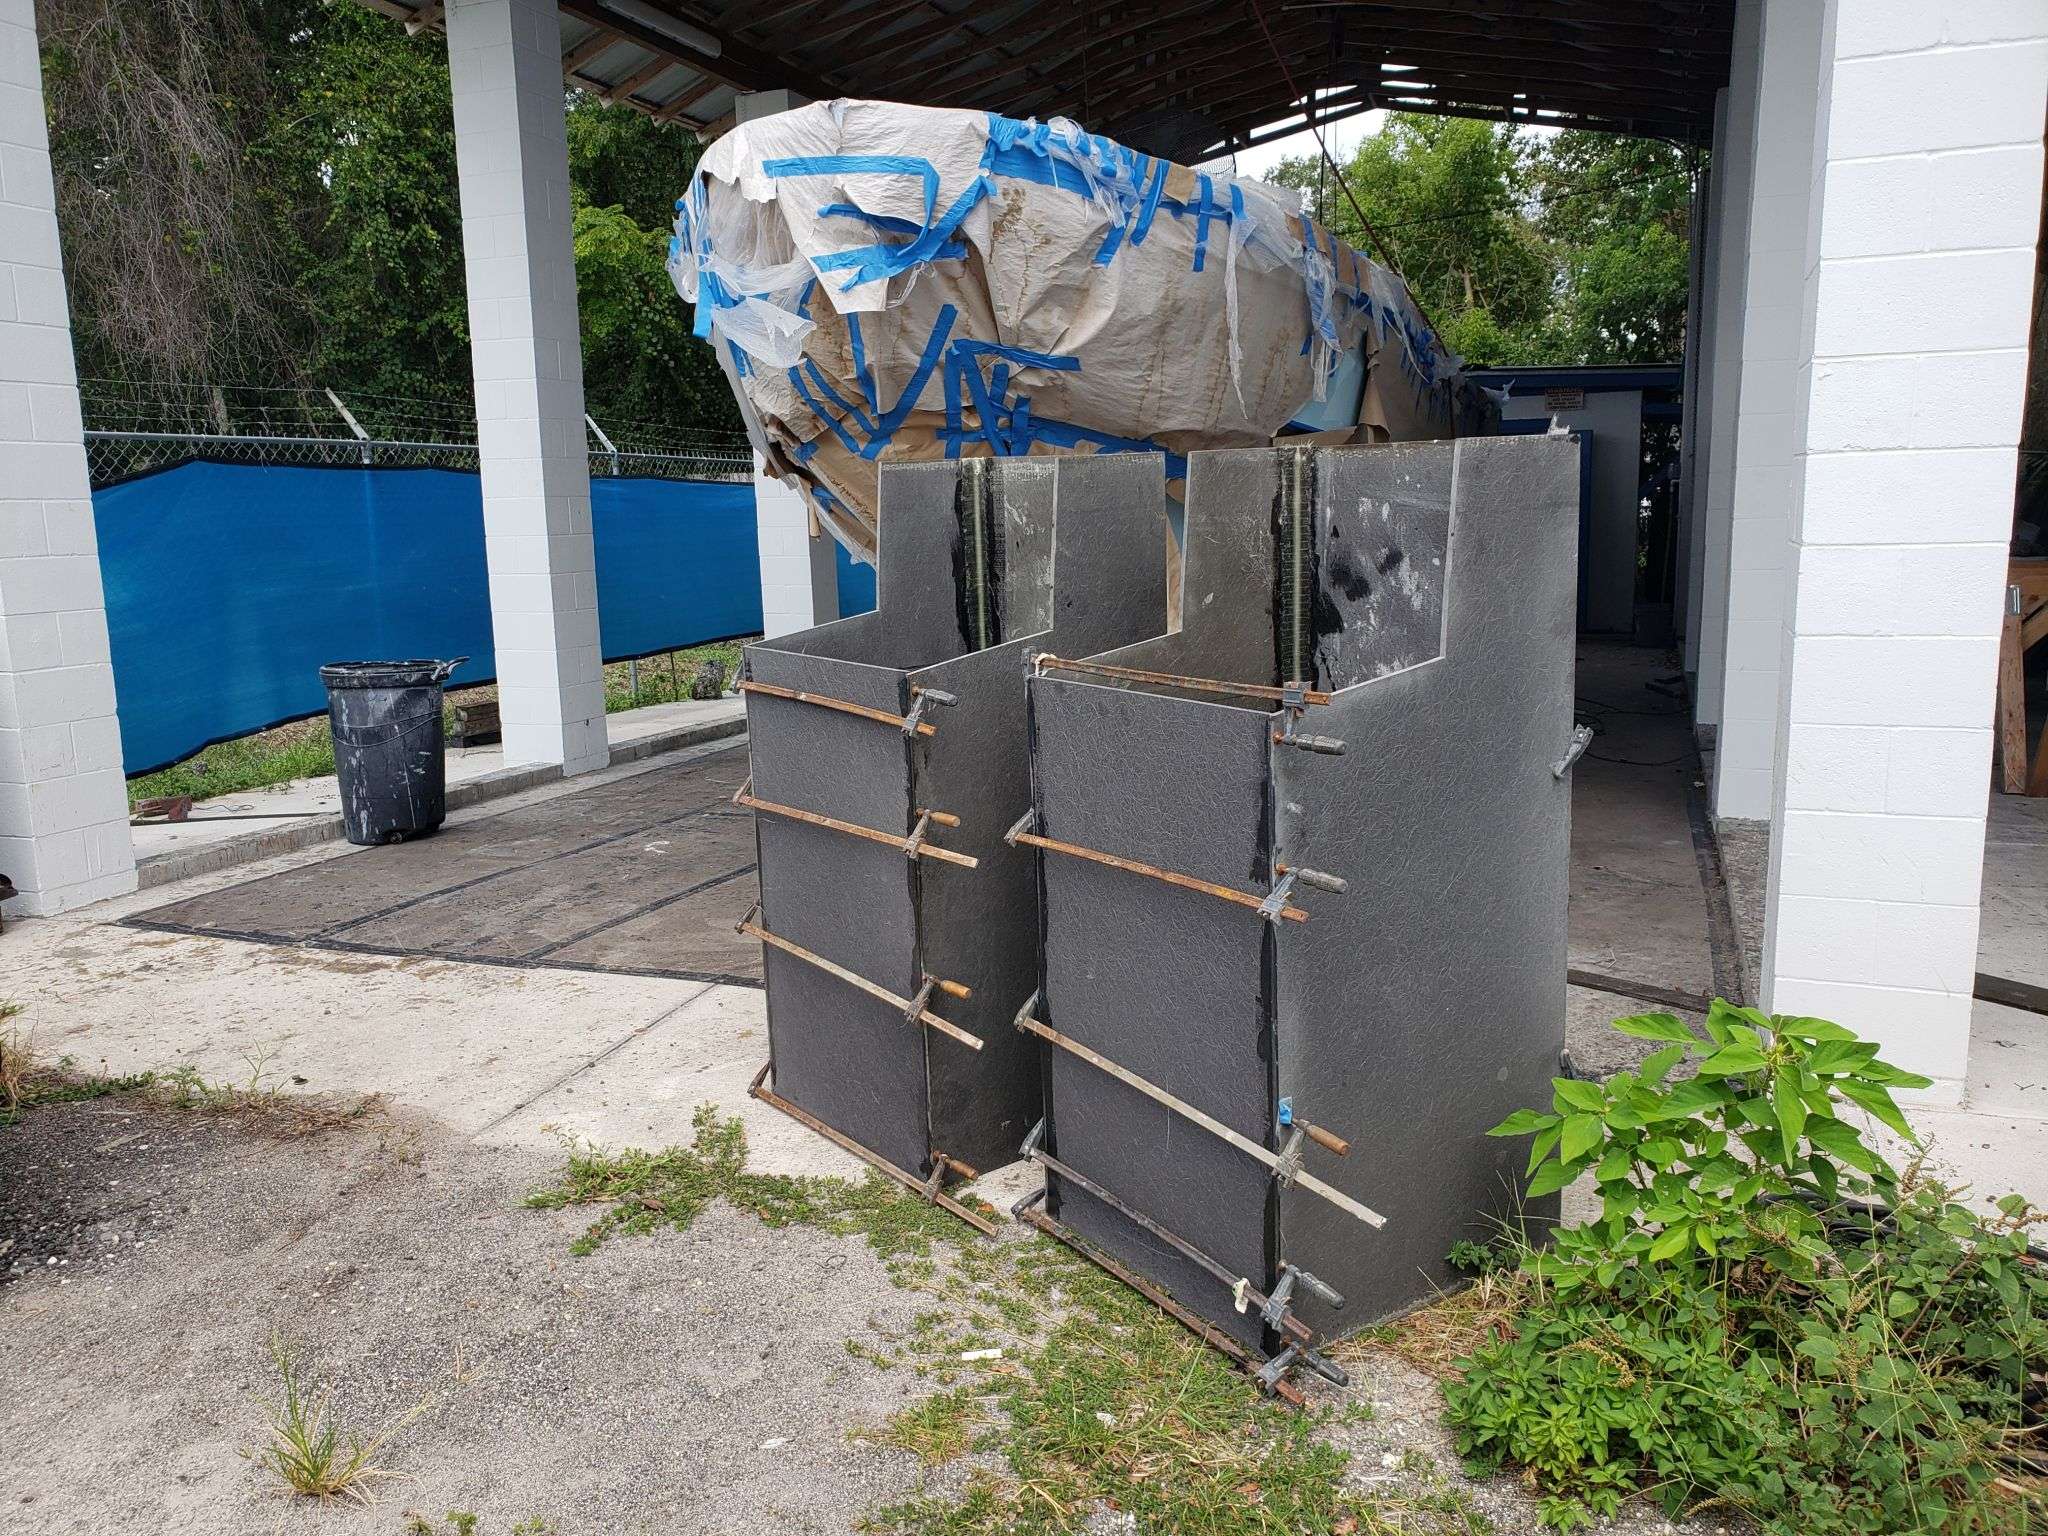
Now that we have a solid floor, it’s time to build the consoles.



September 21, 2023
This month has been solely focused on finished and perfecting the twin consoles for the Fishtastic XL.


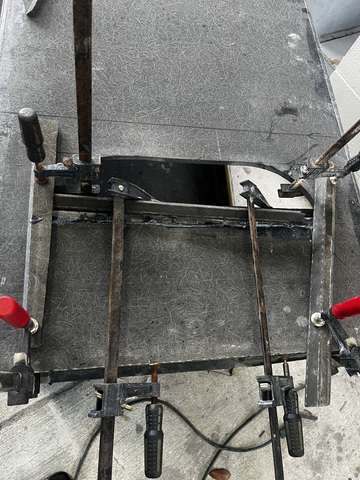
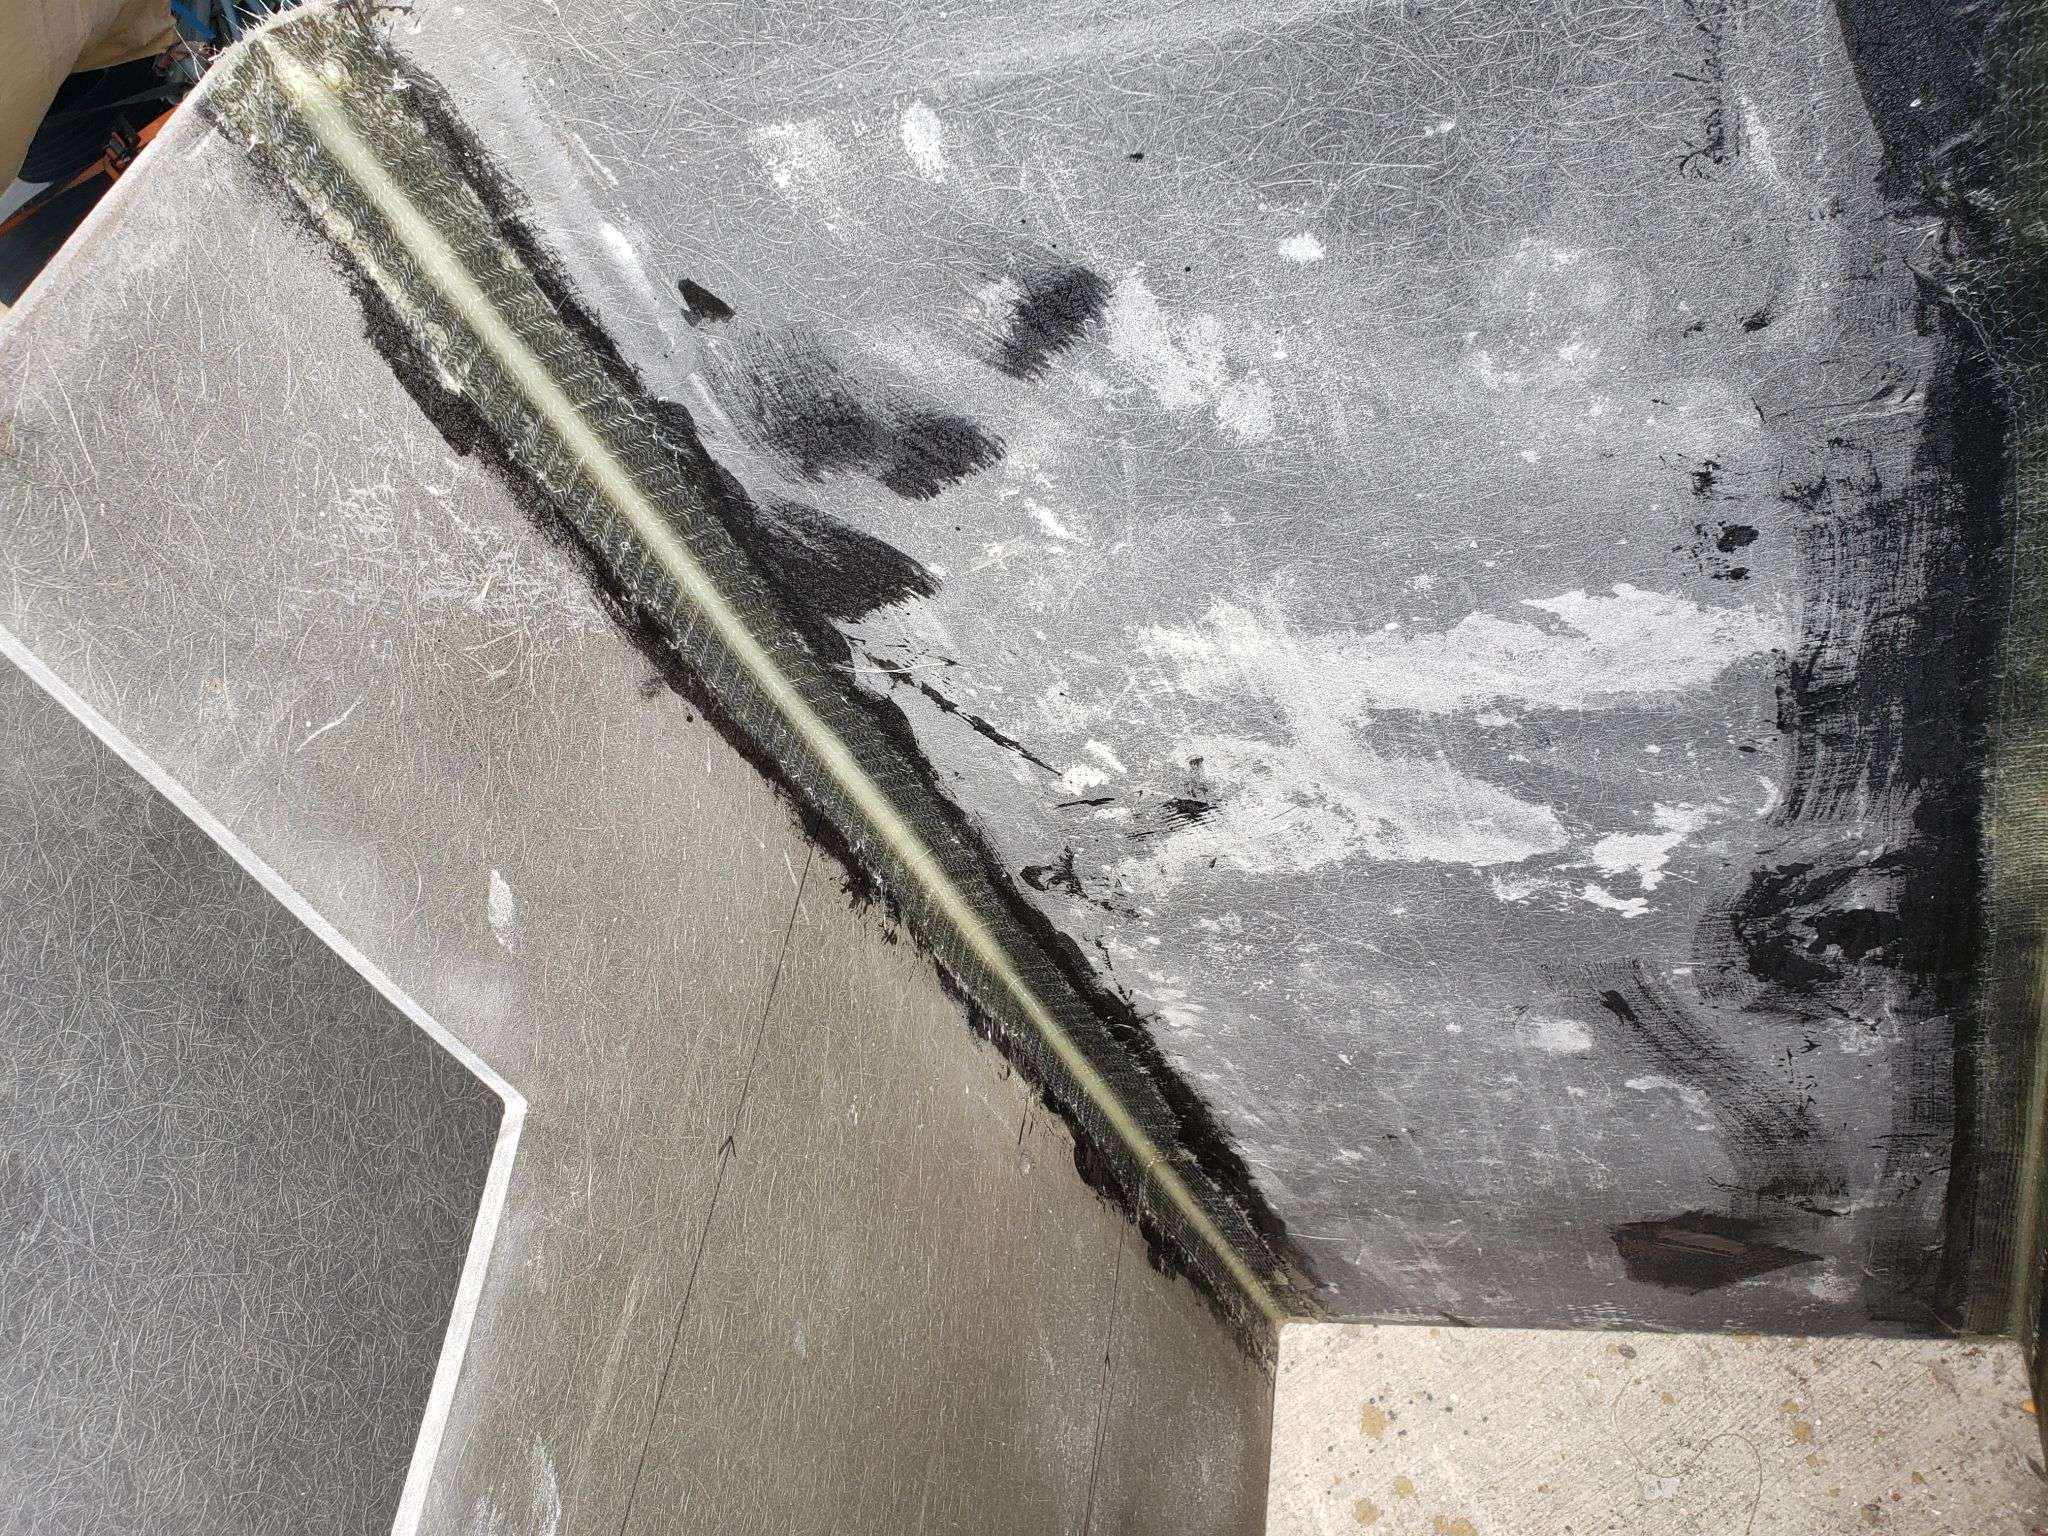
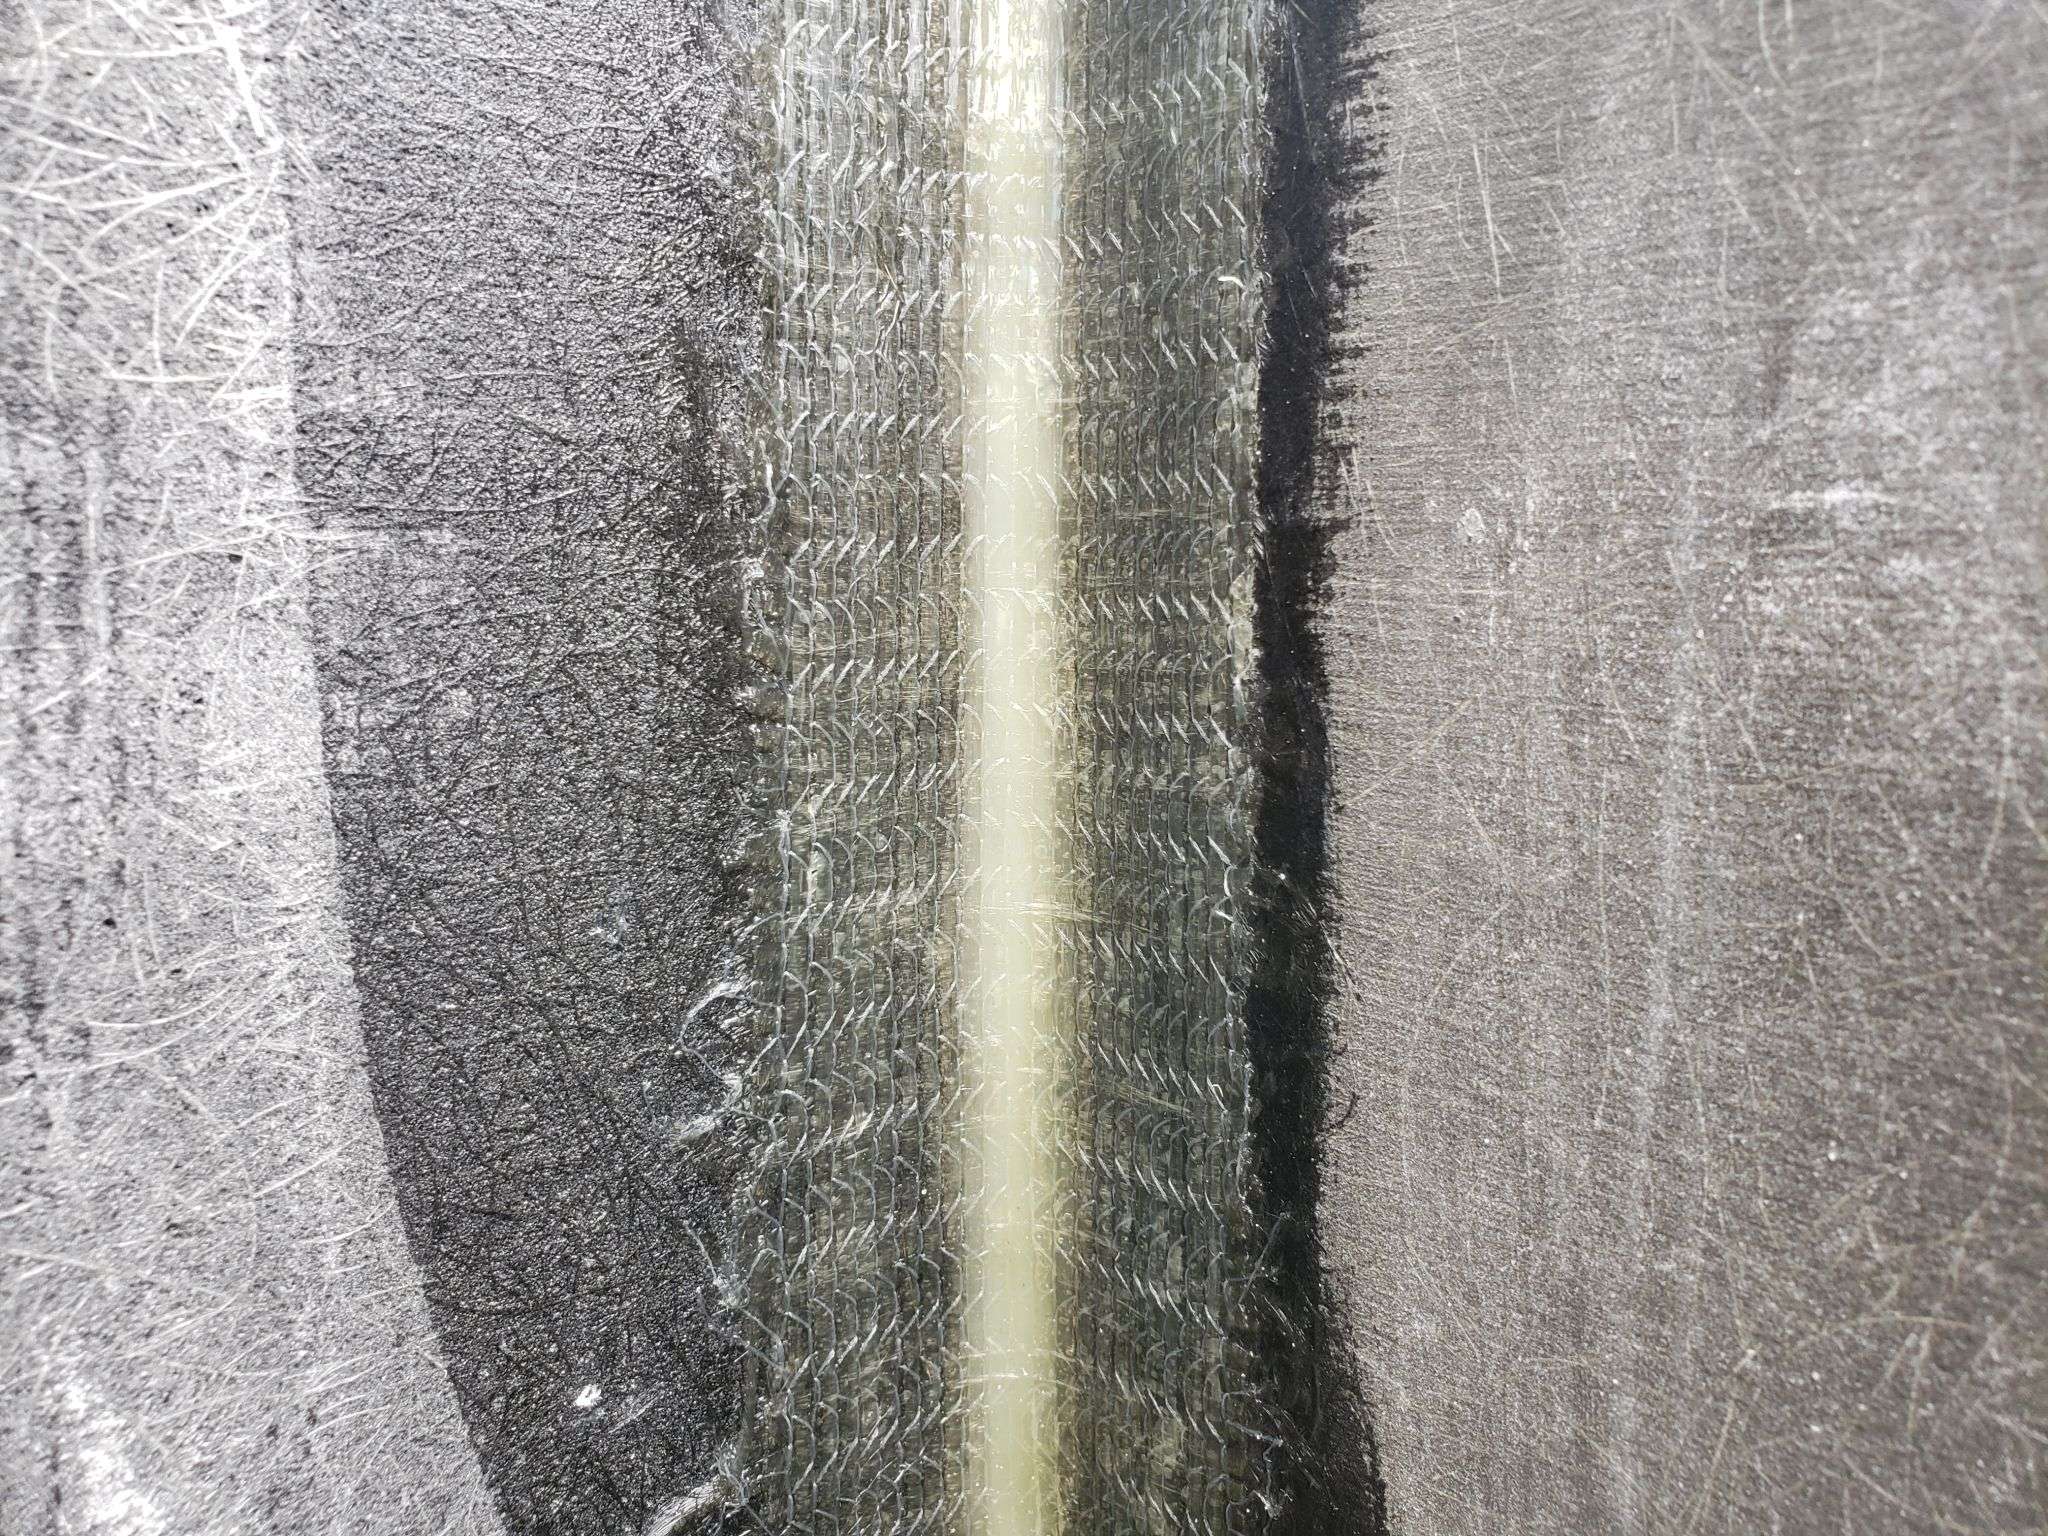
After our last update, the basic shape of the consoles were cut, round fitted, and the edges were wrapped in fiberglass. Then we proceeded to affix lips for the hatches. Once the lips were perfected we set them in place for a test fit.

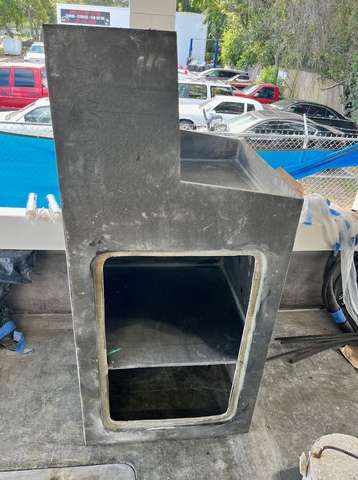

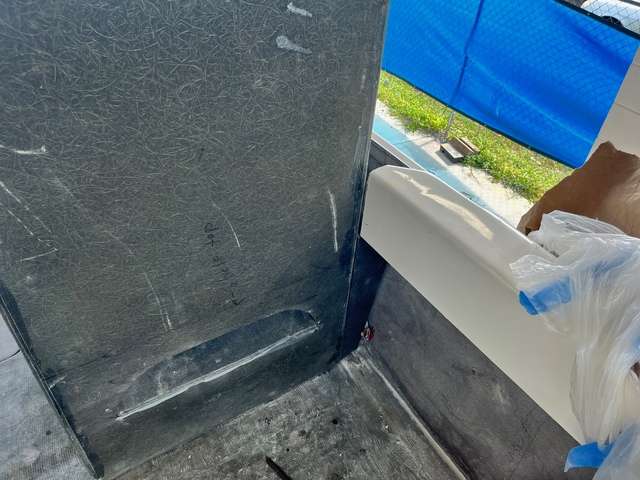

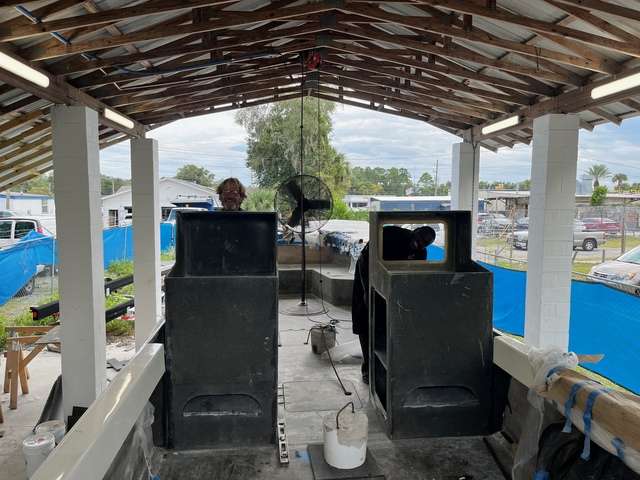
We are satisfied with the fit, so now it’s time to finish the interiors of the console shelves. They already have a layer of roven woven, biaxial, and chopped strand fiberglass. The next step is to ‘hot coat’ the pieces with activated resin; in the past we’ve used a lightweight body filler puddy for this work, but the hot coat method is more pure.
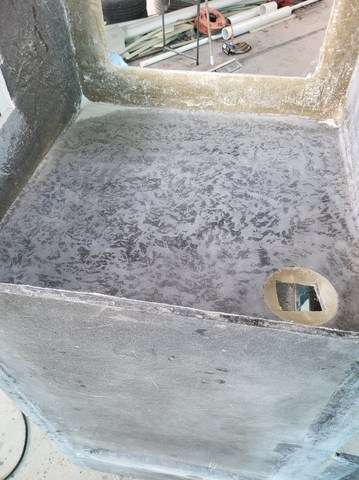

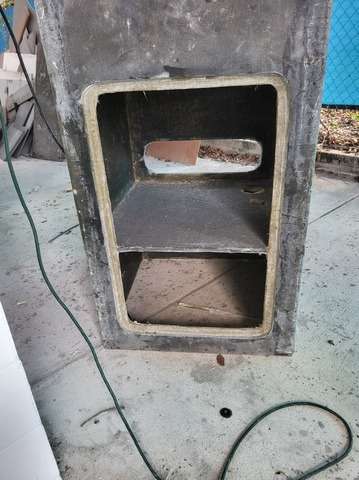

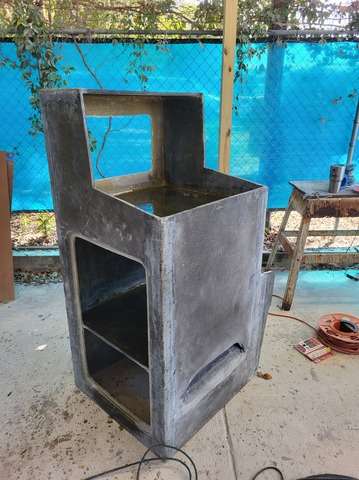

We are looking forward to the final sanding of these hot coats, and to continuing progress on the Fishtastic XL.
November 16, 2023
The Fishtastic XL‘s twin monster consoles are almost complete. It’s been a grueling couple of weeks of fiberglassing and grinding, interrupted by our annual trek to the Ft. Lauderdale Boat Show.


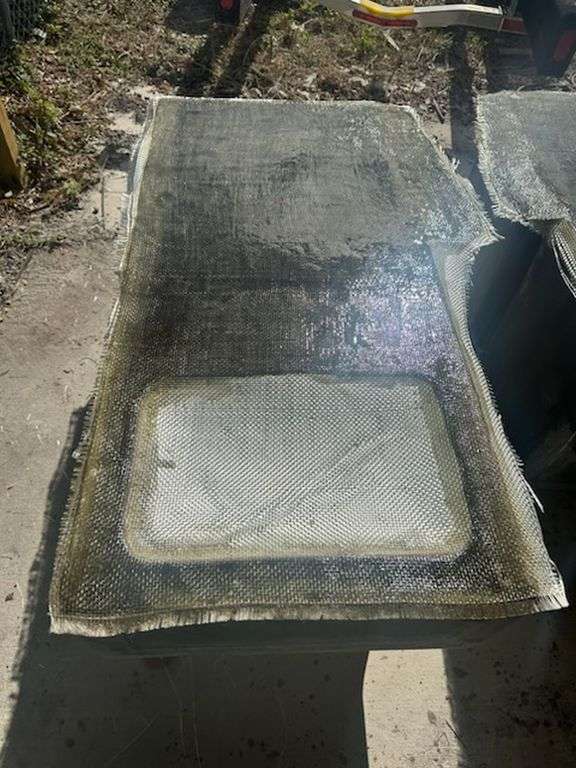
The first layer of Roven Woven gives these pieces their strength, and then subsequent layers of biaxial and chopped-strand fiberglass add more rigidity.
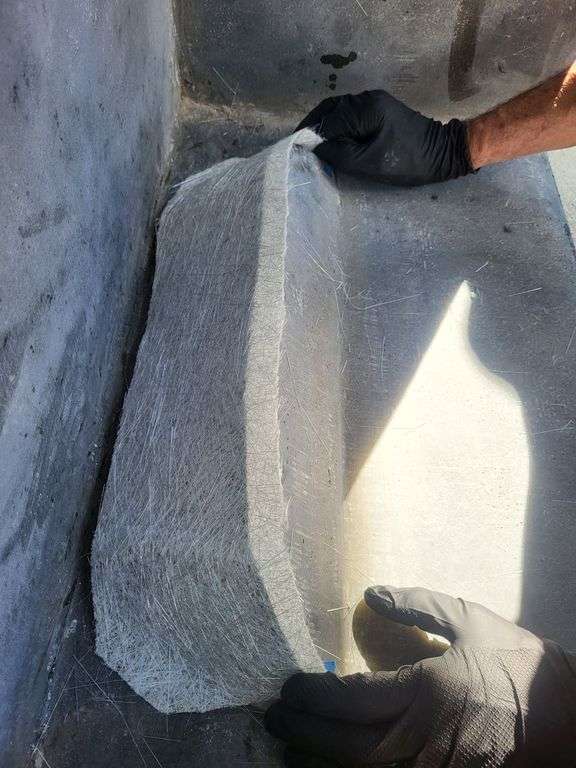
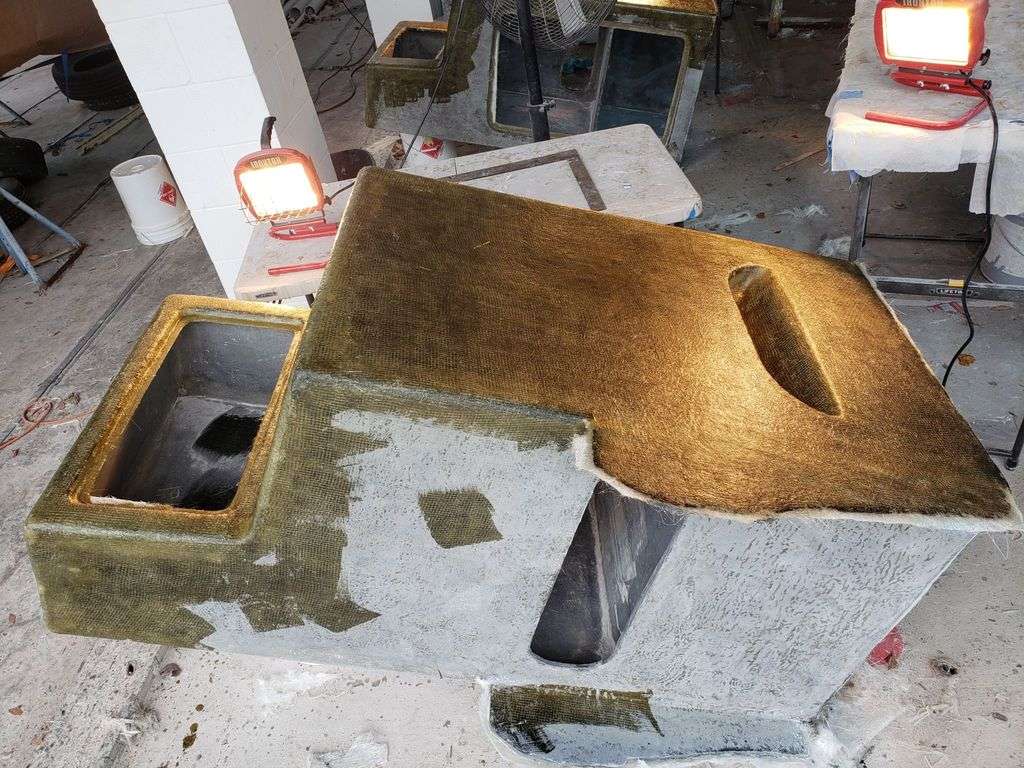
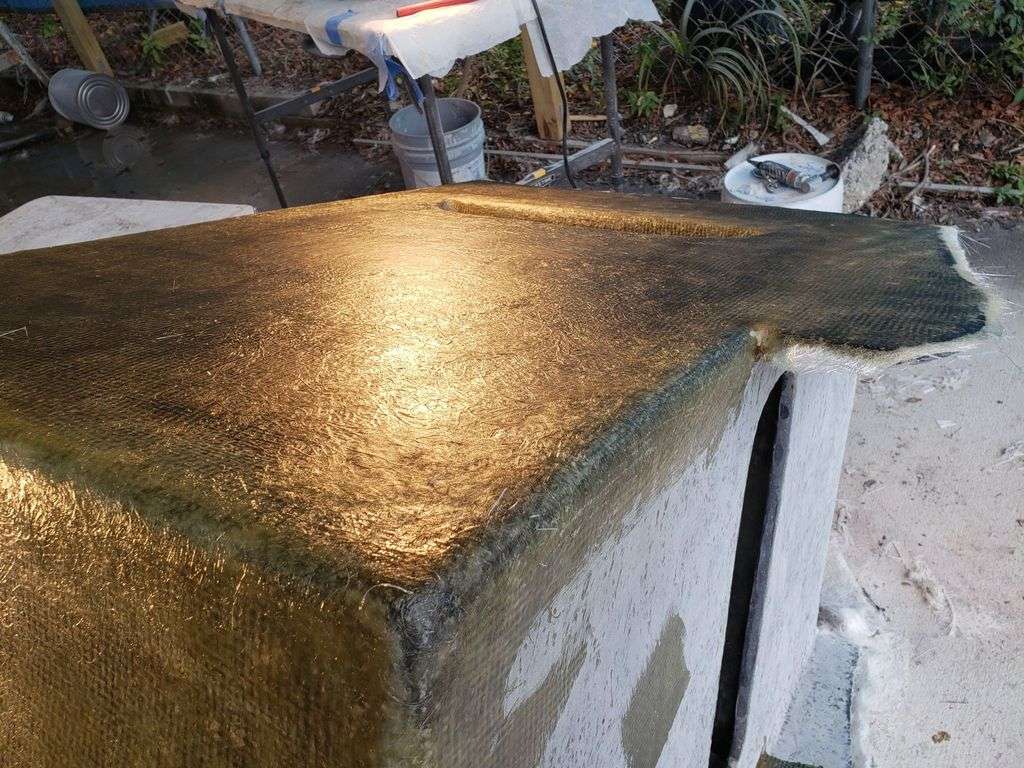

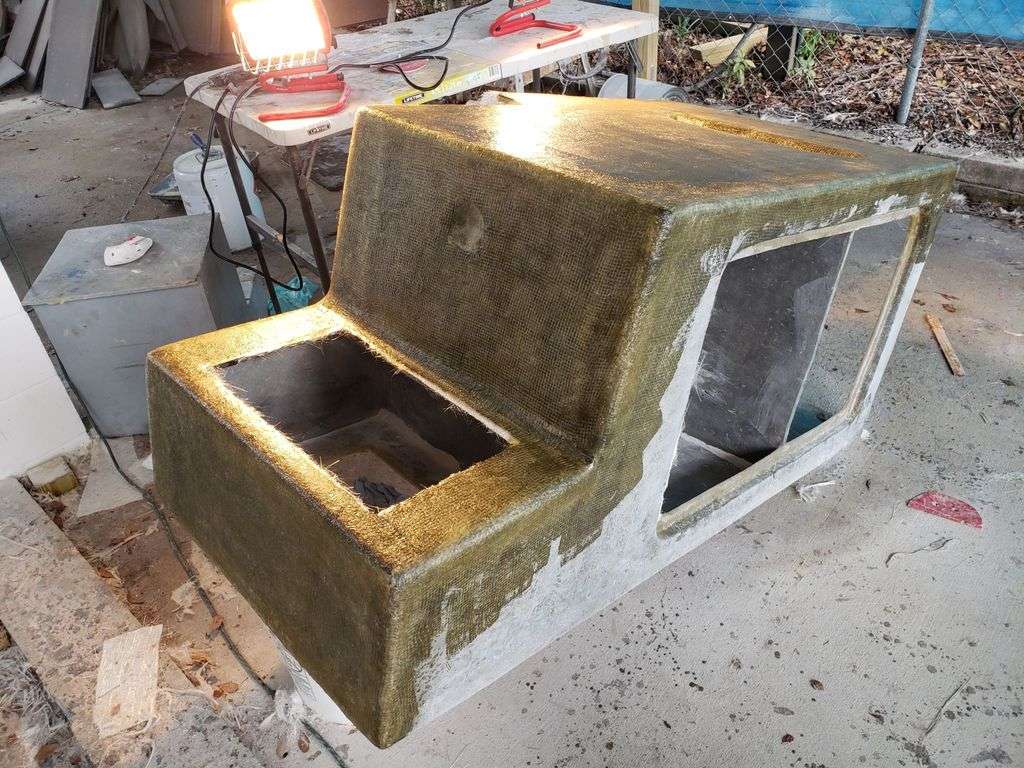
Each console features a whole galaxy of corners, edges, and recessed lips; everywhere you look is more corners! On the driver’s side console we have made this nifty cut-out which will function as a footrest.
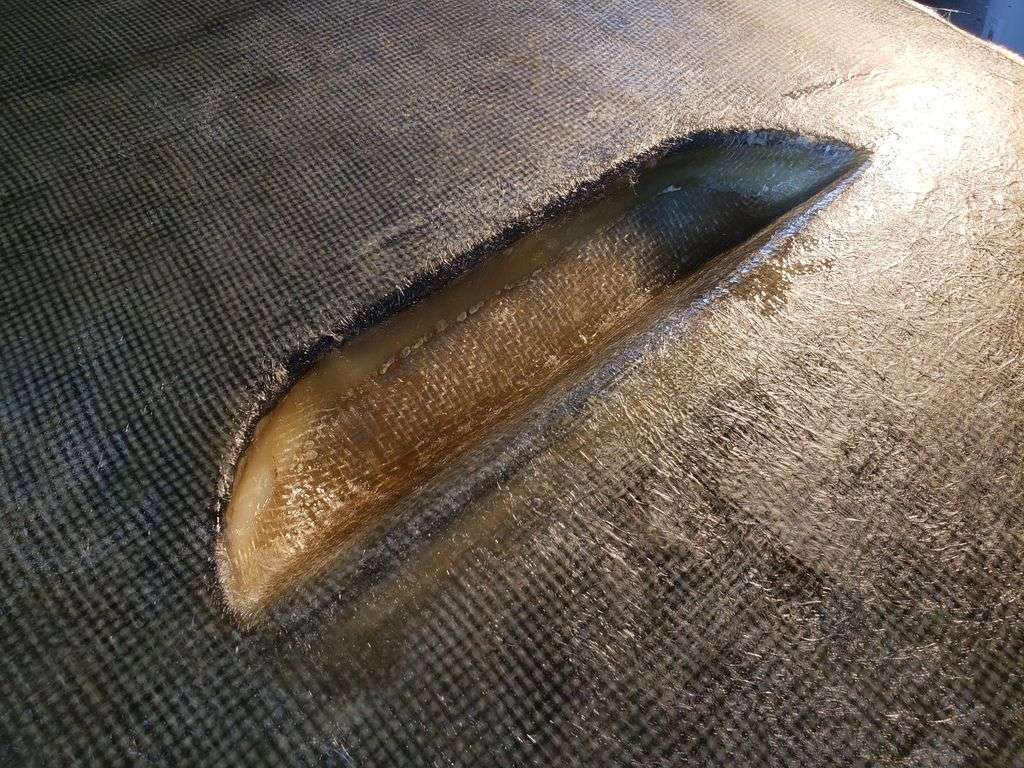

The inner layers of the consoles is complete, and we are itching to finish up the outside layers.

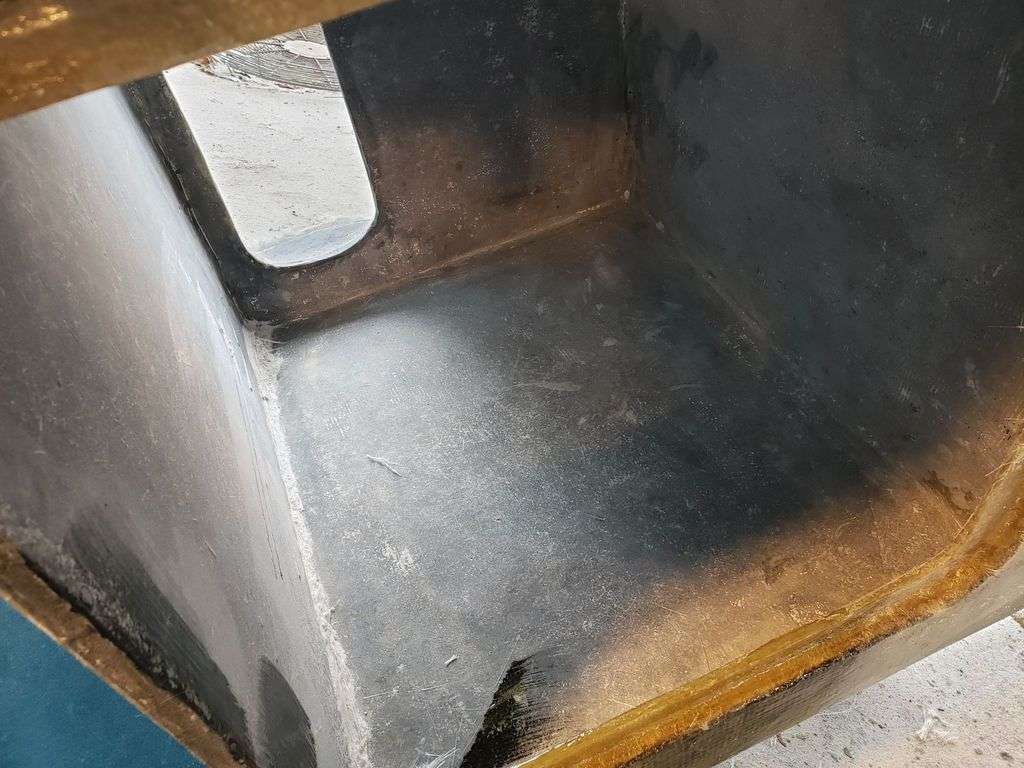
Once this is done we will start eyeing the final installation into the Fishtastic XL.
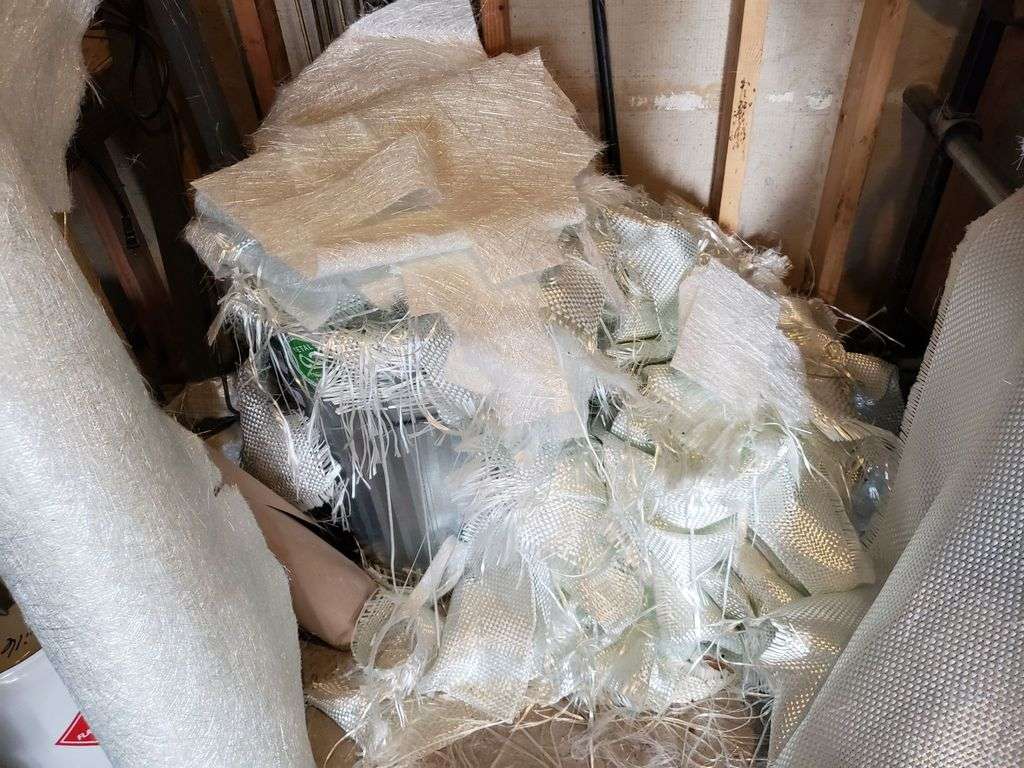
Anyone want to build a snowman?
January 3, 2024
We rang in the New Year by settling some old business…installing the consoles into the Fishtastic XL!

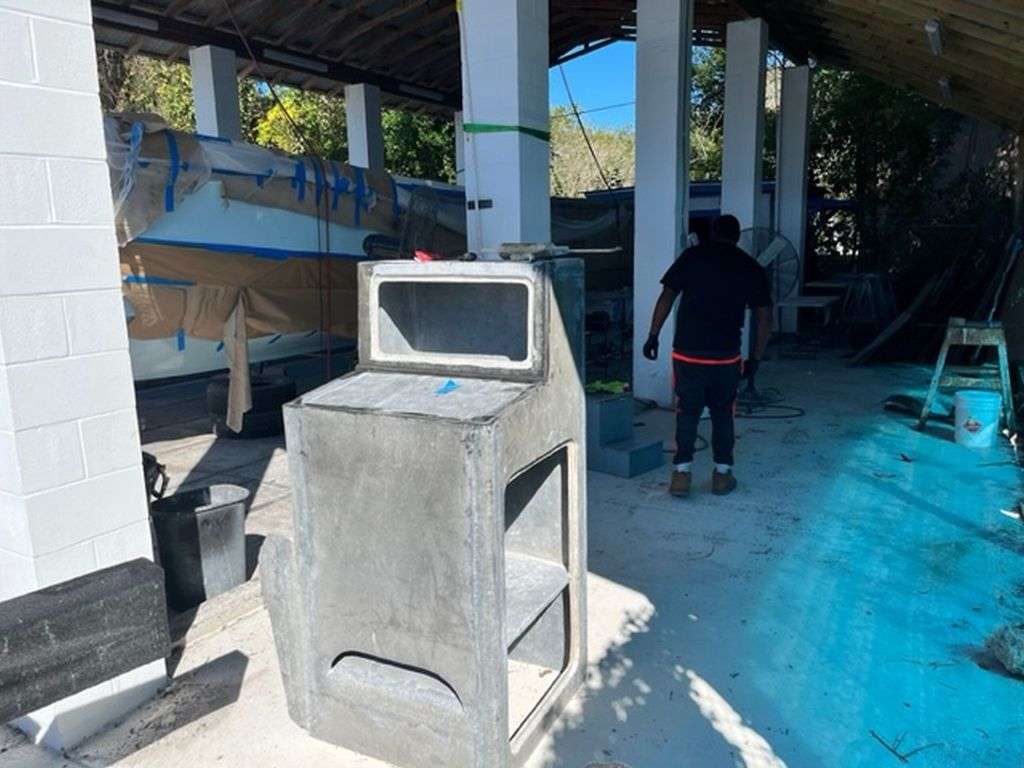


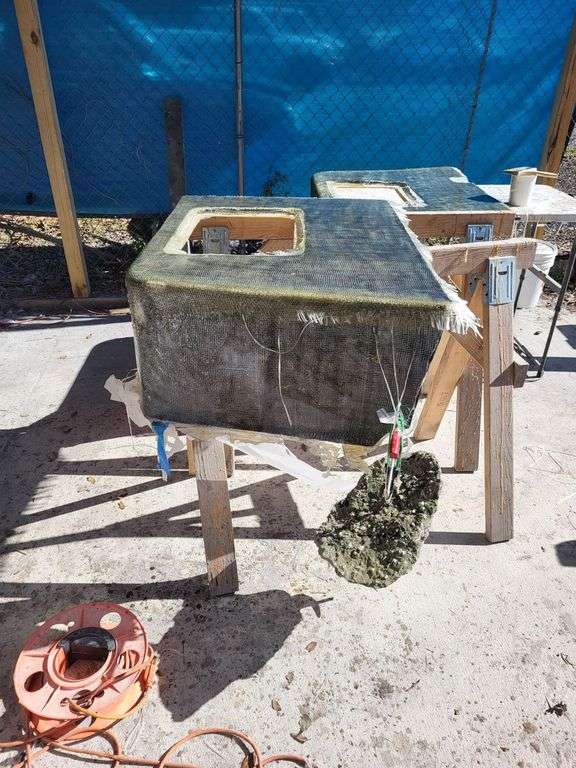

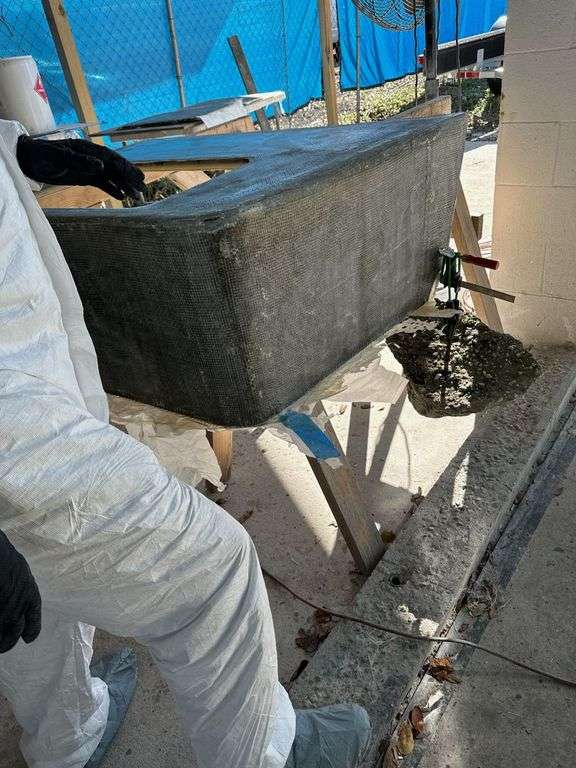

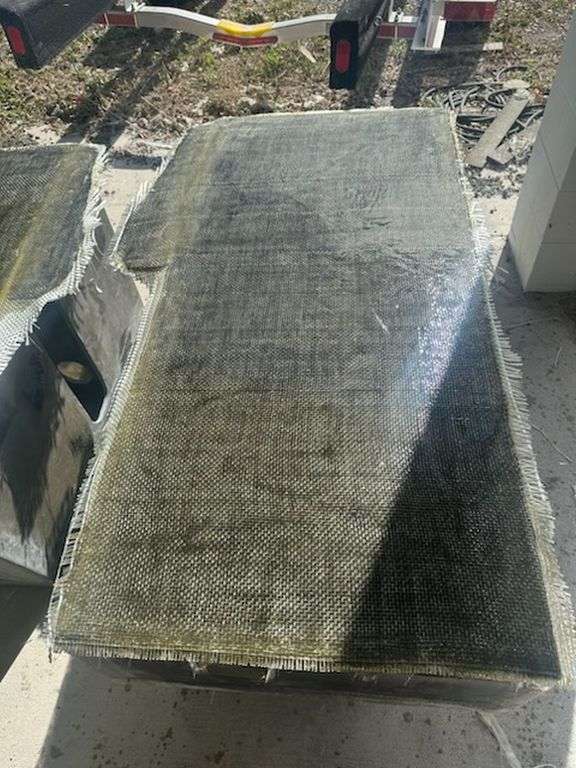
It took most of December to get all the nooks, crannies, and crevices layered with fiberglass and sanded smooth.
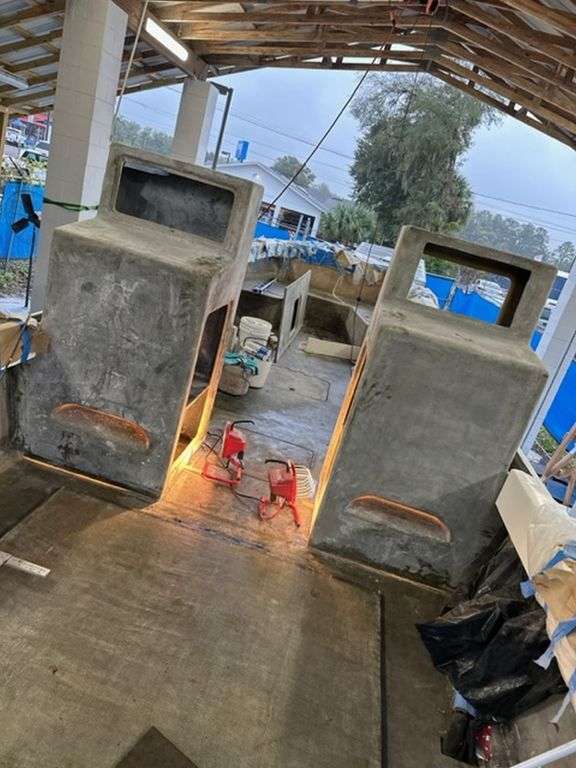

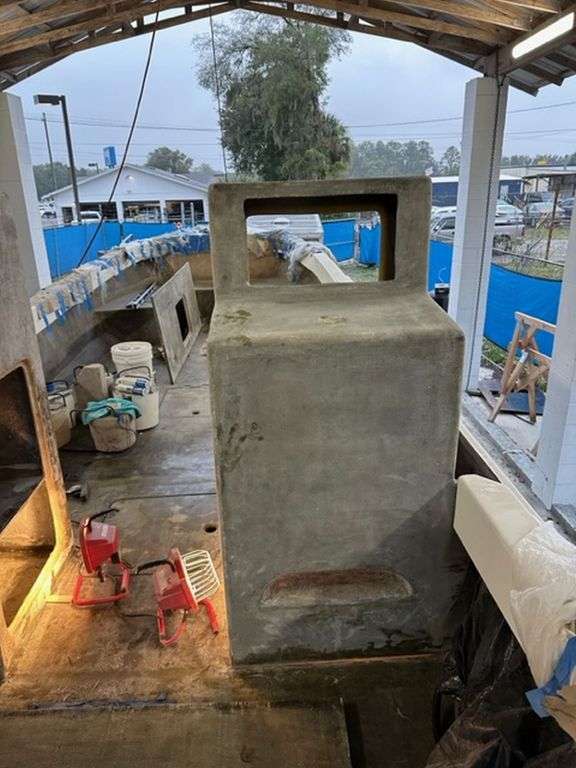

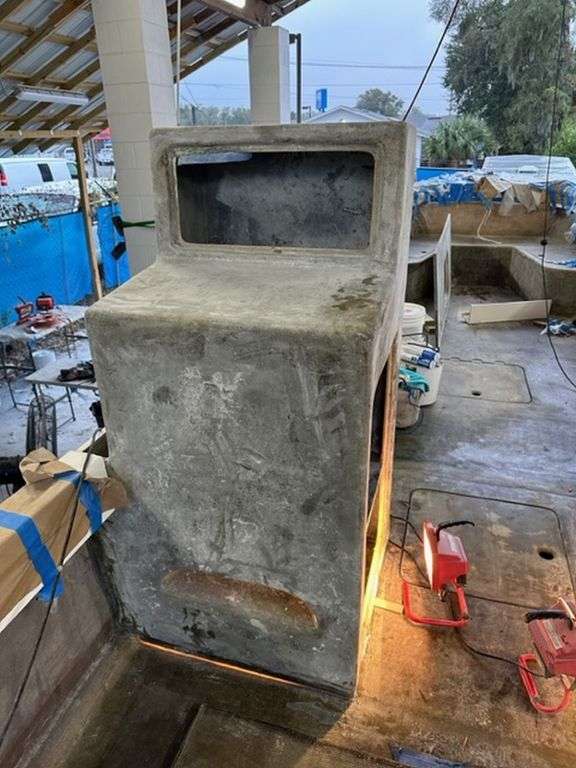

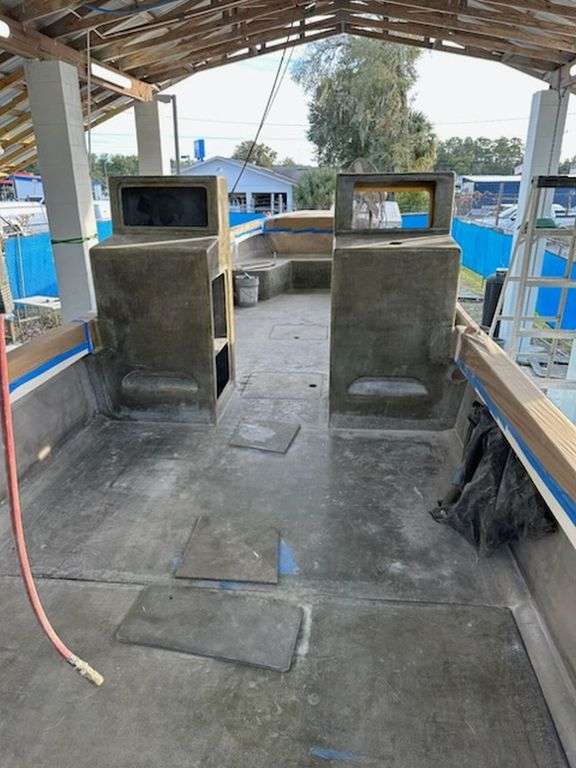
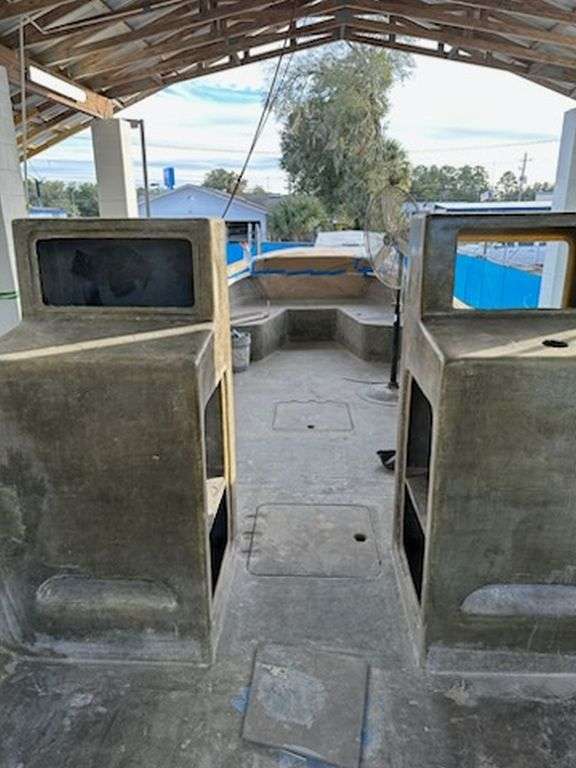
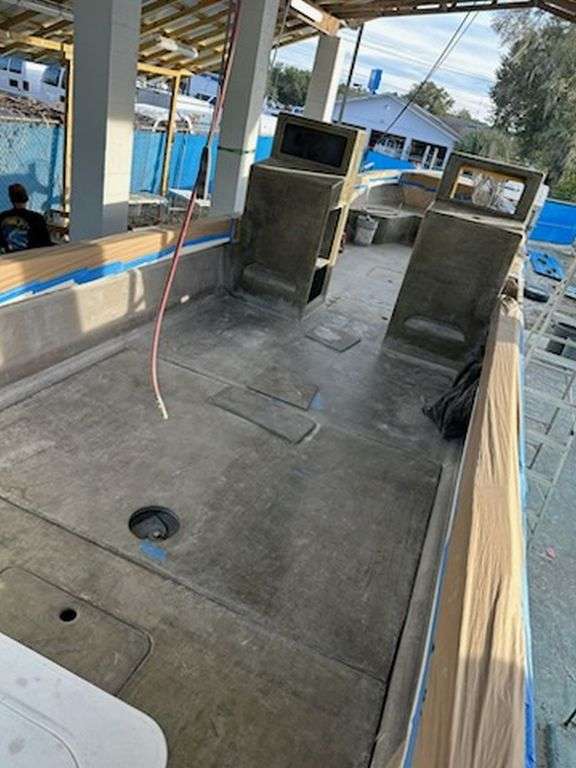
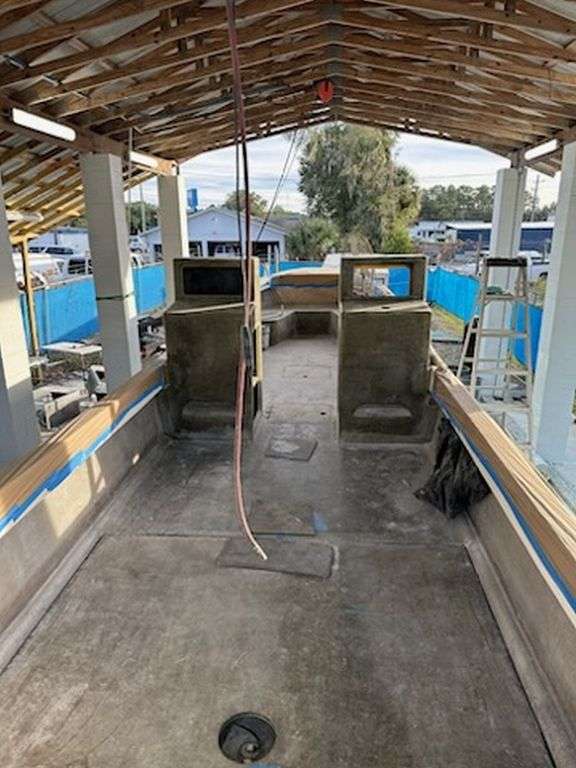
The consoles were installed in concert with these forward facing seats.

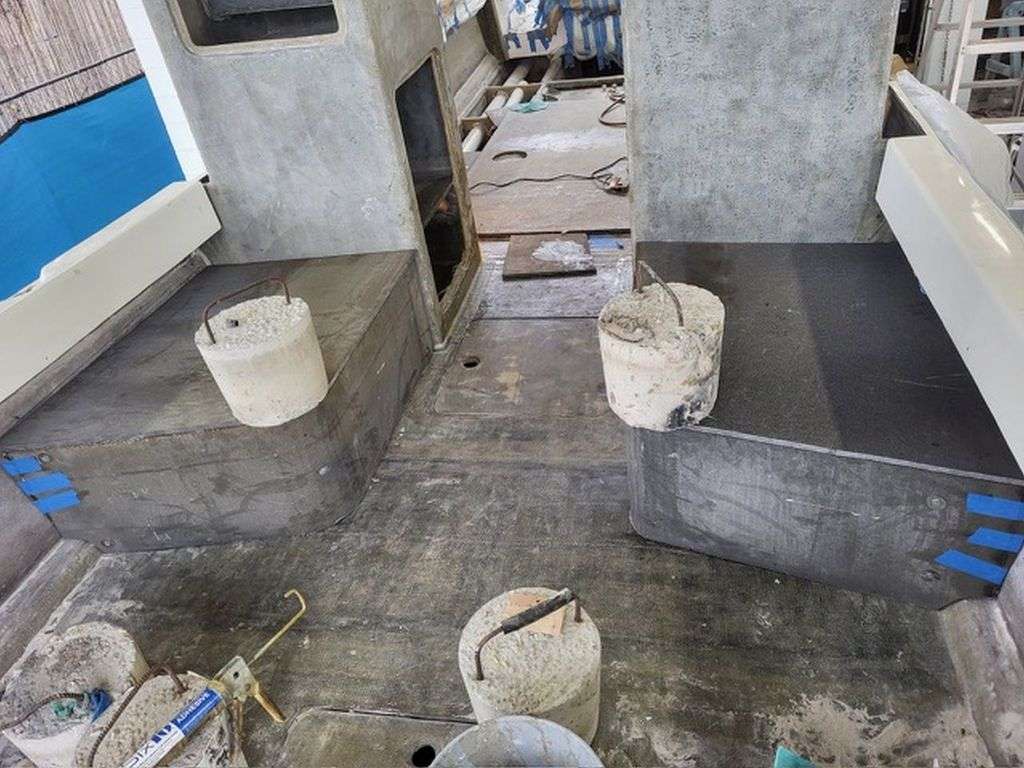
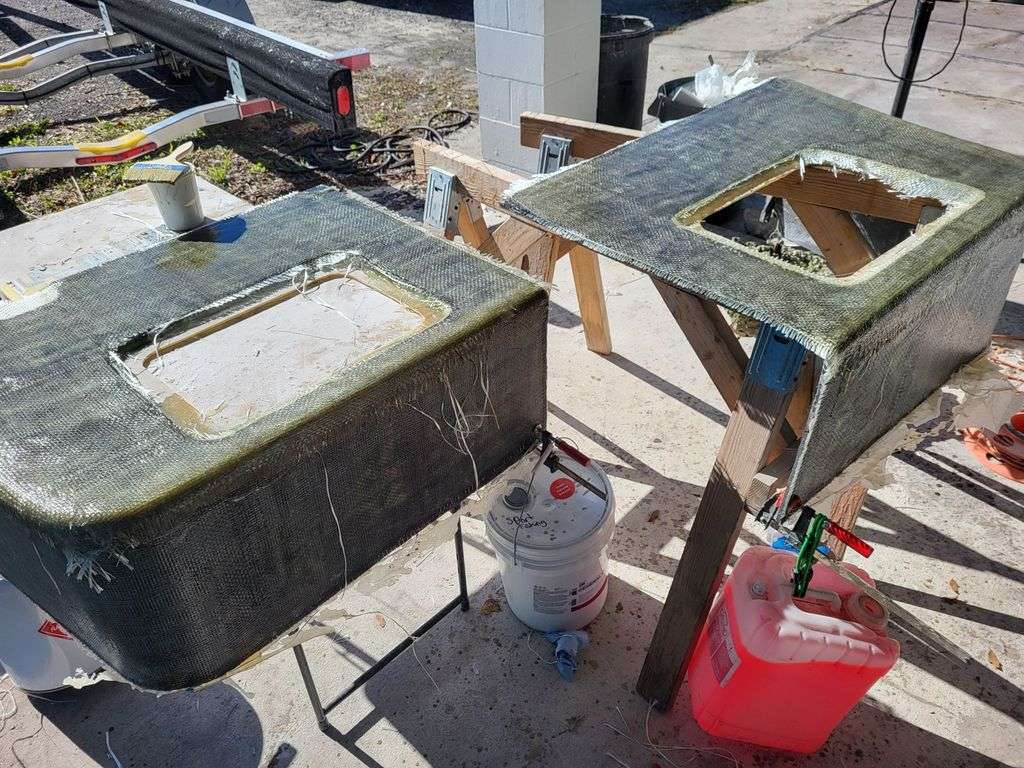

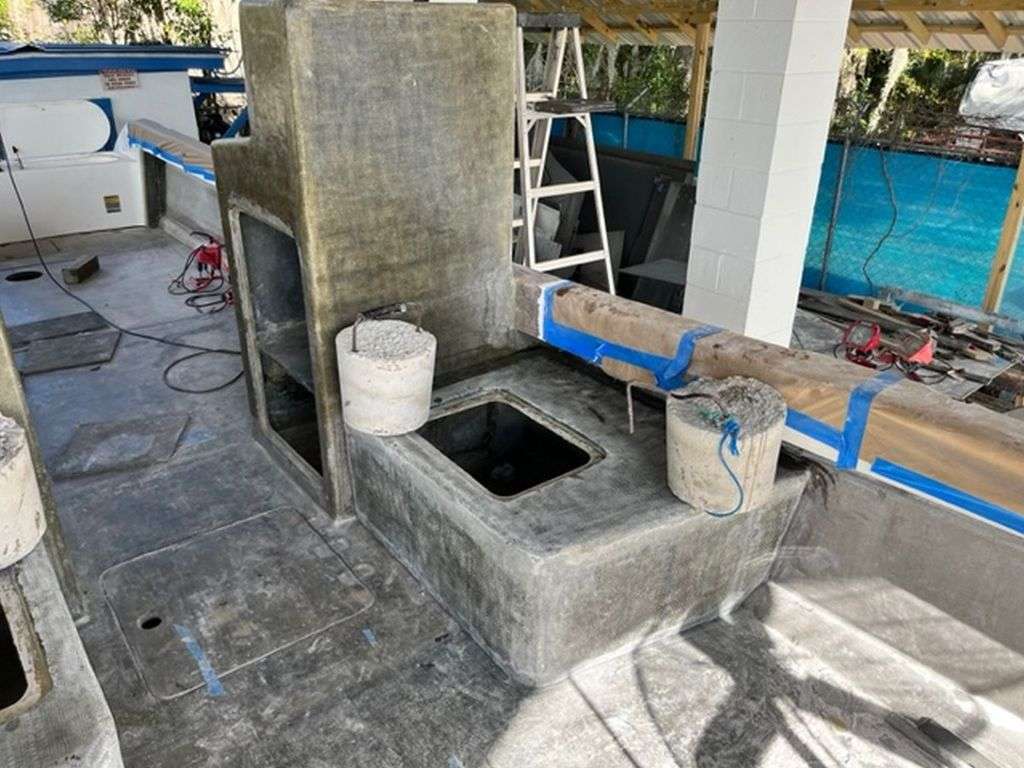
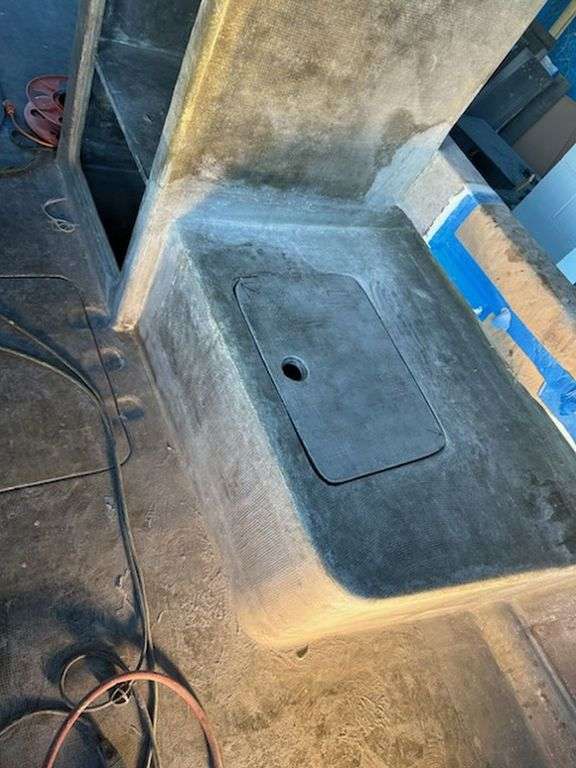
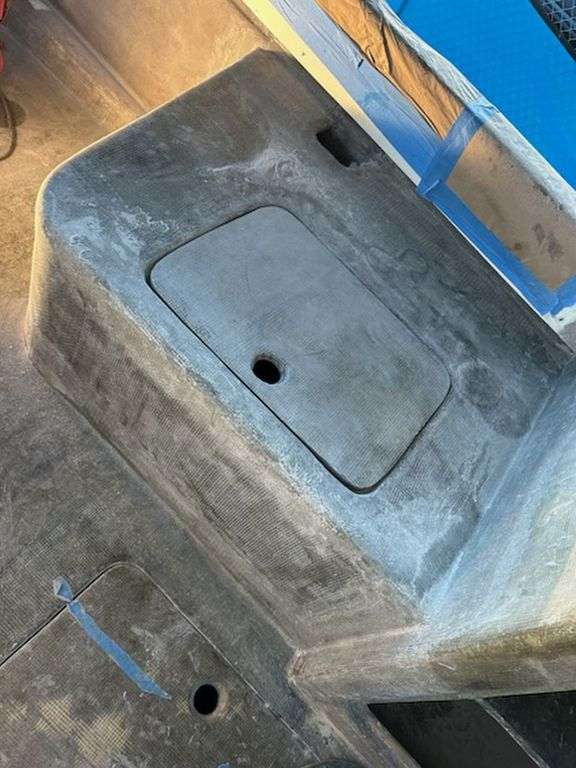

The next phase of the build will be the rear-facing seats and the transom livewell. We are excited about the progress so far and are pumped up for a great 2024.
January 24, 2024
Christmas came late for the team on the Fishtastic XL build. The site was buzzing with excitement when two large boxes showed up:
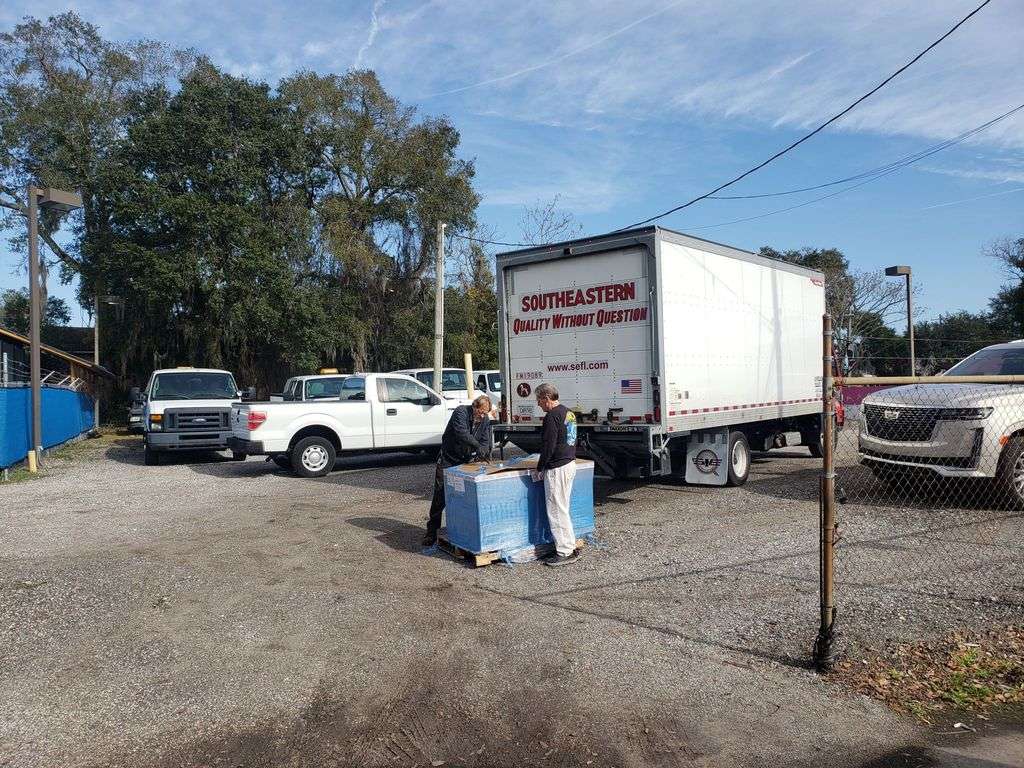
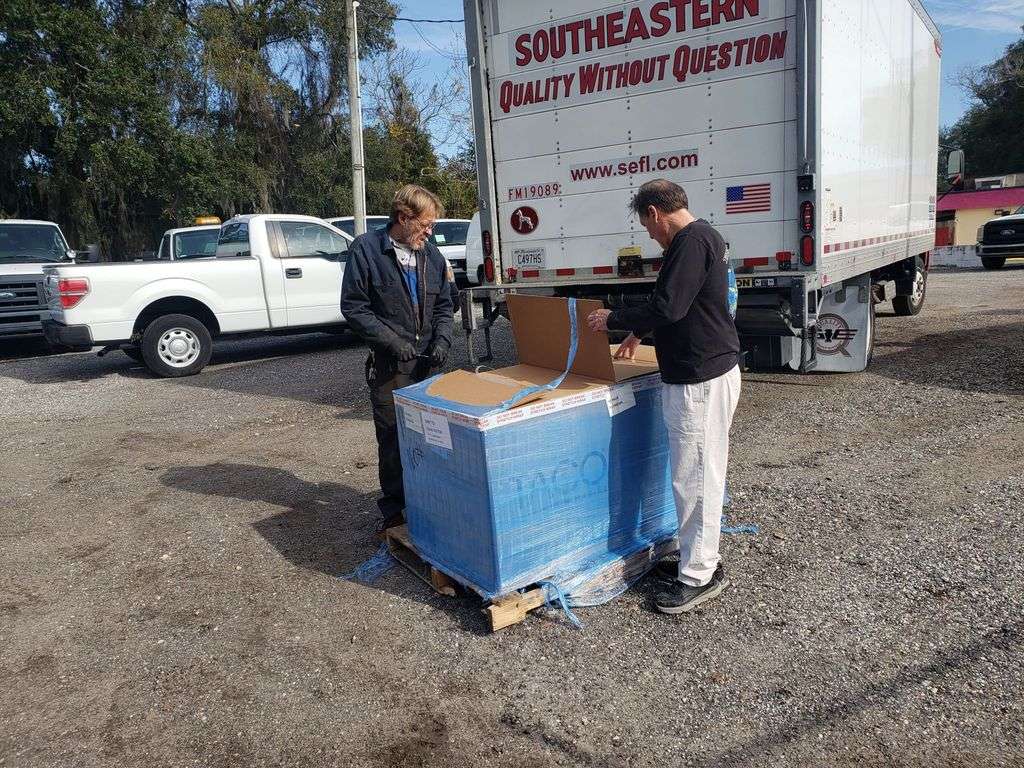


Taco Metals outdid themselves with pair of custom 25″ Capri Helm Seats.
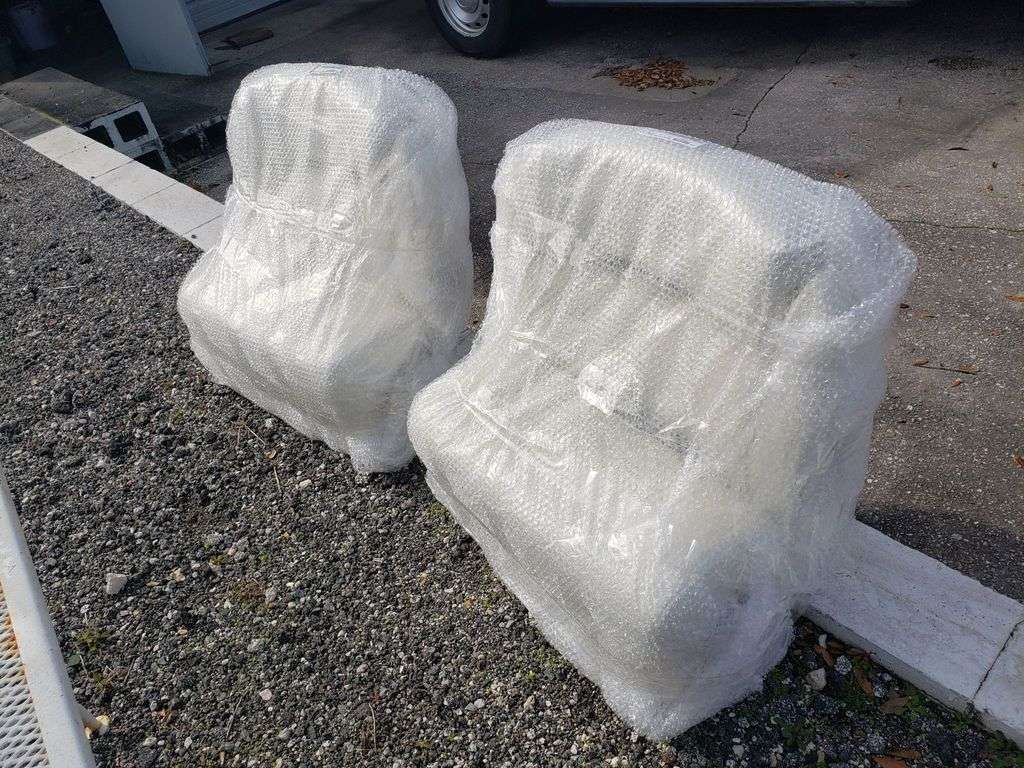

Taco Metals aka Taco Marine aka Taco Seating has been very supportive of FishingNosara over the years, and keen-eyed readers of this report will recognize their quality rod holders, rub rails, and outriggers from our previous boat builds.

Our buddy Tom Antonelli guided us through the customizations, including incorporating the same fabric we will use for the rest of the seats. We will have more stuff from Taco coming in for the rigging process, but these seats are a great start.
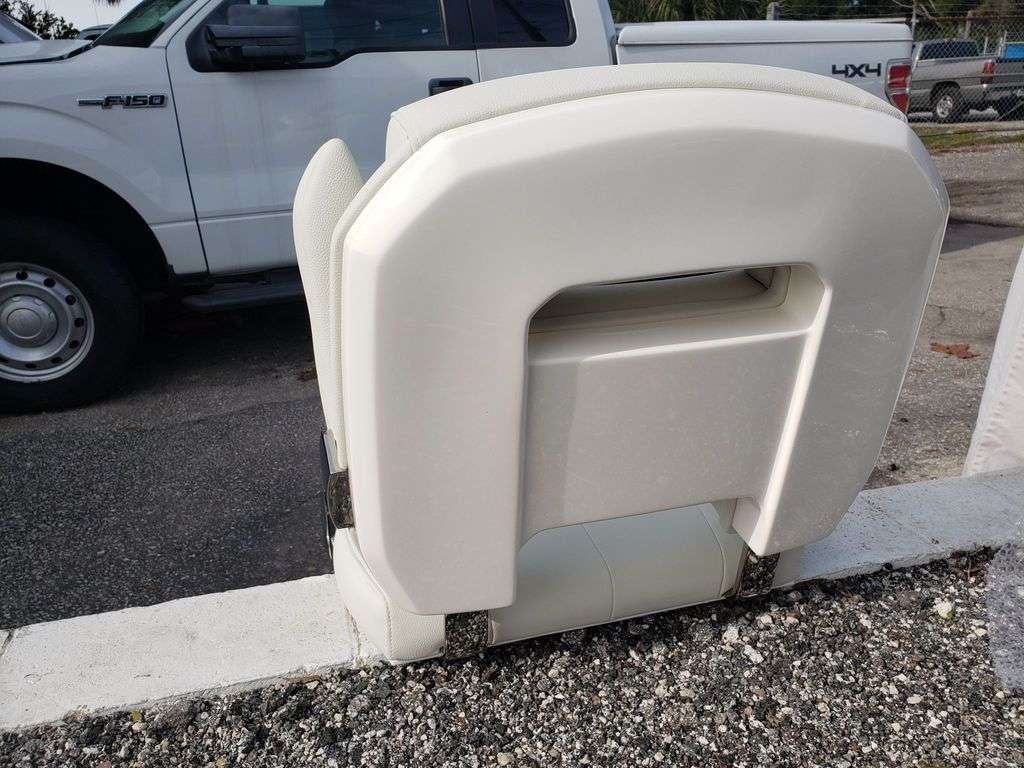
Meanwhile, we need to finish up the landing pad for these seats. Check out the rapid progress on these seat pedestal/cabinets:
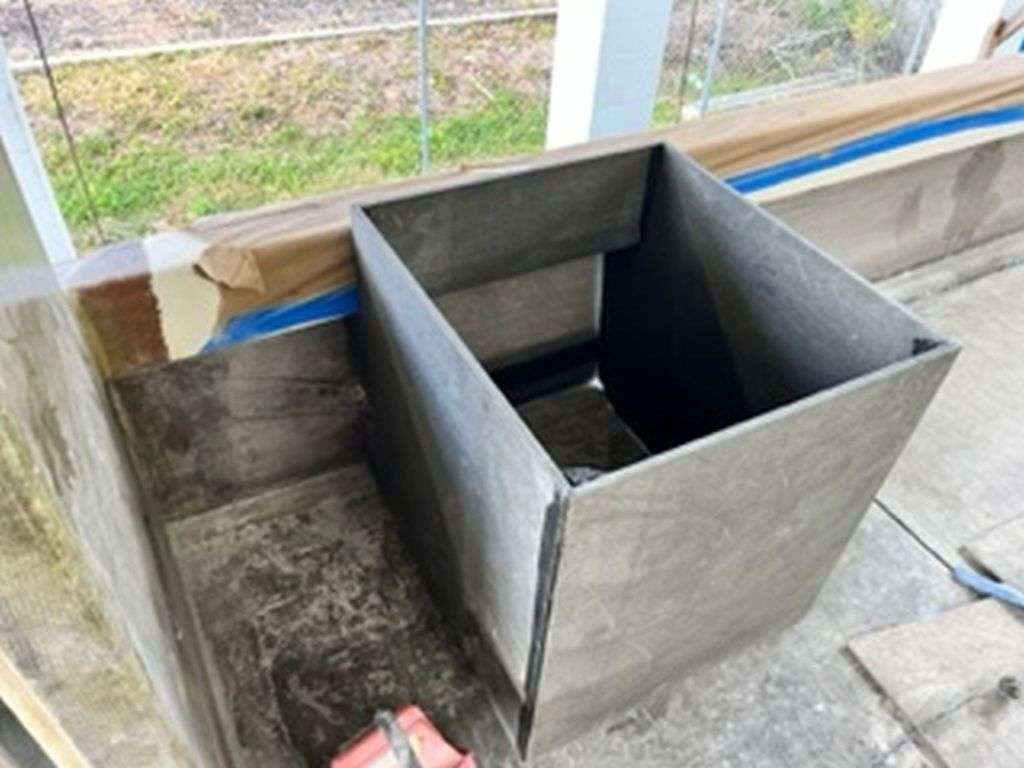
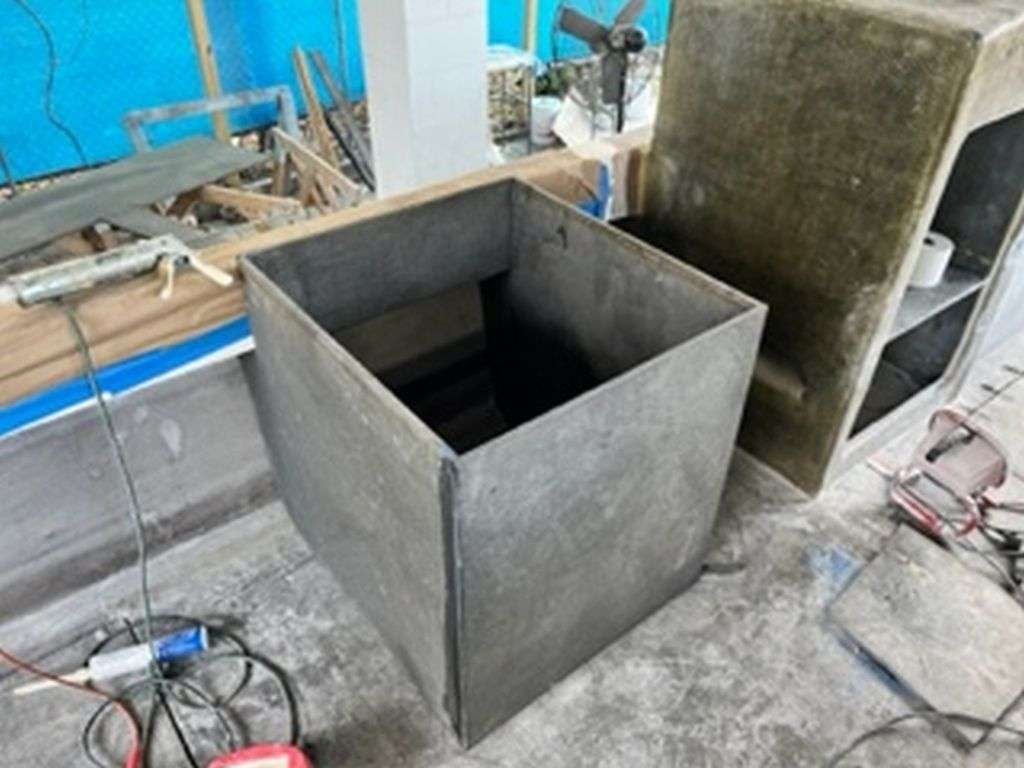
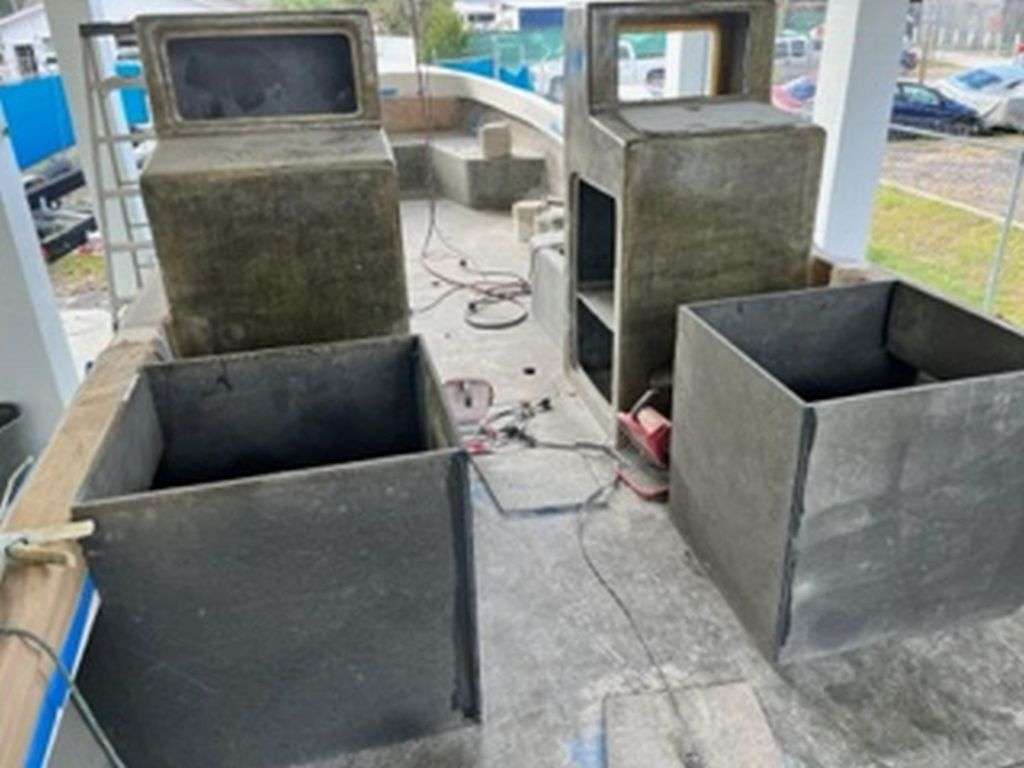
The seats are going into storage for a month or so until the rest of the boat is ready, but we couldn’t resist see how they will look in place:

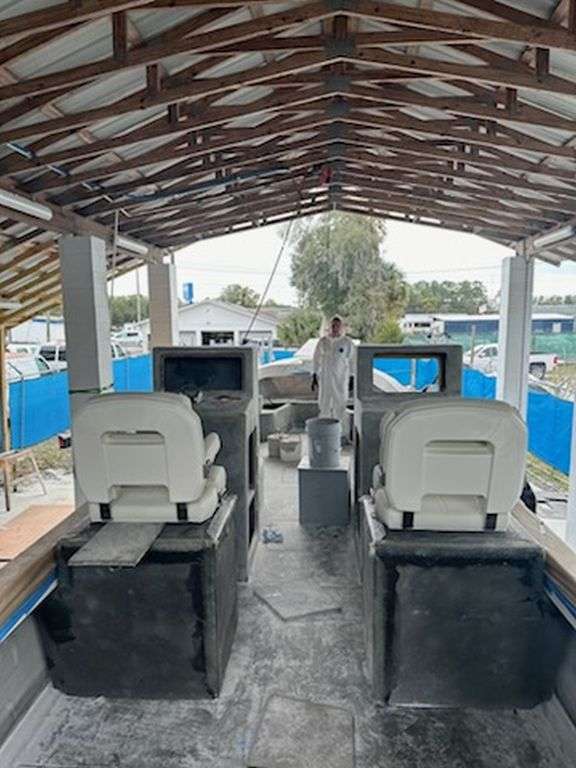

Stay tuned for more progress on the Fishtastic XL build as we wrap up the rear seats and start eying the construction of the livewells. You can catch up on the build so far at blog.fishingnosara.com/fishtastic-xl/


February 15, 2024
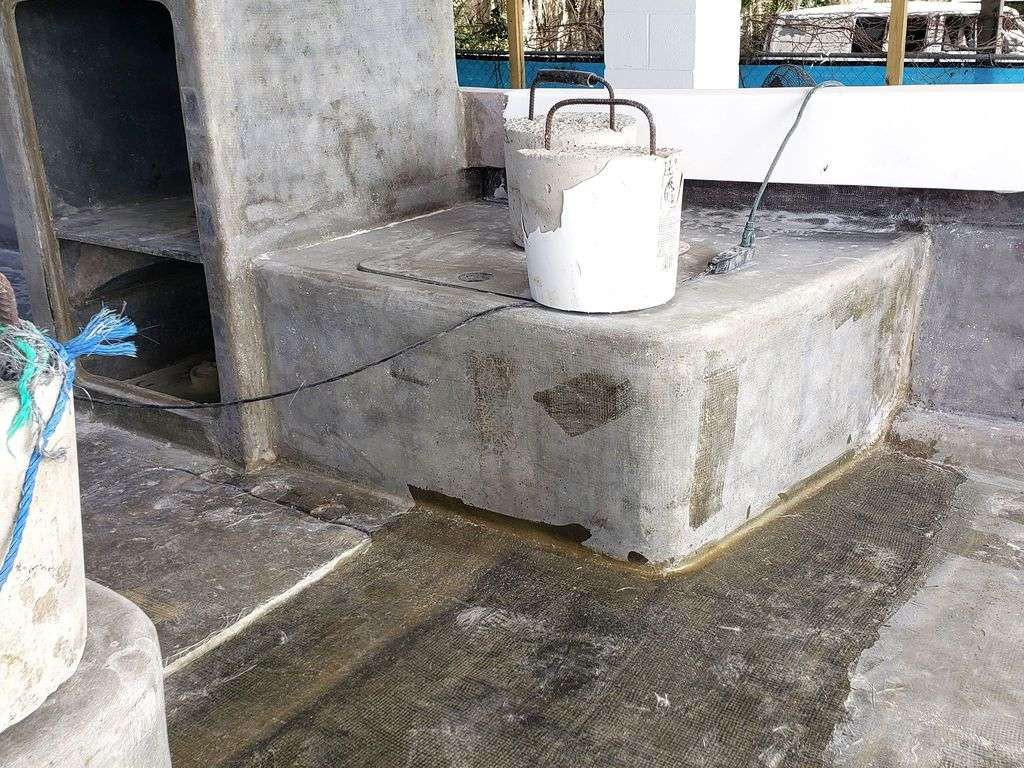
We are moving forward (figuratively and literally) on the Fishtastic XL build. We finished the split consoles and are proceeded towards the front of the boat with a pair of bench seat/storage boxes in front of the consoles.


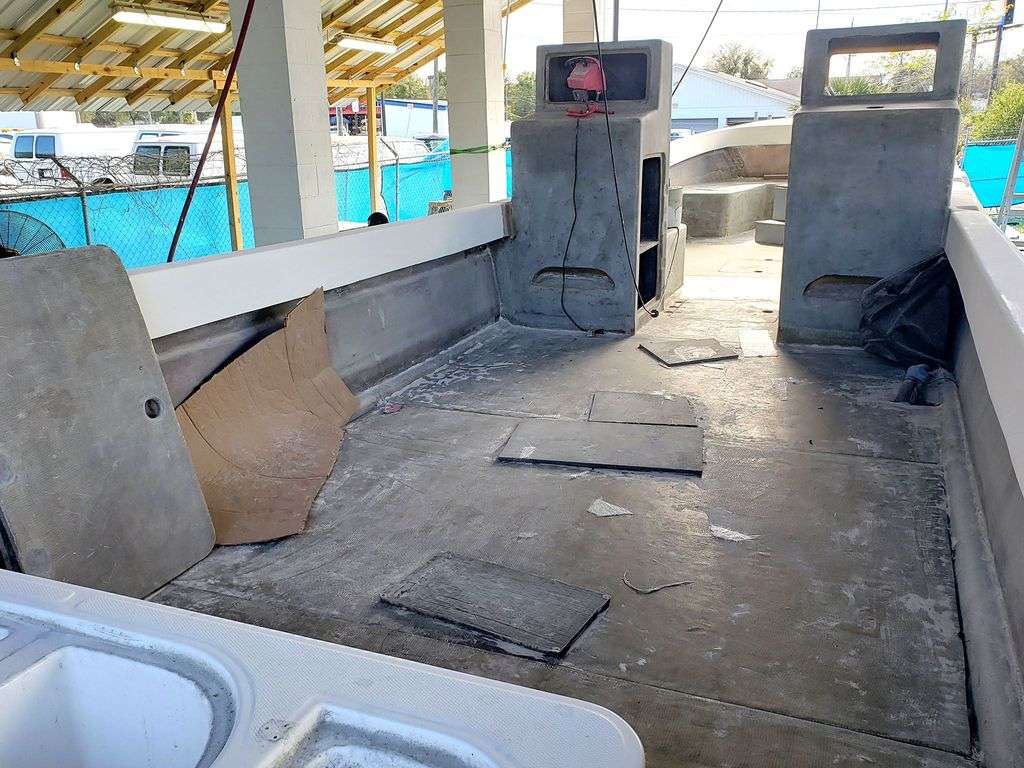
These will provide extra passenger space and storage; two things that are always nice to have!

We are replicating this process with a pair of cooler seats; these will get installed to the aft of the currently in-place consoles.

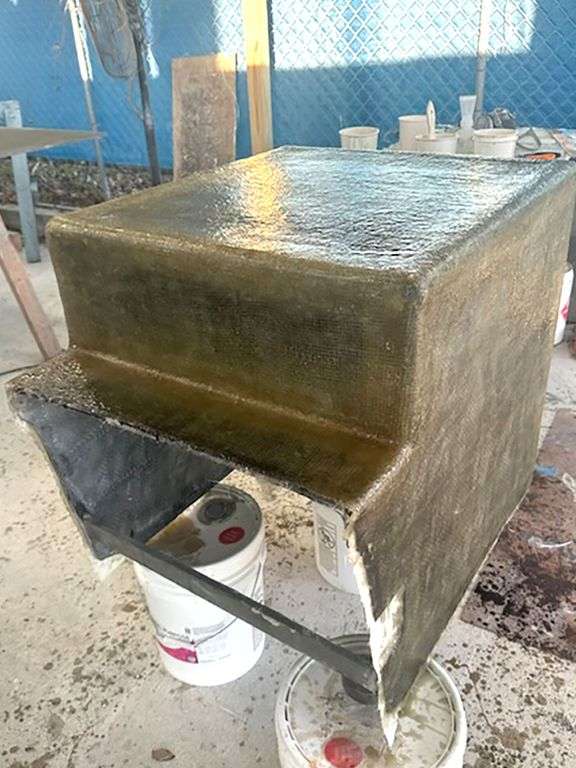
Notice the contour edges…these will mate directly to the hull to save space and increase strength. Inside of these consoles is a matrix of lips for the hatch lids.


Fitting the shelf in was a bit of a ‘ship is a bottle’ trick.
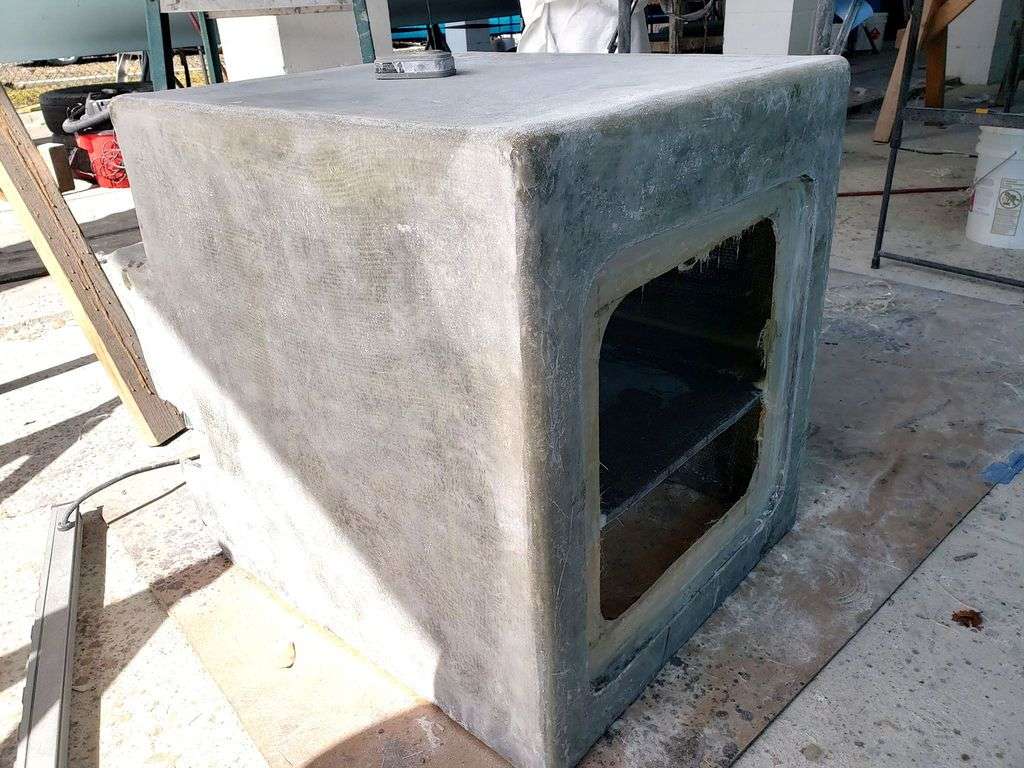
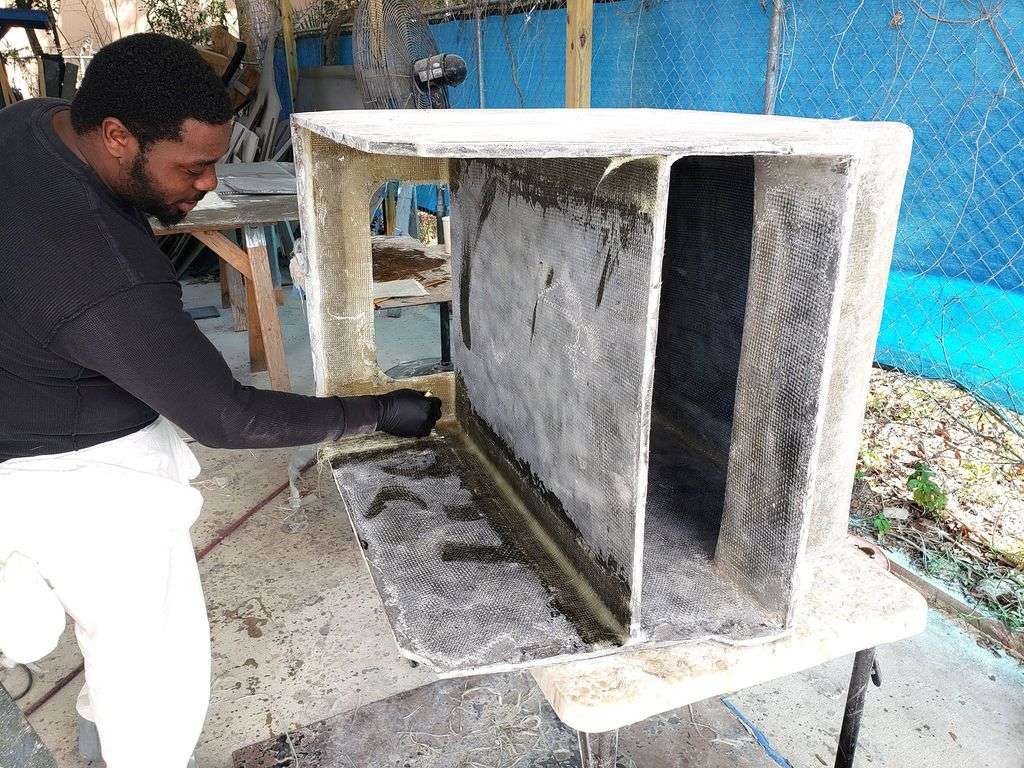
Right now we are in the process of finalizing the final layers of fiberglass. Once we are done it will be time to install them into their final home in the cockpit of the Fishtastic XL.

March 4, 2024
Big work continues on the Fishtastic XL build. The cockpit is starting to take shape as we install the multitude of separately-constructed elements.
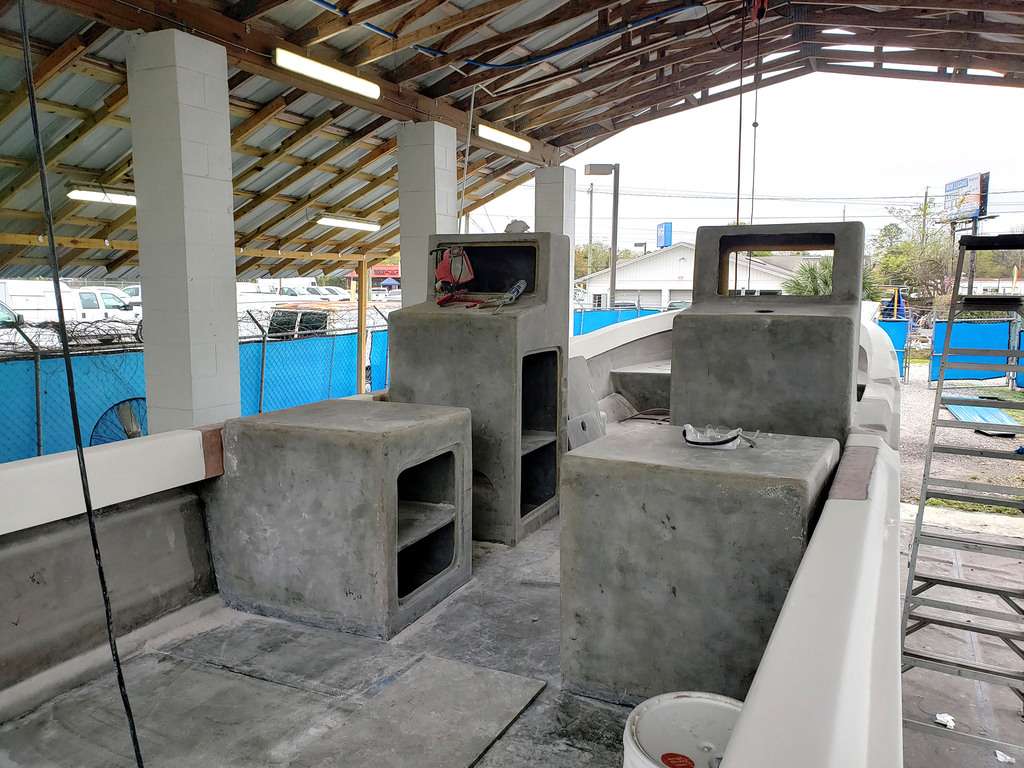
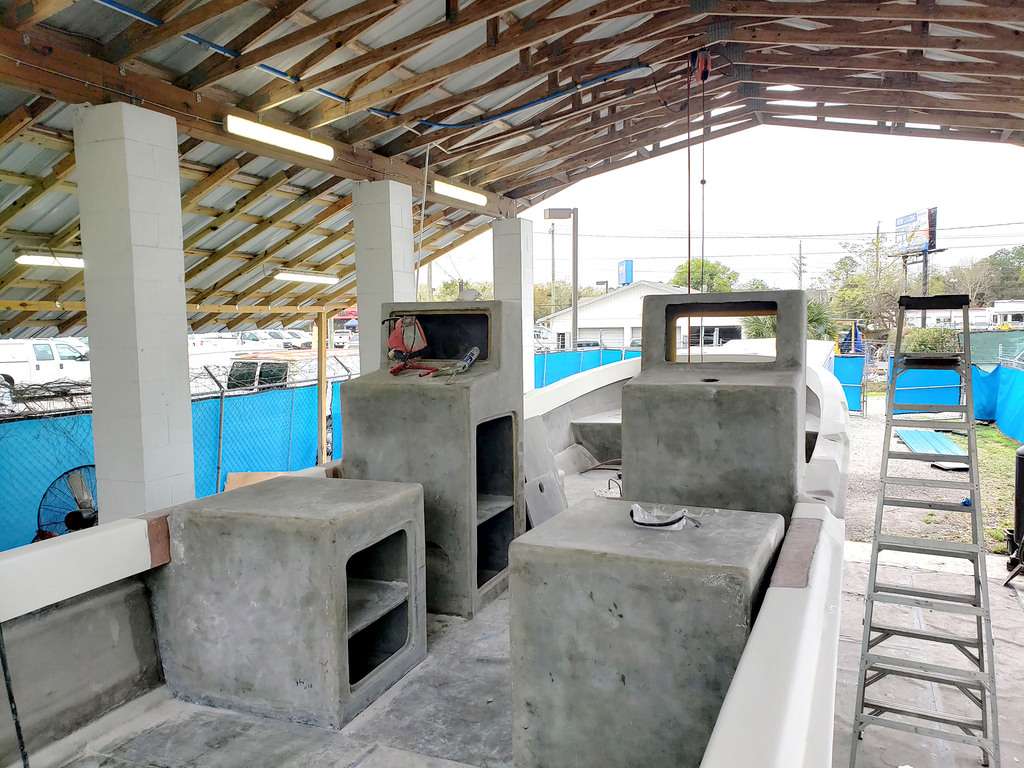
You can see that the main consoles have been installed to floor, and mated to the adjacent gunwales.

The seat pedestals are affixed to the floor, and soon we will mate them to the hull in the same fashion.

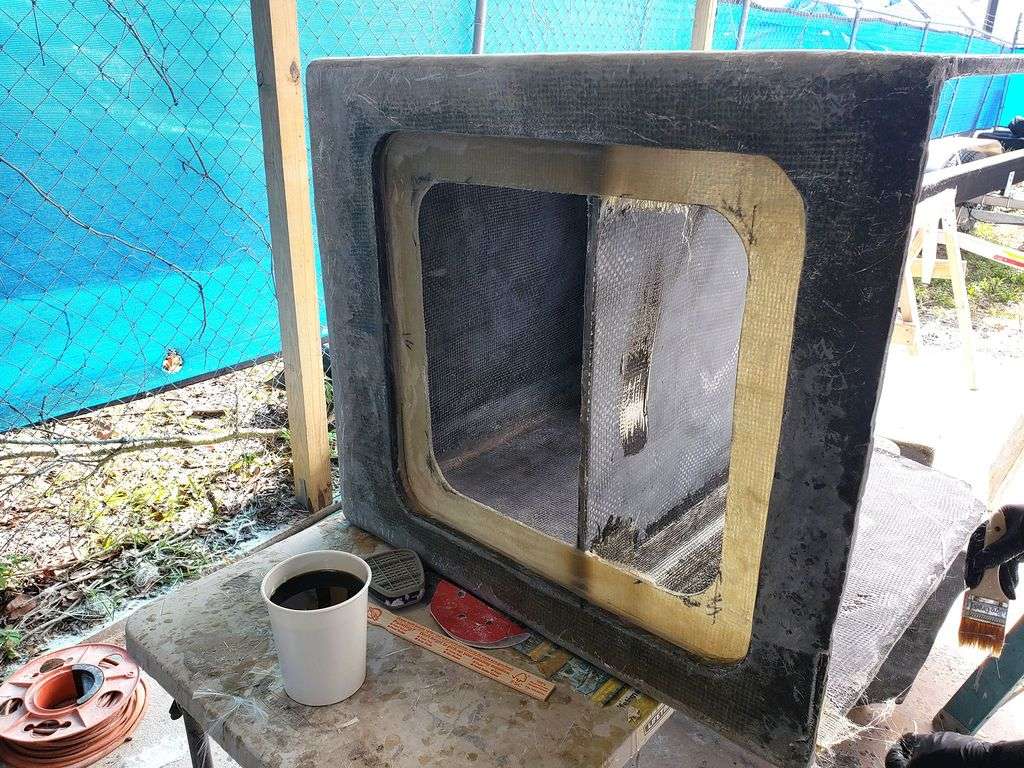
Detail work continues on the installed pieces; look as this cabinet opening that we have been perfecting; hard to tell this was built by hand, not on a machine.


The next item will be the aft-facing seats. These will be the seventh and eighth pieces (also the final major piece) and we are moving at warp-speed.


You can keep up with the whole build to date here: https://blog.fishingnosara.com/fishtastic-xl/
March 8, 2024
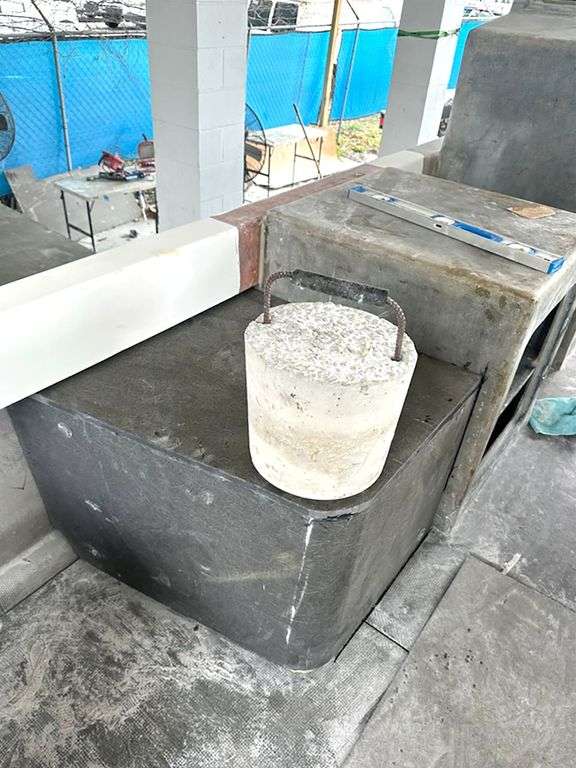
Want to learn a magic trick? Here is how you turn a flat piece of Coosa Wood into a smooth curve:

First you score a series of parallels lines where your want the curve to be.

Then cut out the thin strips (10 in this case), and flatten the edges into a keystone shape. Use a LOT of 610 Epoxy to re-constitute the slivers into the desired shape


Sand, fiberglass, and install into the boat….simple, right?

April 3, 2024
Well we saved the toughest piece of the build for last! For the last three weeks we have been completely re-imagining the rear transom; the idea is to integrate a massive livewell within the existing dimensions of the transom.
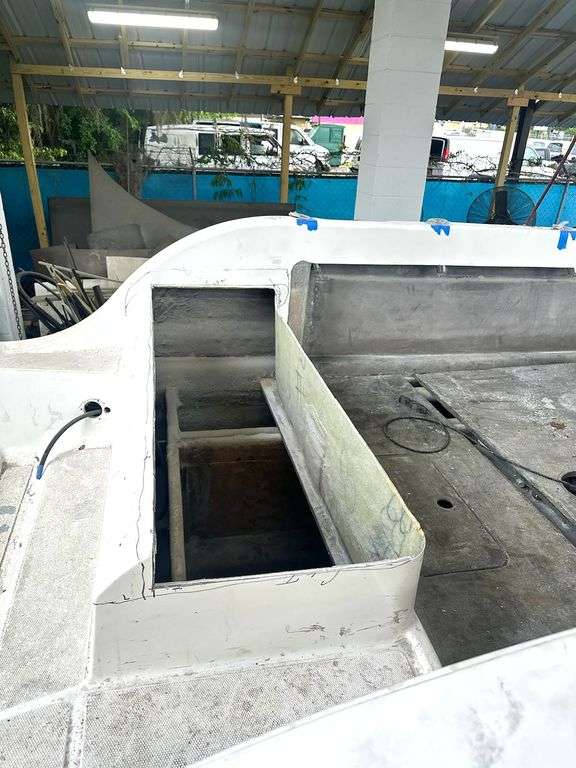
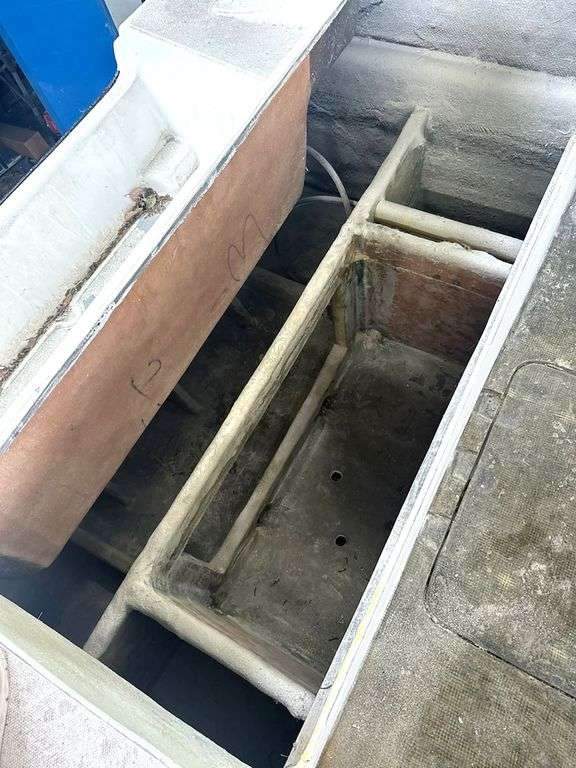
First step was to carefully cut off the top of the transom.
 7
7

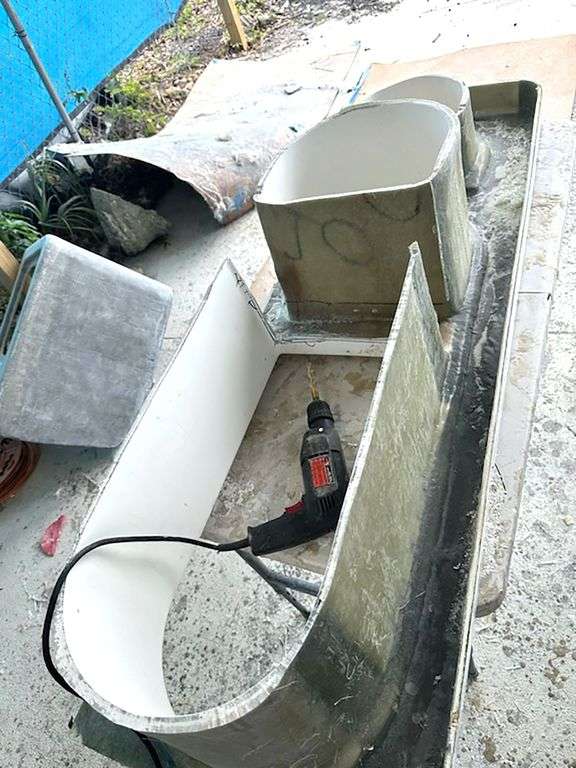
Then we use cut off the ‘lower bowl’ with about 8 inches of depth. Then we attached temporary scaffolding pieces to extend the bowl by about 12 inches.
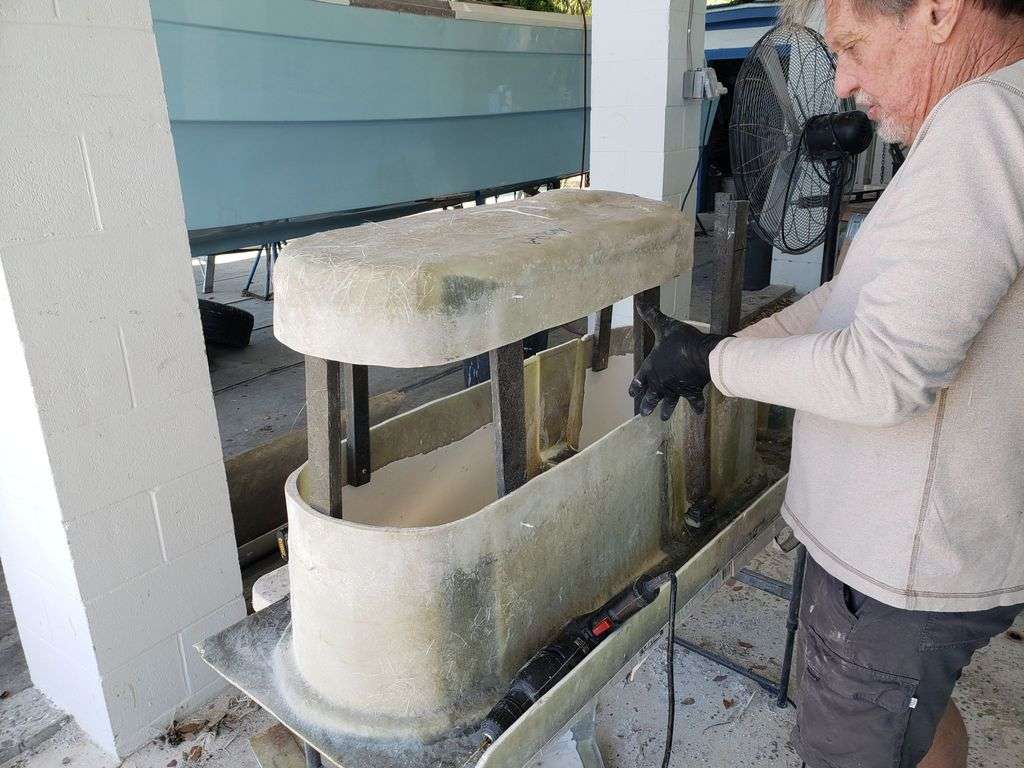
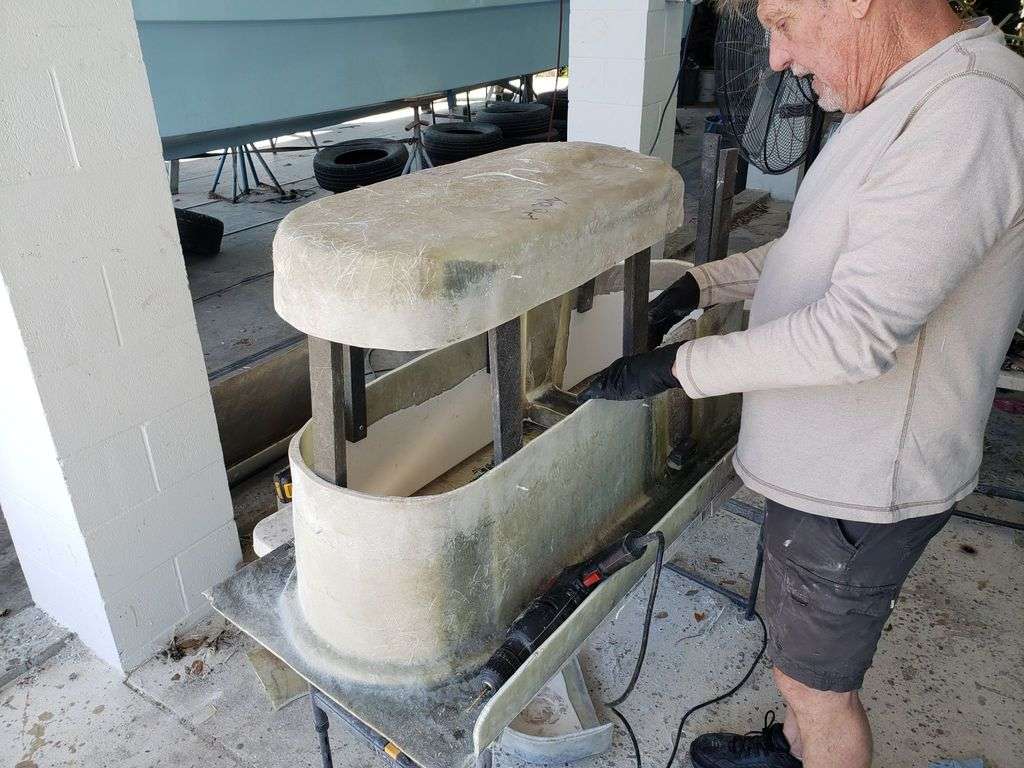

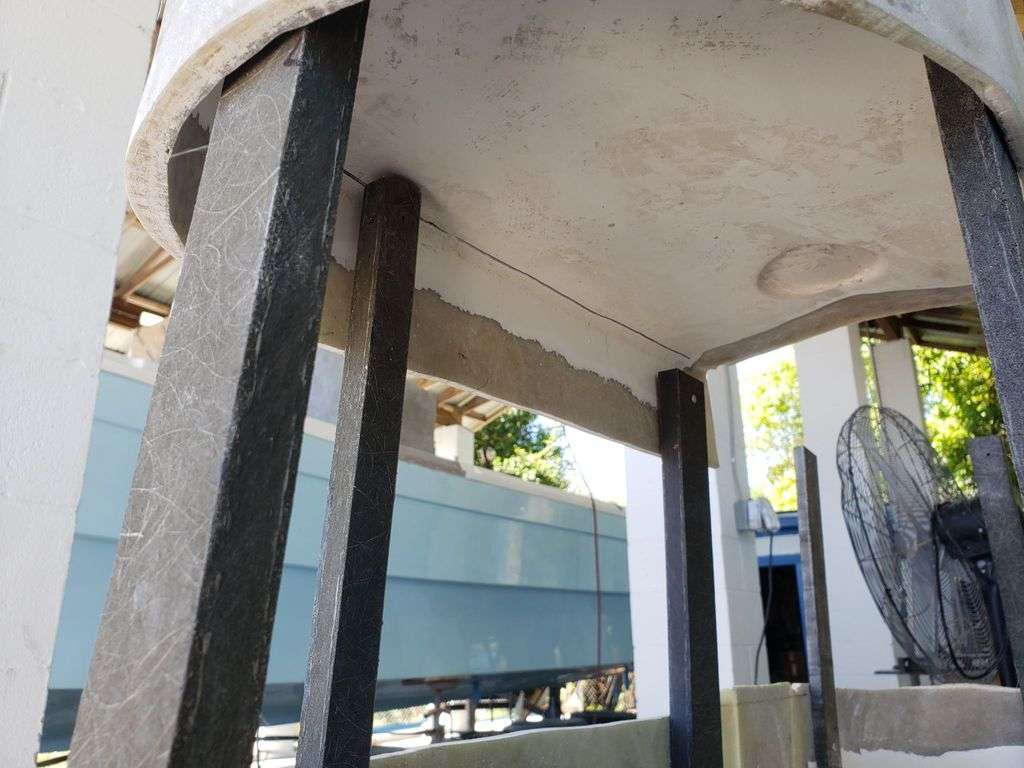

Then we carefully added layers of fiberglass to close the void.

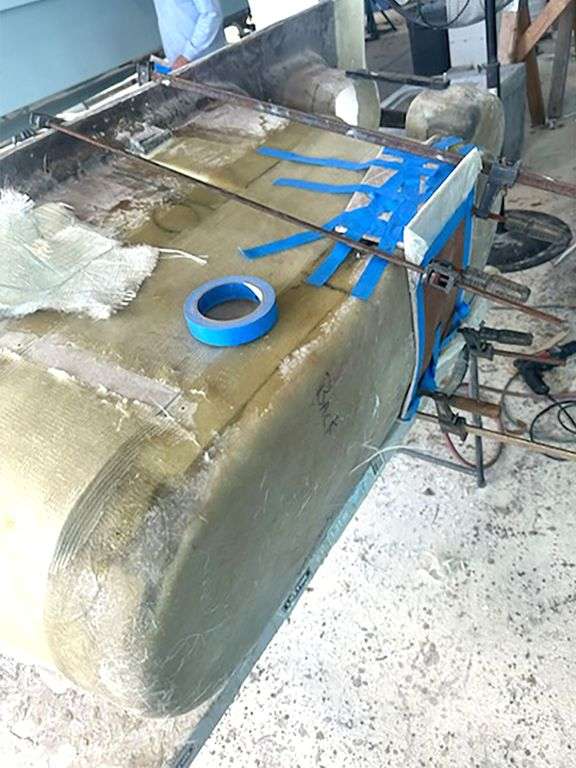

Here you can see the gaps have been filled with a combination of fiberglass and epoxy. The scaffolding pieces have also been jettisoned.
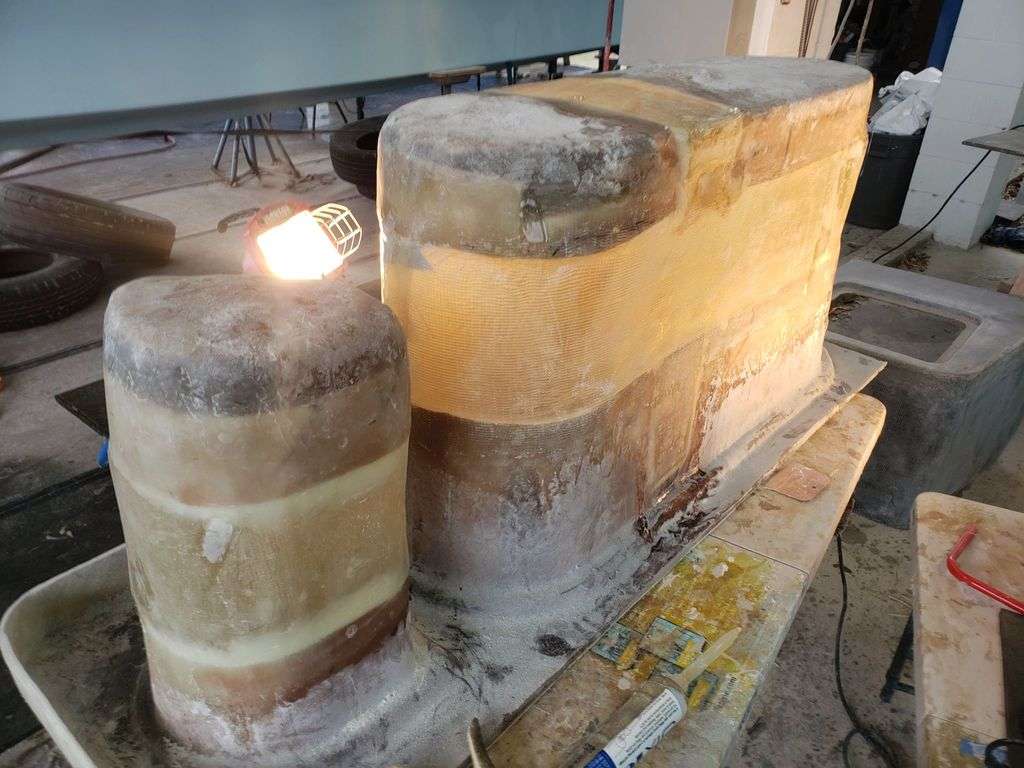

All that’s left is to add more layers of fiberglass an smooth out the inside.


May 10, 2024
The Fishtastic XL build is rallying to the end of the construction phase. However our big transom livewell project has the be completed before we undertake the monumental task of cleaning and painting this monster.


You can see that the various seams and edges have been perfected, and we have already done a few test-fits to check for proper clearances. Epoxy is added or sanded away as needed until we achieve a perfect fit.

We are taking advantage of the livewell being out of the way to run our plumbing through the aft conduits. Also we have the floor section ready to go back in place, complete with a new access hatch and two new drain holes.

The aft-facing seat coolers are coming along brilliantly. We had to cut away some of the gunwale temporarily to allow us to affix the seats directly to the hull for stability.


Then the insides of the box were lined with 6lb. foam core board. Once they are fiberglassed into place these boxes will keep ice solid for an entire day on the water.


It requires a bit of hand-sanding to achieve good curvature in the boxes, but the result should be really nice.

Also note that a drain has been cut in each box:

We are close enough to the painting process that it is a good idea to start test-fitting some of our metal accessories. Here is the mount for our forthcoming Release Marine Rocket Launcher:

Also our pals over at Gem Products (formely GemLux) have provided a beautiful set of their boltless rod holders.

Also this super-slick collapsible cleat it a fancy touch:

The final bit of pre-fitting is the dual windshields for the consoles with the switch panels on the starboard side.


The magic marker shows the future location of the tach, the teak, and the cup holder.

Keep up with all the progress to date at blog.fishingnosara.com/fishtastic-xl/
May 23, 2024
Big progress this week as the transom livewell installation is nearly complete. It took a few tries to get everything to line up smooth, plus this piece is very heavy and cumbersome to handle.


Any gaps between the mating surfaces have been filled with an ample amount of 610 epoxy.


Mating to the portside gunwale was especially tricky, but we manage to maintain the curve and drip rail from the original hull shape.


The forword facing seam is the most visible, and we are certainly pleased with the flush fit of this piece:

Of course all these layers of fiberglass and epoxy require drying/curing time, so we’ve stayed busy in other areas of the boat; here you can see that we have re-installed the removed sections next to the the aft-facing cooler seats


We have also done a lot of sanding inside the coolers:

We are excited to wrap-up major constructions in the next few weeks and move onto the gelcoat, so we are trying to pre-fit as many pieces of hardware as we can now. Here is the pre-fit of the portside console doors:

Also we have pre-fit the mount and access port for the Rocket Launcher in the cockpit.

Keep up with all the progress to date at blog.fishingnosara.com/fishtastic-xl/
June 7, 2024
We are precariously close to final clean-up and spraying gelcoat on the Fishtastic XL.


Every surface of the livewell is getting sanded to the point of perfection, both with an array of sanding machines and with good ole’ fashioned elbow-grease-powered hand sanding.

It’s not totally clear in the photos, but seam between the original the forward-facing livewell wall and the body of the livewell is sanded so flush that you can’t even feel the transaction with your fingers. Once gelcoat is sprayed this transition will be completely undetectable.

There are only a few more steps until final clean-up begins; we still need to install the final piece of the floor in the rear:

Then we have a final layer of chopped strand to apply to the floor and gunwales.


Keep up with all the progress to date at blog.fishingnosara.com/fishtastic-xl/
July 24, 2024
It’s been a long few weeks of perfecting the interior of the Fishtastic XL, but we can finally announce that we are ready to spray gelcoat. Before we can reach that milestone, every single solitary surface of every single door, hatch, portal, opening, and surface has to be fine sanded.


The pictures barely do justice the to the amount of work required to achieve perfect smoothness. A lot of these areas are so tight that sanding by-hand is the only option.


All that’s left is a big clean-up of all the dust and then we start spraying gelcoat.


You can get caught up on the whole build so far at blog.fishingnosara.com/fishtastic-xl/
August 12, 2024
Before and After: Gelcoat on the Fishtastic XL
Catch up on the whole build story at blog.fishingnosara.com/fishtastic-xl/
September 17, 2024
It’s been a trying month of progress as we continue with the process of applying gelcoat to the Fishtastic XL.


Each hatch panel requires lots of hand-care to create a perfectly flat surface. We use 220-grit for the initial cut, and then moved up to 320-grit. Over time we will continue to use finer and finer grits until we get to 1000-grit.

You can also see were the hinge pockets have to be hand-formed.


We also took this opportunity to test our rough-coat, which we will deploy extensively once we paint the main floor of the boat:

Unfortunately, the main interior components are requiring a bit of added work to achieve the result we are looking for. Here you can see where a patch of fiberglass has ‘poked-through’ the gelcoat layer. This happens when the gelcoat layer set up too thinly over the base layer.

The corrective action is to apply a blend of activated gelcoat with phenolic microballoons to create a paste that we can smear over the low-spots.


It’s a painstaking process, but once these areas are re-sanded we expect that the remaining layer will be perfectly flat.


Catch up on the whole build story at blog.fishingnosara.com/fishtastic-xl/
October 25, 2024
Ain’t no party like a sanding party ‘cuz a sanding party don’t stop!


It’s been a challenging few weeks on the Fishtastic XL, but we are seeing good progress with the gelcoat paint job.


The gelcoat we sprayed did not provide the depth we want. To correct this we have used foam rollers to apply a thicker layer on top of the sprayed layer.

We proceed by cutting down the high spots was 220-grit sandpaper, then move to progressively finer grits until we reach 1000-grit. Here you can see an area where the original un-cut roller layer is adjacent to a finished 1000-grit polished area:


Obviously there is still a long way to go, but it feels good to be past the curiosity of ‘how’ to apply the gelcoat. The mission is clear and we look forward to a fantastic final result on the Fishtastic XL.


Catch up on the whole build story at blog.fishingnosara.com/fishtastic-xl/
December 9, 2024
After two long months of sanding, we are very close to completing the paintjob on the Fishtastic XL.

Every square inch of the interior has been sanded with 220-grit, then polished with 320-grit. The majority of the boat came out splendid.
These blue tape areas represent the areas where the gelcoat is too thin and more material has to be applied:


All told it’s great to get a glimpse at the finished product, even if the coverage is not currently 100%.


An area that is complete and looking great is the rear splashwell.

Check out these great reflections where the buffed gelcoat shines like a mirror.


There is still a good amount to do, but we are confident in our tactics and tools. We expect to be ready for rigging by the end of the month.


Catch up on the whole build story at blog.fishingnosara.com/fishtastic-xl/
January 17, 2025
It’s a new year full of promise and progress on the Fishtastic XL build. For the last three months we have been chasing thin gelcoat spots around the boat, and after a ton of sweat and effort the hull is finally complete:


We achieved this mirror-like shine by sanding with progressively finer grades of sandpaper (220g > 320g > 400g > 600g > 1000g). We went through over 7000 pieces of sandpaper on this endeavor. The final touch was several rounds of buffing with AquaBuff 2000 and then 3M Boat Wax. Big thanks to our friends at All Jak’d Up Motorsports on the buffing.


The shine on the white parts (which we gelcoated from raw fiberglass) and the blue parts (factory gelcoat in the mold) are virtually indistinguishable. There is no shortcuts to get this result; just hard work and dedication.


As pretty as it is to sit back and stare, we are fired-up to get into the rigging process. We started by fixing the windshields to the consoles, installing all the Gem Products bolt-less rod holders.

We are using Seastar steering and the bottom machine is this awesome Humminbird unit:


We have brought in the big guns for all the electrical rigging. Hampton Kahle of Salty Wire Mobile Marine is an ace electrical installer, and we brought him into build our custom engineering console and to wire up a constellation of lights, bilge pumps, and electric accessories.


This is just an early phase of this part of the build, and we look forward to showing you Hampton’s great work as it progresses. You can find his past builds here: https://www.facebook.com/profile.php?id=61558070788801

Over the next few week we will blasting ahead on the Fishtastic XL Build. Our friends Troy (welding) and Angie (upholstery) at Custom Marine Components have been working feverishly on the tower and the cushions for the ultra-Panga.
Here is a sample of their great work from past builds:


Also our dear friend Mike over as Mayport Mobile Marine is standing by to hang a pair of Yamaha Outboards.
We look forward to bringing you all this and more over the next few months.
Catch up on the whole build story at blog.fishingnosara.com/fishtastic-xl/
February 11, 2025
We are progressing at a breakneck pace on the Fishtastic XL build. The rigging process is in full swing, and to mark the occasion we took the boat on a field trip over to our friends Troy (fabrication) and Angie (upholstery) at Custom Marine Components


They established the basic geometry of the top and will continue to add support pieces and mounting points for the radios, antenna, outriggers, etc. Also Angie is working hard to bring our tri-tone seat design into reality.


Back at the shop, we are barreling ahead on rigging the small pieces. Each hatch has a pair of Gem Products friction hinges and a locking latch.


The transom livewell has a multitude of hinges for easy access.

Our custom built tackle boxes are finished, and we look forward to installing them into the rear-facing seats.


The Gem Products bolt-less rod holders are a godsend for this hull; the gunwale are very narrow, but with the bolt-less design we don’t need to cut into the curve of the gunwale. It’s a really clean install and we are thrilled with the result.


The anchor locker and retractable mooring cleat have also been installed.

We also have mounted the console windshields; this is a design feature that FishingNosara has featured on all our pang builds going back to the Explorer in 2010.


We have brought in the big guns for all the electrical rigging. Hampton Kahle of Salty Wire Mobile Marine is an ace electrical installer, and we brought him into build our custom engineering console and to wire up a constellation of lights, bilge pumps, and electric accessories. You can find his past builds here: https://www.facebook.com/profile.php?id=61558070788801


As soon as we get to a stopping point, we will take the Fishtastic XL to our friend Mike over at Mayport Mobile Marine to hang a pair of Yamaha Outboards.
We look forward to bringing you all this and more over the next few months. Catch up on the whole build story at blog.fishingnosara.com/fishtastic-xl/
March 7, 2025
We are getting excited now that the Fishtastic XL has the top from Custom Marine Components in place.


Catch up on the whole build story at blog.fishingnosara.com/fishtastic-xl/
March 21, 2025
The rigging process on the Fishtastic XL project is proceeding at a rapid pace.


We have maximized the internal spaces within the aft-facing seats and have installed the custom tackle-boxes and batteries.


The starboard console has taken shape; the centerpiece is this Humminbird Apex 19 bottom machine.


Hampton Kahle of Salty Wire Mobile Marine is has done a wonderful job running the wires and hooking up the switches.


It has been a challenge to install the various hinges for all the custom-built cabinetry throughout the boat, and nothing was trickier that the transom live-will access portals:


Below decks we have installed a series of tried-and-true Rule livewell pumps and bilge pumps.

On of the real gems of the Fishtastic XL is this one-off teak helm pod. It has taken weeks to apply 15 layers of clear epoxy (with touch-up sanding between coats) to achieve this level of deep shine.


We are looking forward to hanging the motors and then proceeding to final rigging. Everyone is excited that the light at the end of the tunnel is getting brighter every day.
Catch up on the whole build story at blog.fishingnosara.com/fishtastic-xl/
April 4, 2025
We are so close to finishing the Fishtastic XL that we can almost taste the saltwater.


Our great friend Mike at Mobile Marine Express in Mayport, FL installed a pair of Yamaha Outboards along with the associated tachs, controls, and key switches.


He also figured out the best mounting spots for the iCom radio, cupholders, and switch panels…the clearances under the console are so tight that they had to be installed in a specific order to avoid bumping into each other.


These twin 300hp monsters will keep the Fishtastic XL flying over the waves.


We also made a return visit to our friends at Custom Marine Jax to finalize the fitment of the vinyl top and the cushioned seats around the cockpit.


Special thanks to our friends at MFG Merch in Jacksonville for embroidering our logos into the forward cushion.


It’s down to final steps and last-minute delays; we are prepping the floor for it’s final layer of gelcoat this weekend. Also we are ready to install our live tuna tube, complete with a custom mounting bracket constructed of starboard.


Starboard is also being deployed for more of our custom tackle lockers.


We are itchin’ to go fishin’!
Catch up on the whole build story at blog.fishingnosara.com/fishtastic-xl/
April 18, 2025
The Fishtastic XL Build has reached a major milestone that caps this 2+ year project. The first water test is complete!


It’s been a super-productive three weeks of work to get all the tiny details sewn up and ready for the water.


Our friends from Aqua Traction installed their sea-deck on the floor all over the boat.

Teri and the good folks at Custom Marine finished up the installation of these custom pads and upholstery.


We have always pushed the envelope regarding Tuna Tubes, and this custom installed represents a new standard in accessibility and overall slickness.


Release Marine provided this custom rocket launcher, and homage to the mega pangas Harvester and Fishtastic.


The rear livewell came out brilliantly. Thanks to local machinist Chappy Moody we were able to adapt a GemLux floor drain into a custom fill for the livewell.


Salty Wire Marine finished up the last details of antenna, radar dish and the the navigation lighting.

On April 17 we finally got the Fishtastic XL wet.


I am excited to see that this 38-foot Ultra Panga made 46mph at 5000rpm; this is an astonishing .92 prop efficiency. She burned 130ish gallons of gas on a 165 mile trip; hopefully we will be able to improve this a little bit, but none to shabby for a boat of this size.
It’s been a ton of fun, and we look forward to fishing the Spring King of the Beach Tournament in Tampa Bay next weekend.
Catch up on the whole build story at blog.fishingnosara.com/fishtastic-xl/
