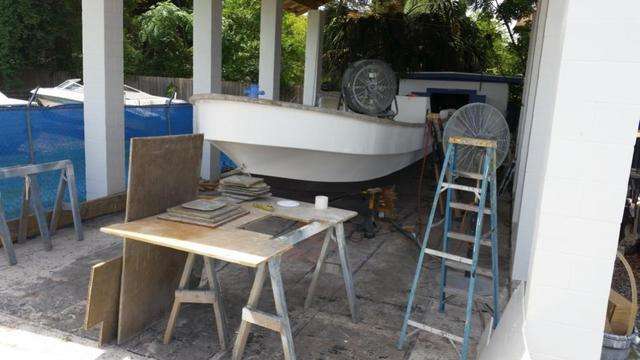
June 24, 2015 – Day 224
OK so it’s been a little warm this week…
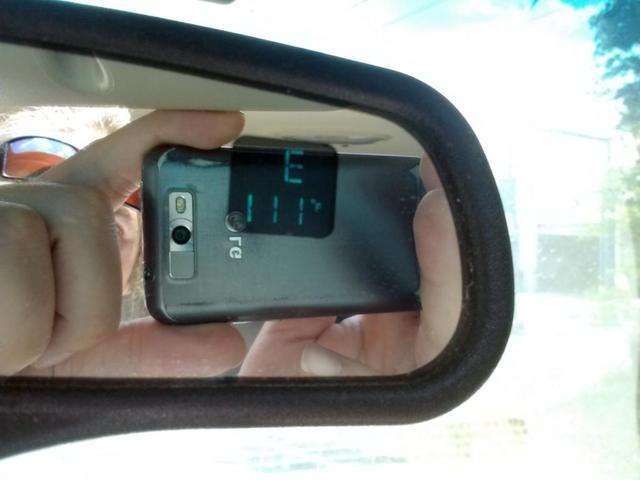
…but that ain’t holding us back on The Harvester Project.
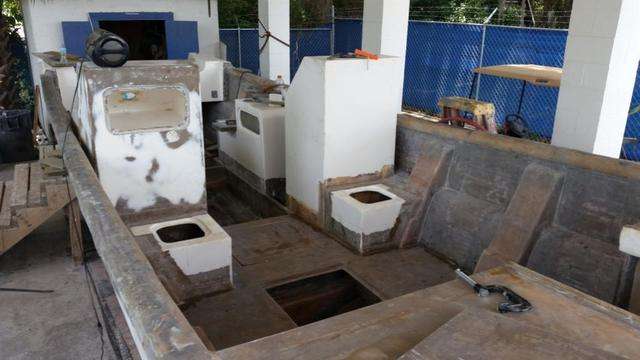
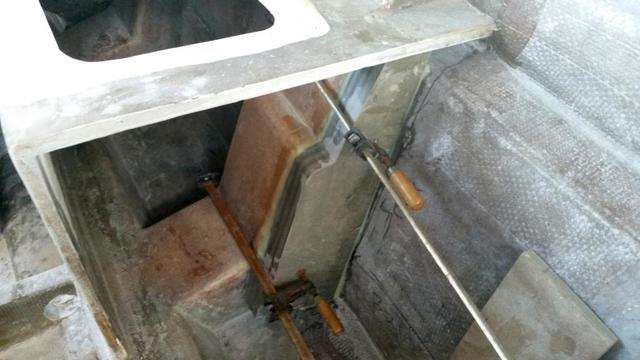
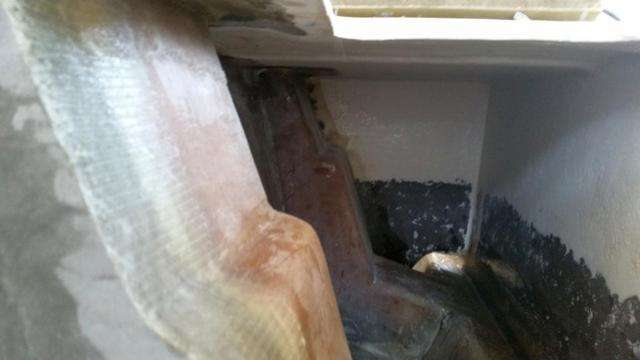
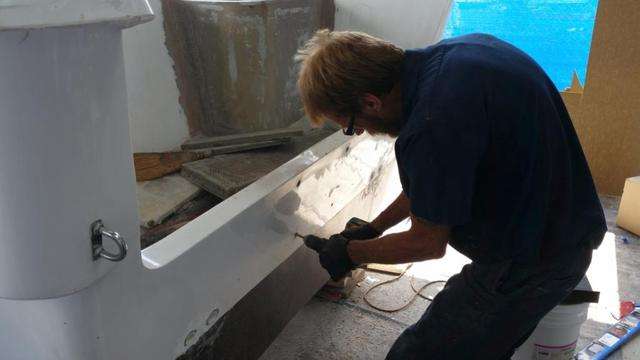
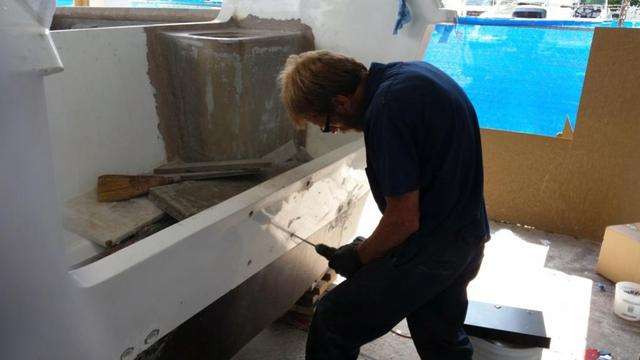
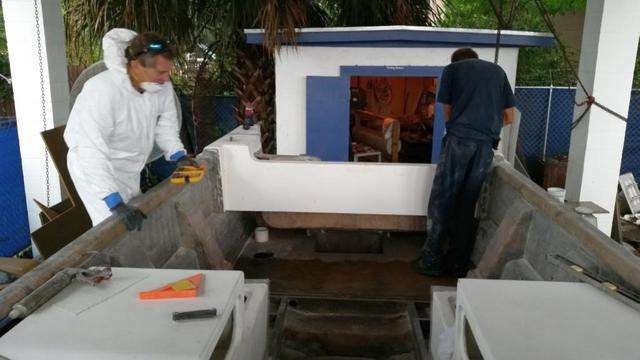
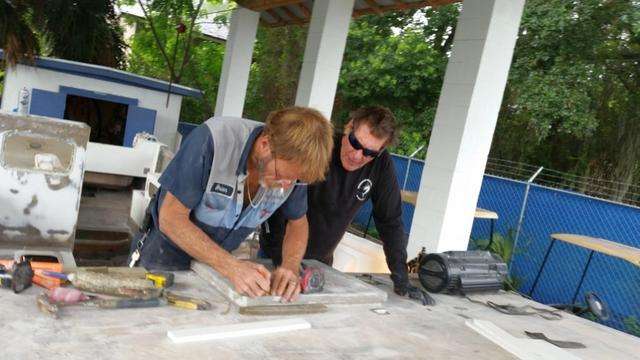
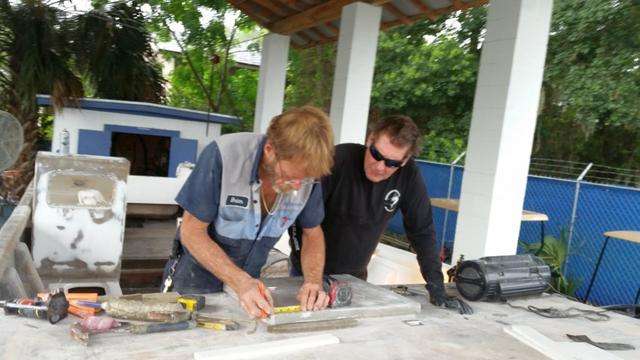
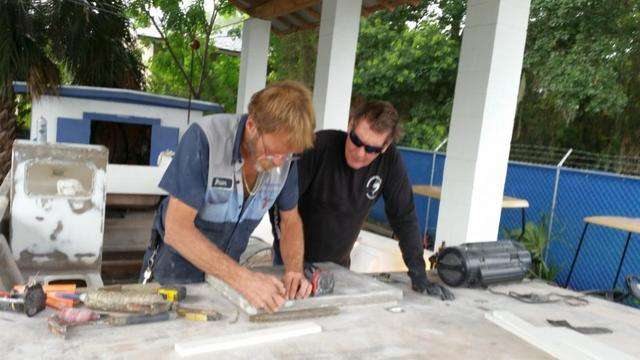
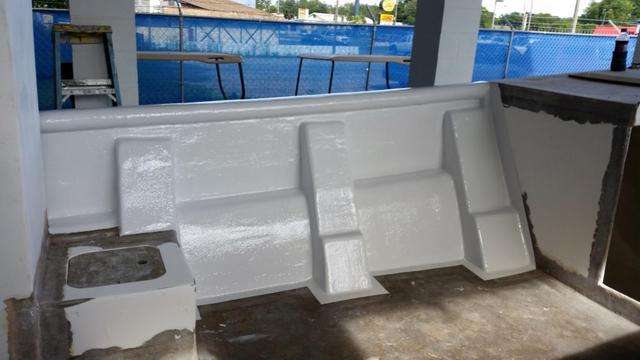
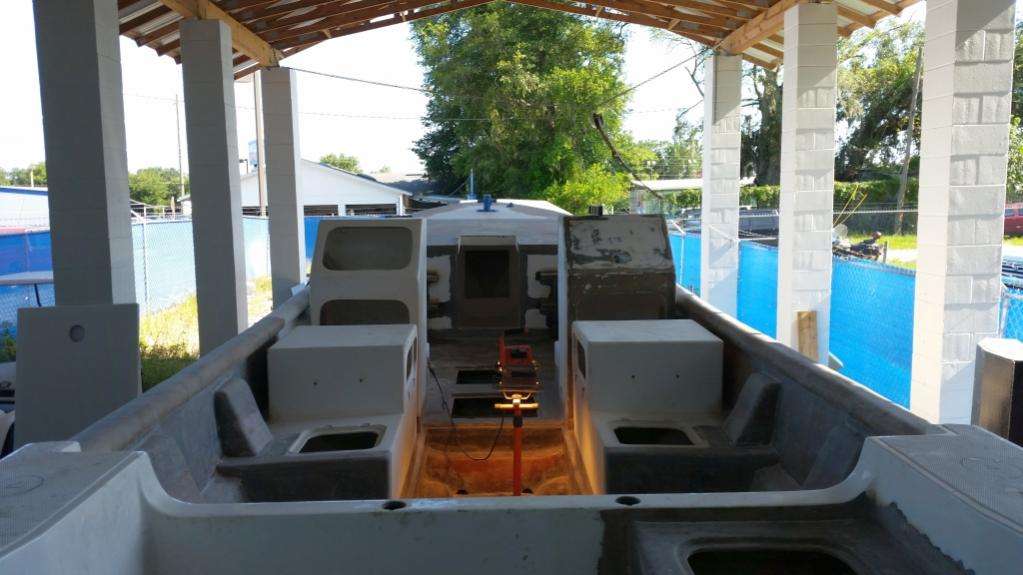
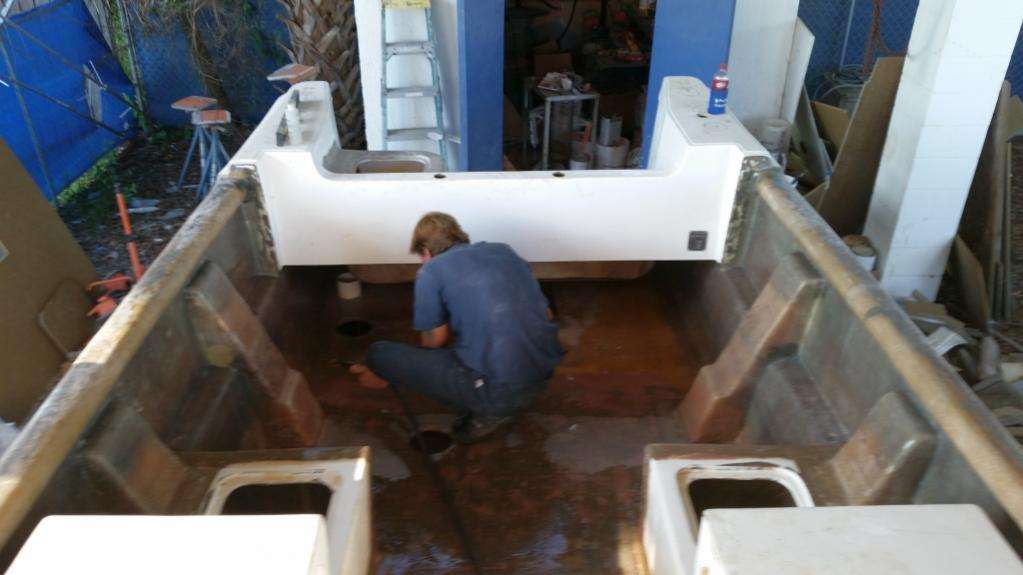
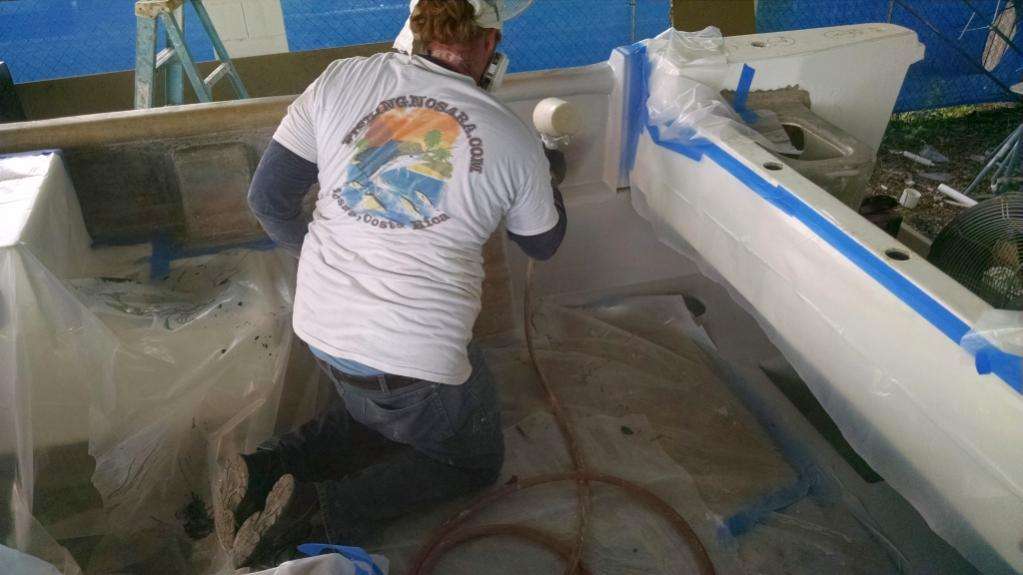
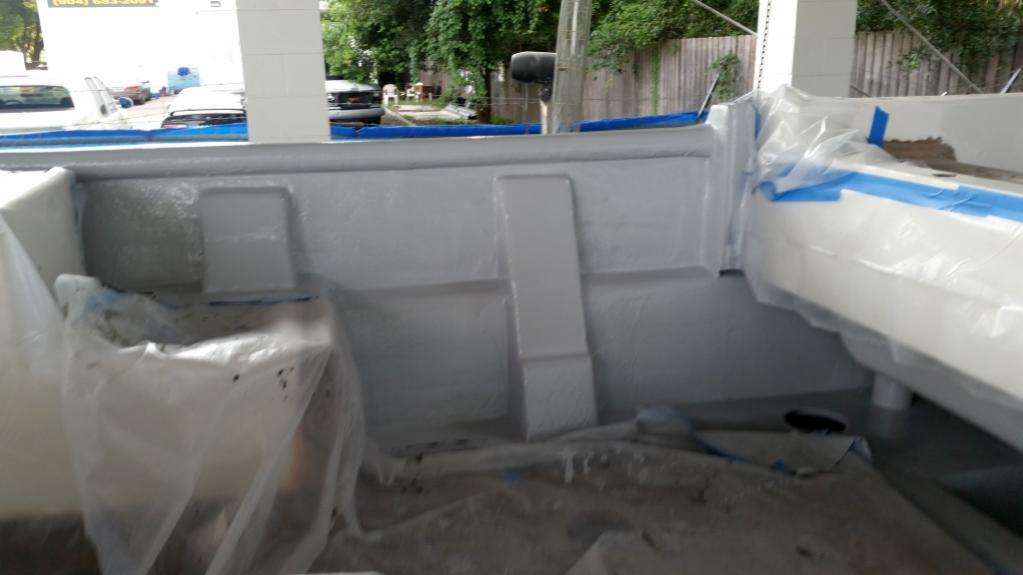
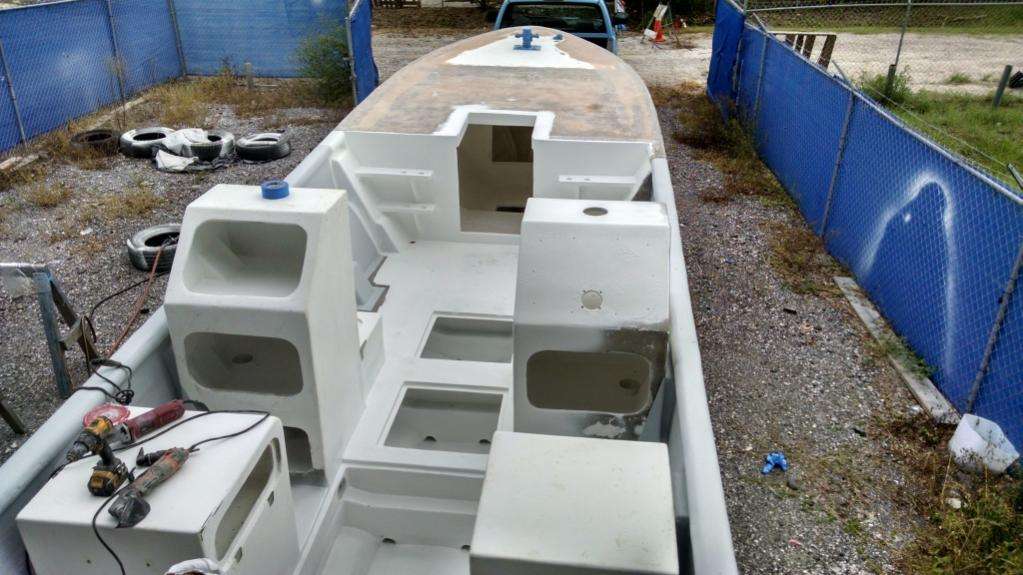
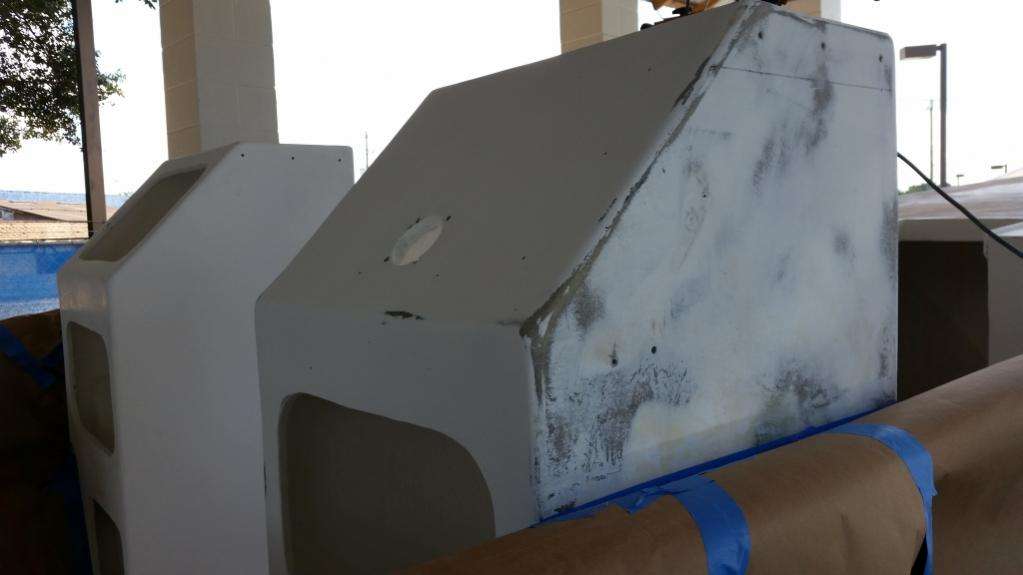
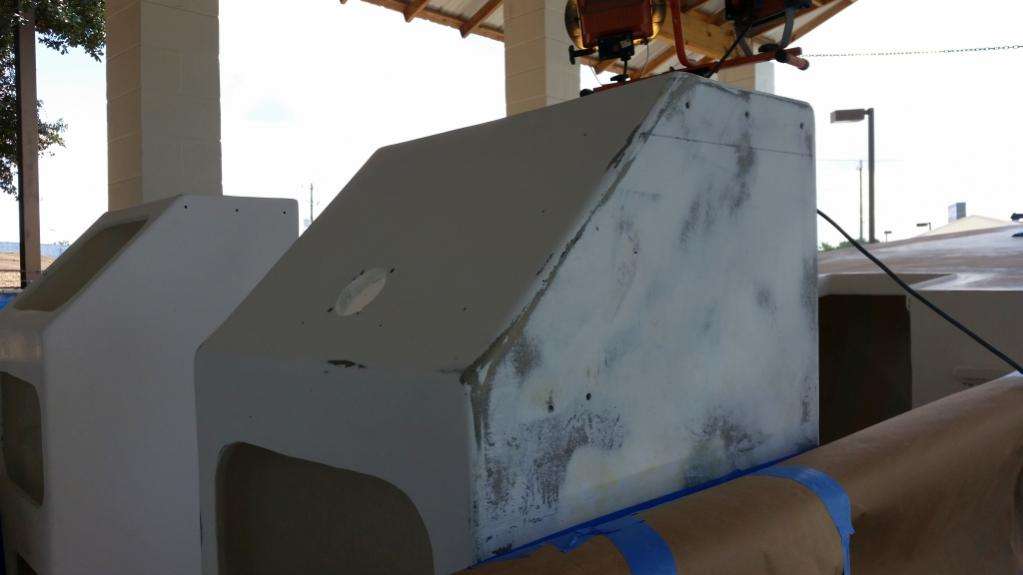
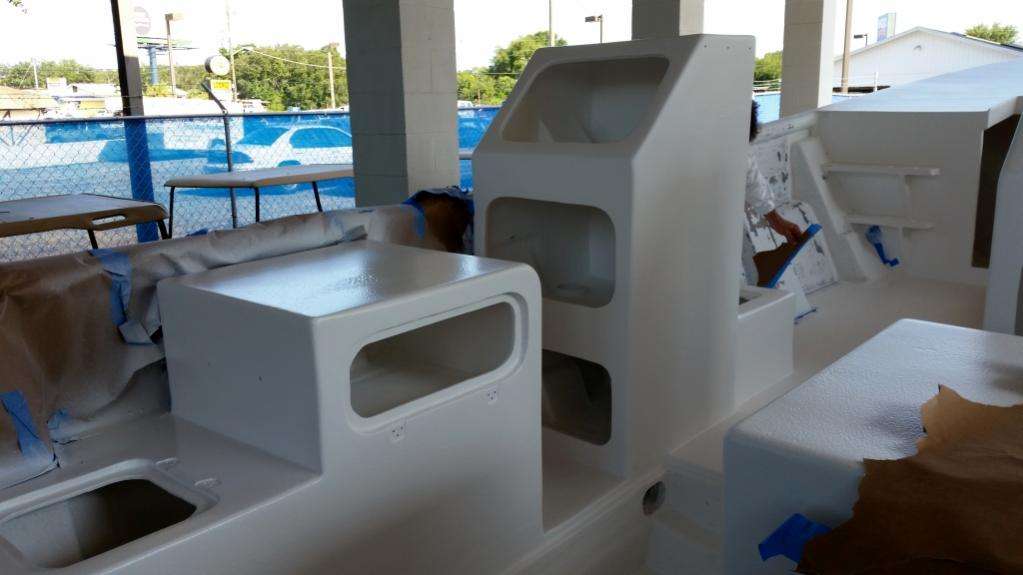
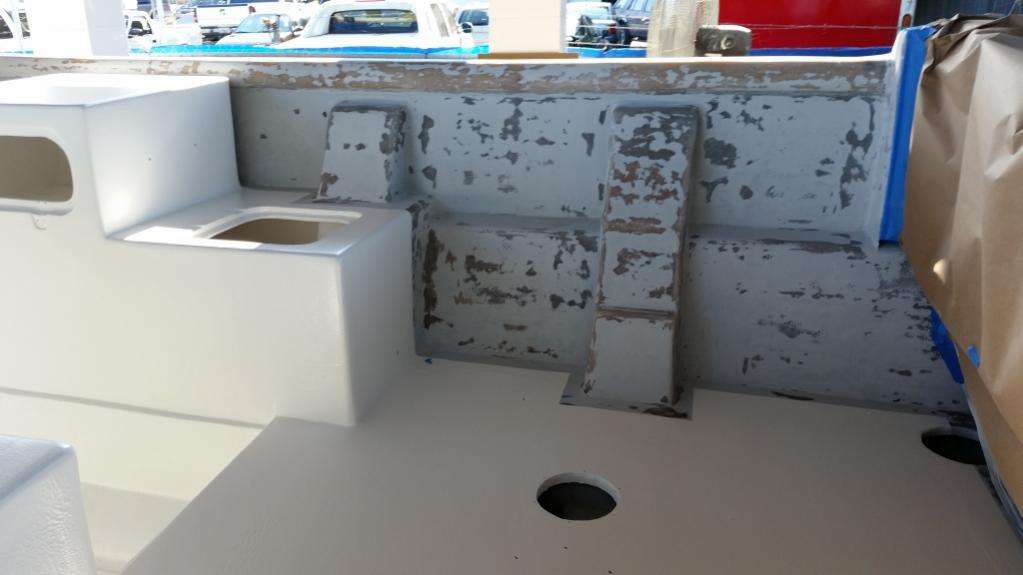
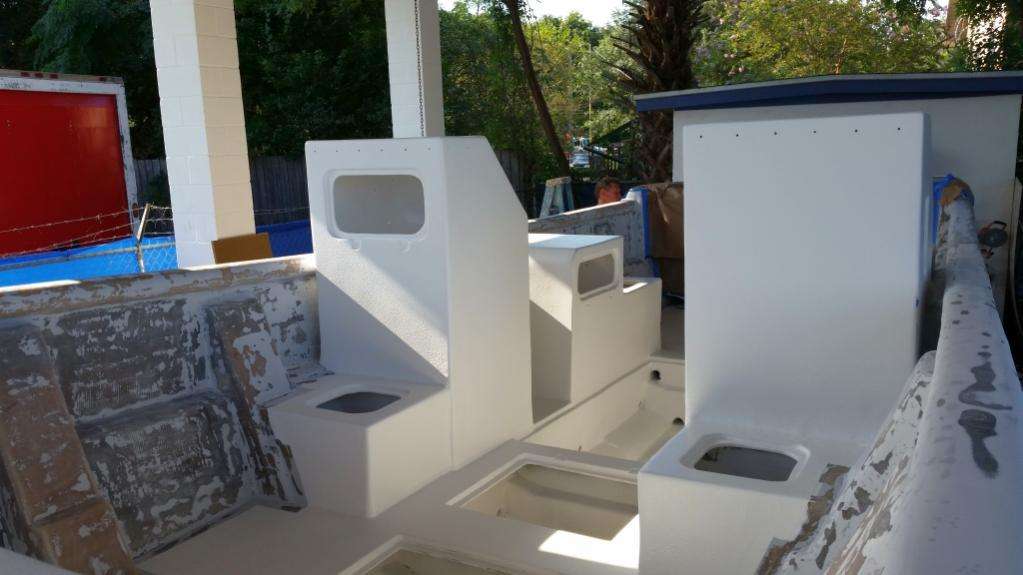
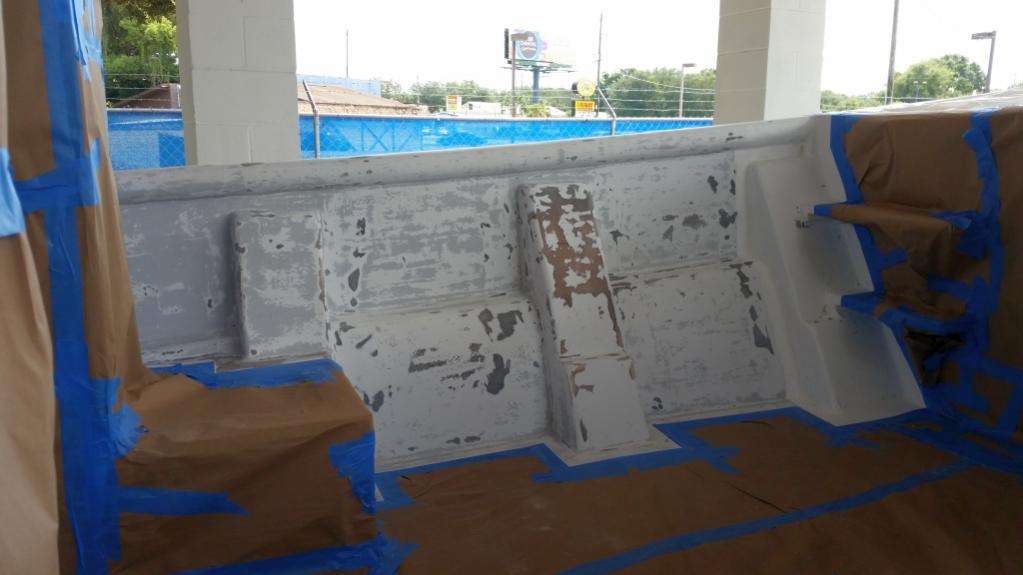
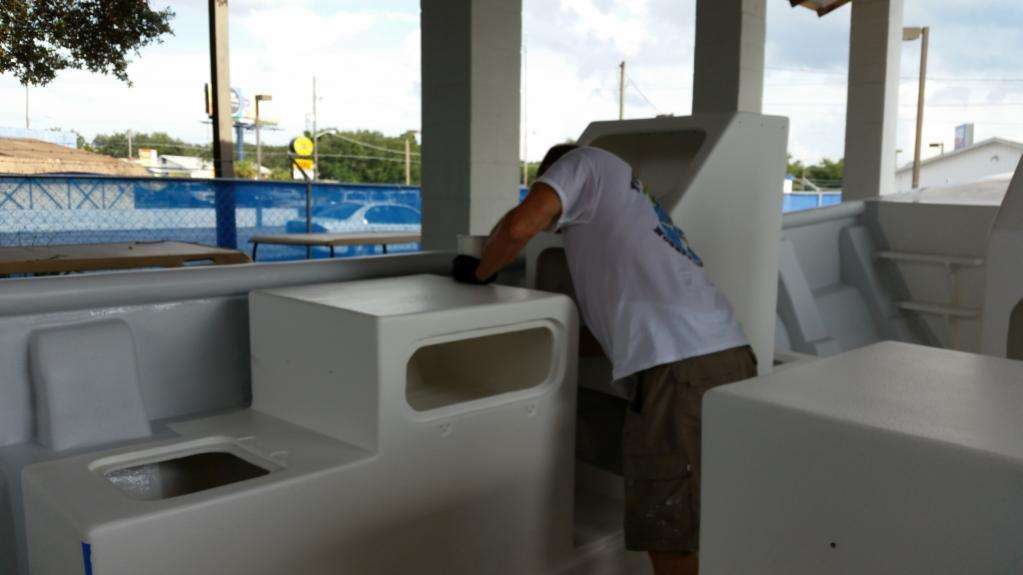
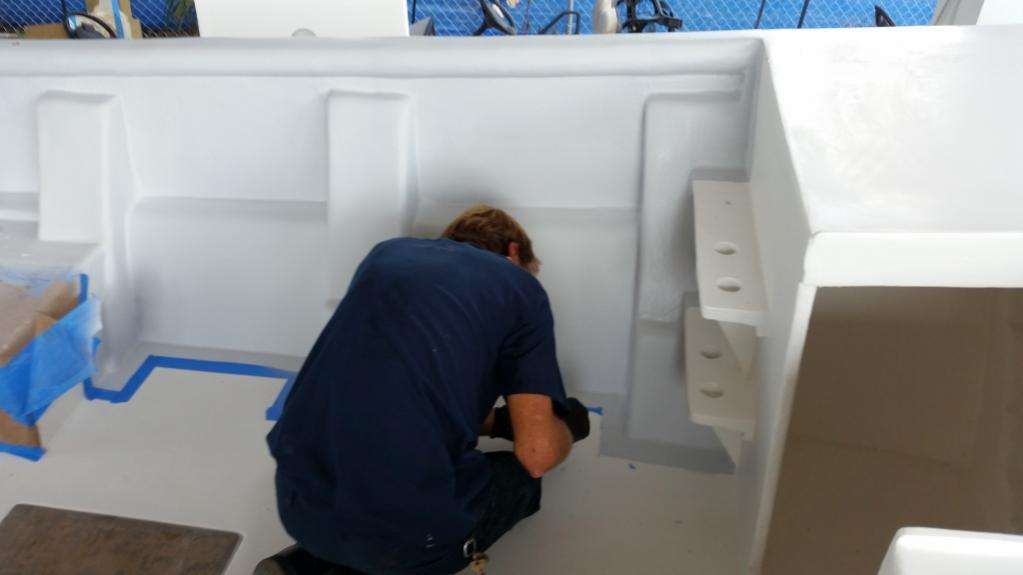
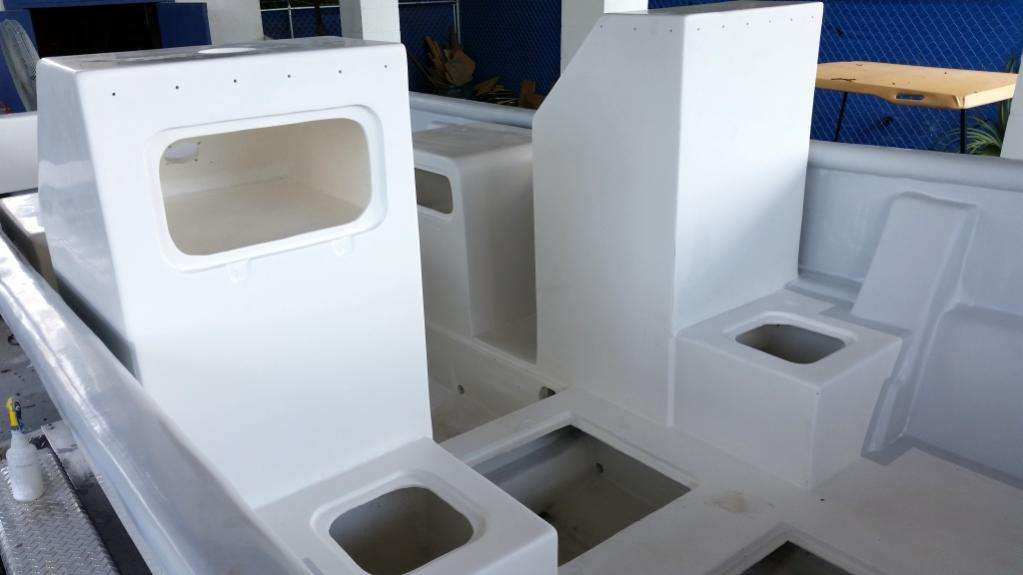
Now that the consoles are epoxied into place, we are wrapping all the console-to-hull connections with double layers of biaxial fiberglass.
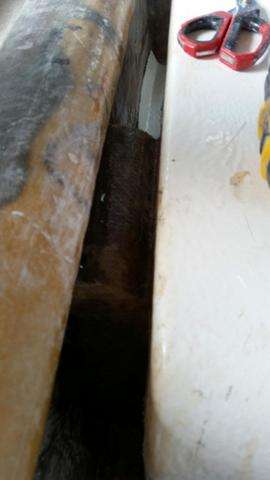
Some of these connections are in very tight areas so it required a lot of gymnastics to get the fiberglass into place.
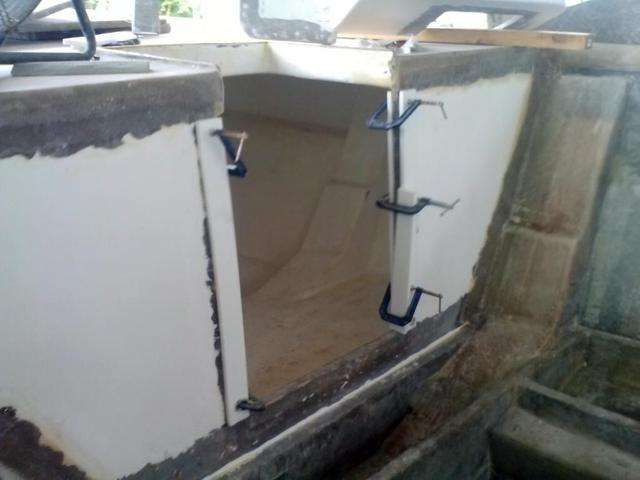
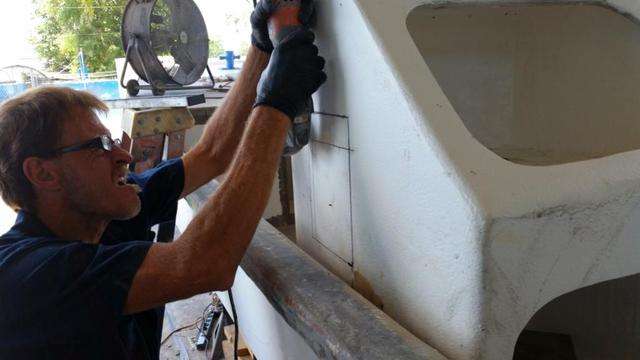
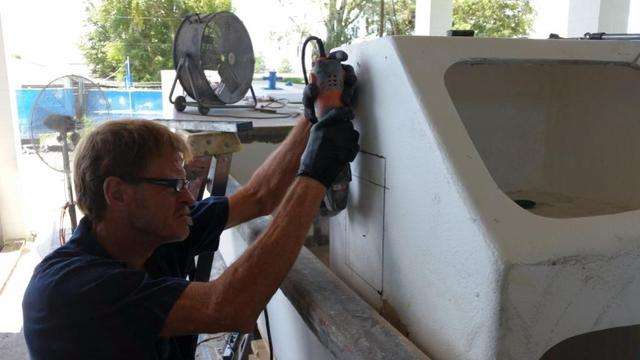
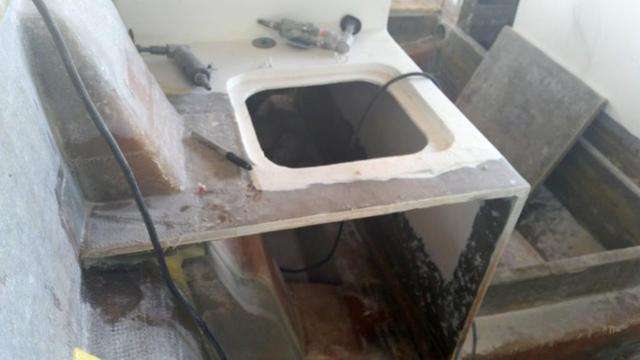
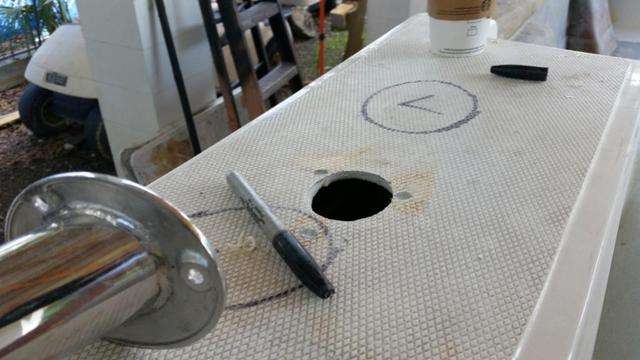
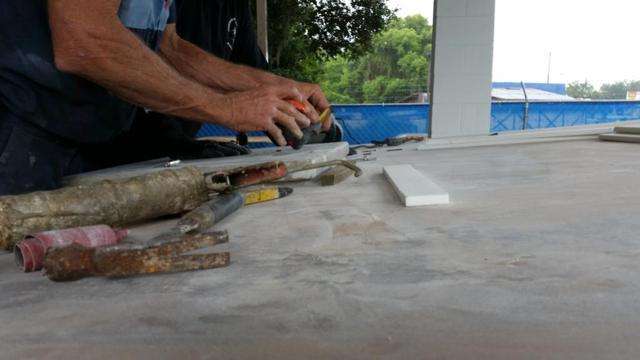
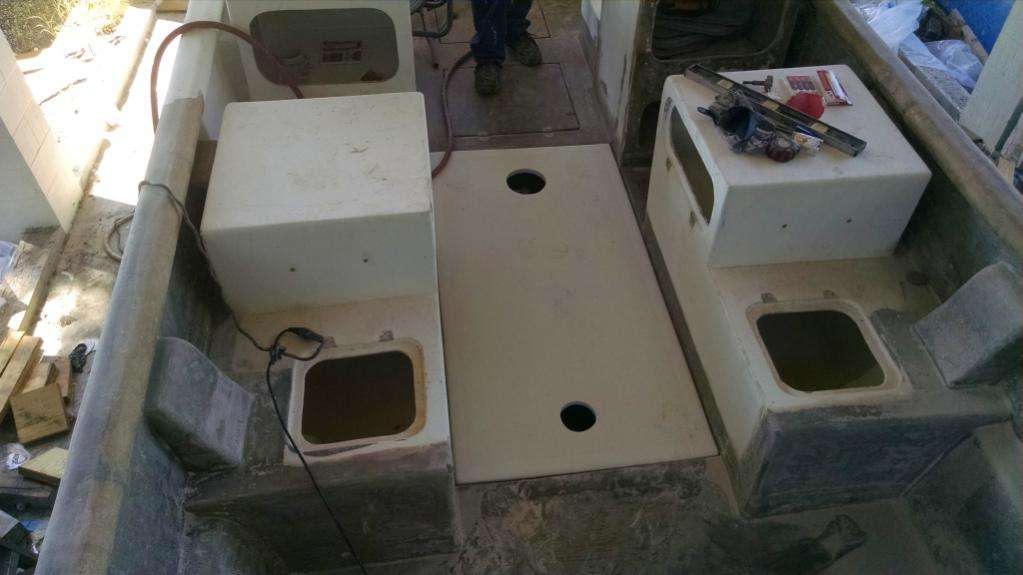
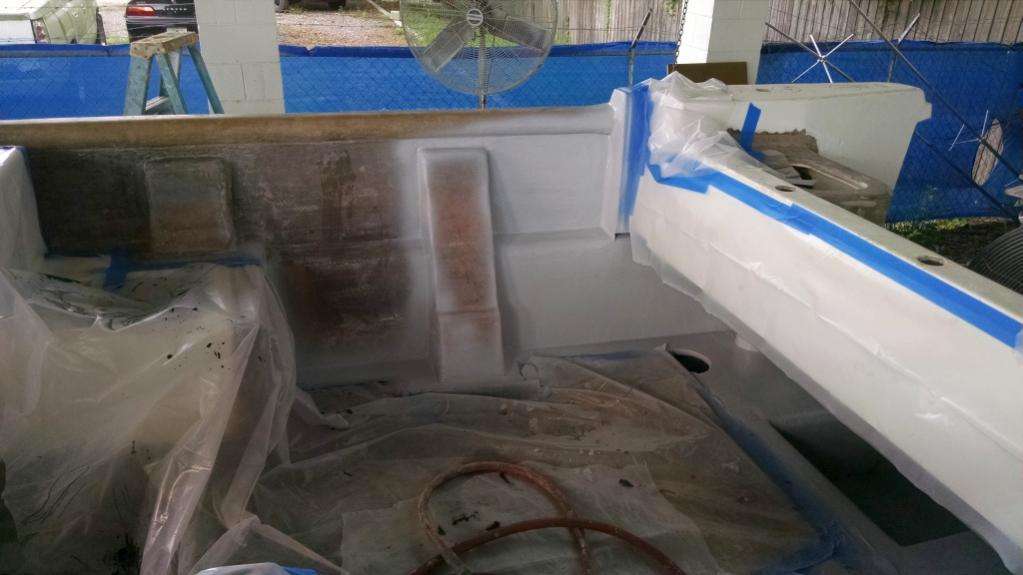
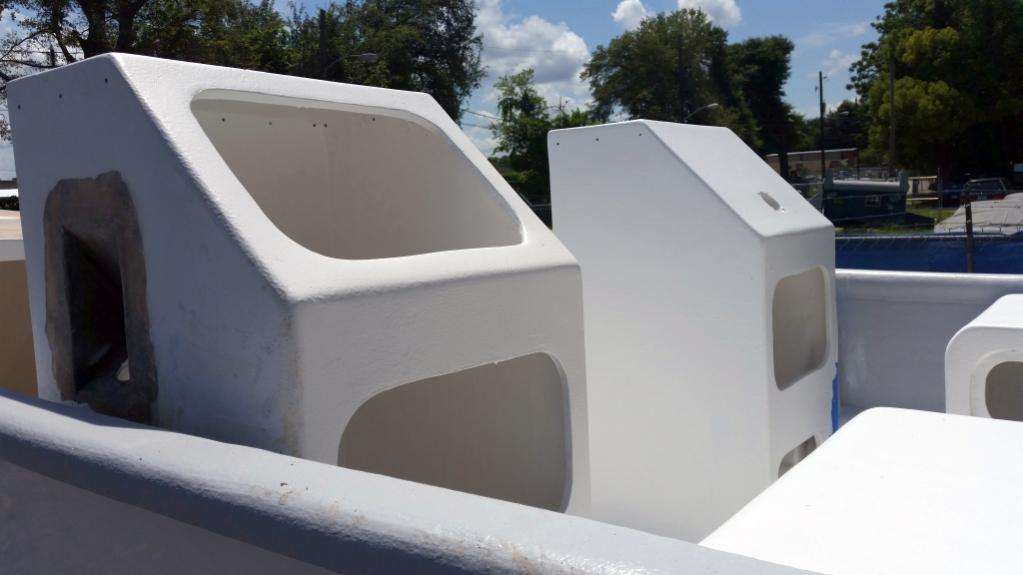
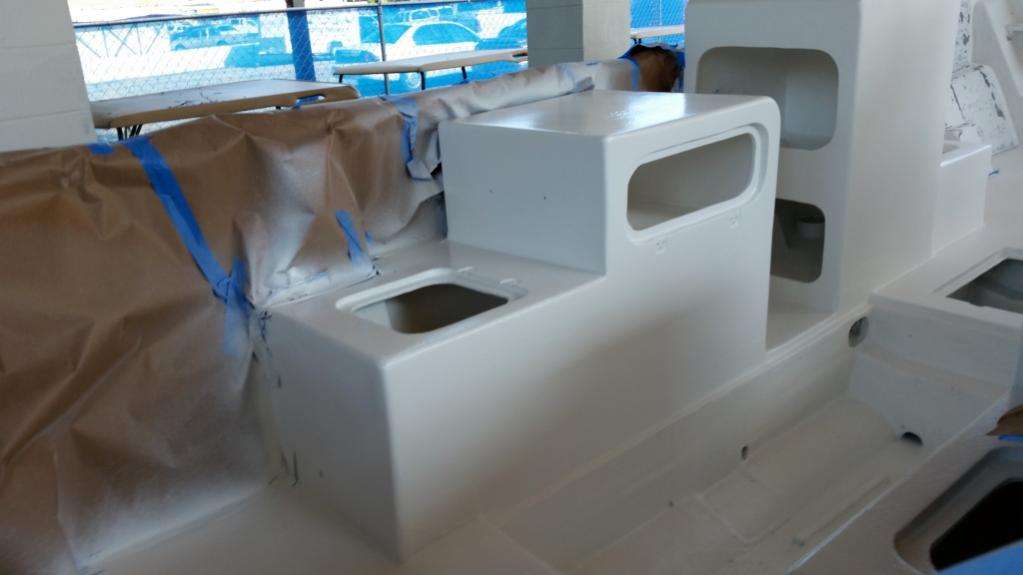
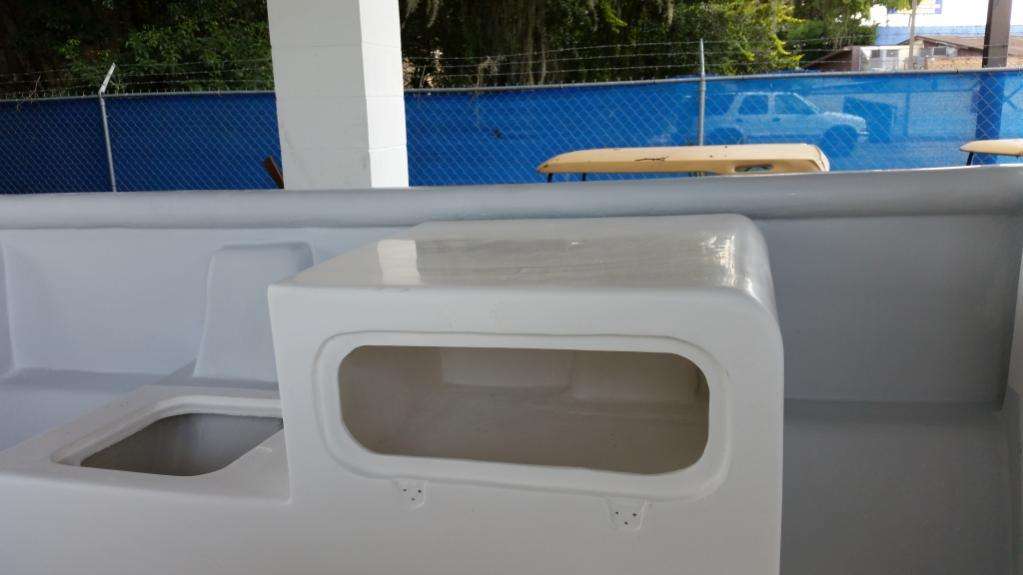
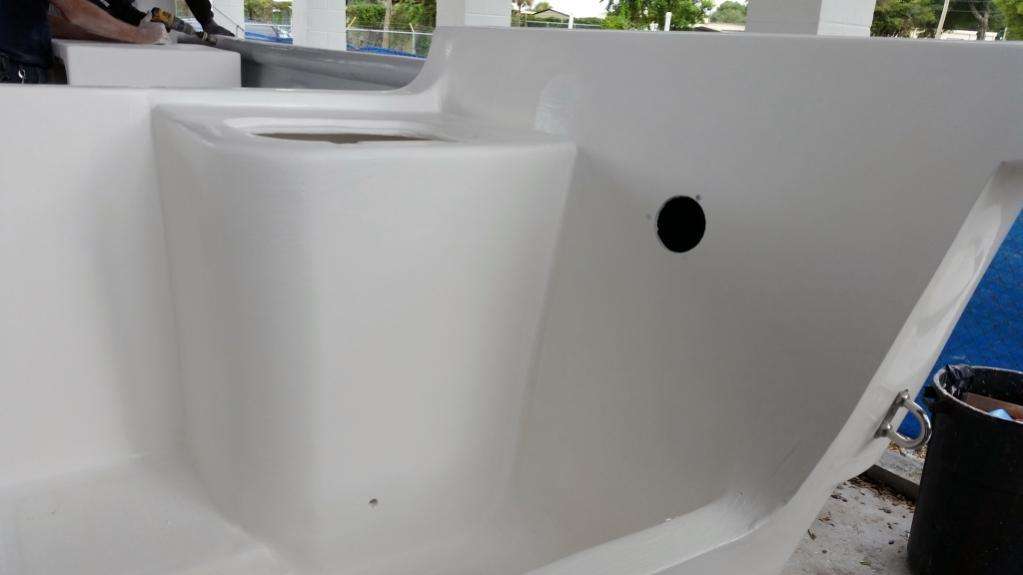
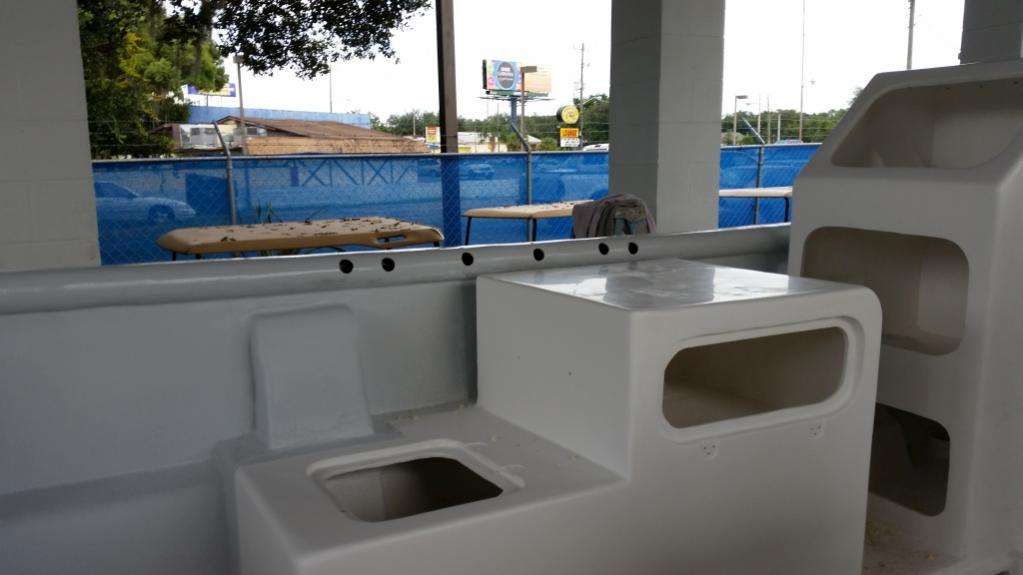
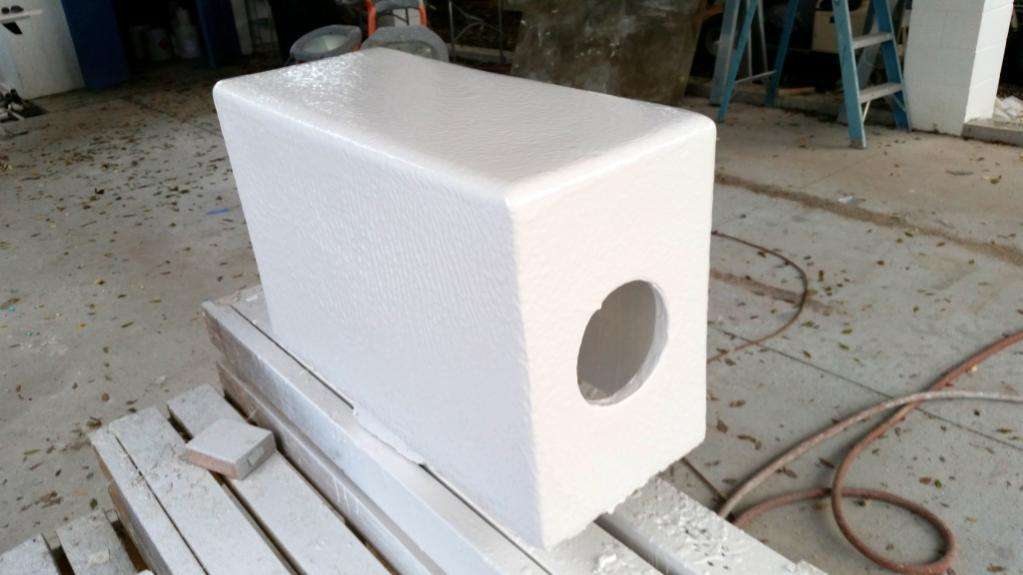
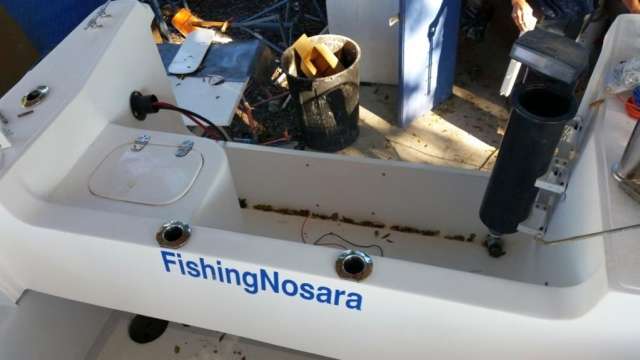
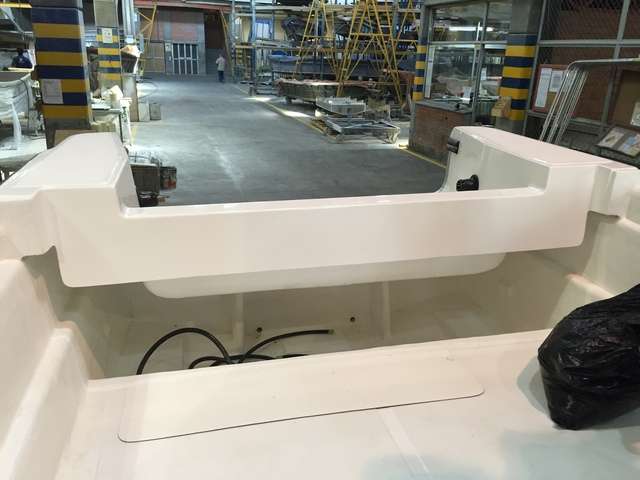
Also we have cut the holes for access portals in the front of the consoles. This is how we will access the batteries once they are installed under the consoles.
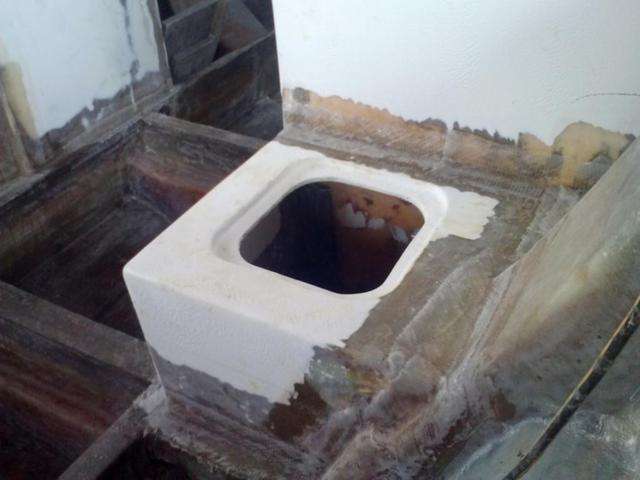
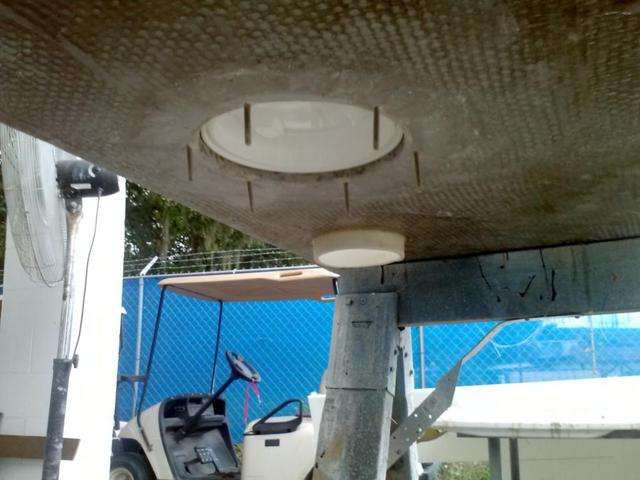
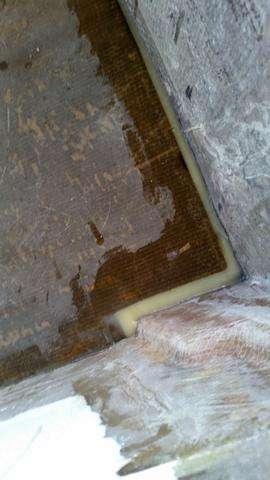
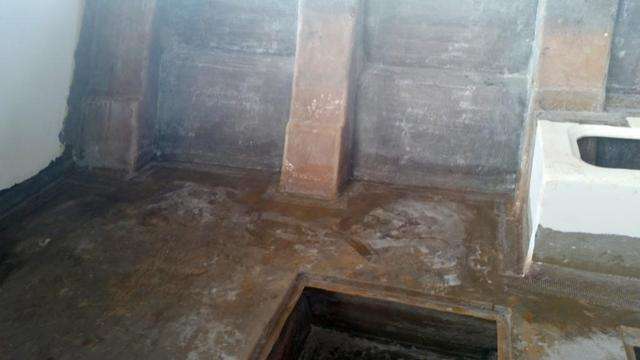
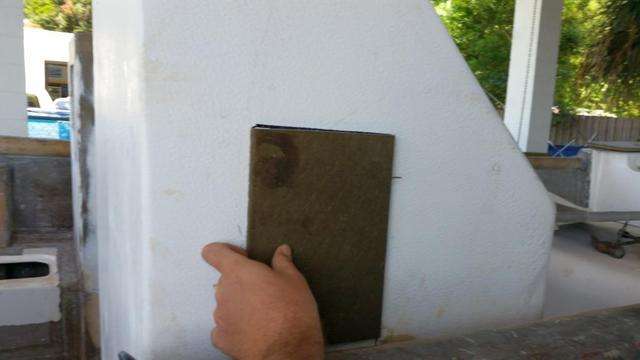
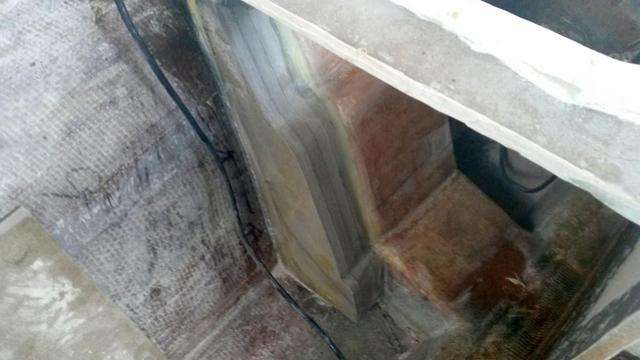
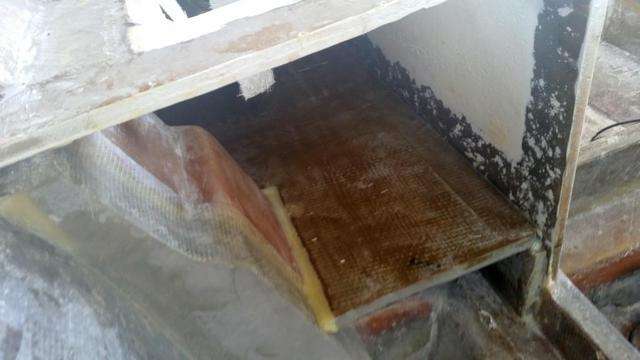
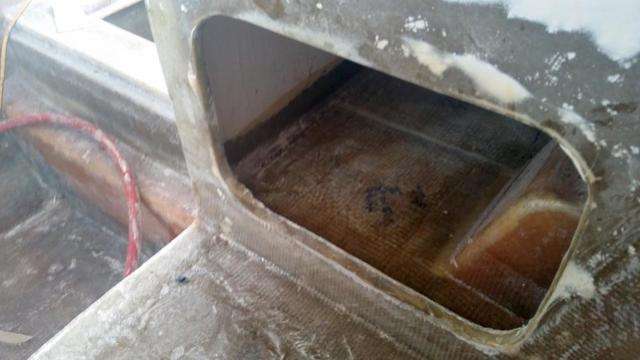
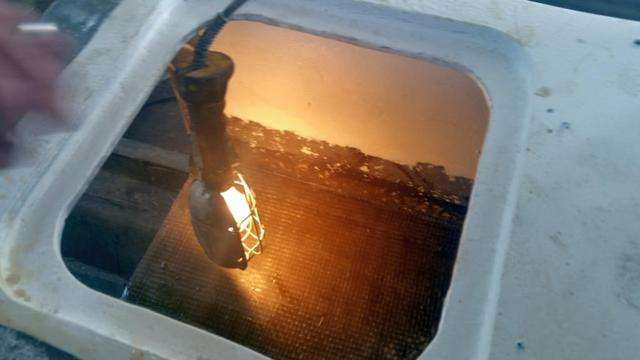
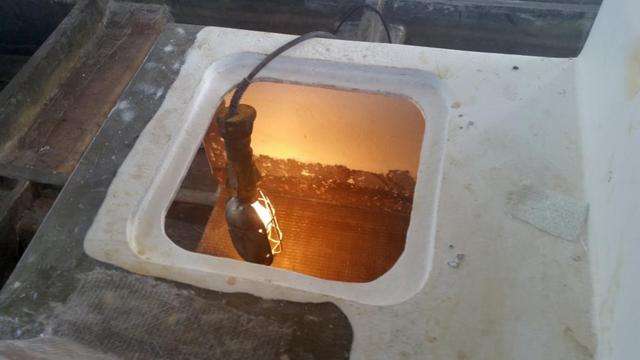
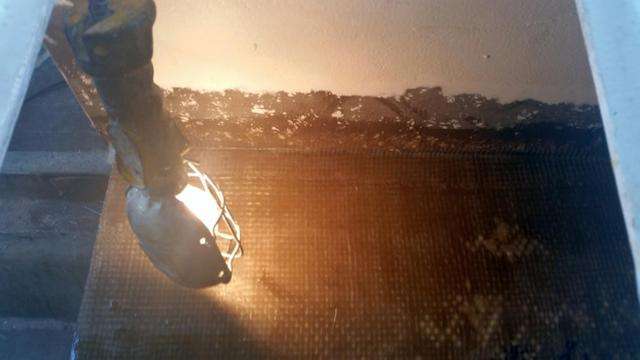
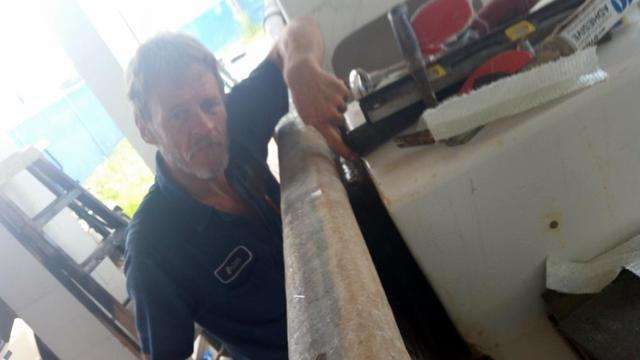
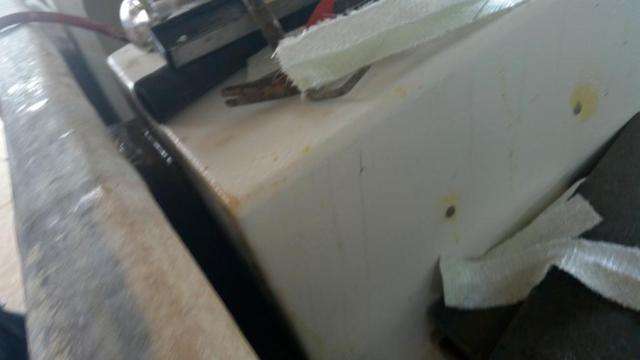
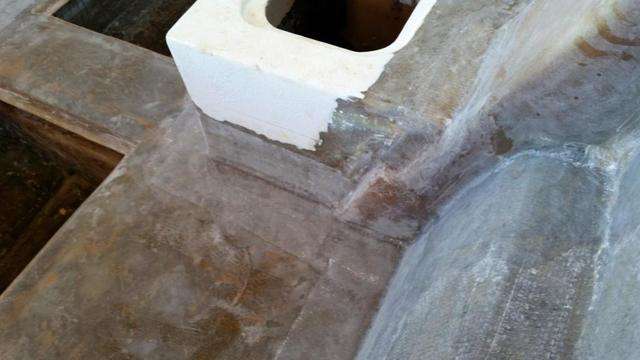
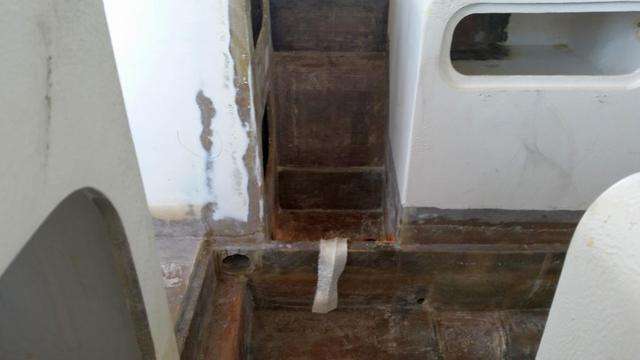
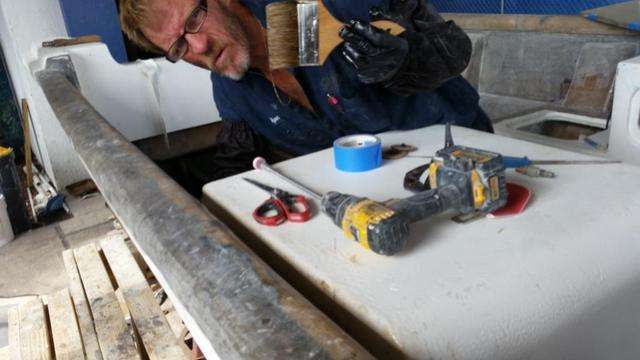
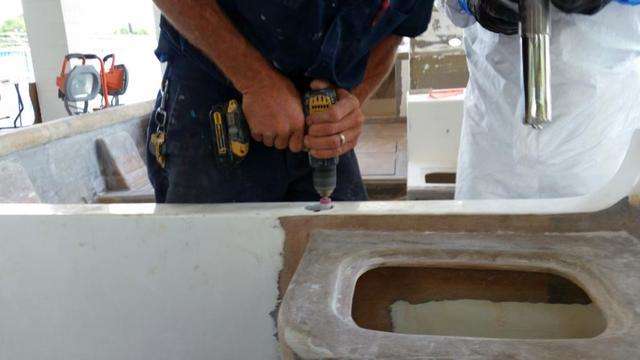
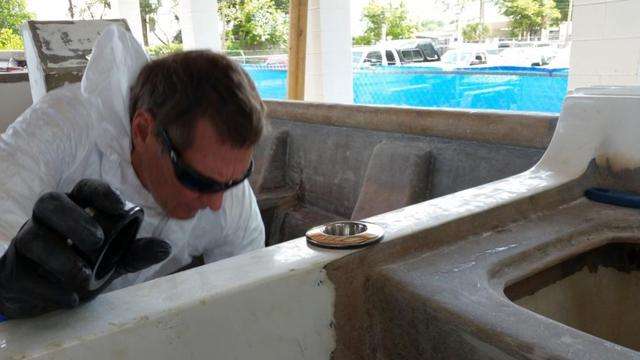
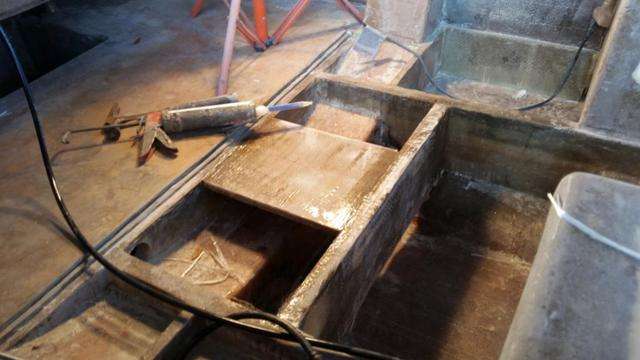
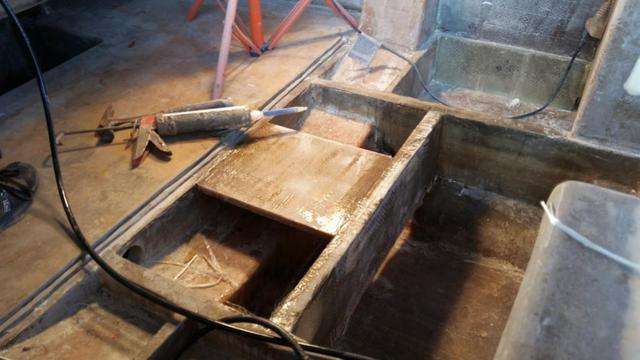
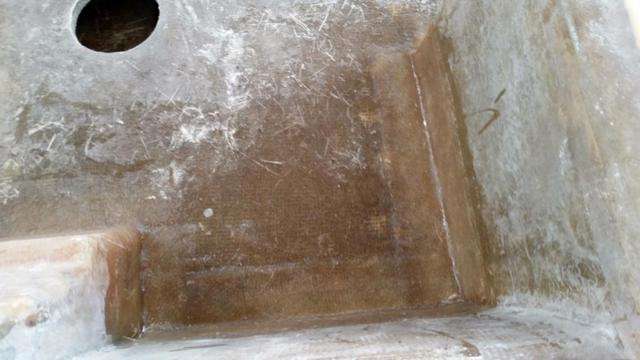
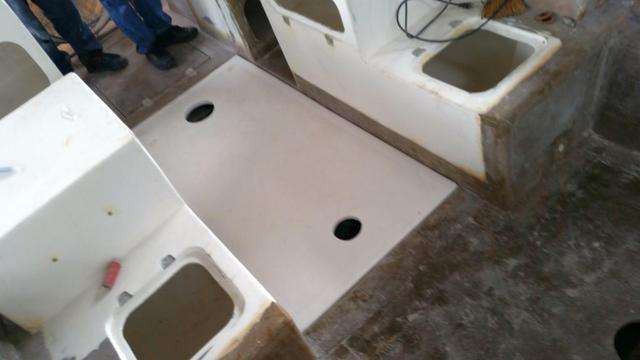
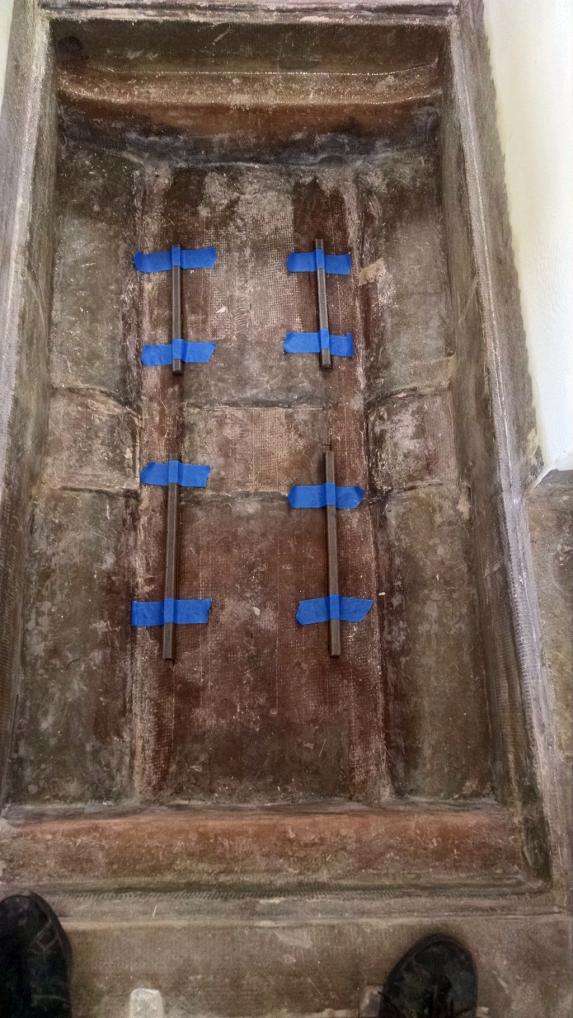
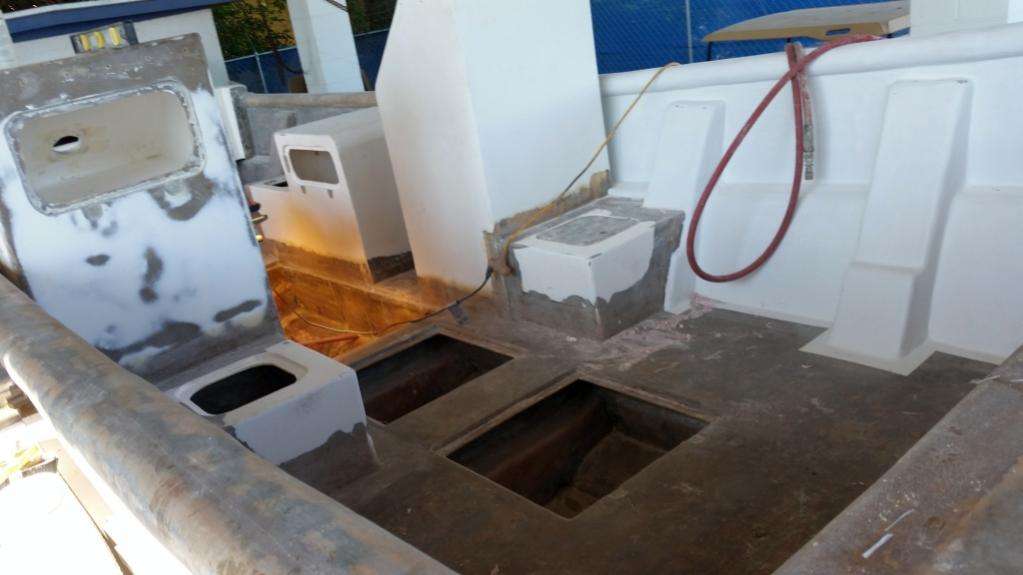
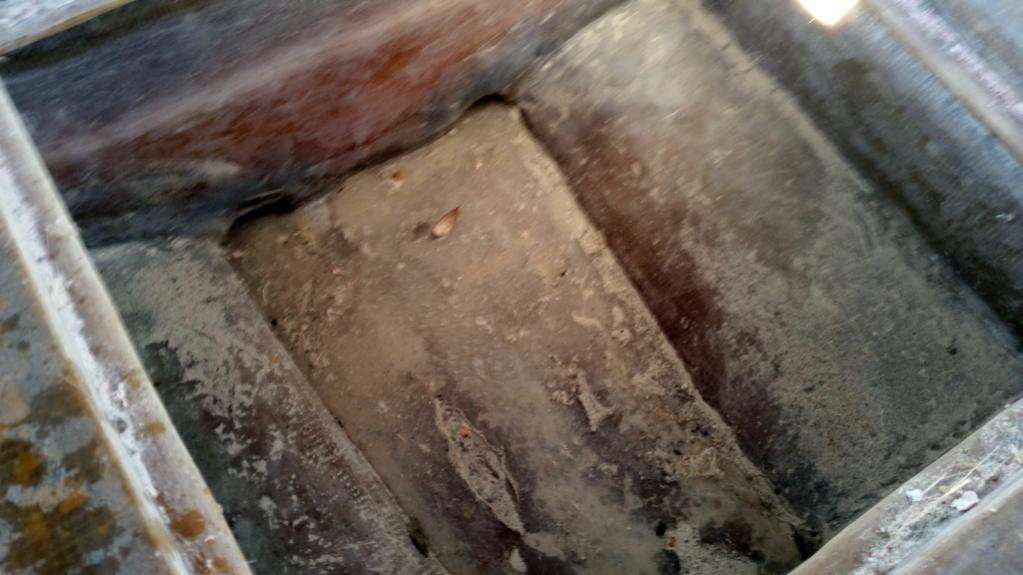
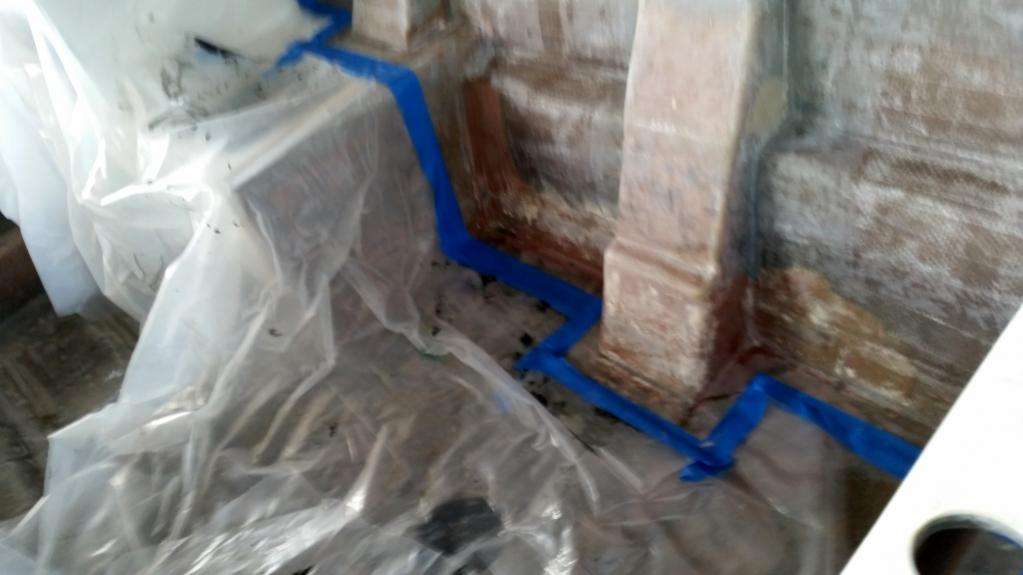
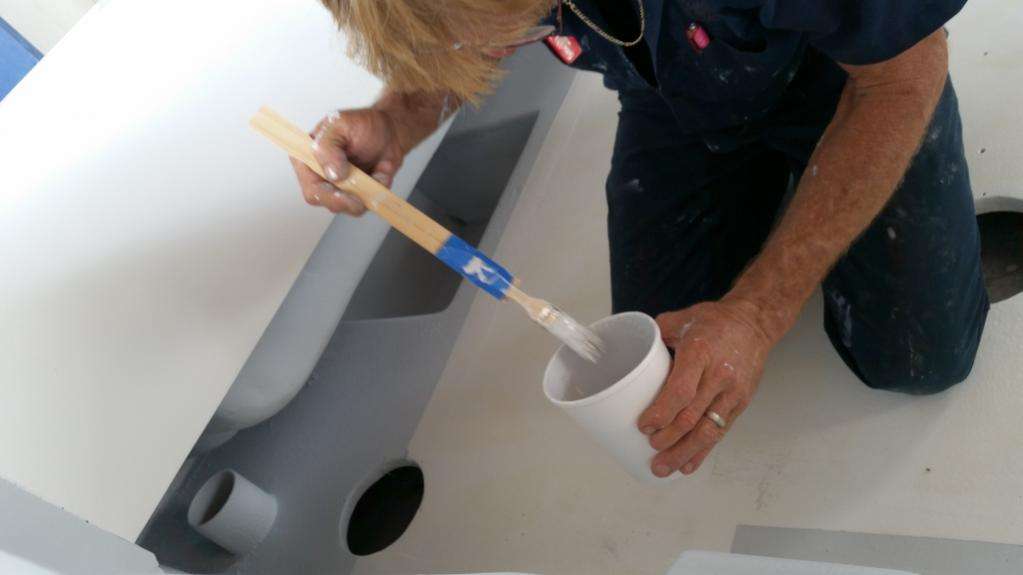
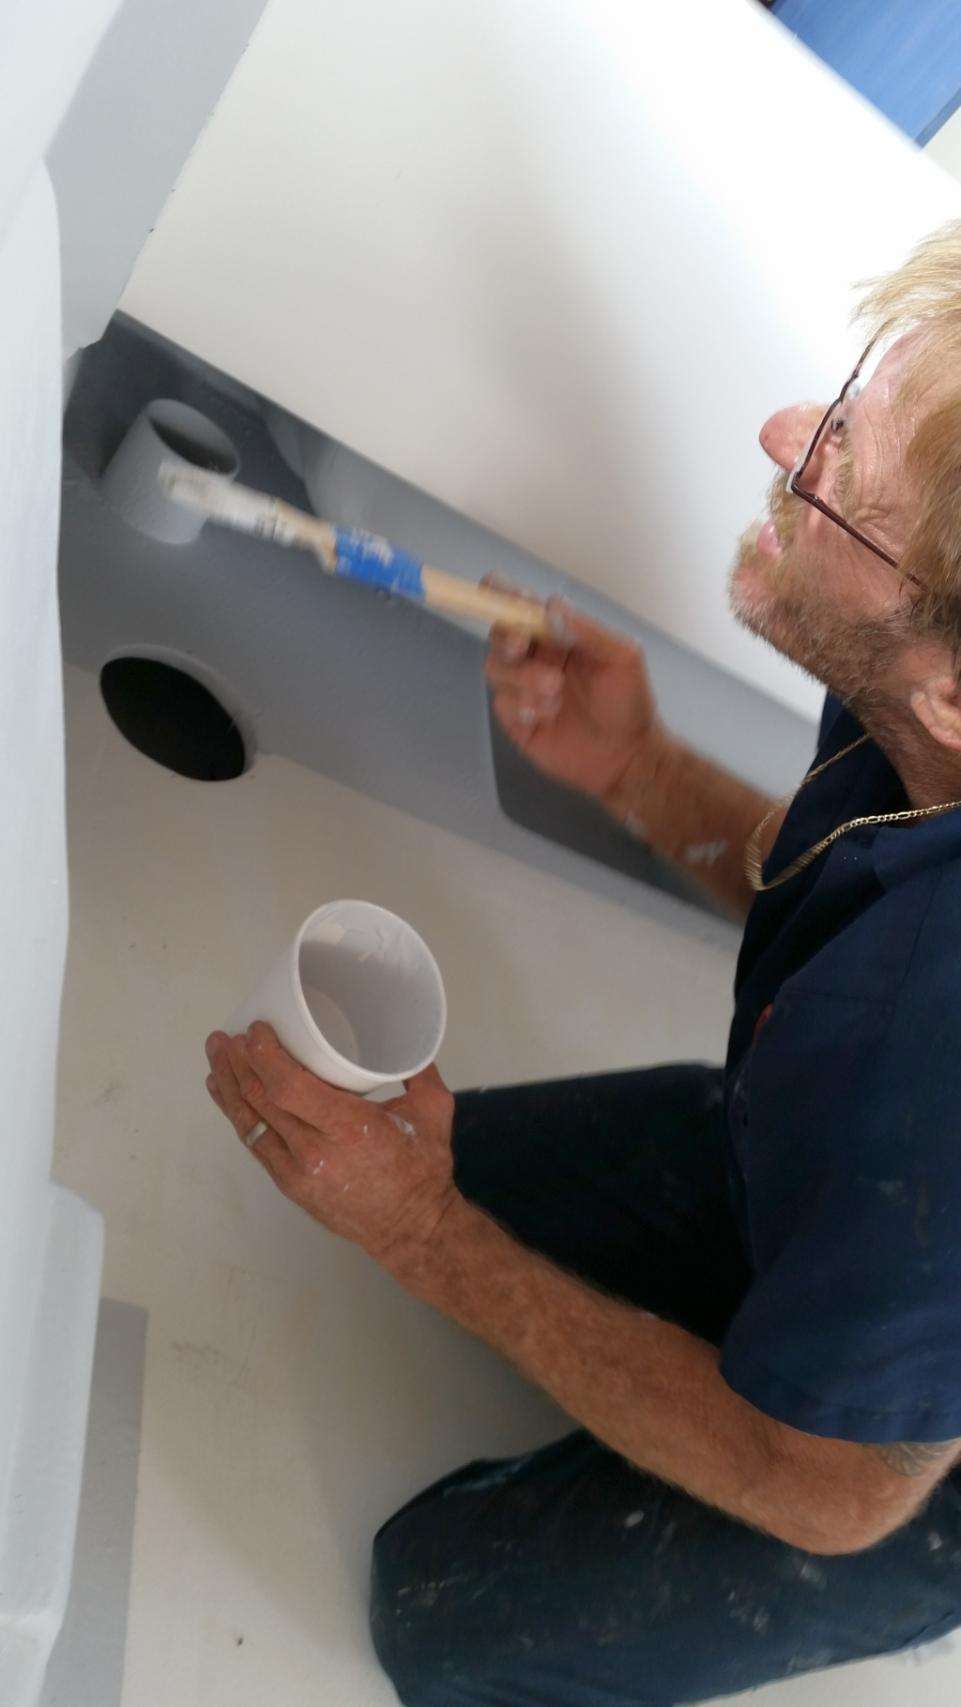
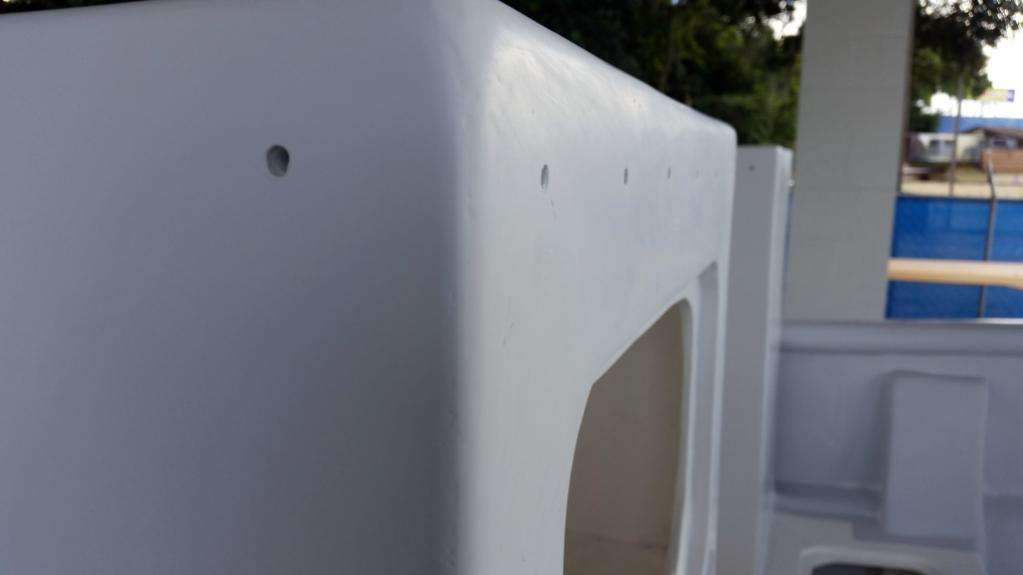
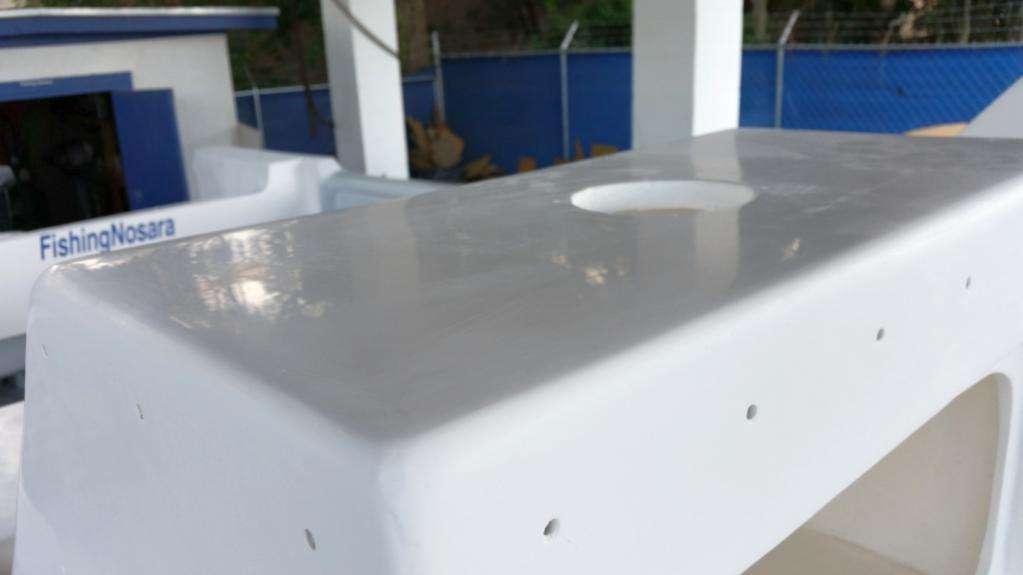
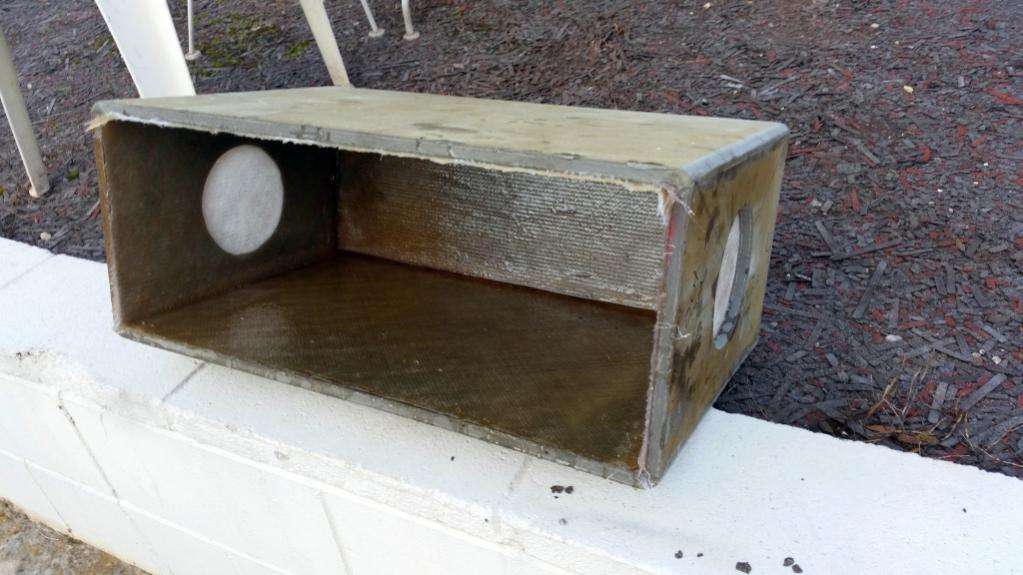
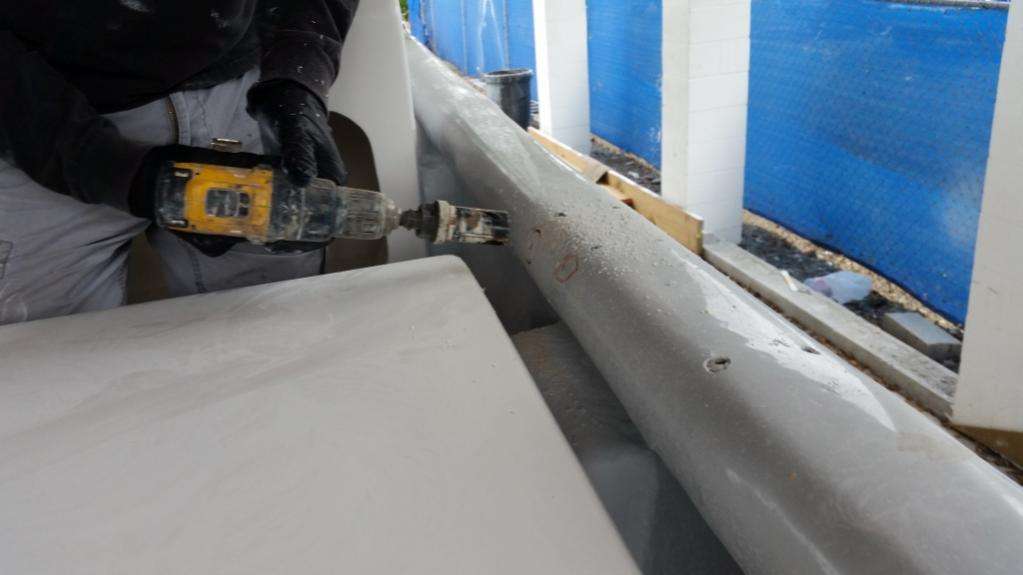
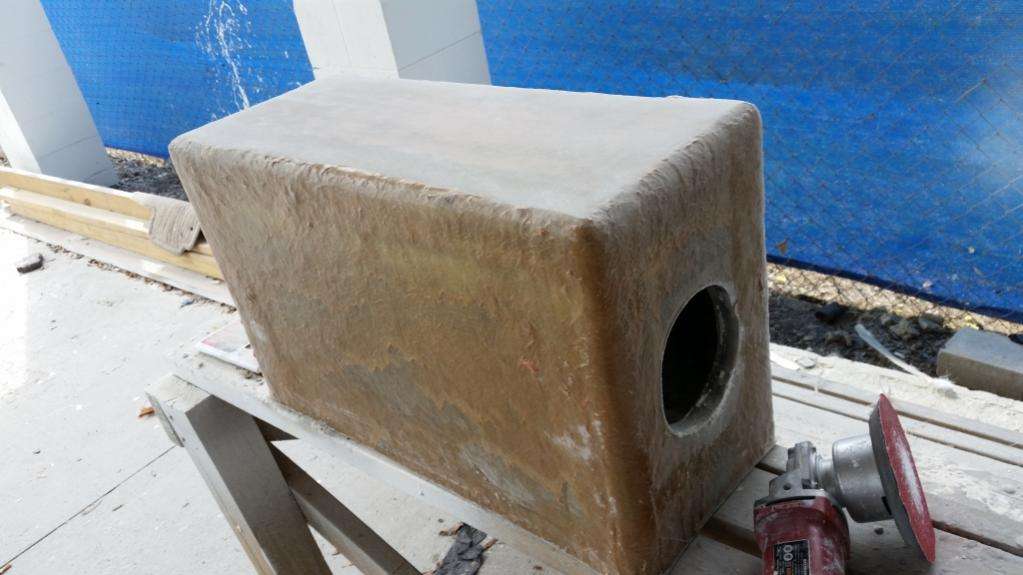
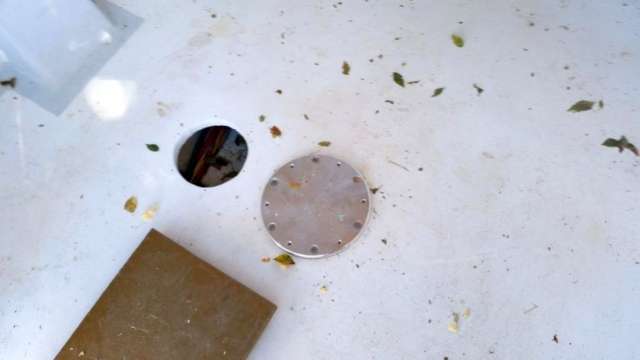
Another port hole will be needed in the rear floor to access the fuel tank controls. First we cut the hole and wrap it in fiberglass:
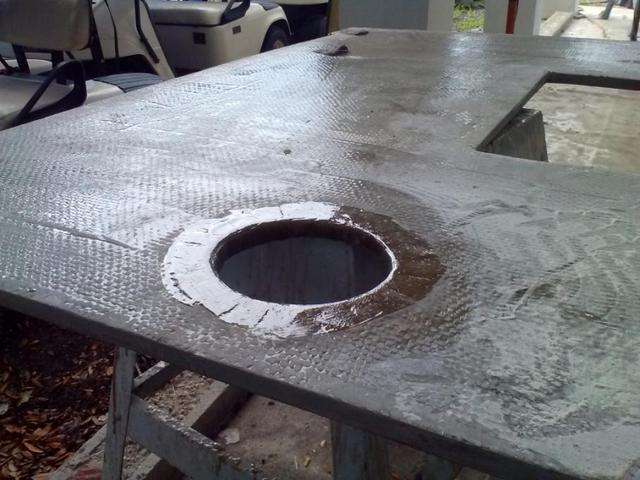
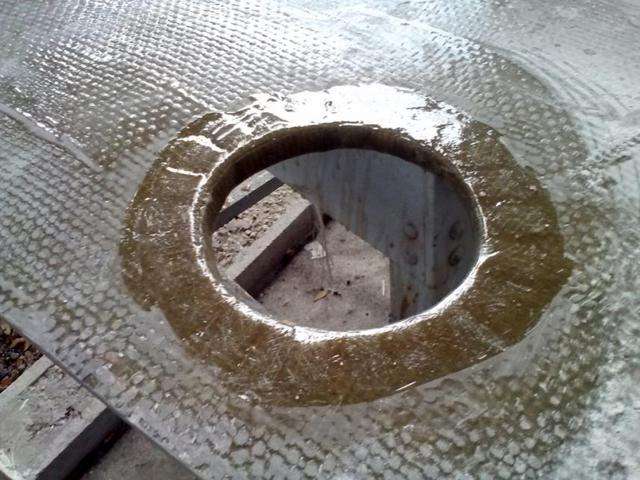
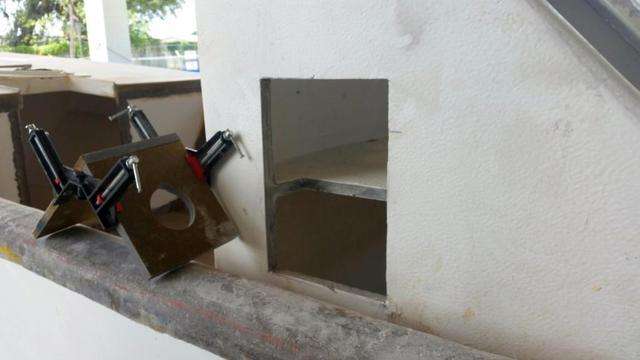
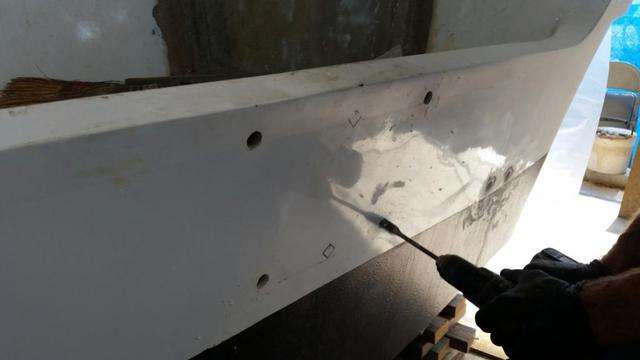
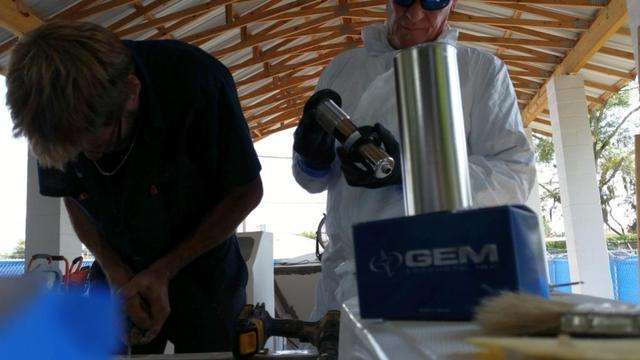
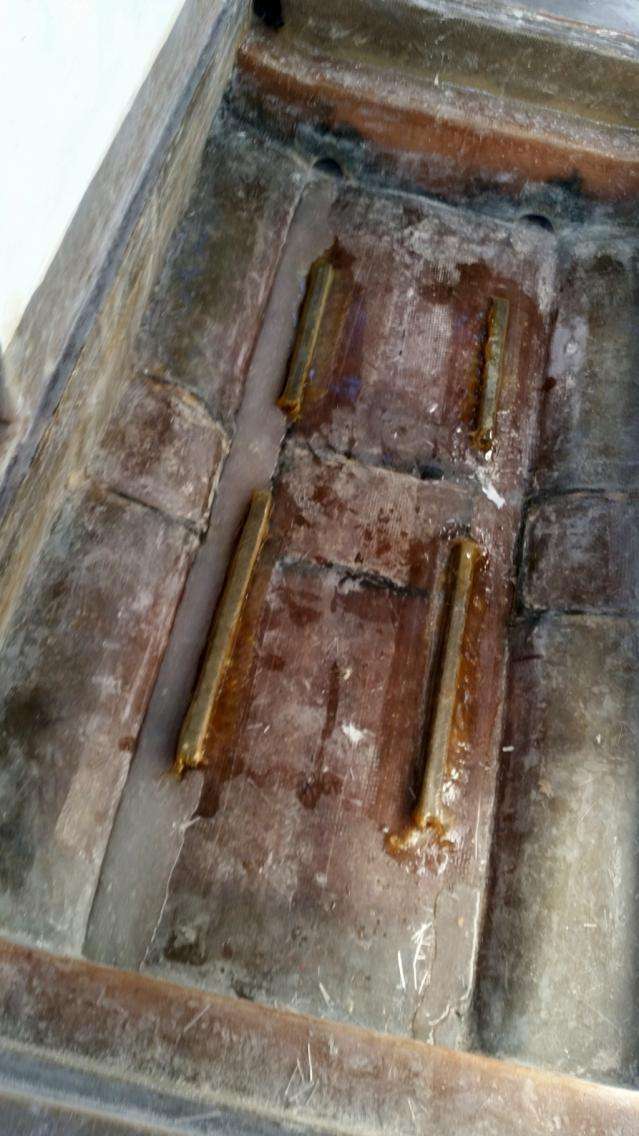
Then we drill over-sized holes to accept the epoxy sleeves:
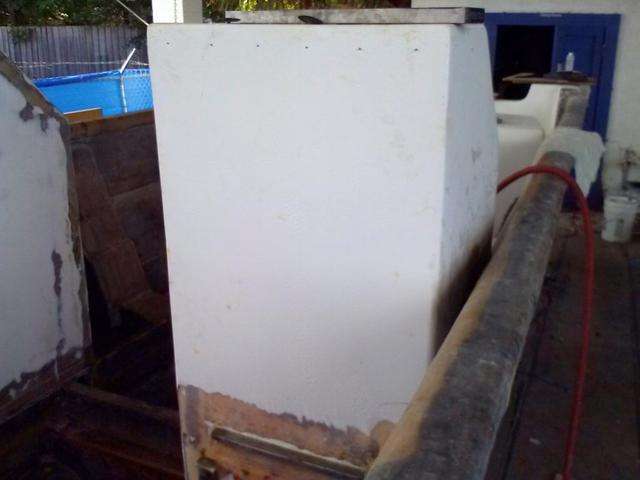
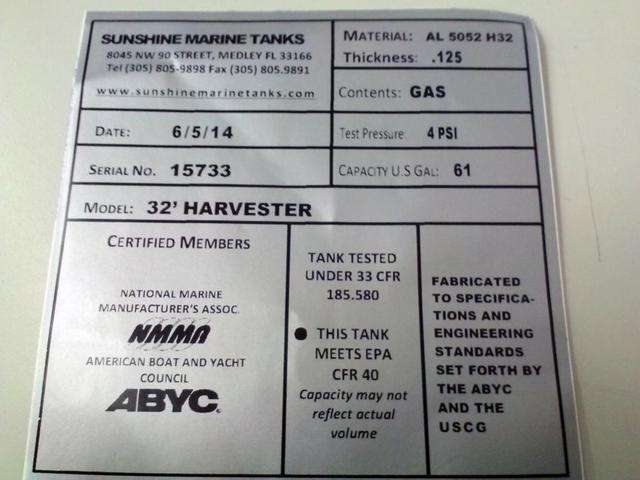
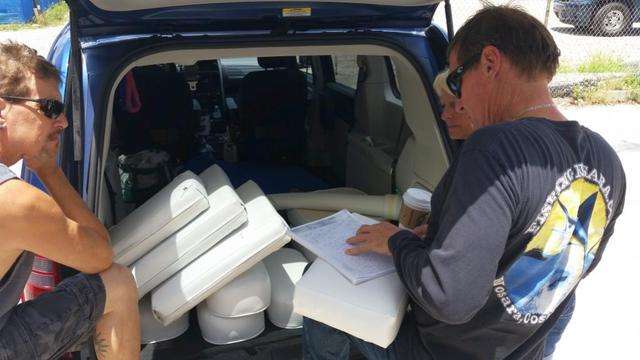
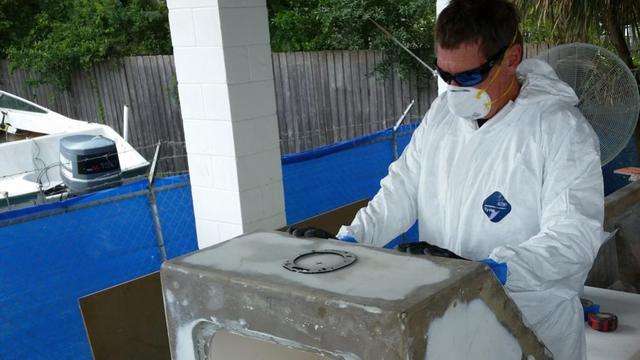
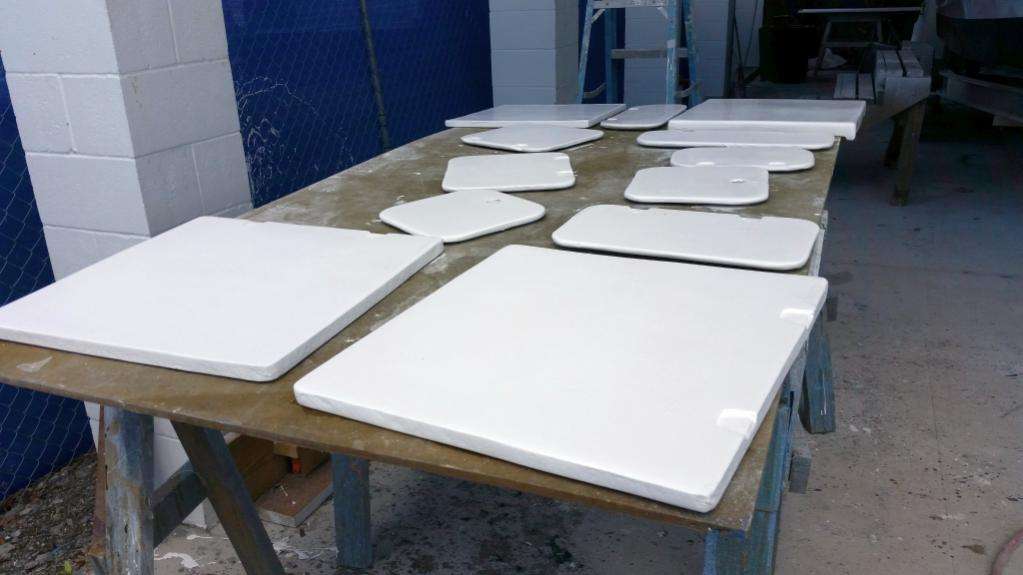
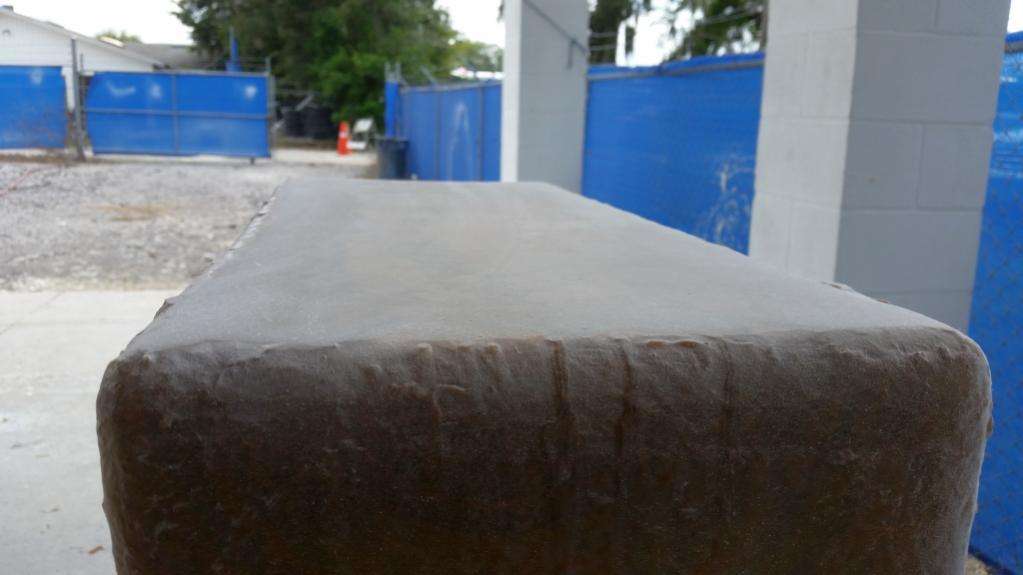
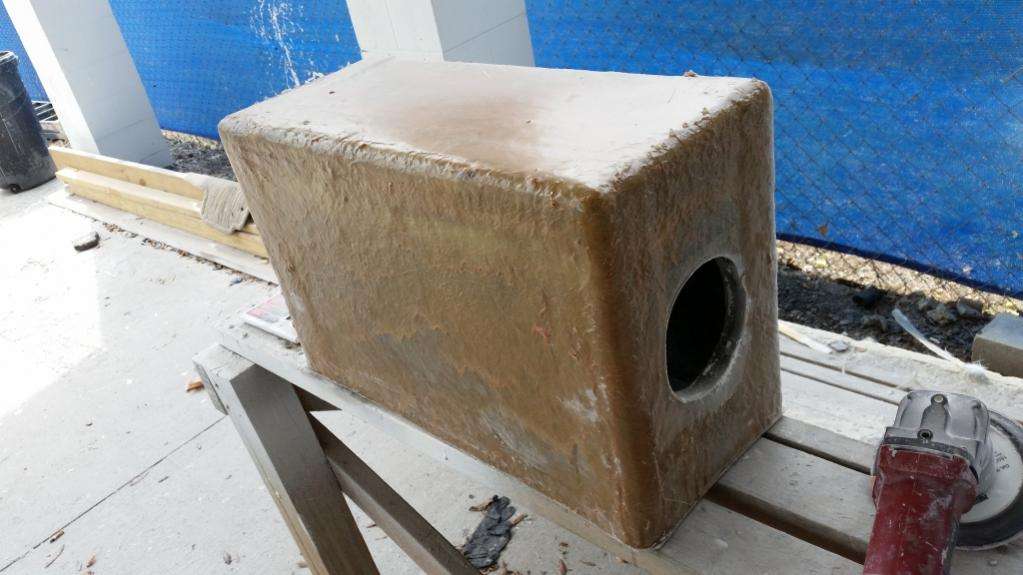
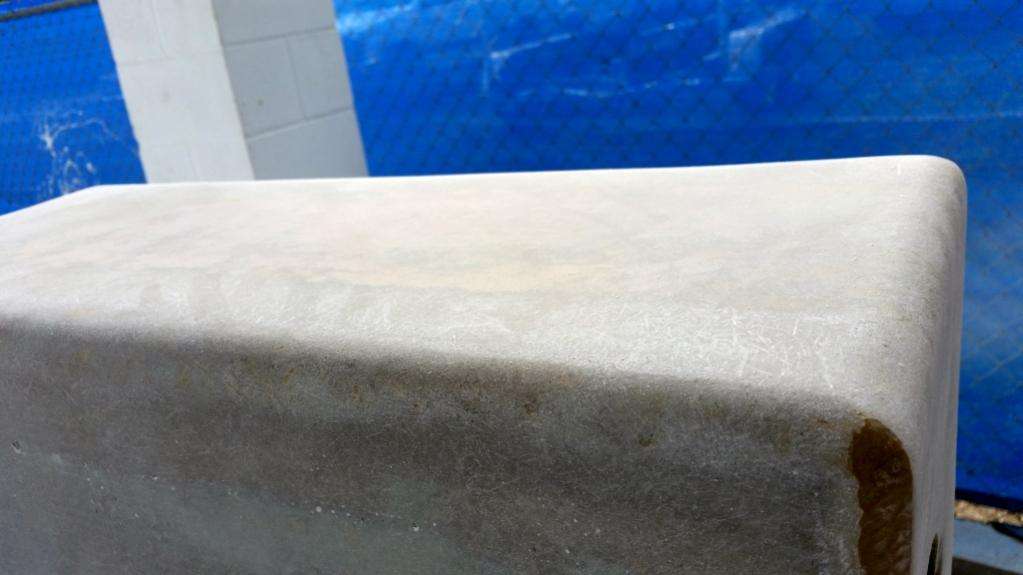
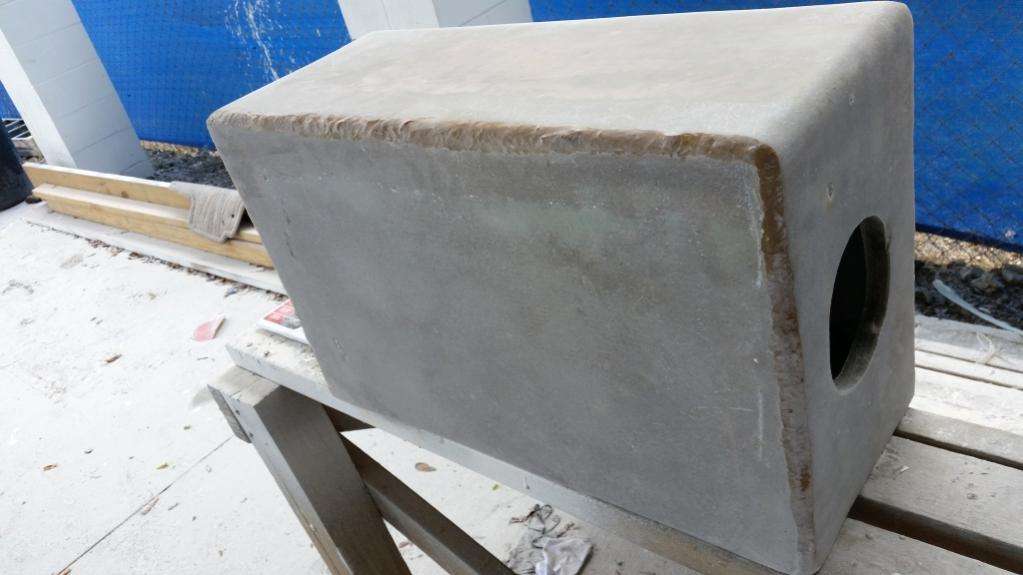
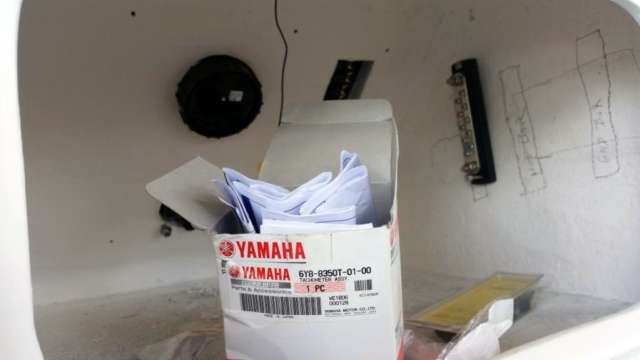
Last week we received our custom built fuel tank from Sunshine Marine Tanks in South Florida. These guys have done great work for us in the past, and for this build we needed them to replicate a Kracor fiberglass tank only build it out of aluminum:
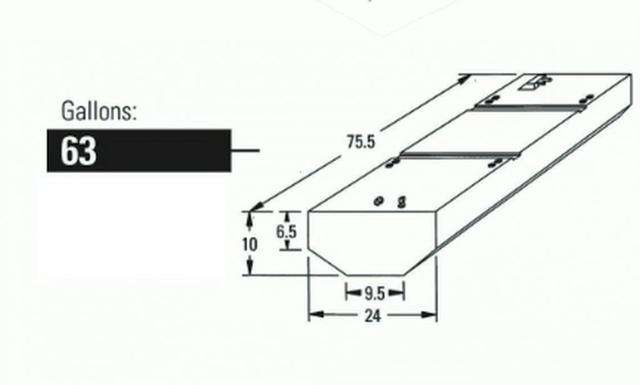
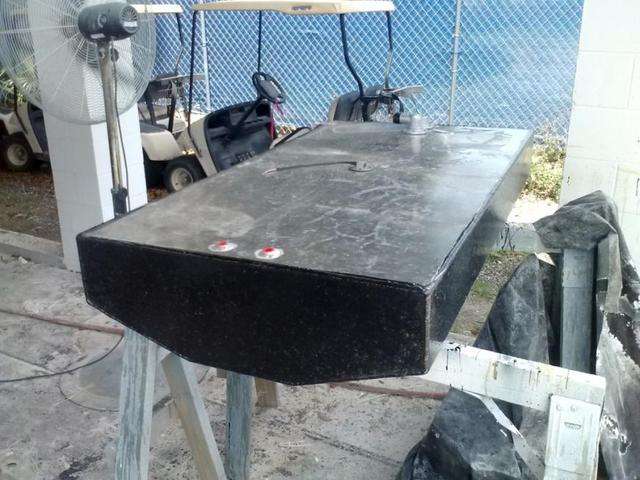
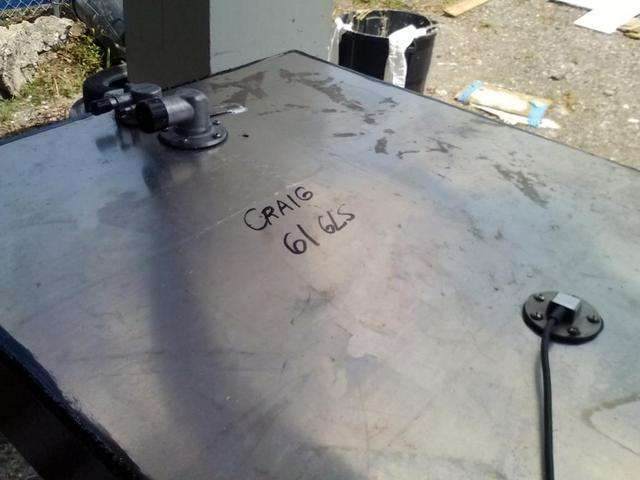
Here is what they delivered:
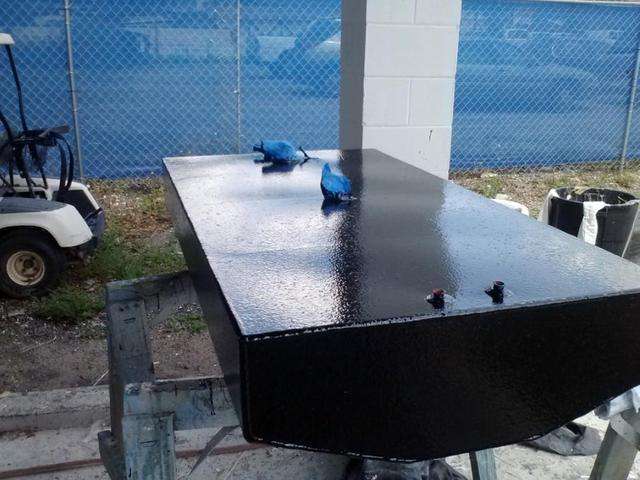
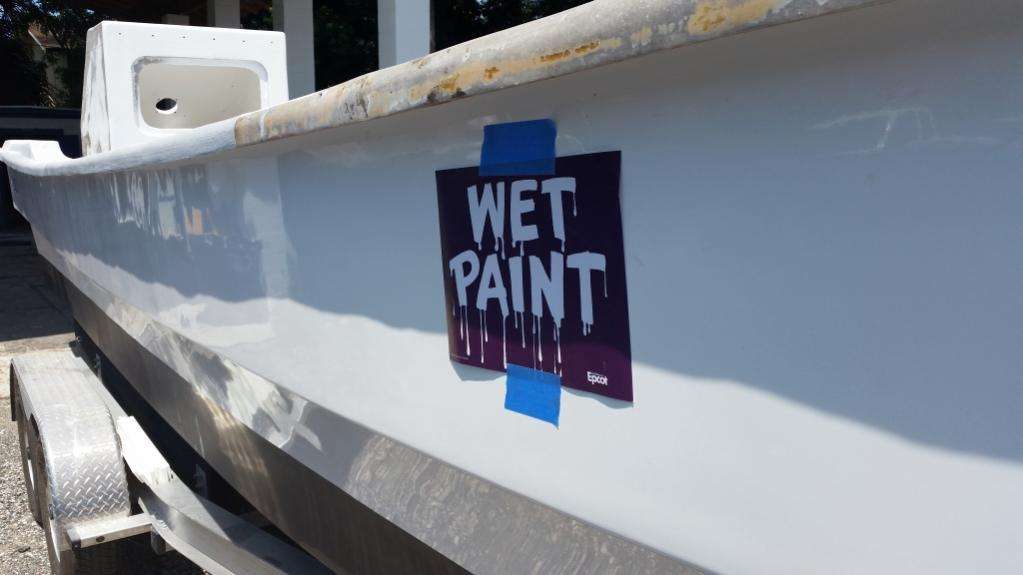
We scuffed and painted the raw aluminum with a two part epoxy-based paint. A good tip here is to make sure to wipe the tank with denatured alcohol after sanding and before painting…this way small sanding impurities won’t impede the paint job.

We slapped on the sticker for the Coasties:
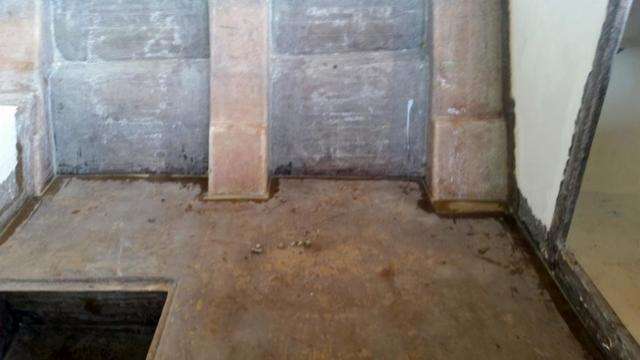
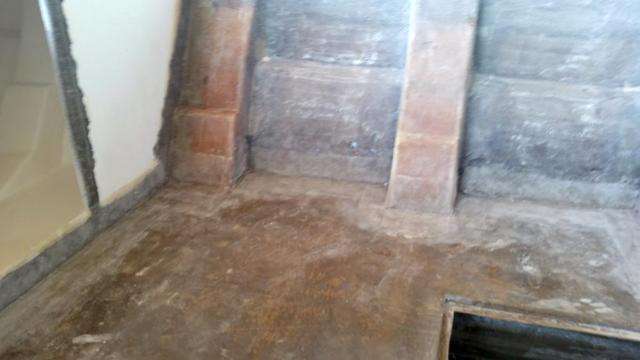
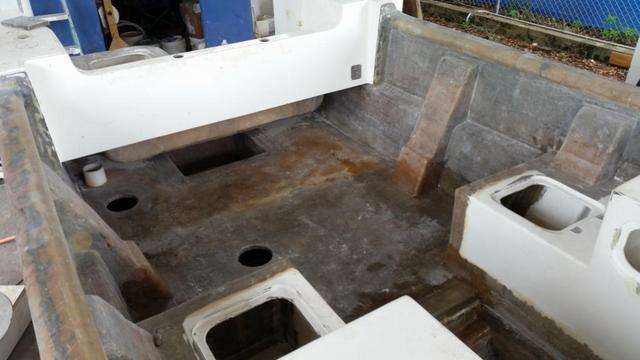
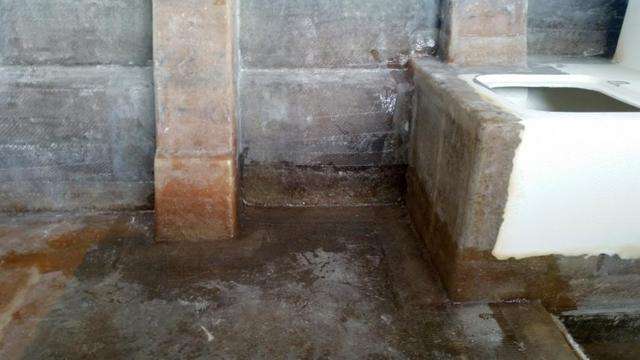
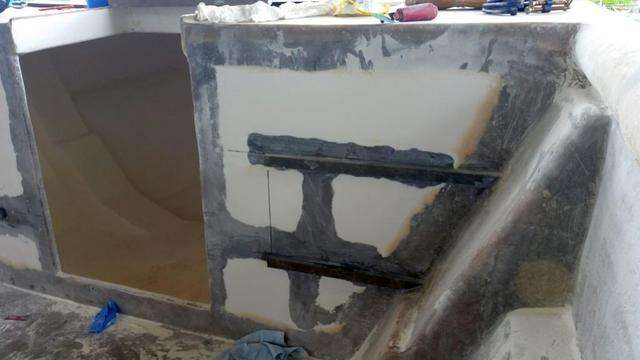
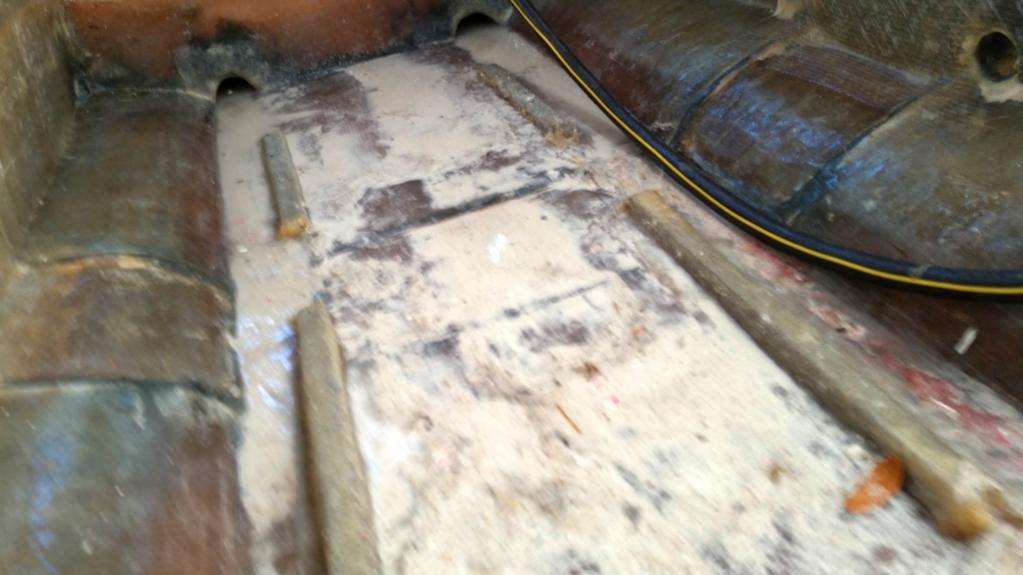
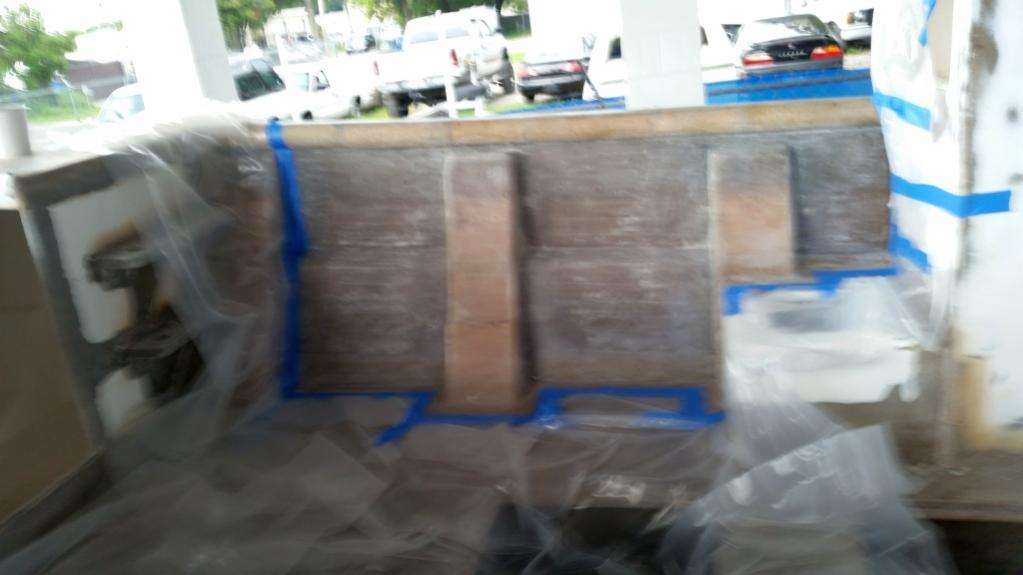
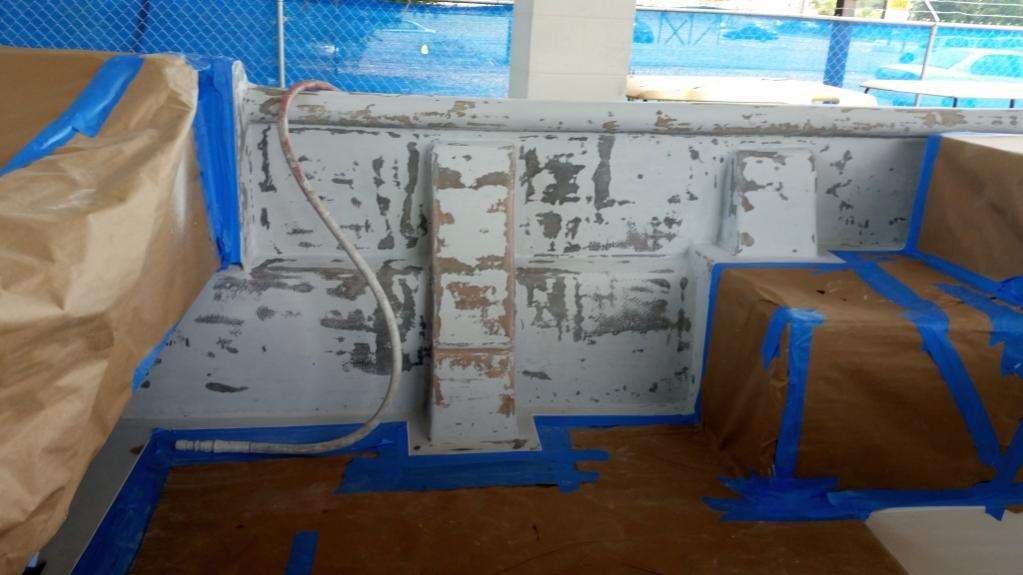
And we finished removing a stringer and capping off the holes with fiberglass.
Before:
After:
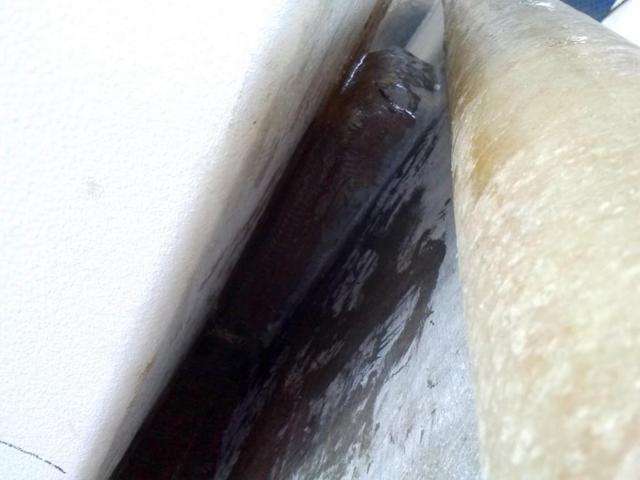
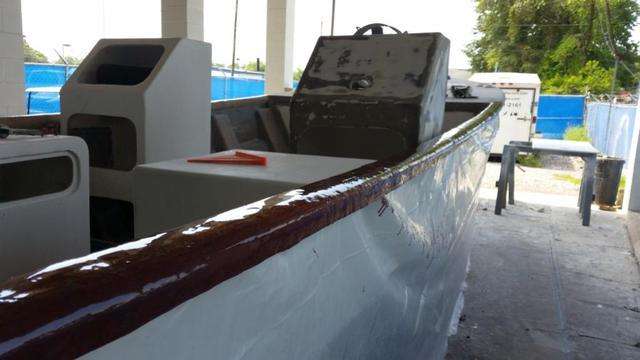
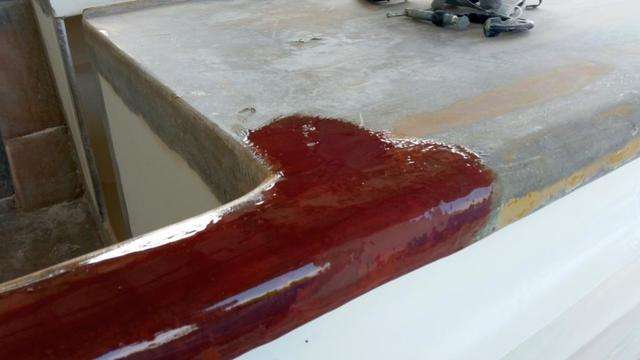
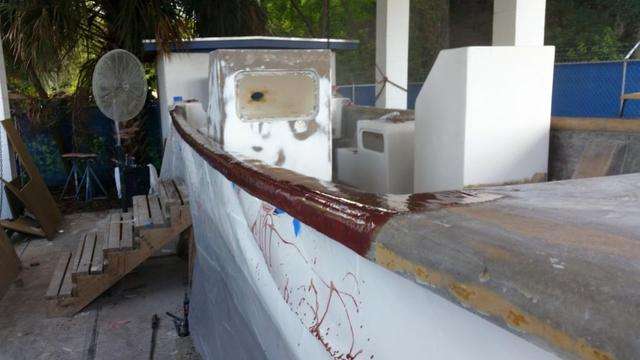
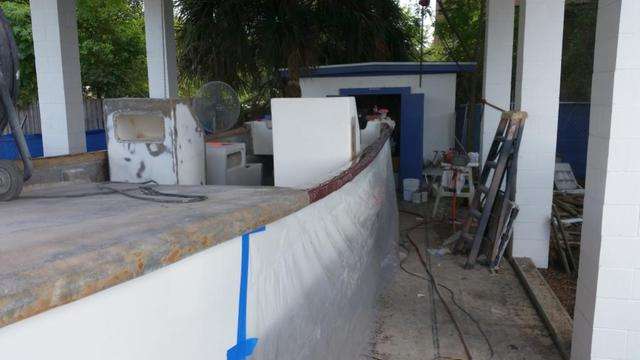
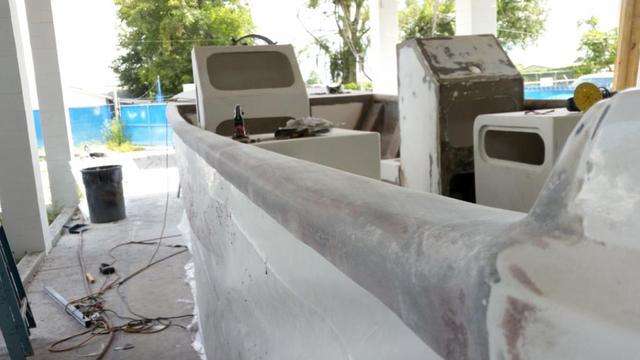
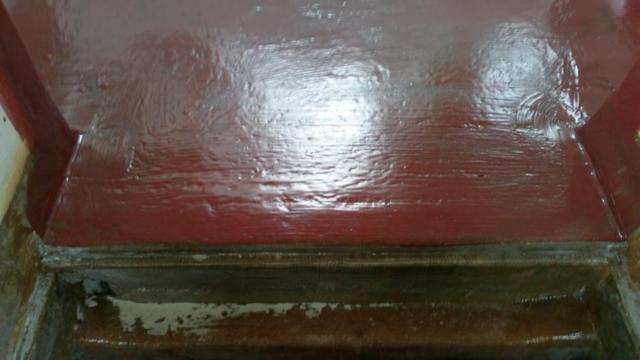
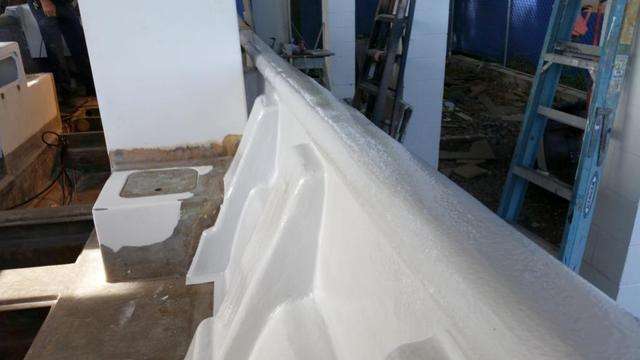
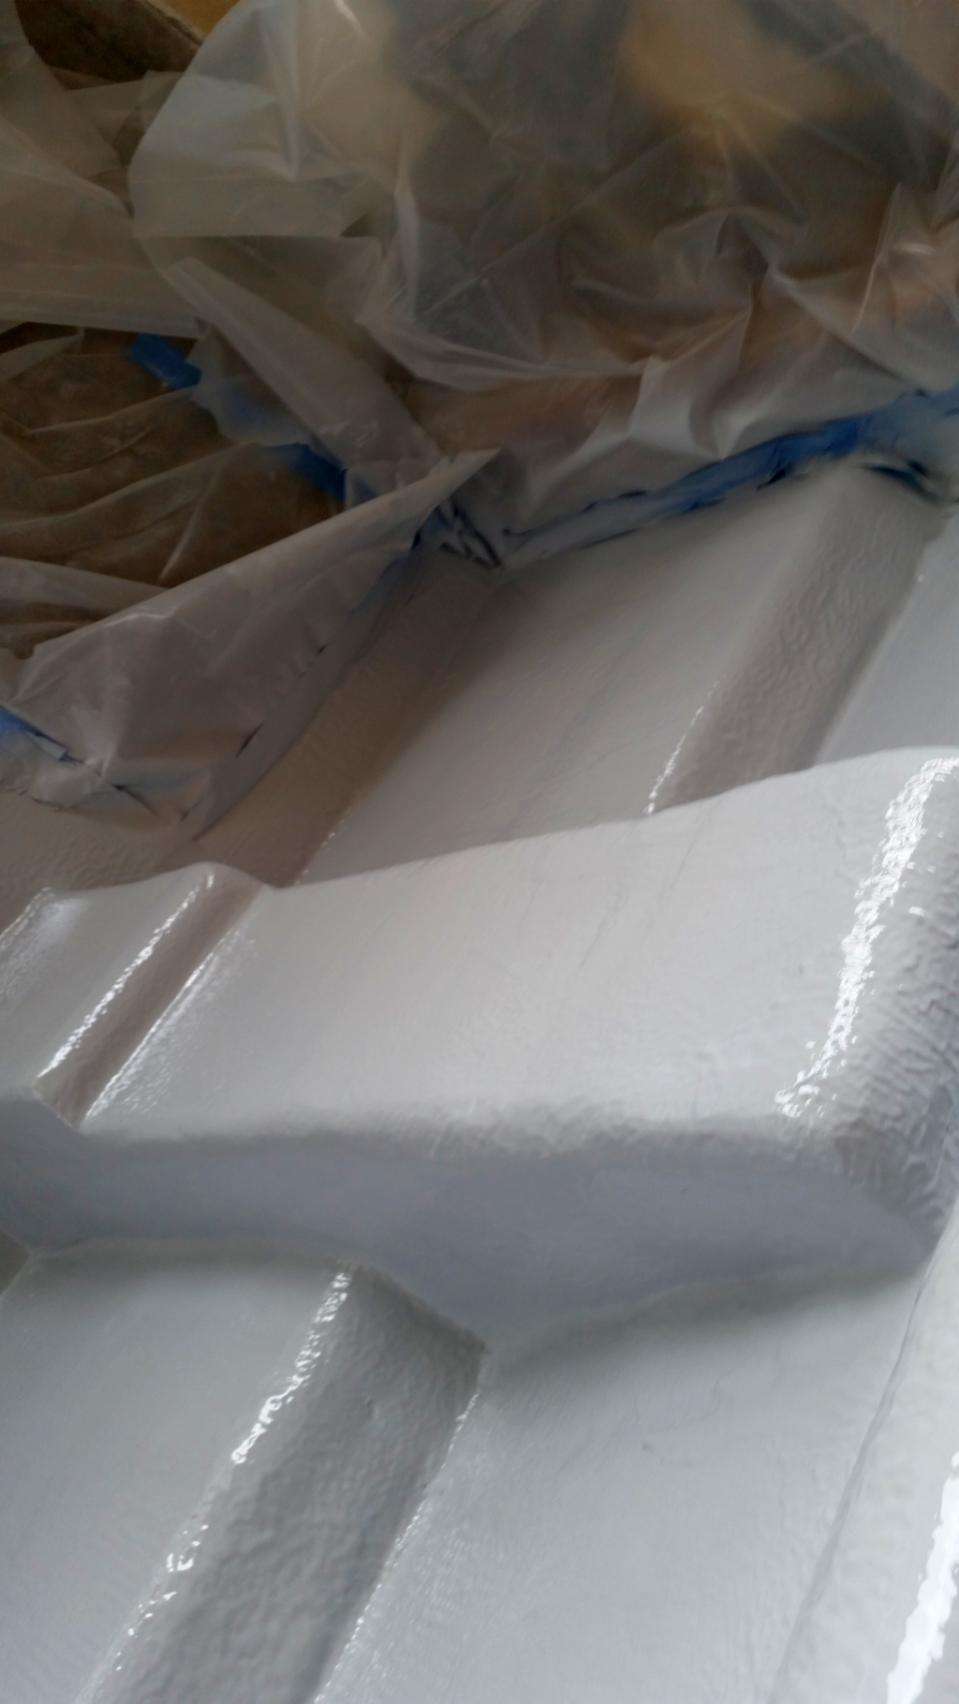
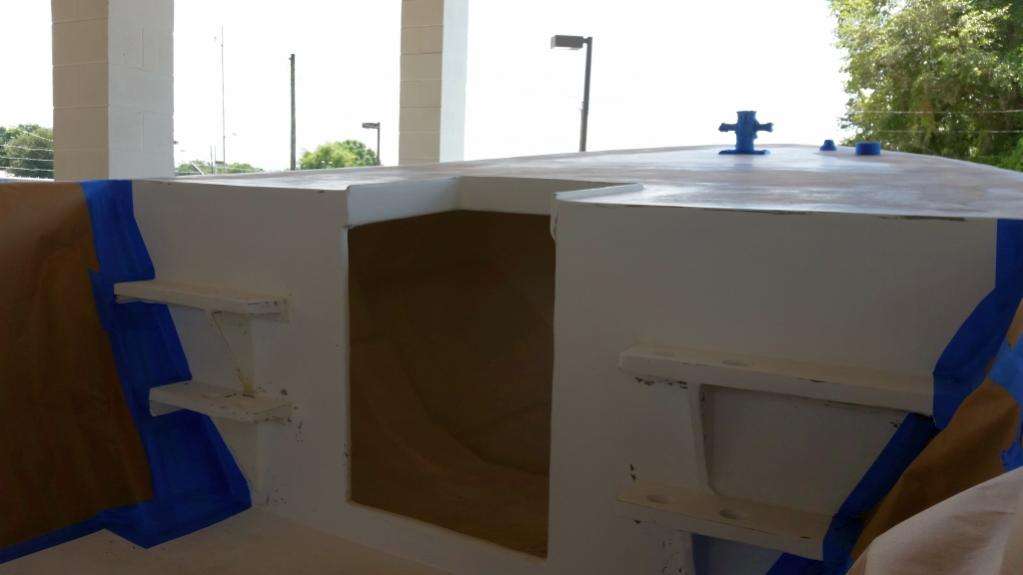
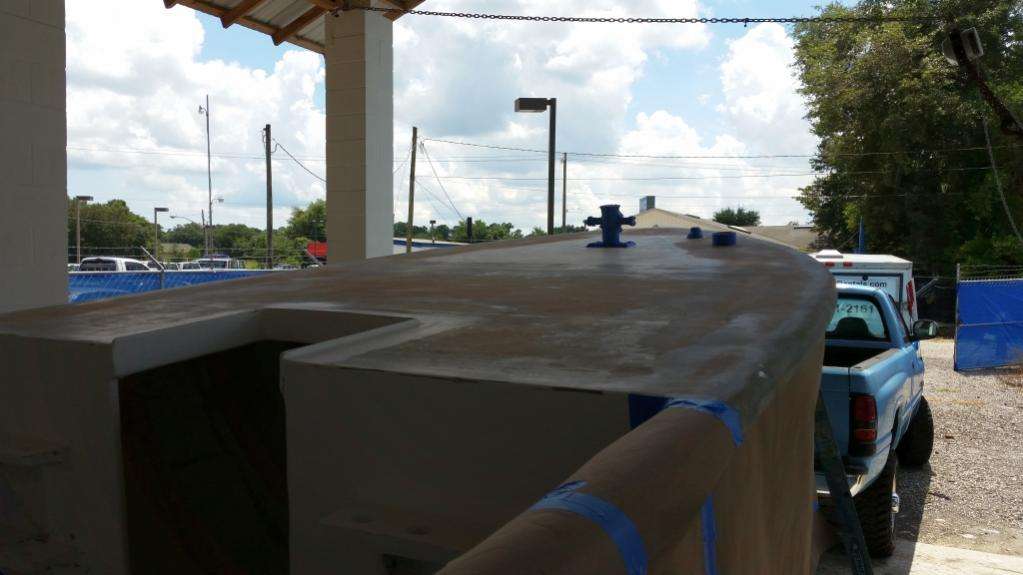
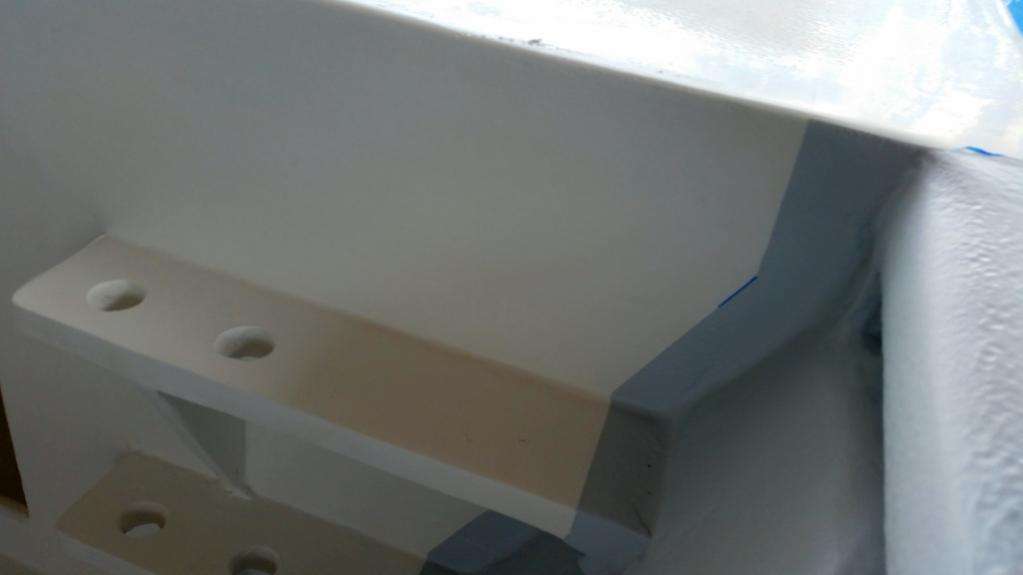
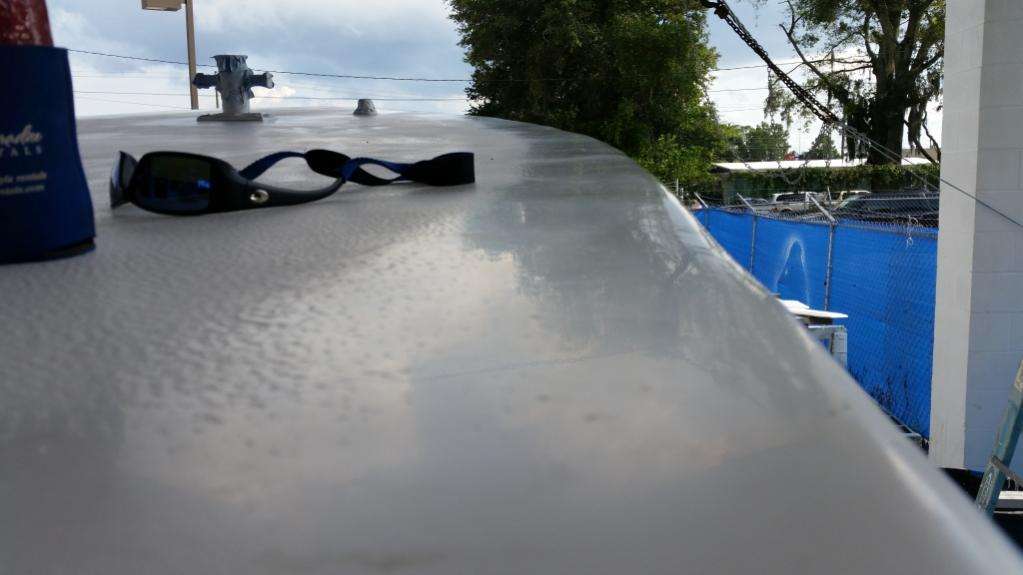
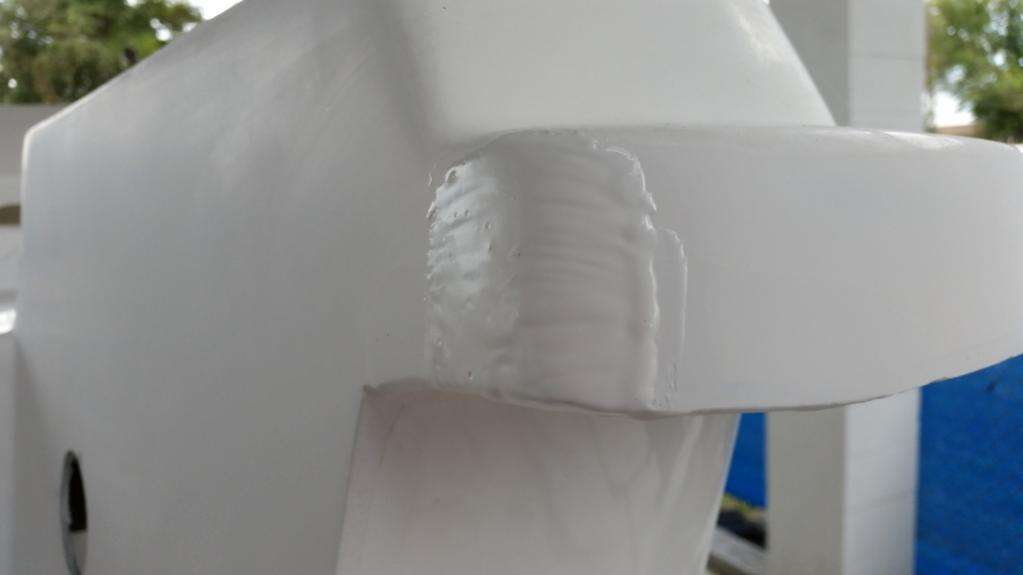
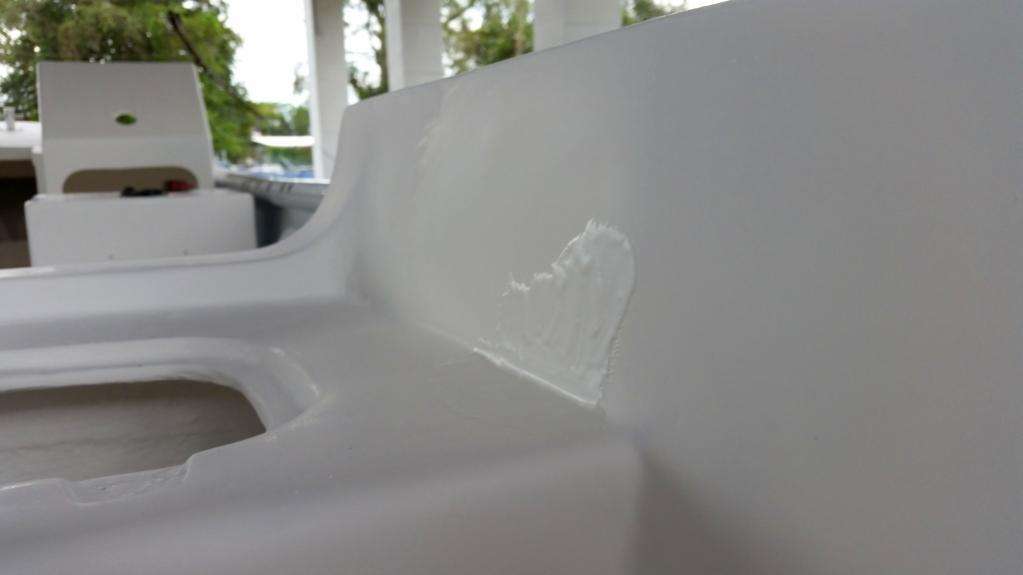
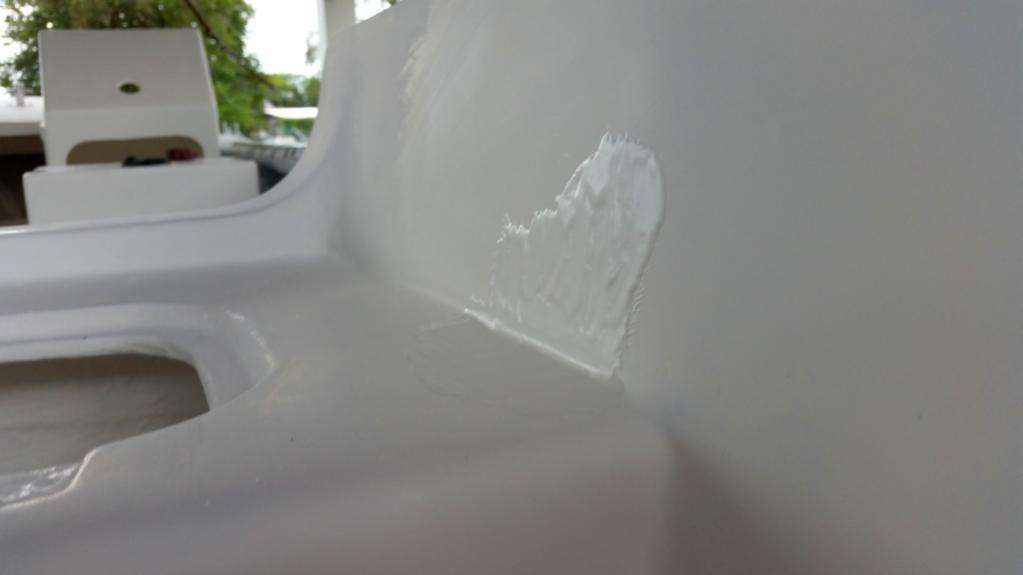
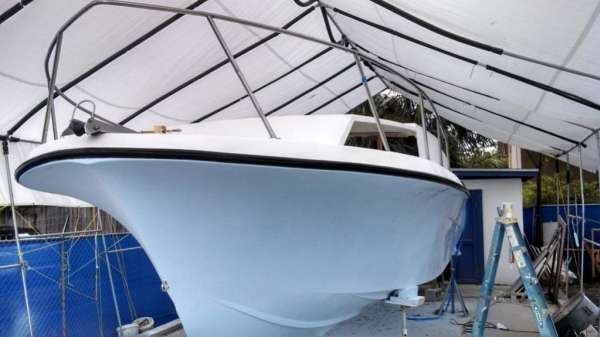
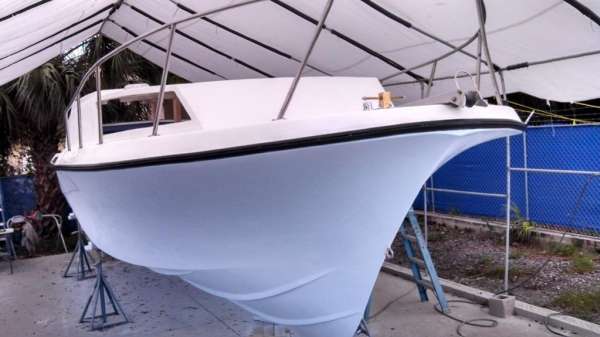
Lastly, we have finished detailing the foredeck to hull connection and have created a near-perfect level using fiberglass/red microballon putty:
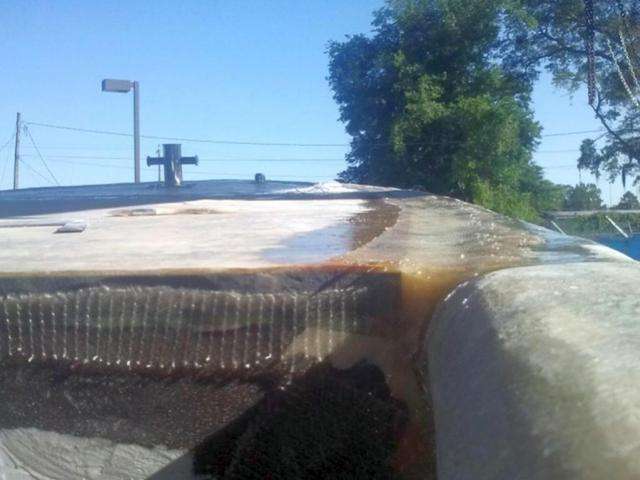
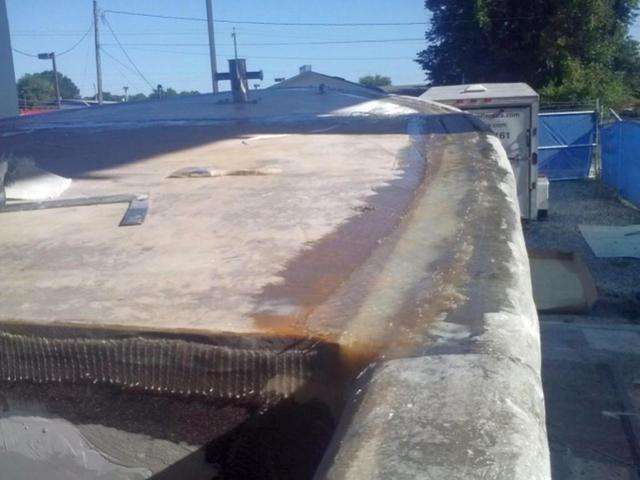
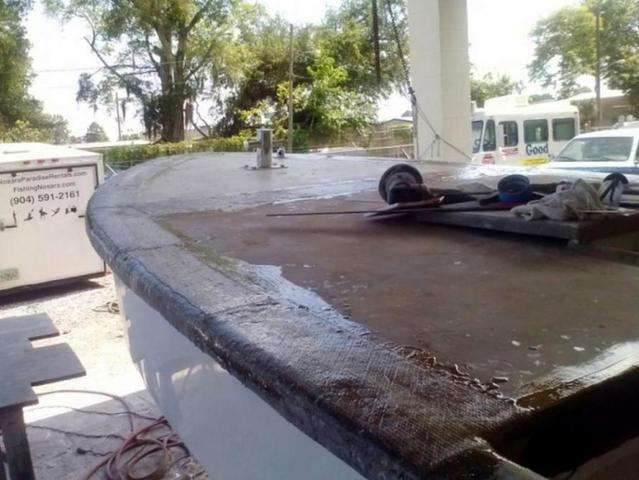
Above you can see the layers of glass added for strength, and below is a shot with the putty built up.
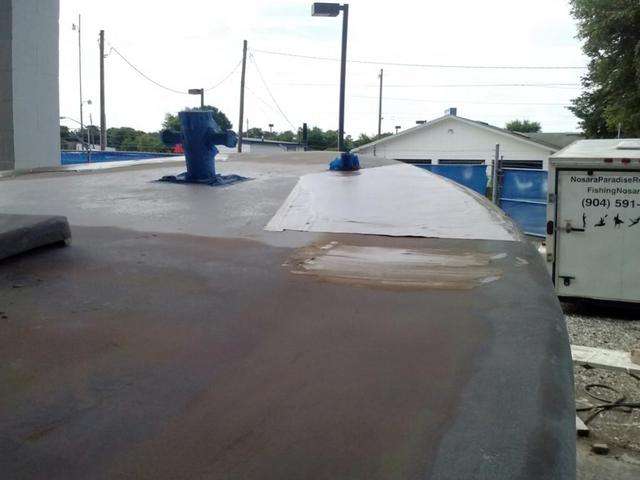
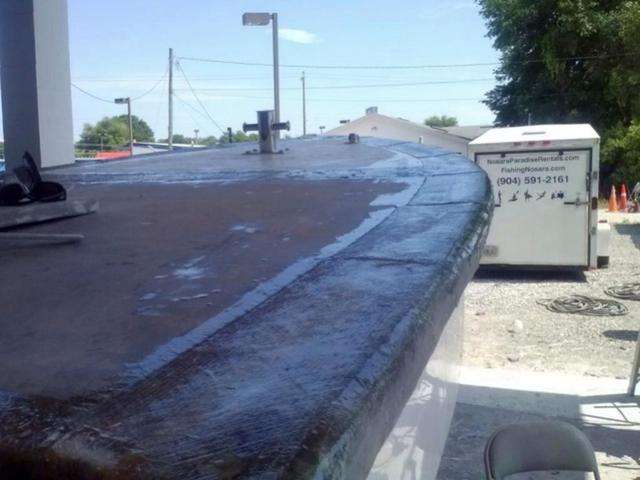
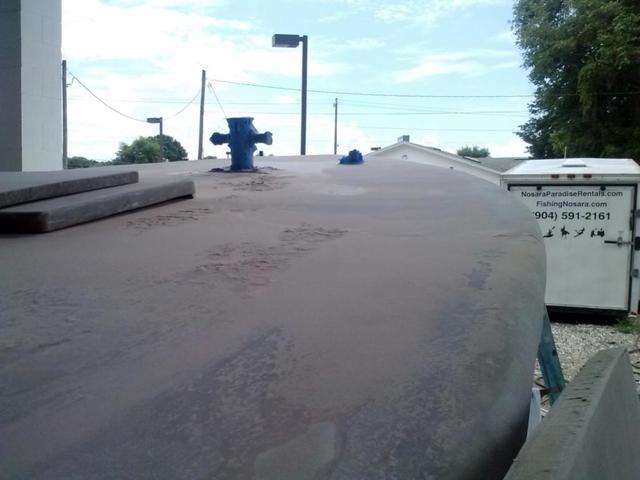
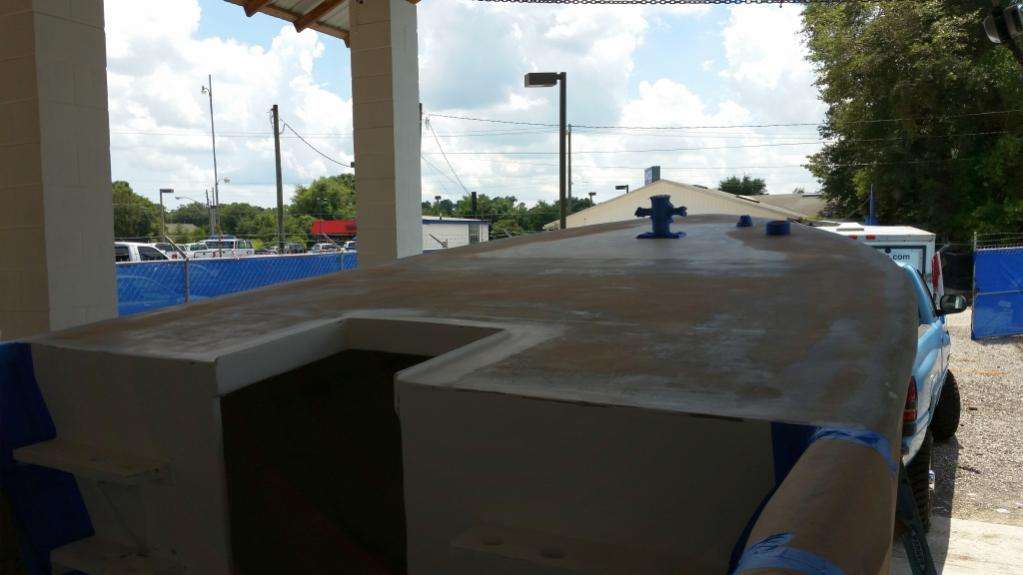
After some long hours with a DA and an air file we have this smooth looking deck:
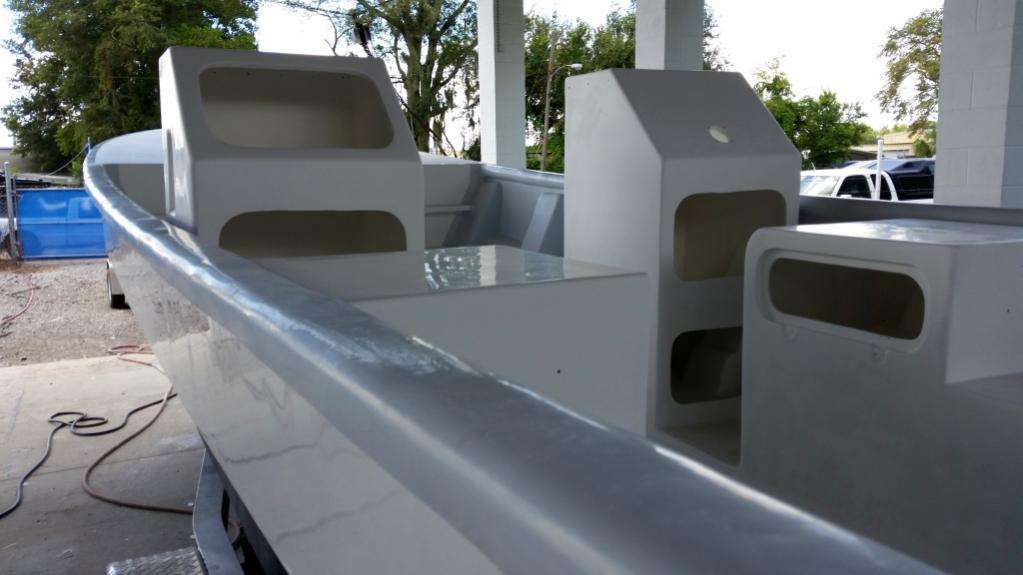
We are plowing ahead to epoxy the coolers and forward facing seats into place this week. Then it is on to the floors!
June 29, 2015 – Day 229
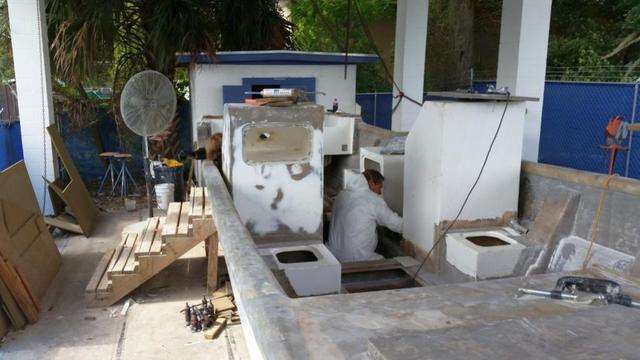
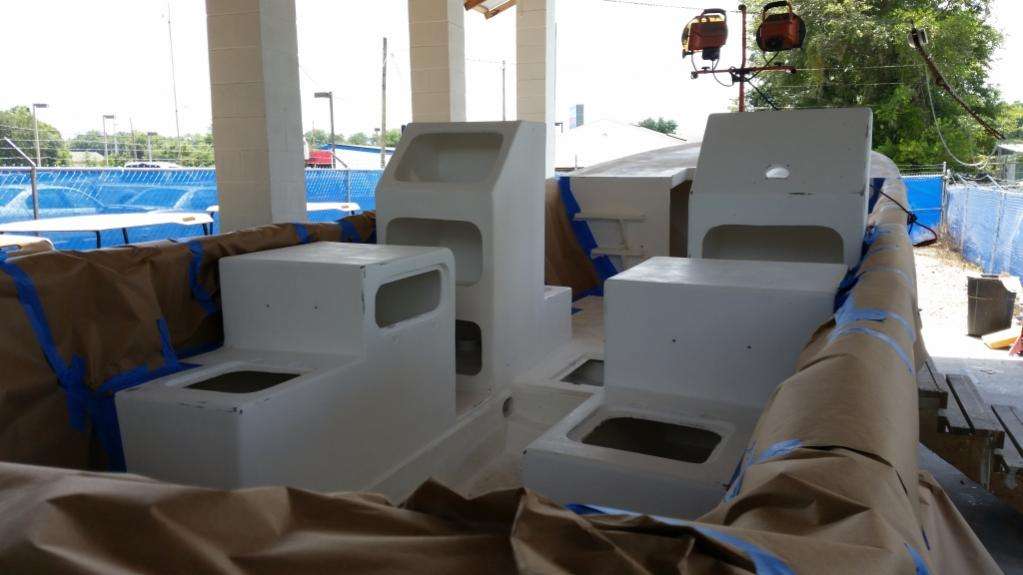
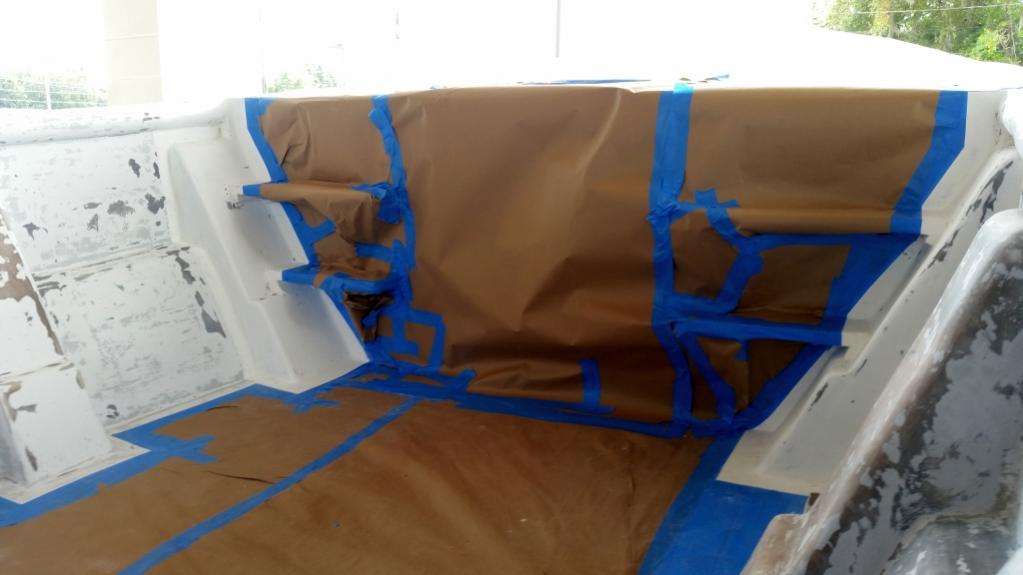
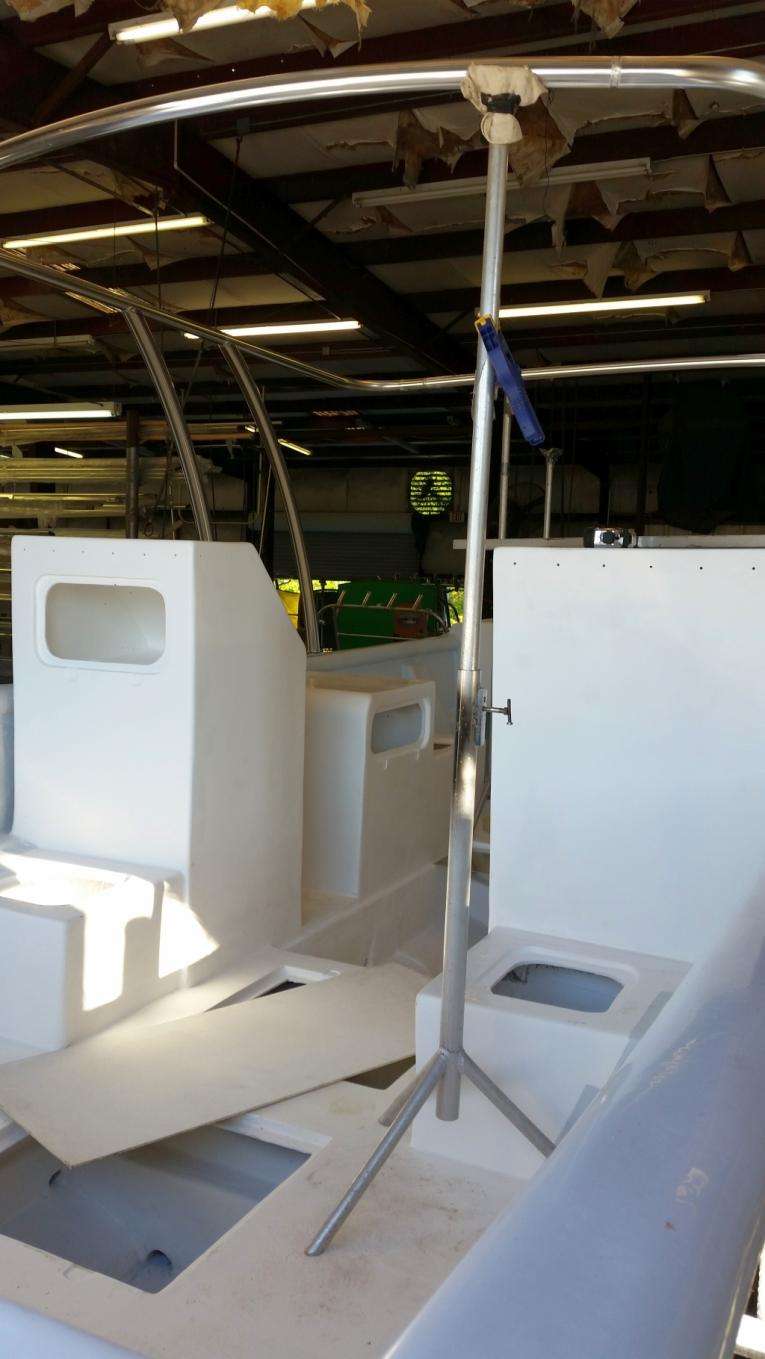
Busy weekend as we’ve been dodging raindrops to continue the console installation.
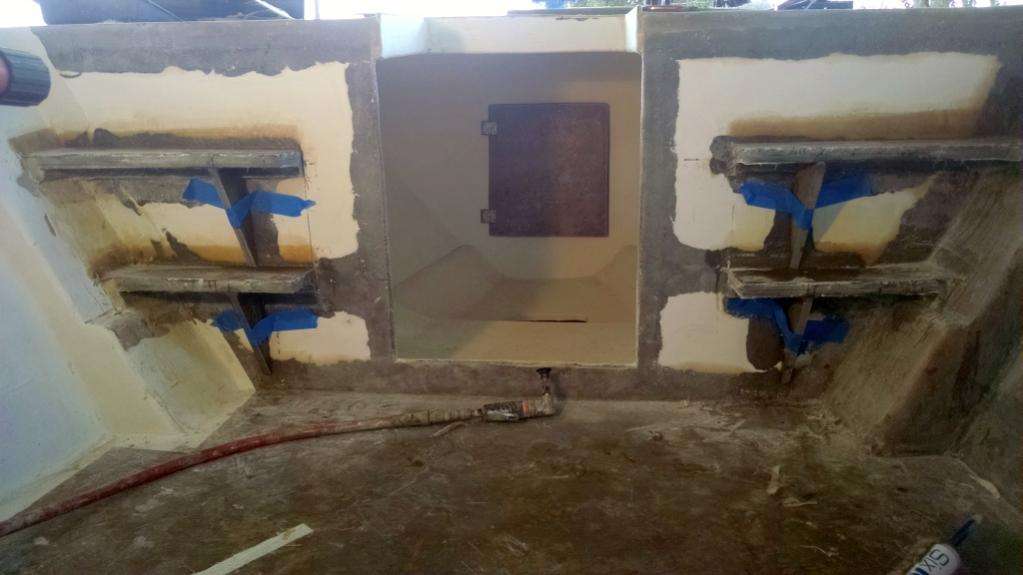
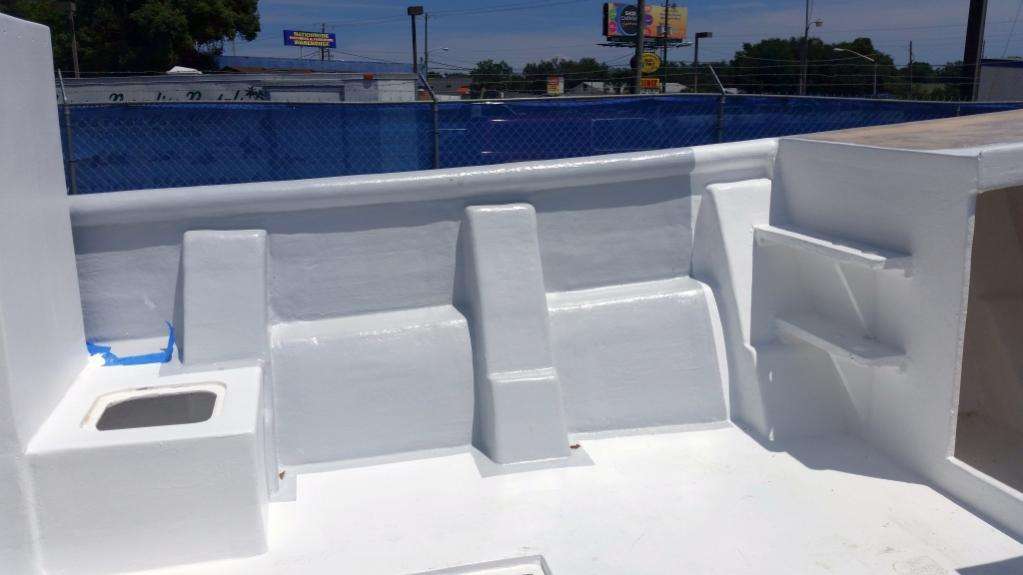
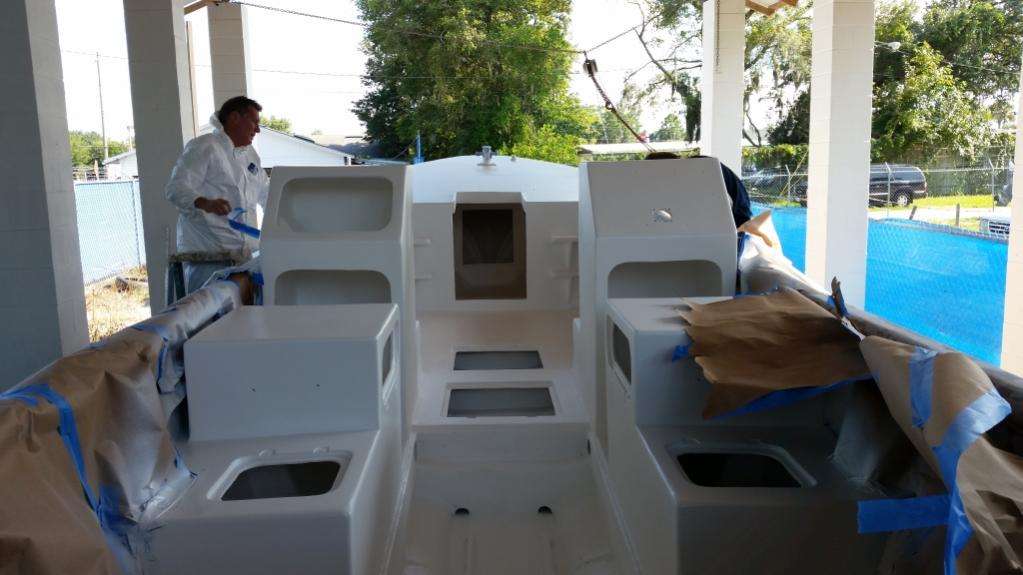
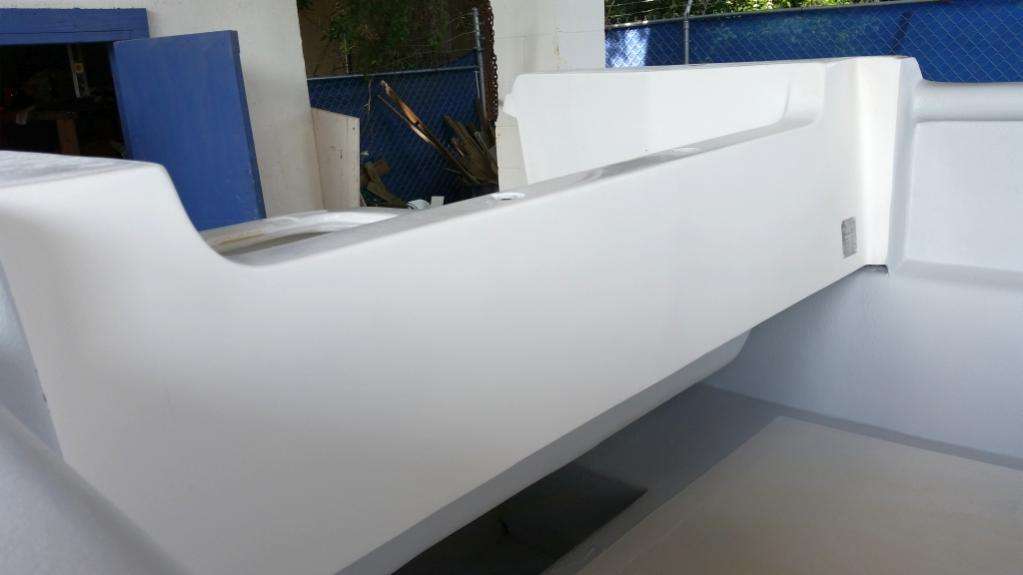
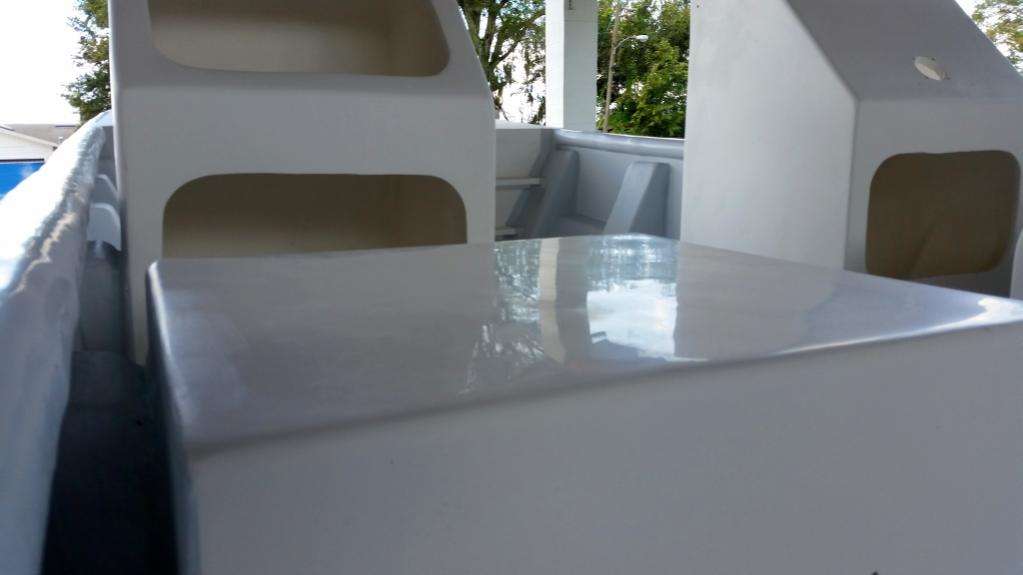
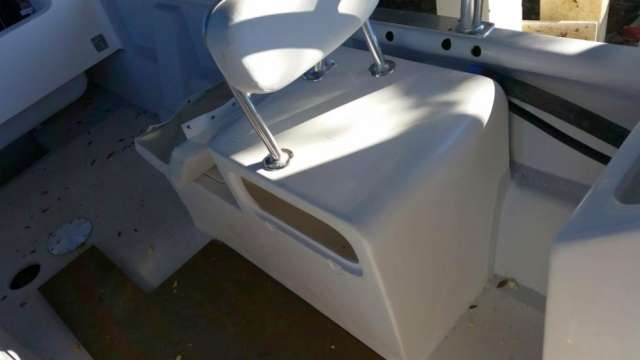
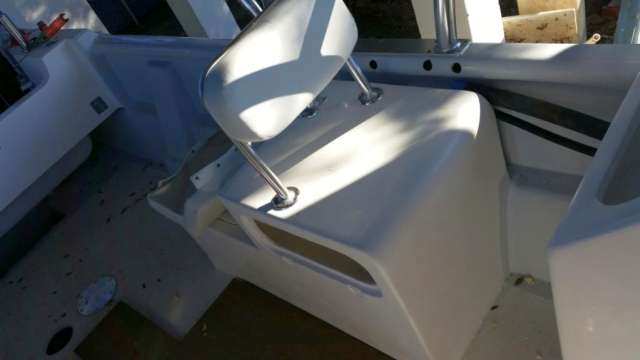
Here you can see that we have the forward-facing seats installed to the stringers with epoxy encased in two progressive layers of biaxial.

Like the consoles, we are double wrapping the outside edges AND the inside edges; you could probably get away with less but we are locked into “overbuild” mode and figure ‘in for a penny, in for a pound’.

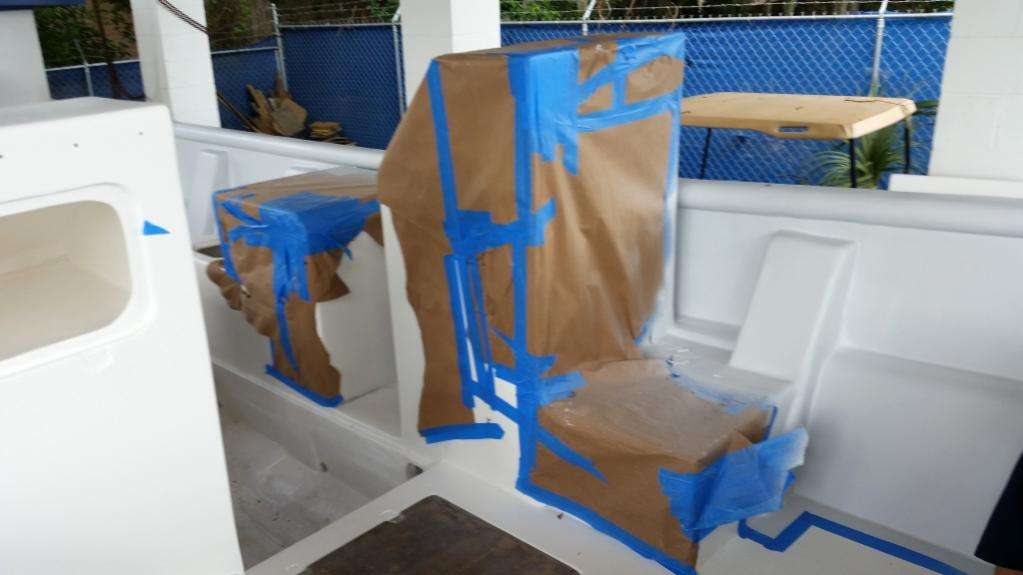
Also we have fabricated the frame for the cabin door from Starboard. This whole contraption will be through-bolted on the bulkhead:
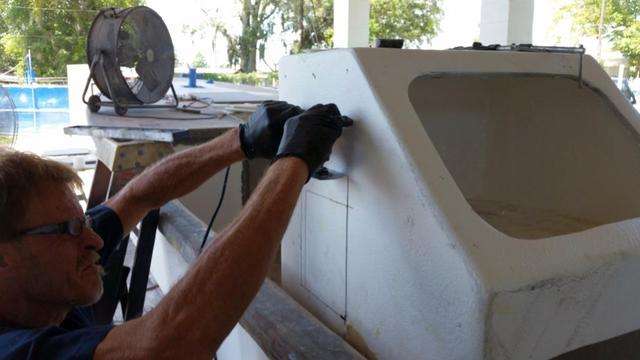
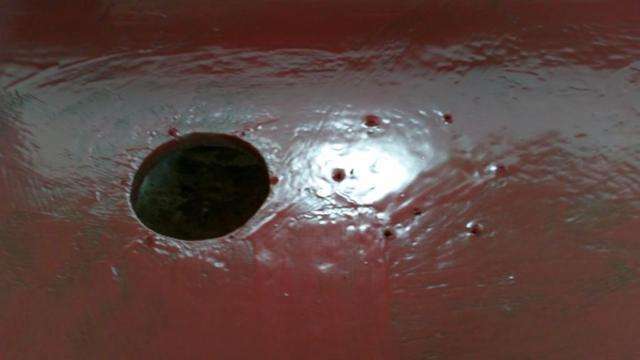
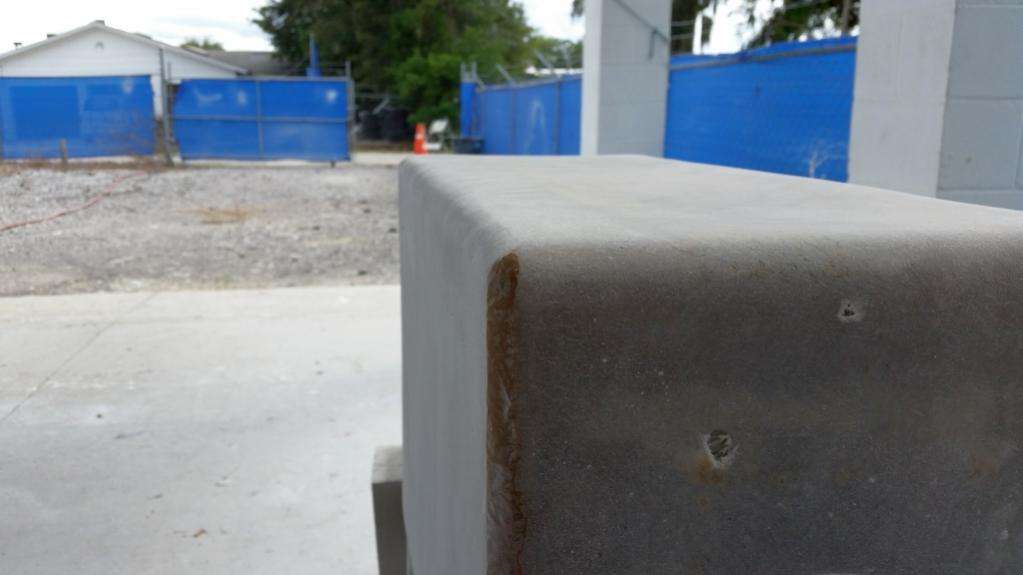
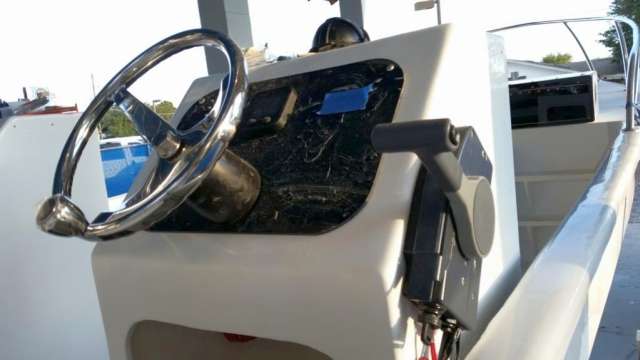
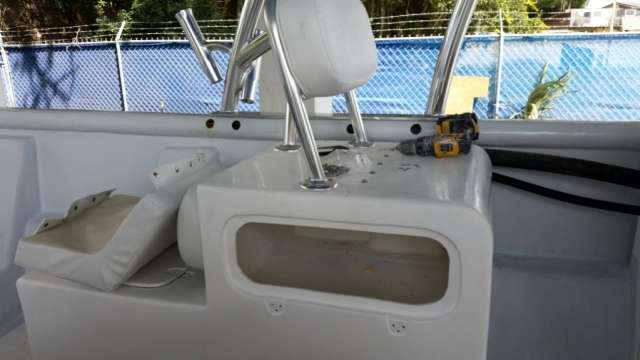
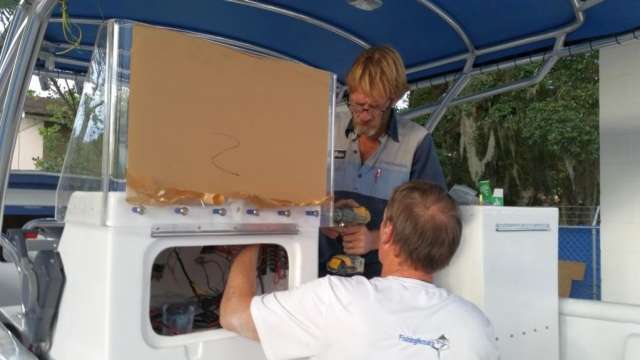
Lastly, we are getting into the nail-biting time of taking drills and hole-saws to our finished fiberglass pieces. Here you can see where the helm pump hole has been drilled:
The epoxy sleeves are already in place underneath the small chopped strand patches.
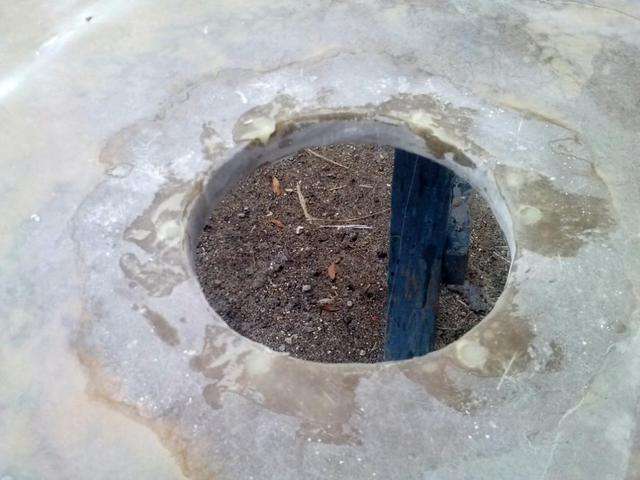
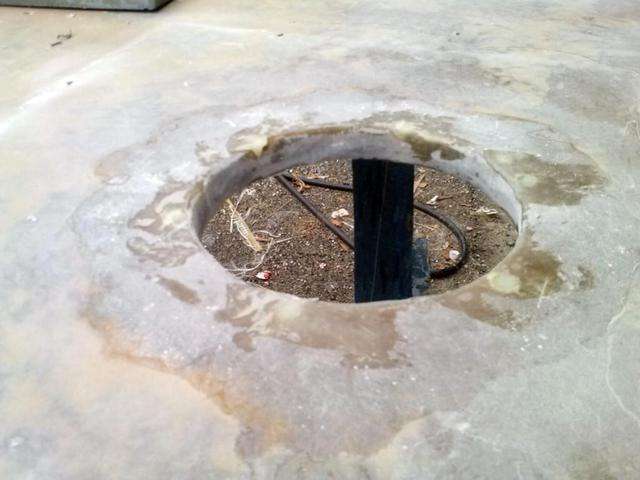
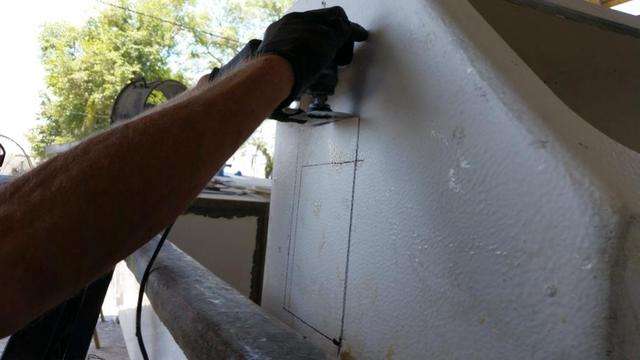
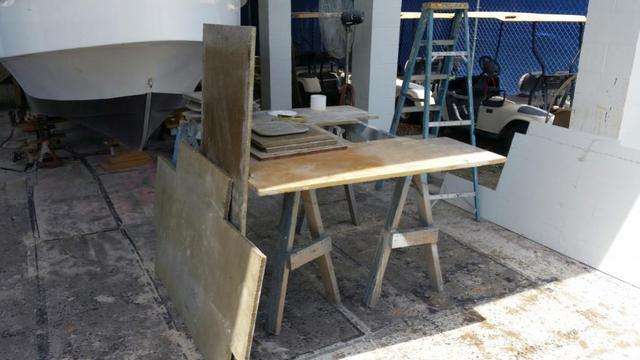
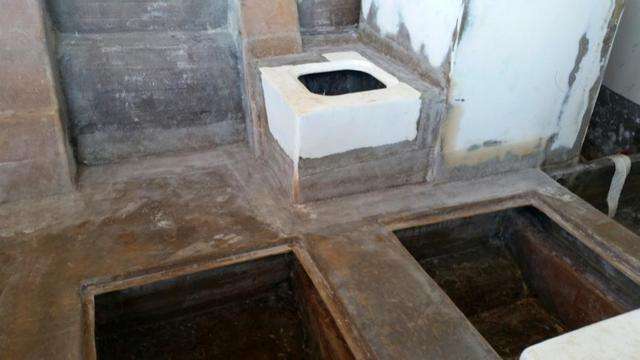
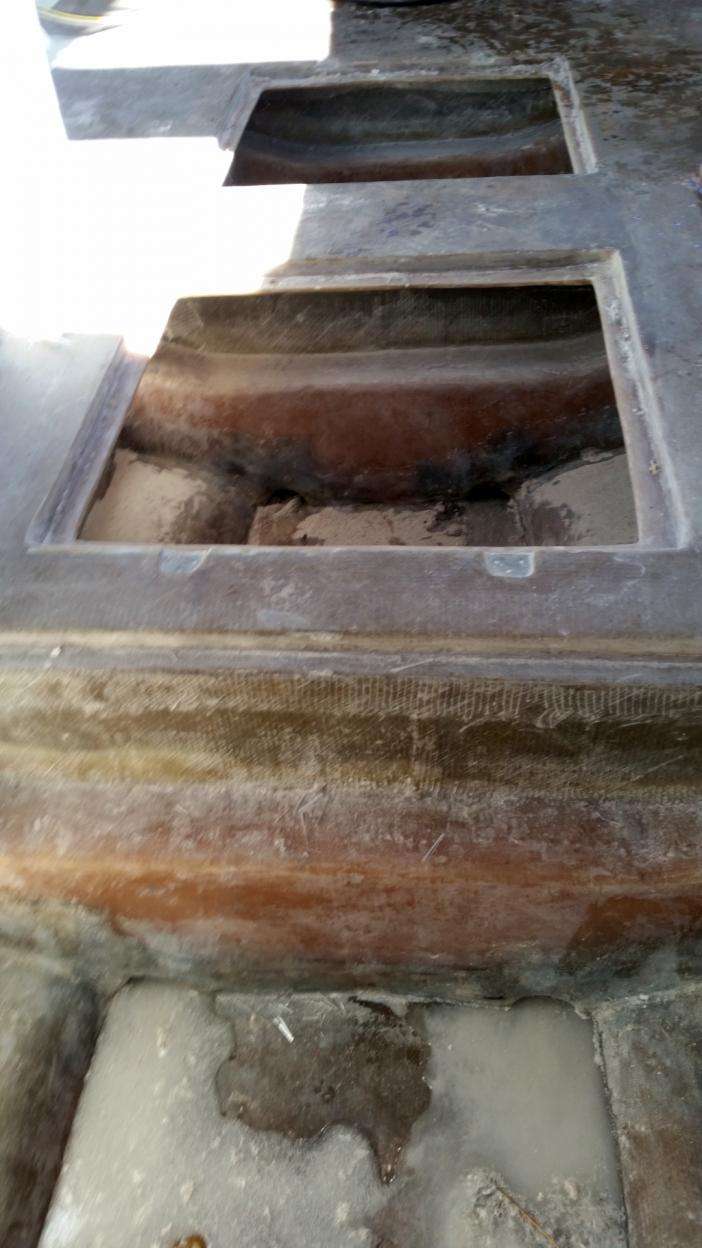
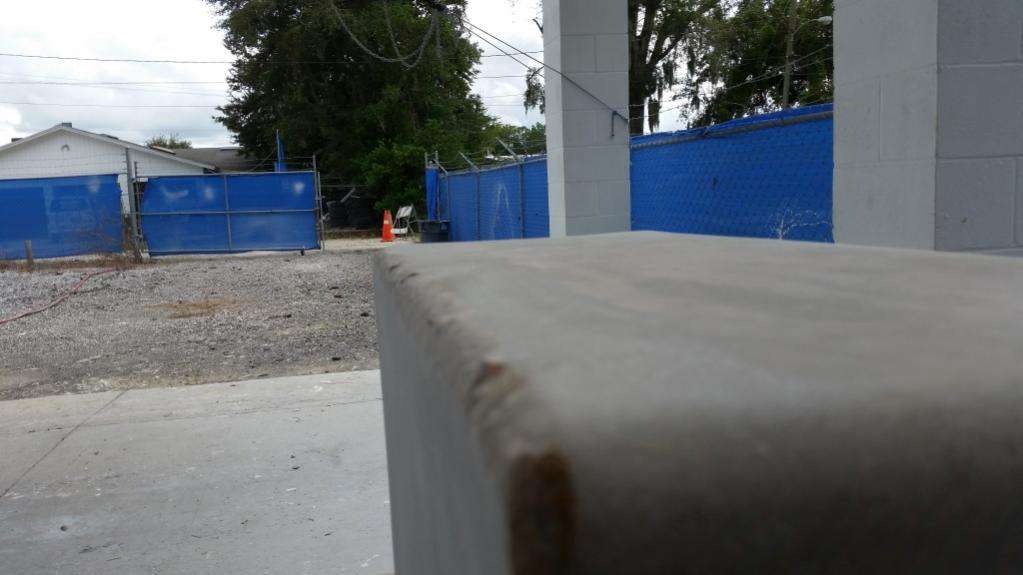
Here is the rear deck floor section with the holes for the control conduit and access hatch cut:
We’re looking forward to another good week of progress as long as we can keep dry!
July 1, 2015 – Day 231
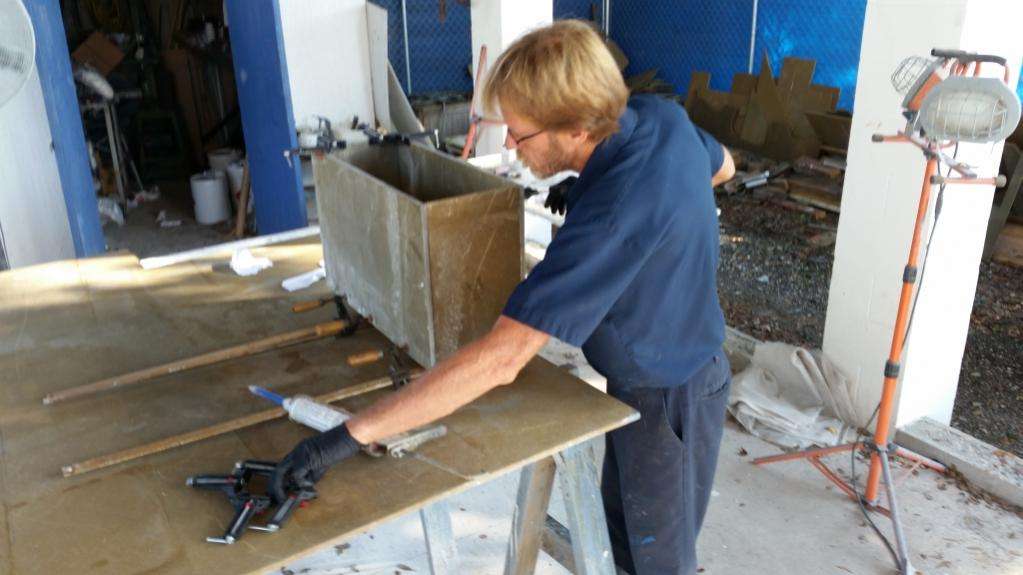
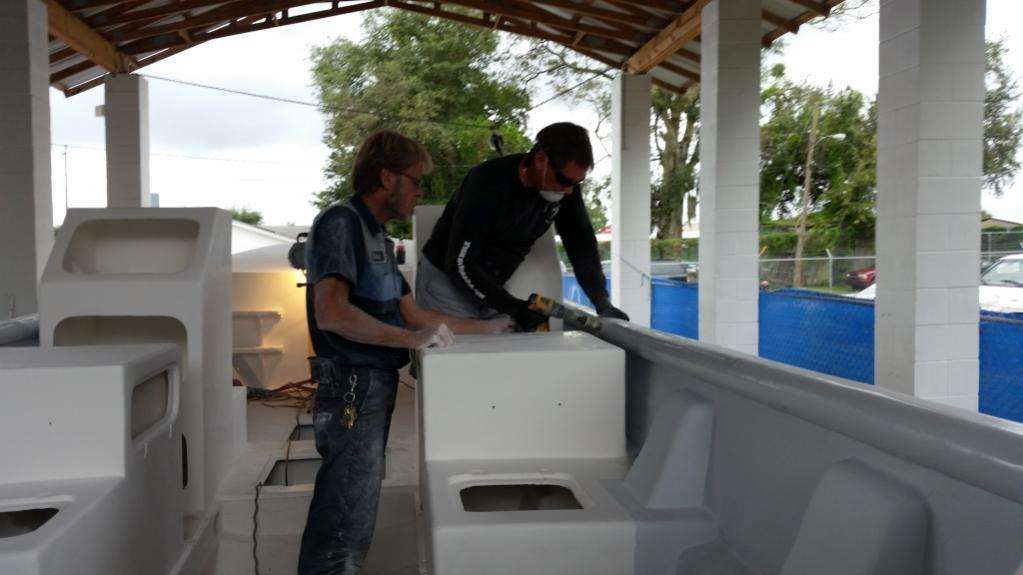
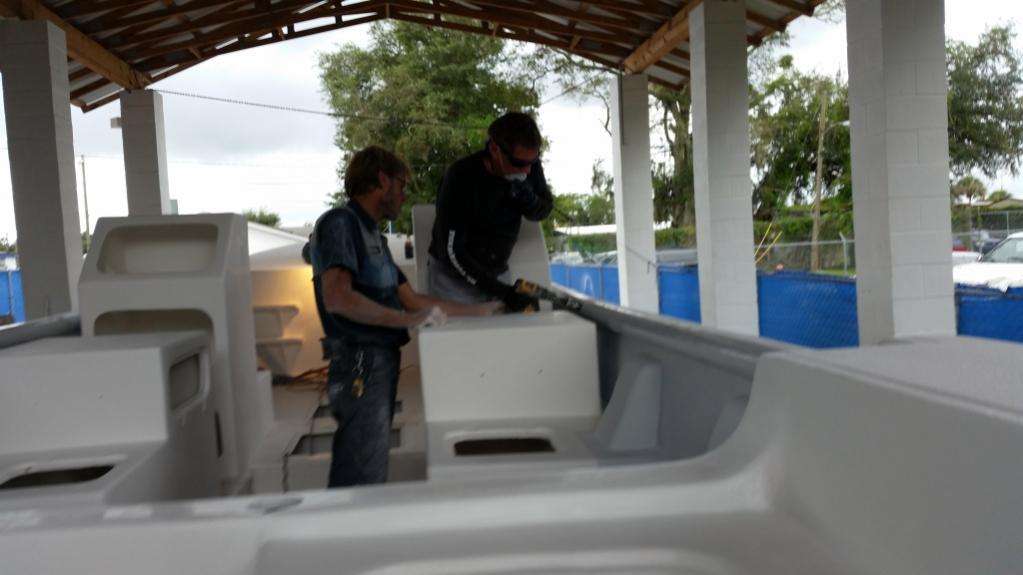
We can sum this week up in one word: glue.
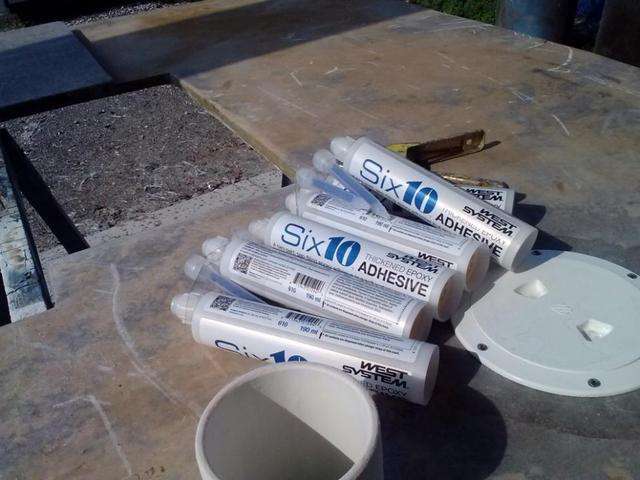
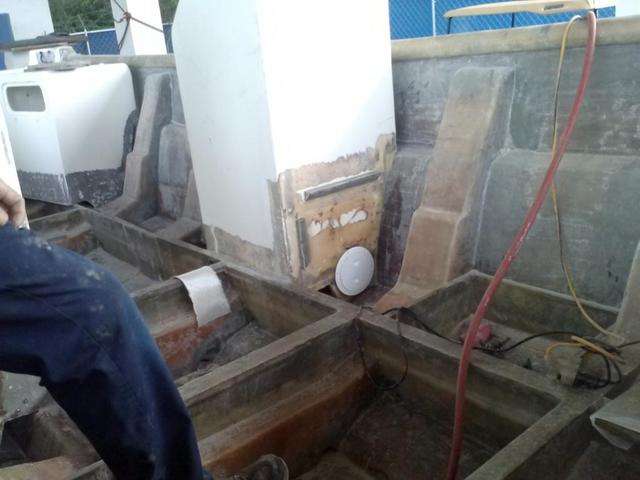
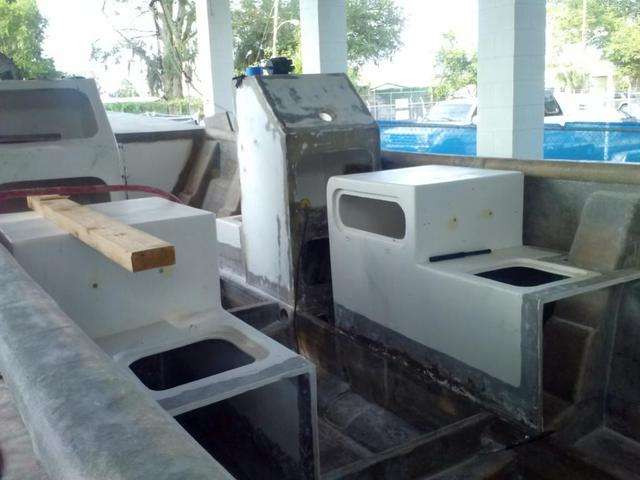
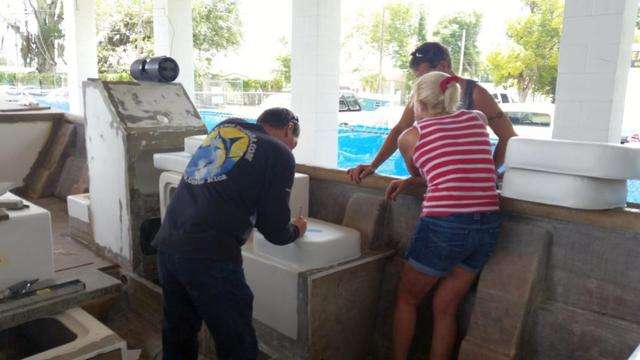
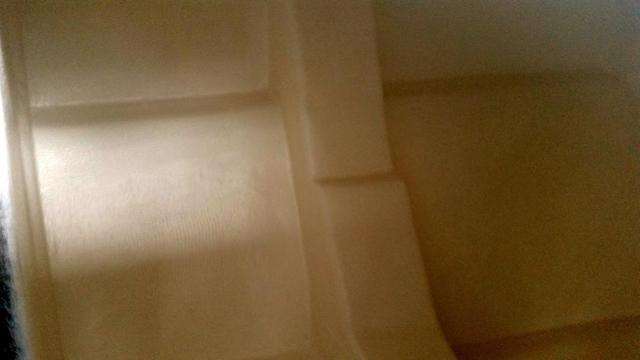
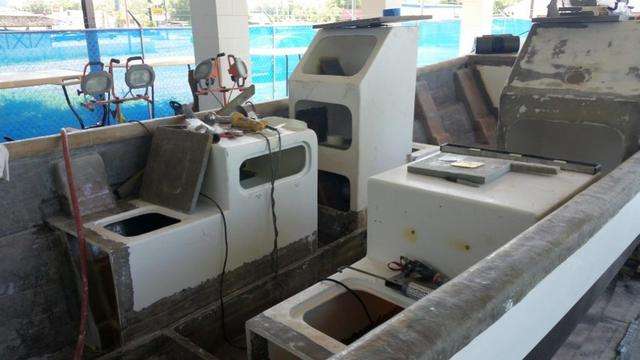
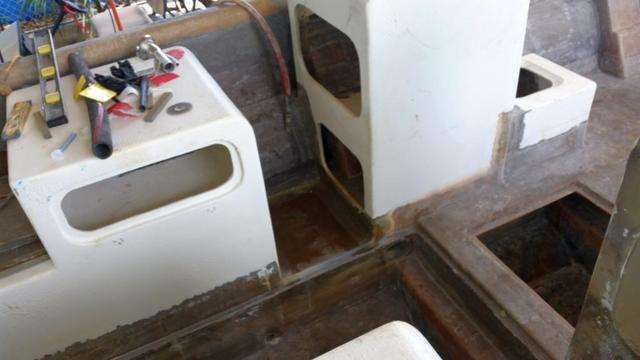
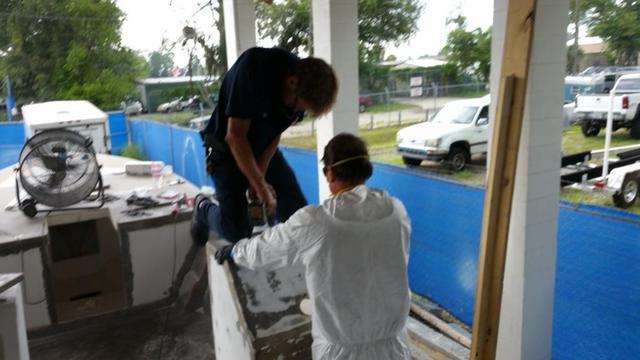
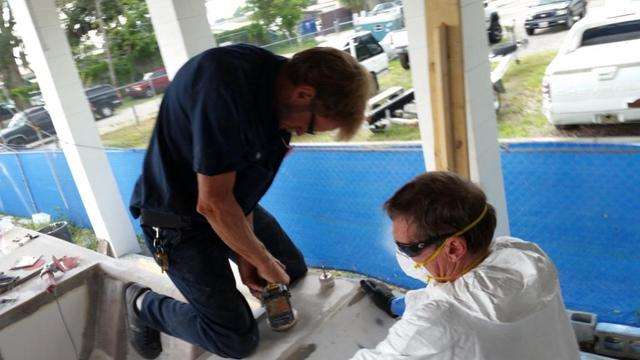
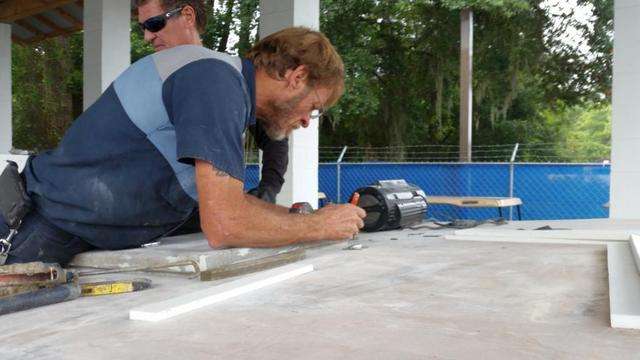
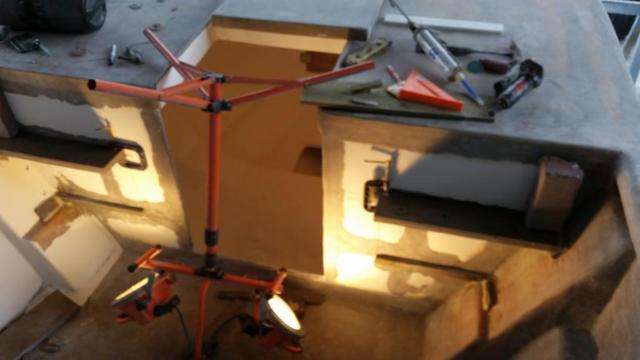
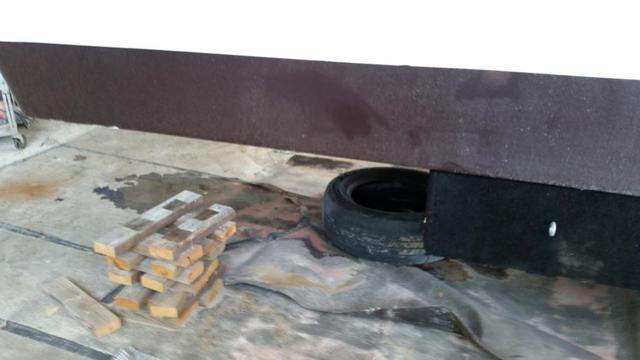
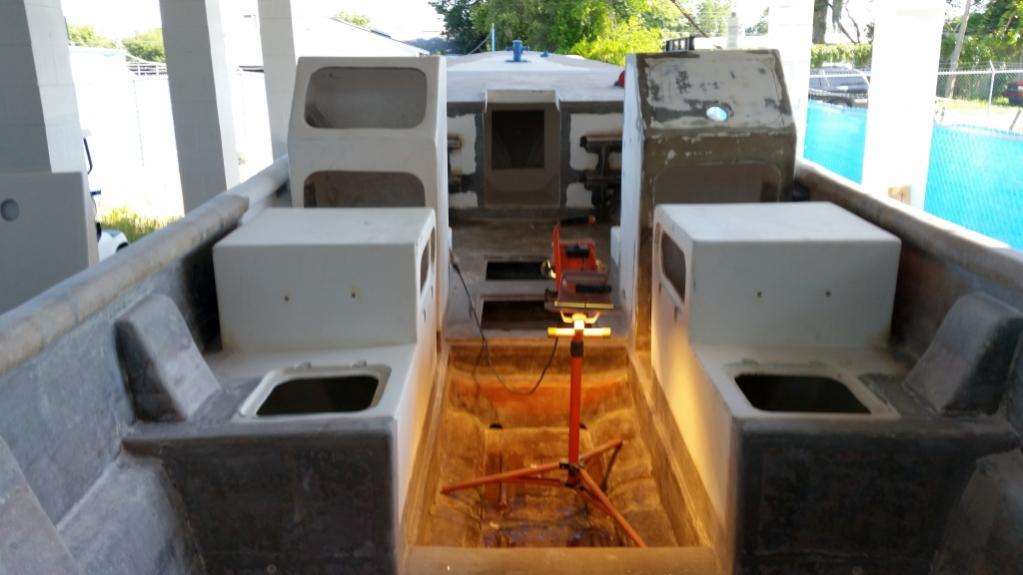
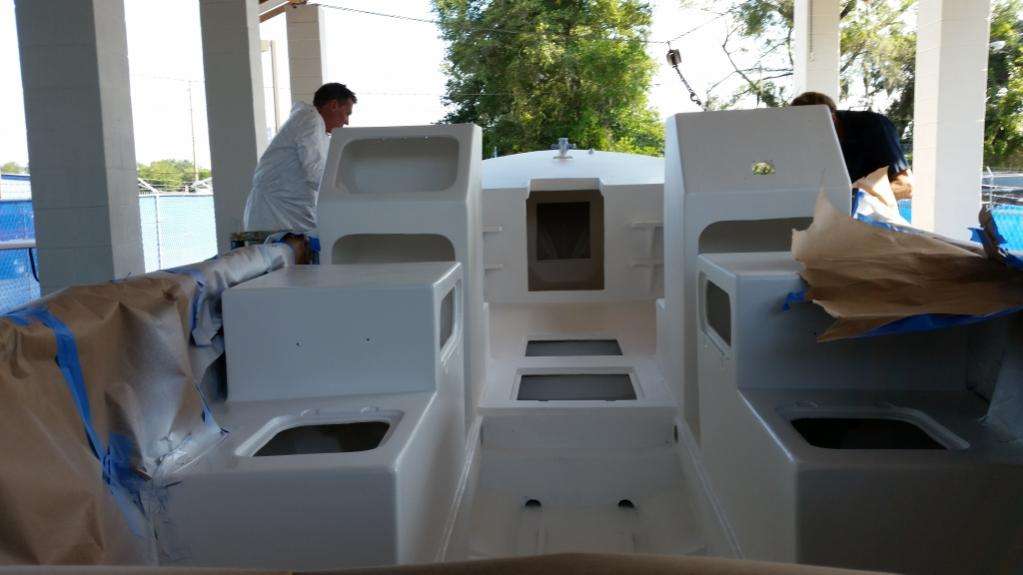
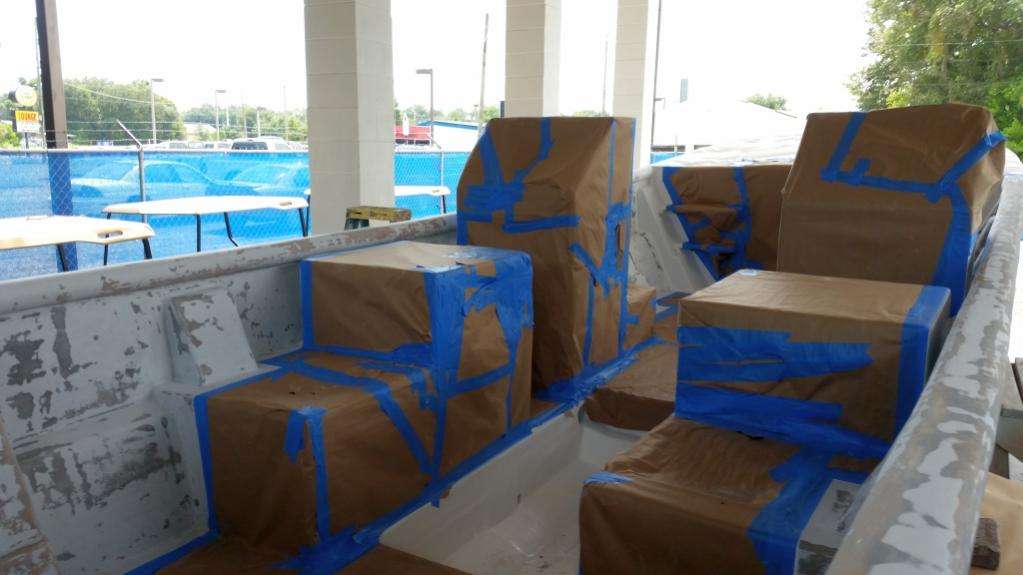
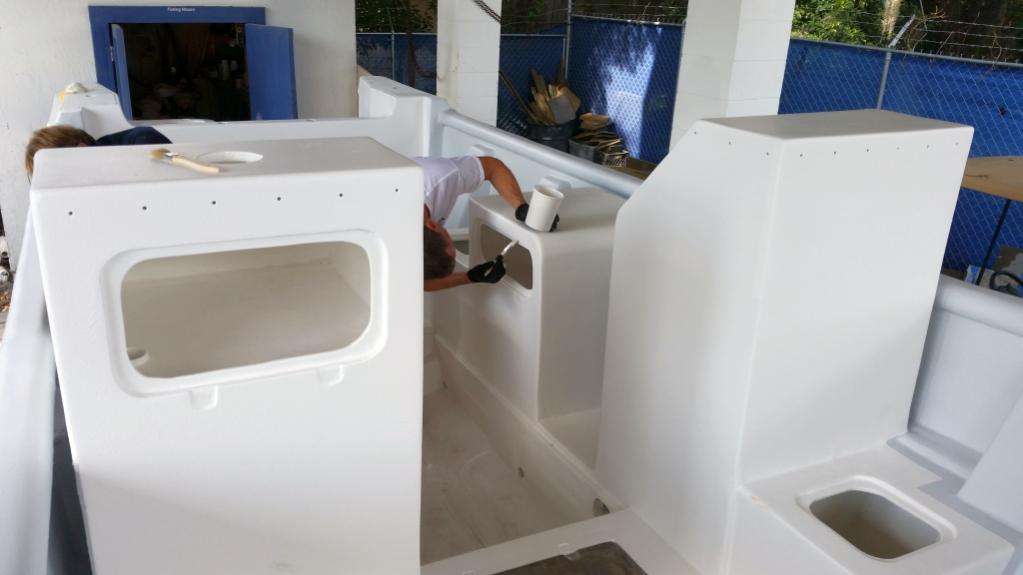
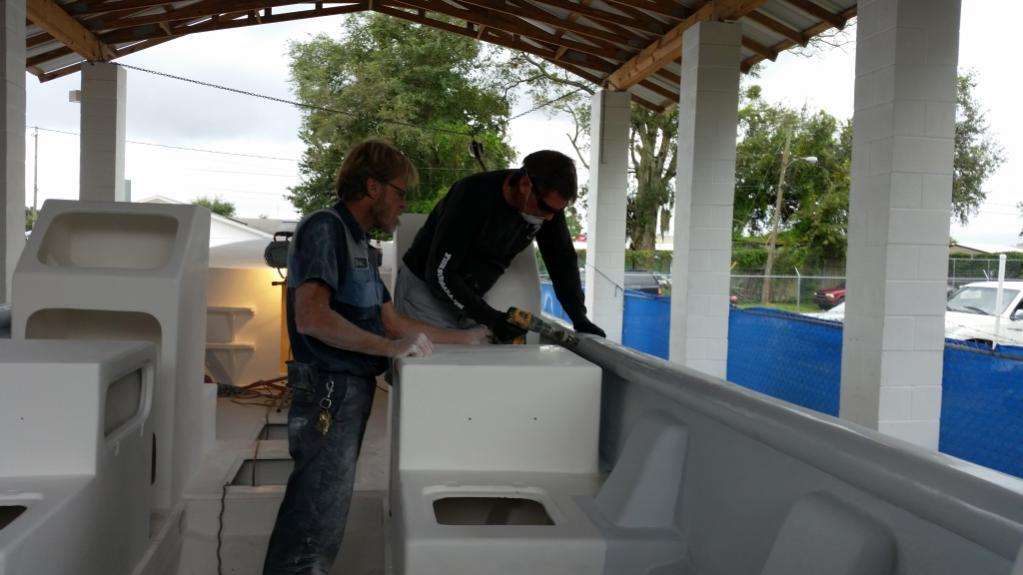
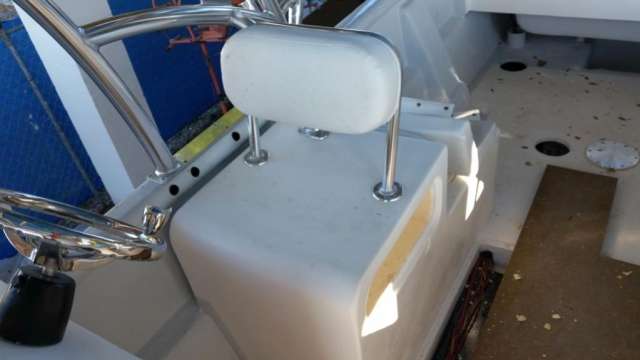
This 610 thickened epoxy is flying off the shelves at our local West Marine as we continue to permanently install the coolers, consoles, and seats.

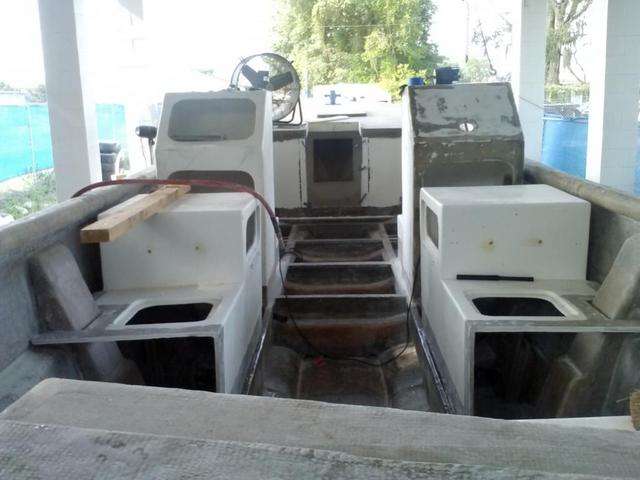
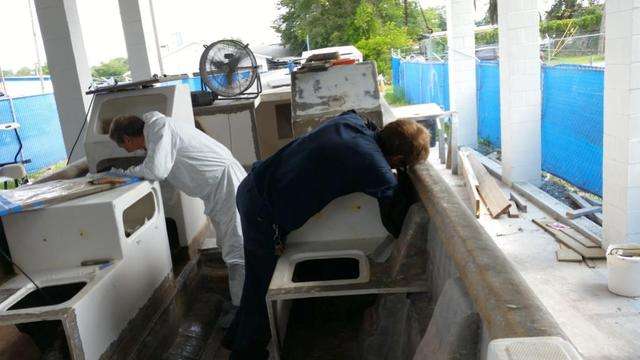
This is where making sure the boat is sitting level on the stands pays off, as each piece is leveled separately and then double-checked with it’s mate.
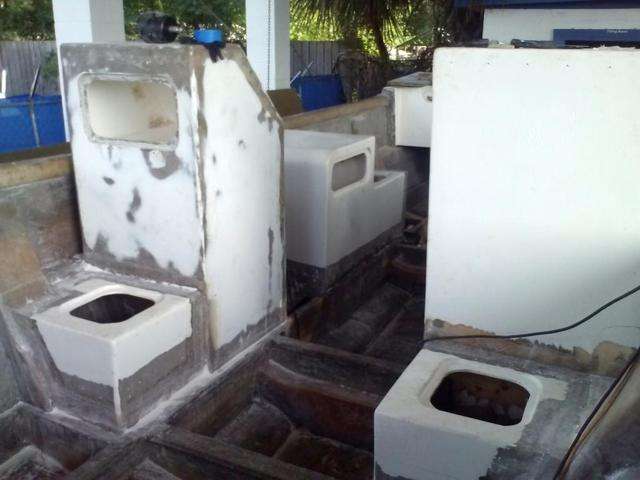
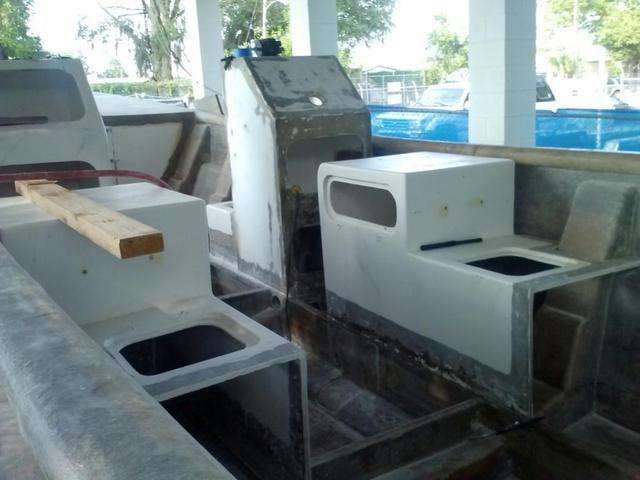
The pictured 2 x 4 is placed laterally from console-to-console, cooler-to-cooler, and seat-to-seat to re-check the level.
Once we backfill any voids with more epoxy, we will be moving on to the floors.
July 7, 2015 – Day 237
Lots of good progress on The Harvester Project this week.
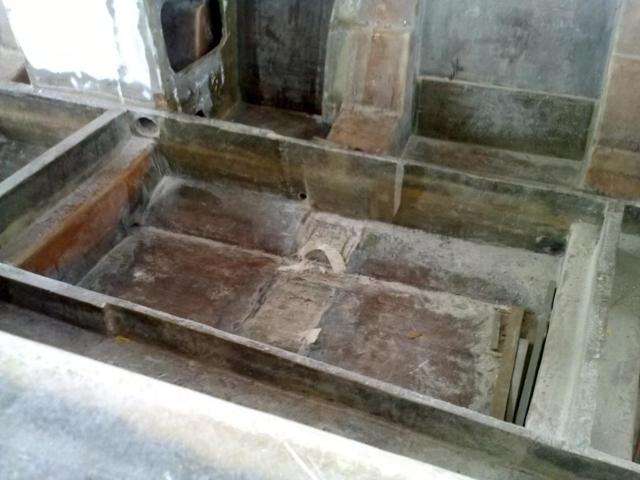
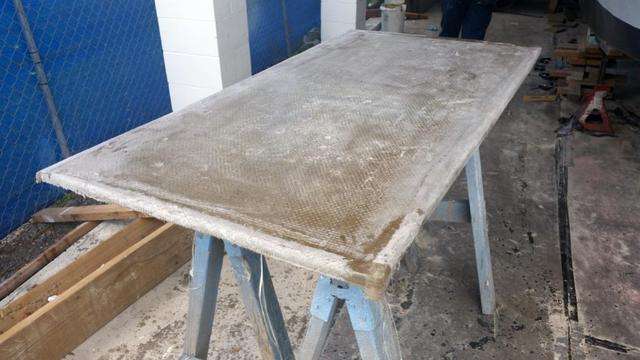
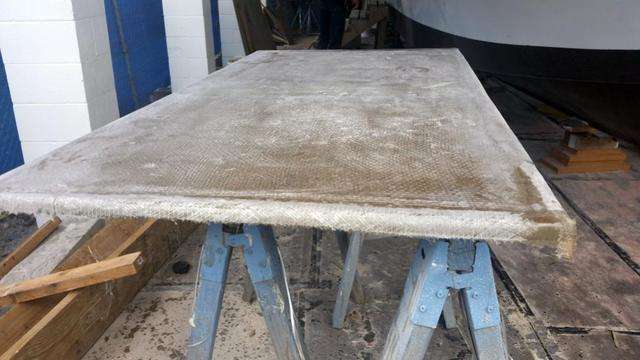
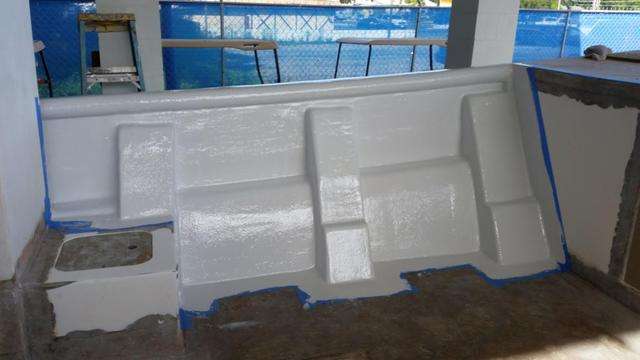
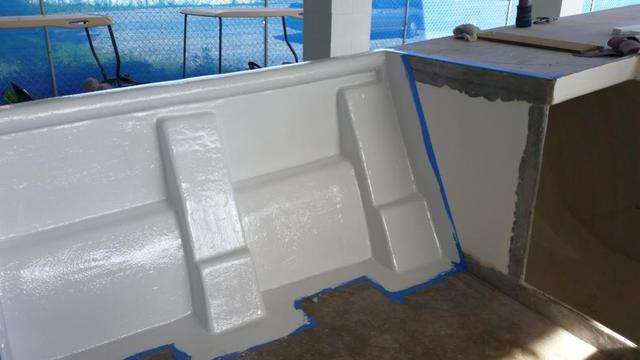
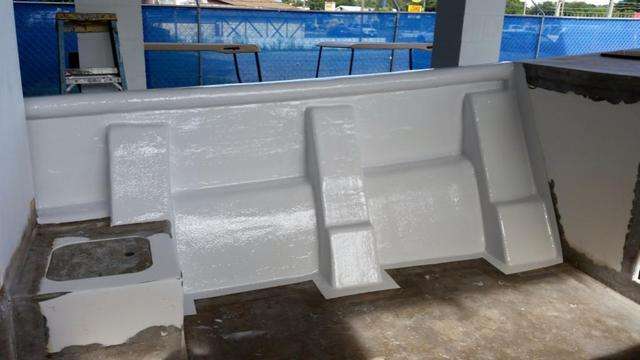
First and foremost, we have fitted the front floor and epoxied it into place.

After the initial gluing, we went around the edges and back-filled all the voids with epoxy.
You can see here that we epoxied in some shims to fill the larger voids, like where the stringer humps meet the flat floor.

Now we have added three layers of biaxial to tie the floor to the hull, and soon will proceed to add the final layer of finish fiberglass:


This big step freed us up to plow forward on other details around the boat. Craig is working with local seamstress Teresa Stevens to make the custom cushions for the various seats and consoles.
On a charter boat comfort is key, so we are sticklers for good thick cushions.
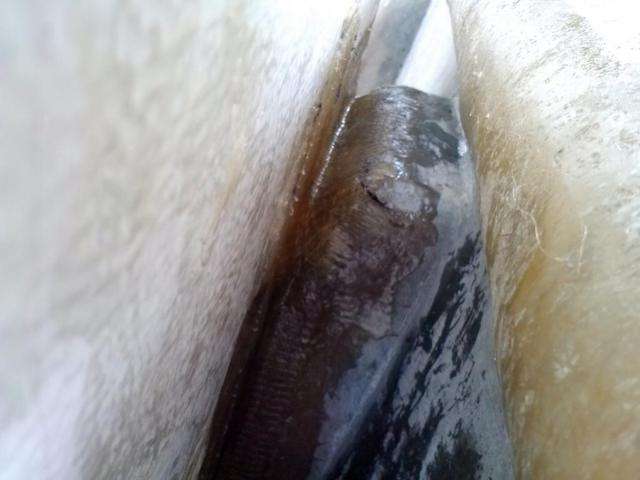
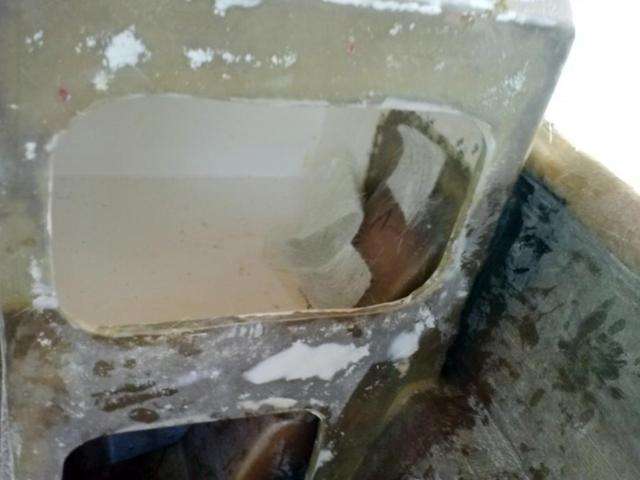
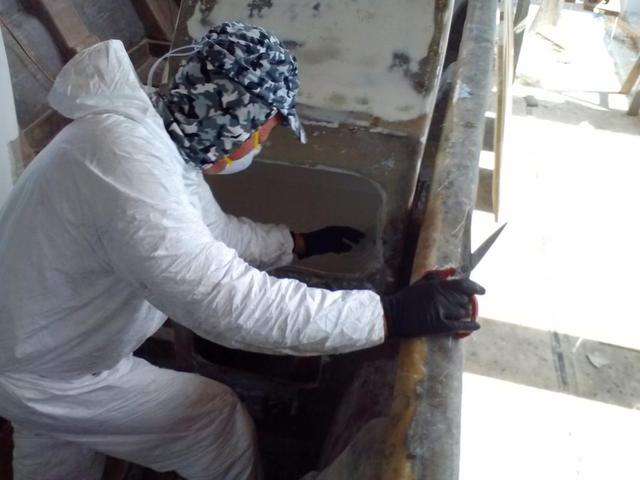
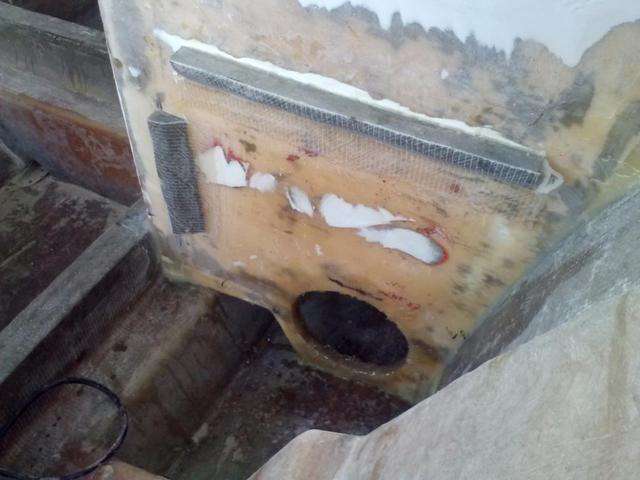
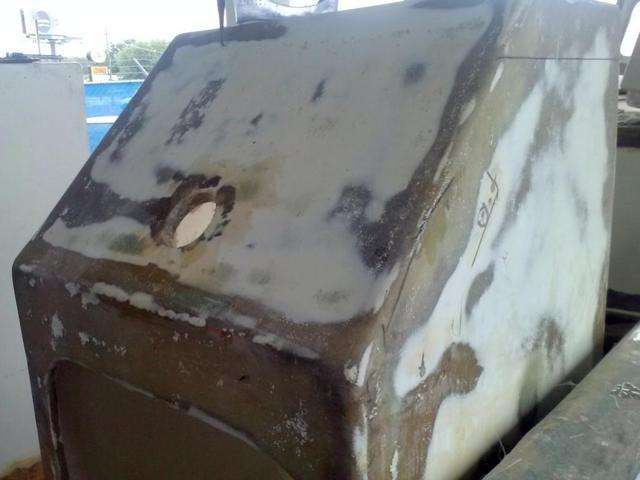
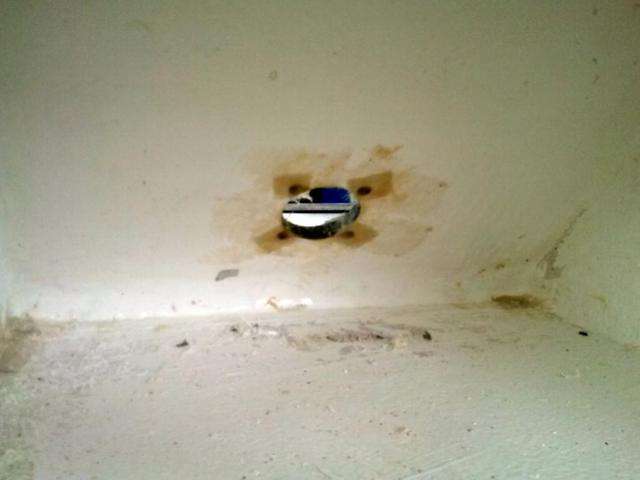
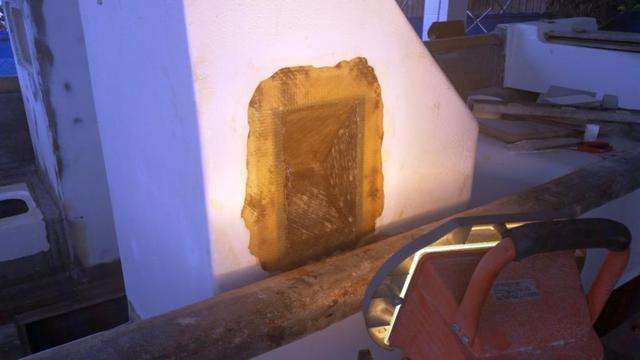
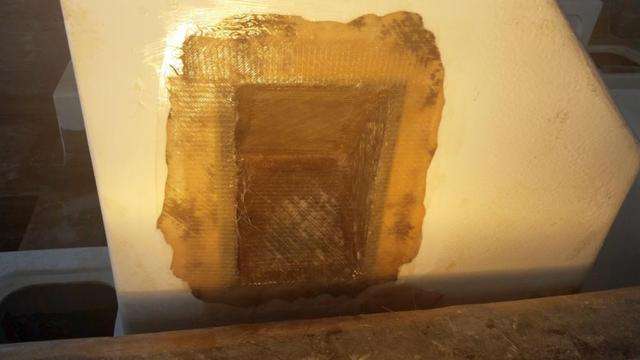
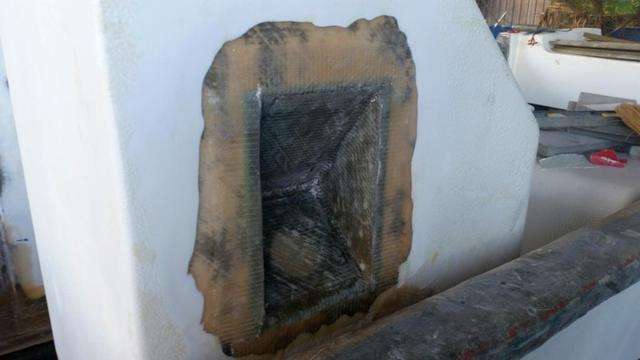
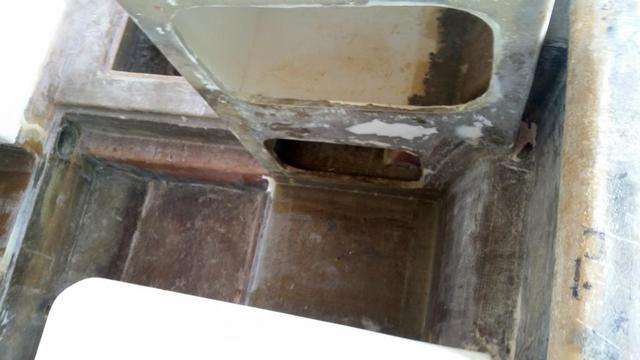
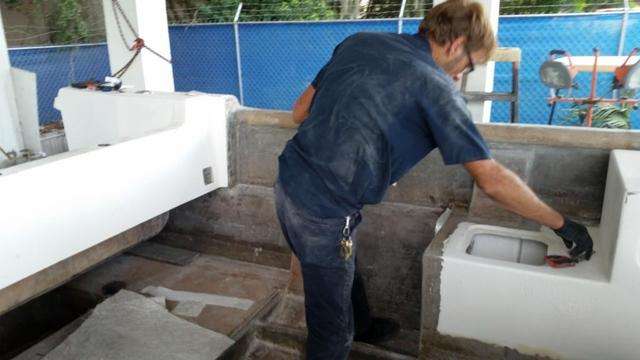
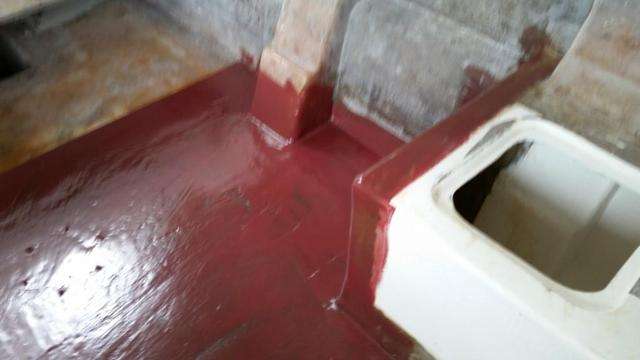
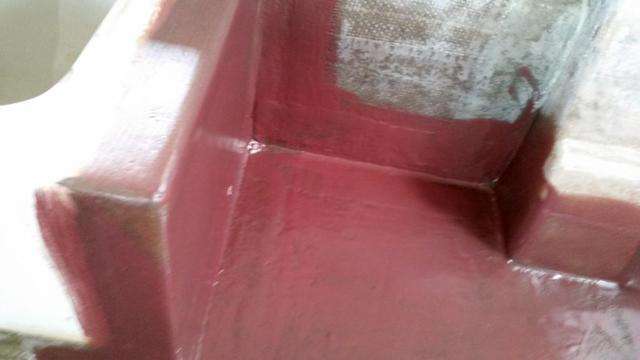
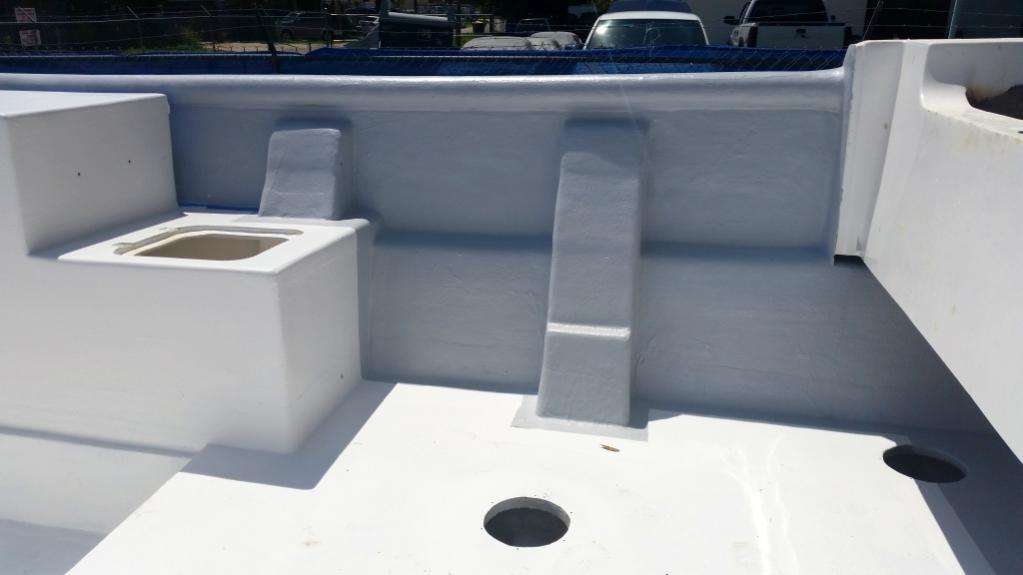
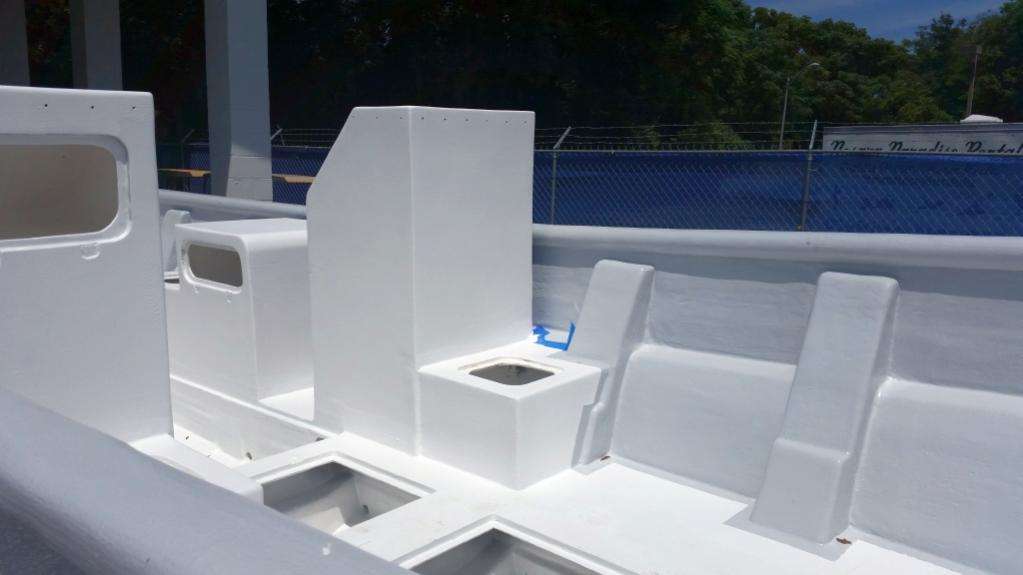
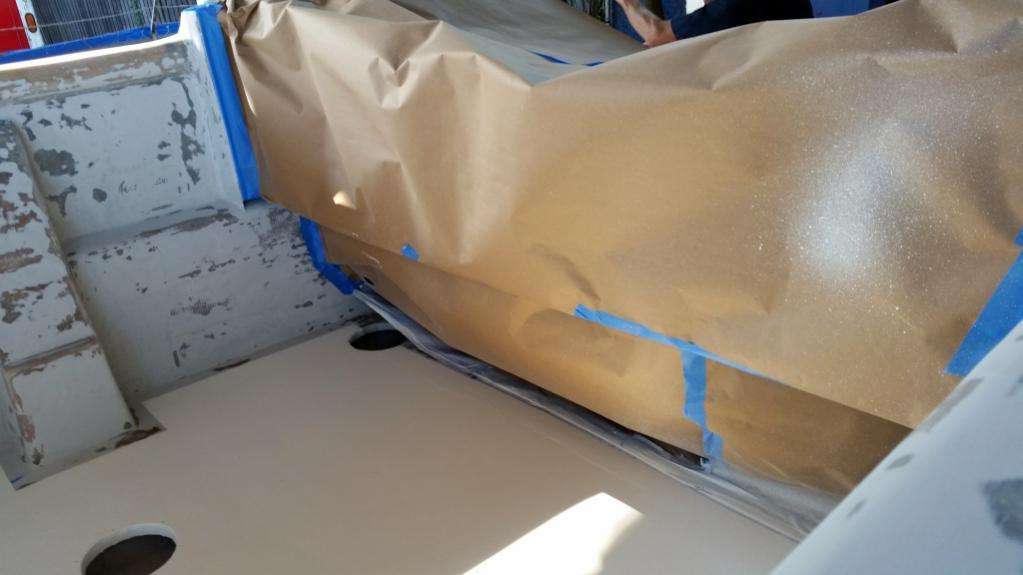
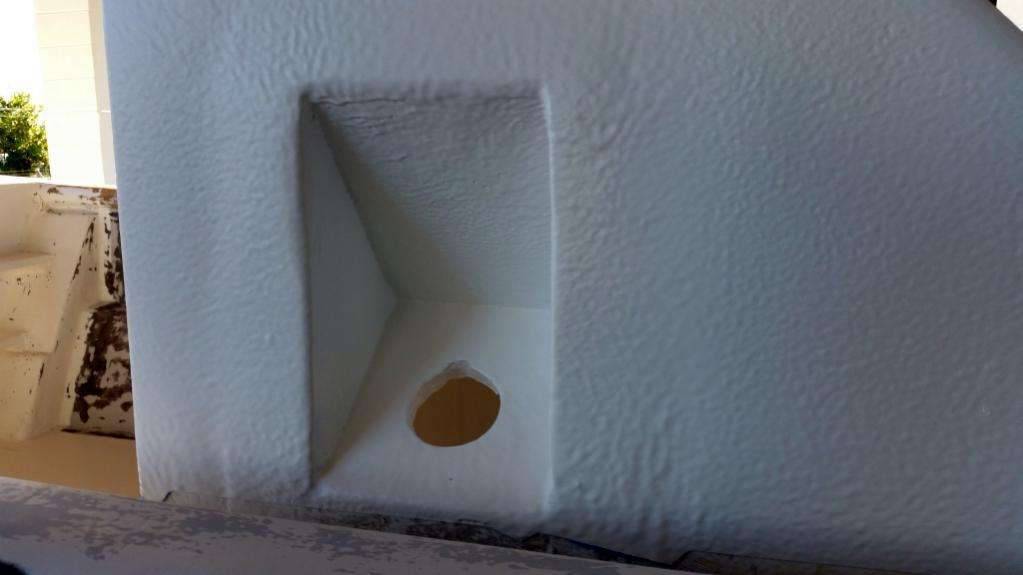
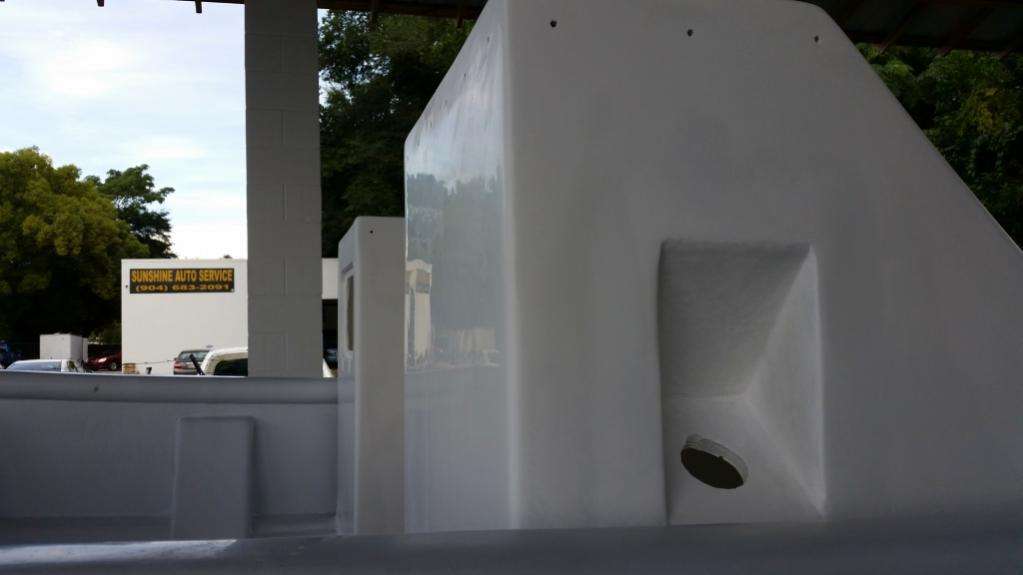
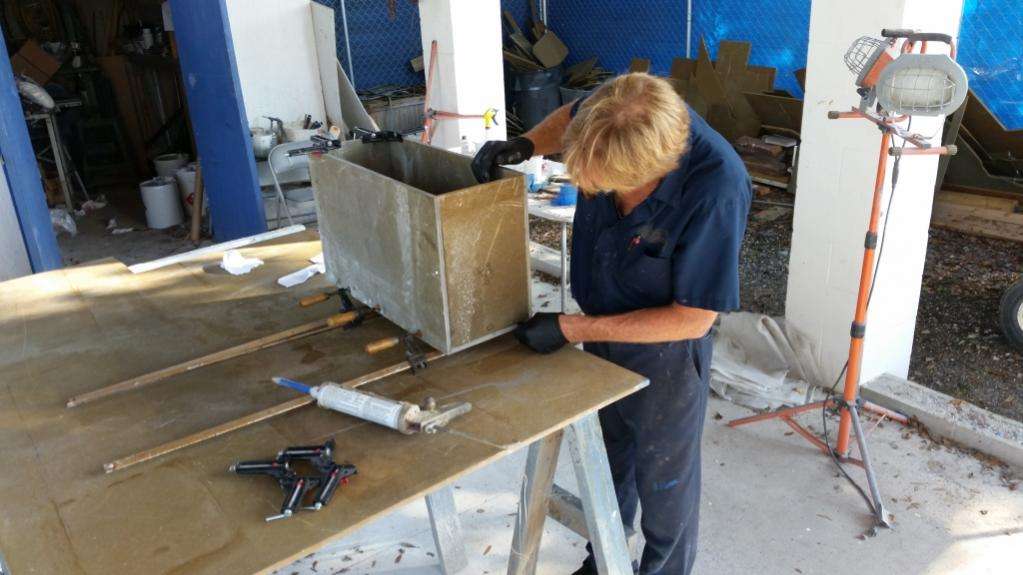
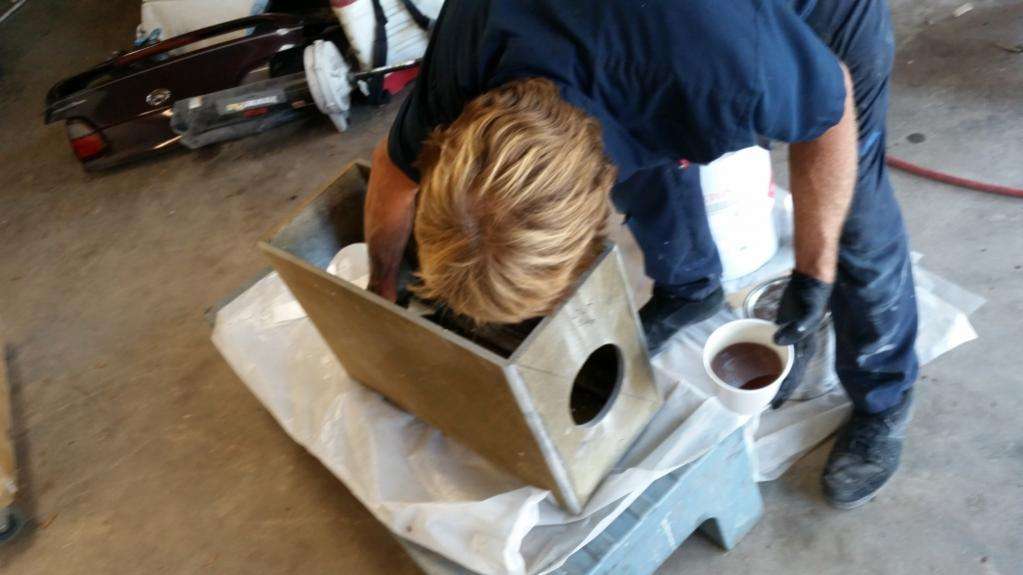
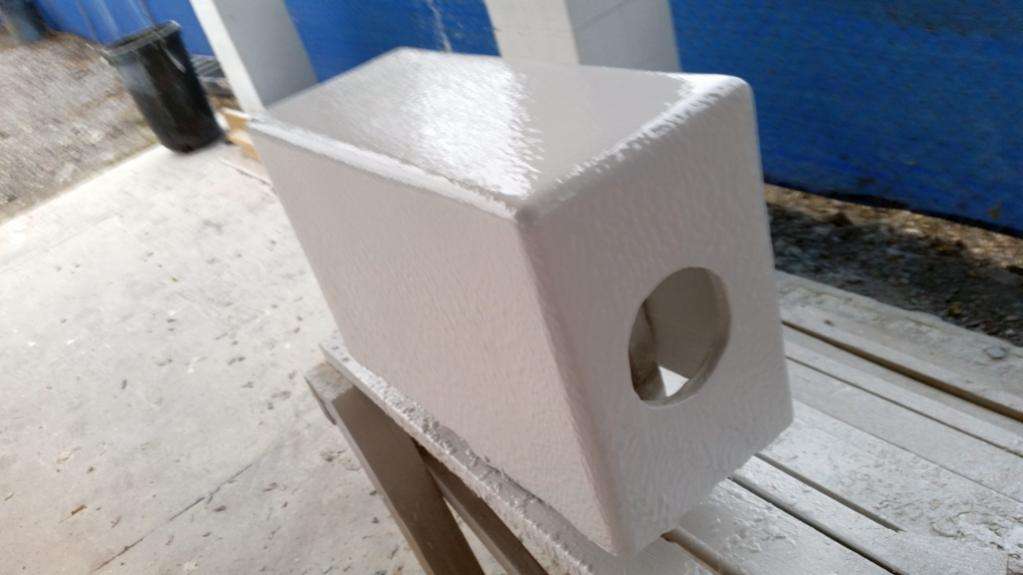
Also Brian has sunk his teeth into a custom project to build a recessed fuel filler neck into the port-side console.
Most panga boats don’t have permanent fuel cells, so we had to get a little tricky with this installation.
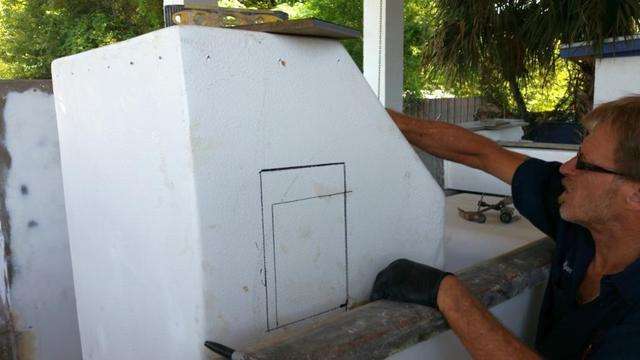
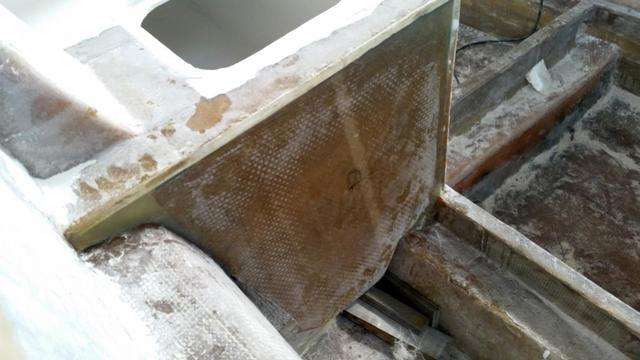
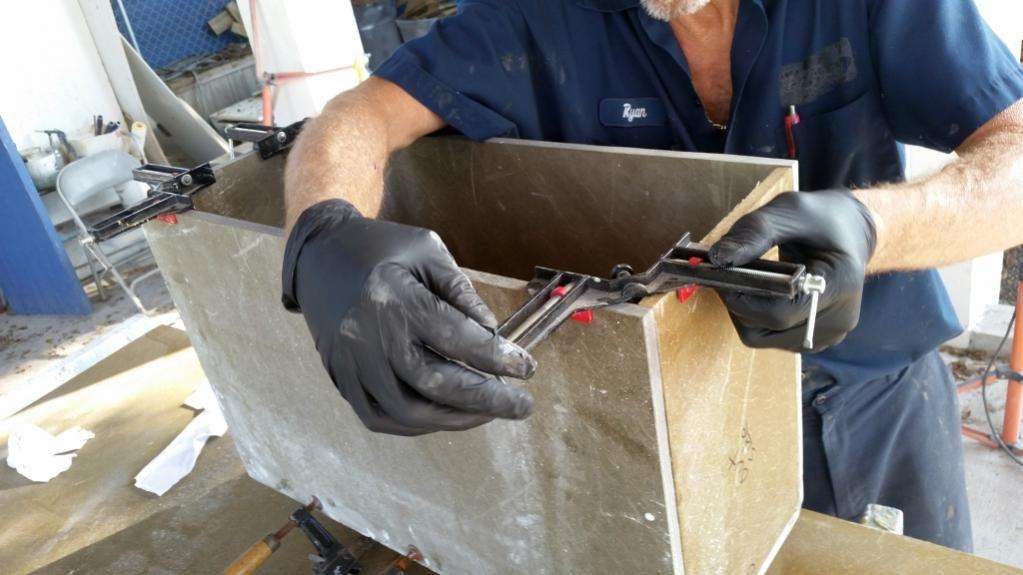
After cutting the hole, Brian built this triangular wedge to accept the filler neck.


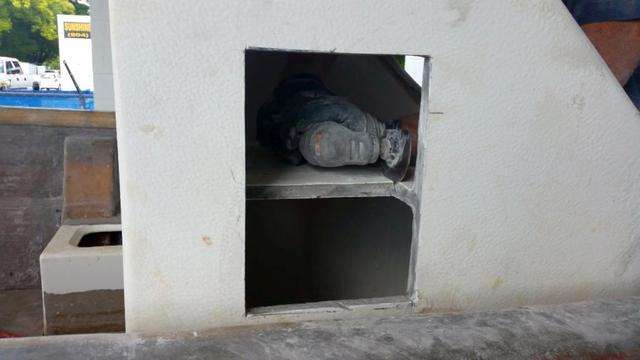
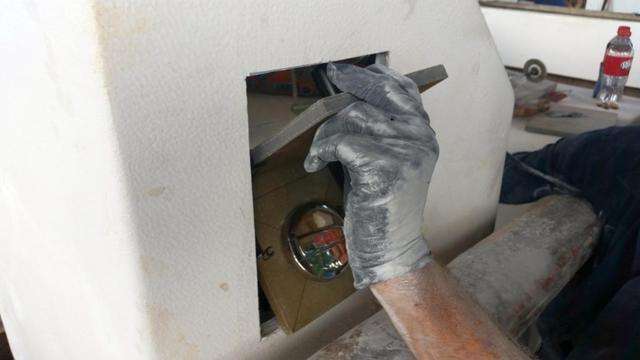
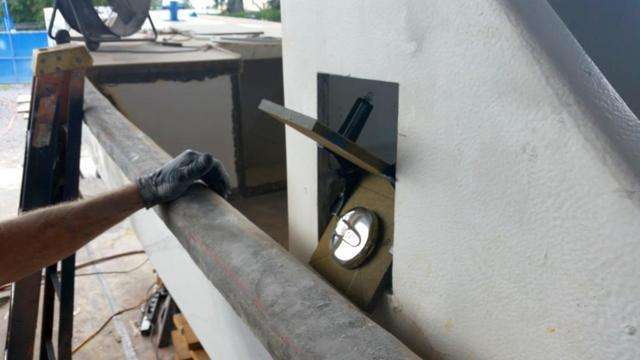
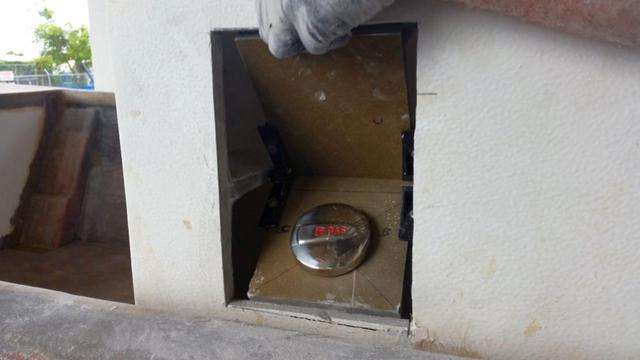
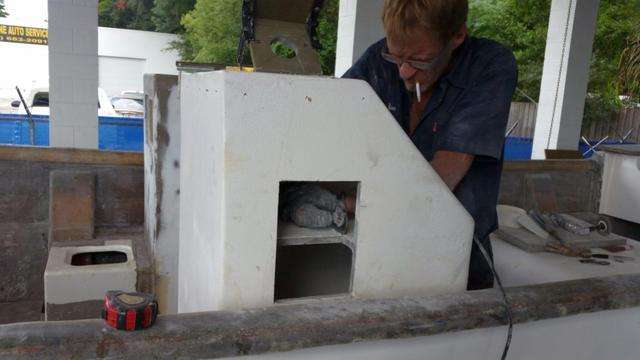
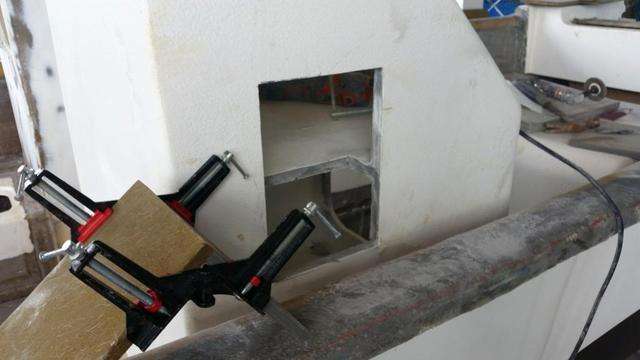


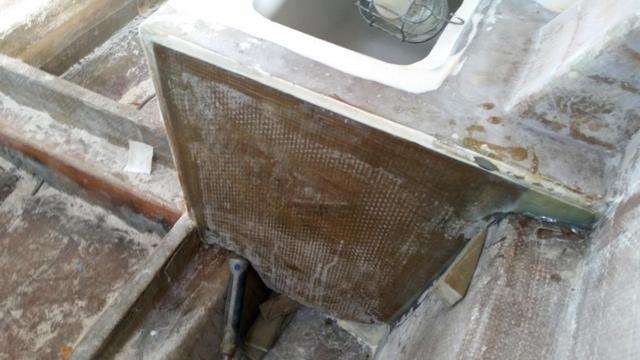
Now that it has been epoxied into place the subsequent layers of fiberglass will make it super strong.
Few more layers of glass and we’ll be in business.
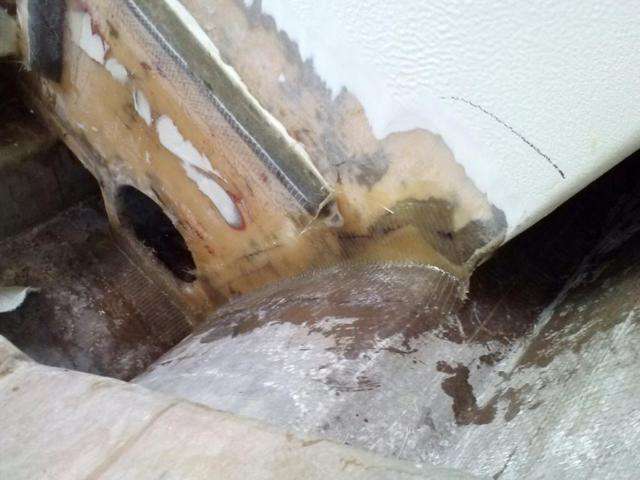
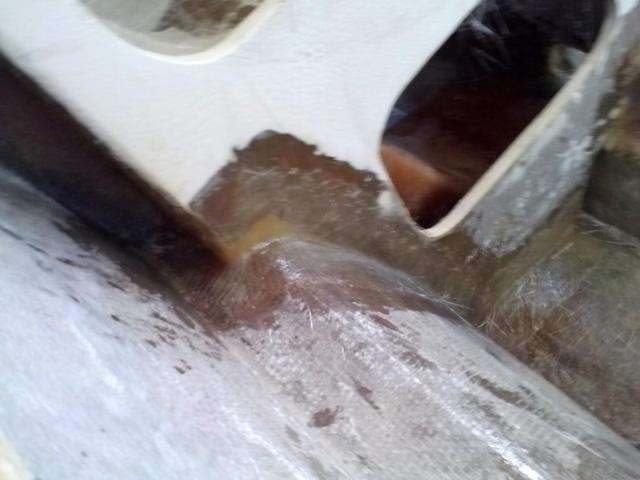
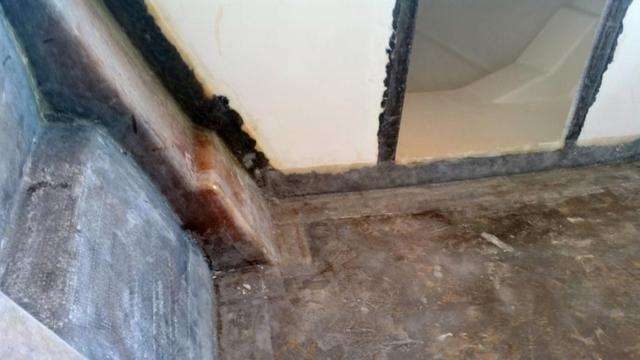
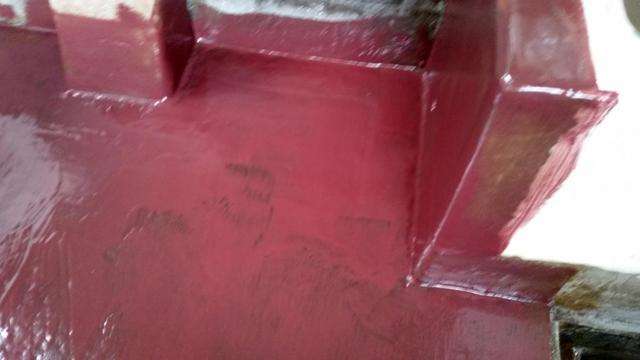
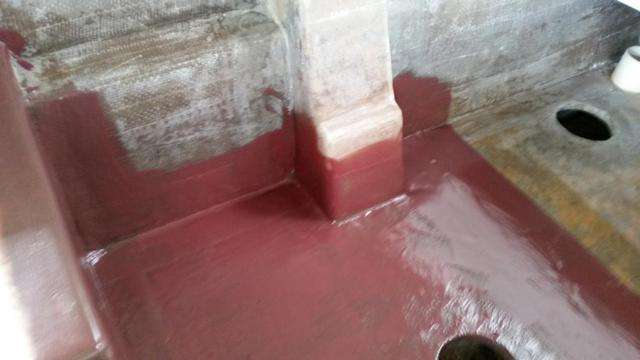
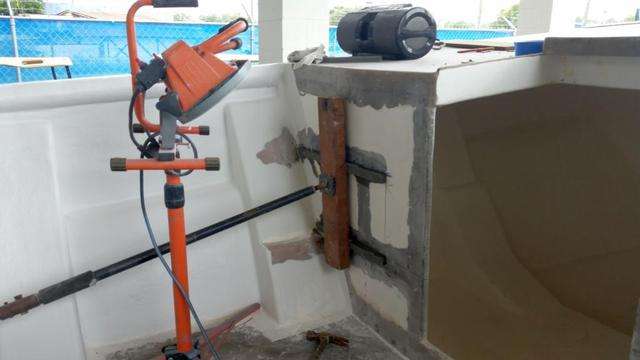
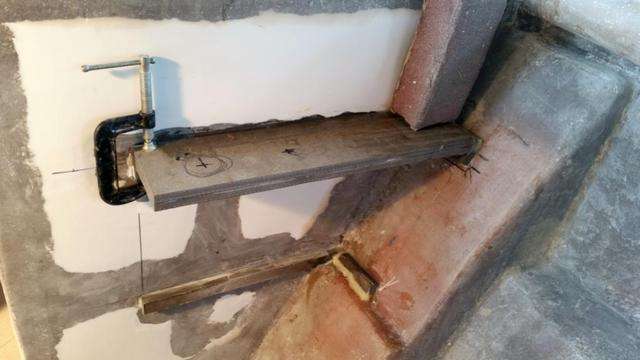
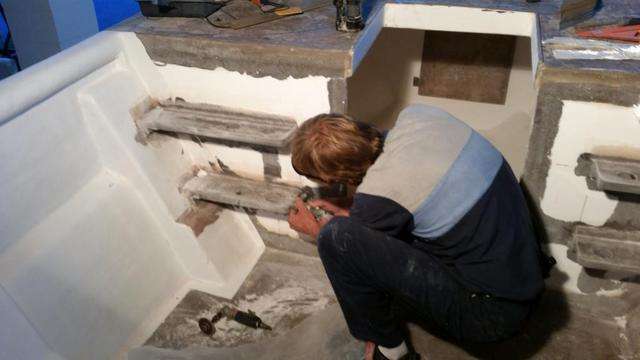
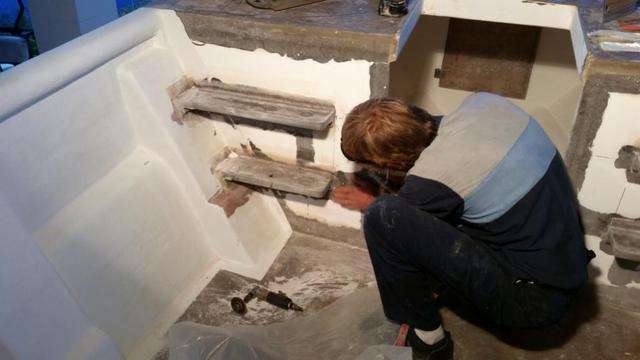
Elsewhere, the cooler installation brought a little bump in the road when the cooler wall didn’t quite mate to the stringer as we intended.
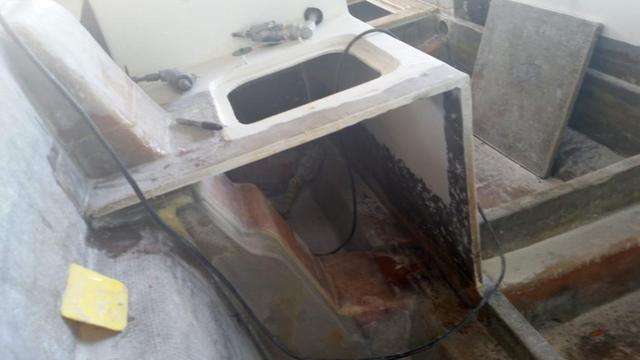
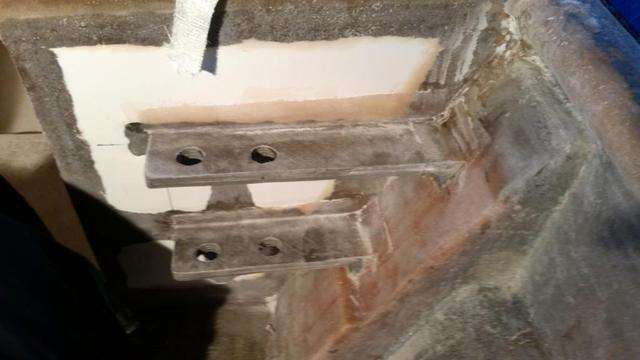
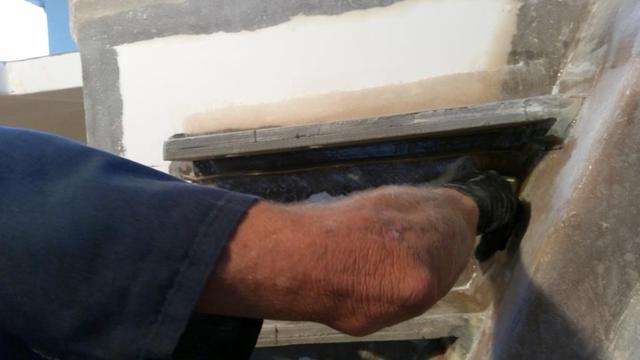
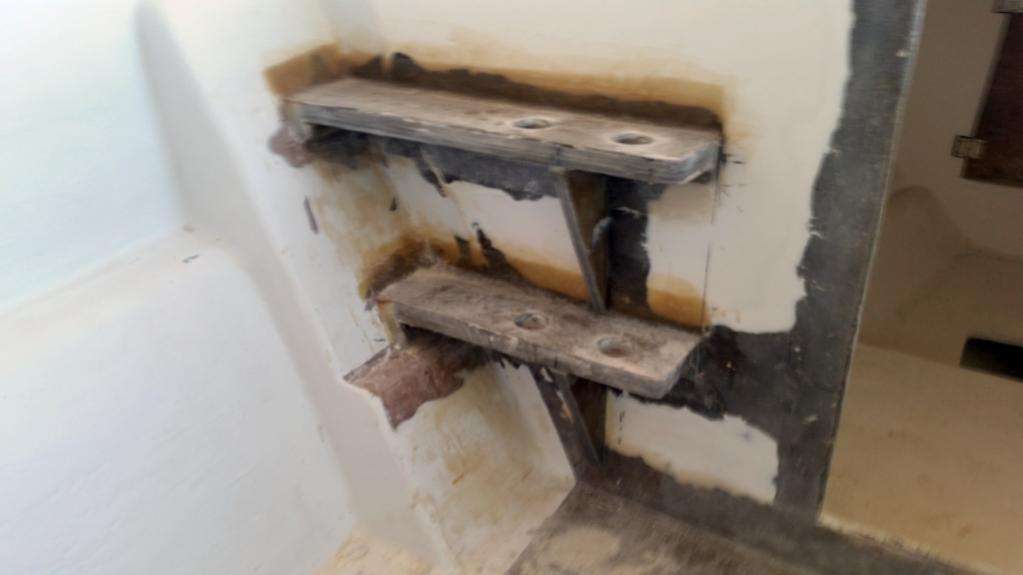
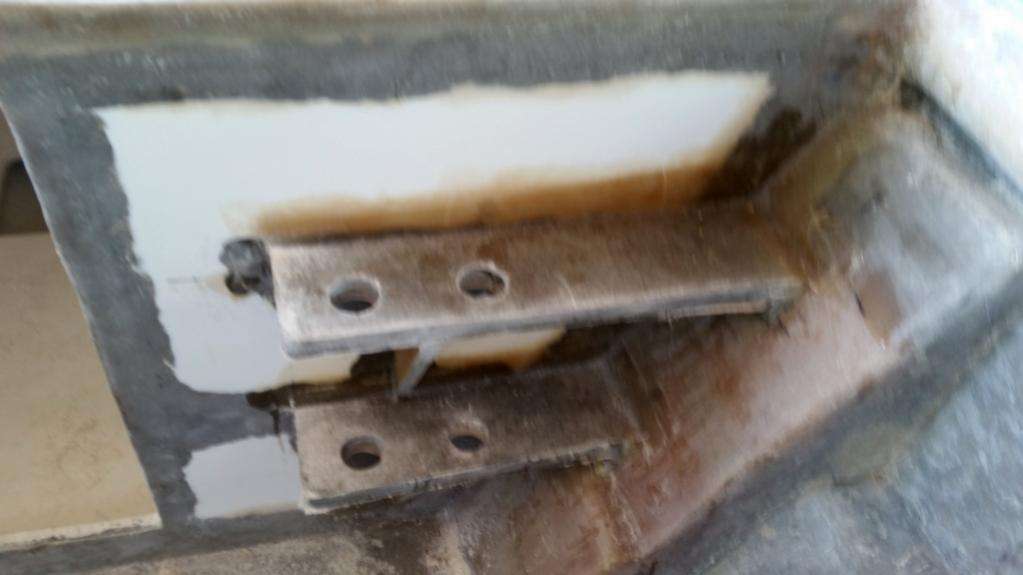
The solution was to make extensions off of the stringer out of Coosa wood:
Then we epoxy and clamp the cooler to the extension and we are good to go!
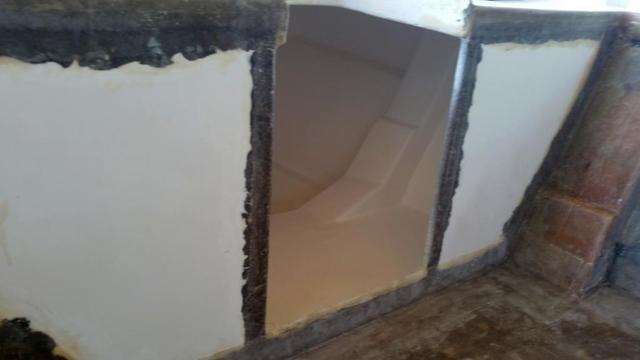
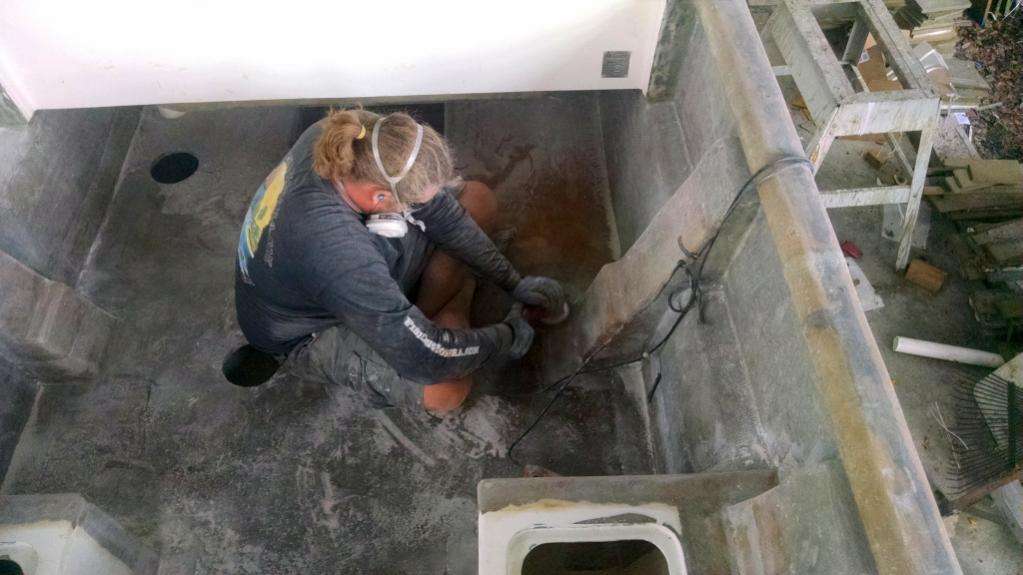
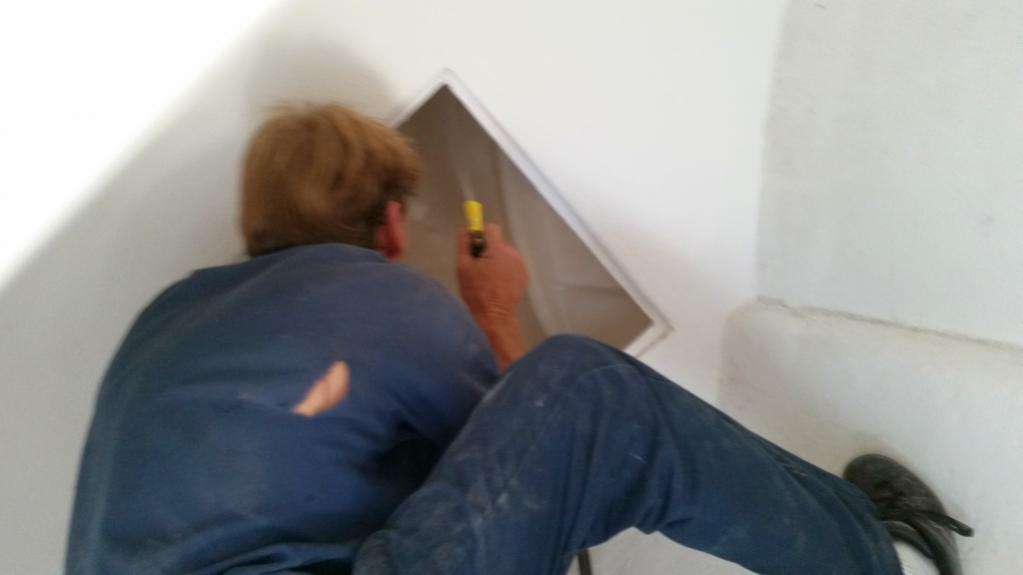
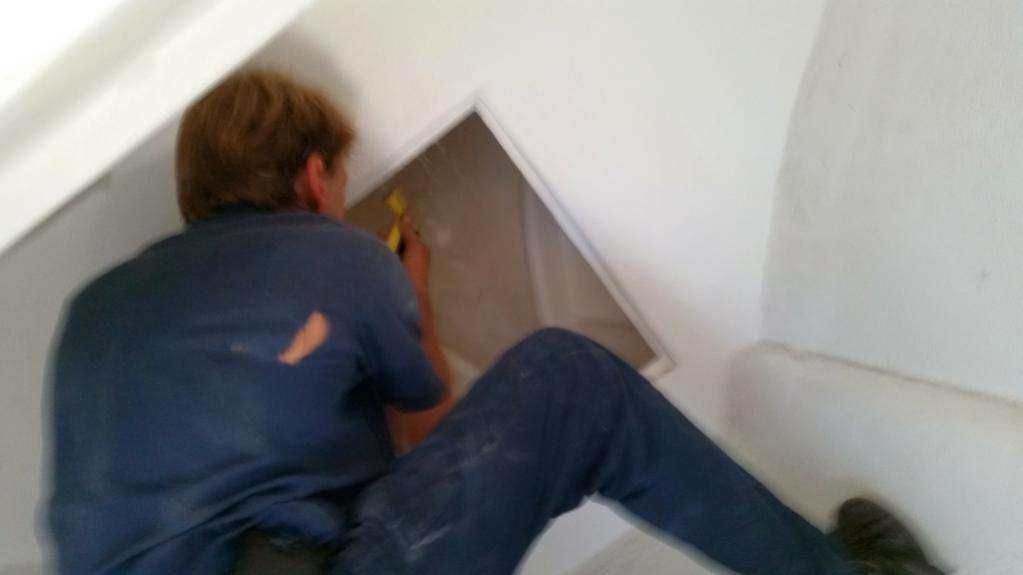
Most recently, we finished all of the hard-to-reach sanding in the forward anchor locker and cabin which means now we can gelcoat it.

It was a little cramped in there during the work, but the end result is worth it.
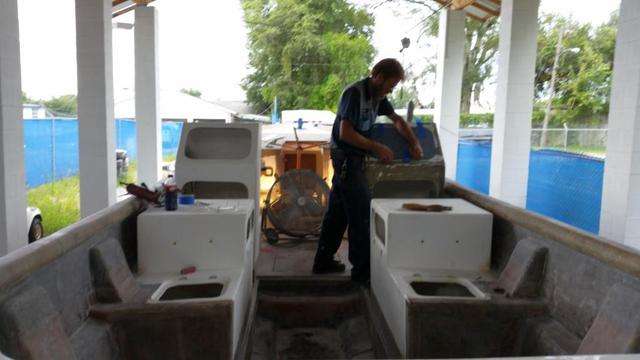
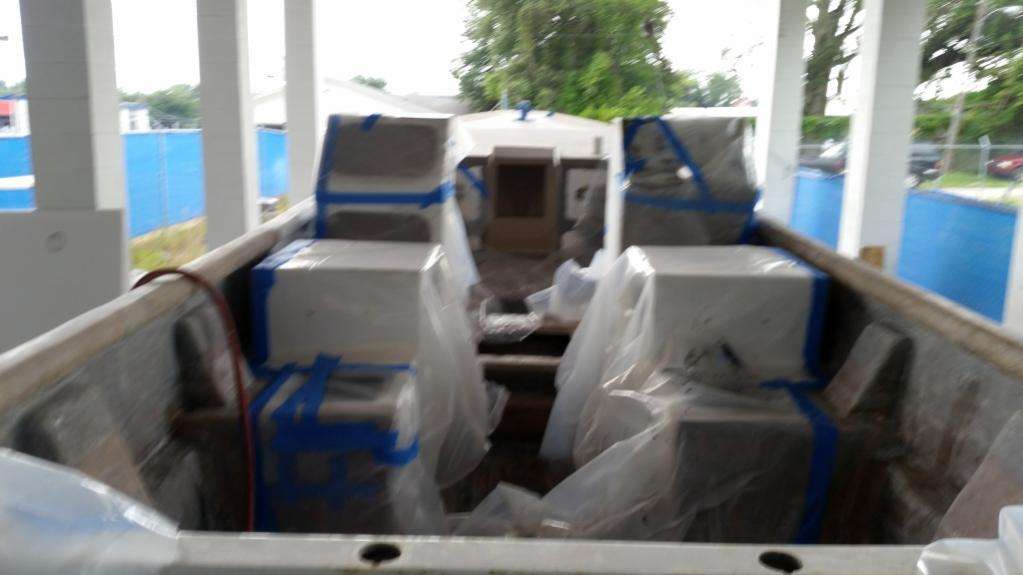
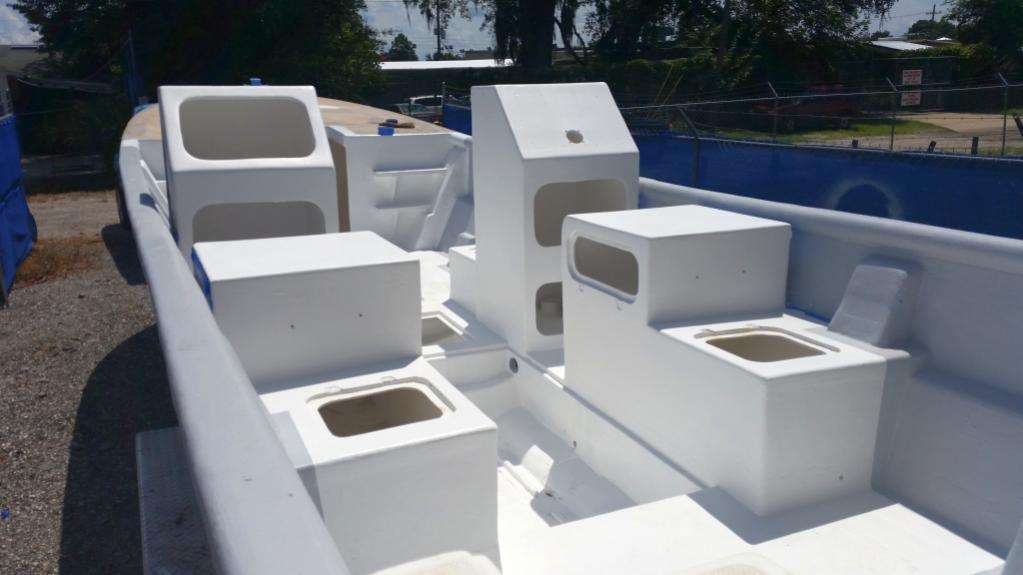
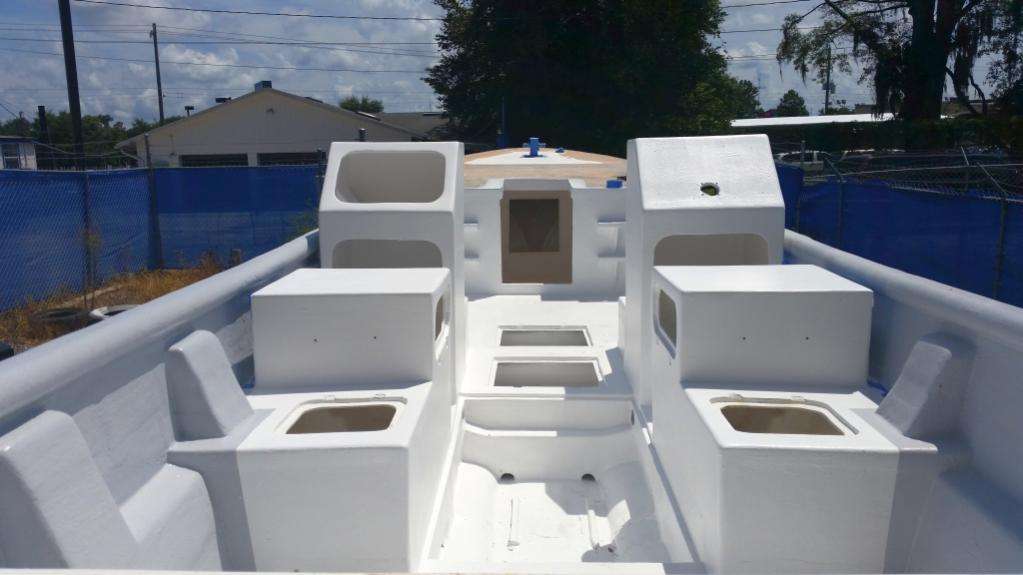
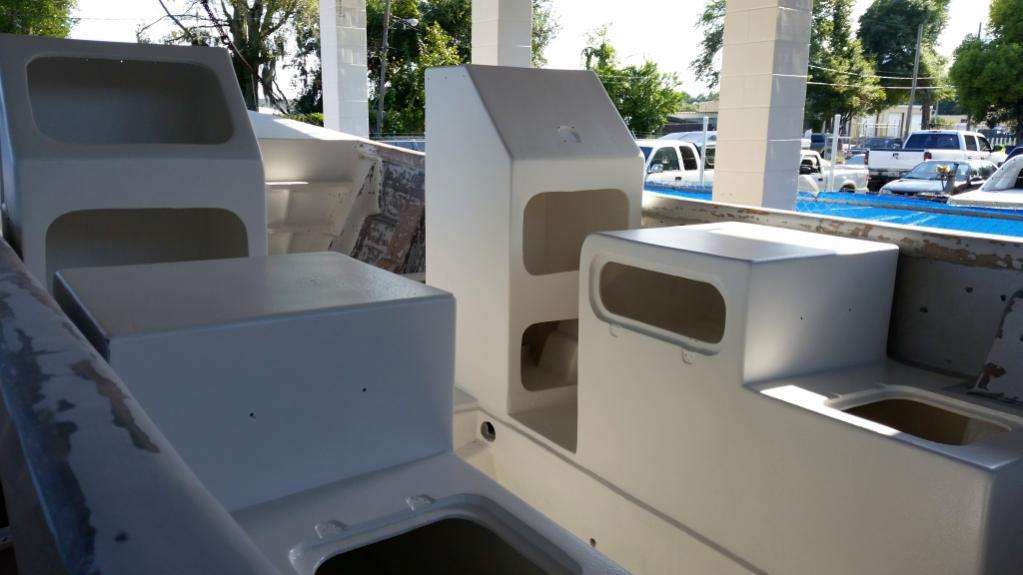
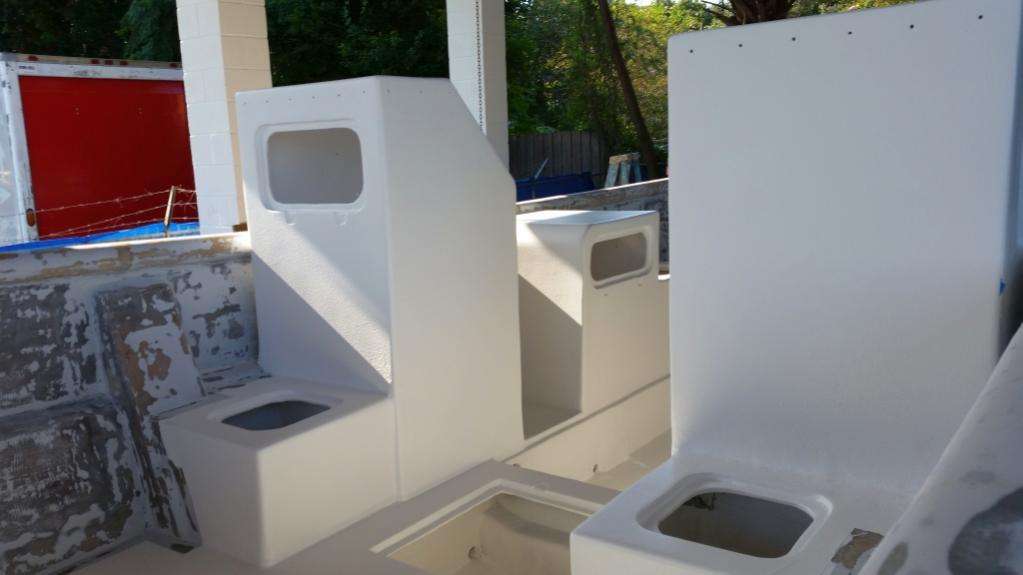
We are at the point where these are the last few pieces left to install:
It’s a good feeling, and we’re looking forward to more fun and more progress this week on The Harvester Project!
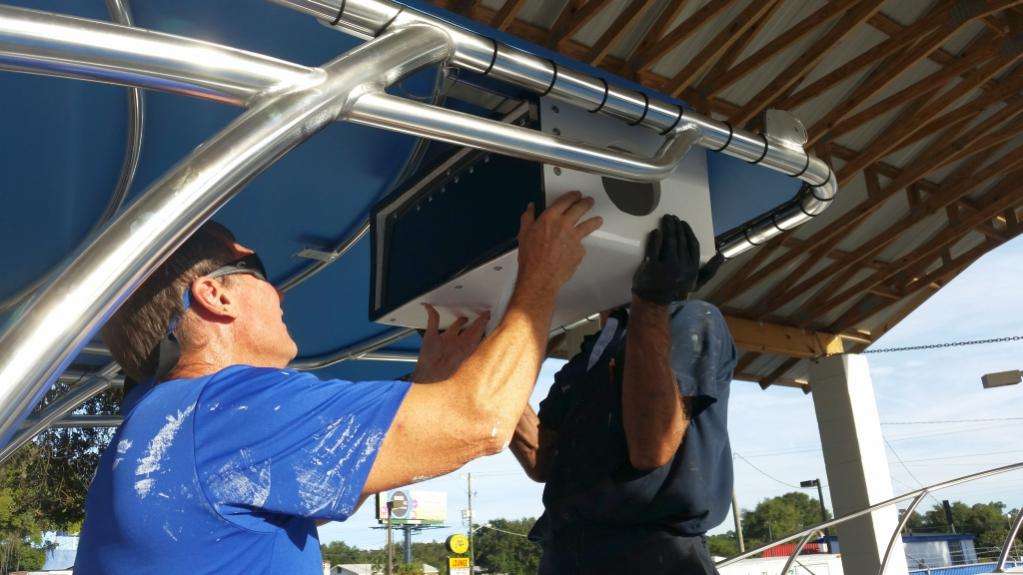
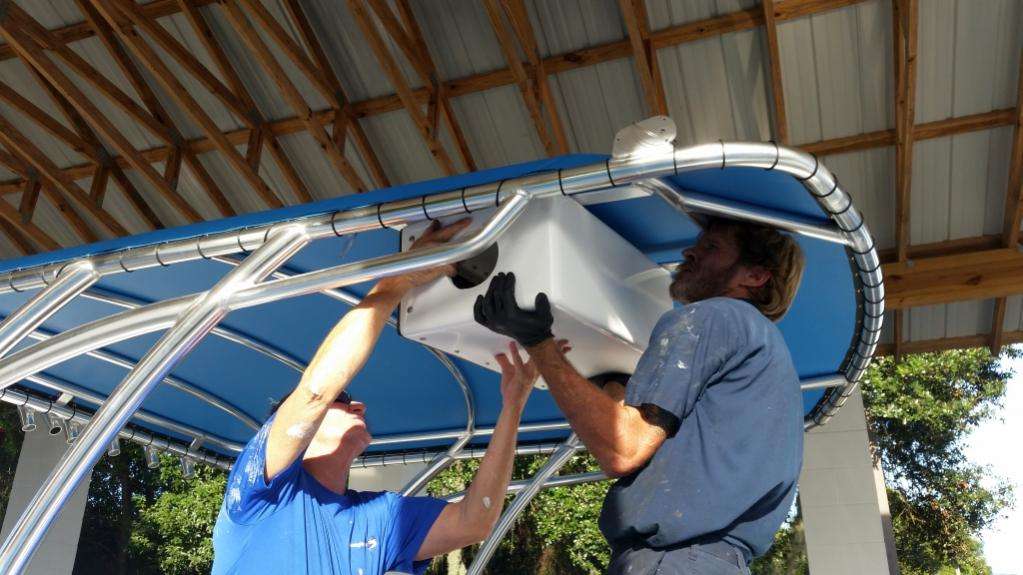
July 16, 2015 – Day 246
Howdy all! We are so close to the end of construction and installation on The Harvester Project that we can taste it (or maybe all the sanding dust has knocked out our taste buds).
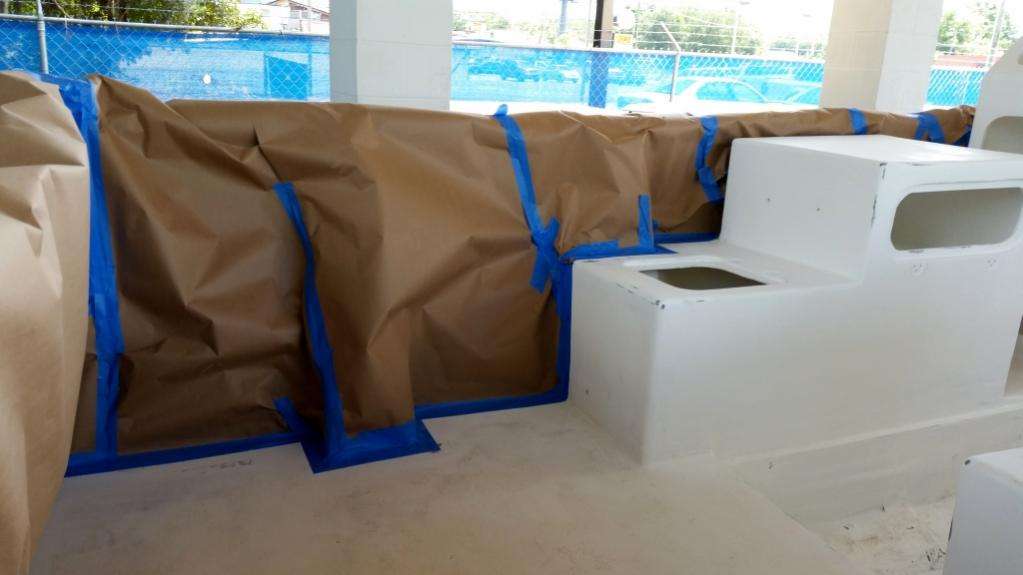
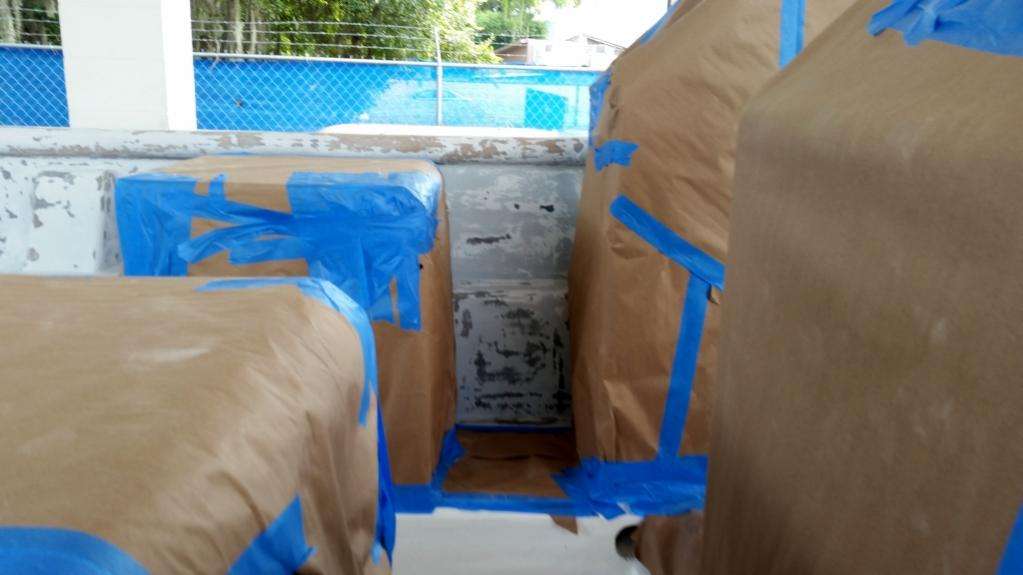
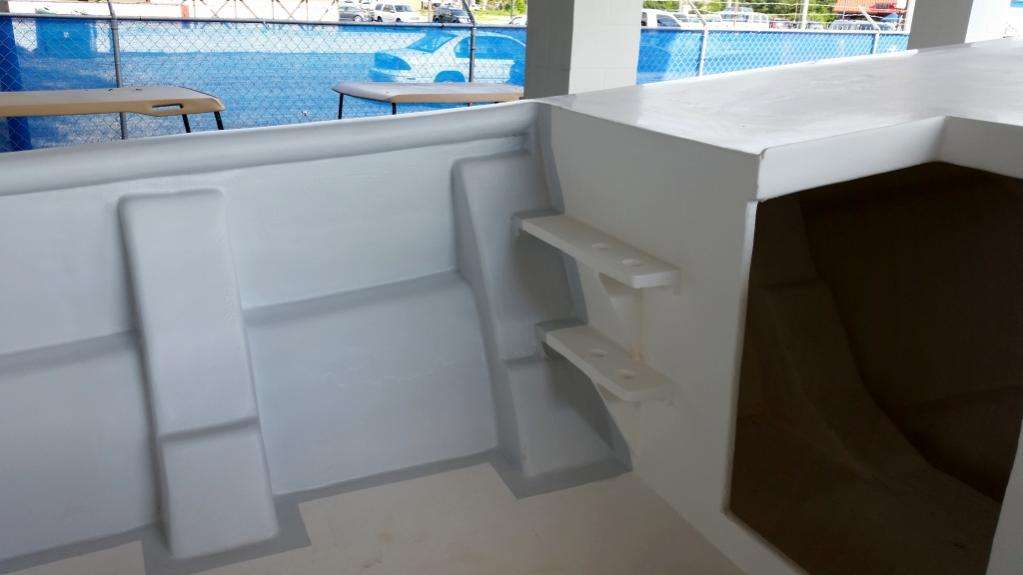
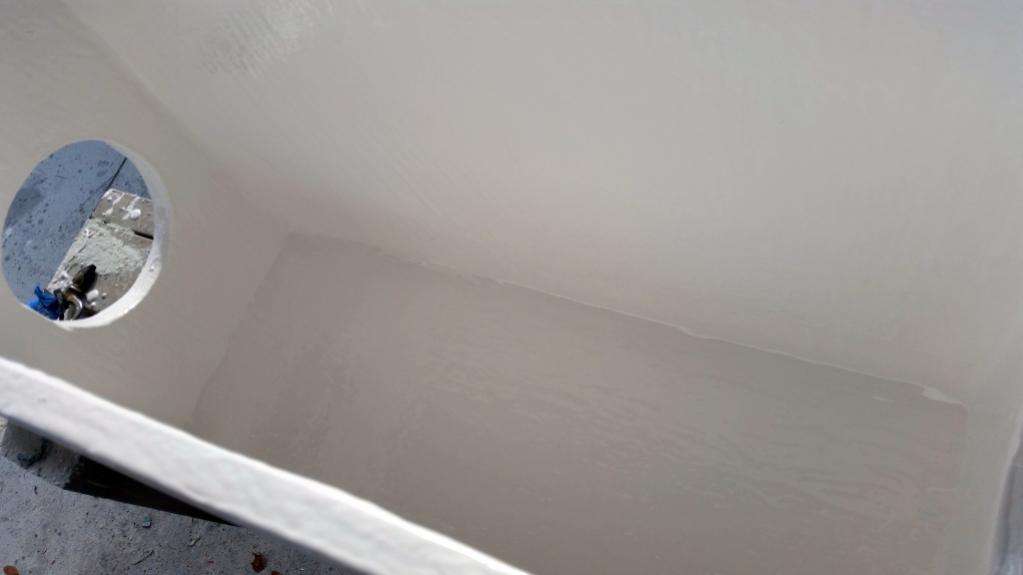
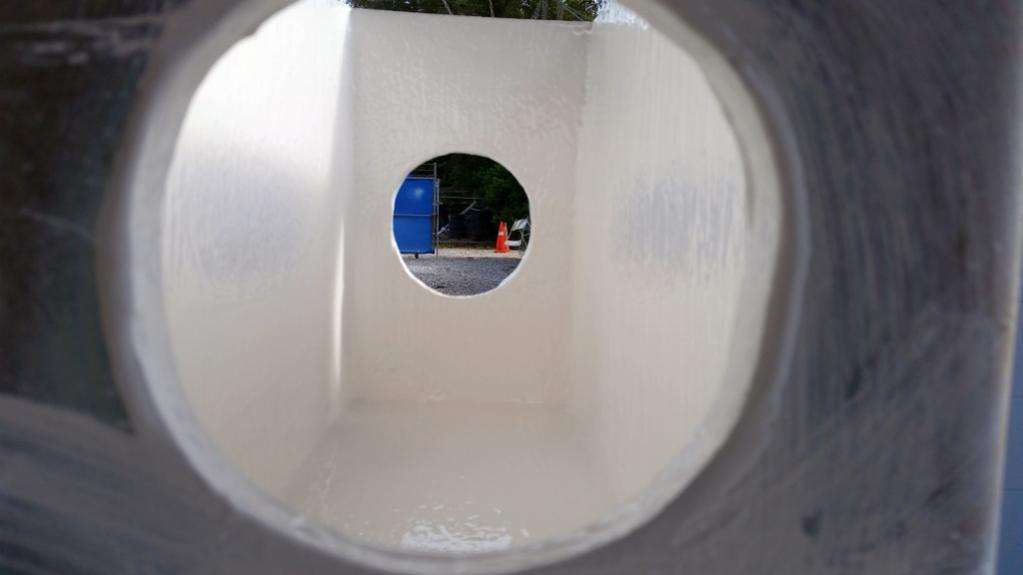
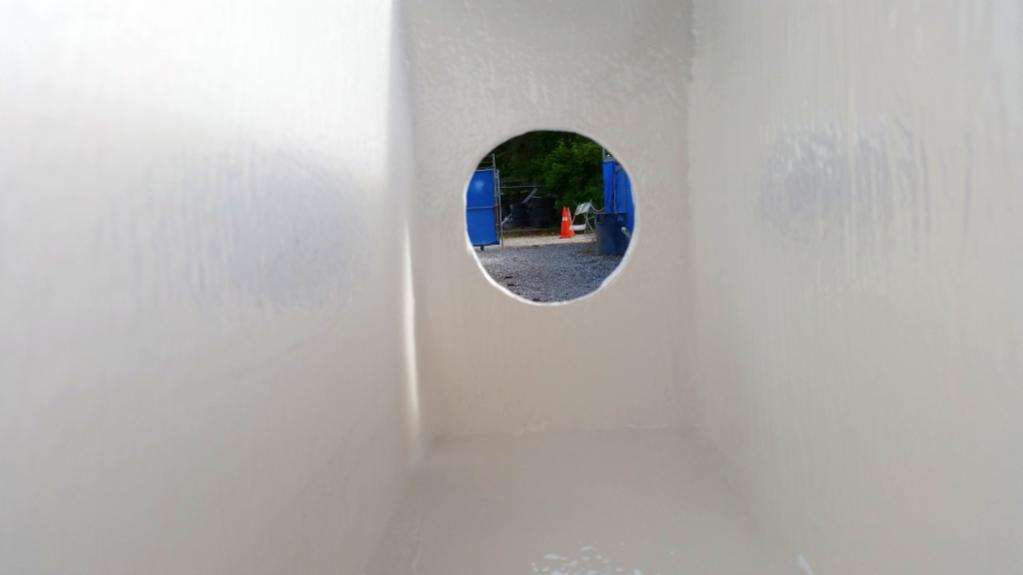
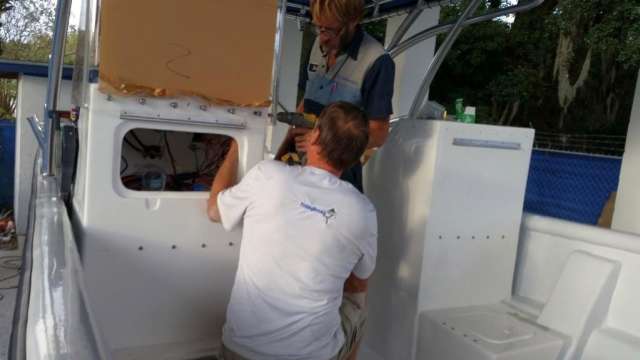
We are at the point now where all the major components have been epoxied into place. To finish these installations we need to double wrap all of the edges to the hull with fiberglass.
The obvious challenge is access; most of these corners are tucked away into tight spaces, so while the work has been slow at least it has also been back-breaking.
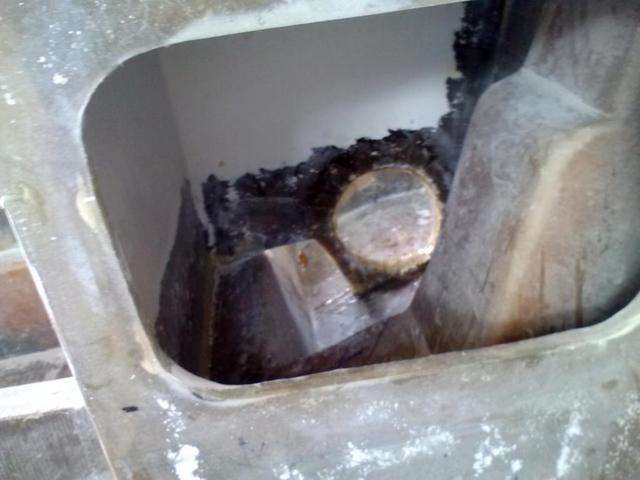
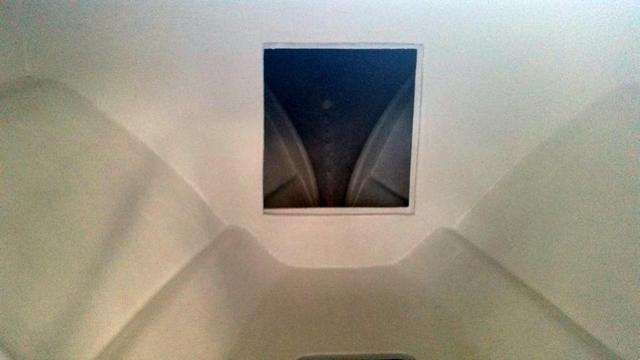
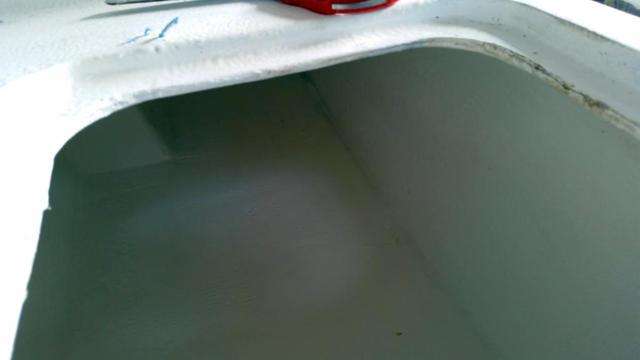
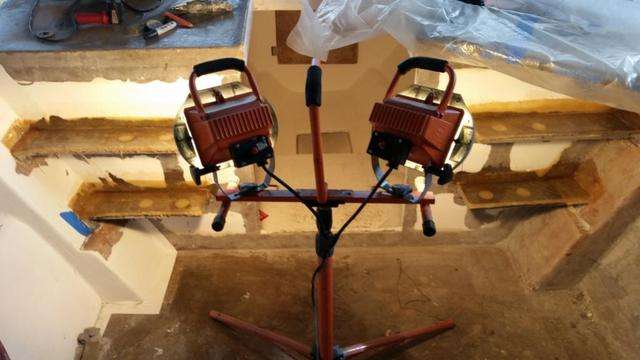
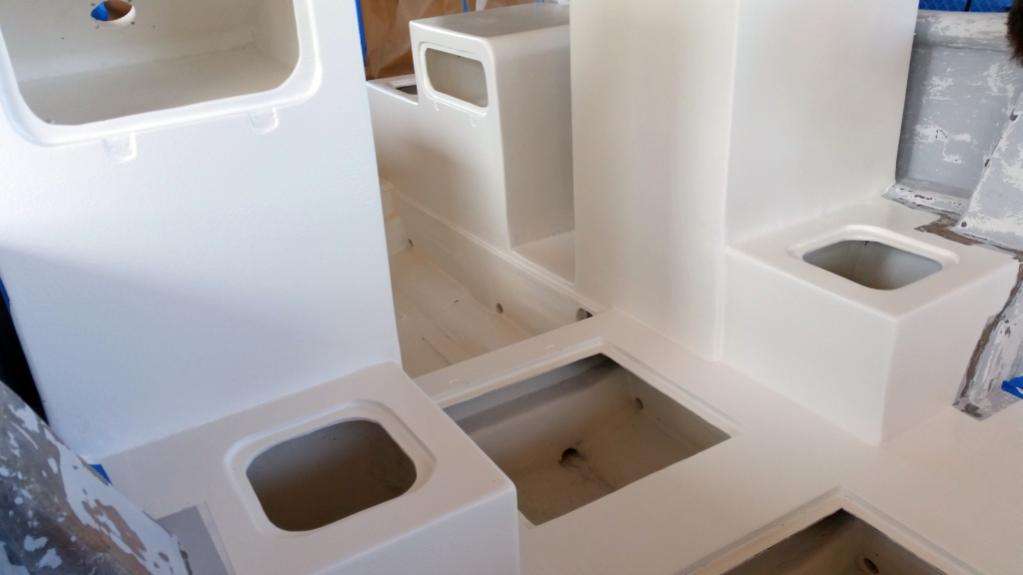
Check out the view into the coolers for instance…this opening is only about 24″ square, so imagine how much fun it is to lay on your back with hot resin and sticky fiberglass.
Also the outer edges have been a boat-load of fun. Brian can barely fit his finger in these gaps, but somehow we’ve managed to get two layers of glass in there.
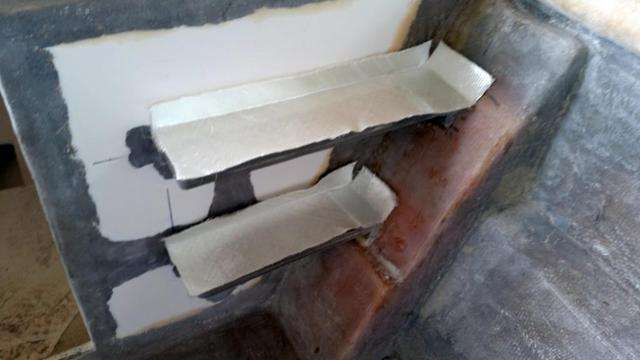
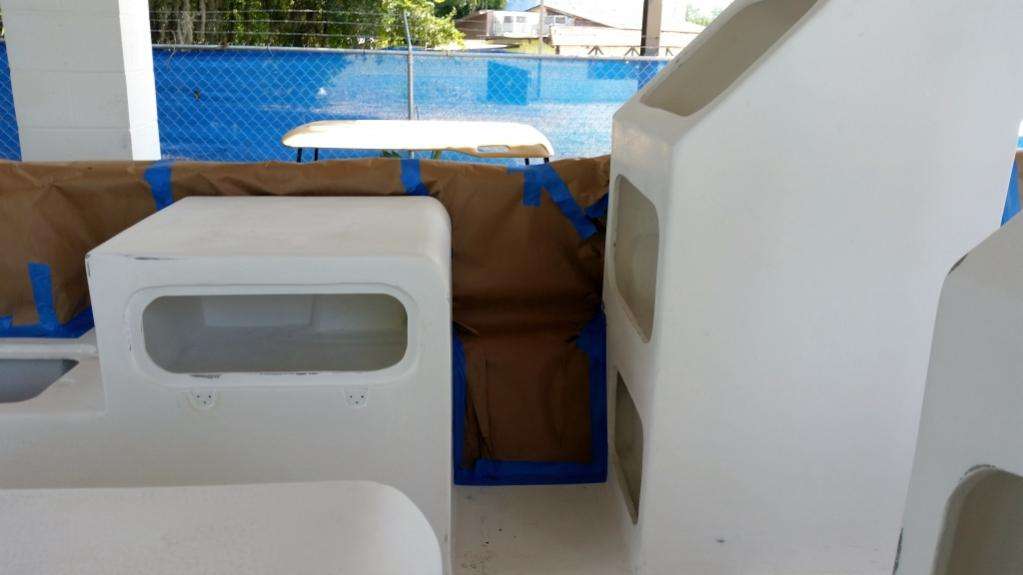
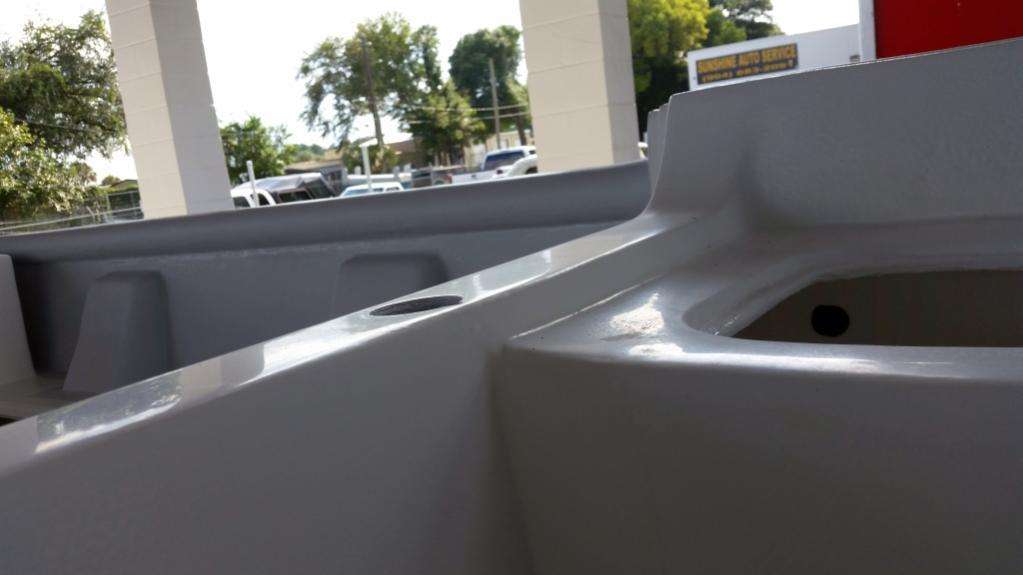
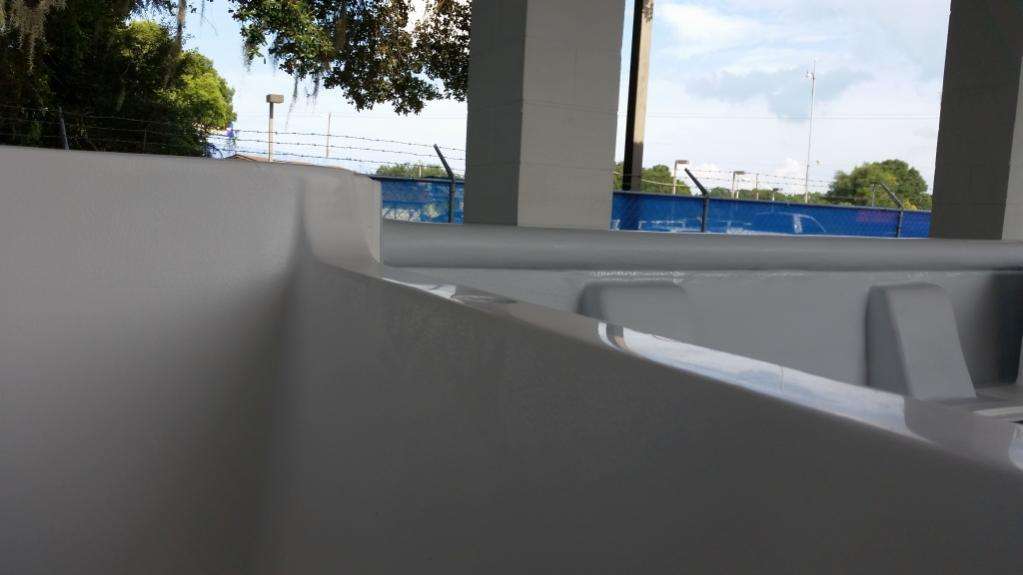
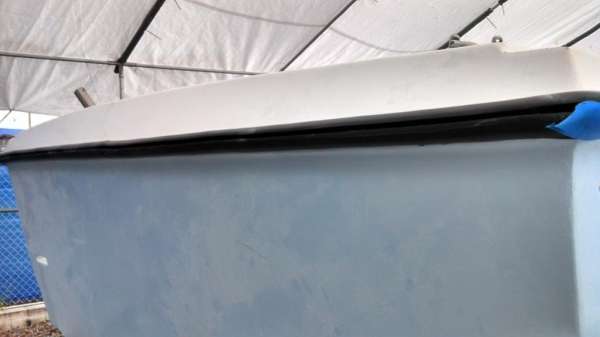
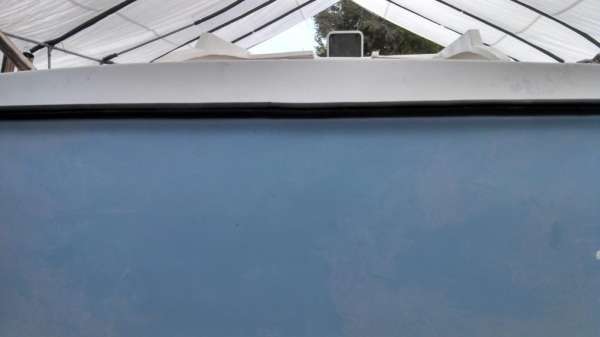
Fortunately there has been progress on areas that are more ‘out in the open’ such as the seam between the front floor and the hull:
The small floors between the consoles and the coolers:

The gas tank lid:
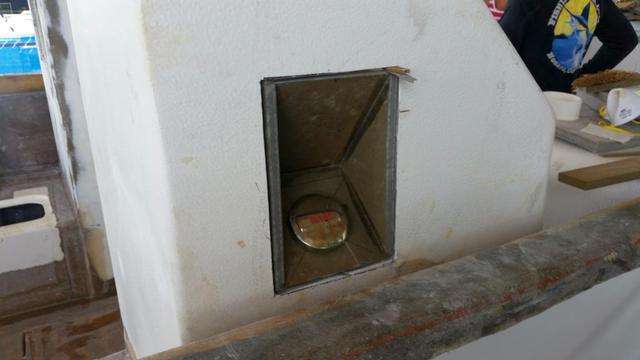
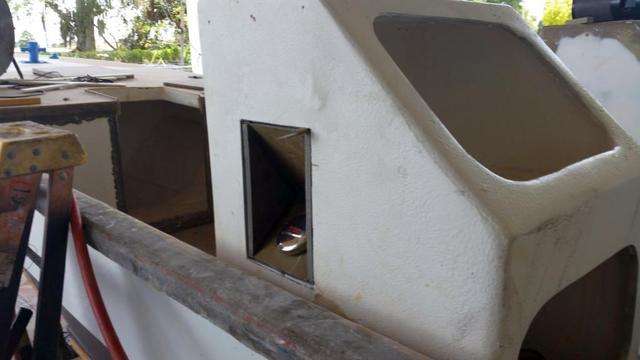
and the fuel filler neck.

We are running out of small details to address, and are anticipating putting the rear floor in place soon so we can move on to paint and rigging.

Stay tuned!
July 24, 2015 – Day 254
The final tweaks are underway as we wrap up the last few details before the paint department takes over next week.
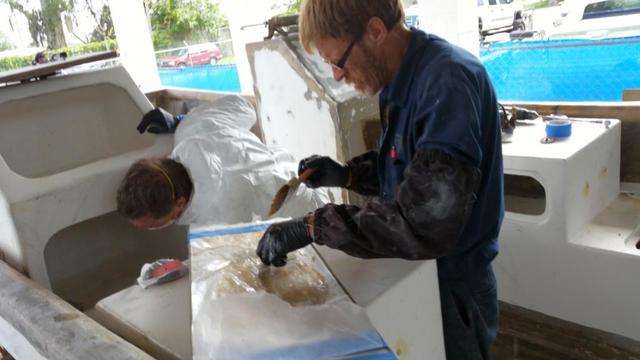
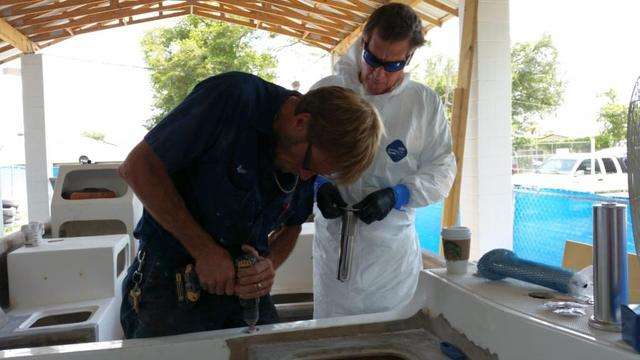
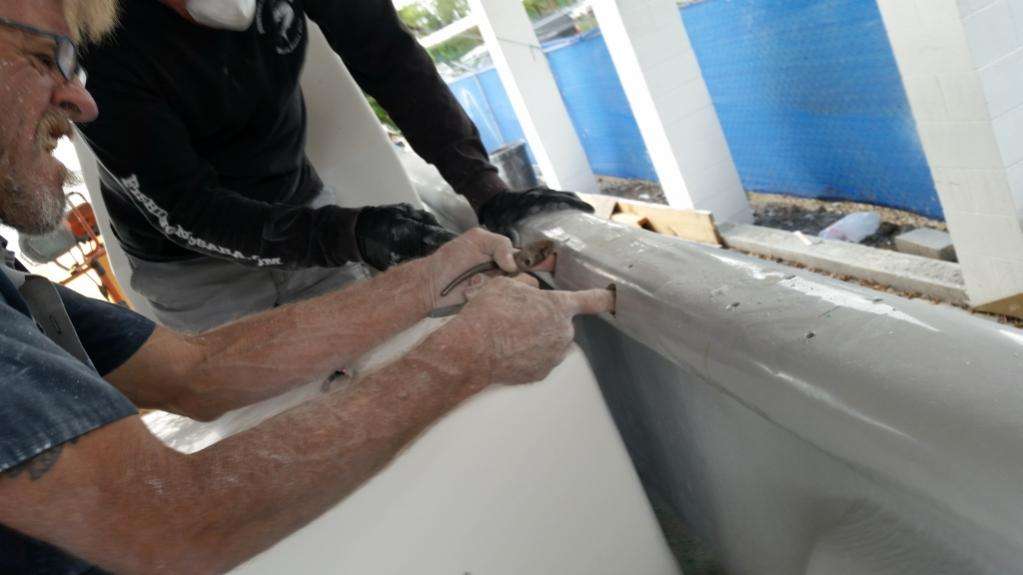
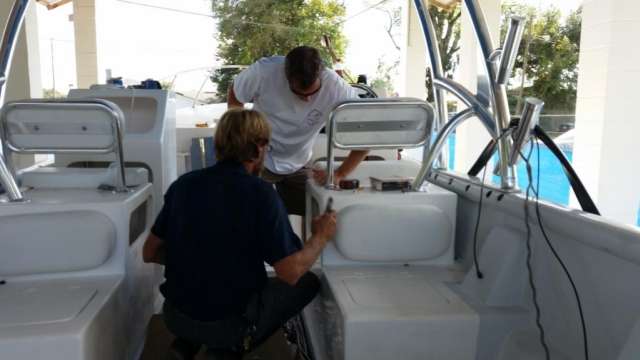
All of the major components are installed and epoxied into place; to finalize the installations we have to wrap multiple layers of fiberglass along the edges where it mates with the floor and/or hull.

This is tough work in tight spaces, so it helps to work in tandem…one guys wets the fiberglass and the other guy lays it into place.
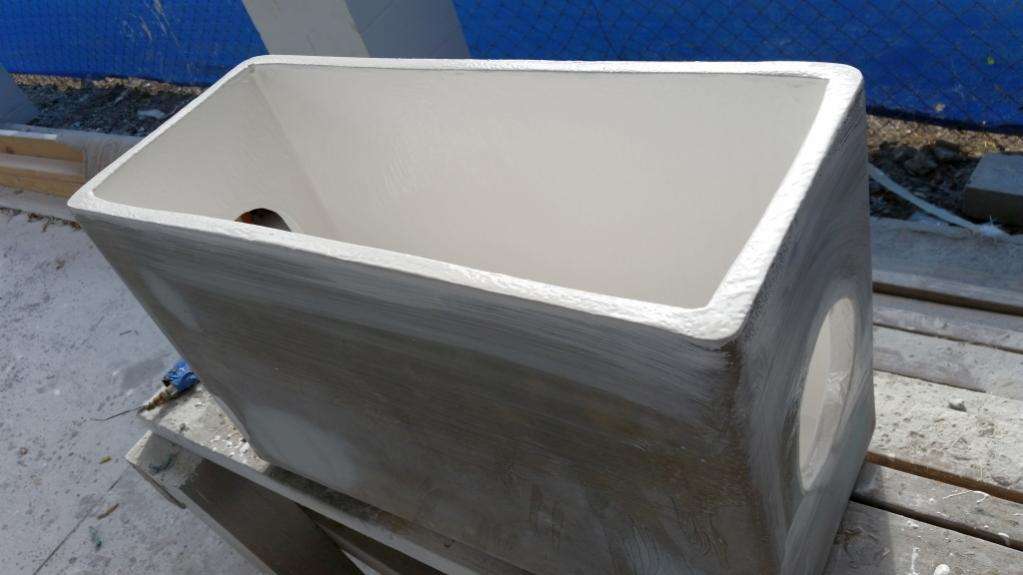
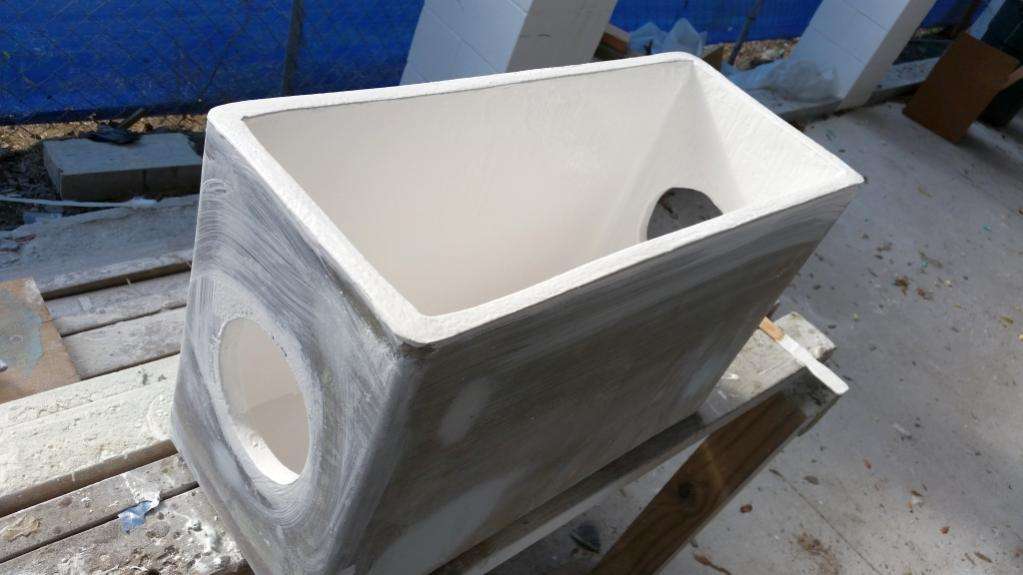
We finally buttoned-up the cooler installation by putting the rear faces on the boxes. Before doing that (and sealing the inside of the box forever) we shot a few quarts of gelcoat inside.
Better to spray now that it’s open then try to reach in there blindly with a brush.


We want to epoxy sleeve as many holes as possible, and once the gelcoat is on it would be a shame to have to sand it away just to sink a sleeve into place. Therefore we are pre-fitting and sleeving as many components as possible before painting.
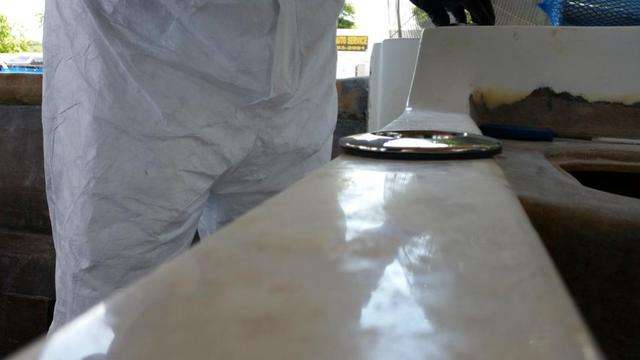
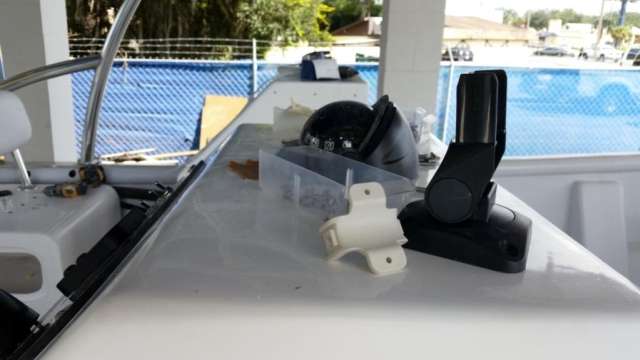
Here’s a look at the compass install:

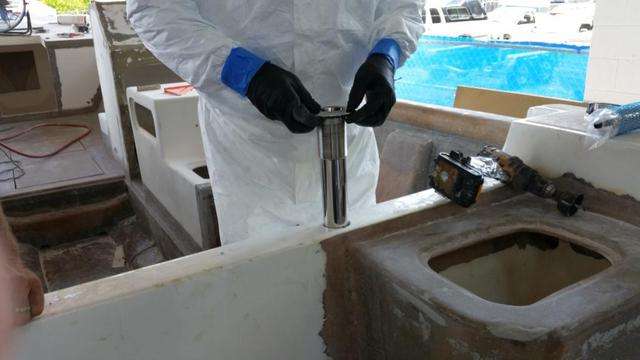
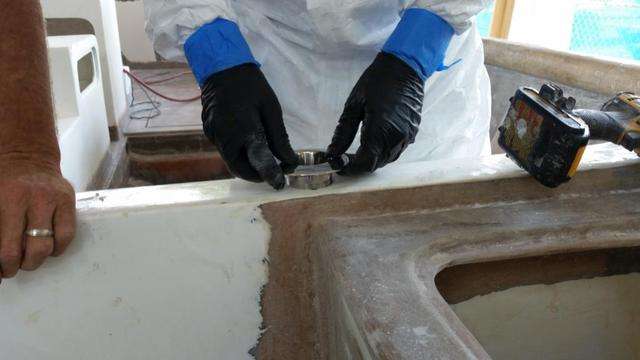
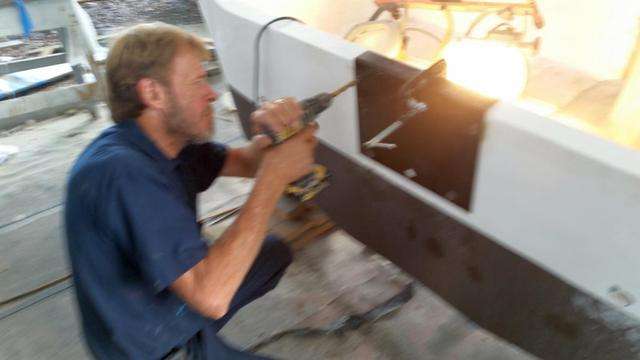
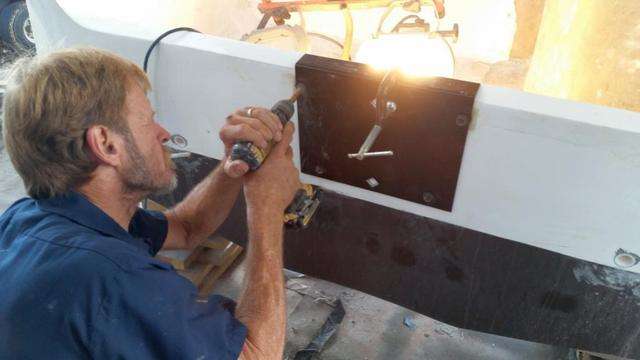
Another important epoxy sleeve is the motor mounting bolt holes on the rear transom. These are 1/4 inch bolts, so we over-drill to 5/8 inch and fill with epoxy.
Once they set up we can drill them back out to 1/4 inch and the sleeve is complete.
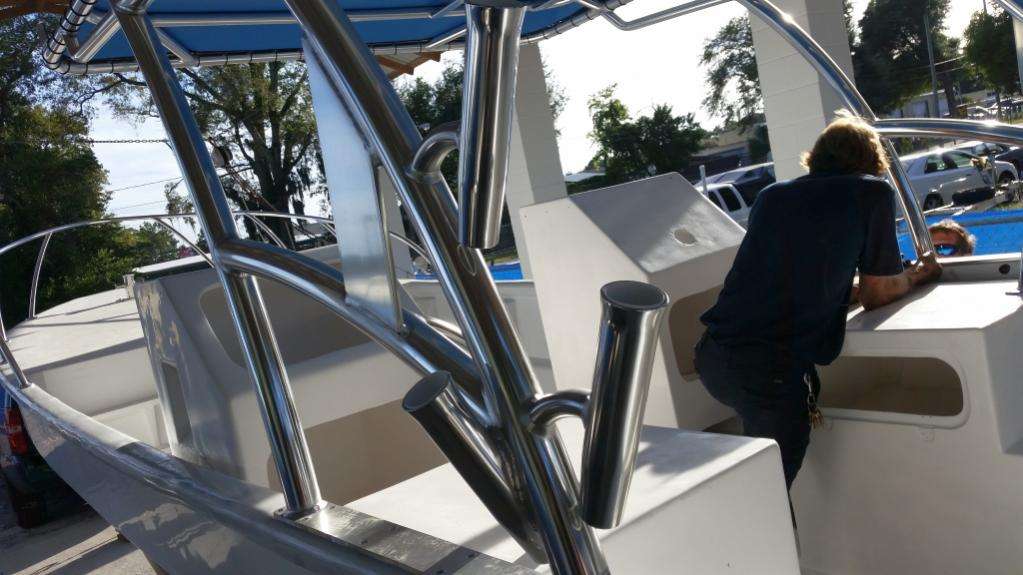
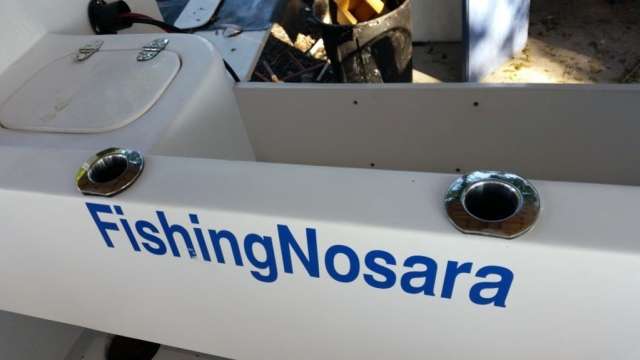
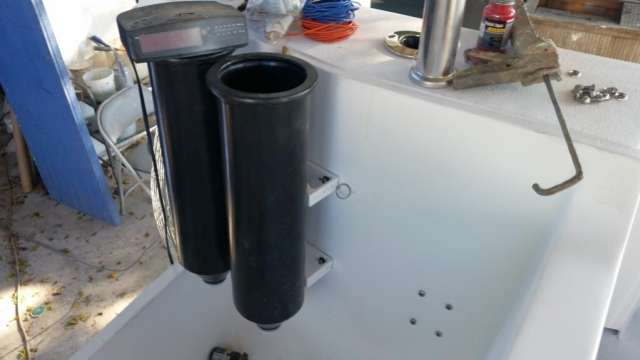
We have also pre-fitted the rod holders in the cockpit. You can see from our markings that we originally were aiming for three holders per side…
…but the guys in Costa warned us that this was playing with fire…what happens when a 700lbs. Black Marlin hits the hook and you have to grab the rod from that forest of rods? You lose a rod and reel, that’s what.
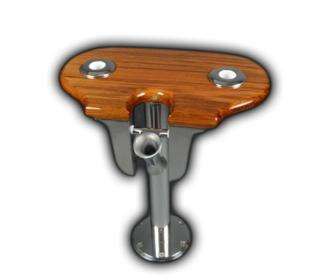
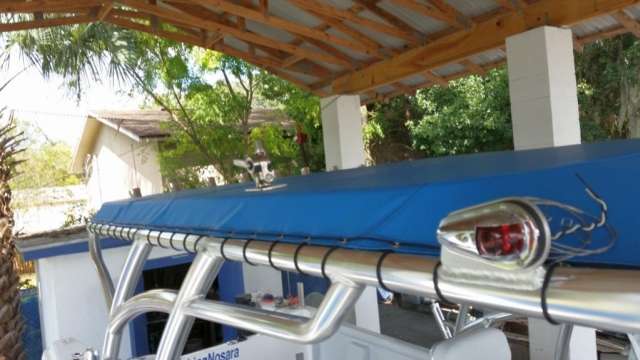
So we are installing one angled rod holder per side. We got these from Gem Products (aka GemLux) and they are sweet.
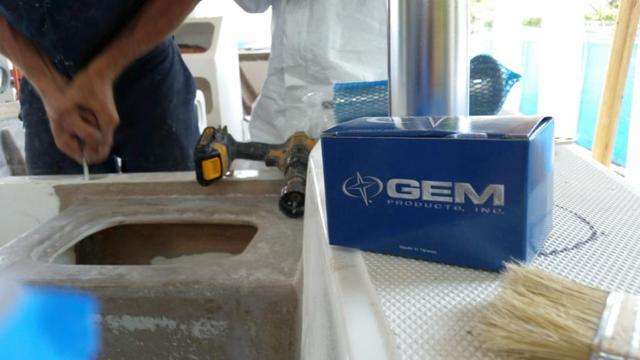
This company is located right in our backyard here in Northeast Florida so it’s great to get some help from the home team; it’s even better that their stuff happens to be world-class.

We also are using their bolt-less rod holder in the transom so we can keep of a pair of pitch-baits at the ready. The rod holder affixes using a rubber grommet that swells to fill the hole once you tighten a big nut around the base of the item.
We’ll give you a better look at this novel attachment system once we finish the installation after painting.
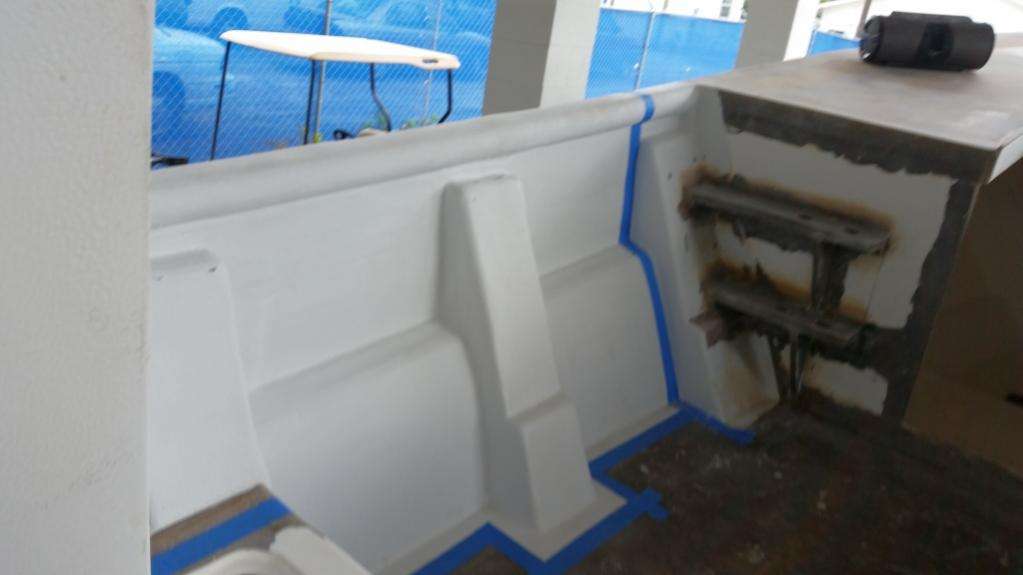
A lot of riggers would overlook this small lip, but sure enough it is just wide enough to hold a rod.
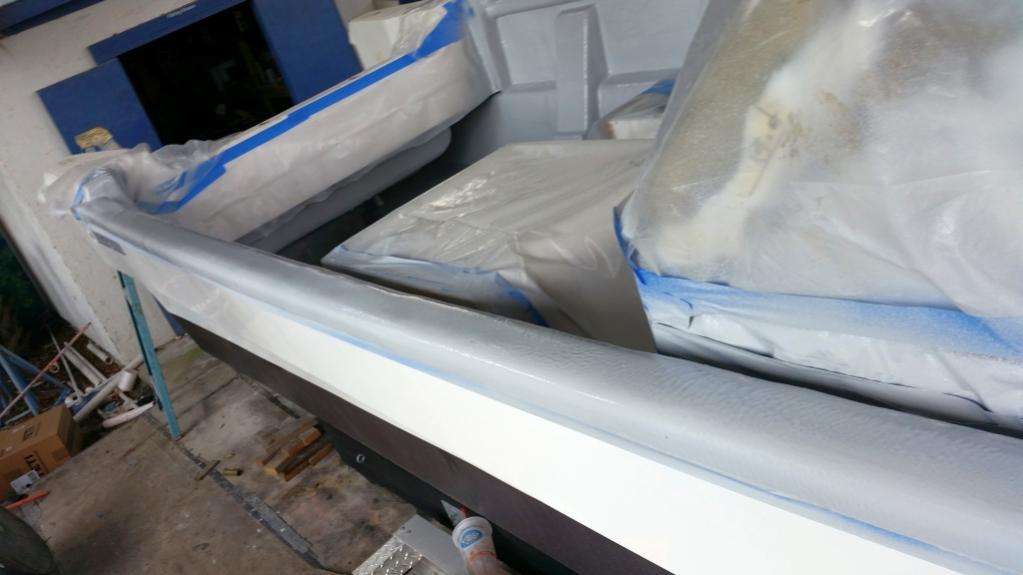
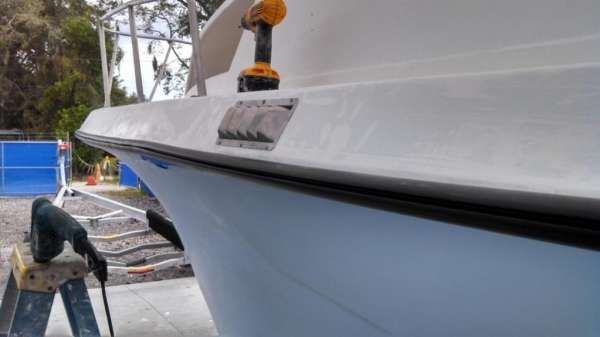
We have worked our hot-coat magic on the rough fiberglass gunwales and smoothed down all the rough edges left from when the boat was in the mold.

These should look really nice and flat when painted.
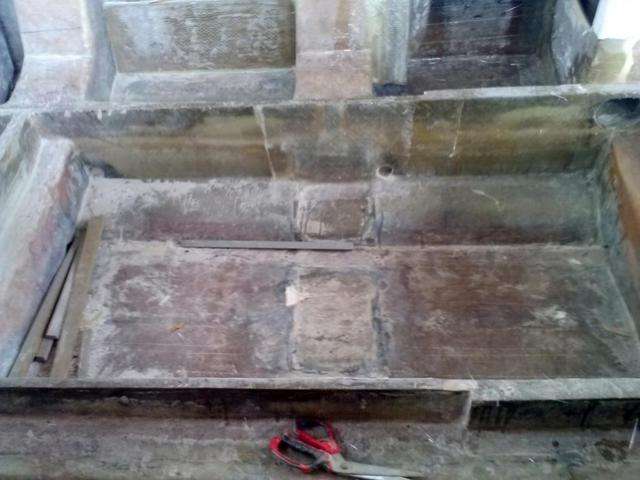
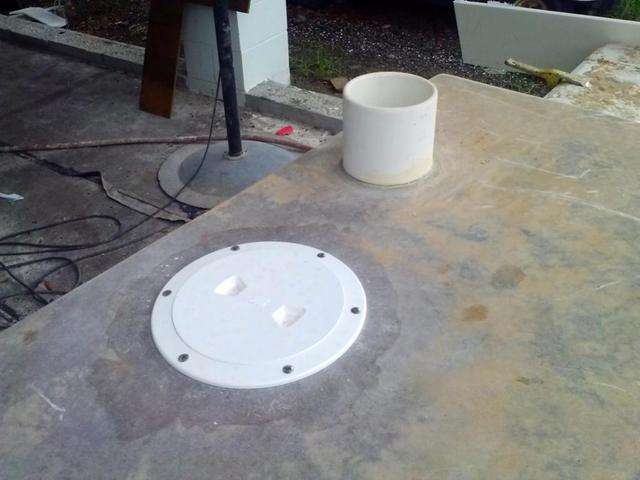
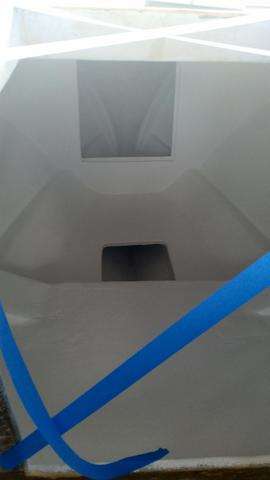
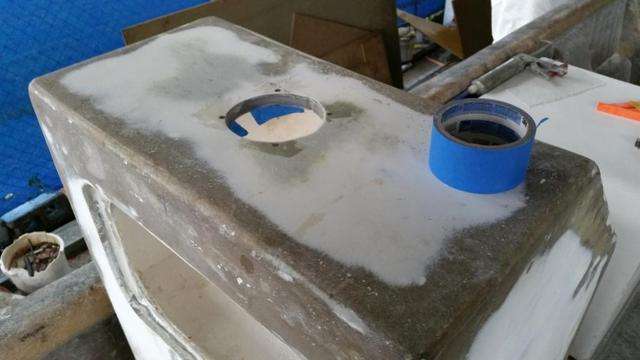
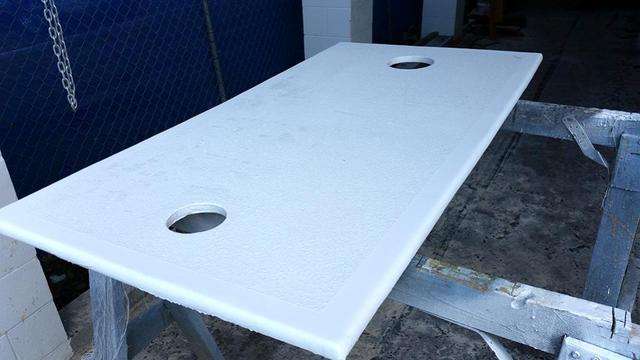
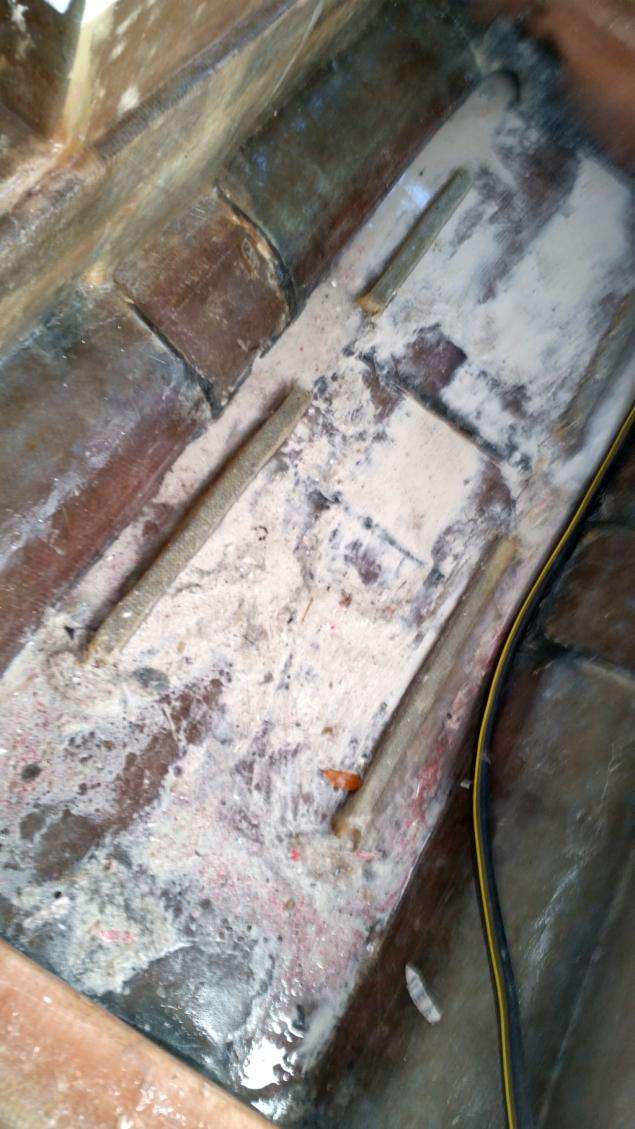
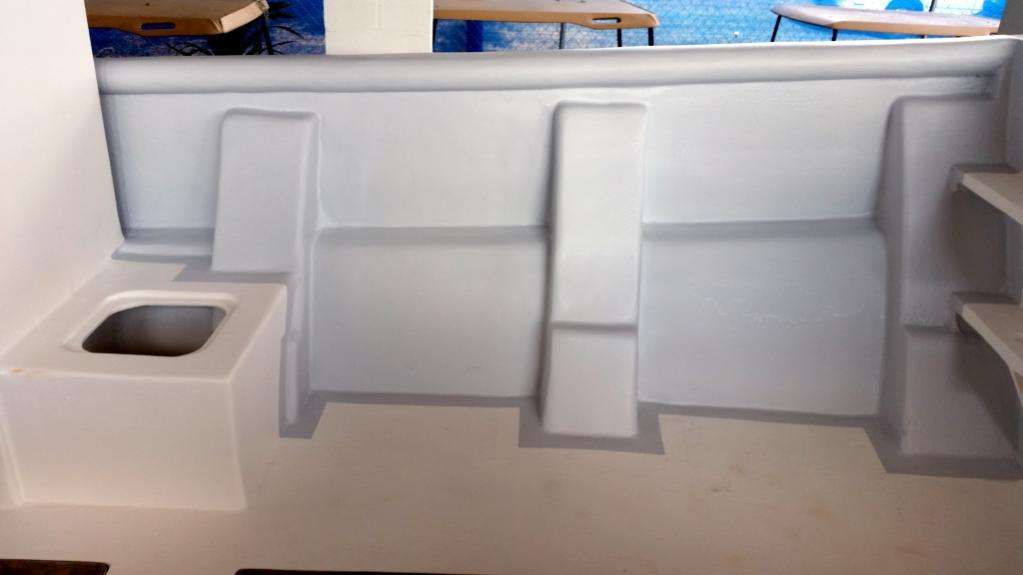
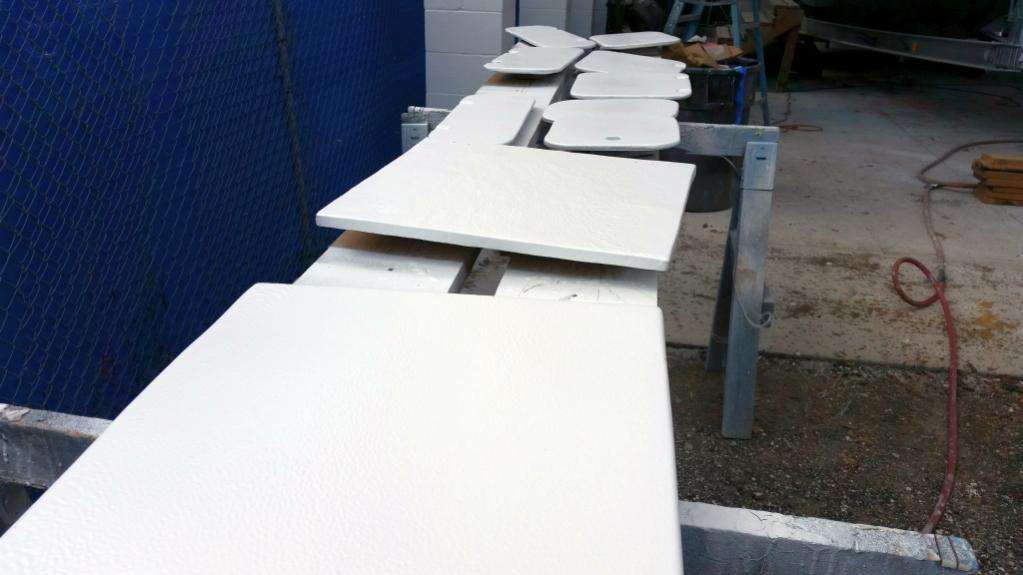
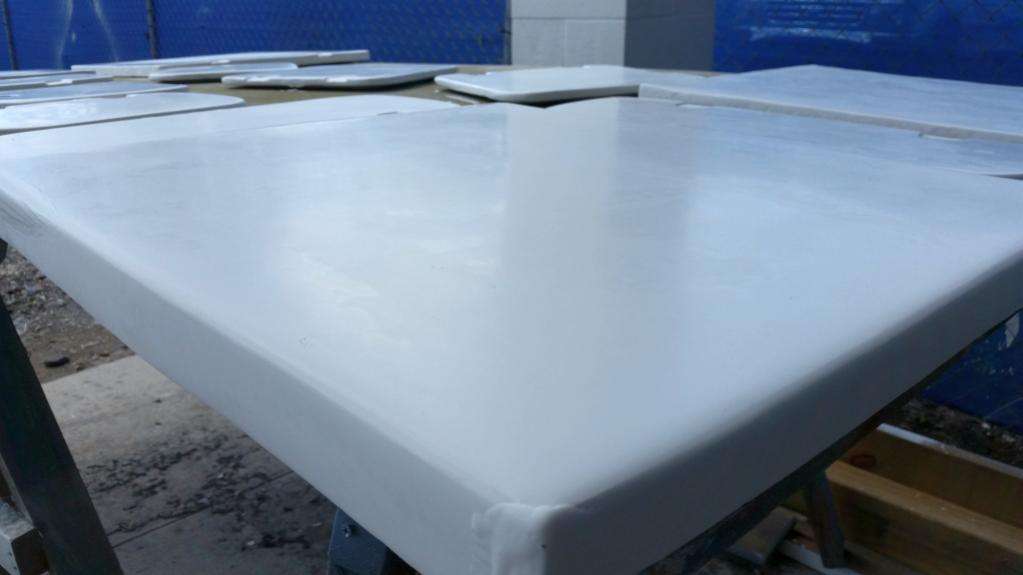
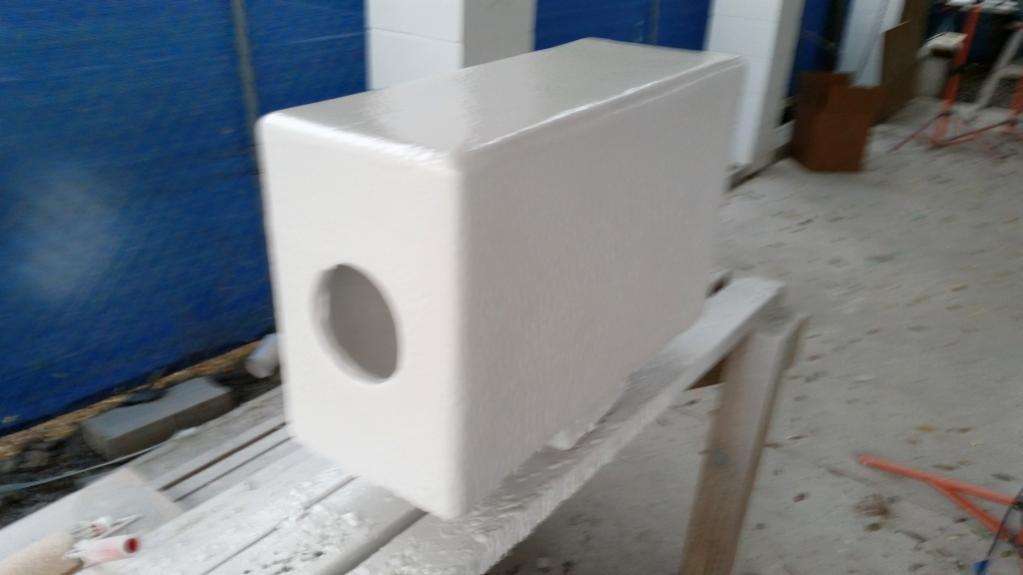
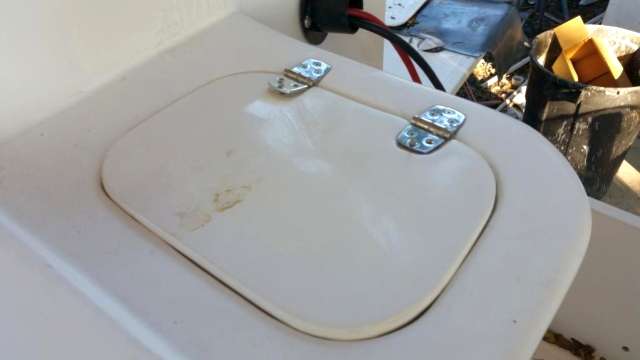
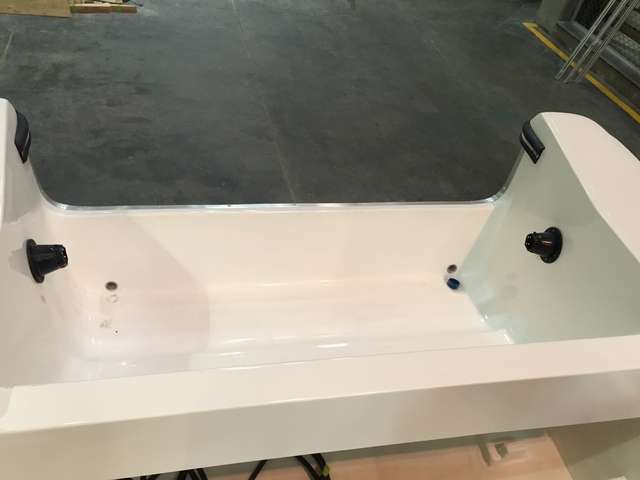
Lastly, there is one section of the floor that won’t be permanently installed and that is the fuel tank covering panel. We’ll secure this to the floor with only 5200 so that the tank is accessible for maintenance down the road.
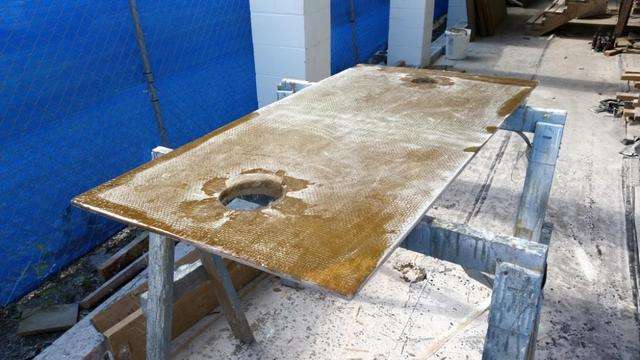
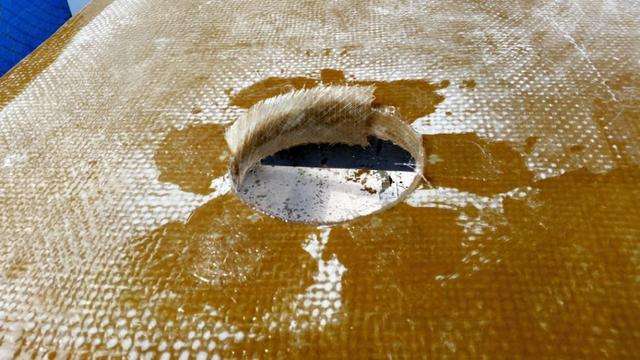
You can see that the holes for the access hatches have been cut, fiberglass wrapped, and epoxy sleeved. Then we sprayed the panel with three layers of gelcoat.

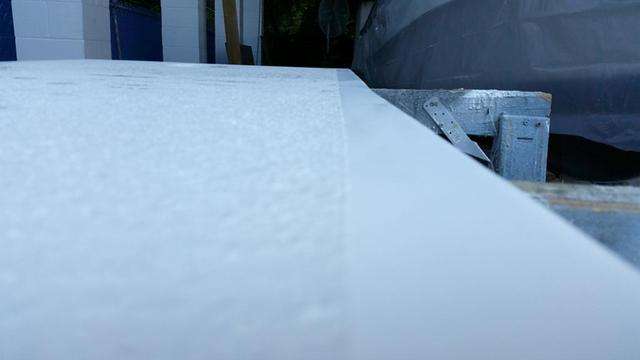
We sanded the edges with 400 grit to flatten and shine the edges…
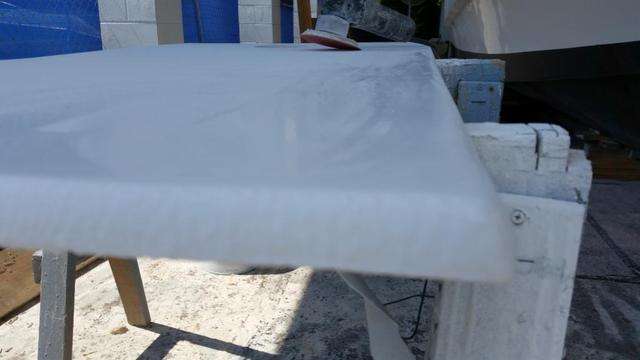
…then rolled the center with gelcoat infused with pumice sand.
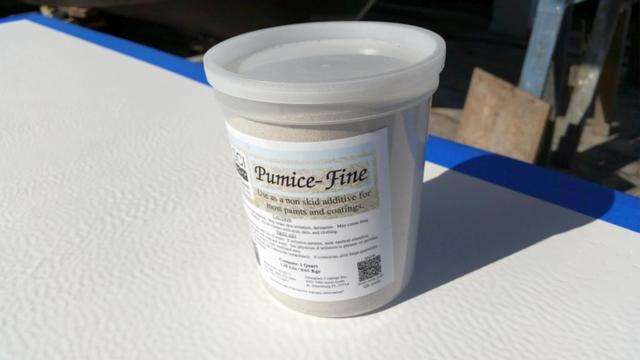
This give a nice non-skid texture and will match the rest of the interior, which will also use the pumice.
It’s raining progress over here on The Harvester Project and we can’t wait to finish up these details and put some color on this hull.
August 7, 2015 – Day 268
The Harvester Project is flying down the tracks at full-speed now, with lots of little details getting finished up this last week.


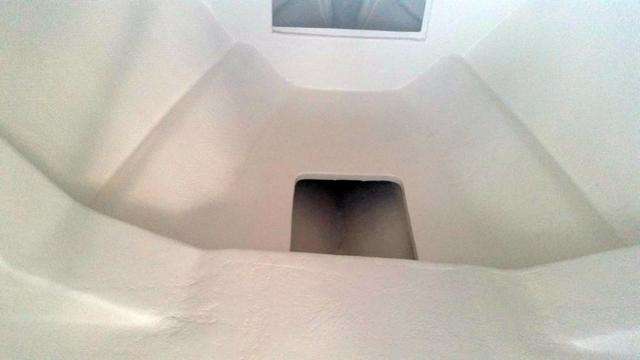
Previously we showed you the finished rear floor section, however we have refrained from installing it until we could properly build a brace for our forthcoming Release Marine fighting gimbal.
We are still waiting for the unit, however the folks at Release Marine were kind enough to send the floor plate along early so Brian could build a cross-brace stringer.

Then we epoxy sleeved the holes, and installed the rear floor:

The small deck hatch next to the gimbal base is purely there so we can tighten down the nuts; it’s already proved useful since it allowed us to get under there and re-open the holes after all the fiberglass went down.
Like the rest of the floor pieces, we treated this area with a healthy amount of phenolic microballoons mixed into resin.
Elsewhere we are pre-mounting and pre-drilling as many holes as possible around the boat, including:
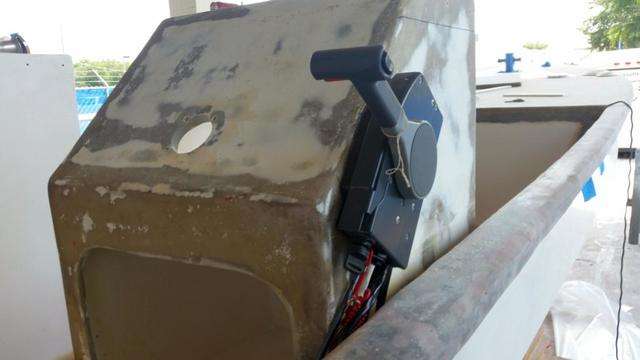
The throttle, and:
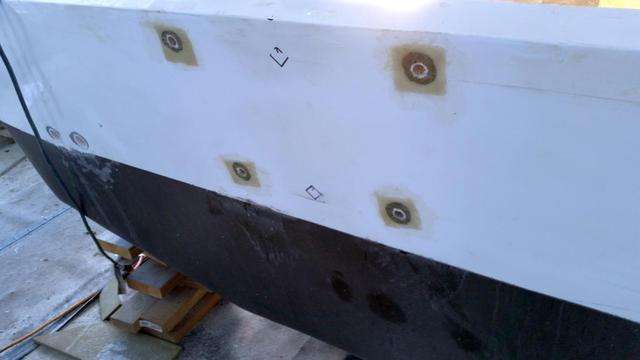
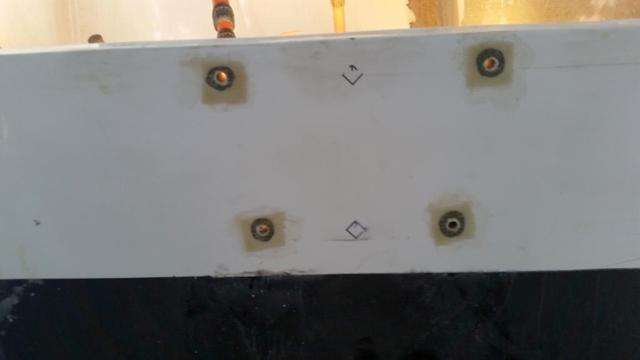
The motor mounting holes, and:
The hinges for all the hatches. Though not pictured, we also have pre-drilled and pre-mounted the bottom machine and the compass.
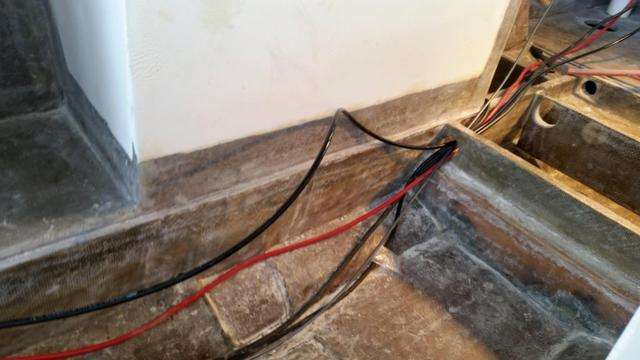
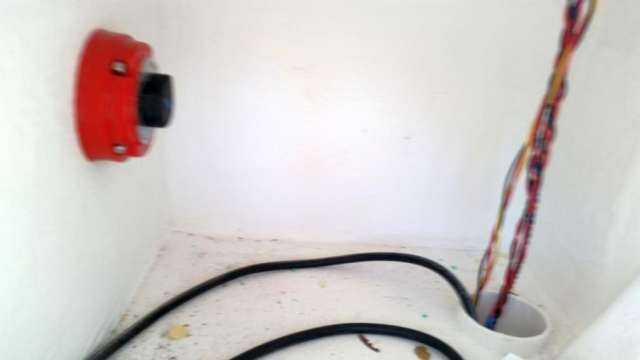
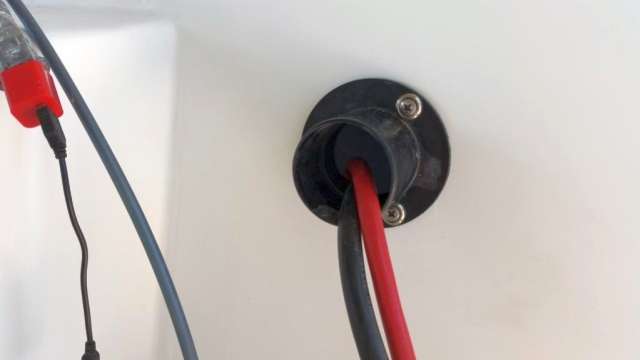
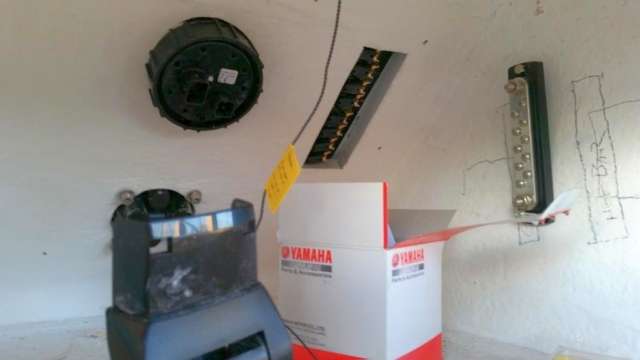
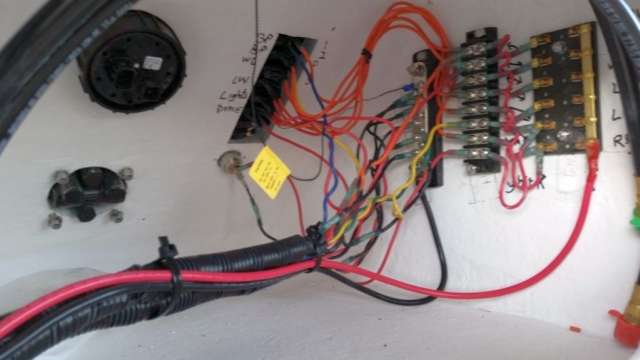
This was also a good time to check our wiring routing before progressing any farther.
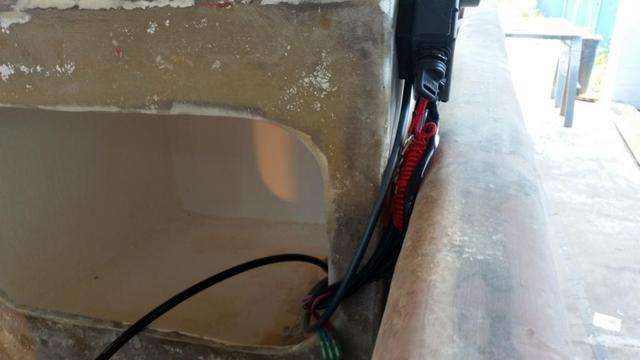
We also checked the fit of our finished fuel deck cover.

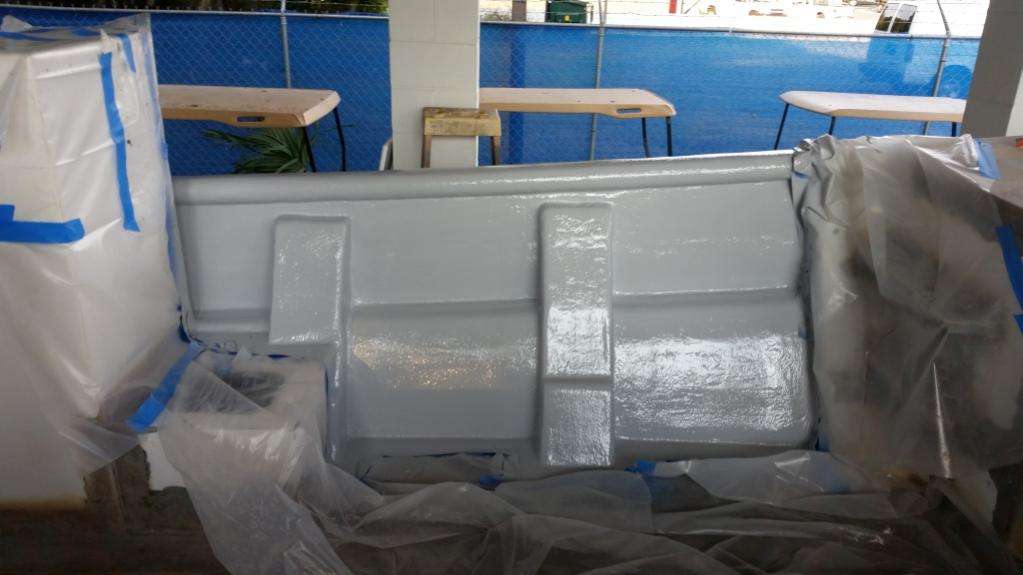
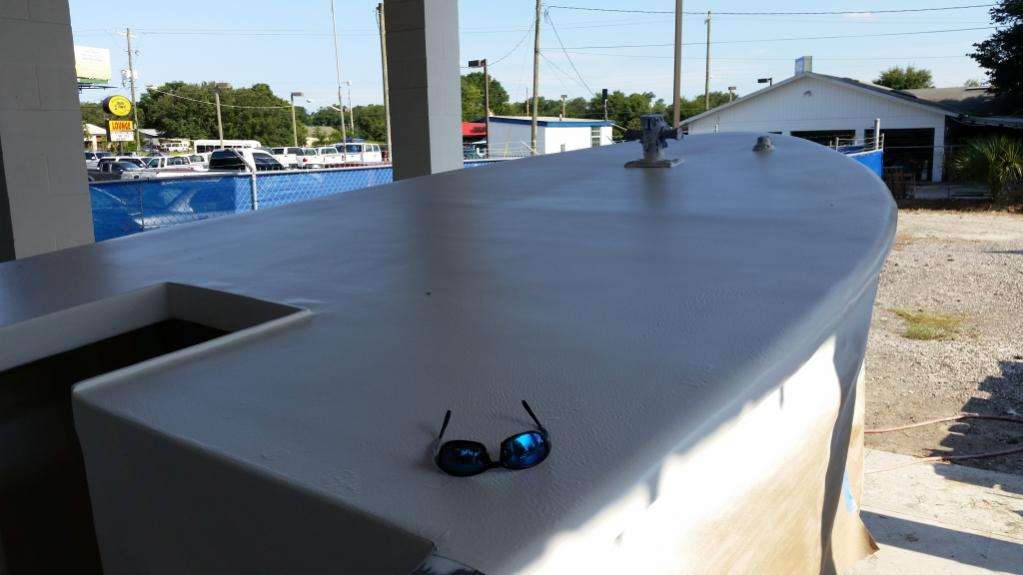
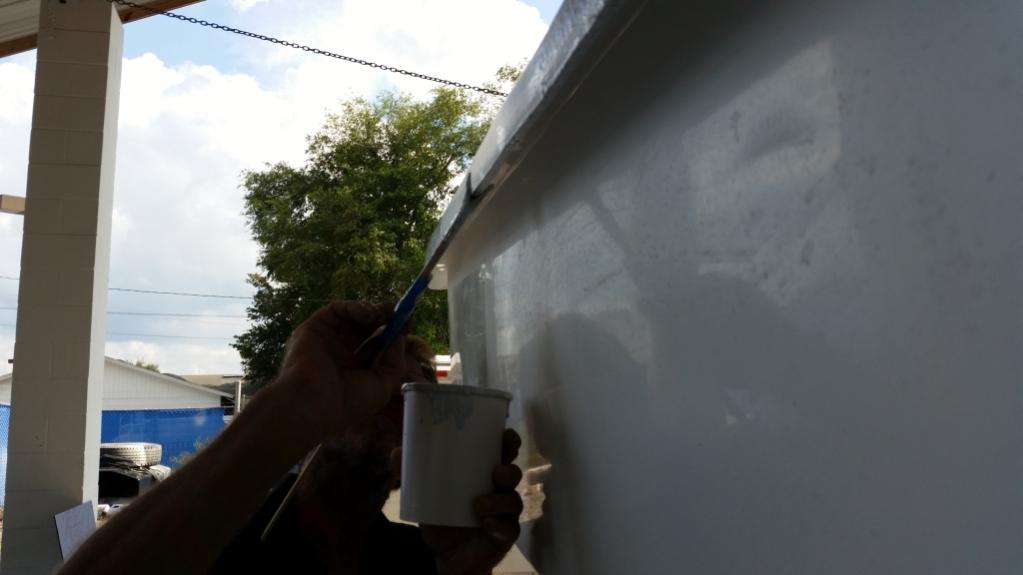
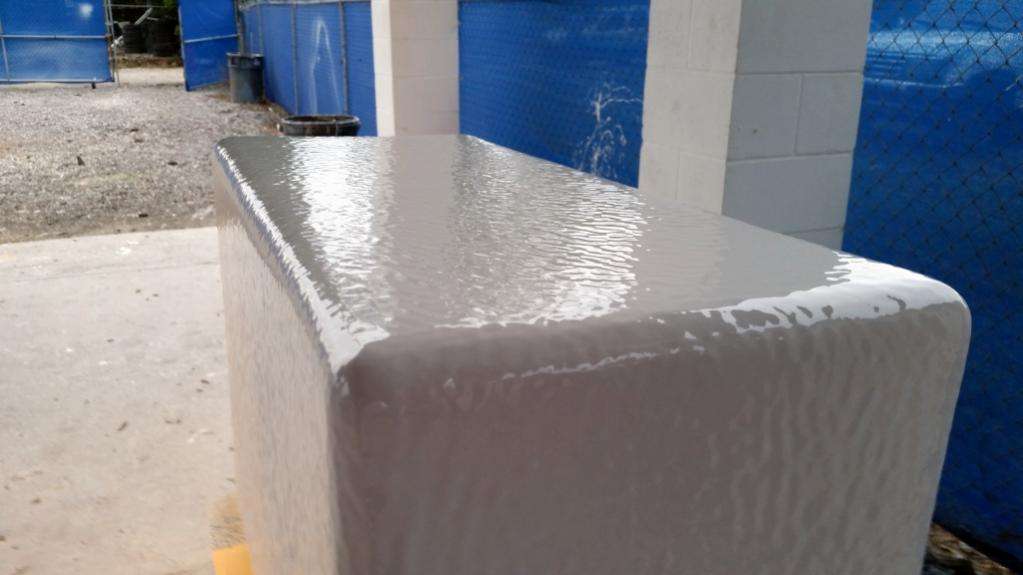
We are keeping our eye on the painting process which will start soon. We are going with a two-tone grey and white scheme. Here is the first layer of grey being applied:
We were just about to start painting when Craig noticed a serious design flaw: the foredeck is too far above the deck, meaning that we have to build some steps up to the foredeck.


He has a sweet idea to turn these steps into rod holders.
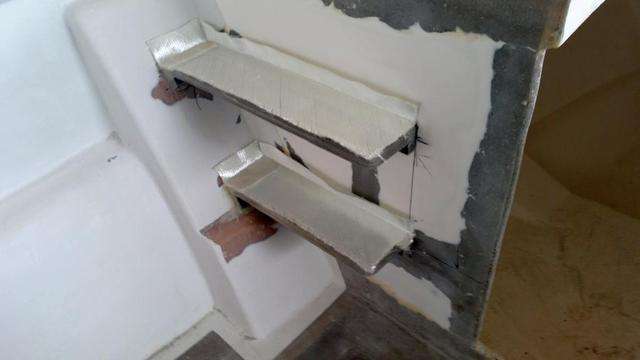

These are almost complete, and come Monday they should be done and we’ll be ready to clean up the hull and start painting for real.
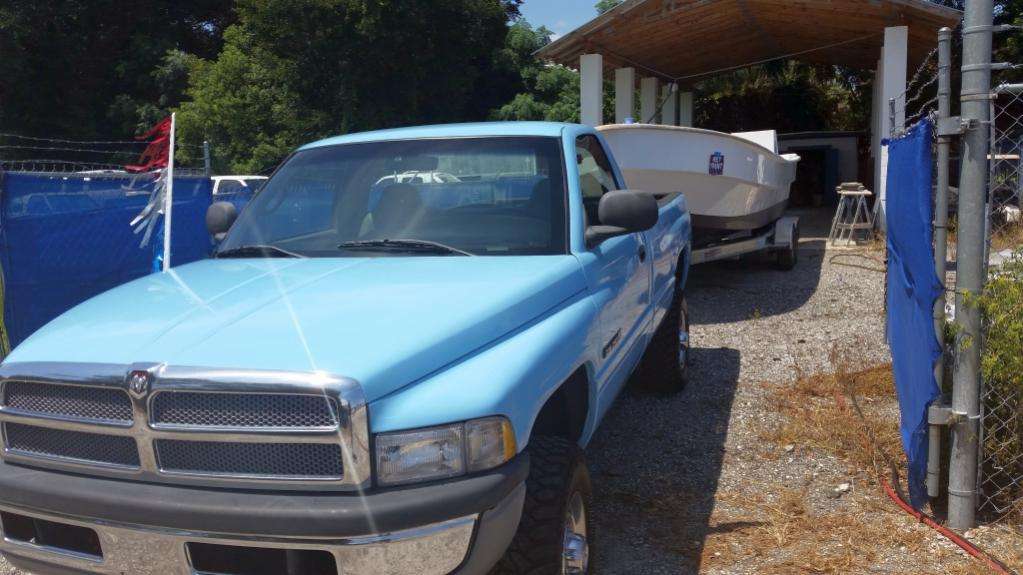
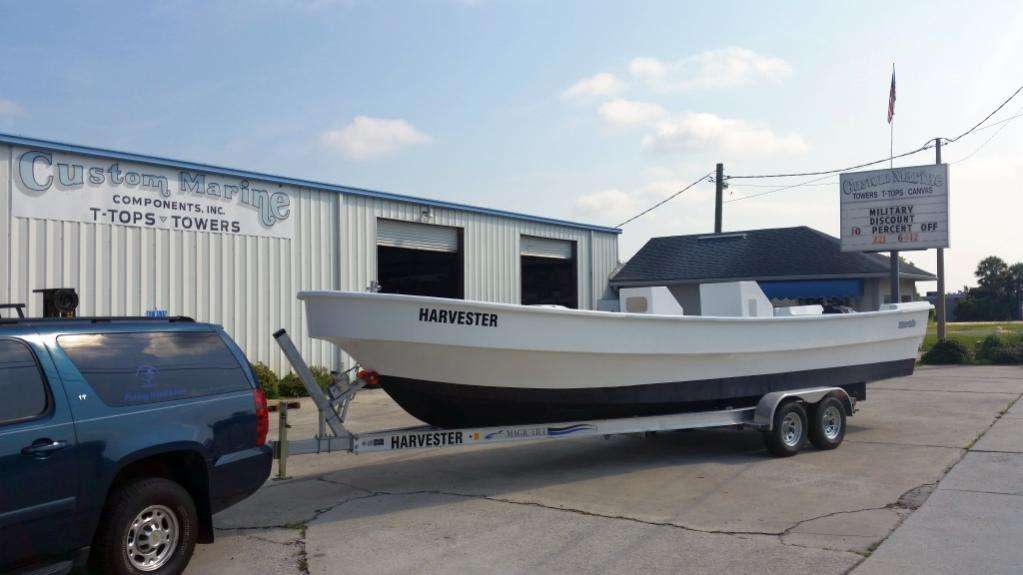
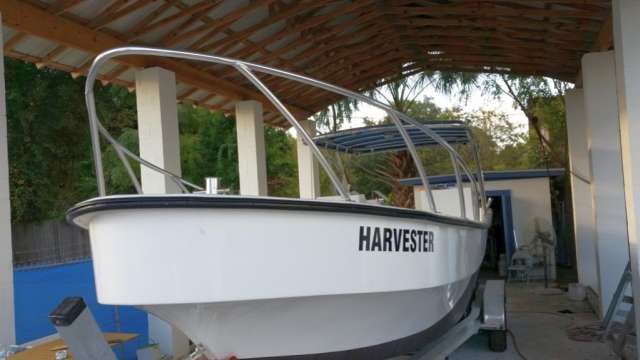
Most recently, we got the boat fitted to our new Magic Tilt Trailer:
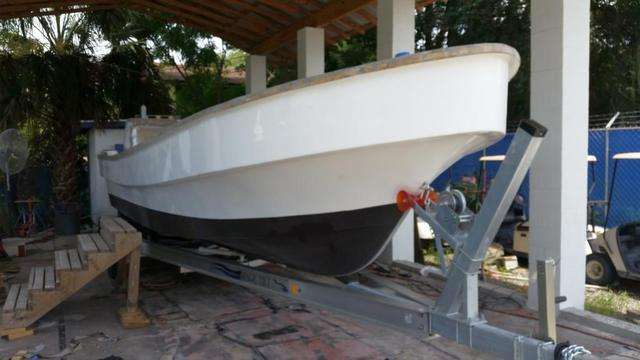
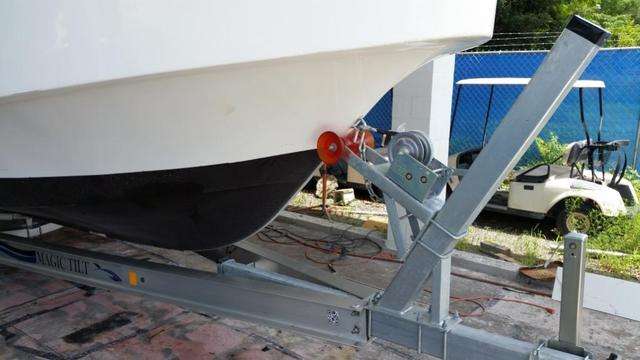
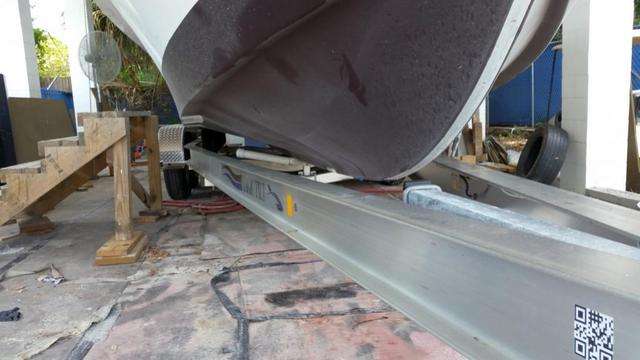

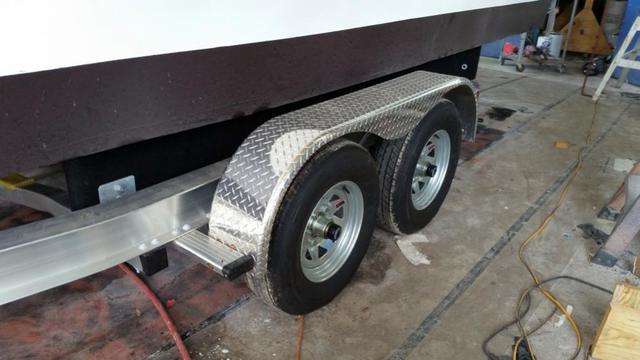
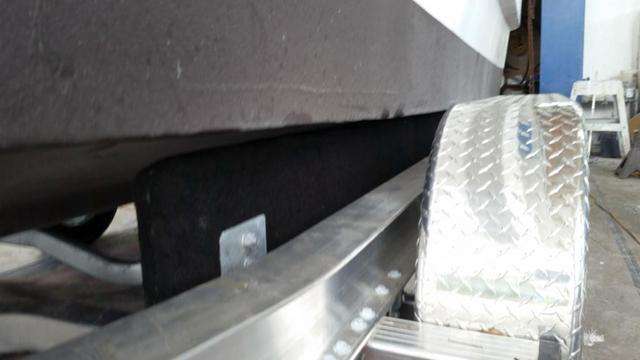
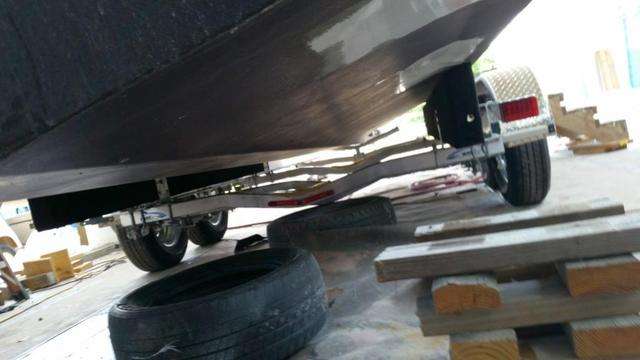
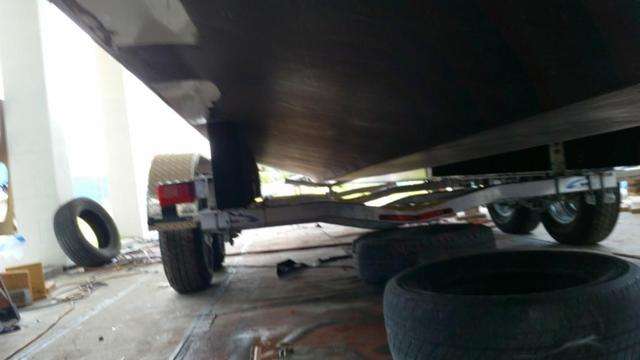
Looking good for the road!
August 14, 2015 – Day 275
It’s been a hairy week on The Harvester Project as we pushed to finish up little details before painting.
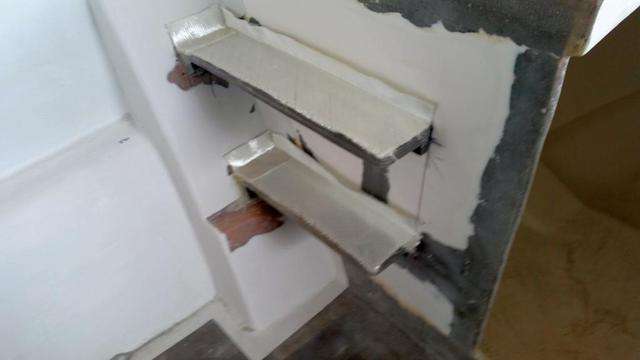
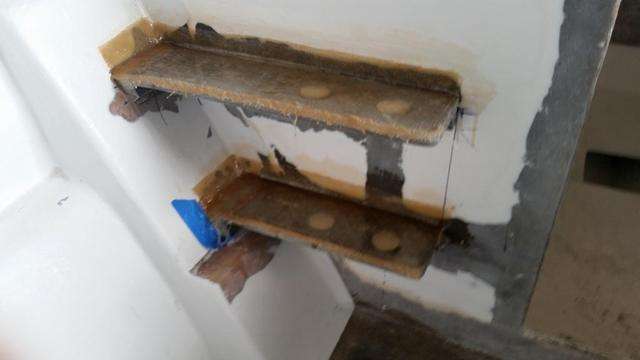
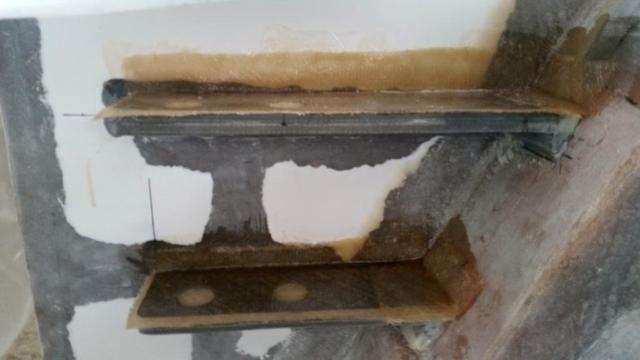
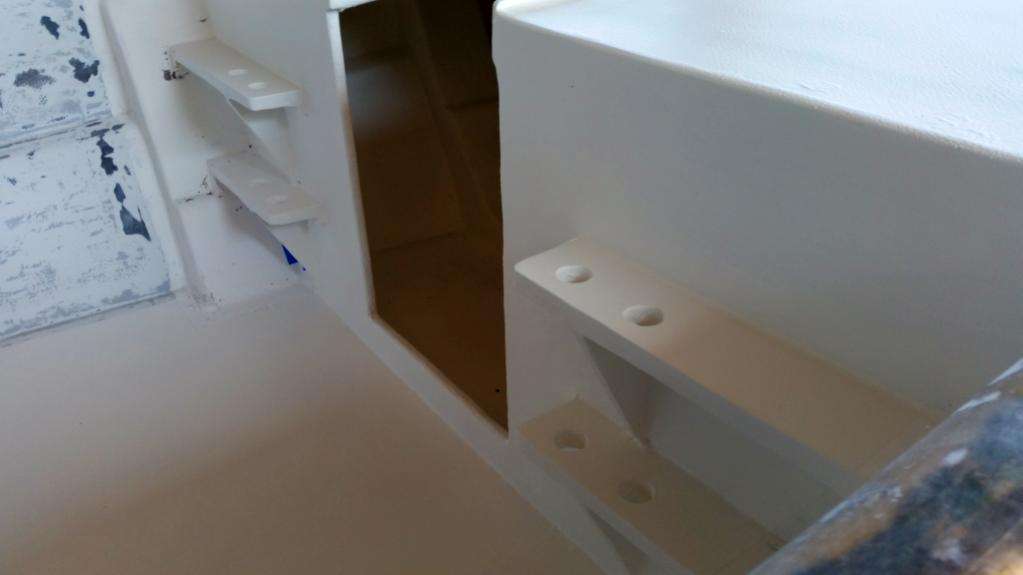
We finished up the last touches on the rod holders on the front bulkhead.

These will double as stairs to help people get up on the foredeck.
Also we test fitted the fuel tank and noticed that the cavity was a little off-level, so we built these little mini-stringers to make the tank sit flat.

Another small detail is to put a backplate of Coosa Wood under the rear top-cap for the cleats. It was tricky to get them in, but thanks to a little 610 epoxy it’s never going anywhere.

Meanwhile there has been a whirlwind of sanding on all the floor to hull connections.
The end result after painting will only be as good as the prep work, so it’s worth the time to to flatten these edges and round off these corners.
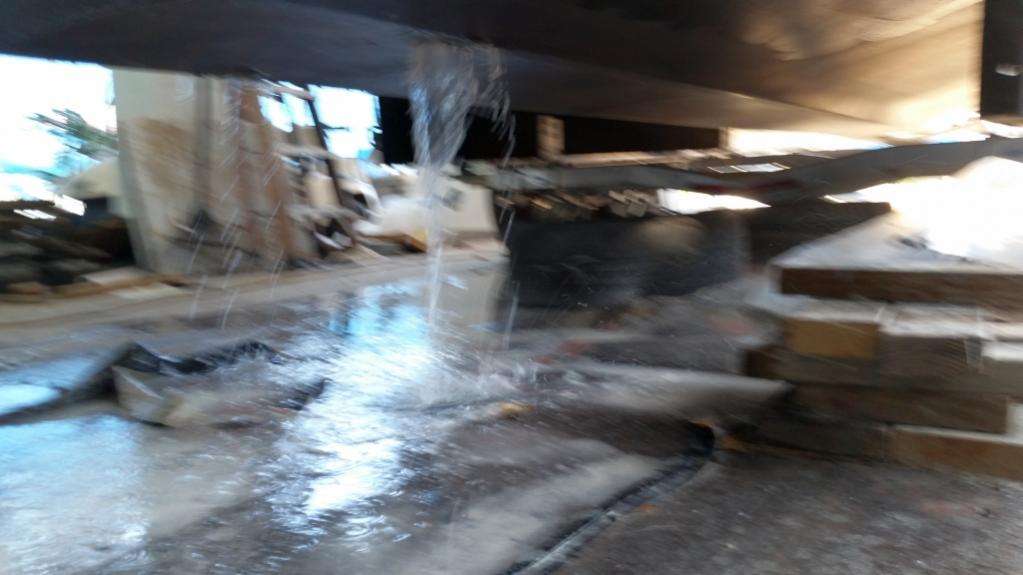
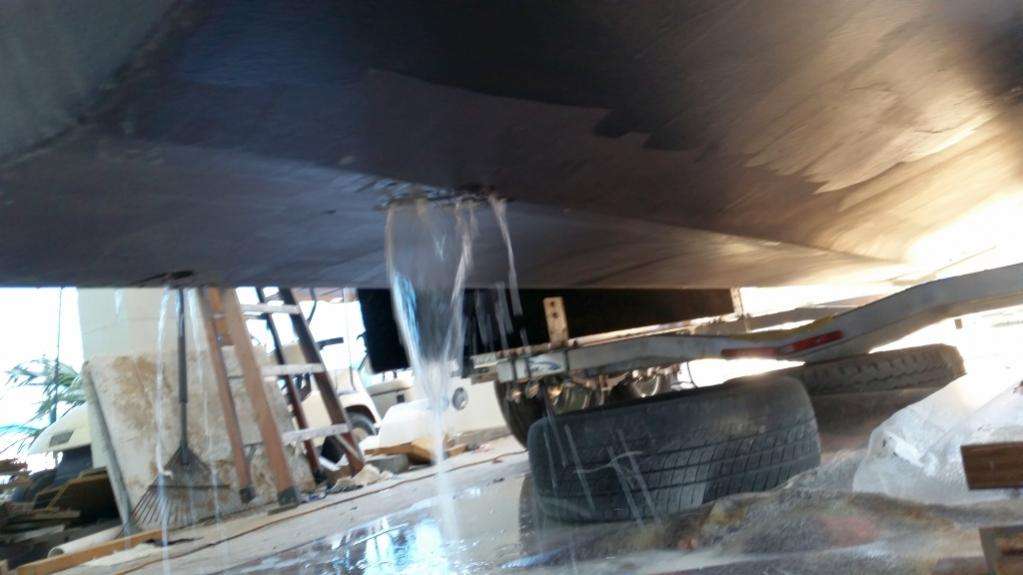
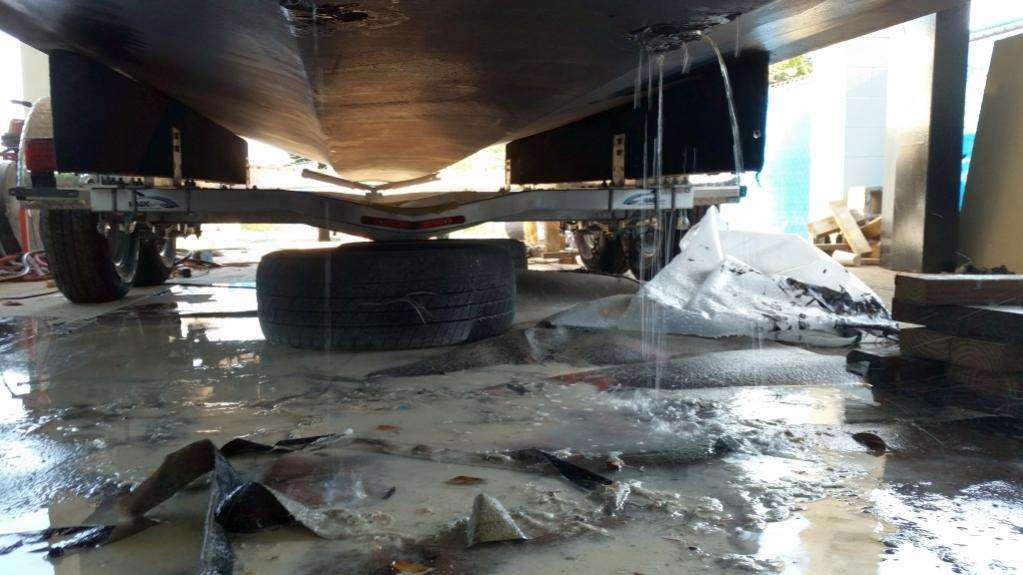
After all the sanding was complete we got up in all the crevices with a hose to wash out the boat.
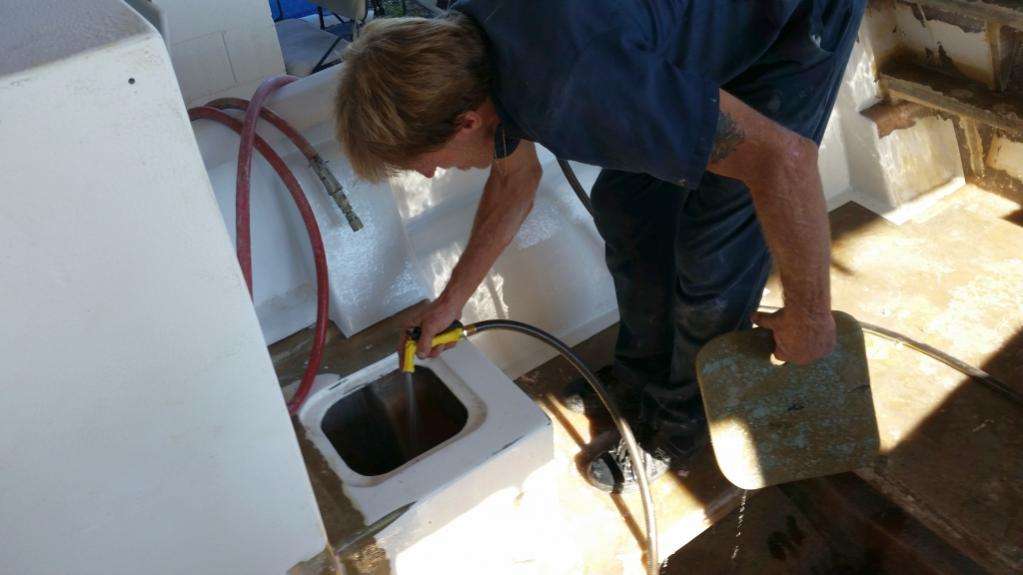
We’ve been dodging raindrops for months now, so it was a little weird to purposely pour water into the boat.
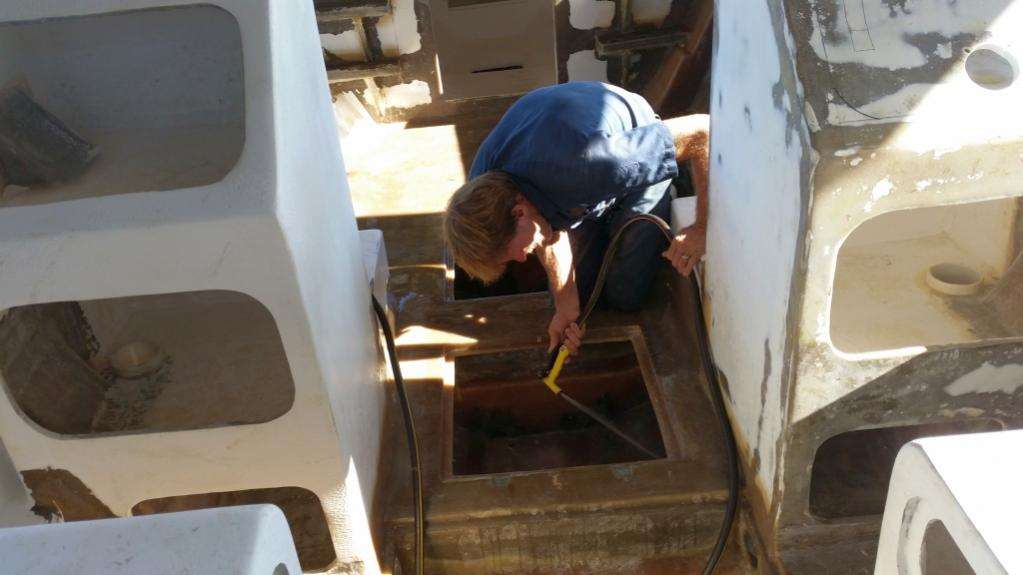
Brian had an amazing bit of foresight early in the project, which was to refrain from installing the bottom scuppers until painting was complete.
Because of this the build-up of dust, scraps of used sandpaper, and fiberglass hairballs could flow freely through all the water journals and out of the bottom of the boat.
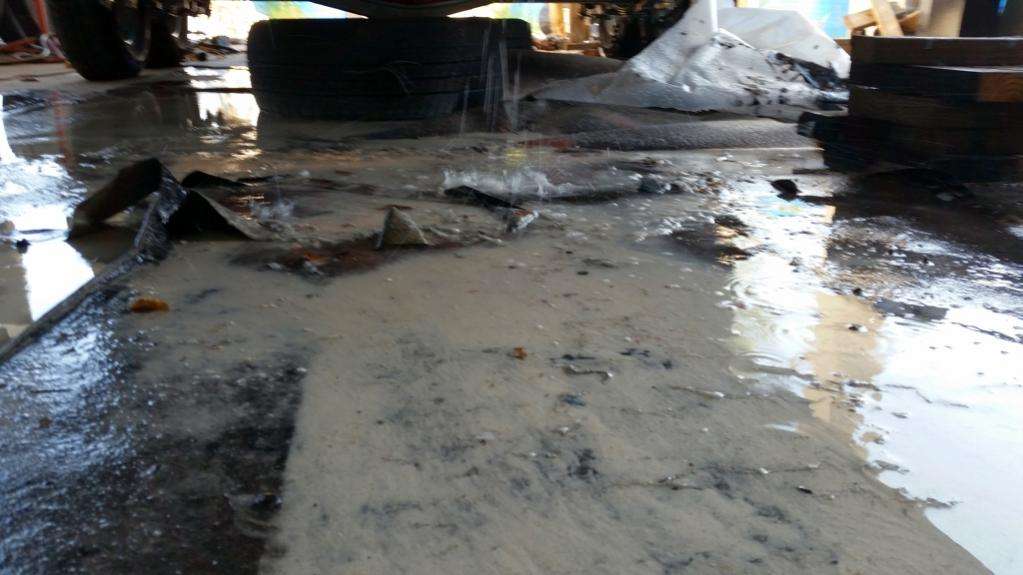
Usually after a new build you can expect to burn up a few bilges pumps; we are hoping to avoid this common problem. Check out this pile of bilge-pump destroying crap:
At long last, it was time to throw some gelcoat at the Harvester.
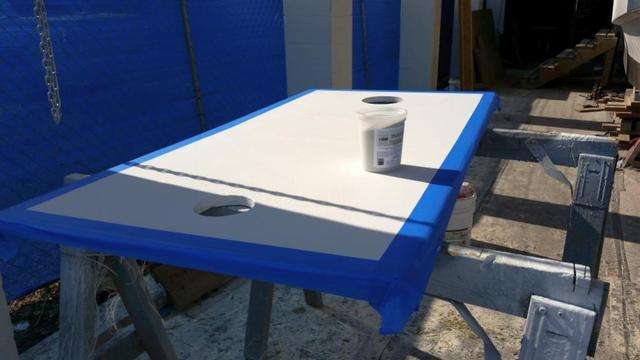
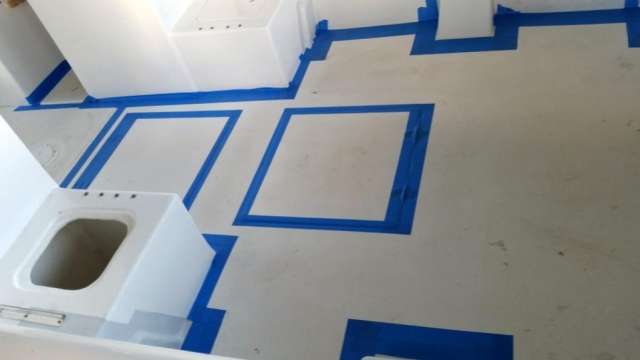
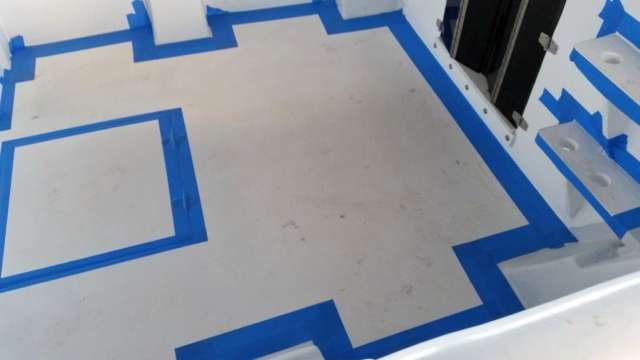
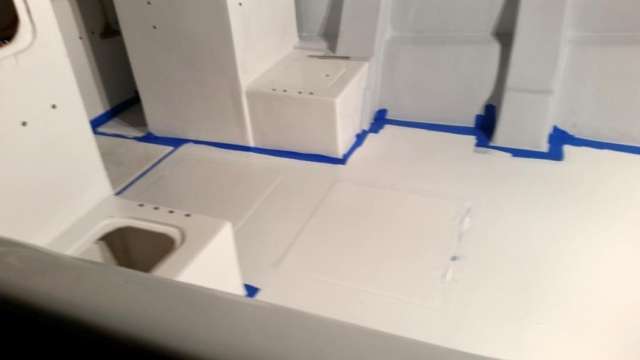
First up was to taped off the border lines:
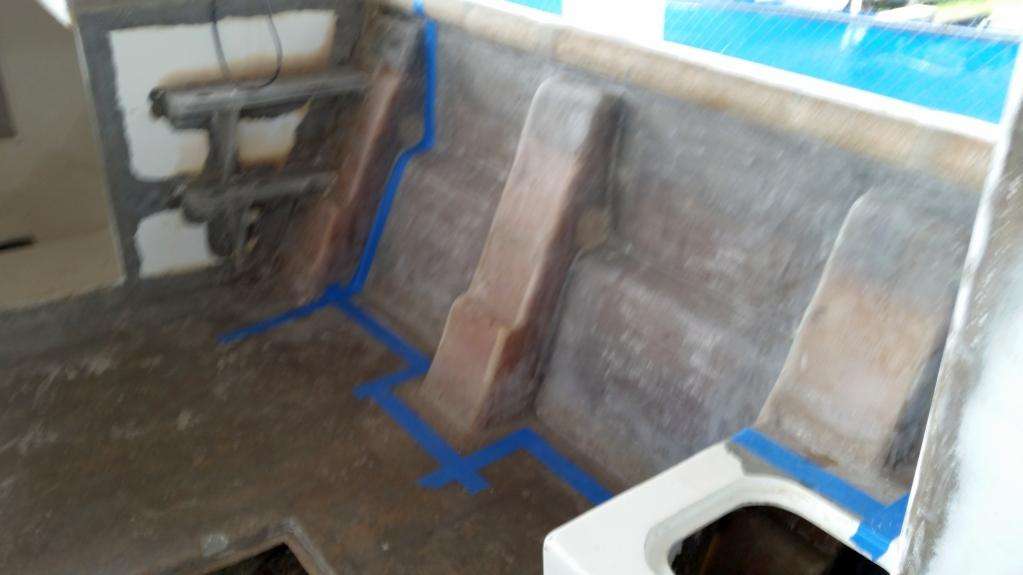
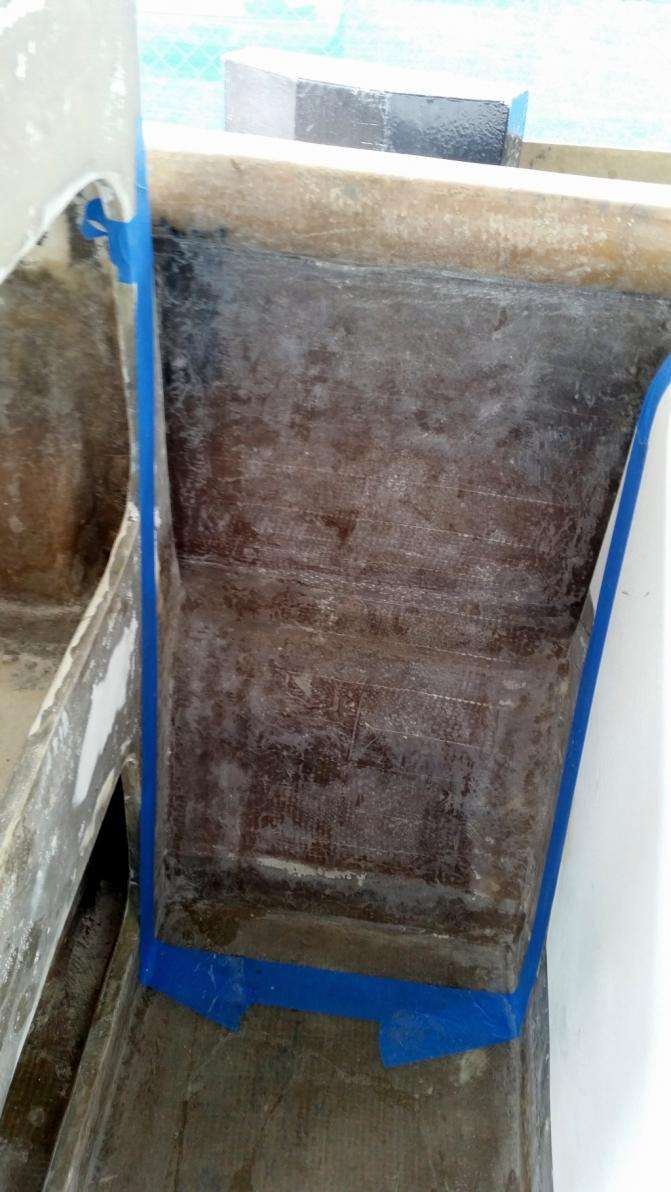
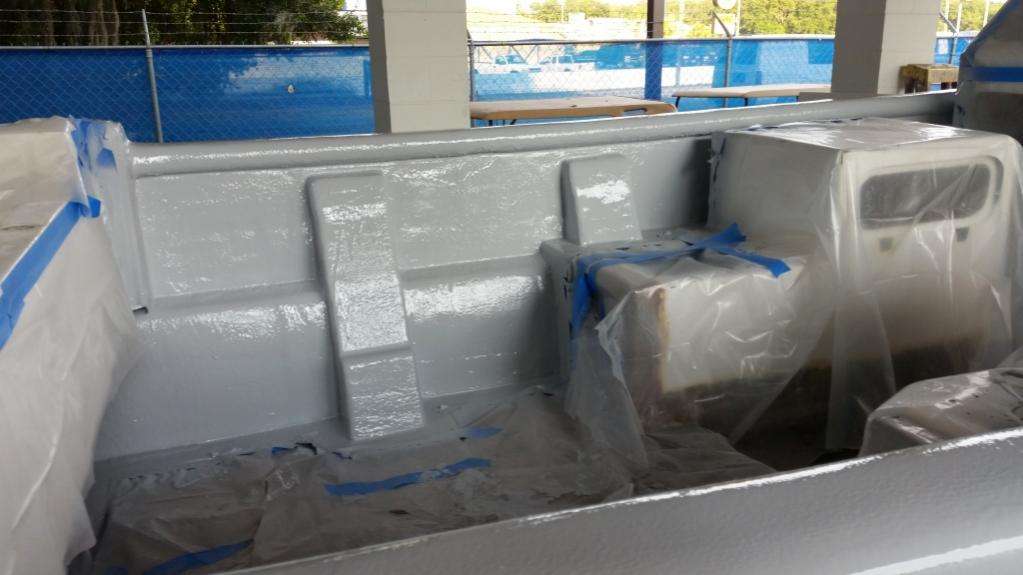
Then came a coat of grey on the walls and rear transom:


Finally came the white gelcoat which makes up the bulk of the consoles, coolers, and floors:


She’s out in the sun to cure for now, and we hope to start rigging next week.
Hold on!
August 25, 2015 – Day 286
Howdy all; Gather ’round and hear a story…
See this stuff:
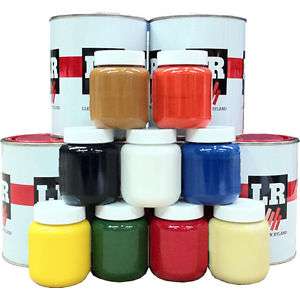
It’s called Gelcoat dispersion pigment and it costs like two dollars per 4oz. jar. It is specially formulated to spread uniformly throughout marine gelcoat. It is the kind of thing that is a shop item for a professional boat shop, and seems like pretty simple stuff.
Until you f*** up royally by not using it, instead opting to use simple black house paint to tint a batch of white gelcoat into grey gelcoat.
That’s exactly what I did last week, and you wanna talk about a bad Monday…coming into work to find that the grey gelcoat only dried in a few spots, and the rest of it is a gummy mess that gums up sandpaper and resists acetone wipedowns.


You see, our supply delivery comes every Thursday, and I was ready to spray the boat on a Monday. Craig was returning from Costa Rica on Thursday and he wouldn’t be pleased that we’d spent three days twiddling our thumbs waiting on a two dollar can of pigment.
I didn’t go off totally half-cocked however; I painted a small section to test that common house paint could work as a substitute for the proper dispersion pigment.
It cured fine, however the tint was not grey enough. Apparently when you add enough black to really turn the gelcoat grey, the imbalance is too great…the gelcoat will cure but the paint will not dry.
Four four days we had to stop our project in it’s tracks in order to manually strip all of this bad gelcoat. It was a real pain in the neck and costs us lots of time, plus about $200 worth of gelcoat.
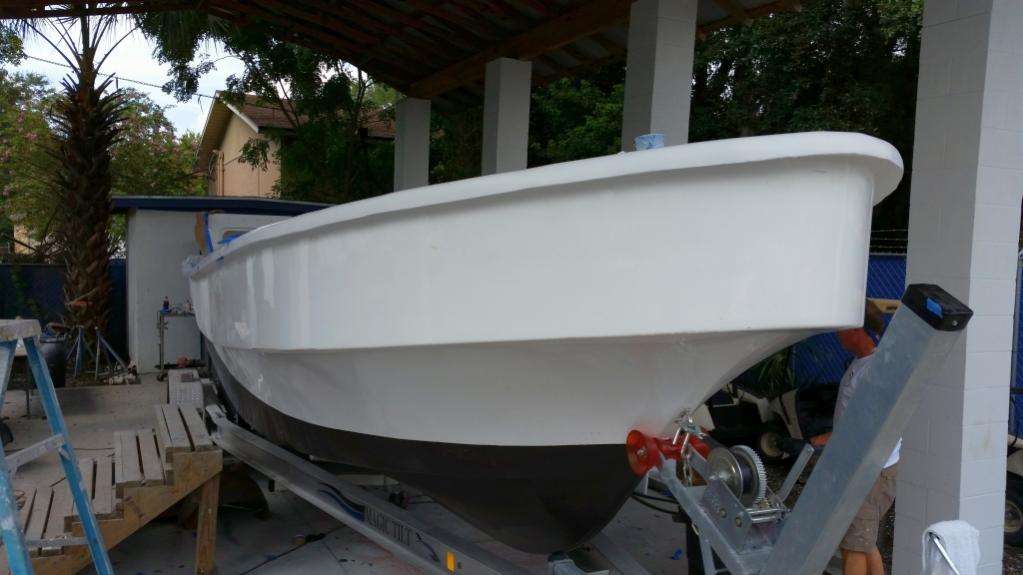
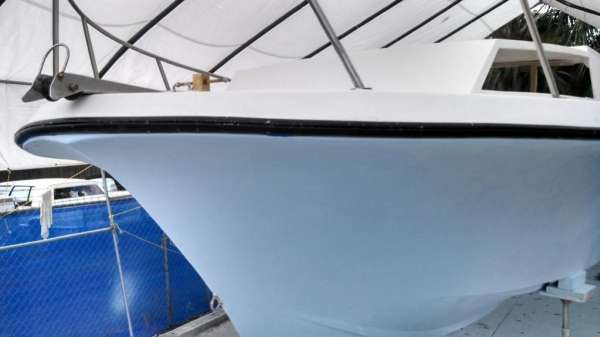
At the end of the week we finally finished the clean-up and got the white areas ready for gelcoat:
Then we sprayed a double-coat of fresh white gelcoat to the Harvester:


We re-taped the lines so that on Monday we could lay down a triple layer of grey gelcoat, properly made with gelcoat-specific dispersion pigment.


Before we start polishing and sanding we moved around the boat with small brushes to fill-in any suspicious spots in the curing gelcoat…finger marks, bug strikes, and air pinholes are the primary culprits we are hunting down here.

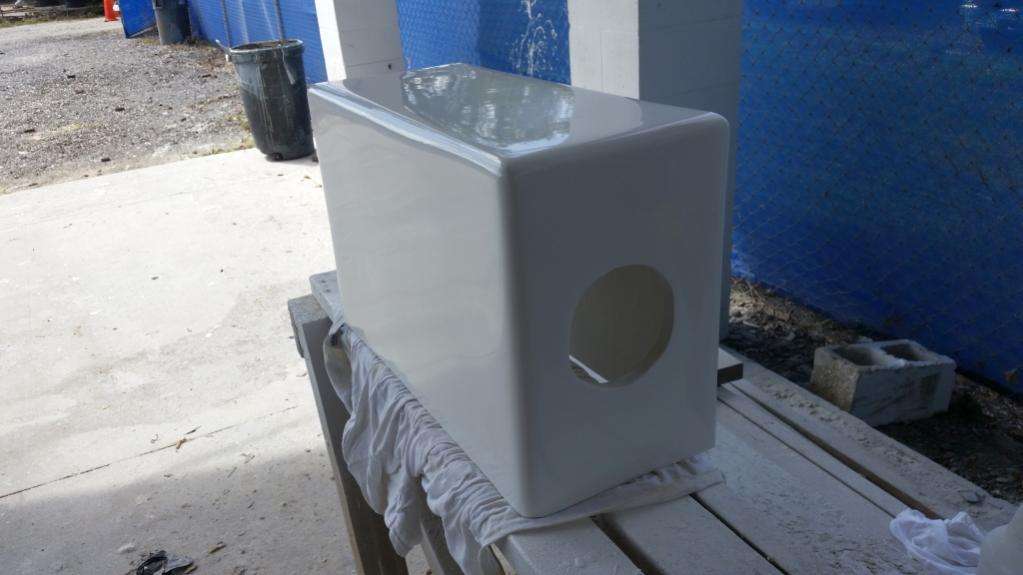
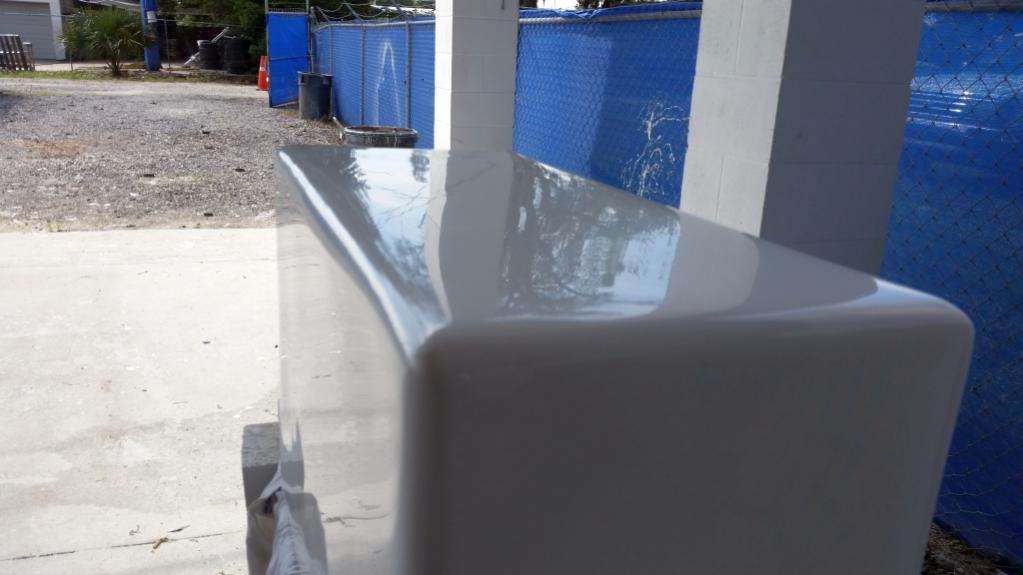
Finally, we are back on track and have begun sanding the surfaces flat with 400 grit paper. This has already begun to bring out the shine.
The gelcoat is plenty thick and we are not experiencing any cut-throughs to raw fiberglass, so we are in good shape.
The moral of the story…do things the right way, not the quick way.
September 14, 2015 – Day 307
We’re moving strongly in the right direction on The Harvester Project.
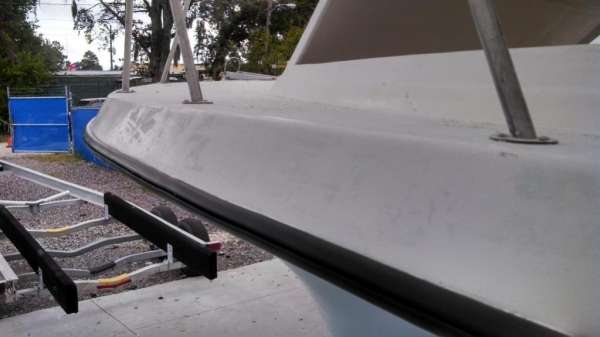
After completing the gelcoat (again), we spent the better part of the week sanding everything flat, starting with 320 grit sandpaper and moving progressively up to 1000 grit.
This is a laborious and time-consuming way to achieve the high-shine of a factory boat finish.
Most people associate this look with a molded piece of gelcoat, and it takes a light touch to acheive it on sprayed gelcoat without busting through to the raw fiberglass.
The difference is hard to see in the photos, but check out the reflections of the surroundings (boat shop, buildings, etc.) for examples of the shine.
This is also a good time to finalize the polish on the hatch doors, because next week we will be installing them to the boat.
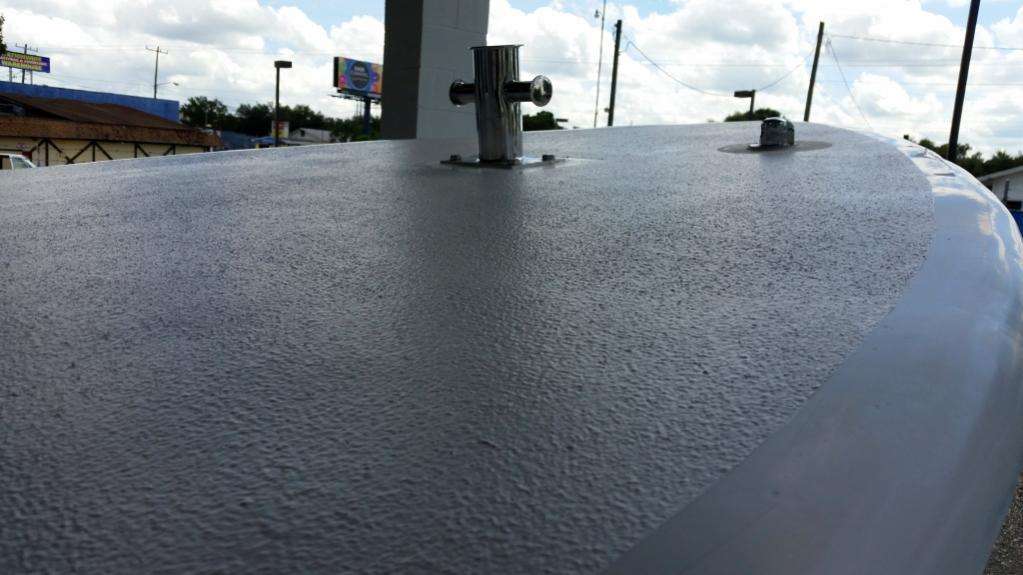
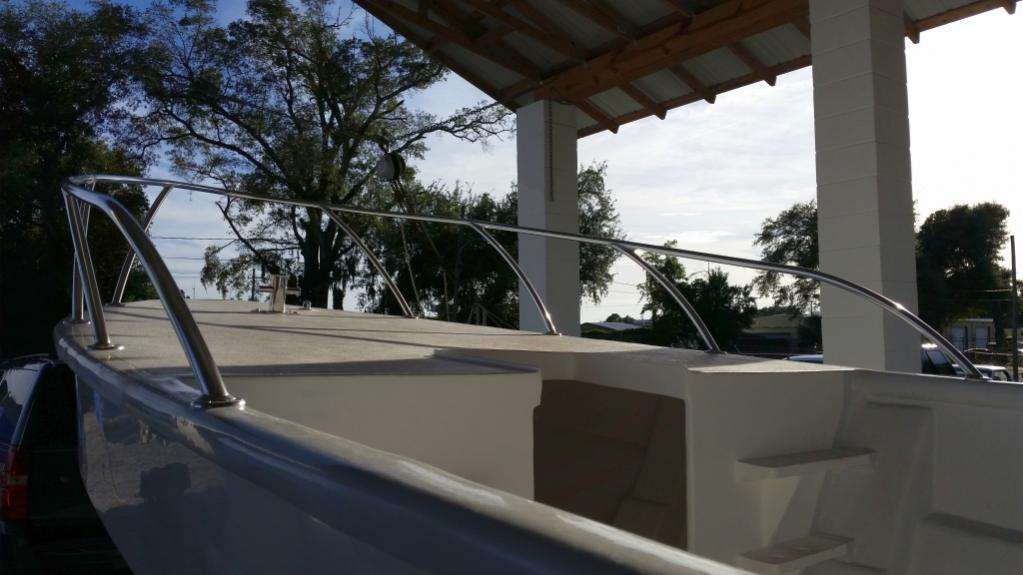
Up on the front deck we put a second coat over the top of the pumice layer to help secure the texture in place. It’s important to get this done before the bow rail goes on so we don’t have to try to paint it in later.
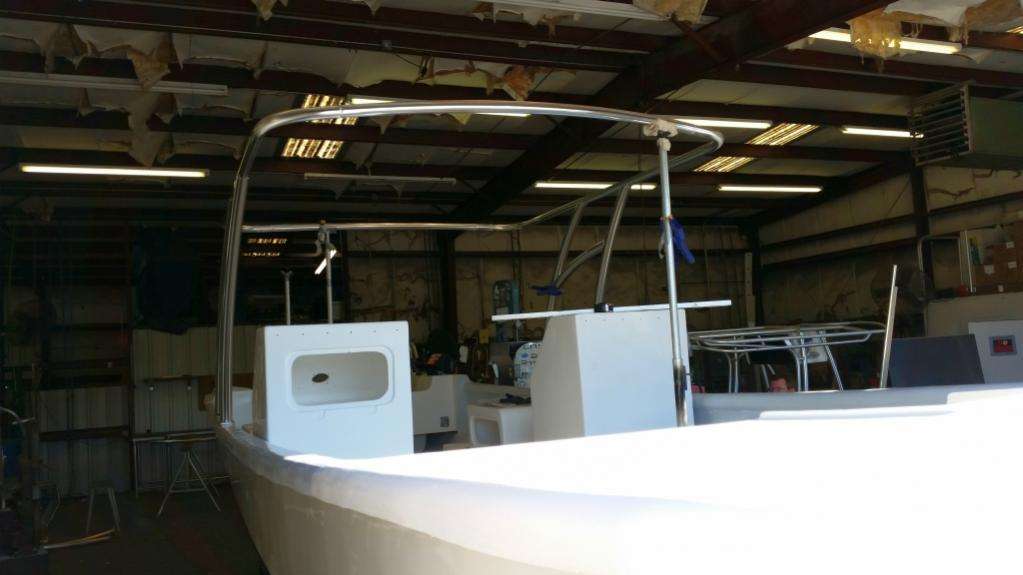
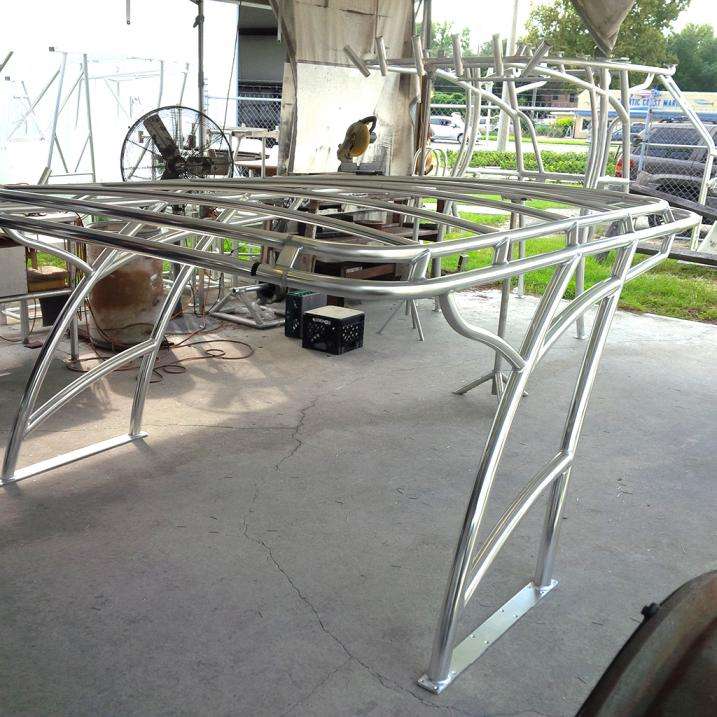
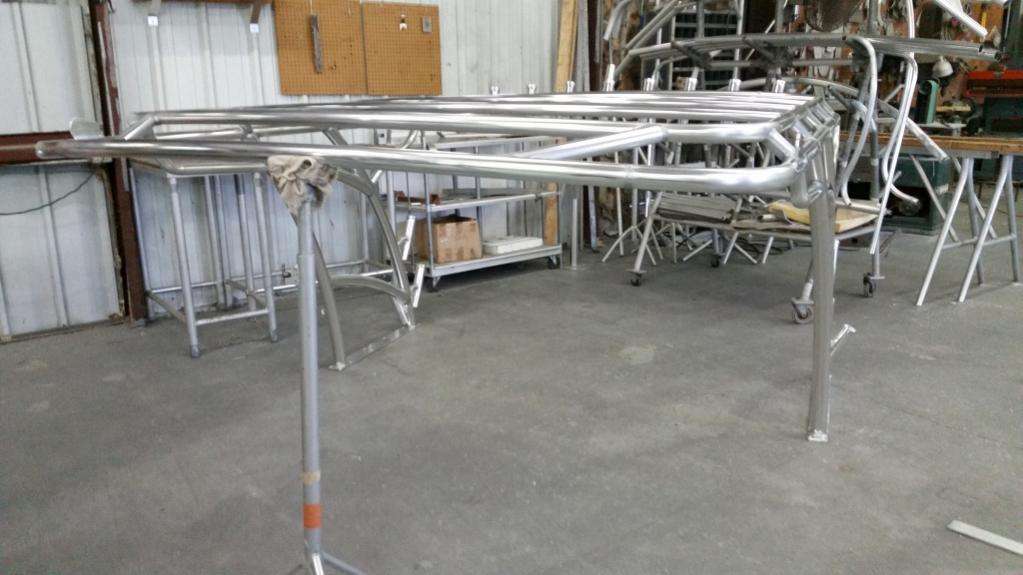
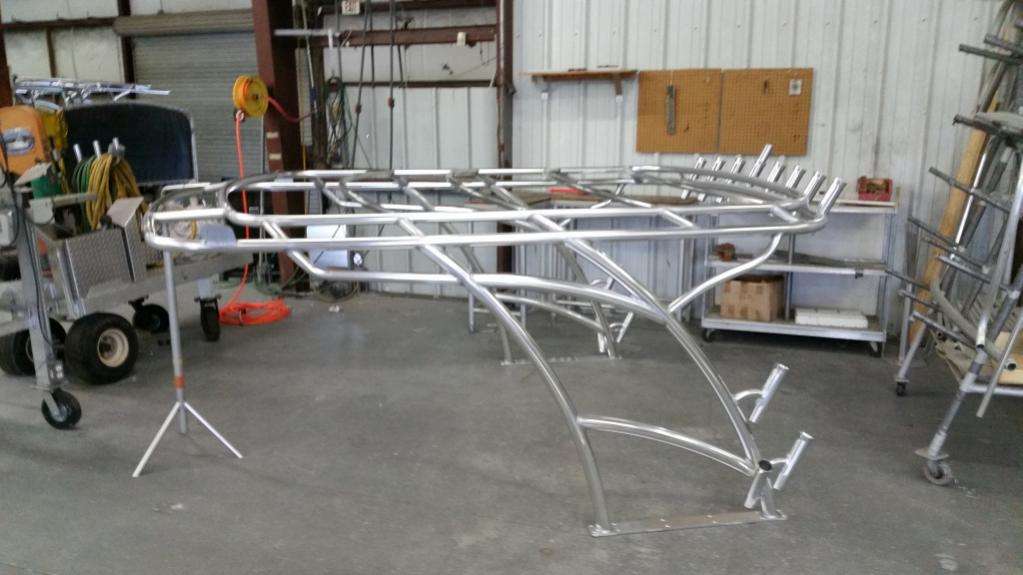
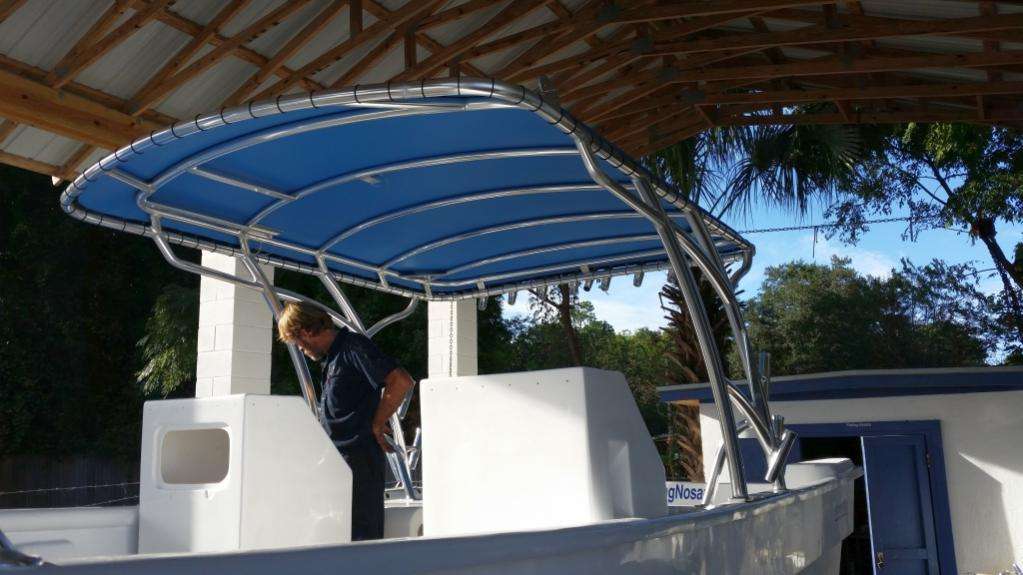
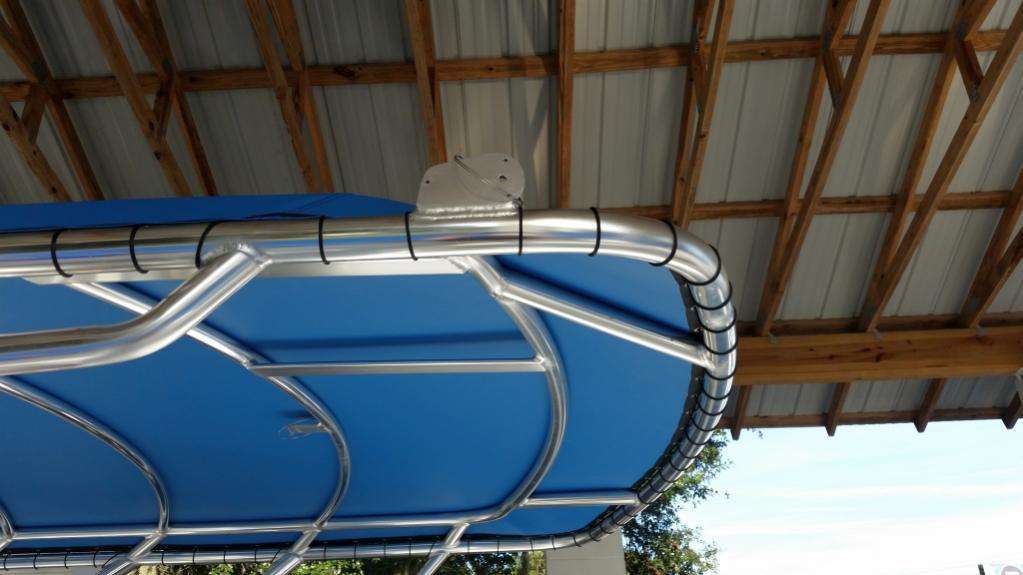
We took a break from the polishing to take the boat back over to Custom Marine so Troy and the boys can finalize the placement of the tower.
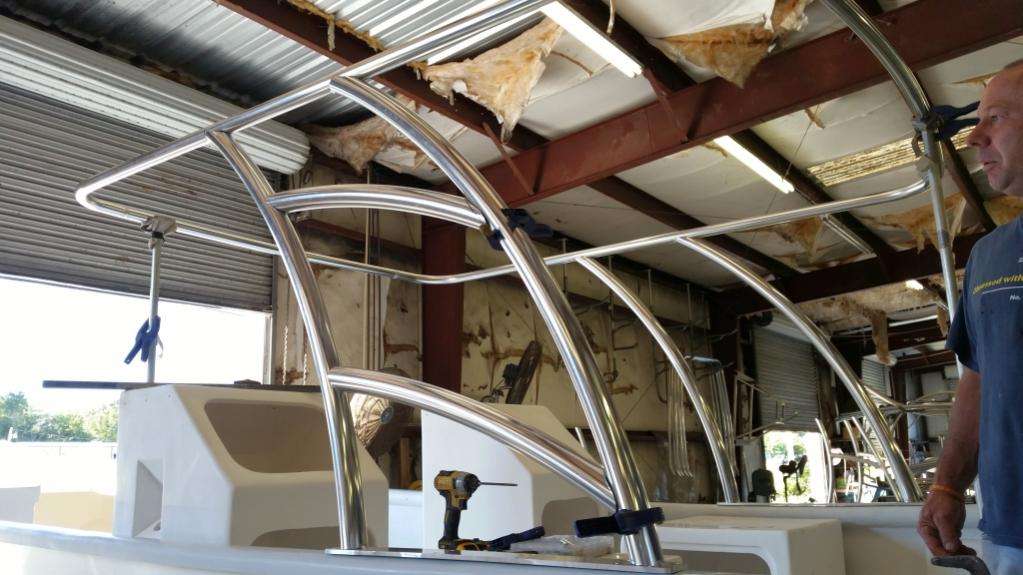
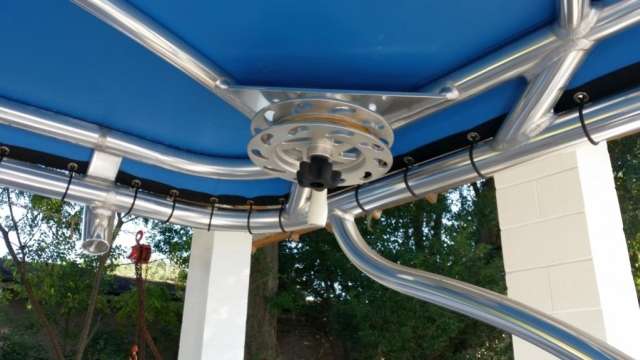
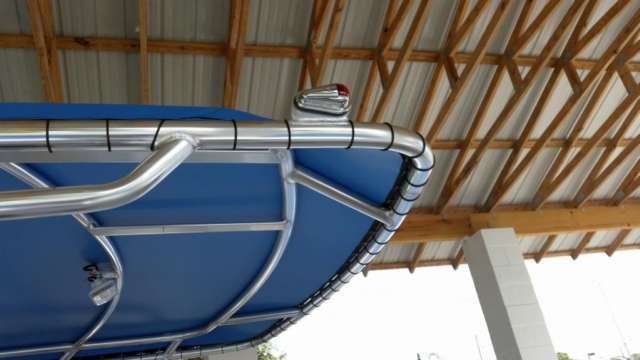
Even though the tower is only partially complete, you can see how sweet this radar arch will look when completed.
We’re excited to get the boat back this week and start on the rigging.
September 30, 2015 – Day 323
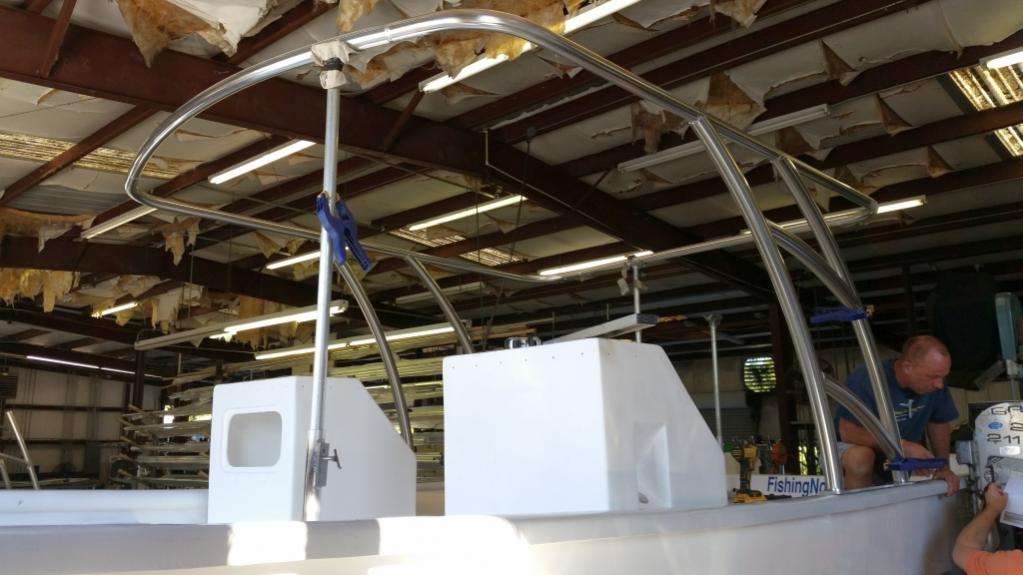
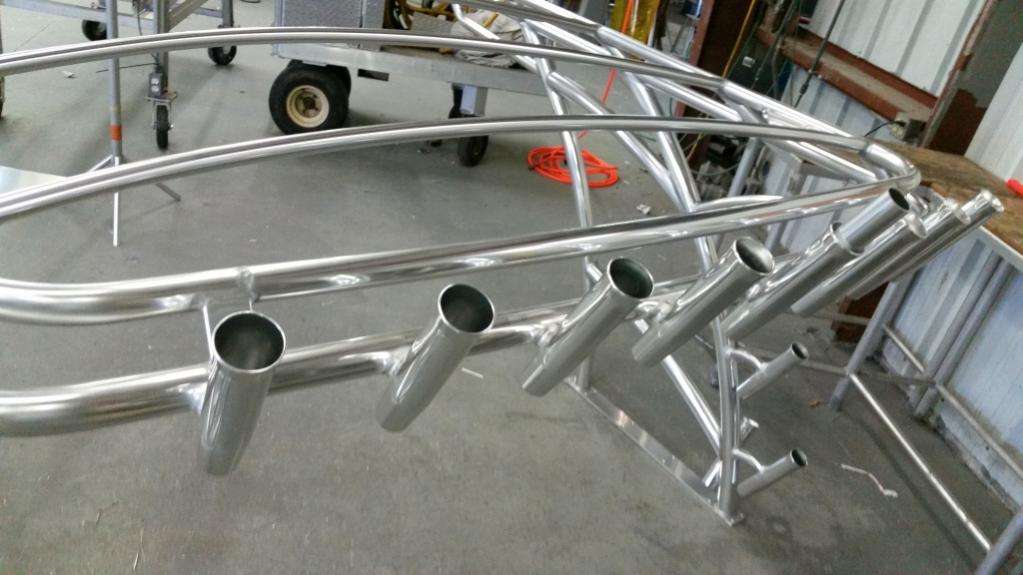
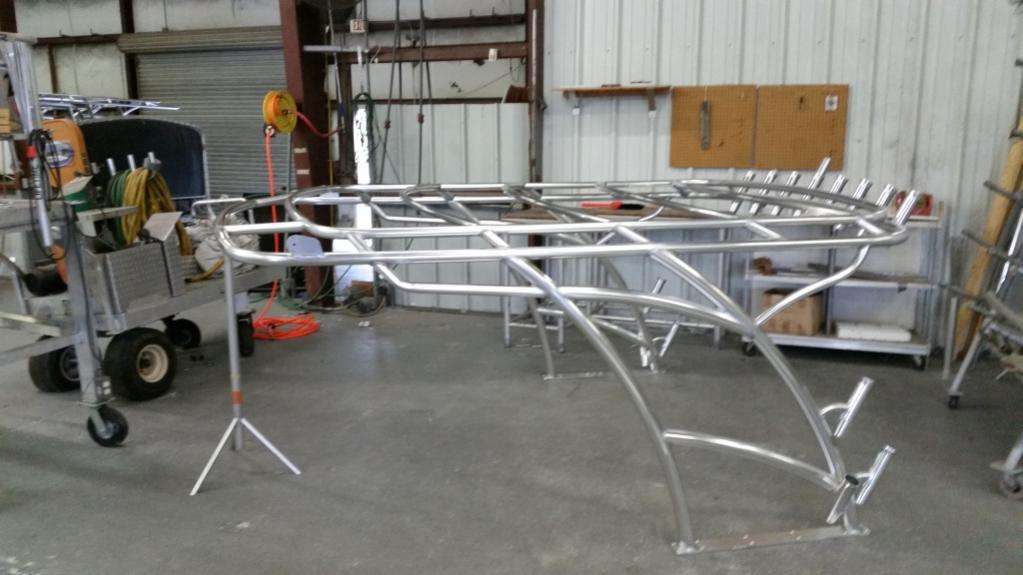
We’re spread thin this week on The Harvester Project as the boat has been ping-ponging back and forth between our shop and the metal shop at Custom Marine.
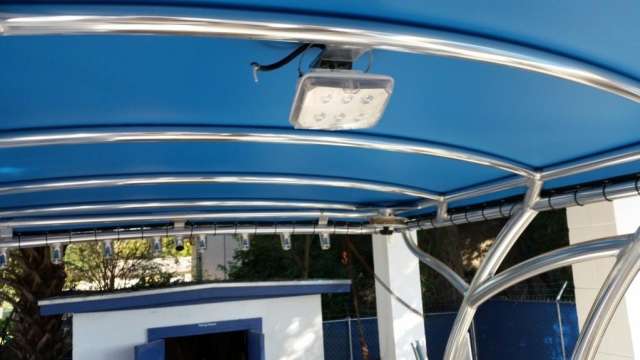
Troy and the boys are putting the finishing touches on the tower, adding the rod holders and mounting plates for outriggers, teaser reels, lights, and the radio box.
Once they had enough measurements off the boat, we brought her back to the shop to continue the buffing and polishing of the gelcoat.
This slow process will reveal thin spots in the gelcoat, so we have been chasing down these thin spots and brushing in some fresh gelcoat over the thin spots.
It takes steady hands and patience, but with the right grit of sandpaper you can make these patches blend in seamlessly to the original coats.
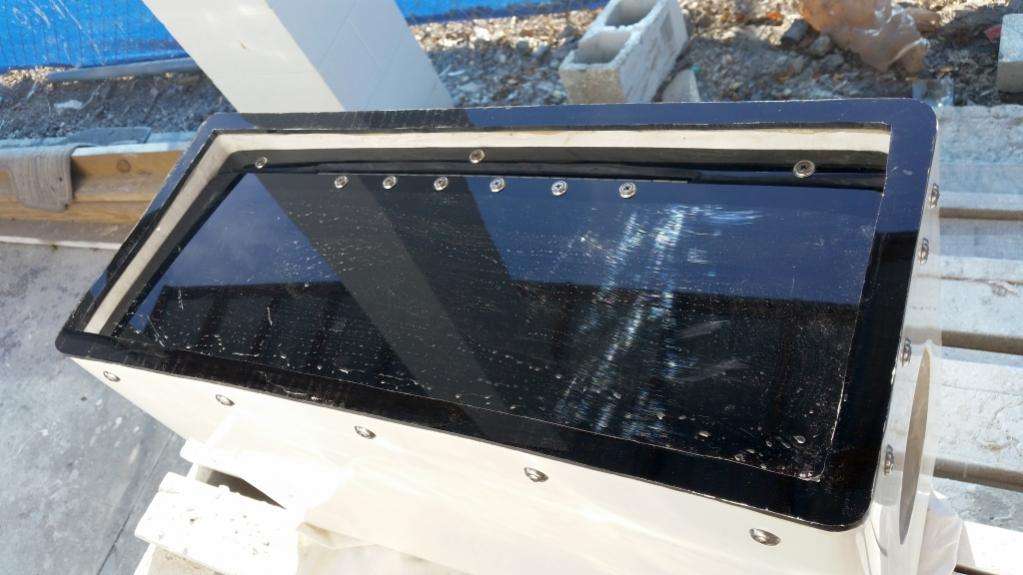
For the radio box we are foregoing the store-bought plastic junk and instead making our own out of 1/2″ Coosa wood.

The process is the same as the consoles, coolers, and seats just with thinner Coosa. We are double-wrapping it inside and out, then plan on hitting it with like 4 coats of gelcoat (because at this point we are sick of thin gelcoat!)


One little touch is the speakers being mounted in the box. In the past we have mounted speakers in odd location around our boats that require long wire runs; however we have found out the hard way that even good marine speakers fail after about a year, so by putting them up in the radio box it will be easier to replace them in late-2016 when they inevitably fail.
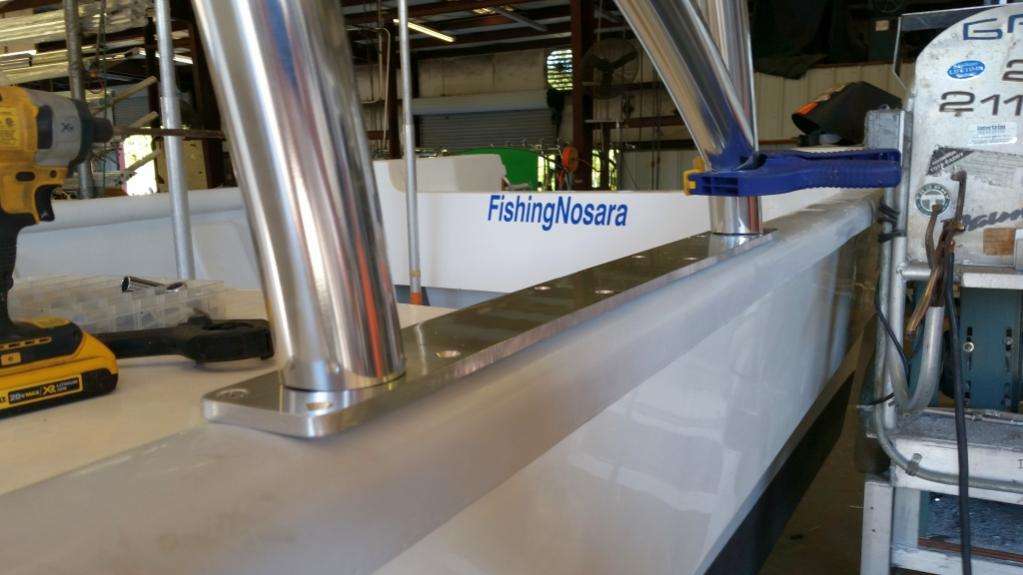
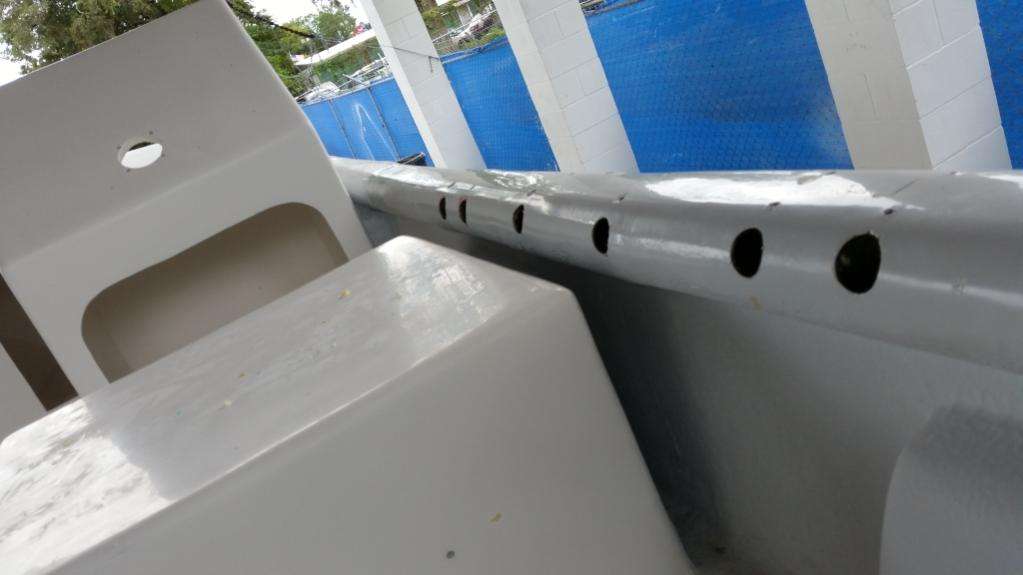
Most recently, we have drilled twelve, 2-inch holes in the gunnel so that Troy will be able to get a wrench behind the bolts for the tower.

It was imperative to only drill the holes in the inner hull and not pierce the outer hull.

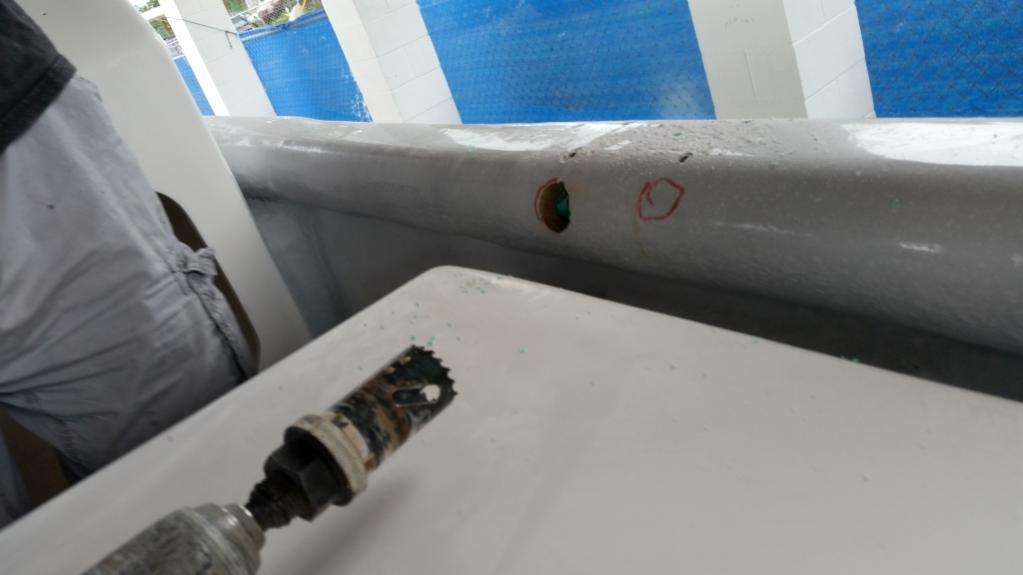
Once the tower is torqued down we will figure out how to seal these holes up so they don’t create an eyesore.

We’re darned near done with the polishing, and once we get the boat back with the tower on it we will start running wires, hoses, and rigging this thing for battle.
October 2, 2015 – Day 325
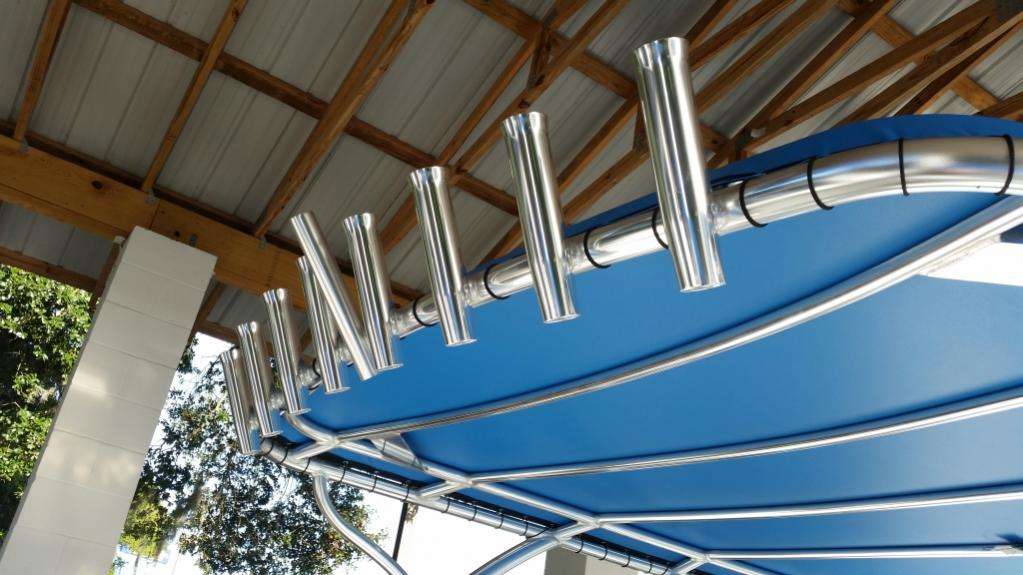
Just checked in on Troy over at Custom Marine. Look at this awesome array of rod holders on the near-finished tower:
Looking good!
October 5, 2015 – Day 328
Why spend $500 or more on a radio box when you can build your own? Check out how we’re making ends meet on The Harvester Project:


Next up on this project is to fabricate the door, latch, and front hinges. Looking pretty good though!
October 9, 2015 – Day 332
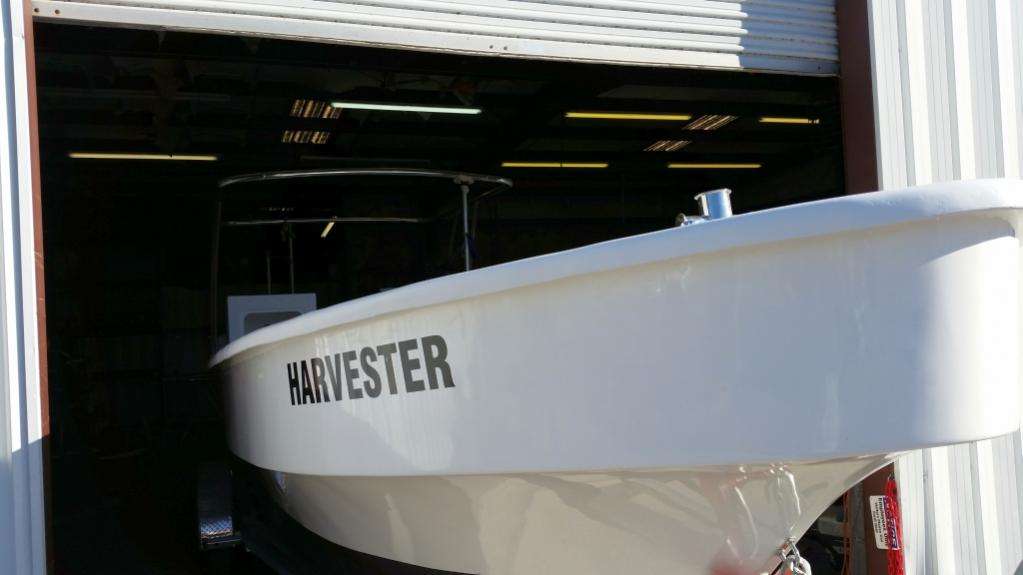
She’s BAAAACCKK!

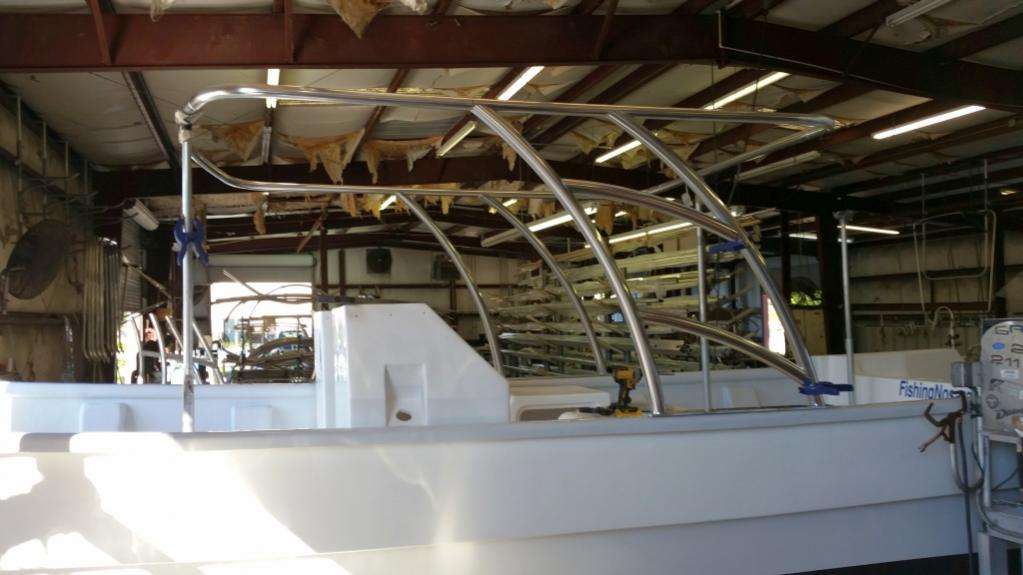
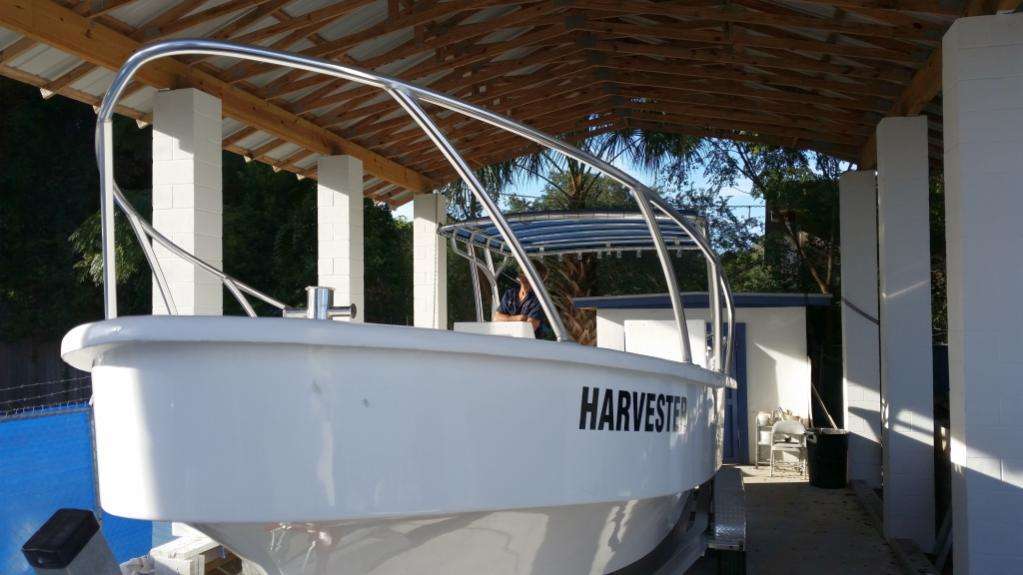
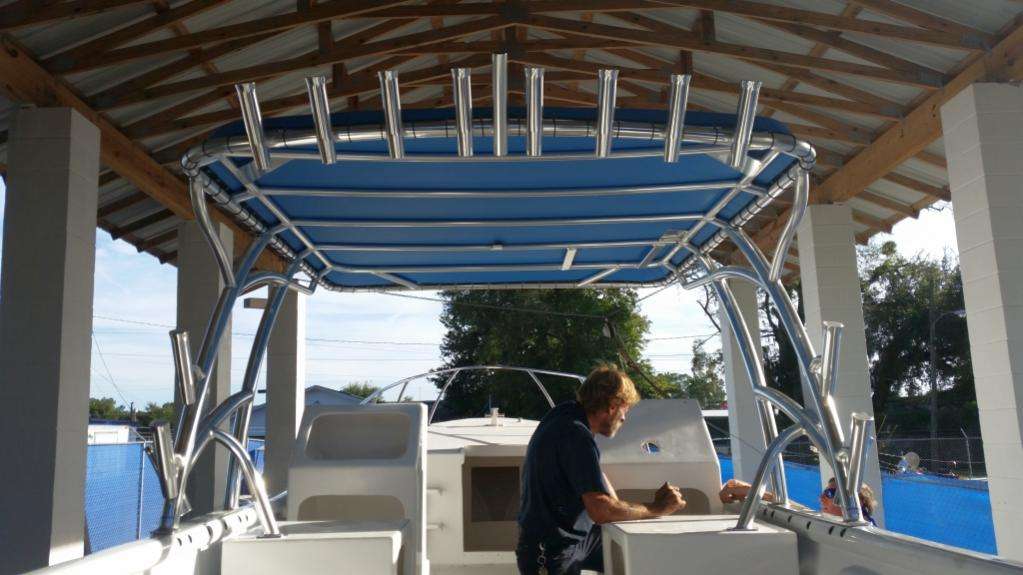
Troy and the crew at Custom Marine delivered the goods on this one…this is some sweet metal on the mega panga.
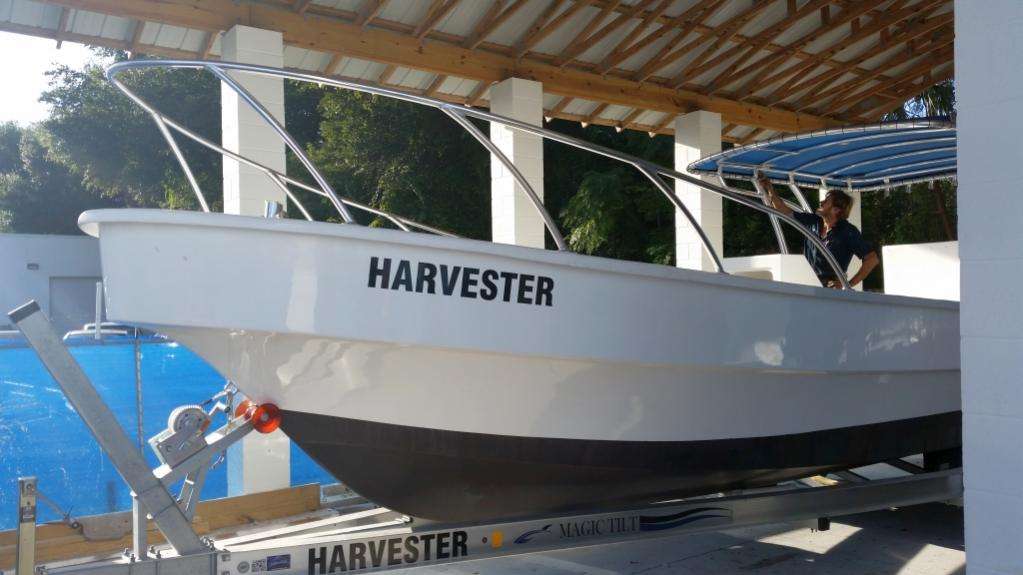
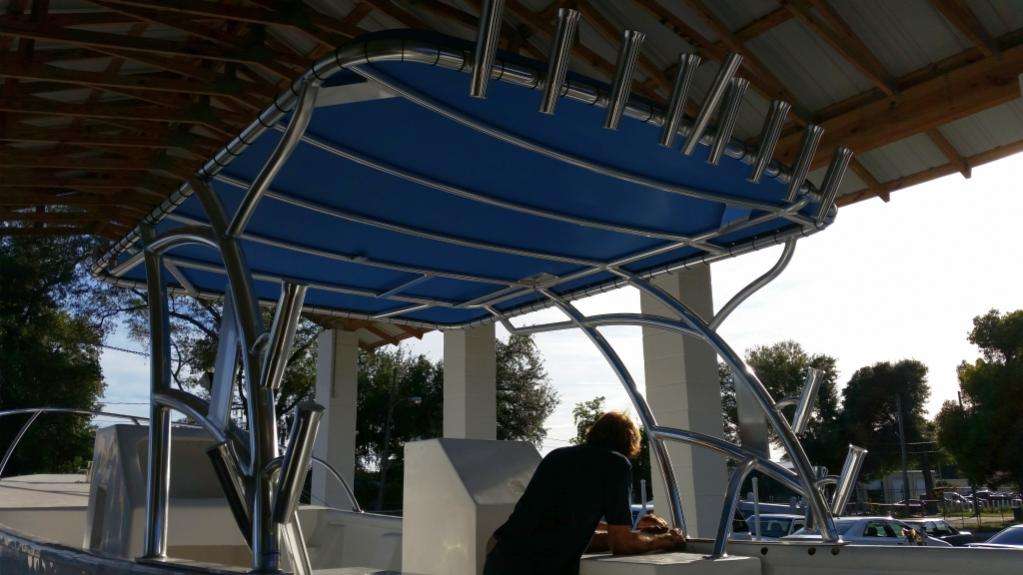
The curves of the bow rail legs match the curves on the tower; what’s even cooler is that Troy mimicked the 4″ curves we used on the consoles, coolers, and hatches.
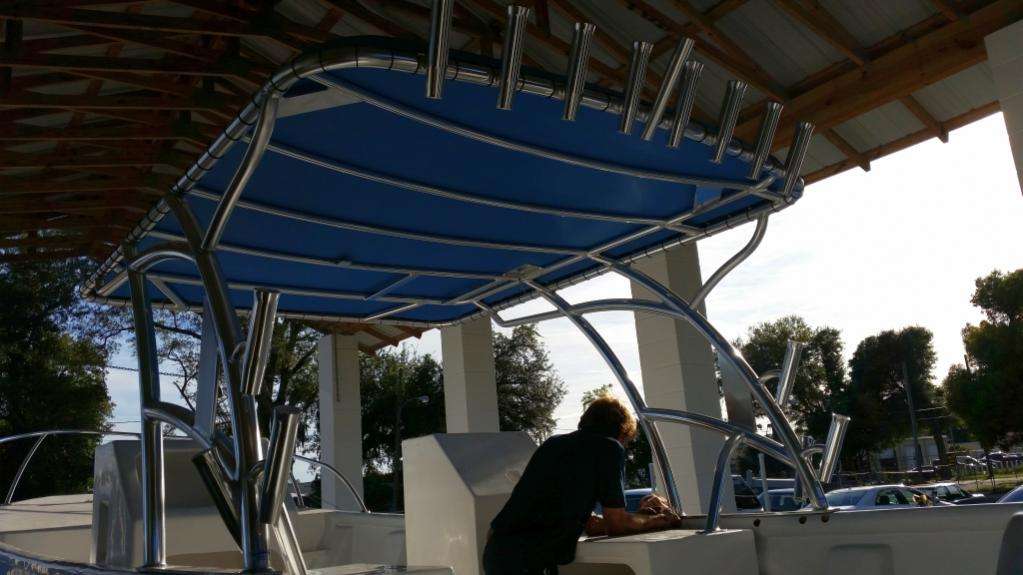
It is completely worth it to spend the extra dough to have these sort of custom touches which would never be possible using off-the-shelf components.
We are itchin’ to get riggin’!
P.S. We finished the radio box: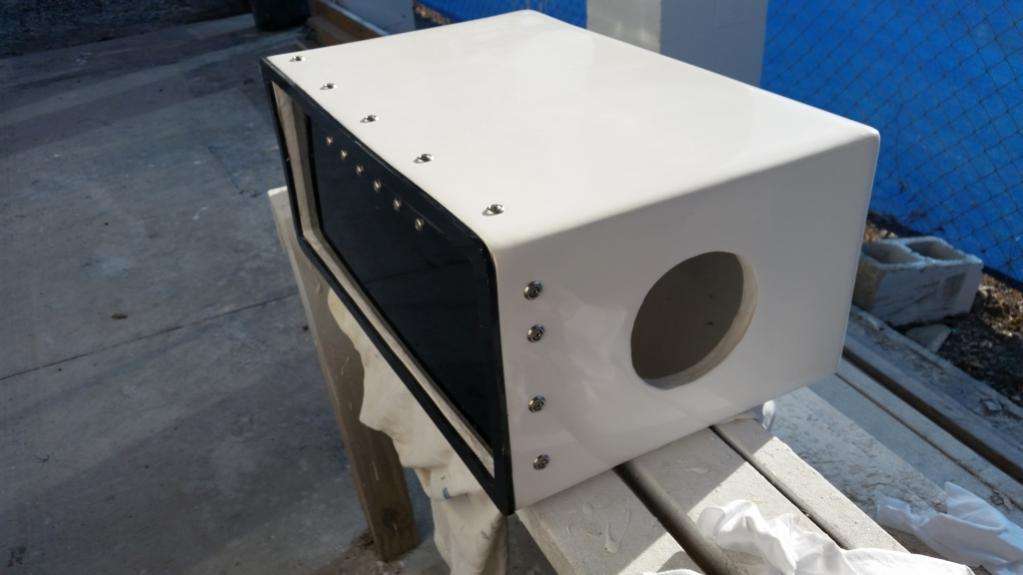

October 14, 2015 – Day 336
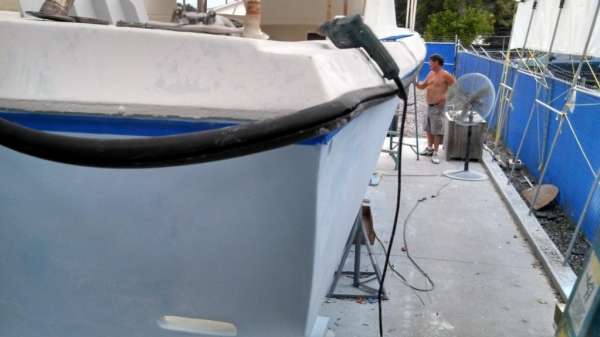
I wasn’t joking about being itching to start rigging. Check out this progress:
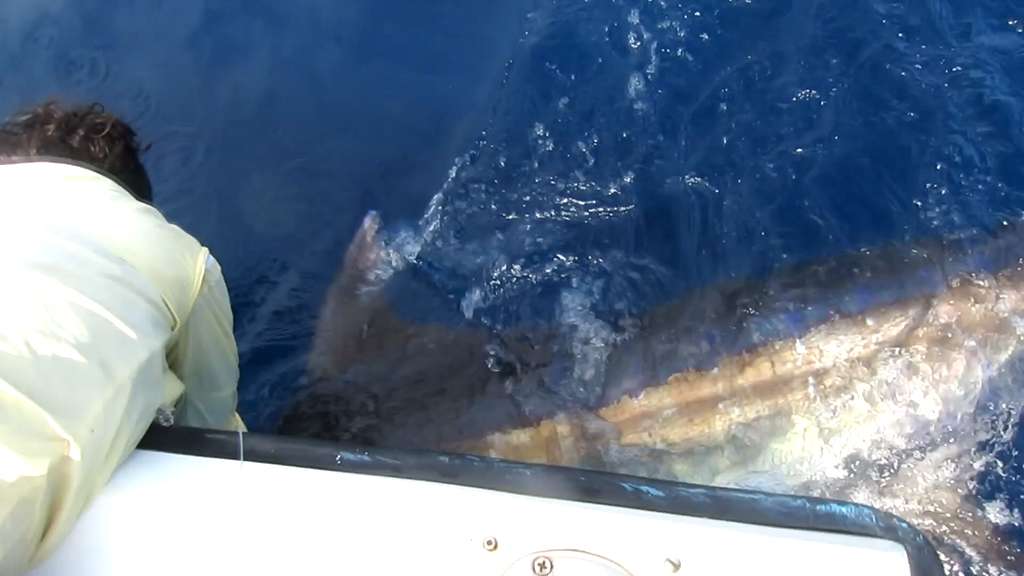
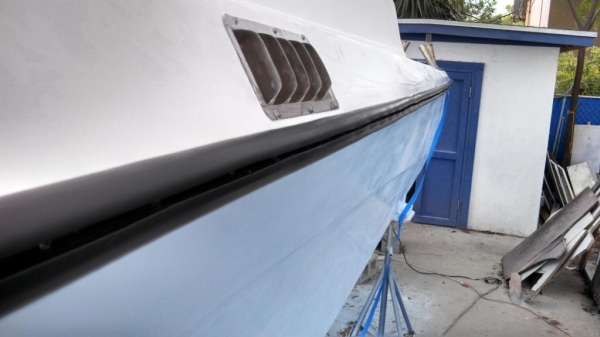
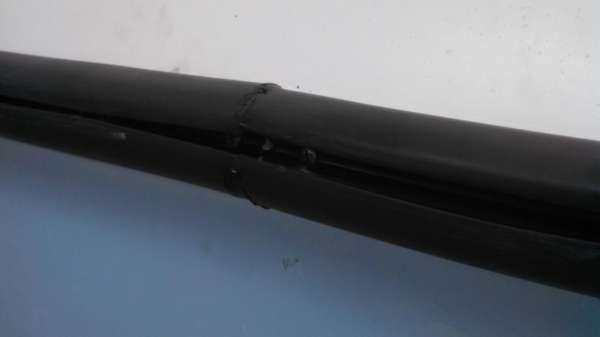
Just like all of our boats, the Harvester is sporting a heavy vinyl rub rail from Taco Marine.
This tough-as-nails design is crucial for us considering how often our boats get whacked by our transport pangas in Garza Bay, or assaulted by angry billfish:
We’ve installed Taco flexible vinyl rubrails in the past, but on the Discoverer we tried a very unique approach: we read the directions!
The correct process is to attach the rail to the nose, then ‘pre-stretch’ the whole thing, pulling back as hard as possible. This way once you come around and put in the screws you don’t have to constantly be stretching.
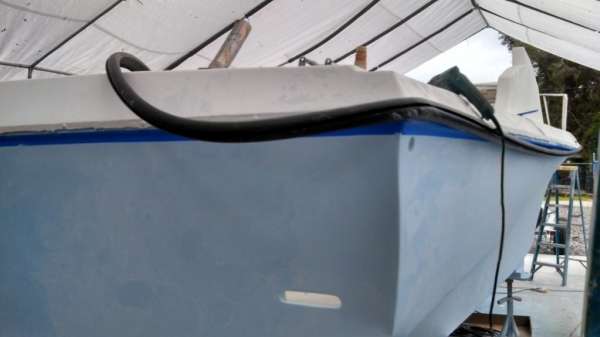
On the Wanderer we stretched the rubrail as we went, and you can see from this picture that it has a lot of wobble in it:

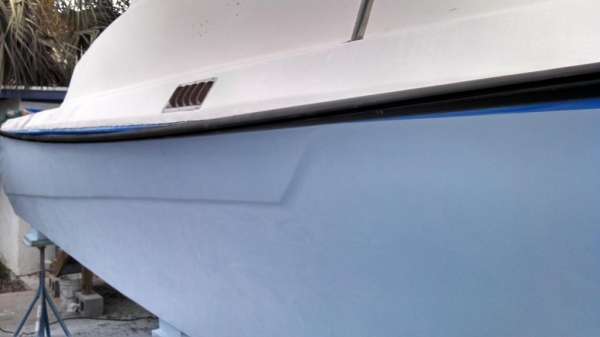
Clearly the new rail on the Discoverer was proper:

You want to attach the screws every 4 inches, working in four foot sections with ample 5200 laid in behind the rub rail. We used a tape line to maintain accuracy in the depth of the rail.
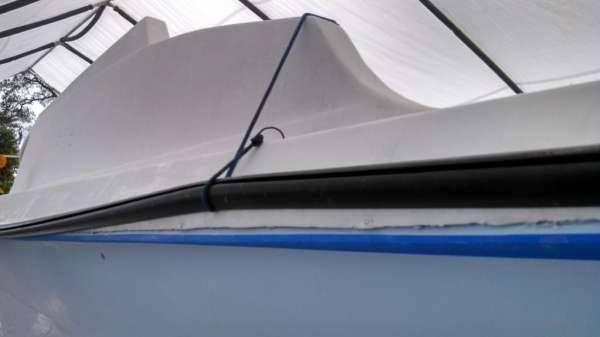
We were relieved to find that we had just enough rail to meet in the rear; this was sold as a 70 foot rail and our boat is 31 feet long with a 9 foot beam…do the math: 31+31+9 = 71 feet. That’s not including any lost length due to the flair of the bow.
Clearly the pre-stretch isn’t just for looks; it is a crucial step as it created the extra couple of feet required to make it around the boat.
Big thanks to this video of an ancient episode of Ship Shape TV for the insights:
Check out 7:35 for the stretch.
Here is another useful video for installing a rub rail:
It’s newer (higher def) and little easier to watch, especially because it features funky music and a cute chick saying things like “Larger than the shaft of your rivet”. But I digress….
This time we were in such a hurry that we forgot to take pictures, but you can see from the end result that we nailed it again
Taco is also our go-to source for outriggers and rigging hardware.
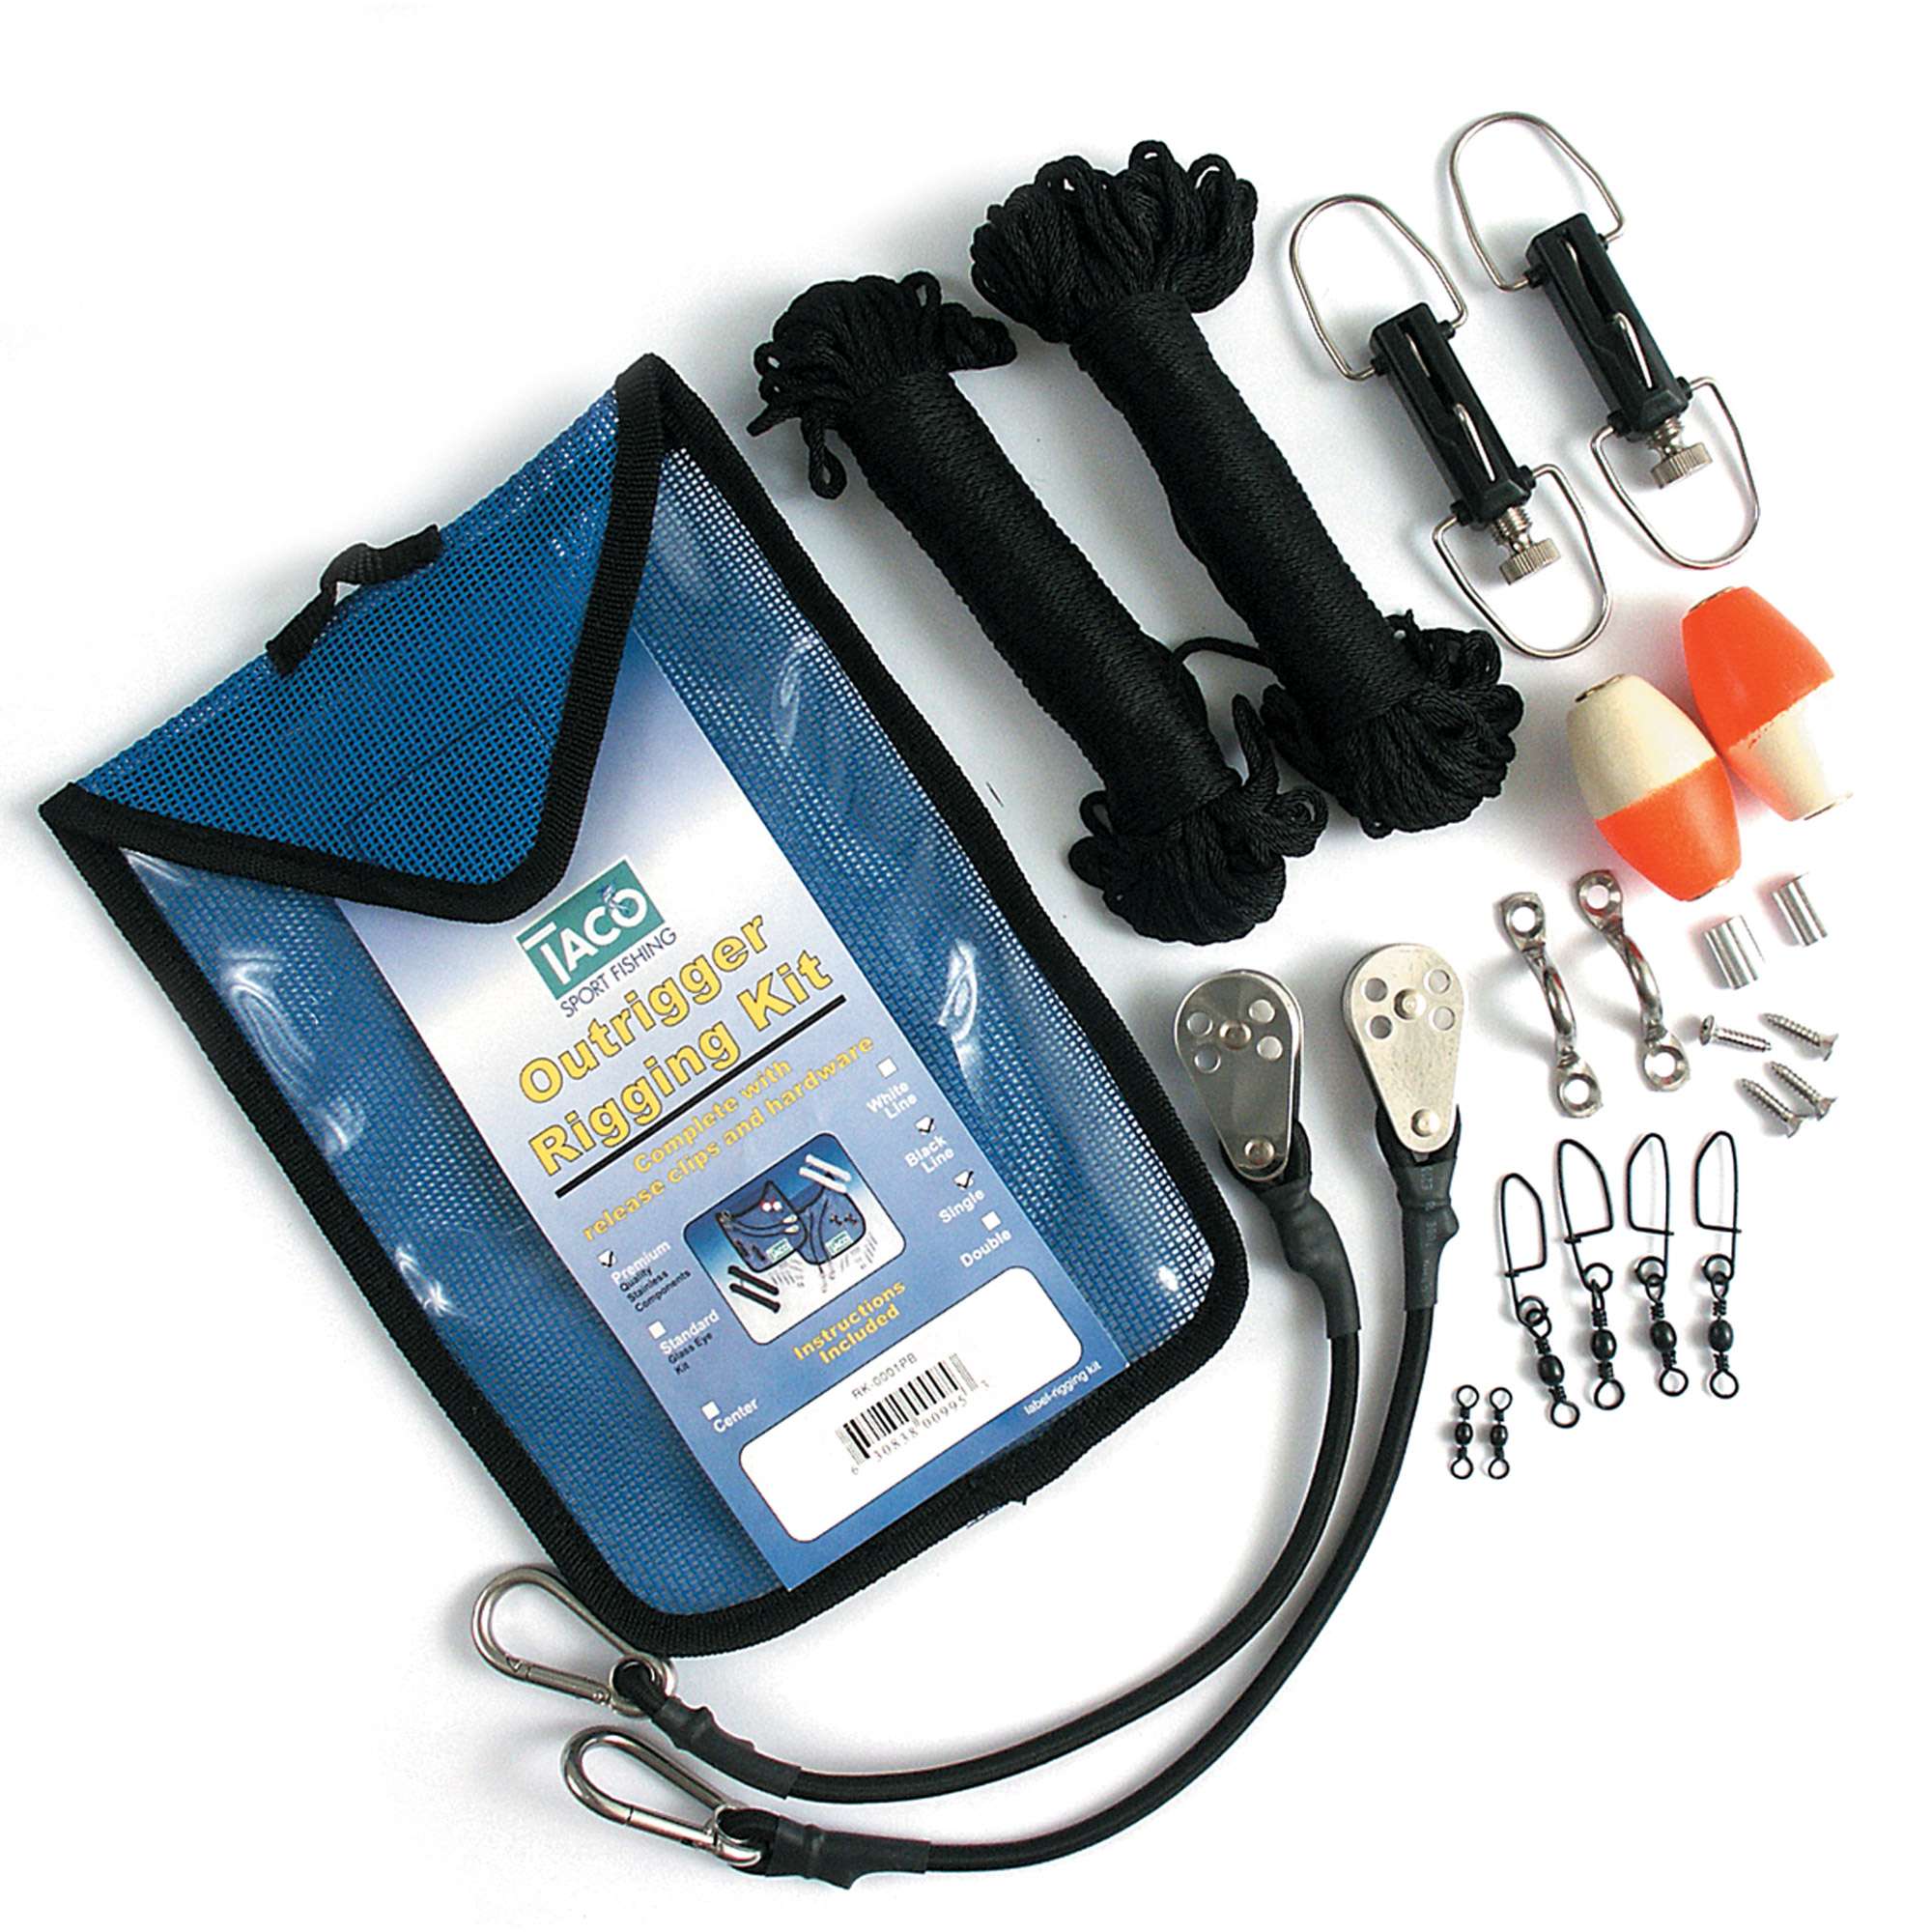
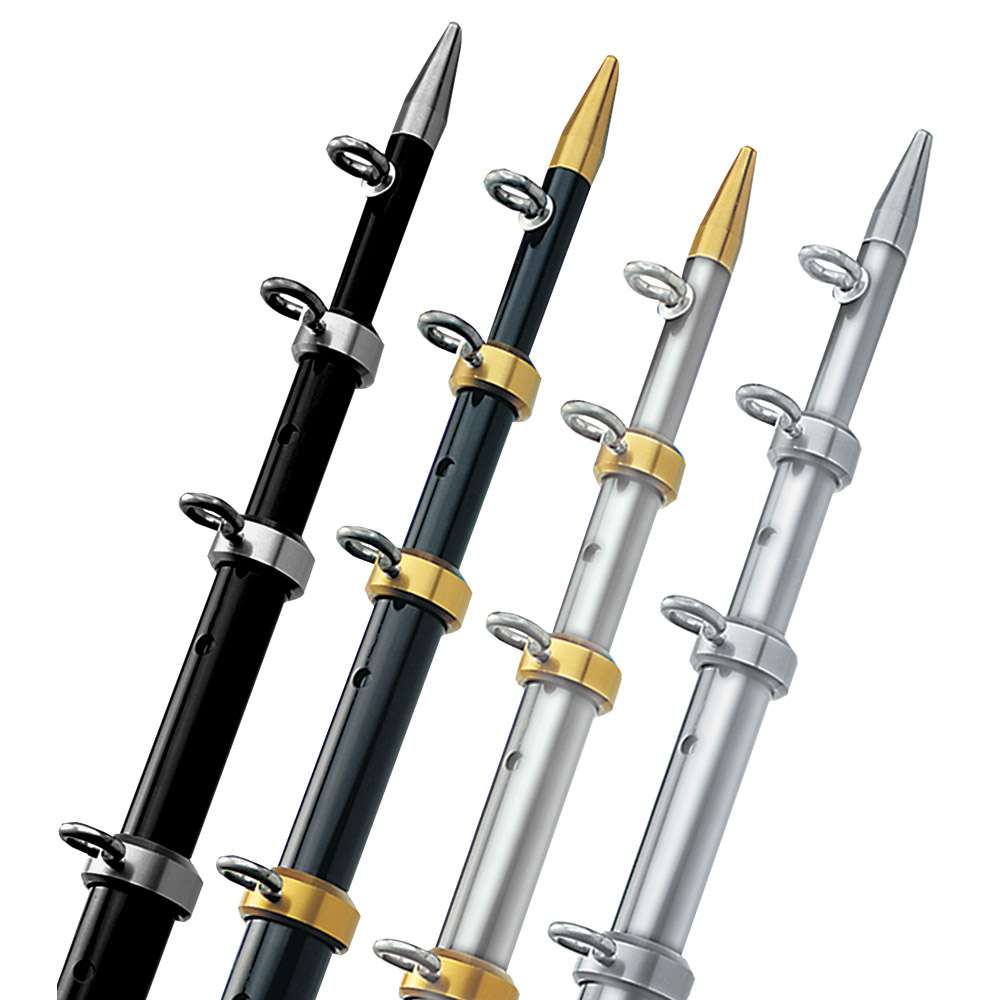
We’ll be installing all this stuff once we get to Costa Rica, and we have no doubt that the Taco Metals will hold up in the extreme salt and sun of Central America.
We also are making headway on the wiring and the seat cushion installation:
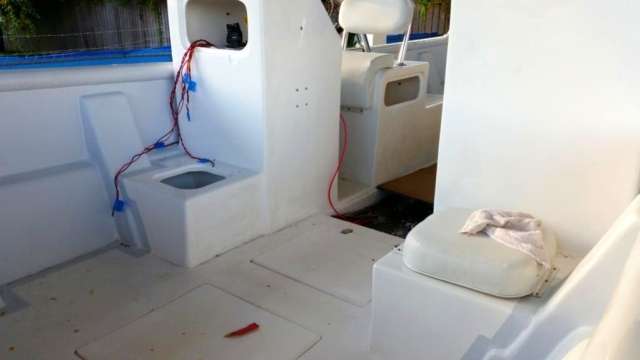

The pile of parts is starting to dwindle as most of the major components have been put into place.

Most of this stuff is currently held in place with odd sized bolts (basically whatever we could find lying around), so we will spend the rest of the week buying the correct hardware to give everything a finished look.

We anticipate being far enough along to hang the motor later this week, then get her wet sometime shortly thereafter.
October 21, 2015 – Day 343
The Harvester Project is so close to completion that we can taste it.

We are up against a hard deadline of Thursday October 22…that is when we launch this mega panga for her appearance on the Florida Sportsman Dream Boat TV Show. Therefore we are flying through the last few details of rigging the Harvester.
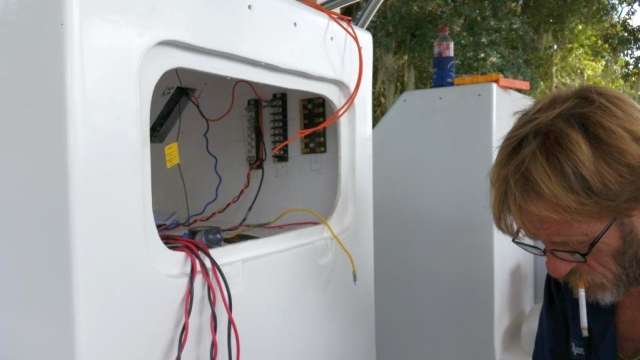
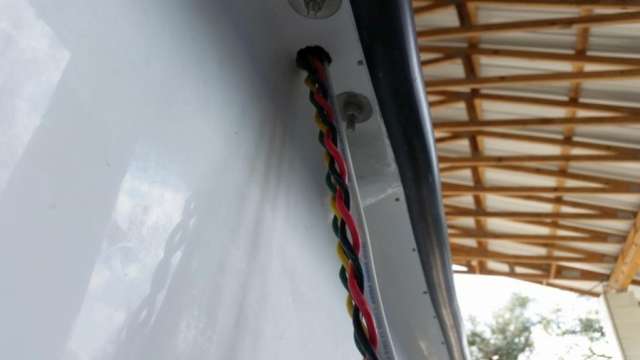
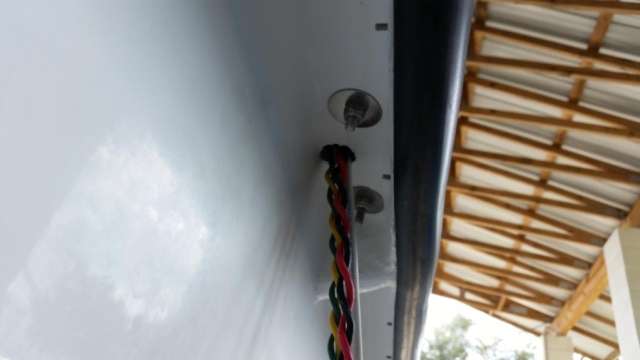
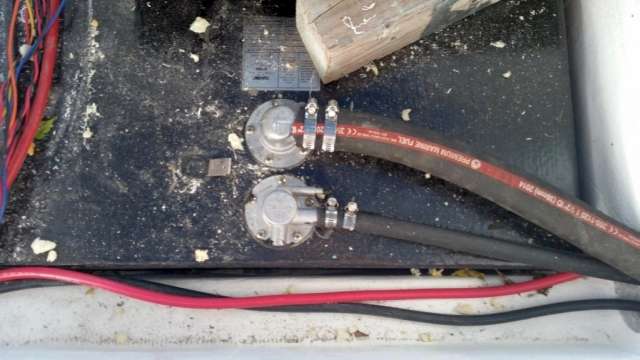
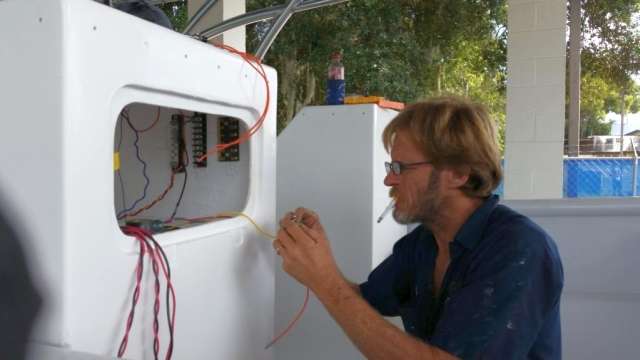
Brian has been hard at work running wires from the Captain’s console to the bilge pumps, livewell pumps, lights, bottom machine, and radio box. We’ve had a few routing issues, but nothing we can’t handle.
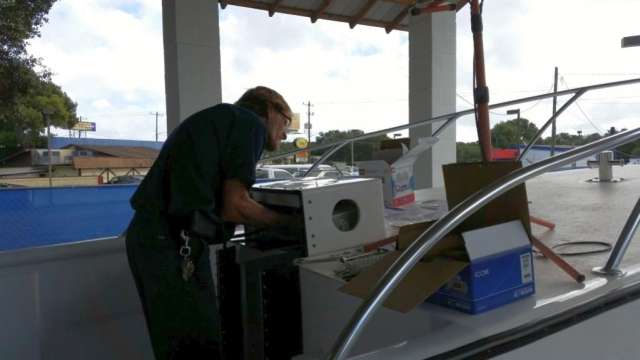
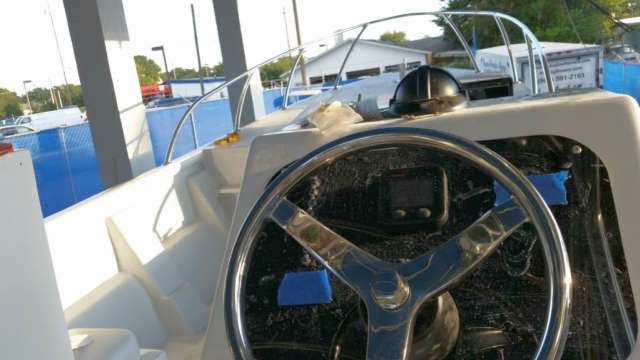
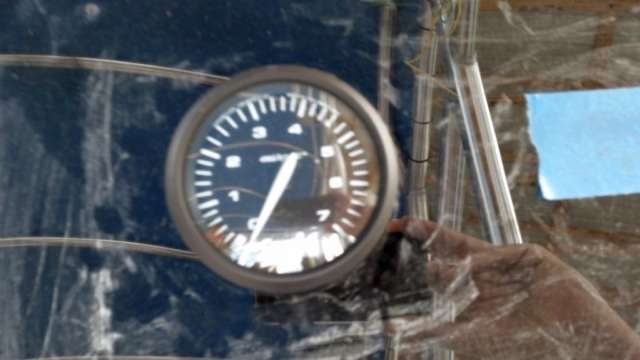
Meanwhile Craig has finished off the installation of the windshields and console components. Check out the old-school analog gauges:
Late last night we rolled the final texture coat on the floor.


We hope to do a quick test float this afternoon before the TV show arrives tomorrow. Stay tuned!
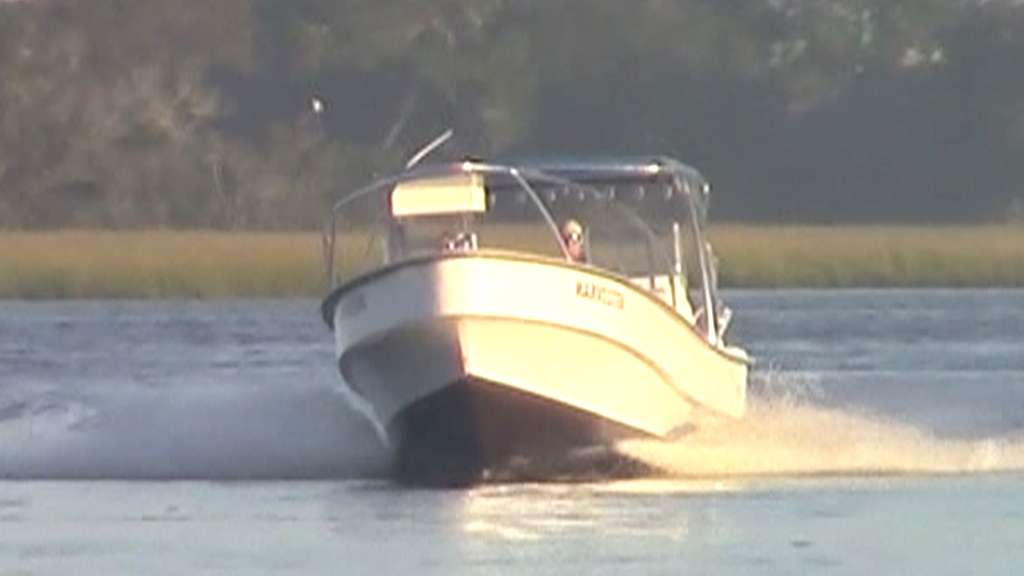
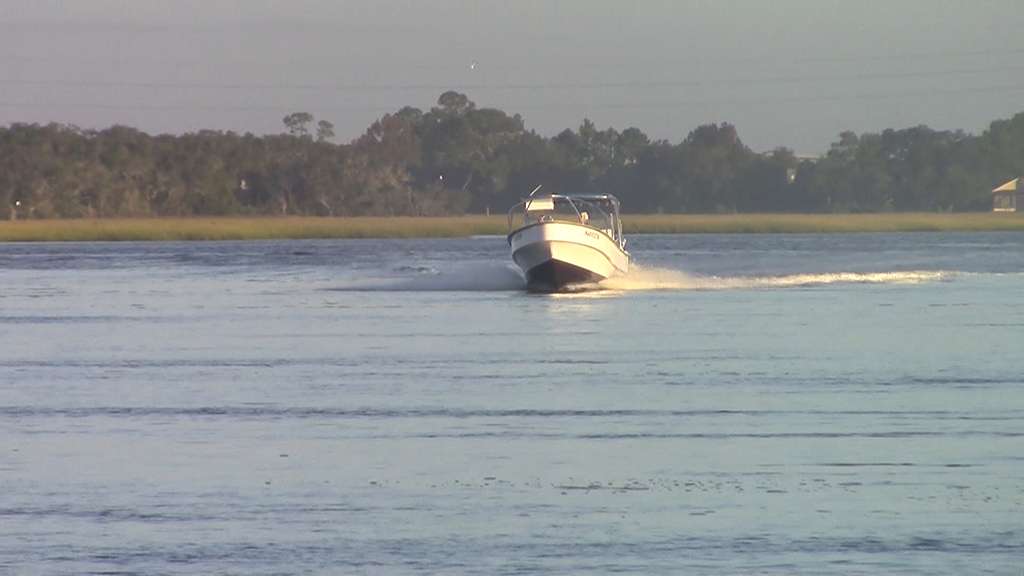
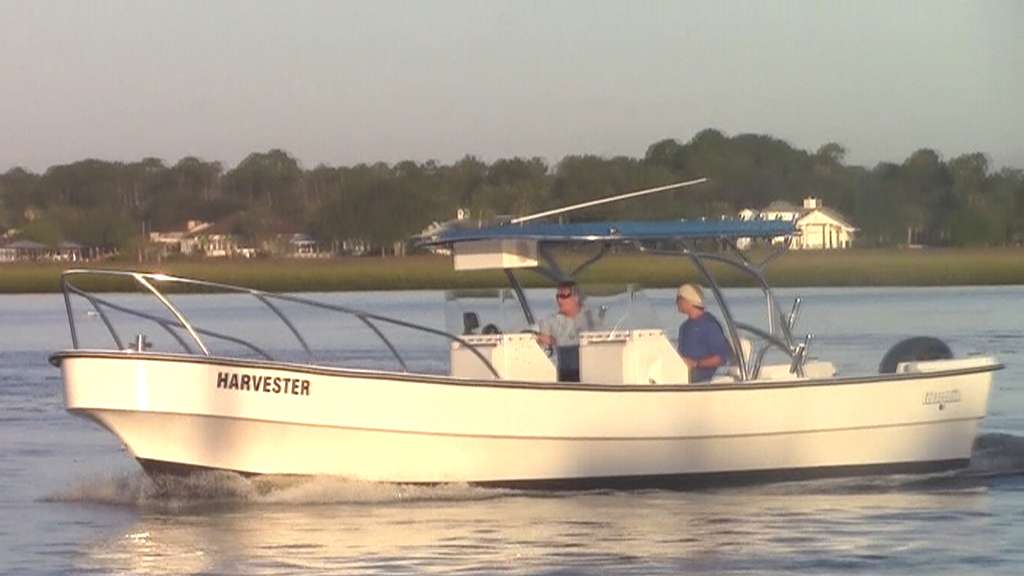
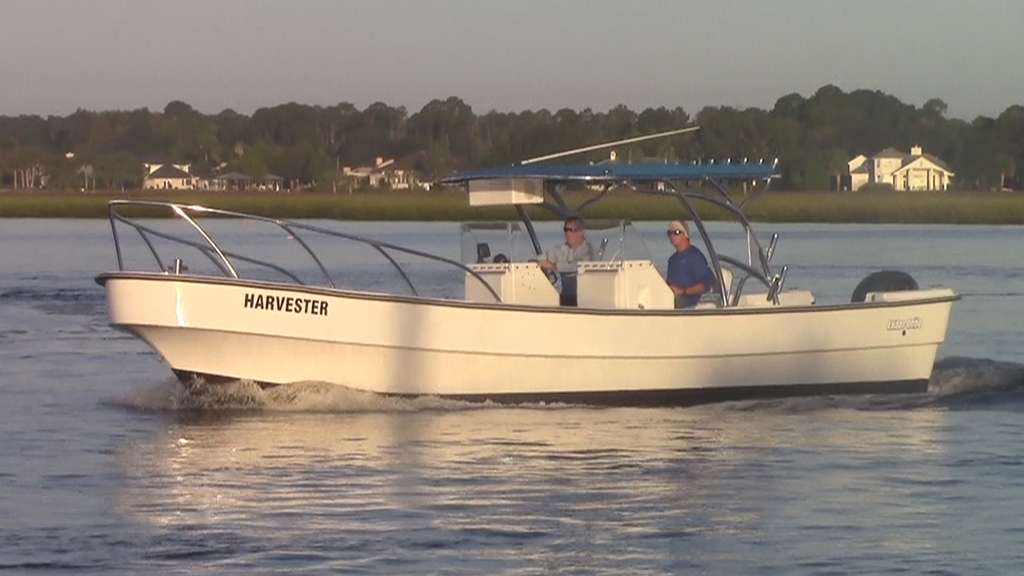
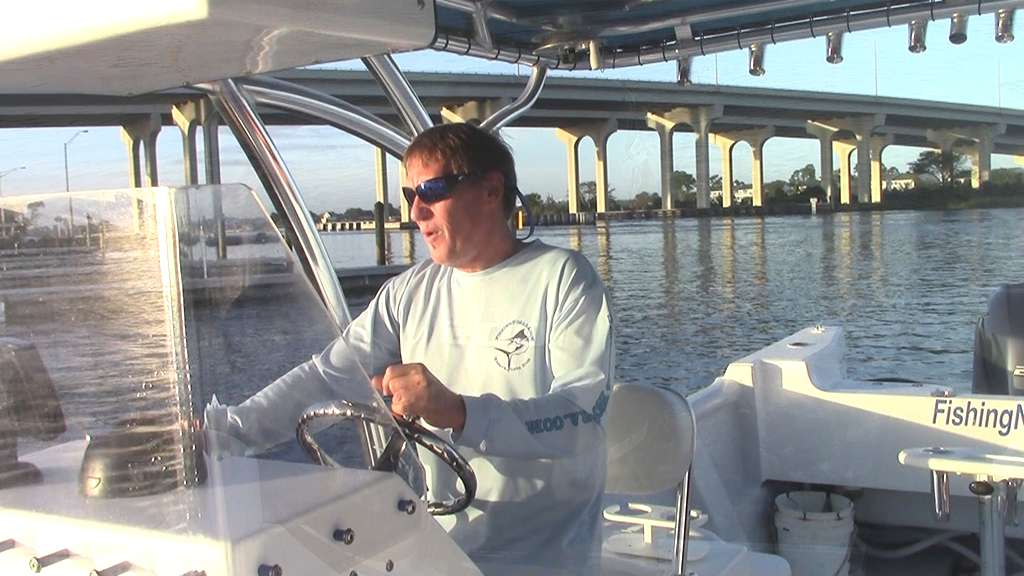
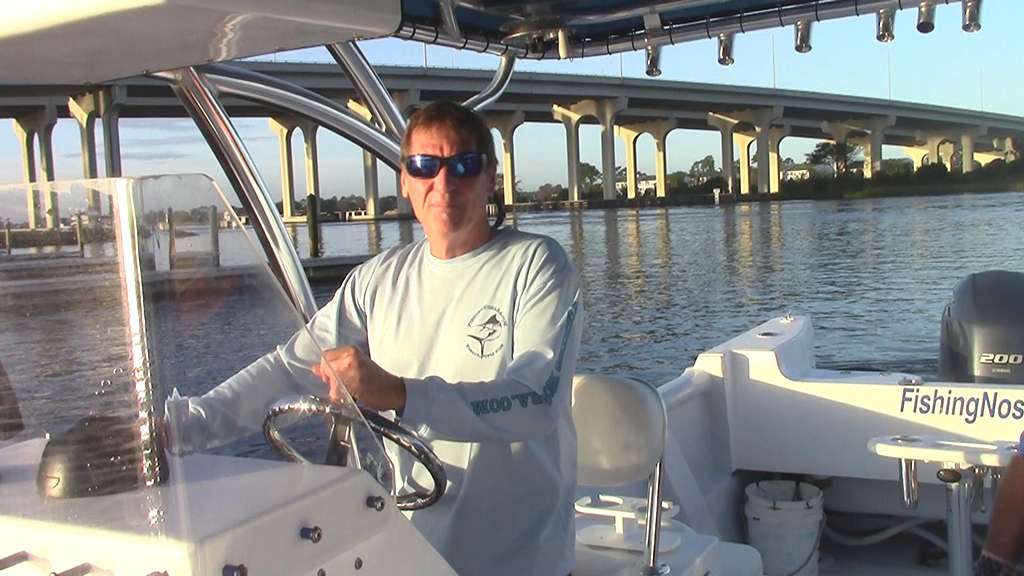
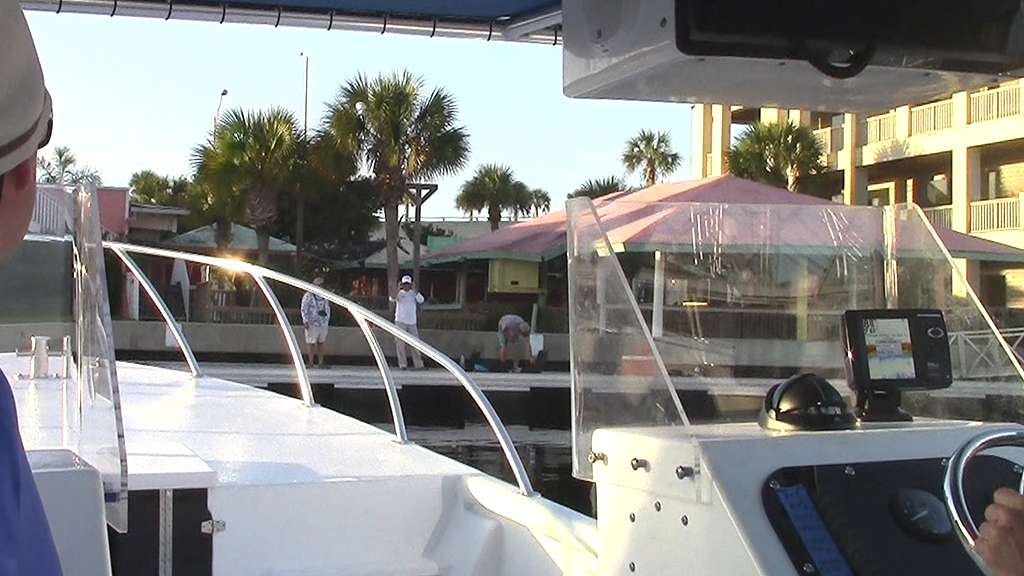
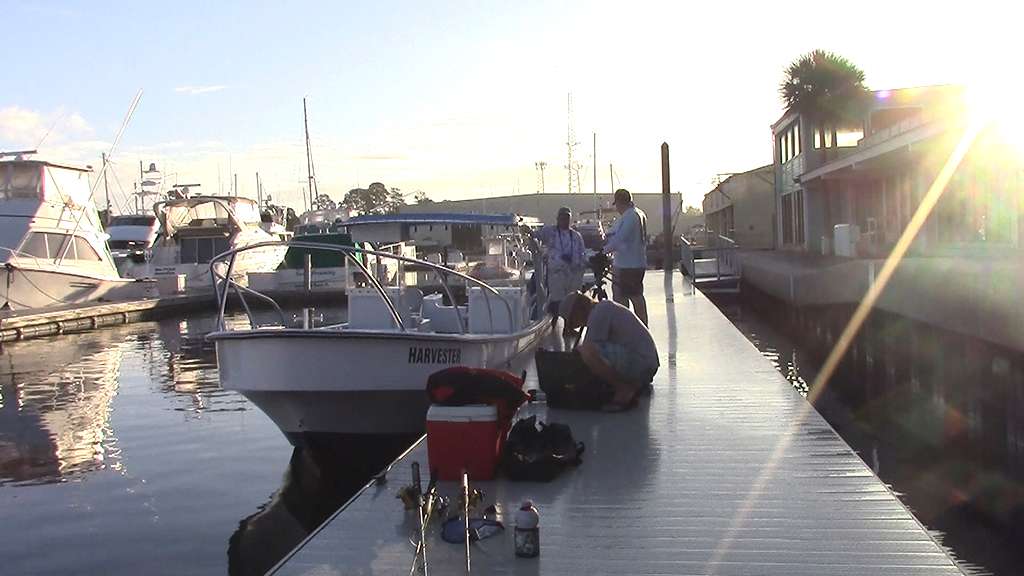
October 22, 2015 – Day 344
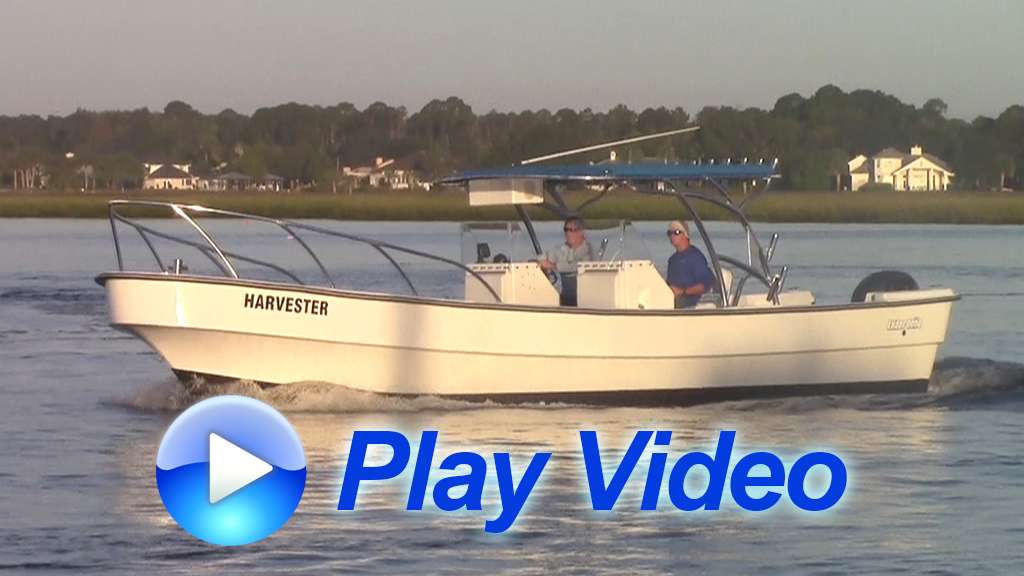
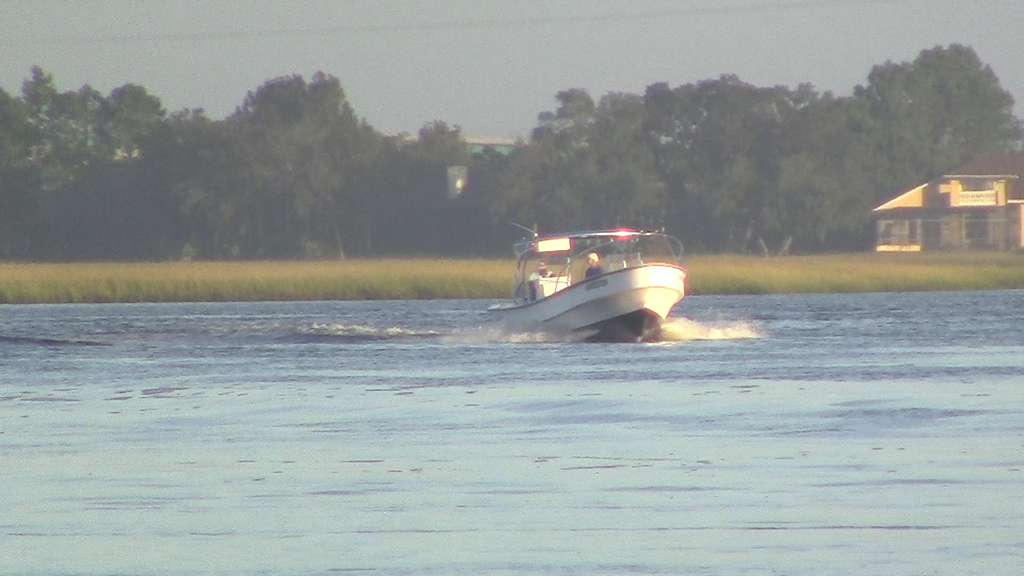
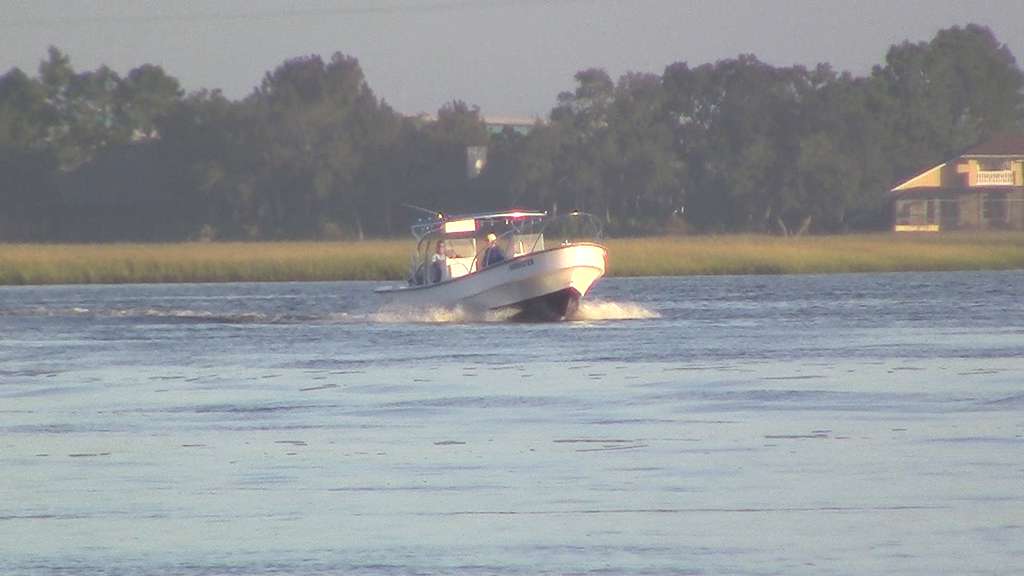
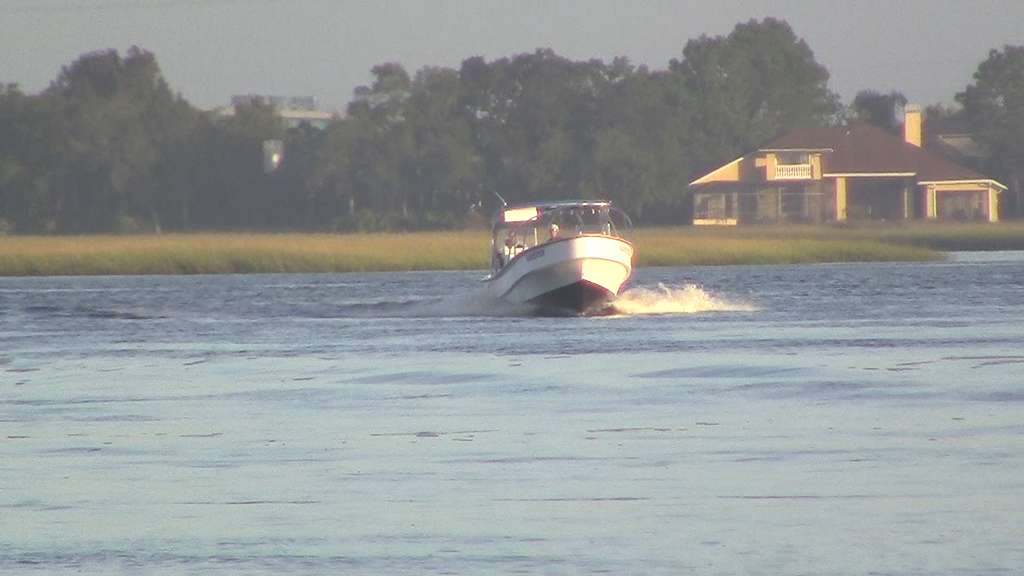
Successful first water test for the 31′ Harvester!
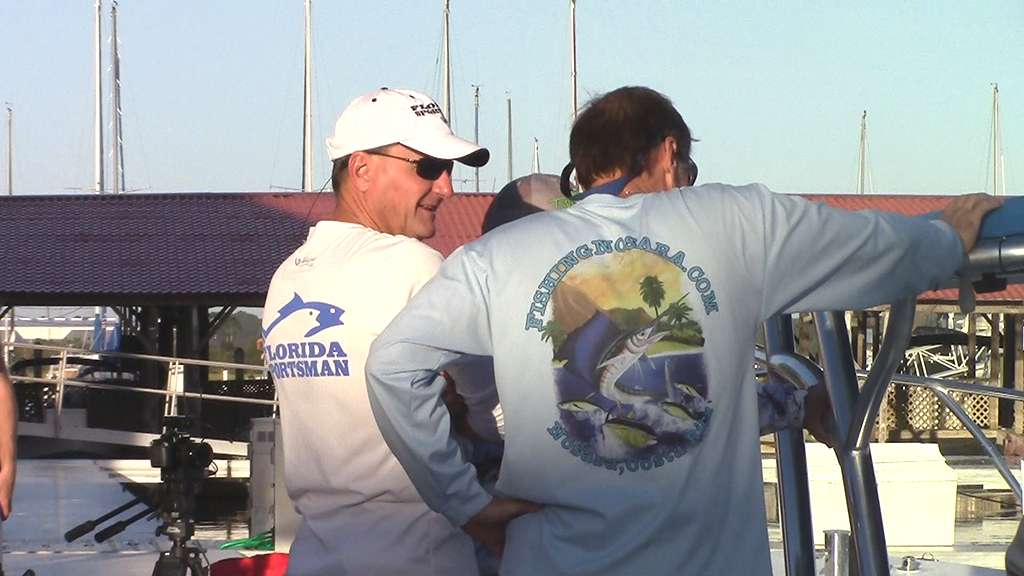
We got her finished just in time to be featured on the upcoming Florida Sportsman Project Dreamboat TV show. Big thanks to Dave East and Rick Ryals of Florida Sportsman Magazine.

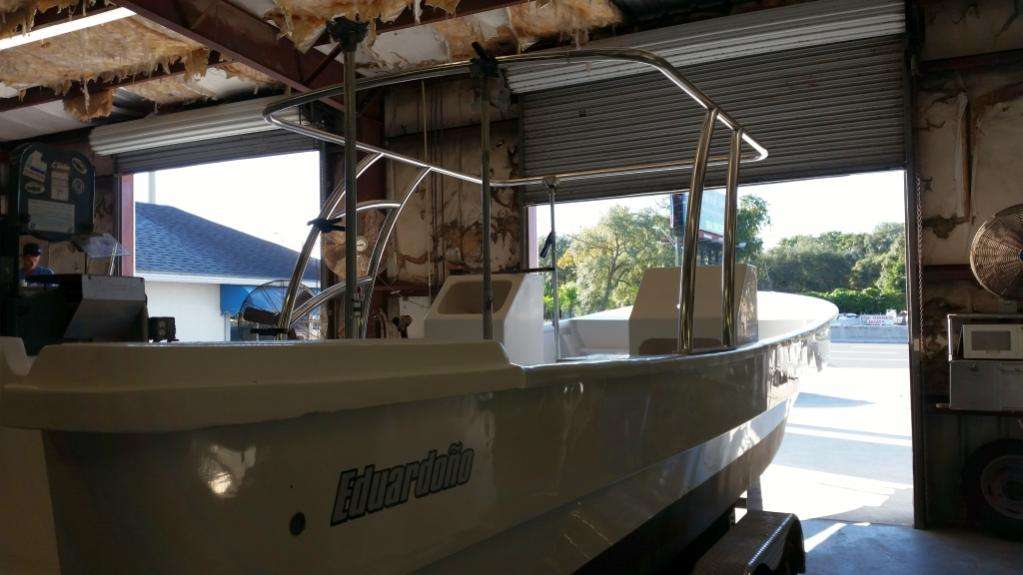
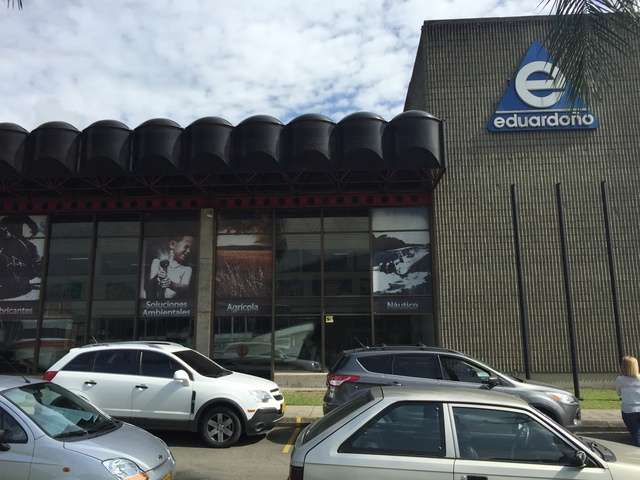
Eduardono Factory Tour
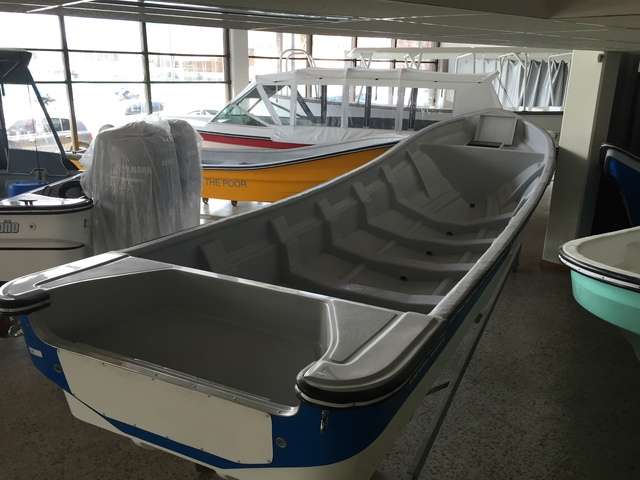
Eduardono is one of the most prolific boat builders you’ve never heard of. There lineup of panga-style hulls are in service throughout North, South, and Central America.
A quick look at their offerings reveals that their pangas are equally adept as pleasure boats, port tenders, and both commercial and recreational fishing.
There hulls are incredibly strong and seem to get a magic amount of performance from a minimum amount of horsepower.
We’ve had a wonderful experience dealing with Nicholas and the rest of the staff at Eduardono, and after a months of The Harvester Project we wanted to know more about how these hulls are built.

Our good buddy and fellow panga enthusiast John Bisson headed down to Columbia to take a tour of the factory, and he gives us a behind-the-scenes look at the Eduardono operation.
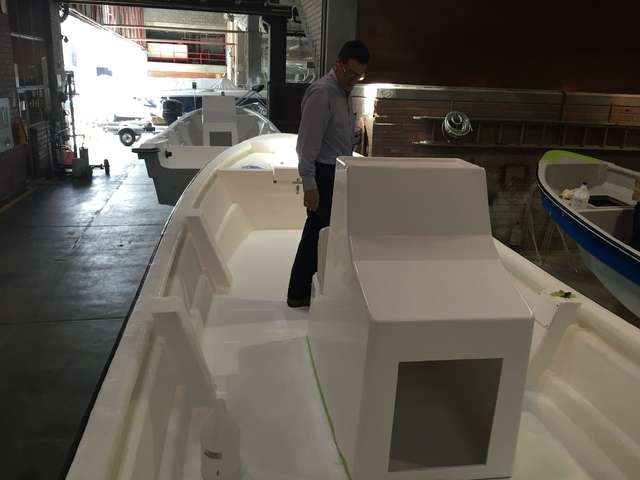
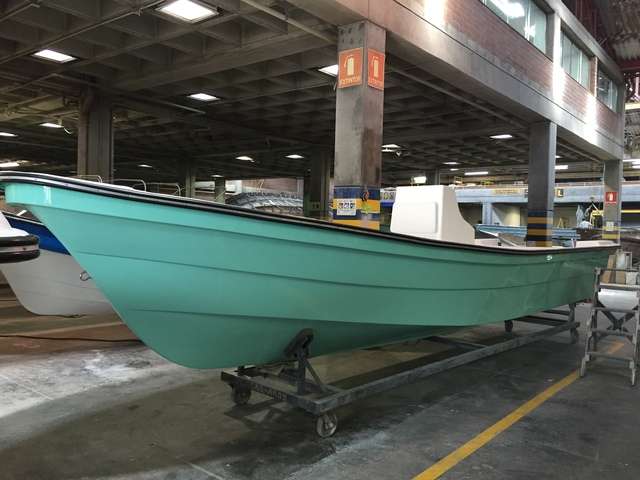
The hull we’ve been working on came bare, however if you look at these pics you will see that it is high-end finish work that really sets Eduardono apart from the competition.
Check out the detail work on this optional forward cabin:
These hulls are set up for single or dual powerplants, and based on the powerful ride we are getting out of a single 200hp, I can’t even imagine what a rocket ship ride a dual powered panga would deliver.
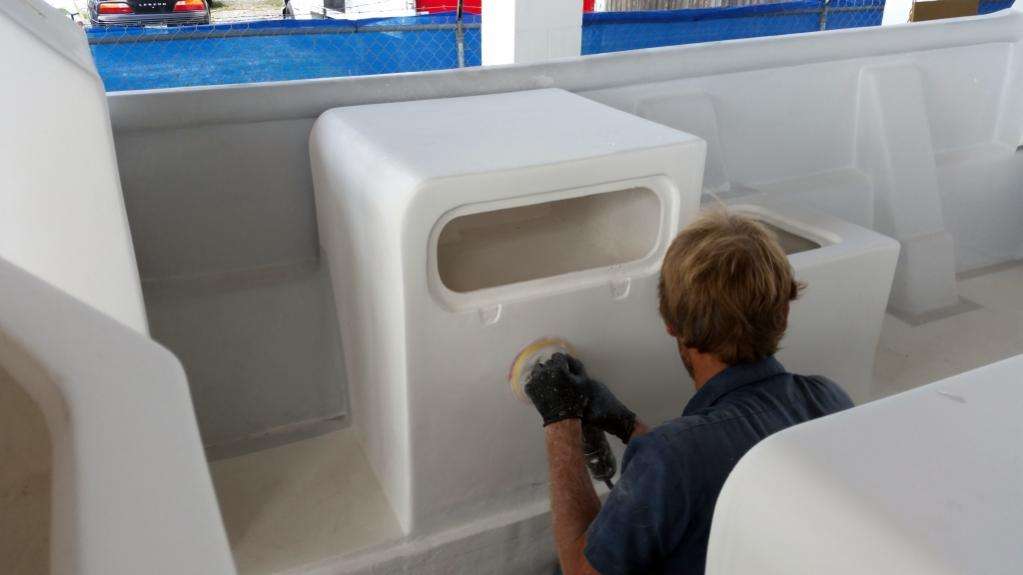
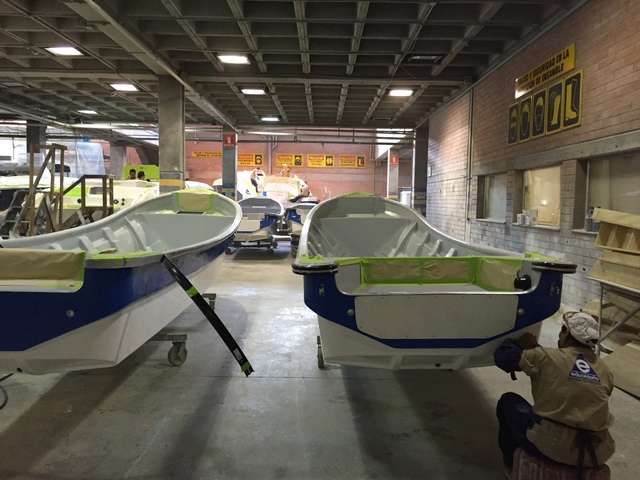
Eduardono also has their own in-house paint facilities, and they boast a wide variety of eye-popping flavors of hues.
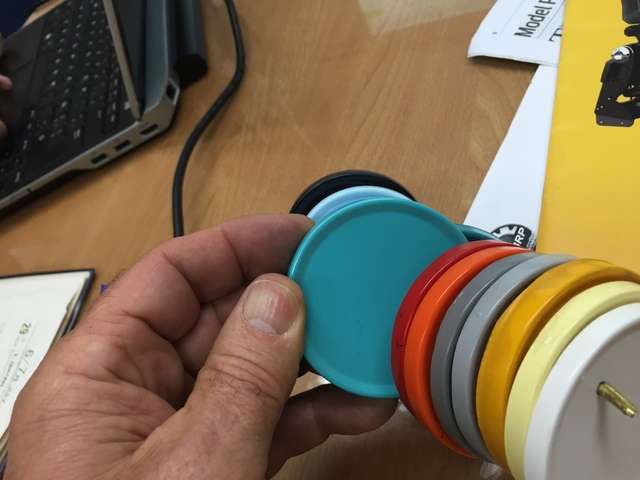
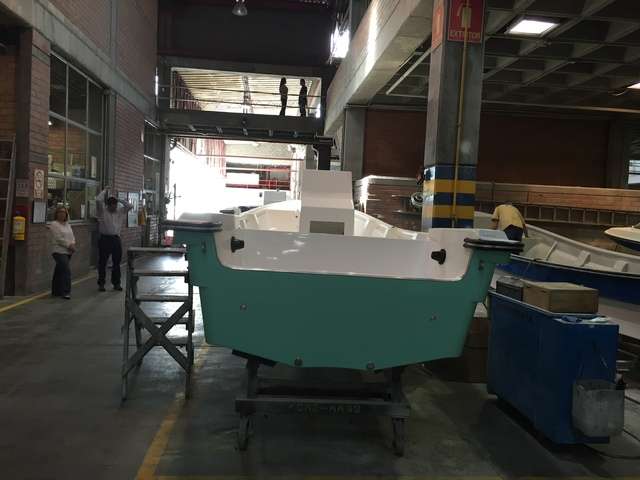
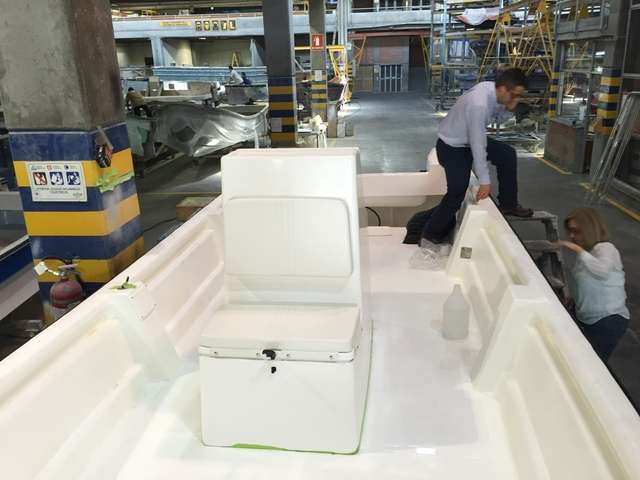
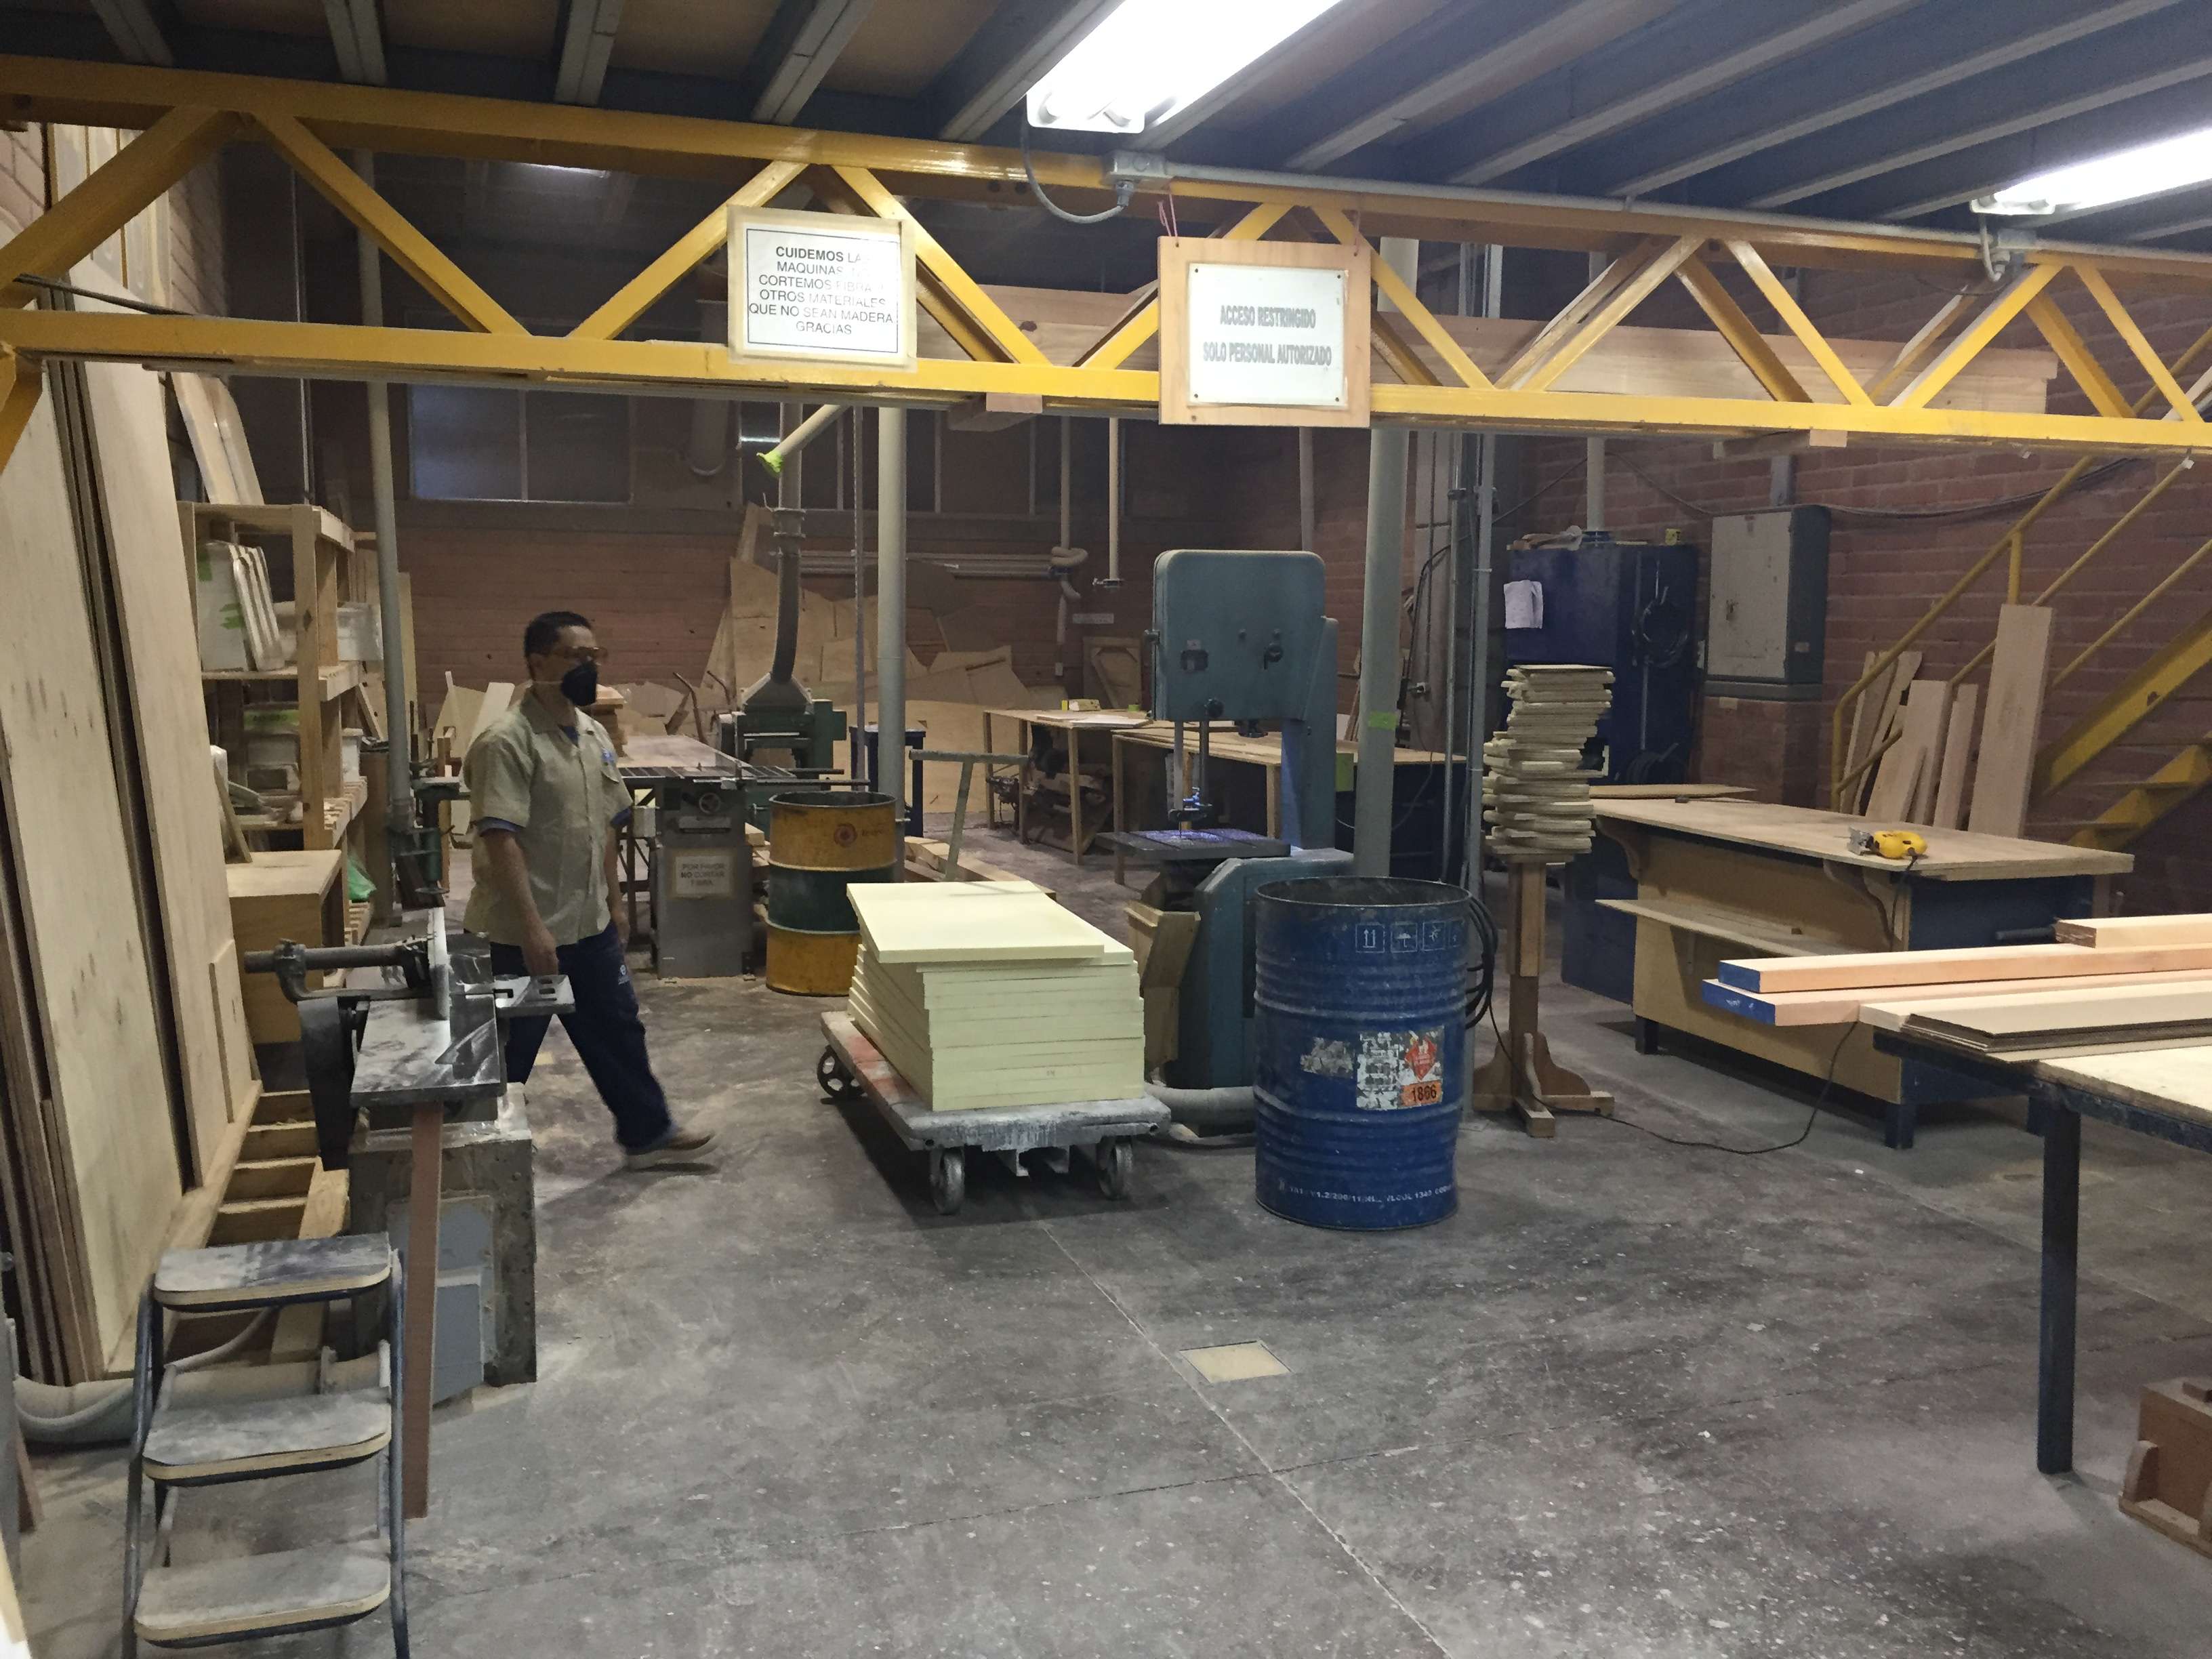
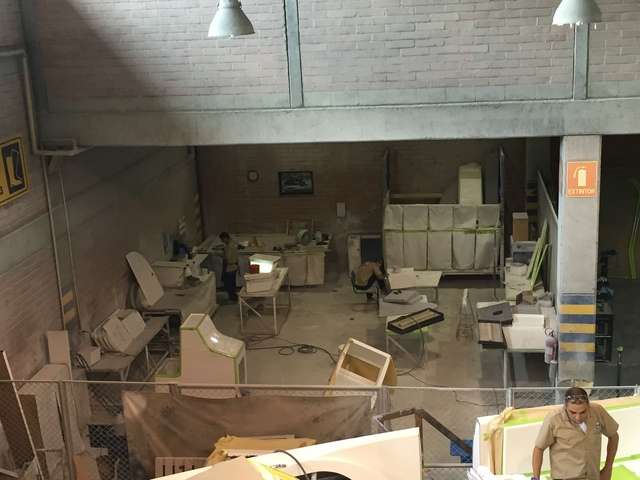
One thing I notice from these photos is how tight the shop itself is…everyone working is wearing the proper safety gear and a high level of safety and professionalism is on display.
This certainly shatters the perception that a South American boat builder is somehow ‘third world shotty’… I would put this operation up against any in the world.
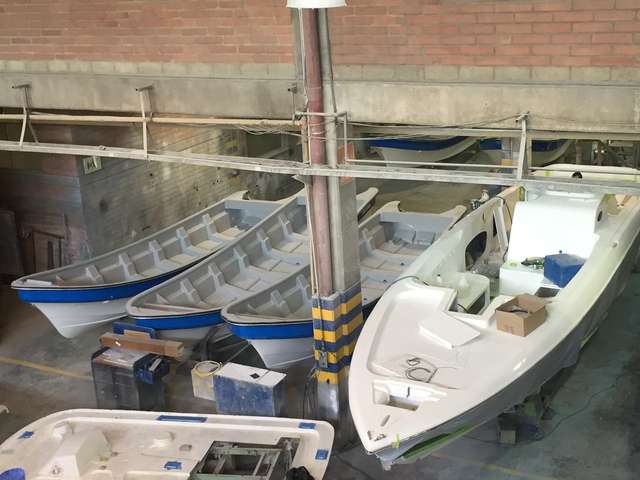
The showroom is awesome, but we wanted to pry a little deeper into the back of the shop where the real magic happens:
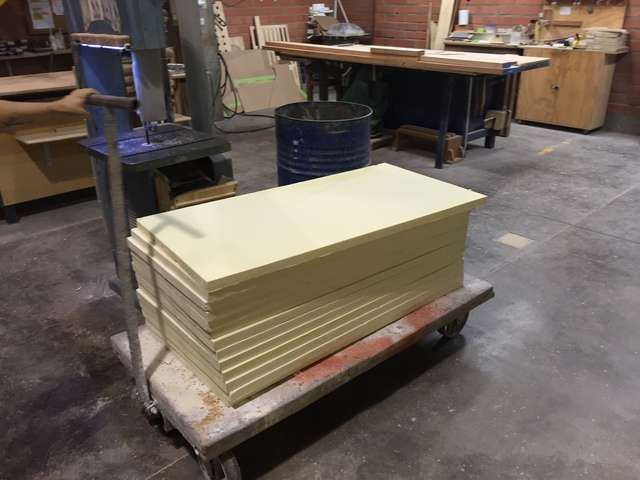
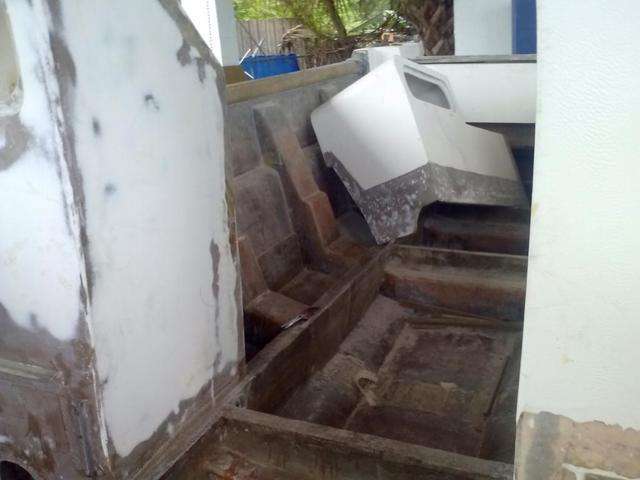
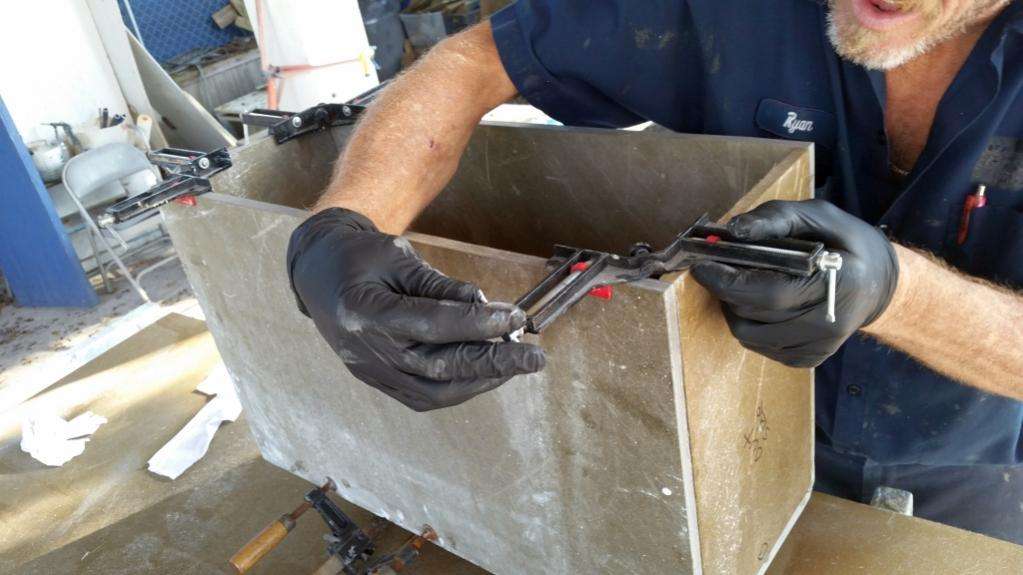
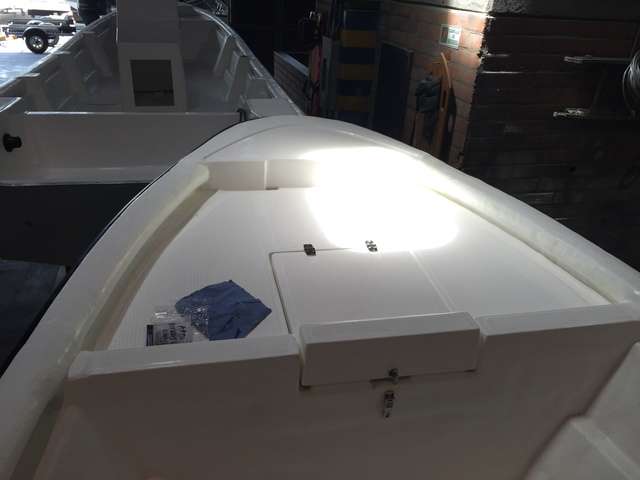
This foam core board (above) and marine plywood (below) are sandwiched together to create bulkheads that are both strong and lightweight.

Here is the in-house woodshop where these elements come together:
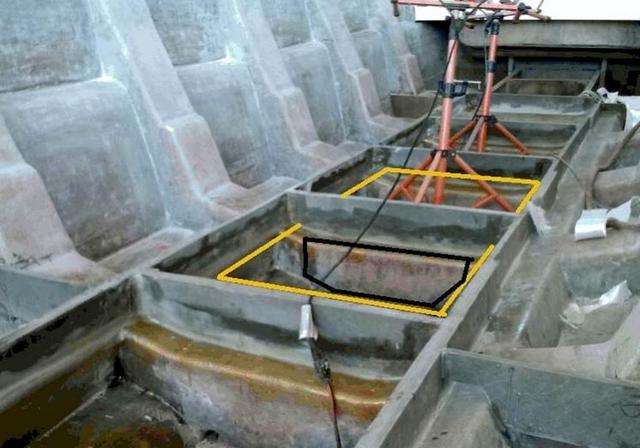
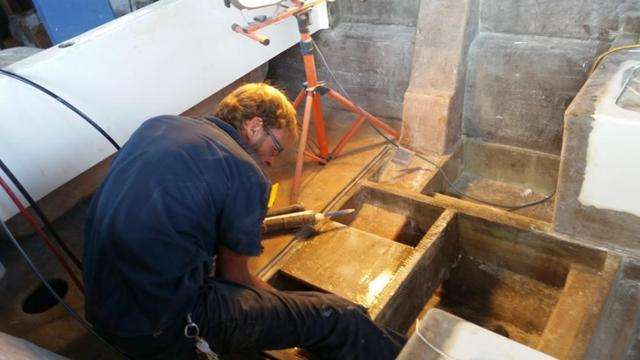
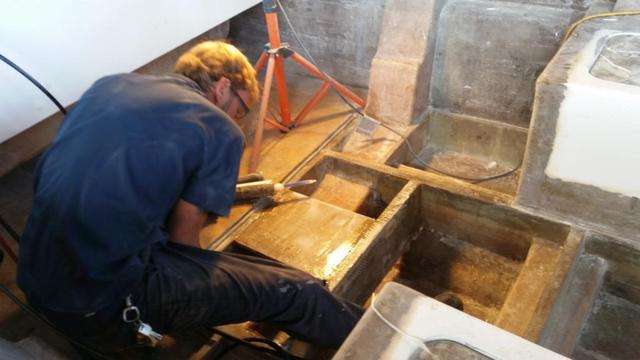
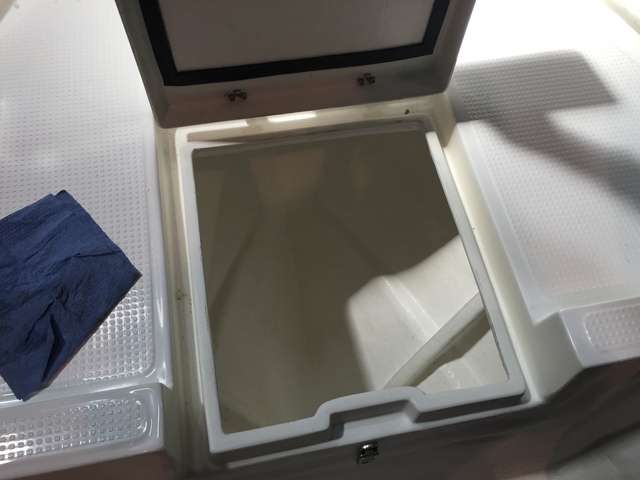
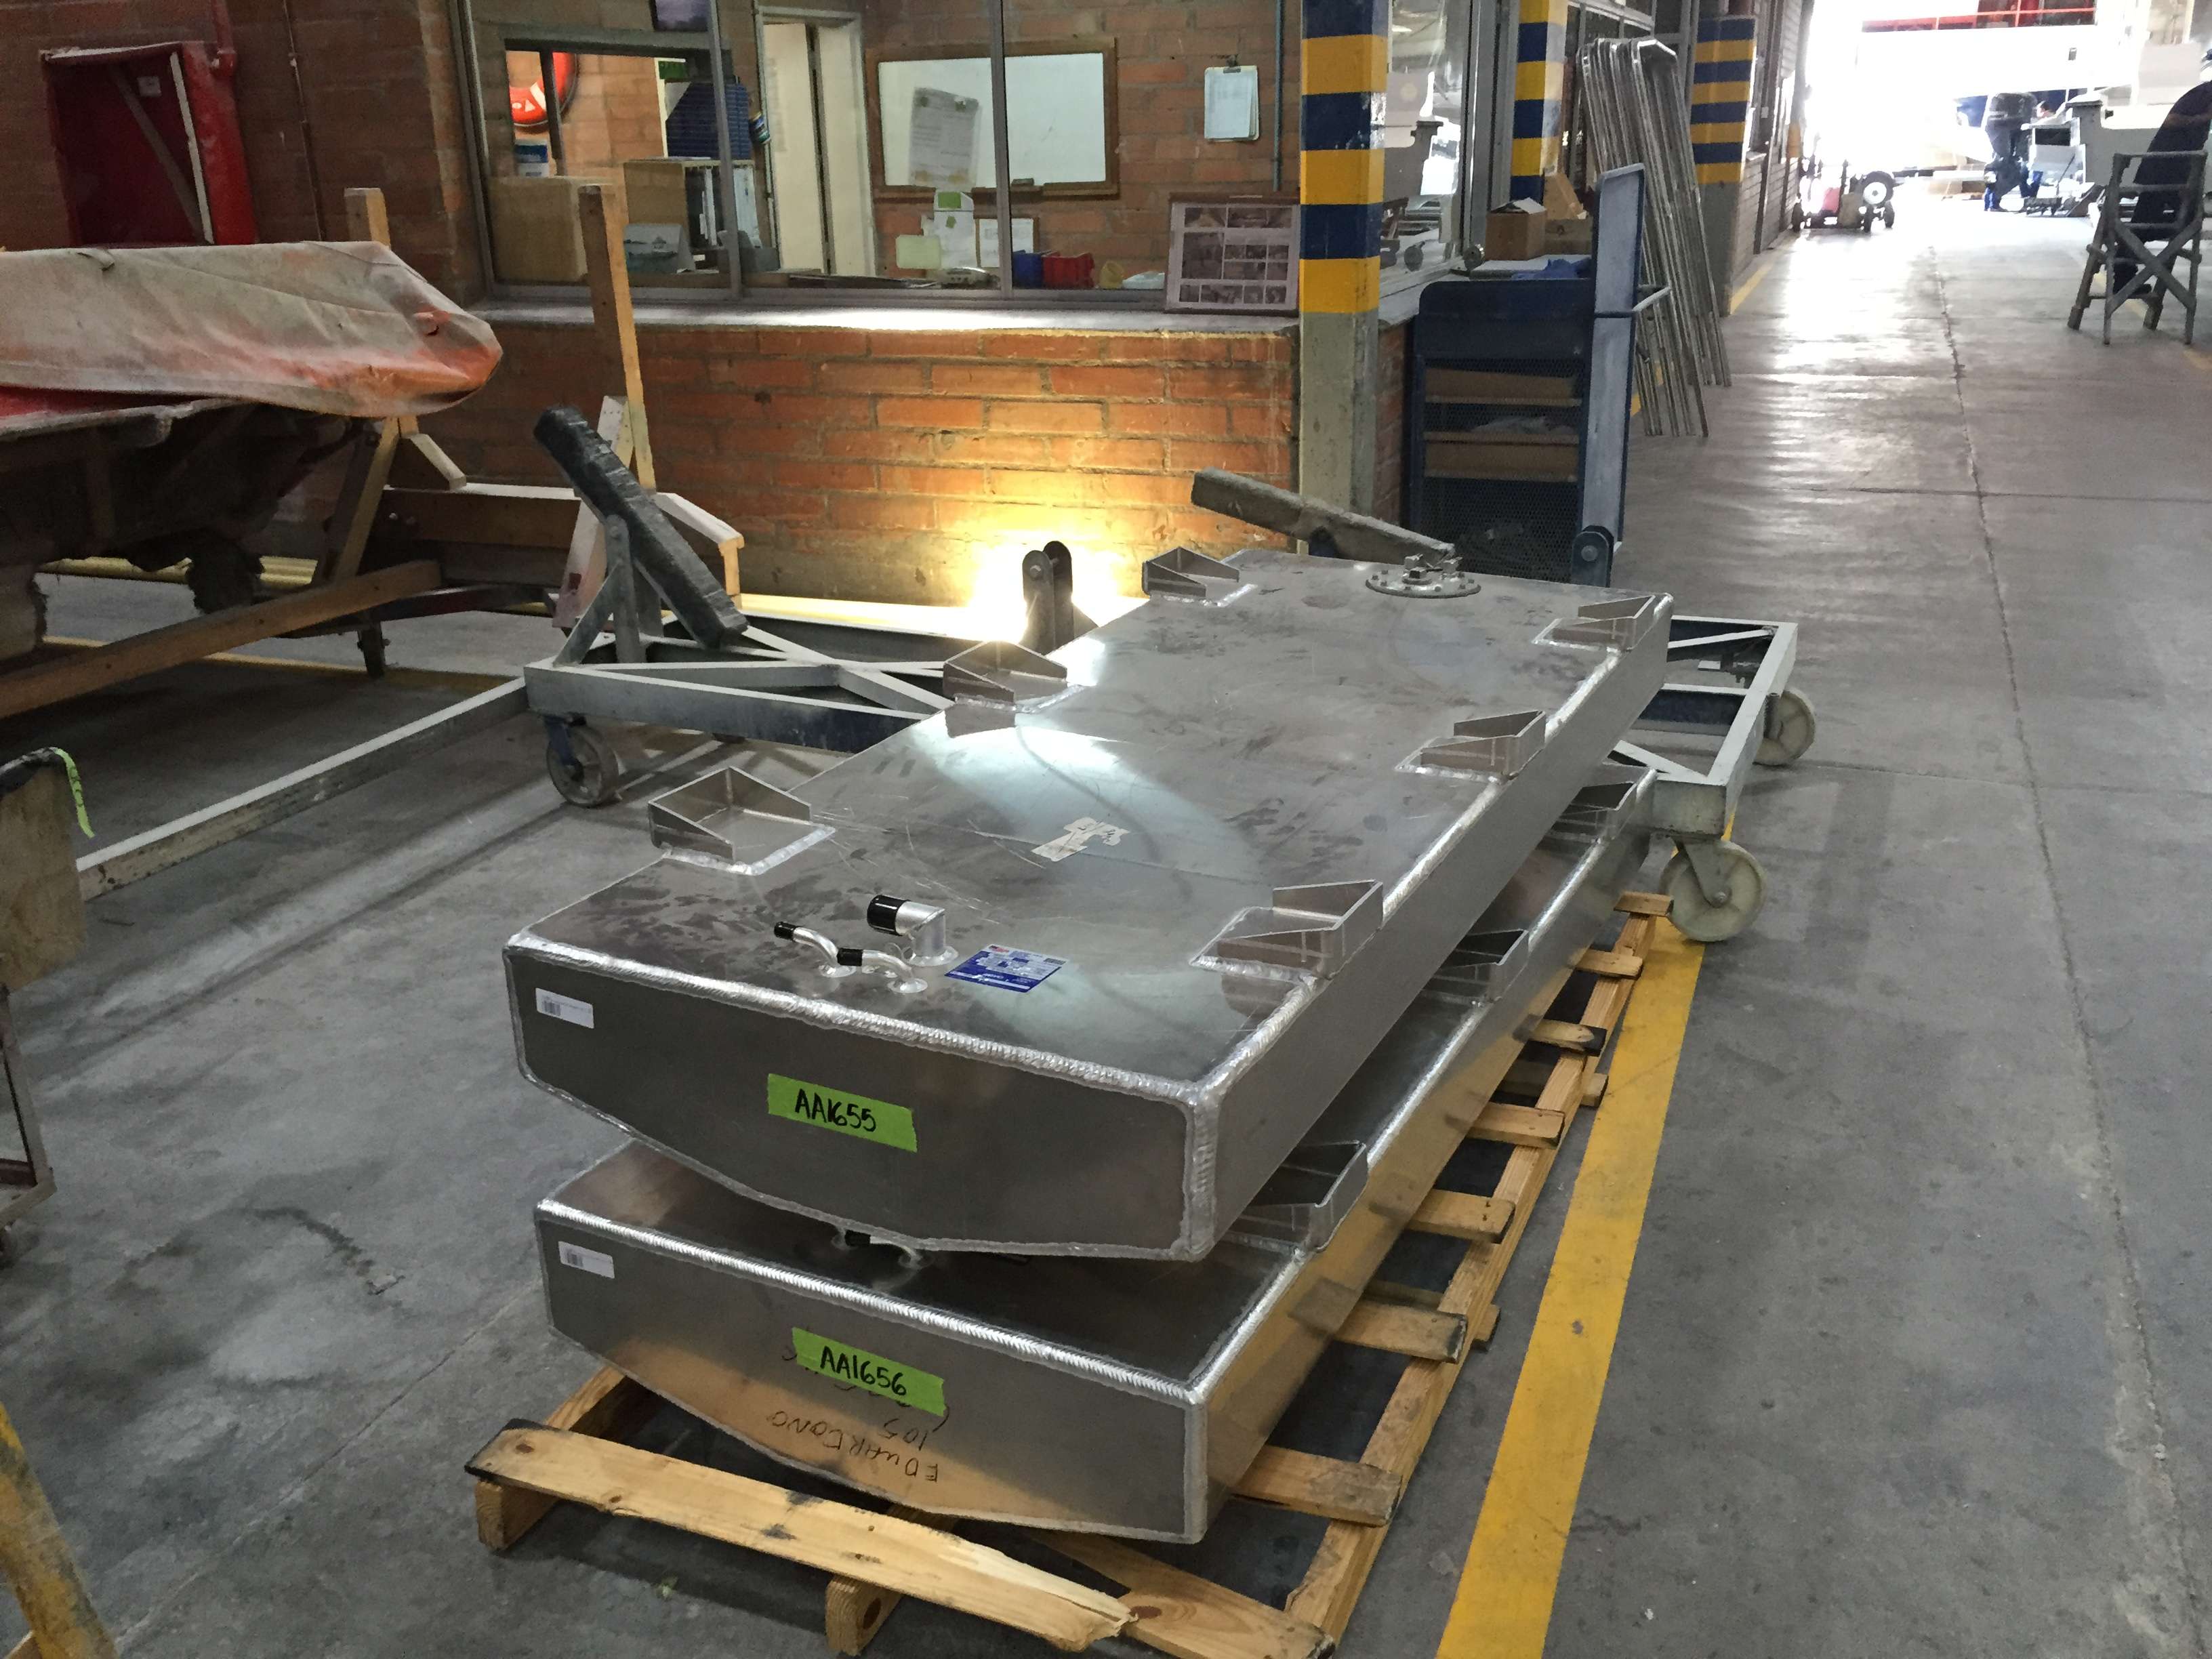
Eduardono also installs gas tanks for boats that need more range than an 8-gallon portable tank can provide.
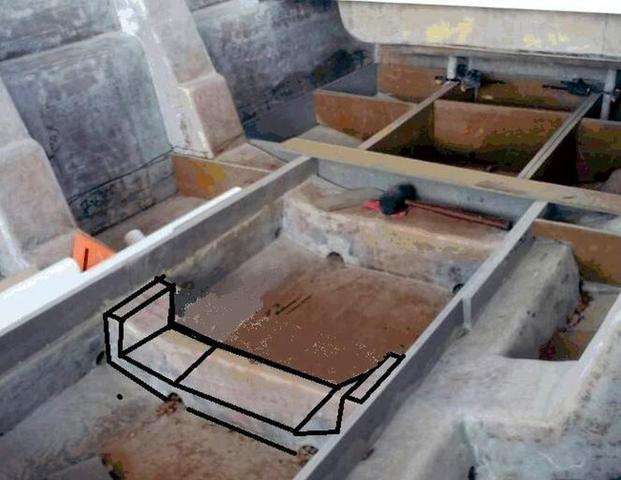
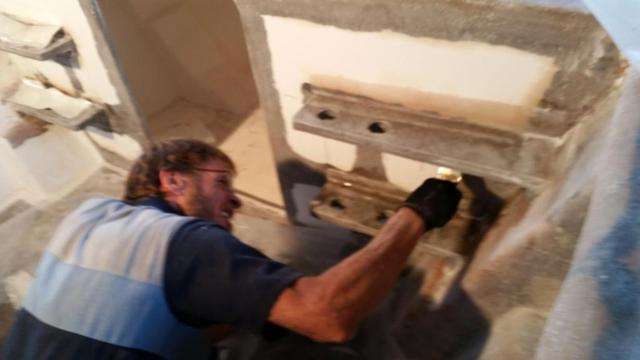
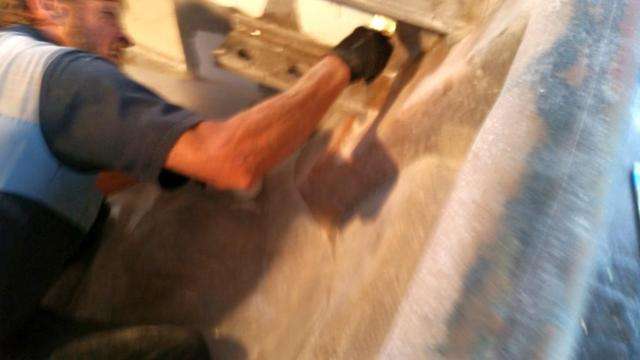
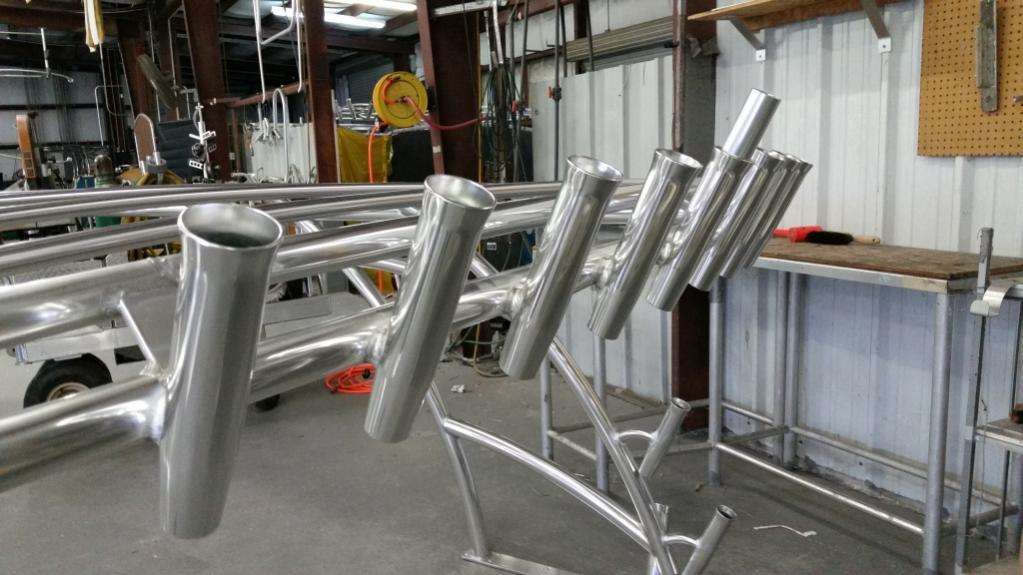
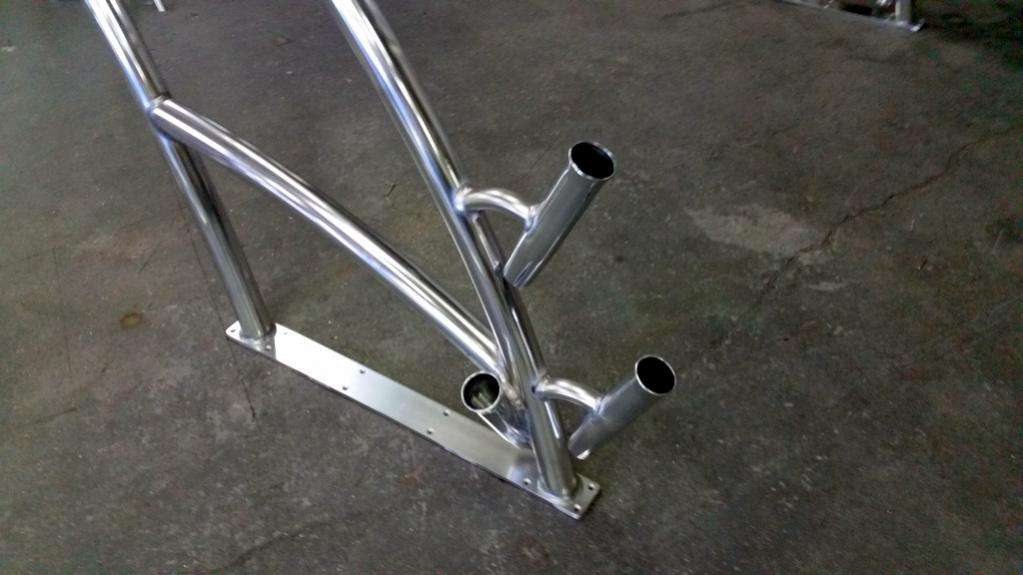
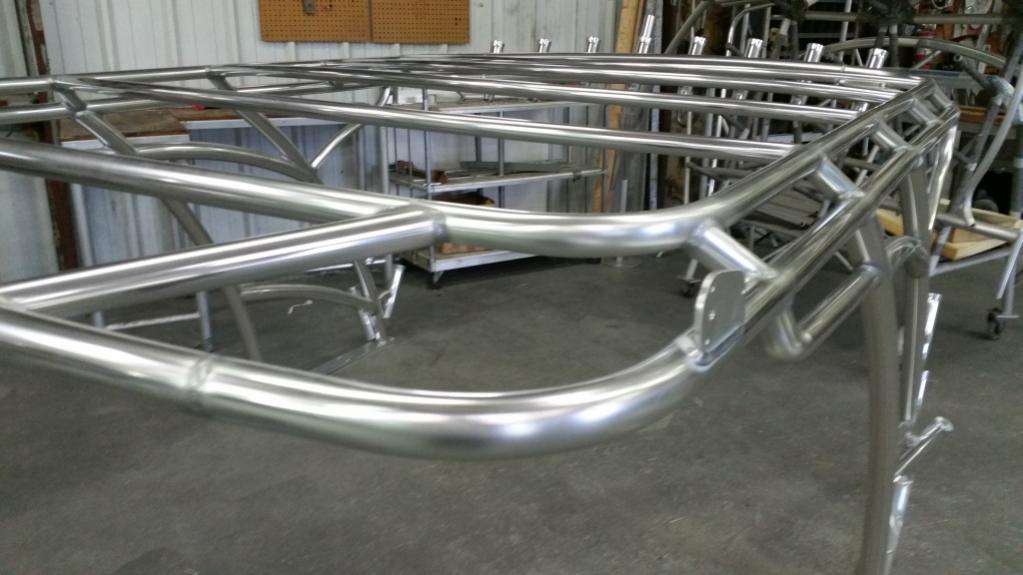
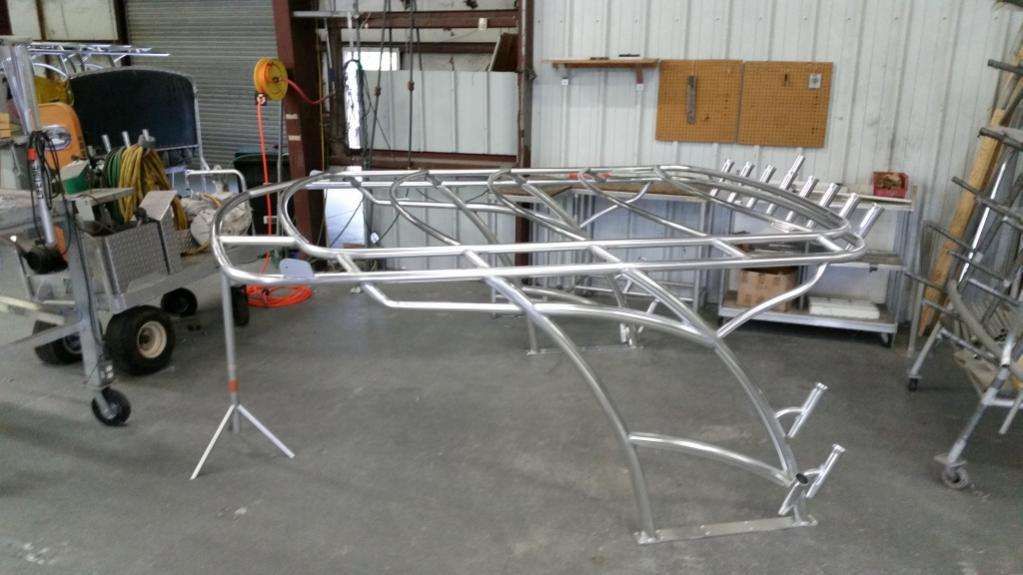
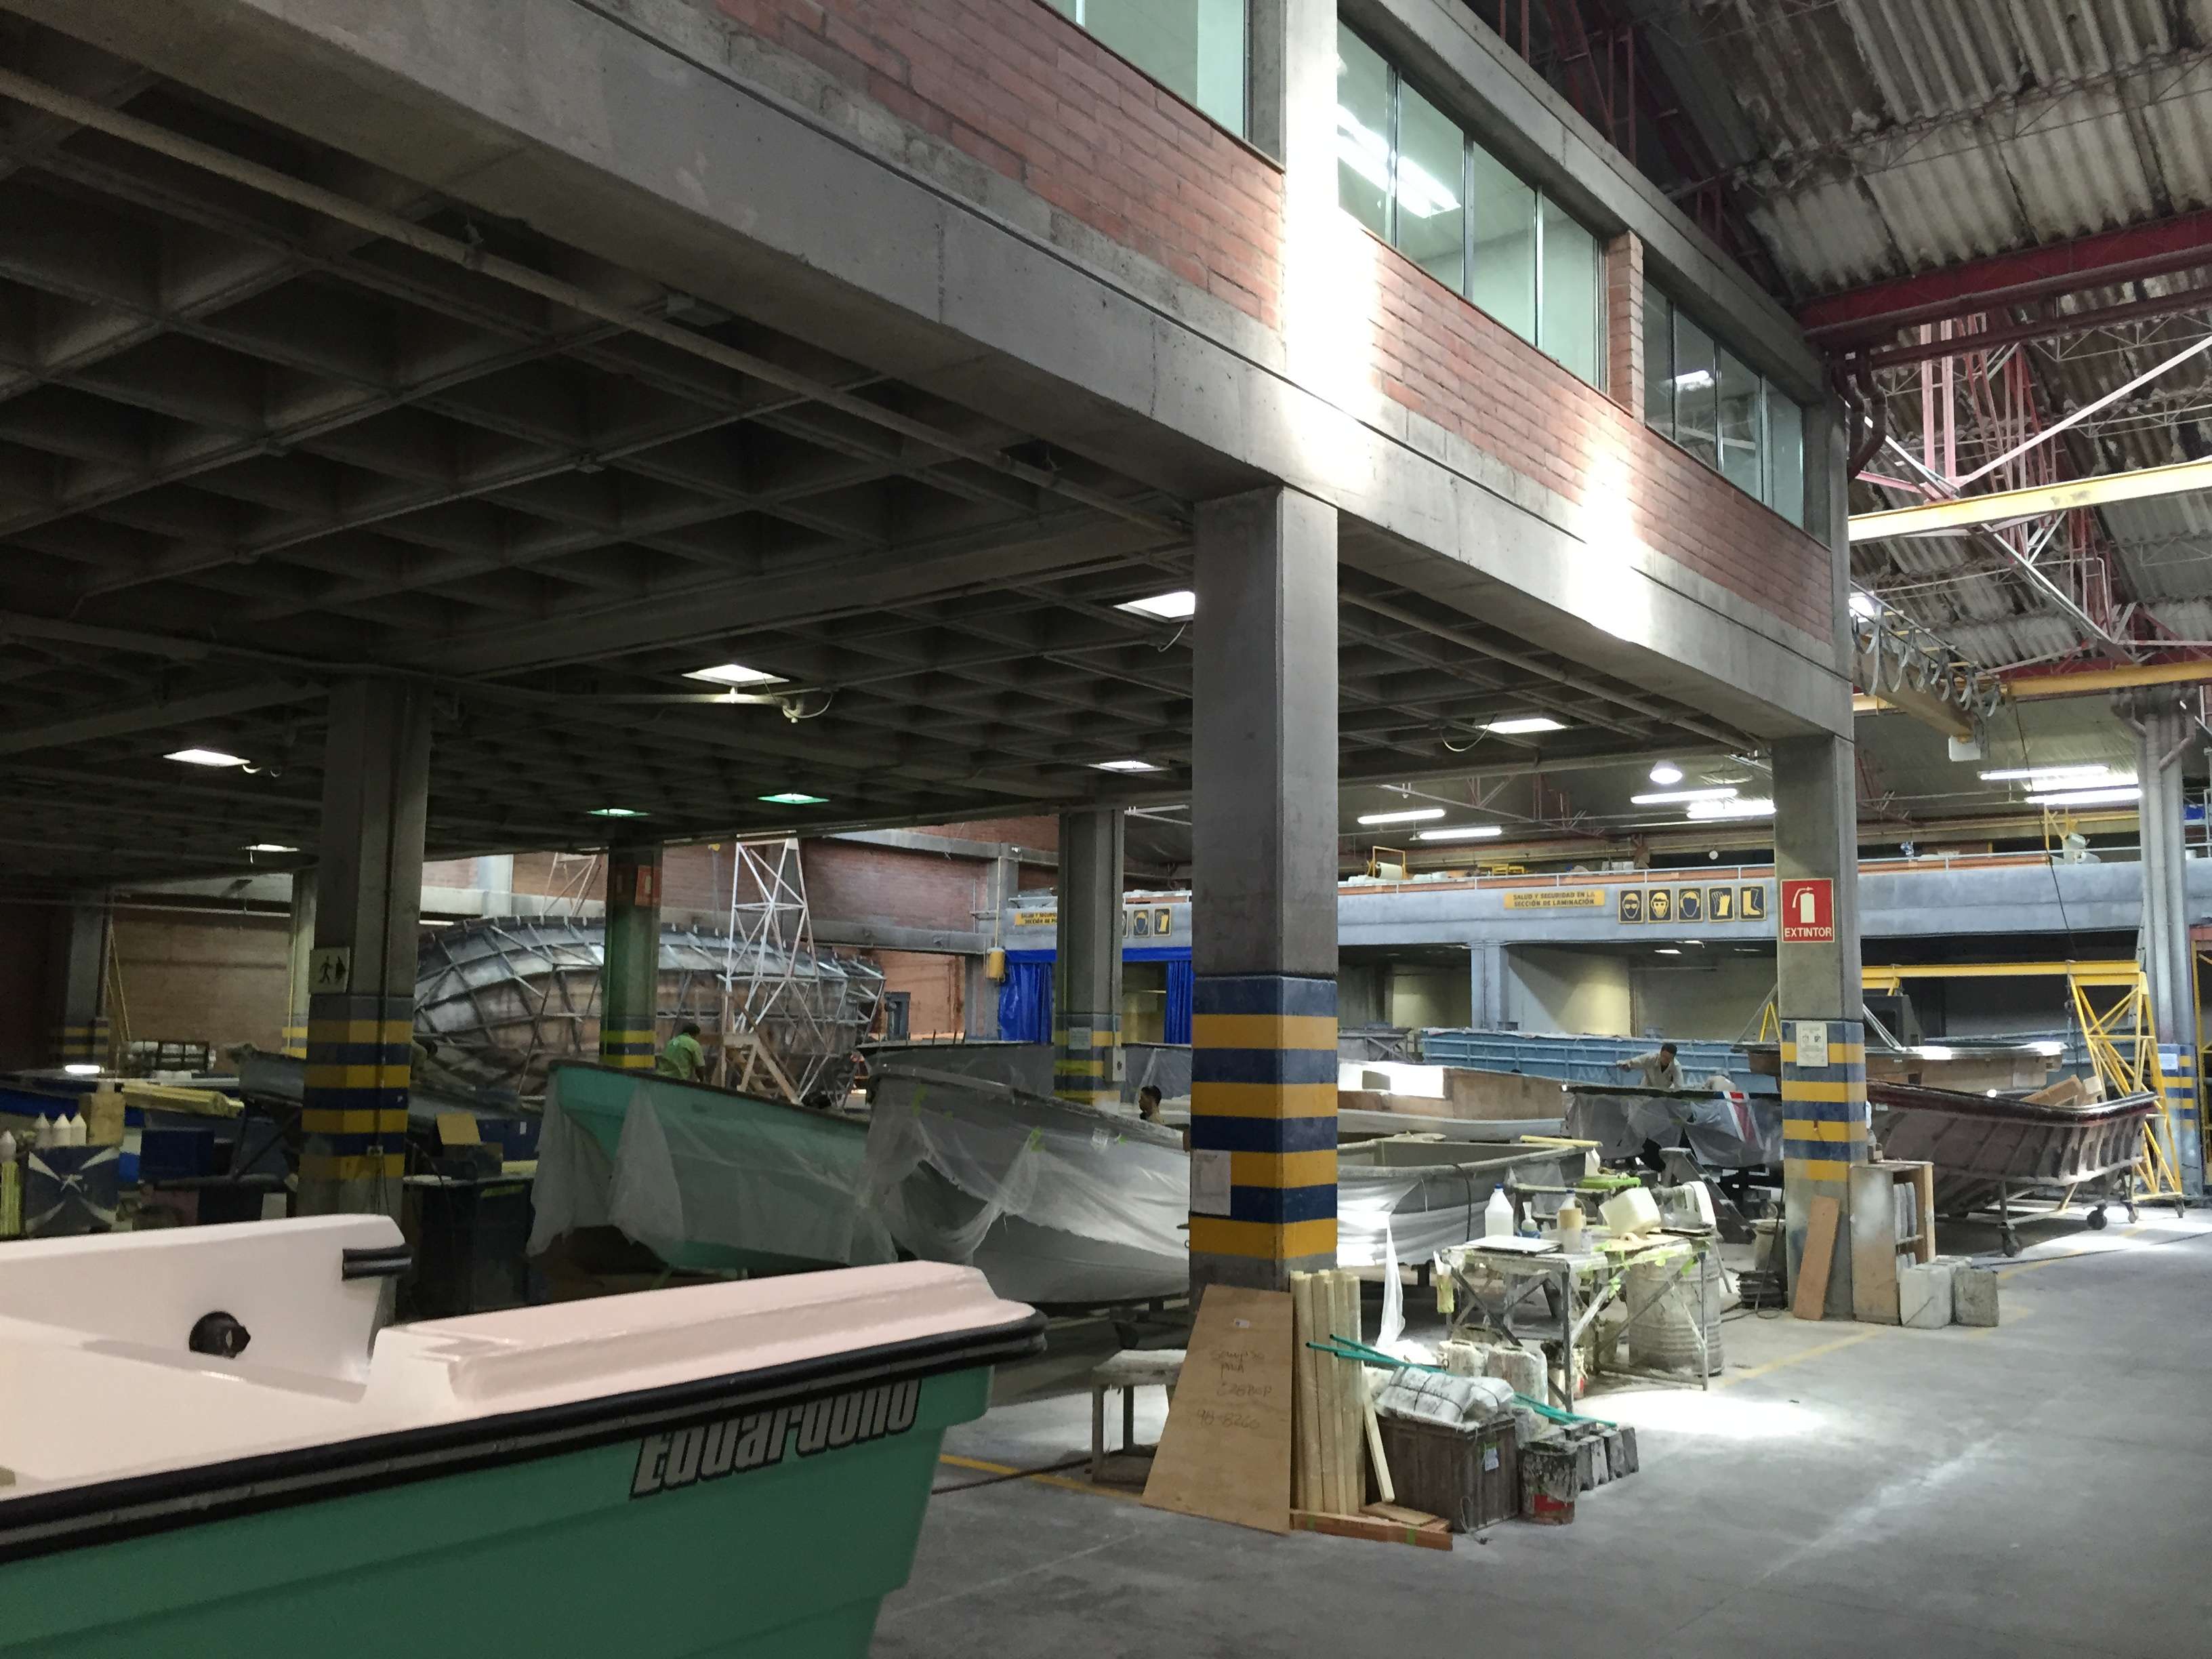
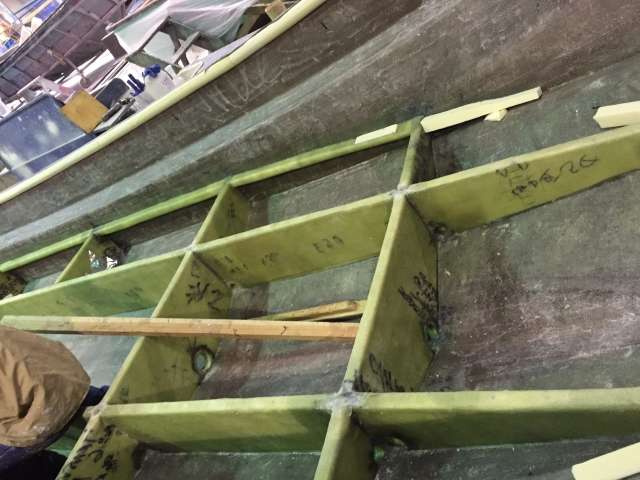
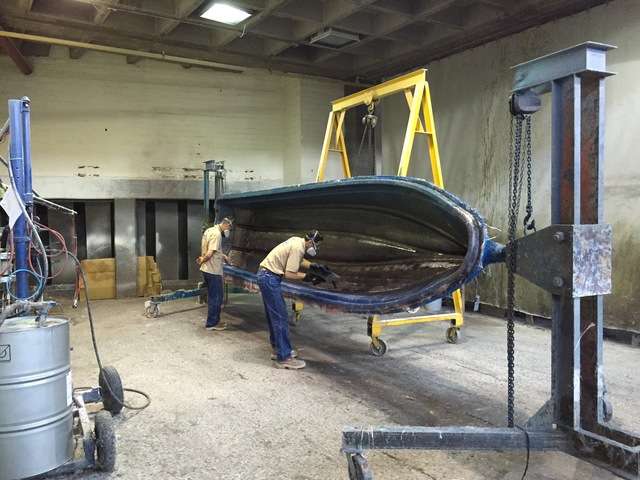
Here’s an item that definitely kicked out butts on the Harvester…stringer systems incorporate challenging geometry, precise cuts, and lots of hunched over hands-and-knees work:
Here is the fiberglass shop. You can see lots of blank panels for consoles and fishboxes. This is the way to crank out high-quality work time after time.
Finally, the tool we really REALLY wish that we had in our boat shop:
Awesome…just awesome.
Eduardono is clearly a world-class building operation, however their hulls don’t demand a world-class pocketbook from the buyer.
The Harvester Project came in way less than any 31′ boat should, and we know that the hull will be rock solid for years and years of charter service.
If you want to put a panga in your port, contact Nicolas Olarte:
nolarte@eduardono.com
Eduardoño S.A.
+(574) 372 29 55 Ext. 4133
+(574) 444 58 88 Ext. 4388
www.eduardono.com