December 19, 2012 – Day 254
Sorry for the long layoff, but we’ve been super busy standing behind the sanding machine for the last three weeks. Matty has grown fond of his new Porter Cable electric DA sander and has been wearing out lots of 80 grit and 40 grit sanding discs.
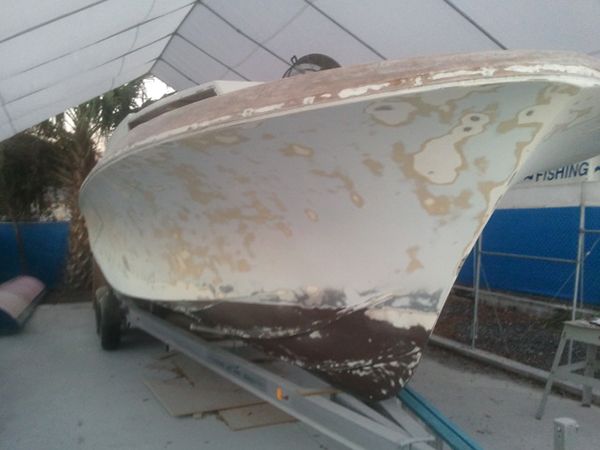
During the sanding process we discovered a flaw in our front deck installation (see previous posts). The bulk of the deck set up perfectly, however some significant air bubbles formed on the outer edges of the installation.
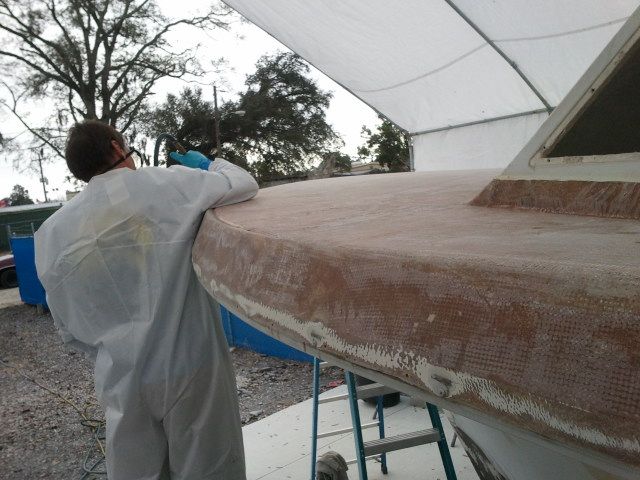
Matty used a grinder to expose the affected area and to rough up the surrounding area to accept the repair:
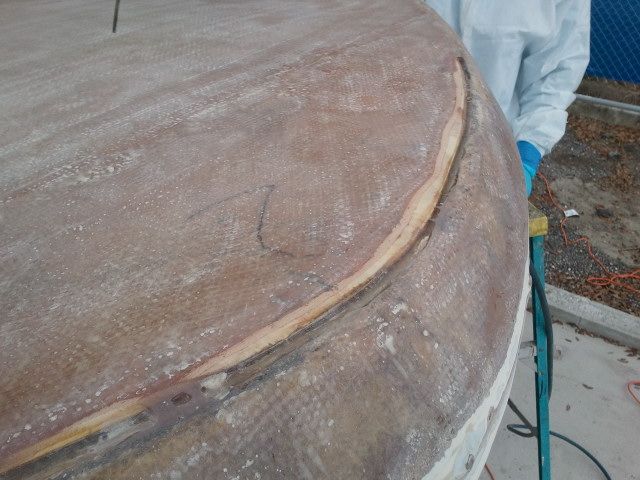
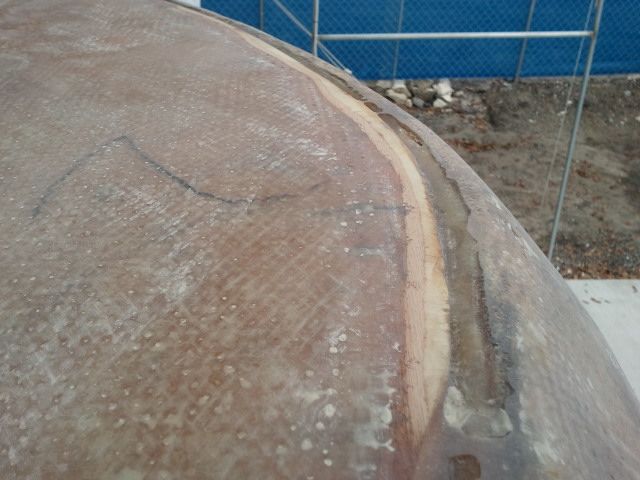
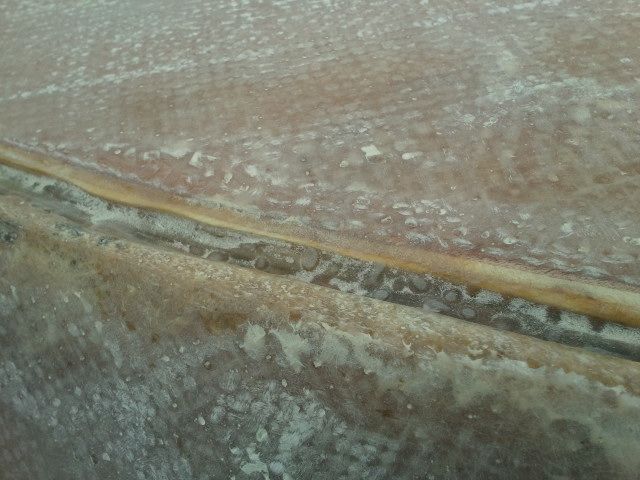
Then Craig went around the area with a compressed air blower to clean all of the dust out of the crevices; any trapped sanding dust could create more air bubbles and put us right back at square one.
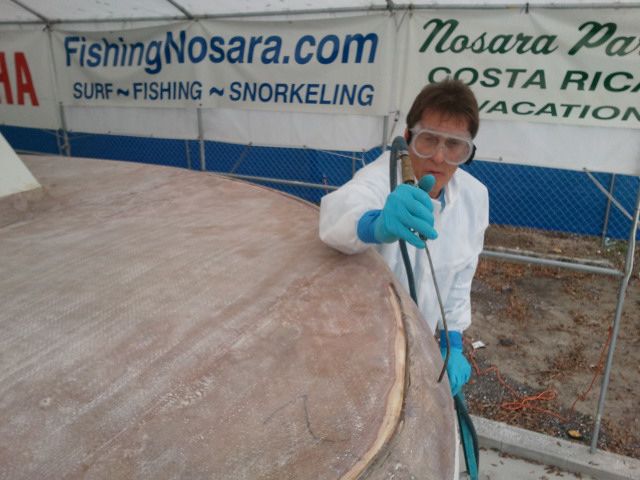
We mixed up a load of resin / hardener with a bunch of chopped-strand fiberglass for thickness, then Craig worked quickly to fill the voids before the material set-up.


Here’s a look at the finished application of the raw fiberglass material:


Craig followed up with a double-thick layer of fiberglass tape to secure the area and to provide a better surface to begin finalizing the curved lip of the deck.


The next day Matty came back with the sander and knocked down all the high spots to match the level of the deck. The low spots remain, and will be filled up to level by the forthcoming layer of resin and fiberglass mat.
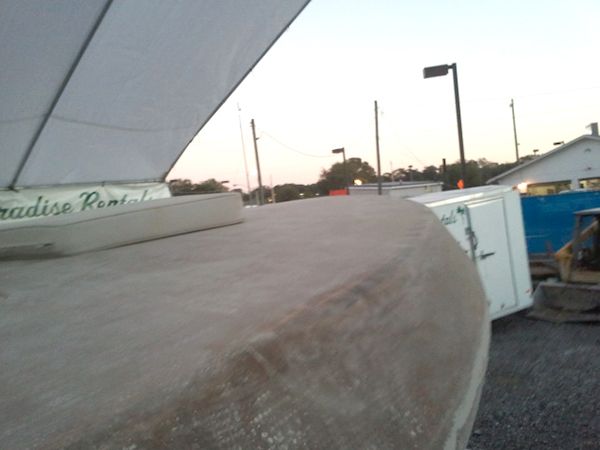
We are getting close to finalizing all of the fiberglass repair and will be shooting our first layer of gelcoat very soon.
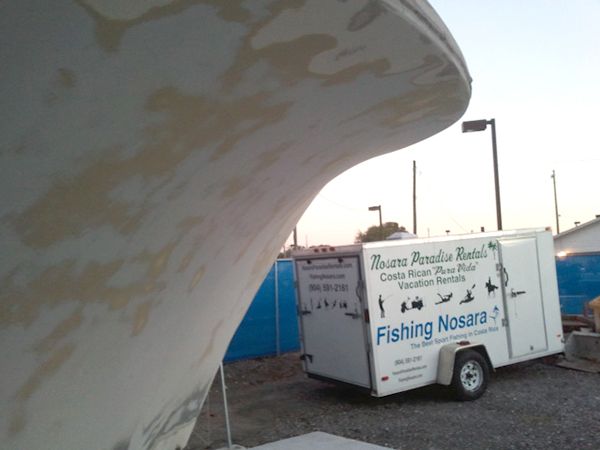
Clearly The Discoverer Project is gaining momentum as we near 2013.
![]()
December 27, 2012 – Day 262
Craig rolls into the office the day after Christmas and throws the fishing calendar down on the table. “We need another big boat!” he exclaimed, pointing at the line for the Wanderer.

He’s right! A quick look shows the blue beauty fishing every single day except Christmas (and that wasn’t due to lack of demand) and clearly the market is primed for the arrival of the next great Costa Rican Sportfishing vessel. The only thing standing between the Discoverer and the blue water is about 1000 hours of labor and God-knows how many dollars.
Nothing to it but to do it, so Craig got back to work on the new front deck of the Discoverer. Here is how we left things before the break:
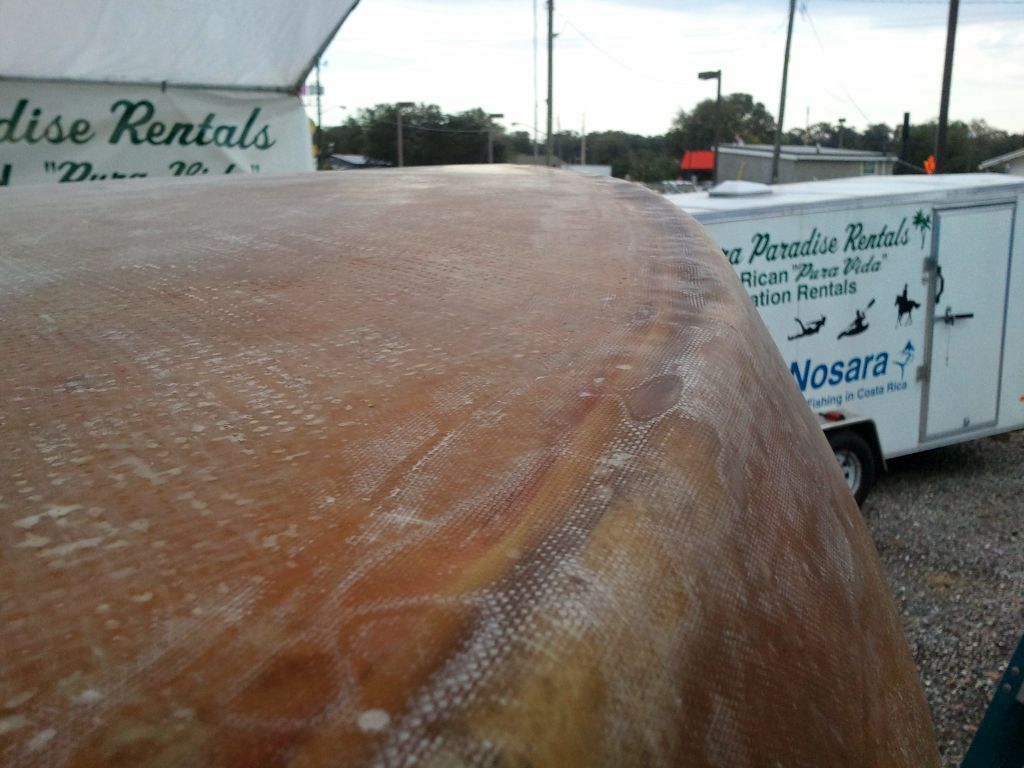
The high spots have been block sanded down to the same level of the rest of the foredeck, and the spots that are still shiny are lower than the surrounding level. Craig applies liquid resin / hardener with no additives (also called a ‘hot-coat’) to the low spots, then we add another layer of fiberglass tape over top of the resin.
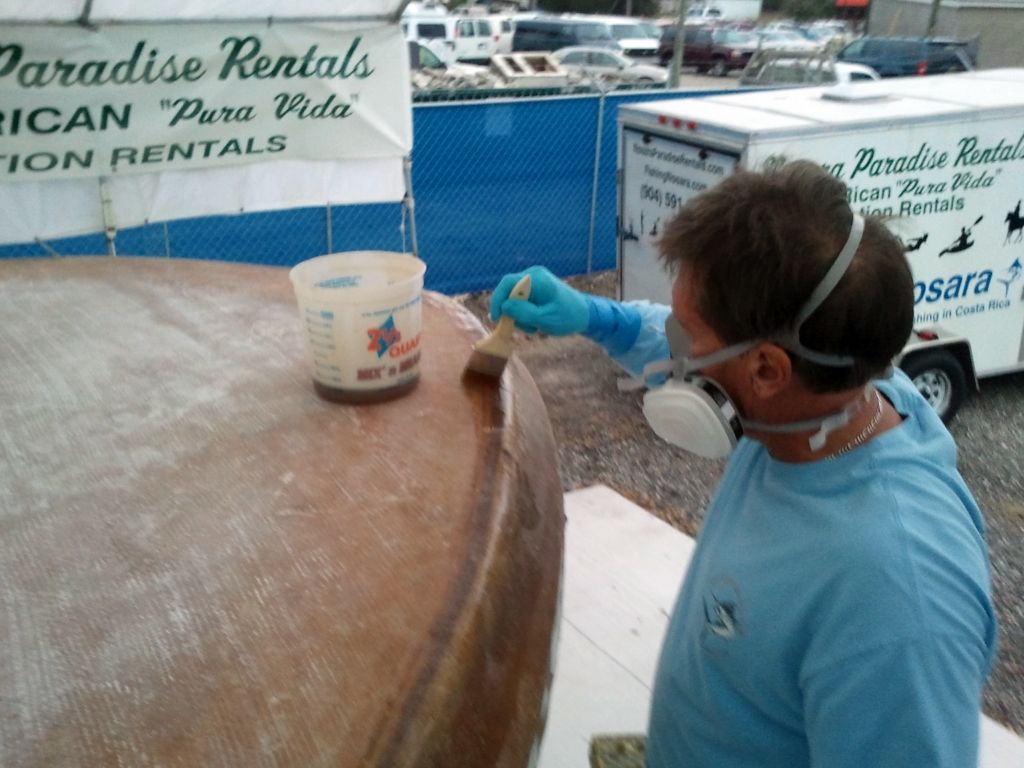
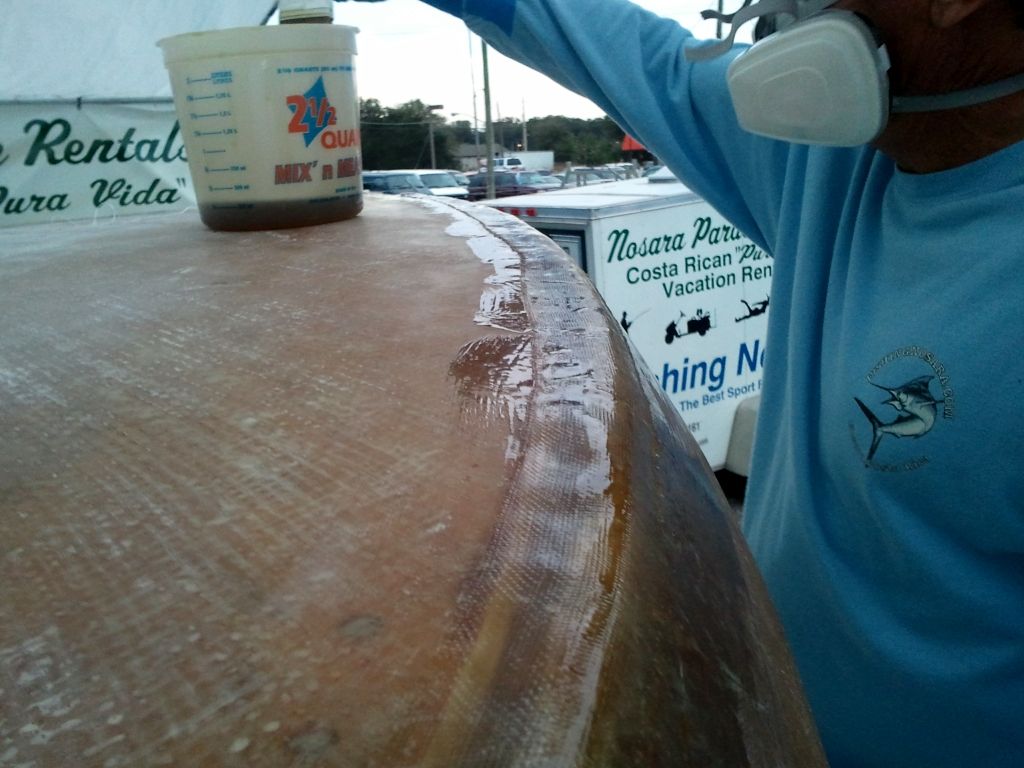
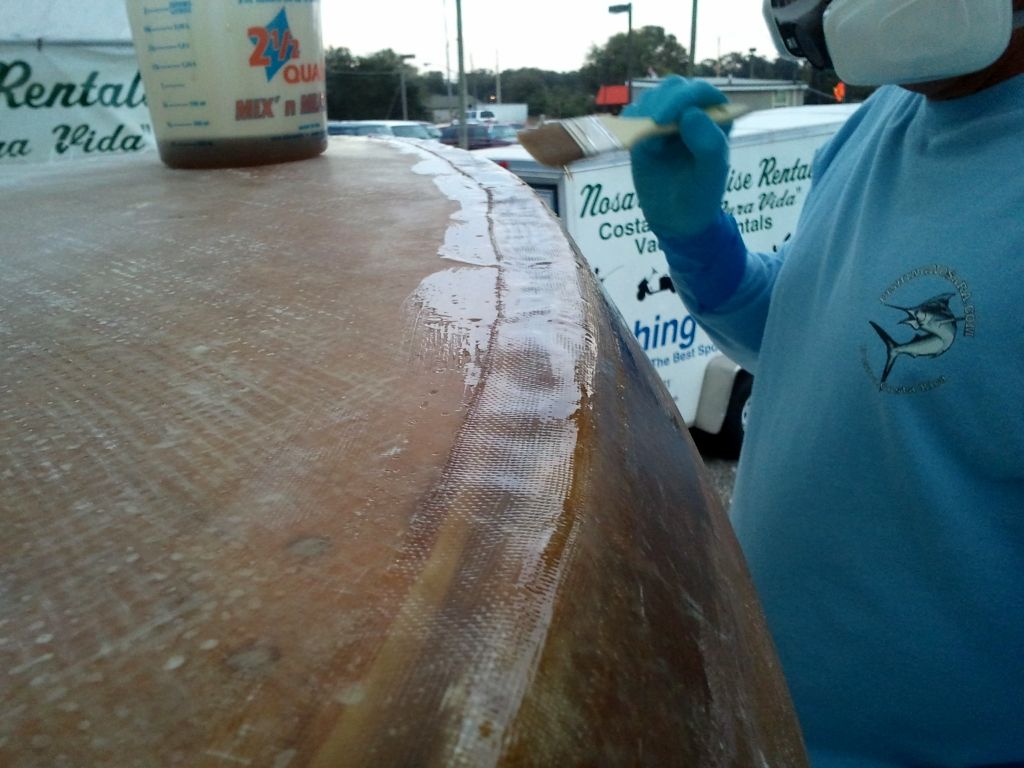
The idea is bring everything up to the level of the foredeck, and if we accidentally build it up too much that’s no problem because we can always bring it back down with the sanding block.
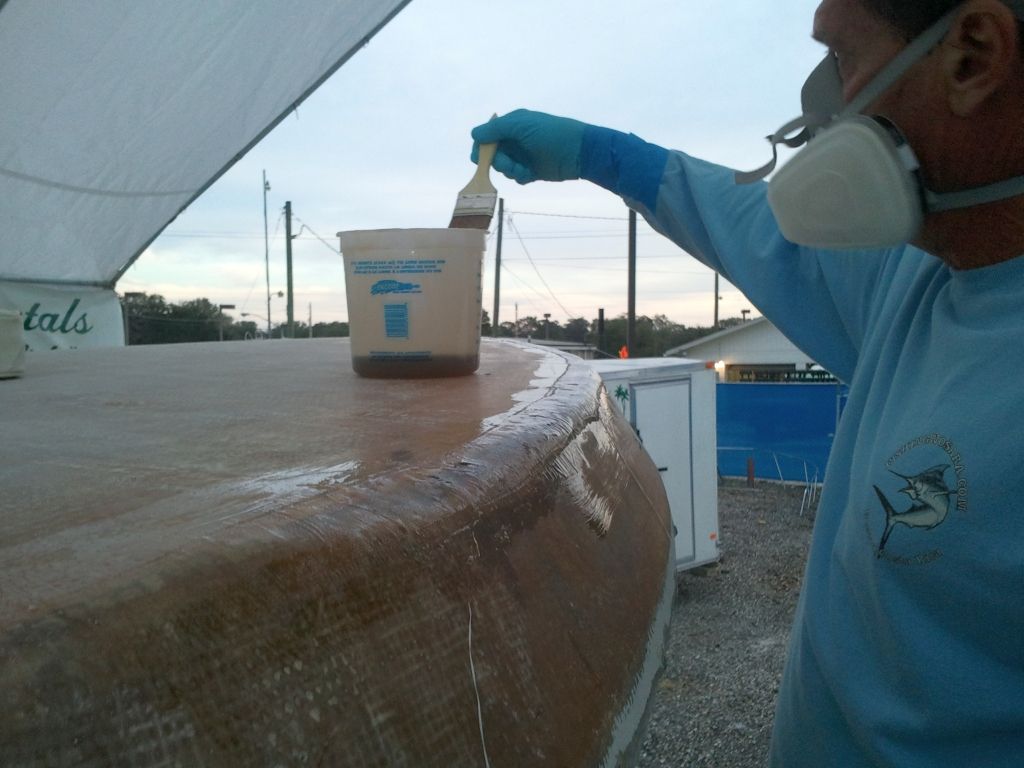
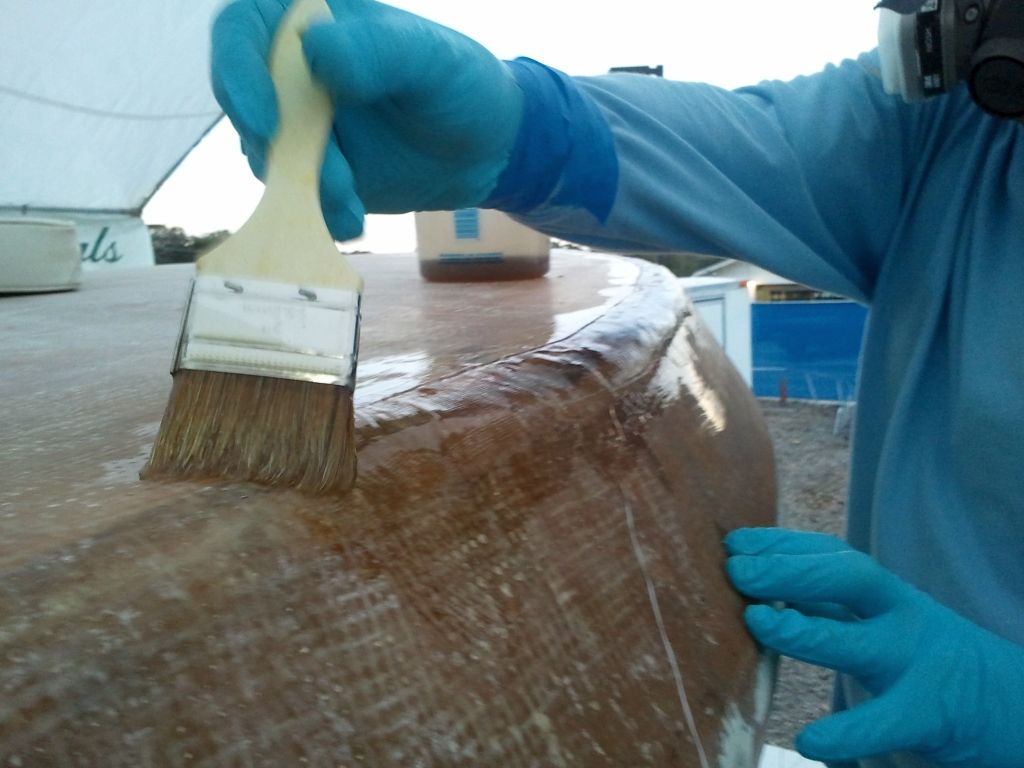
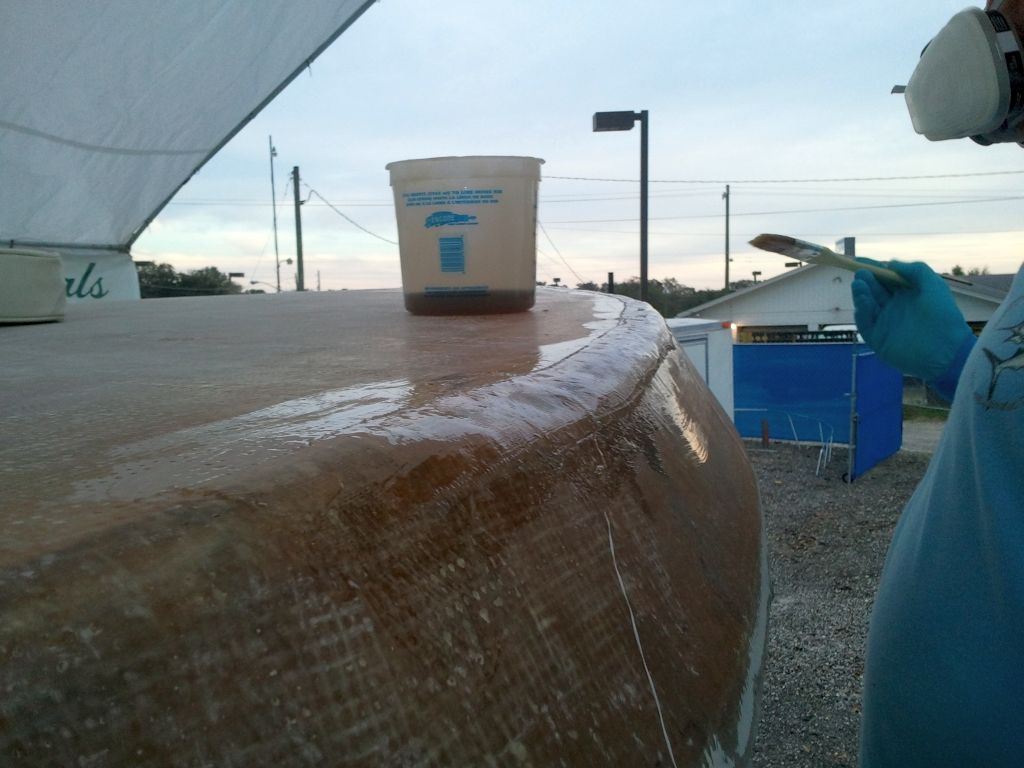
After an overnight cure and some early morning sanding, Craig returned to repeat the process; there are no shortcuts when it comes to building up levels of glass like this, just lots of time spent on a sanding block.
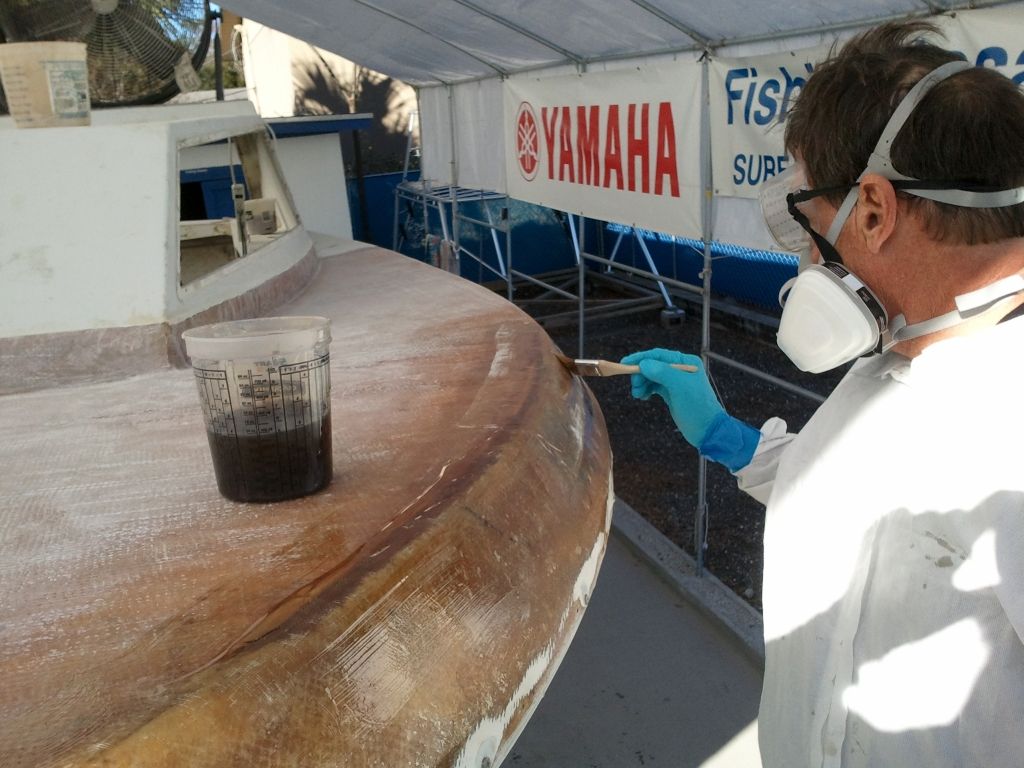
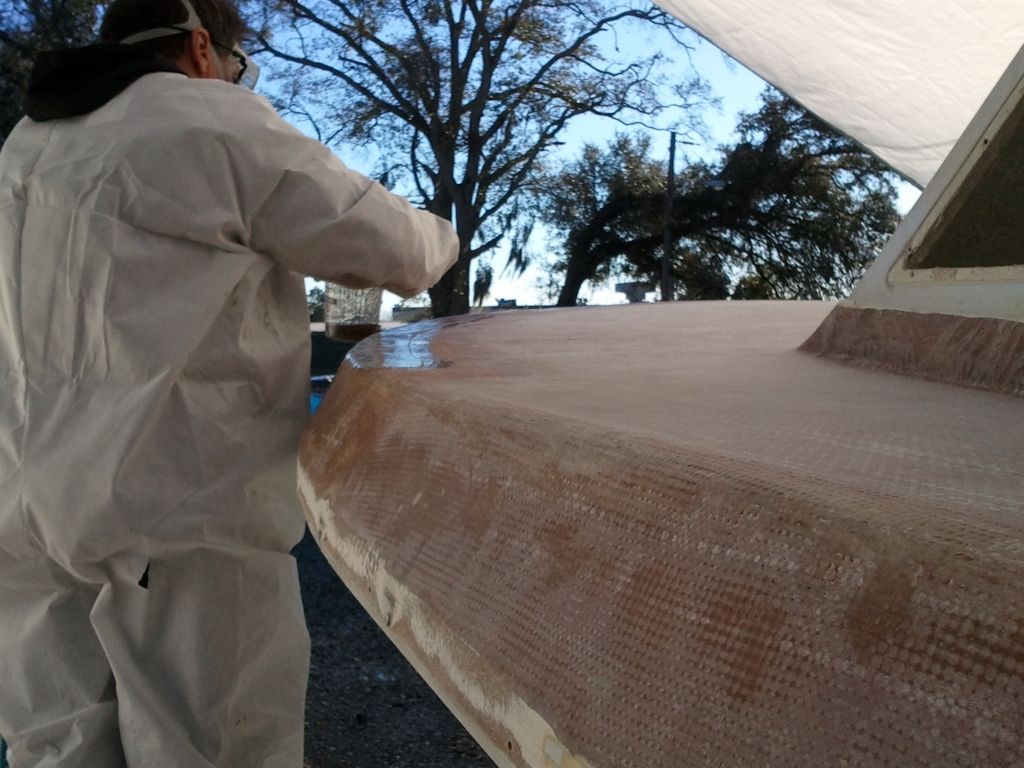
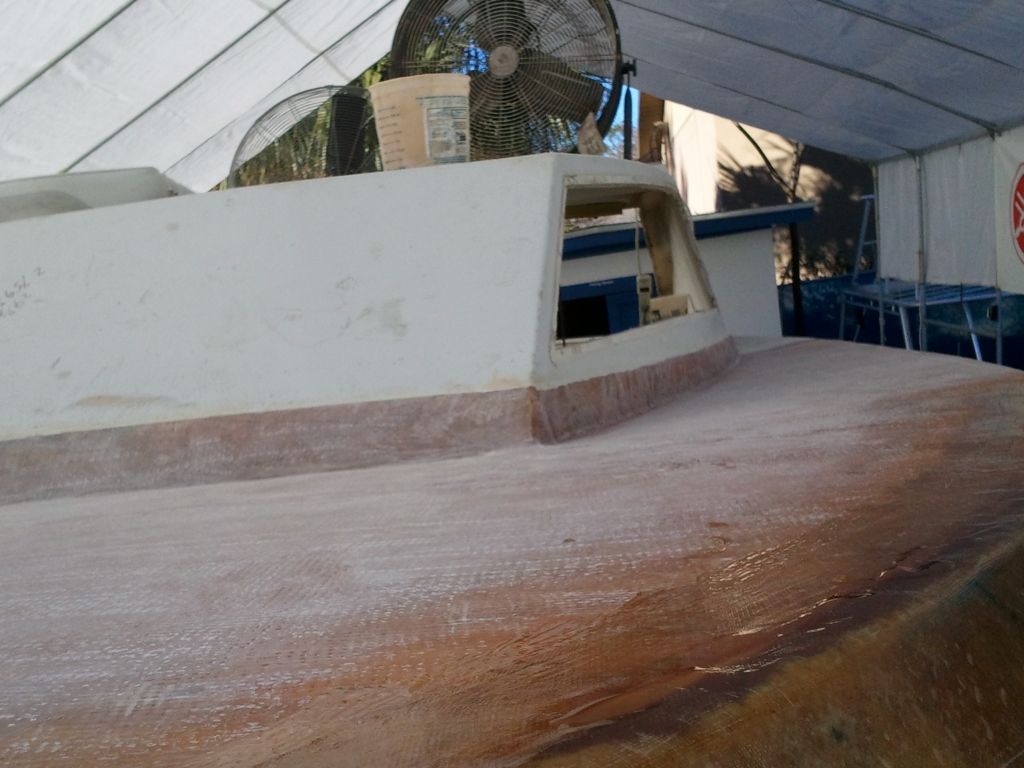
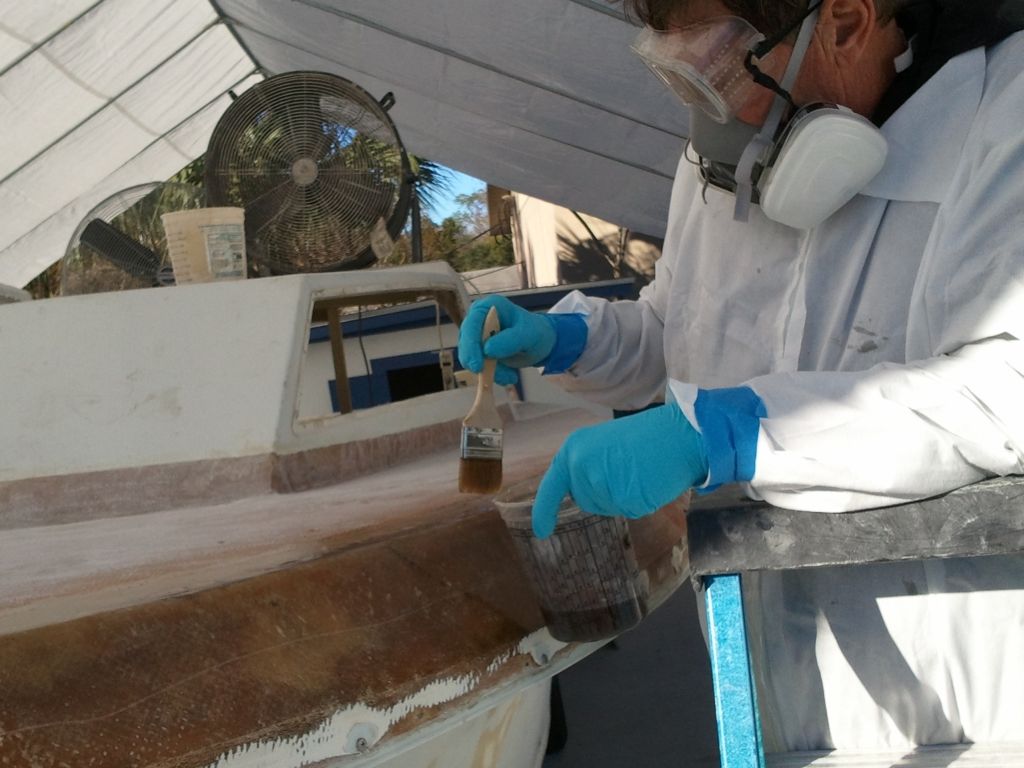
Finally the entire deck is at the proper level! All that is left to do is a final touch with the block sander, then clean it up and add our final layer of chopped strand.
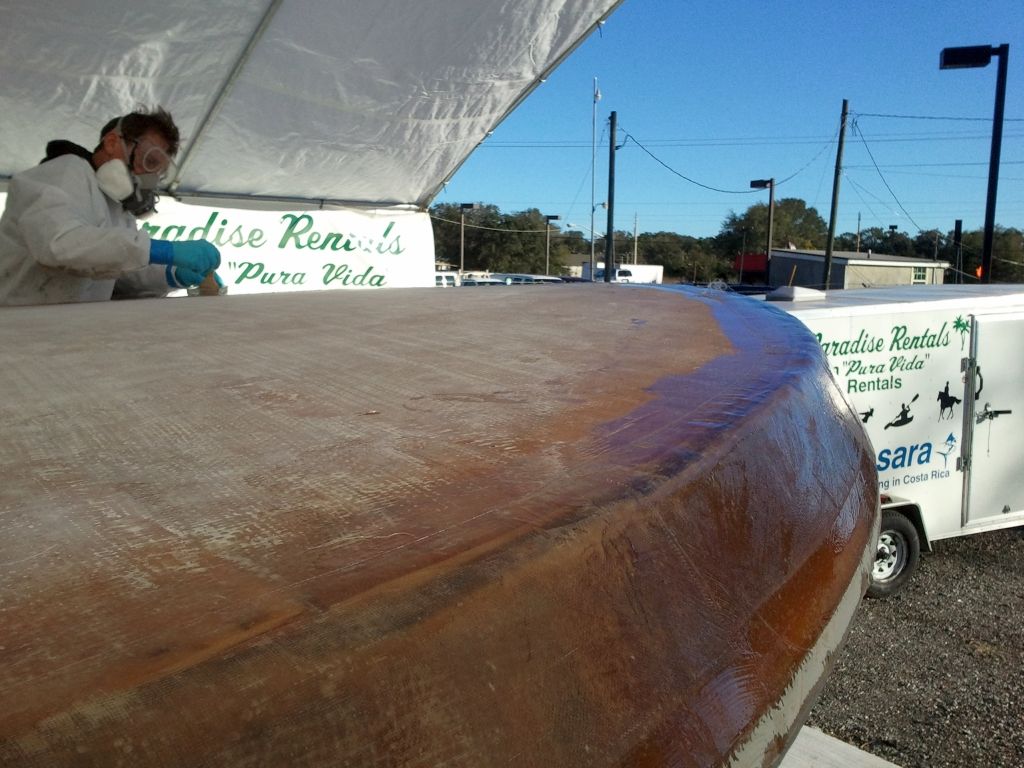
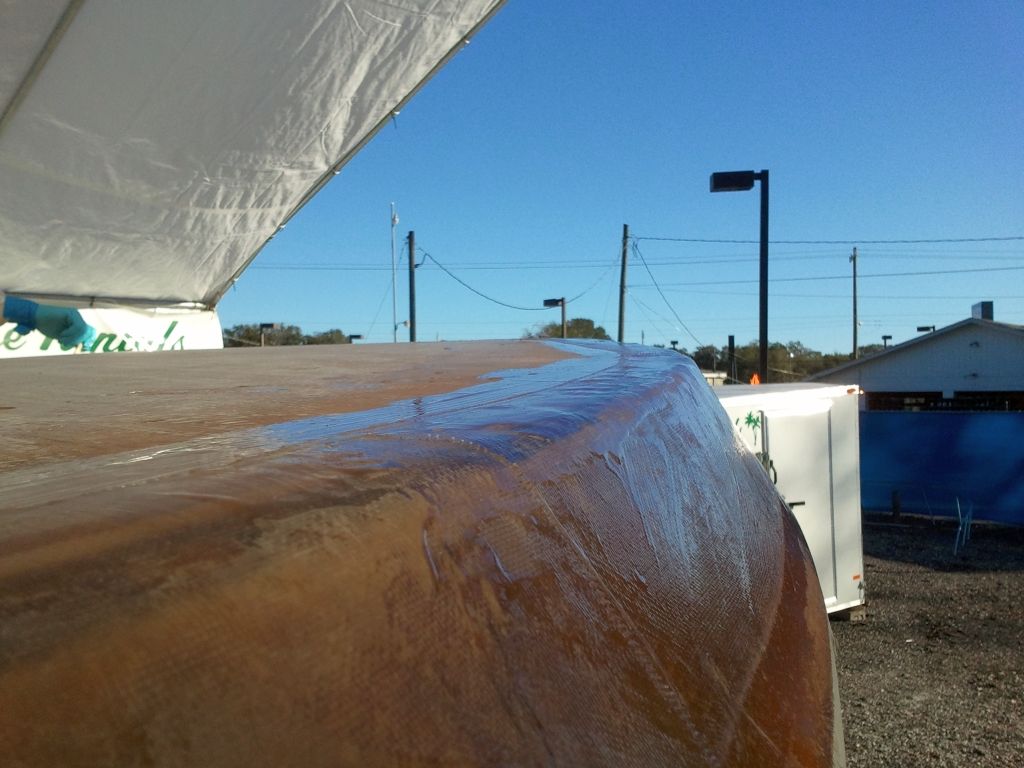
Here is last bit of this deck that will ever see the sunshine:
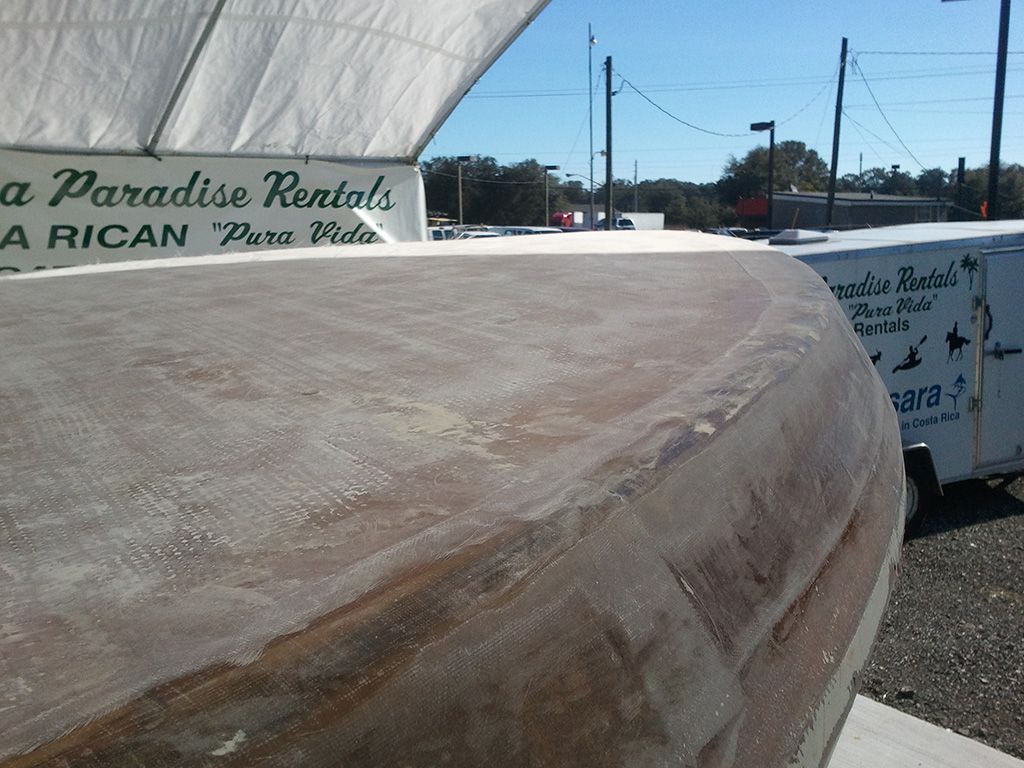
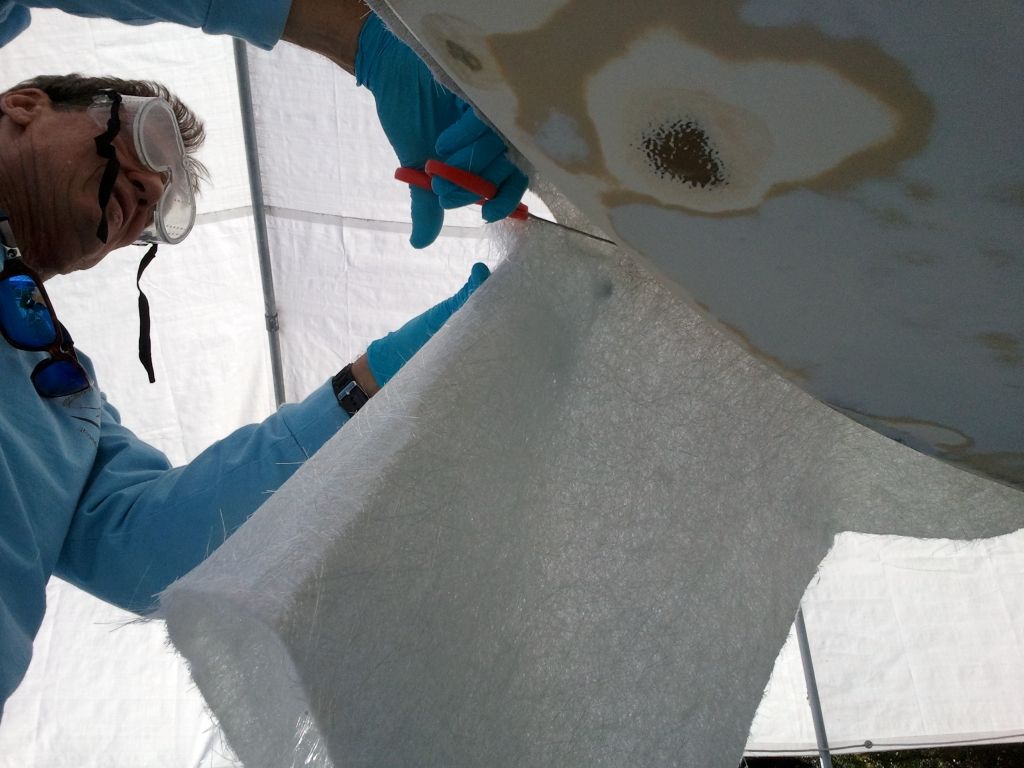
Craig is fired up to keep this thing moving so he began forming the chopped strand sections even though Matty had one more round of block sanding to go:
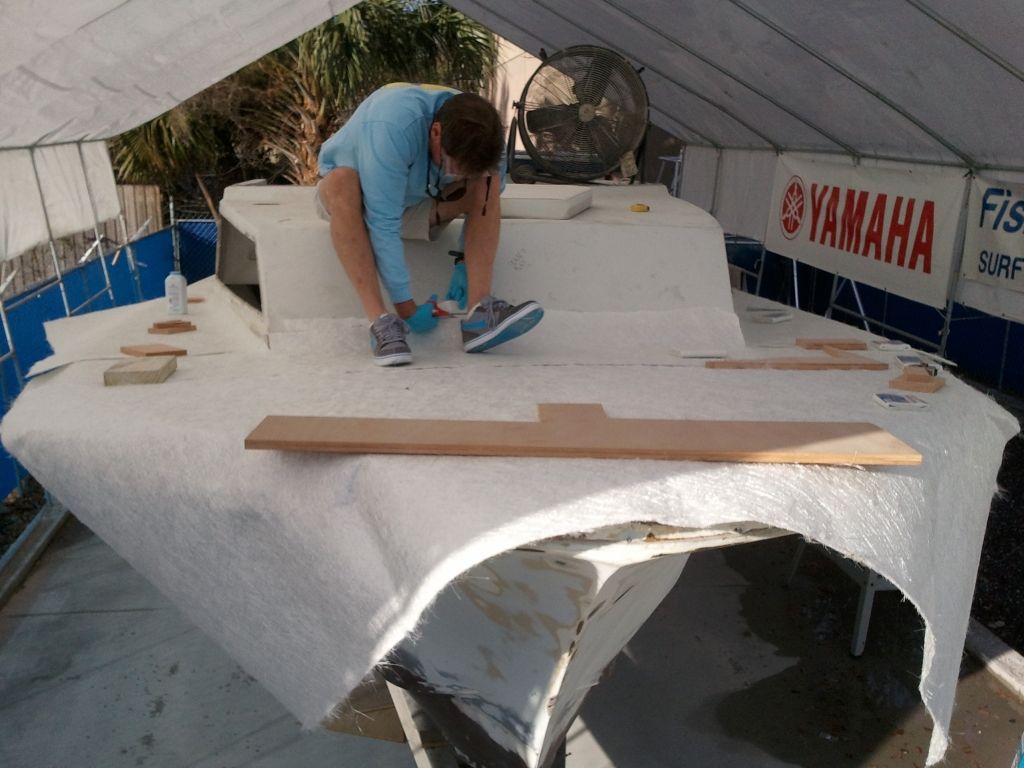
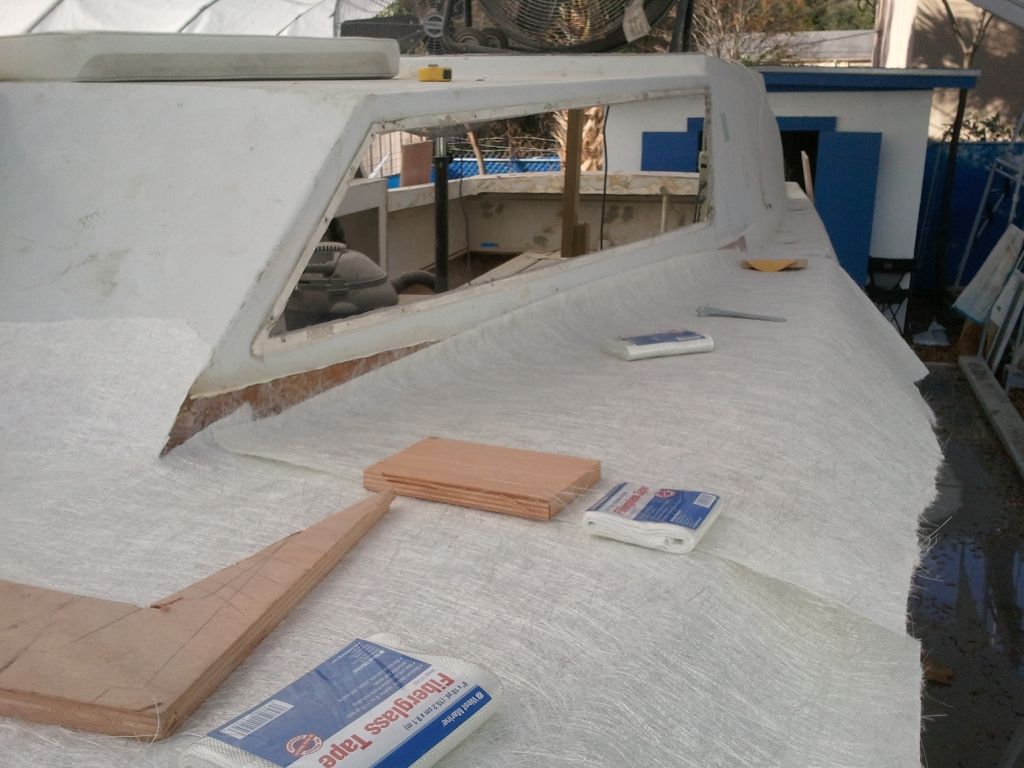
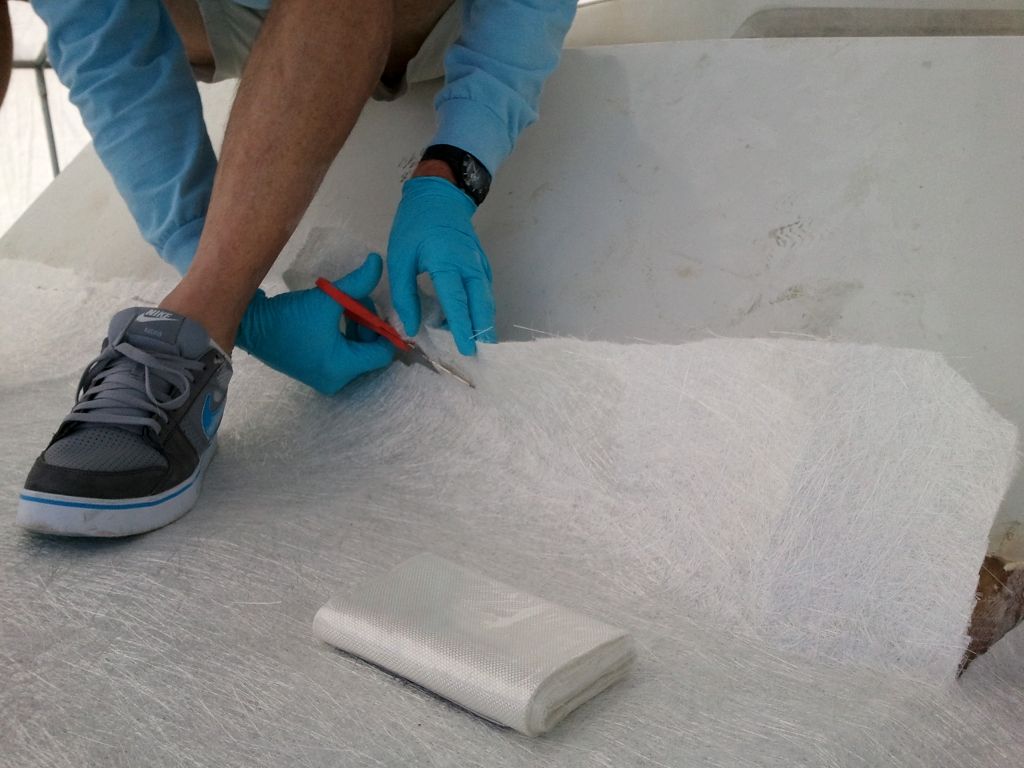
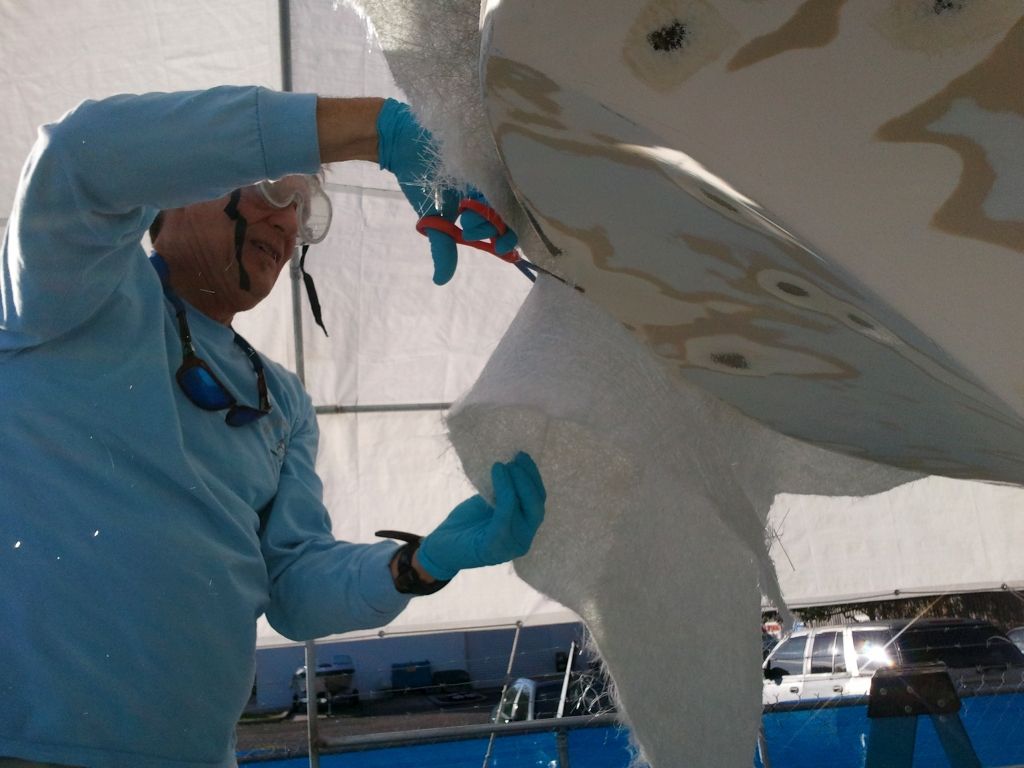
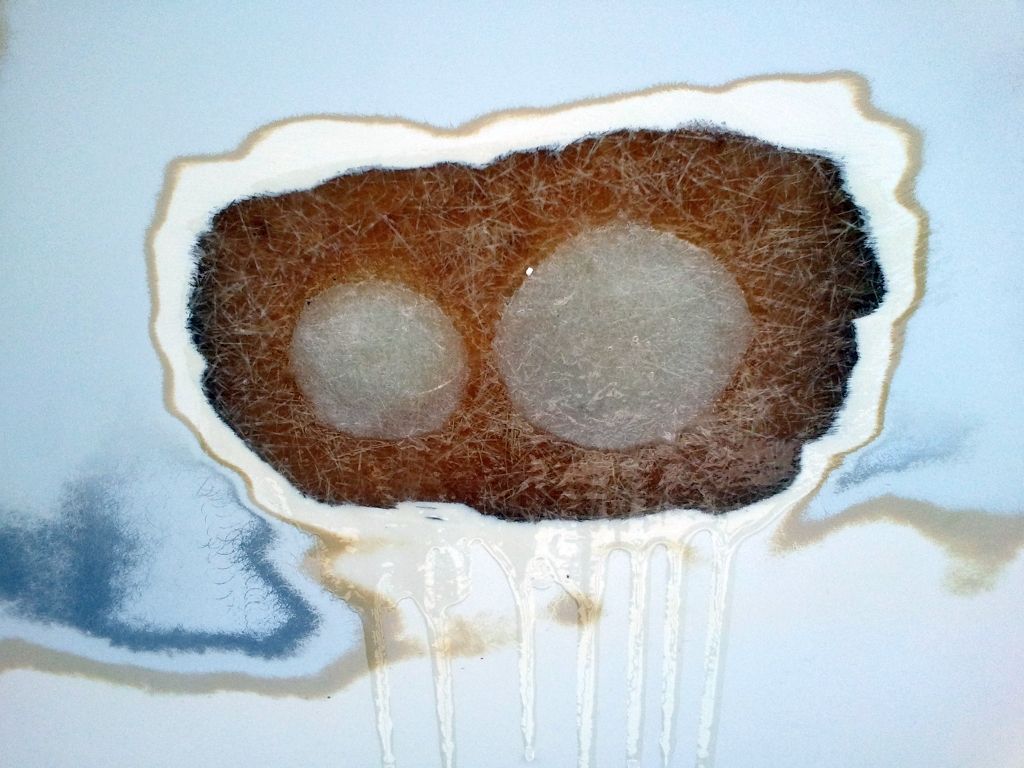
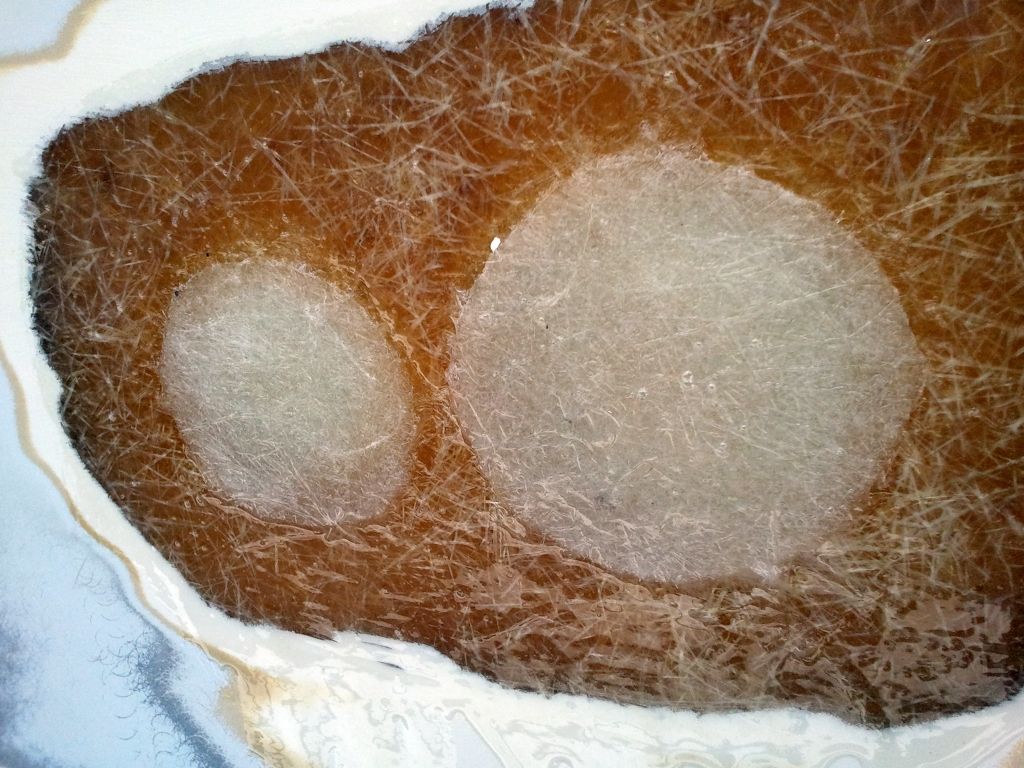
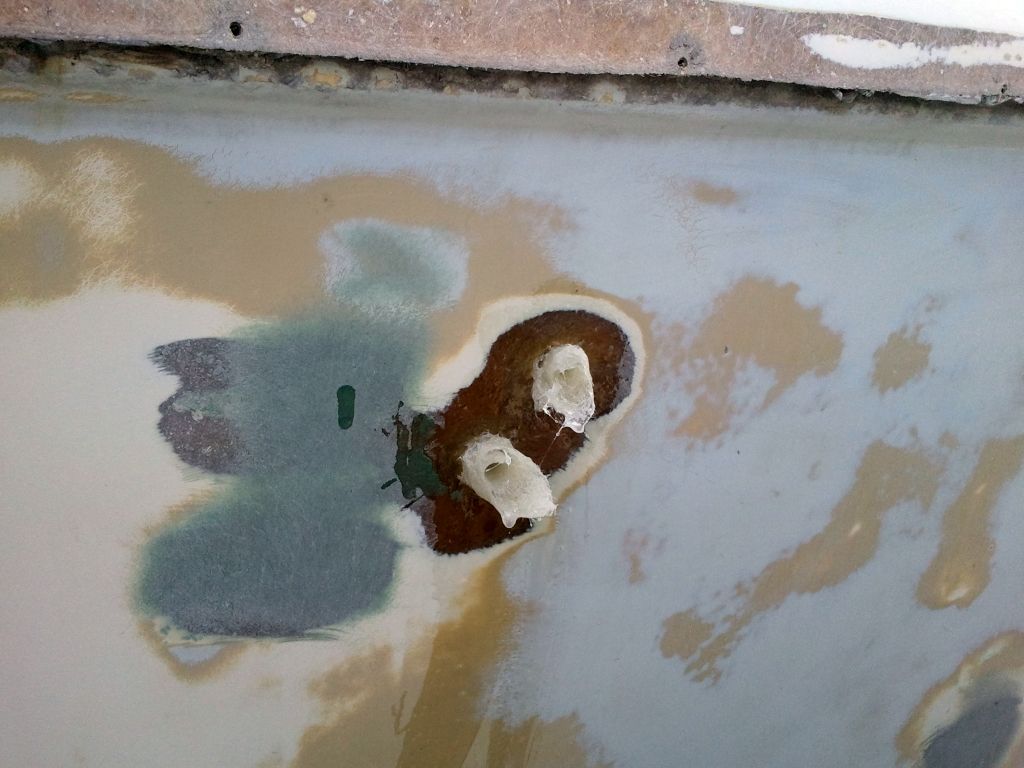
Meanwhile Charlie came around and added another coat to his hole repairs by the bathroom and the rear transom. He moves like a ninja and makes this stuff look easy, but trust us this is high-level detail oriented work:
We are stoked for the final coat of chopped strand and you know where to find the pics…right here baby!
