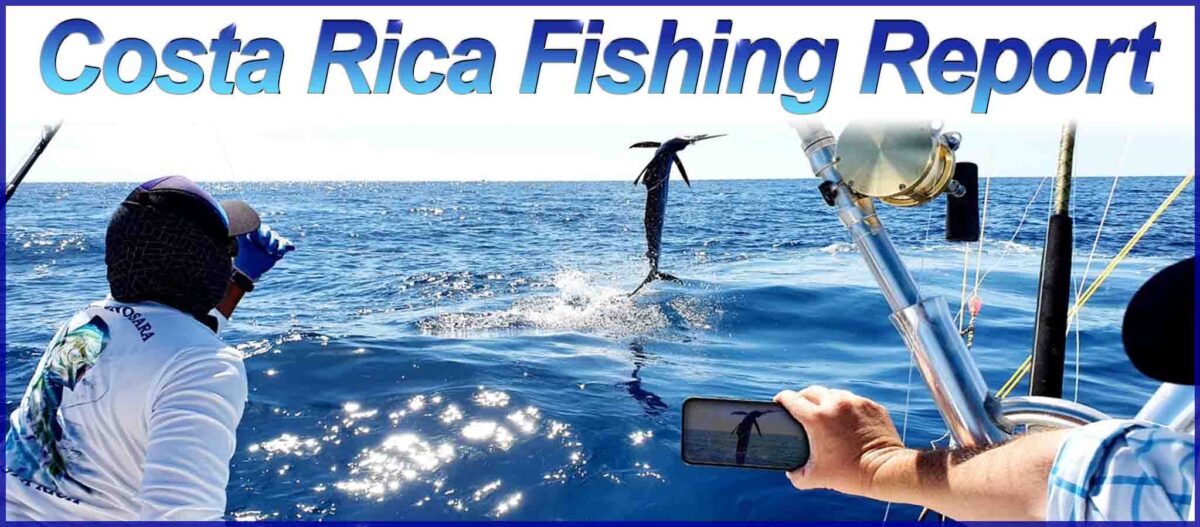
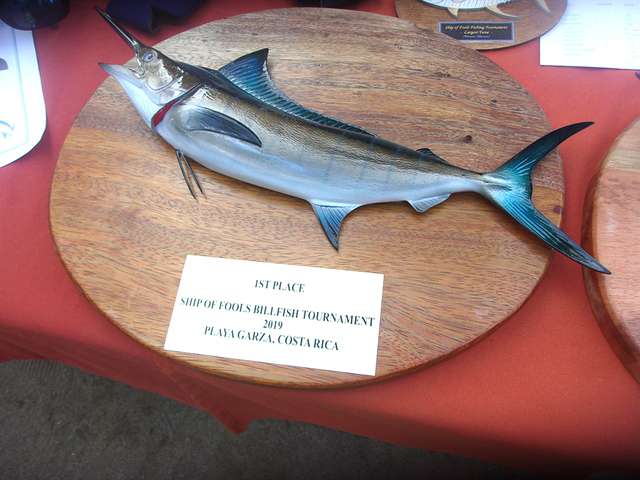
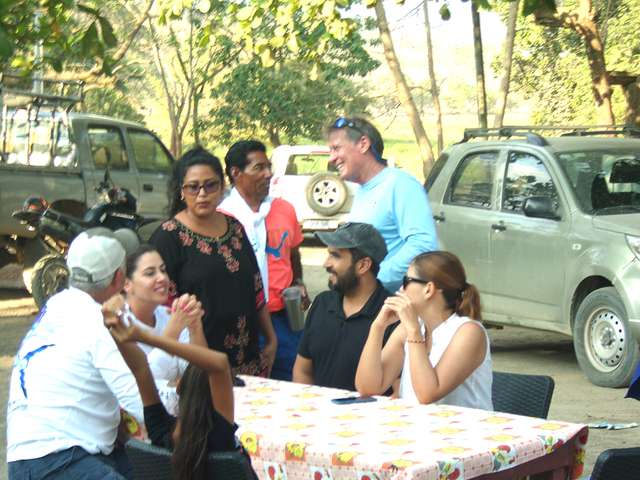
Are your ready to represent FishingNosara in Garza’s most prestigious tournament?
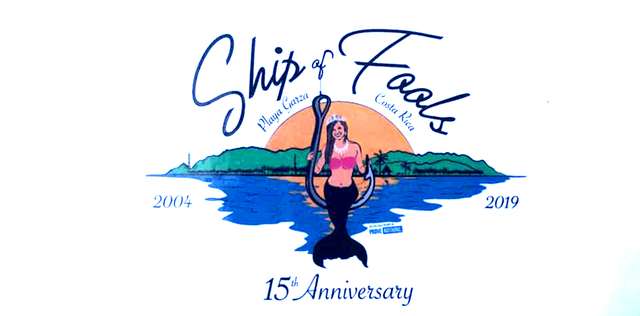
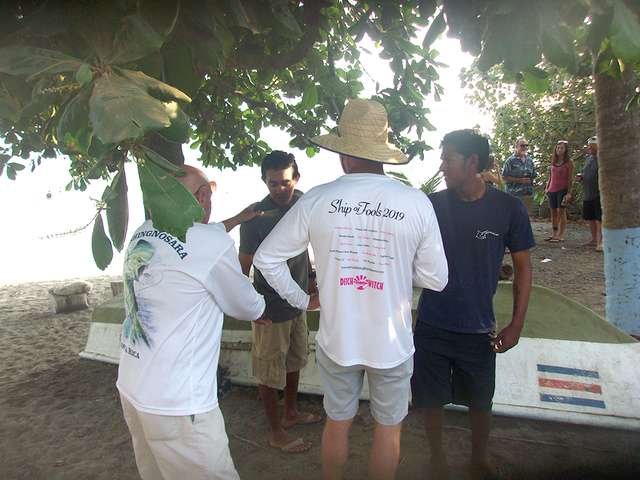
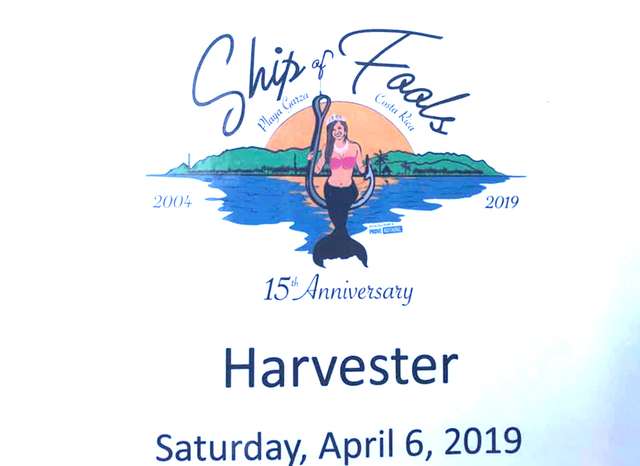
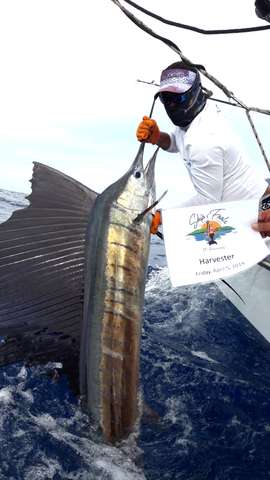
The 5th Annual Ship of Fools tournament will be held April 8 – 10 in Garza Bay.
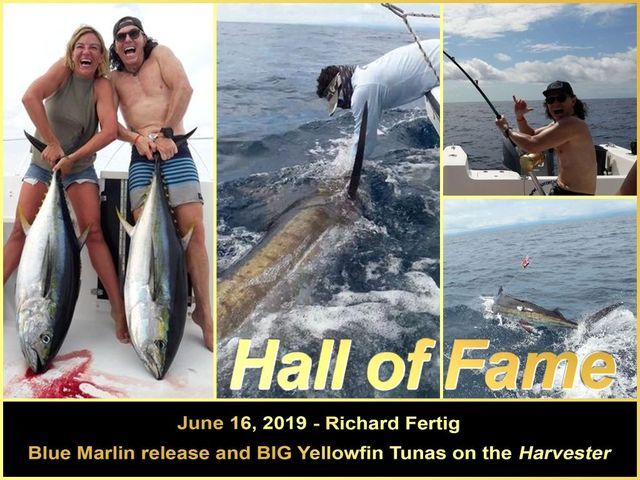
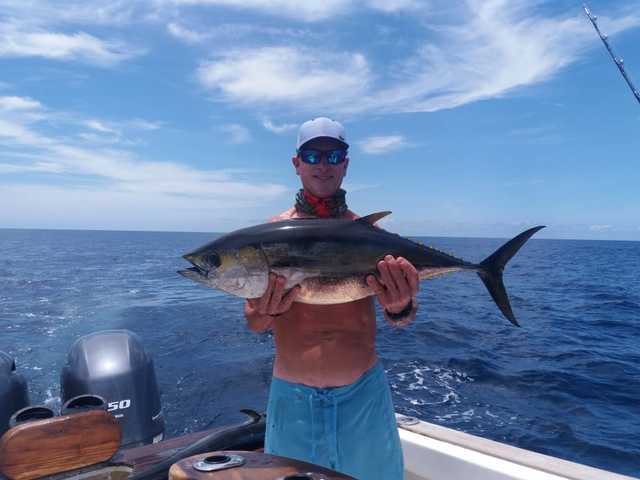
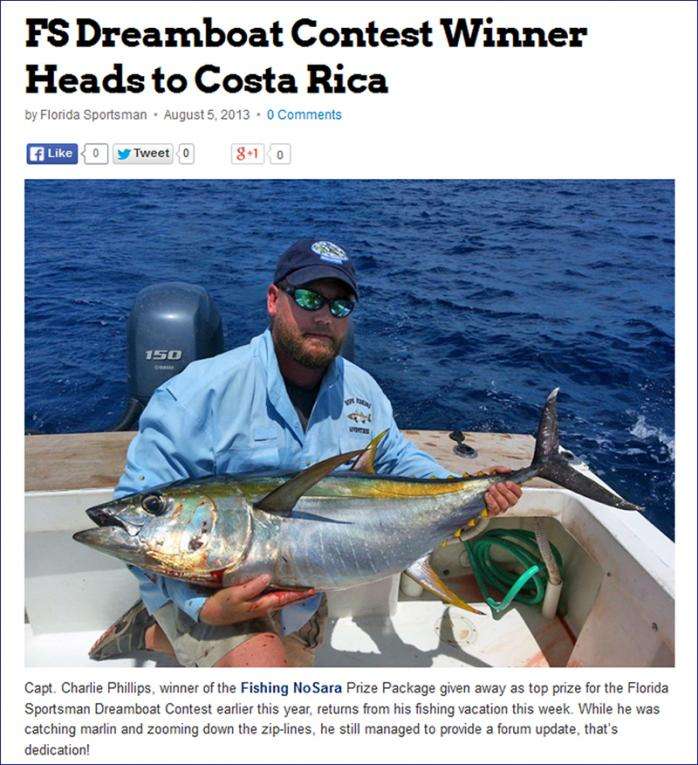
In the past, the US Office fished this tournament with multiple Top 3 finishes and a Top Angler Award for Craig Sutton.
The competition is fierce this year with all of the area boats participating, plus a few ringers are rumored to show up from nearby Playa Carillo and Playa Samara
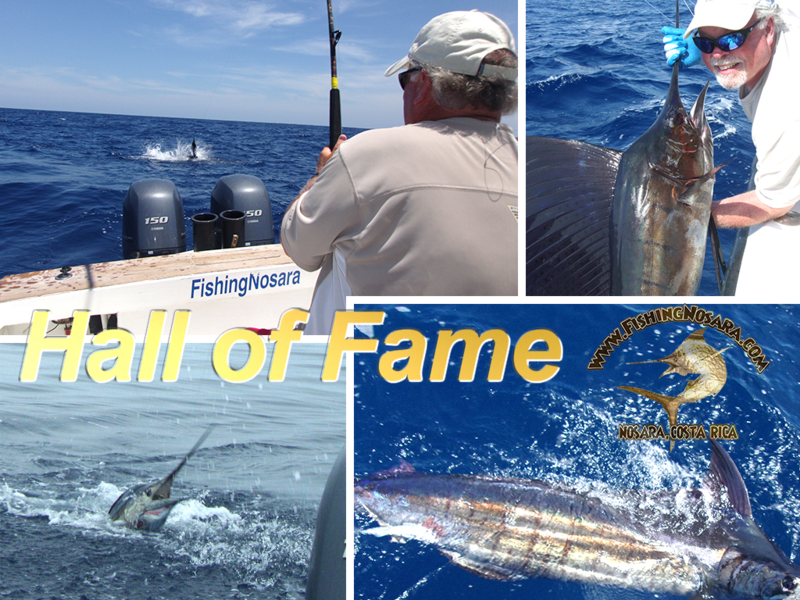
So we are putting out the call to all you FishingNosara Hall of Famers out there (and future Hall of Famers)…we need you to drop what you are doing and get ready to represent.
This year we want to bring home the hardware!
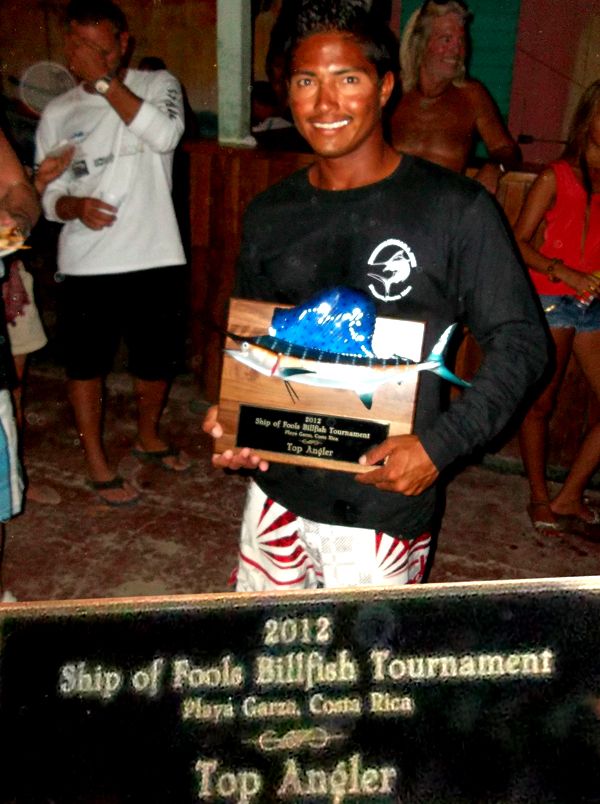

Check out the video of Craig accepting the 2012 Top Angler Award:
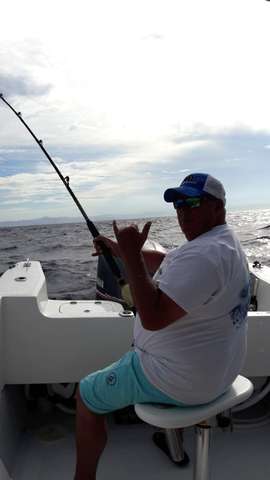
We are offering slots for two teams of up to 4 anglers. Package includes:
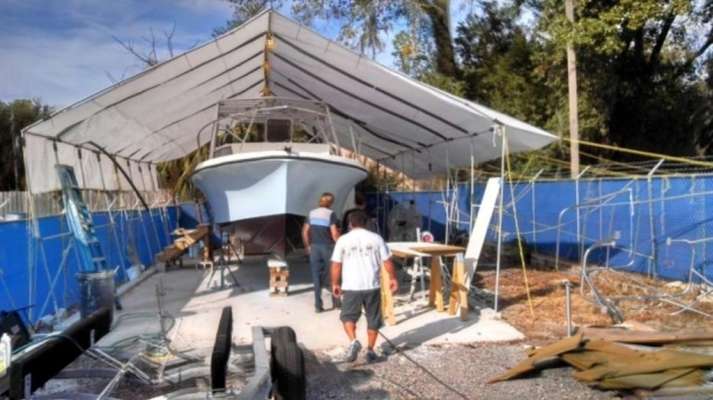
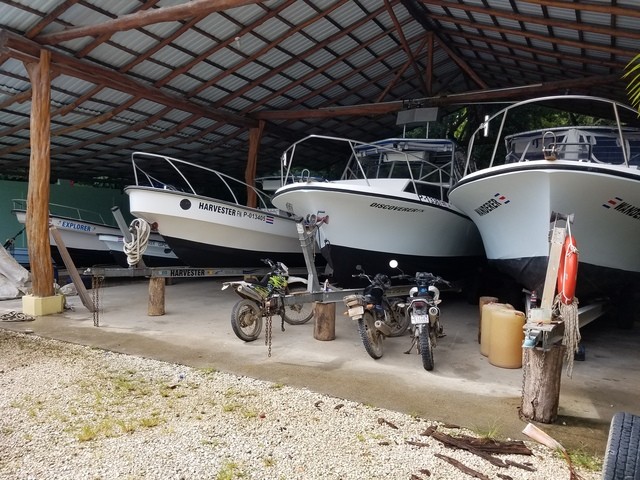
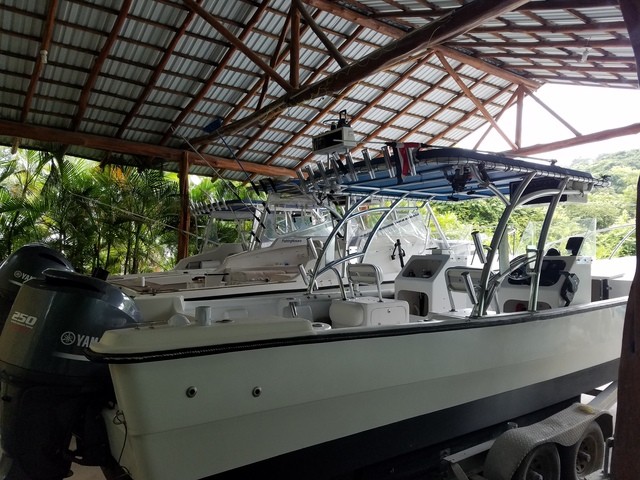
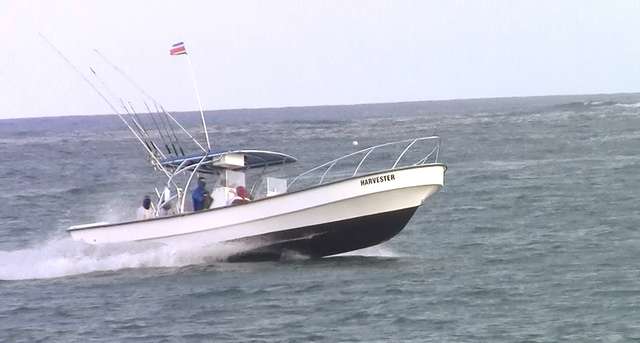
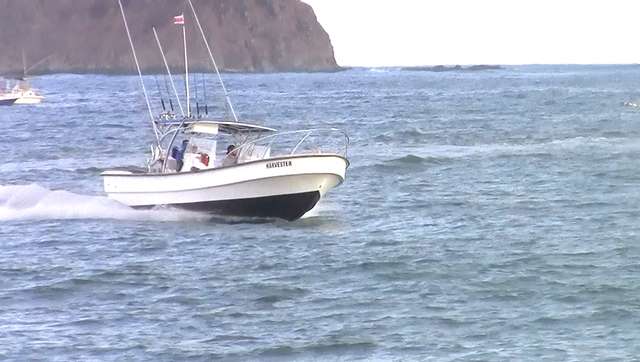
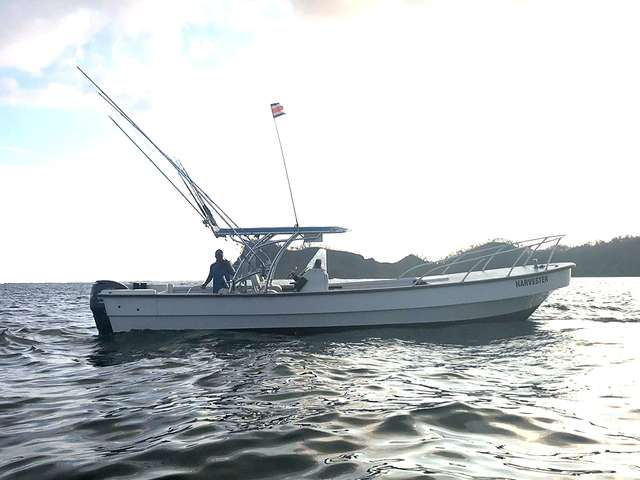
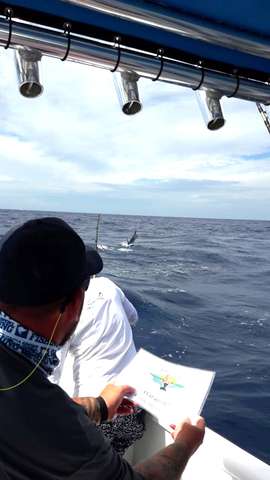
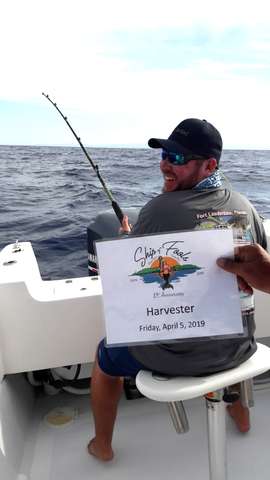
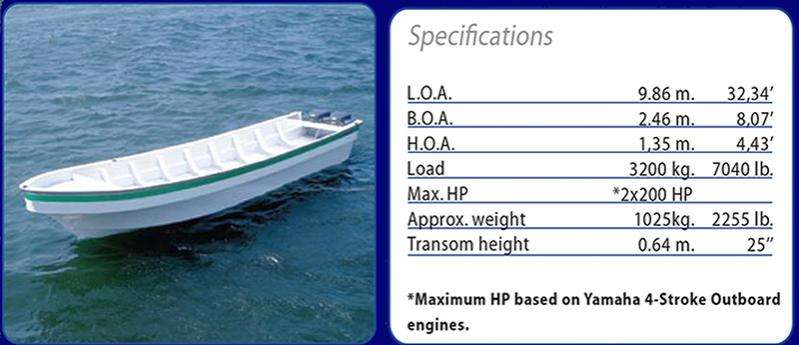
*Three Full Days of Fishing on the 31-foot Harvester or two full days fishing on the 28-foot Explorer
*Lodging in Two Bedroom House for 5 nights (April 7 – 11)
*Entry into the Ship of Fools Tournament and all related Captain’s meetings / Fiestas
*Round Trip Liberia Airport Transfers
*Matching FishingNosara Incite Fishing Jerseys for the team
Total Cost: $3850 for Harvester, $2650 for Explorer
(does not include airfare)
We only have two more spots open, so get your crew and call Craig to get your spot!
A look back at previous Ship of Fools Tournaments:
2015:
The Ship of Fools Tournament is the annual throw-down between the local boats based out of our home port of Garza, CR.

Twelve boats entered the hotly contested tournament this year and the fish cooperated with a record number of release over the two day affair.
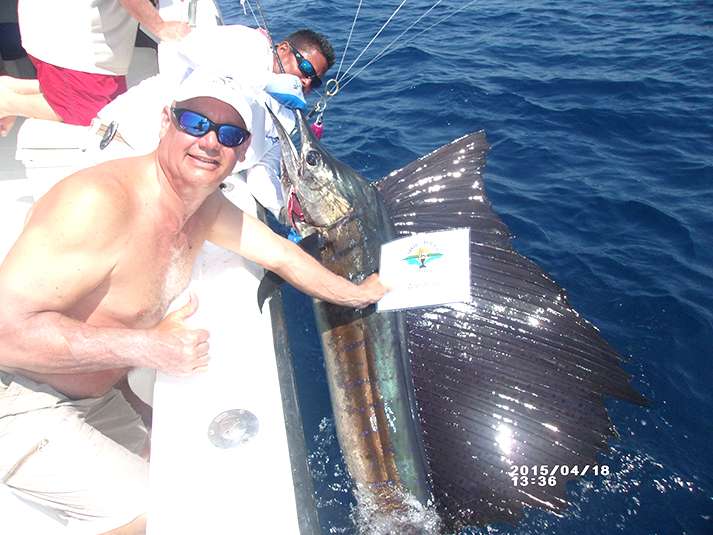
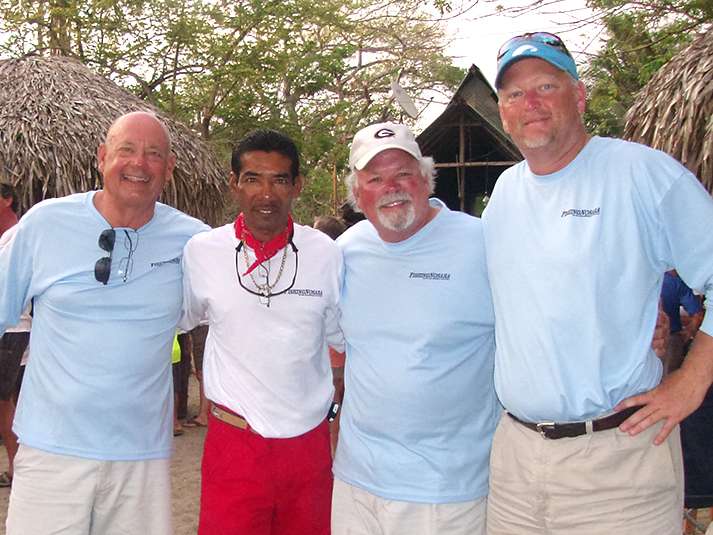
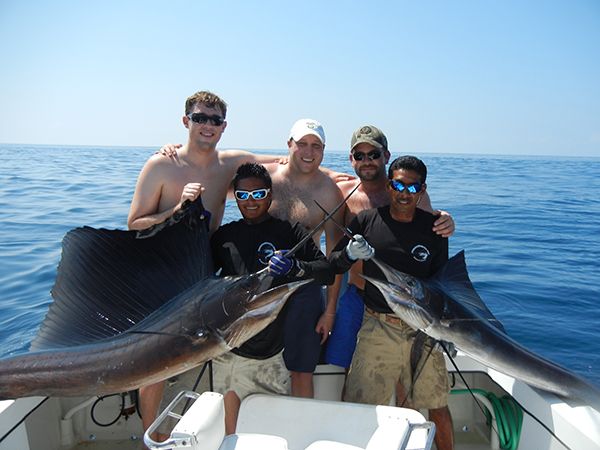
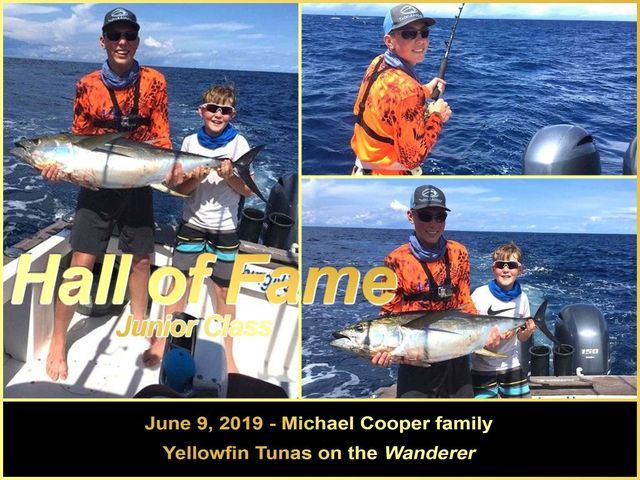
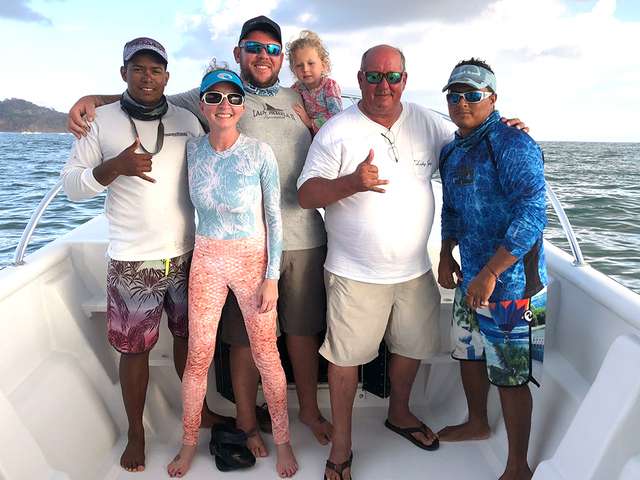
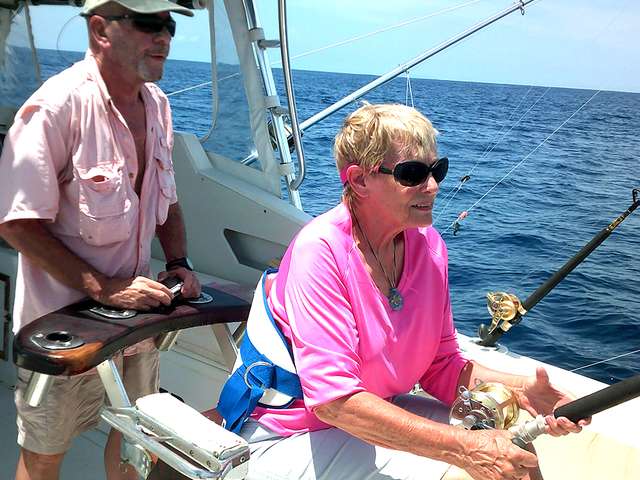
FishingNosara was represented by returning Three-time Hall of Famer Bob Pease and his hard-fishin’ crew from Northeast Georgia.


These guys are sharp anglers and more importantly brought a fun attitude to the competition.
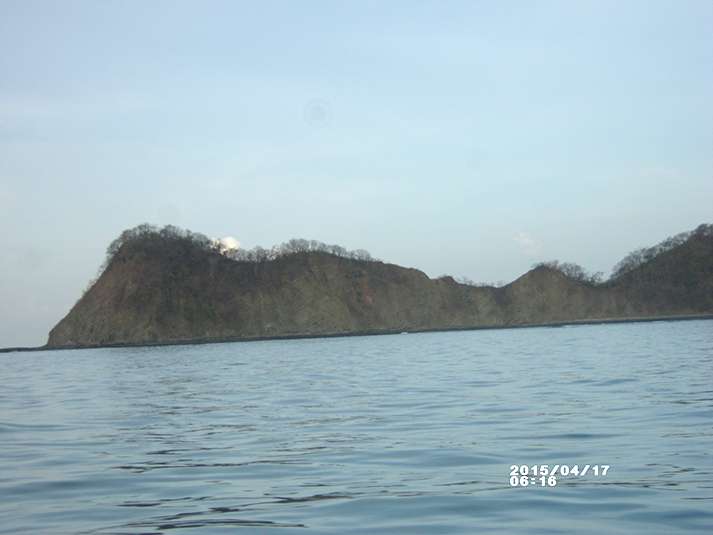
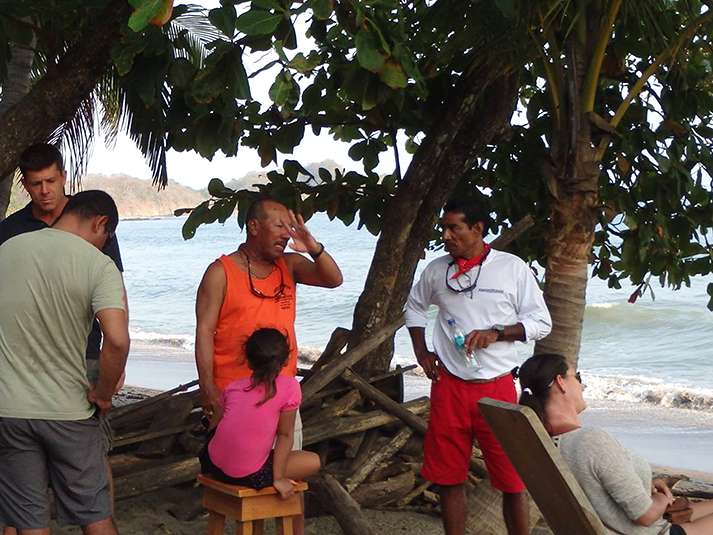
April 16, 2015 – Pre-Fishing
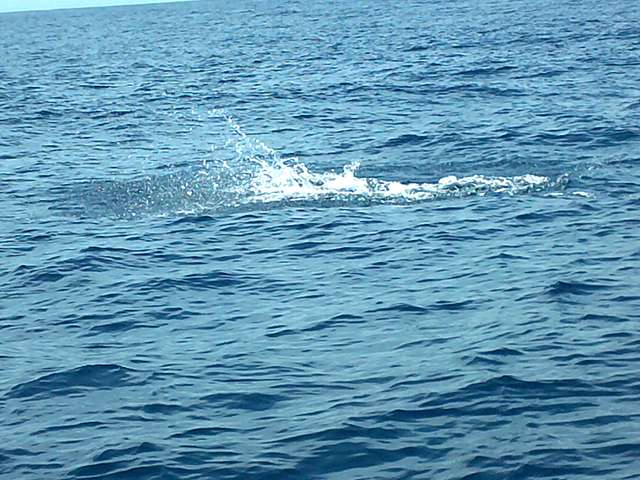
The boys hit town just in time to get a day of pre-fishing in to get reacclimated to the fishery.
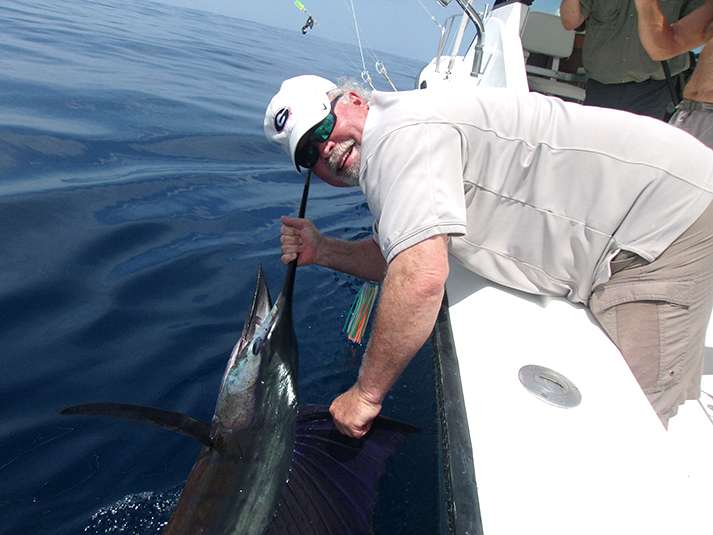


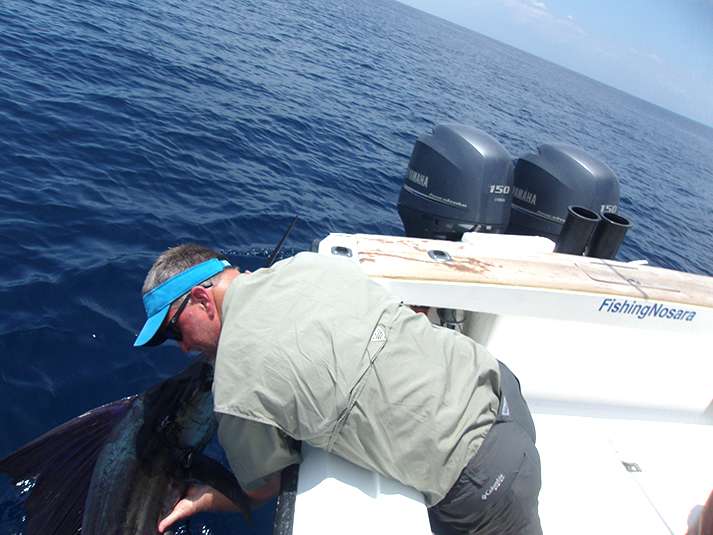
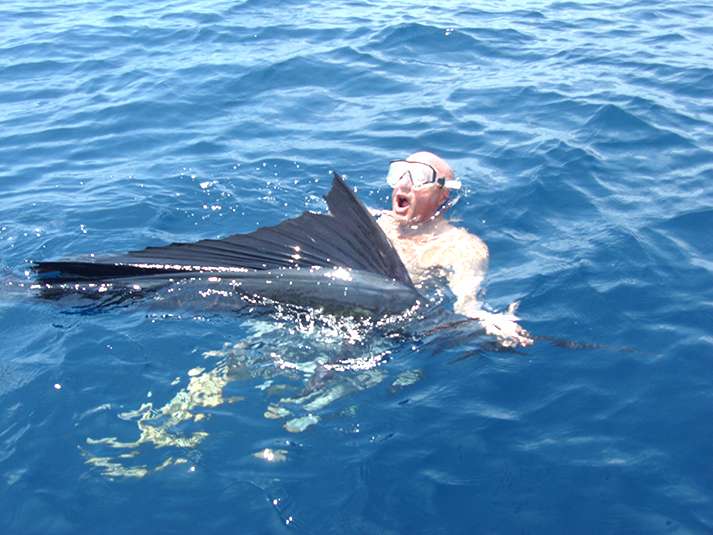
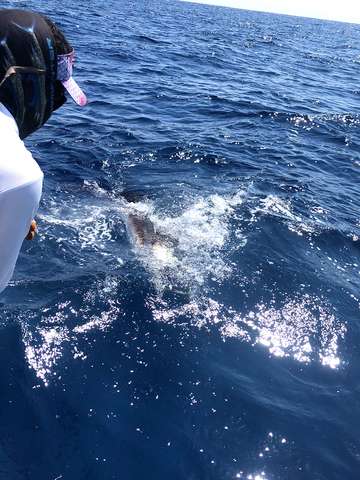
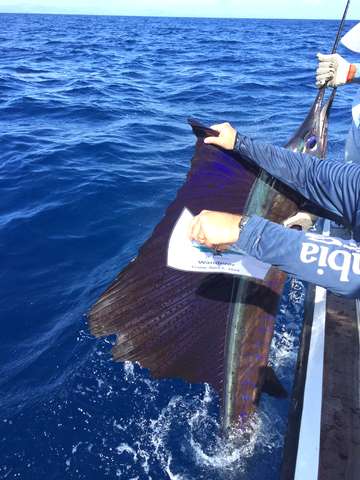
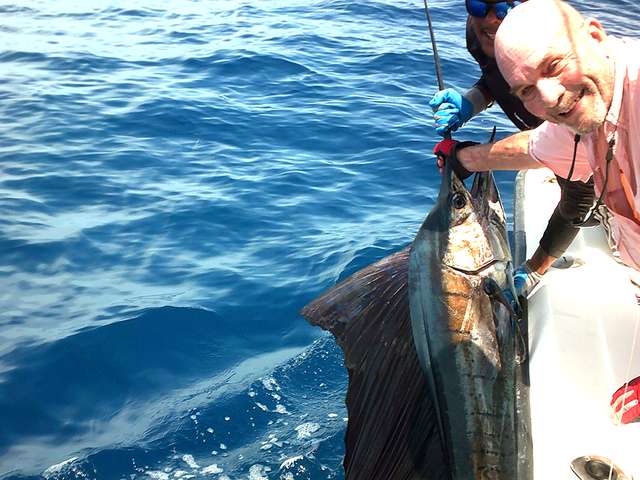
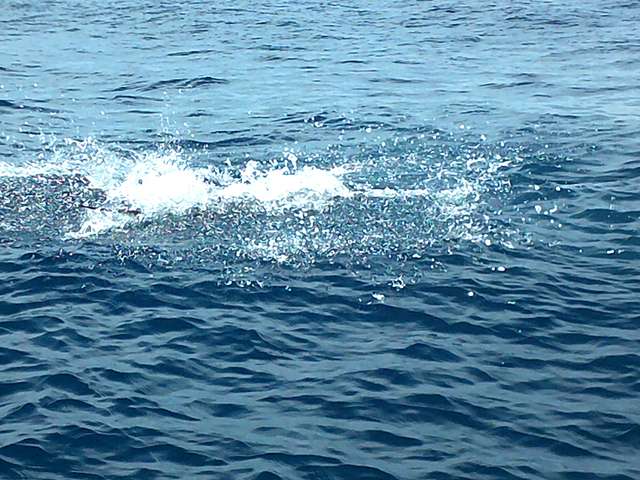
They tried to ask this Sailfish where the rest of his friends hang out.

They made it back to shore just in time to catch the Captain’s Meeting at Marlin Bill’s.
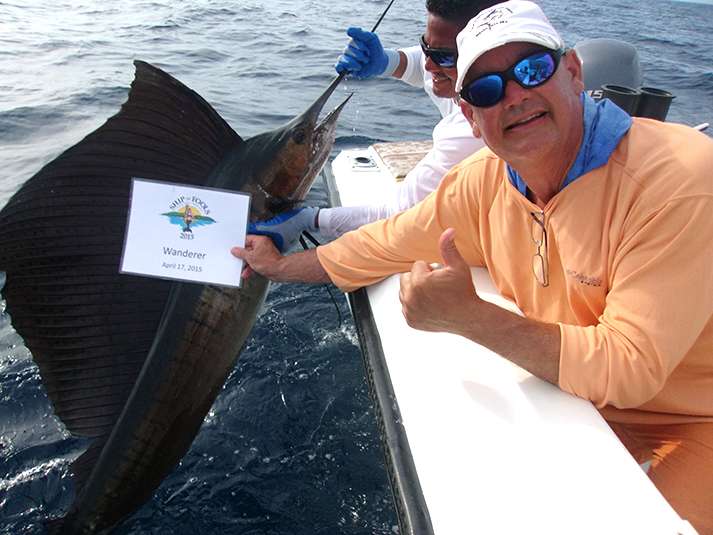
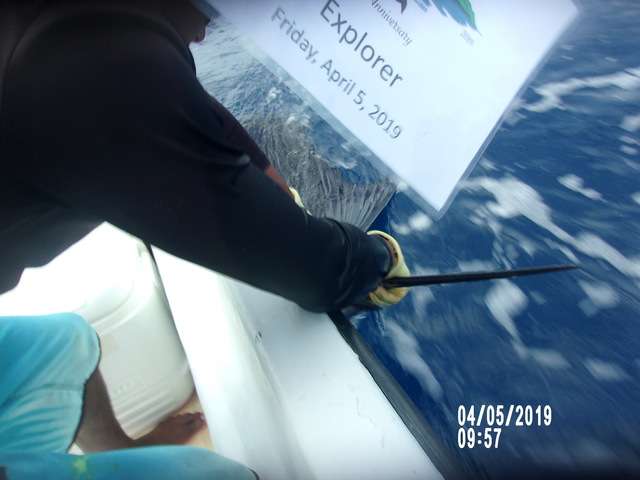
April 17, 2015 – Day 1
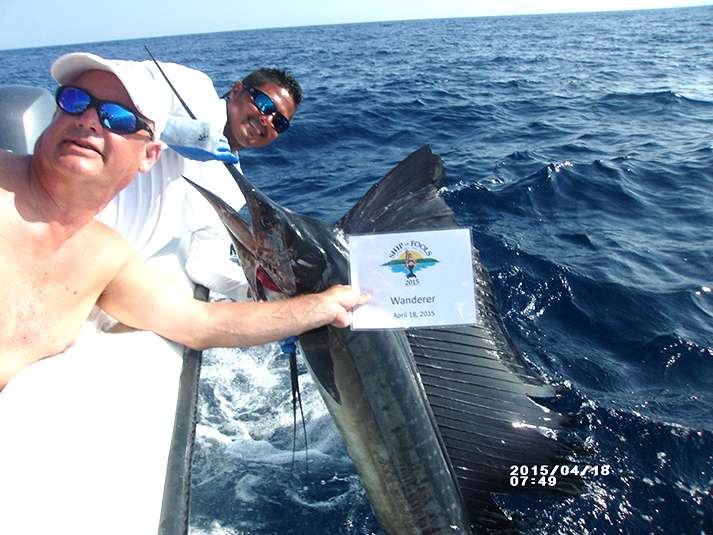
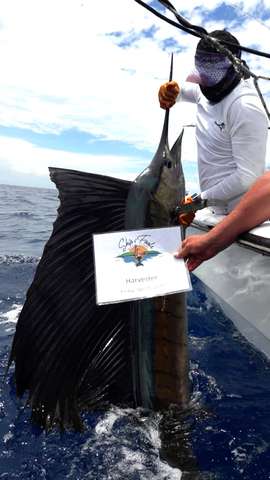
The Wanderer was fueled, iced, and primed for battle when Bob and the boys came aboard at 6:15am.
Late night rains swept through the area on the night of the 16th, and Captain William knows that this pushes the nutrient-rich blue water offshore. The Master Captain slammed down the throttles and wasted no time getting to the fishing grounds.


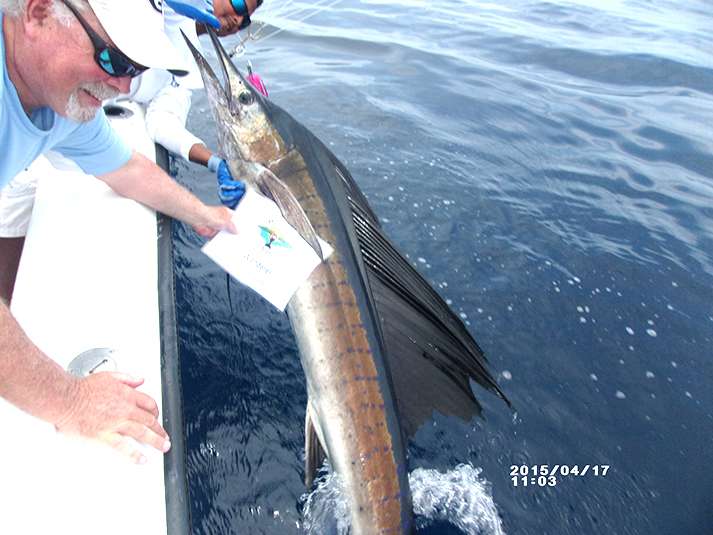
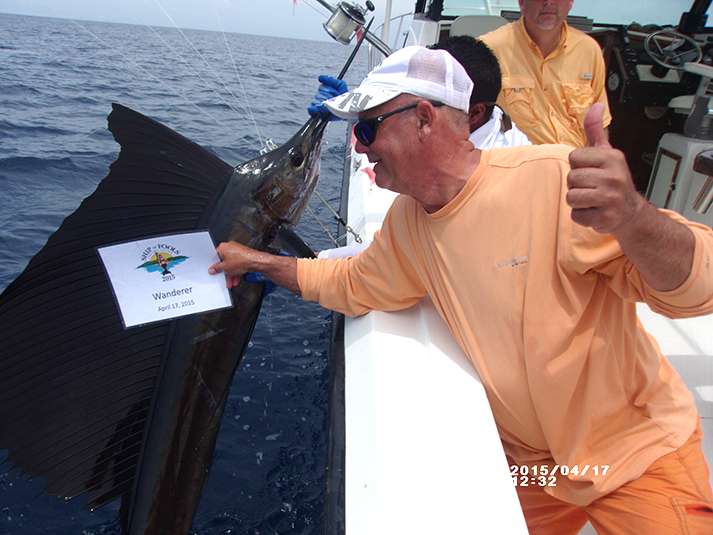

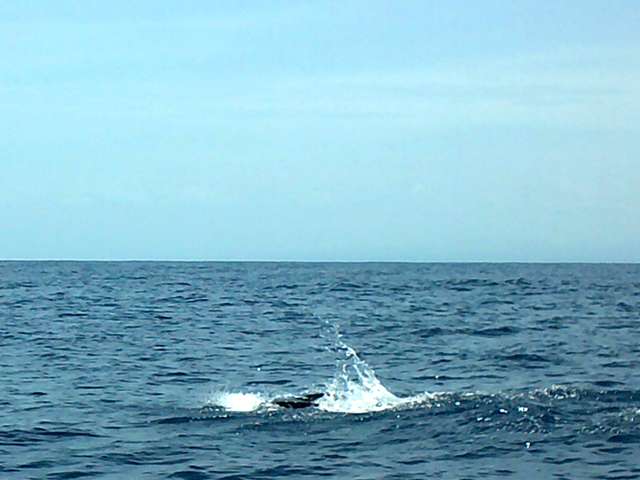
First Mate Alex was on his “A” game as the FishingNosara flagship scored 11 Sailfish releases on the first day, bringing the Wanderer‘s total to 1100 points.
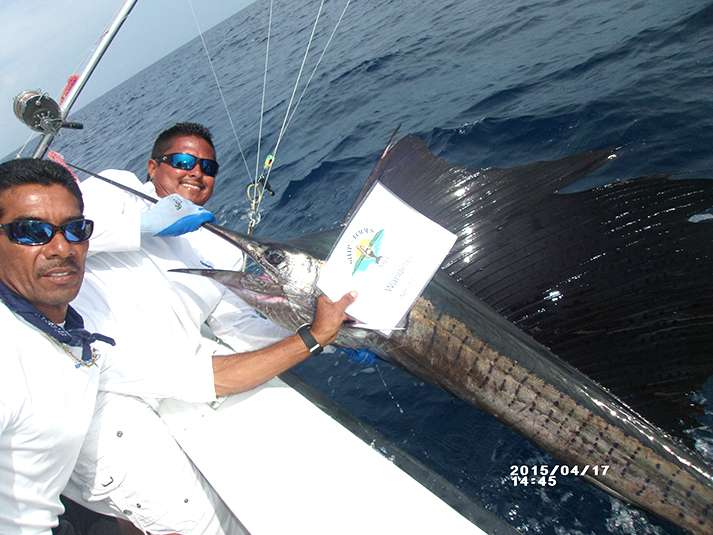

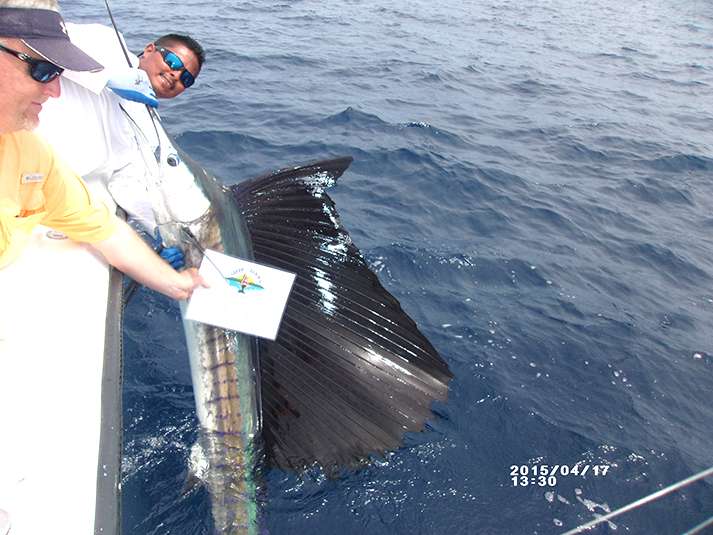
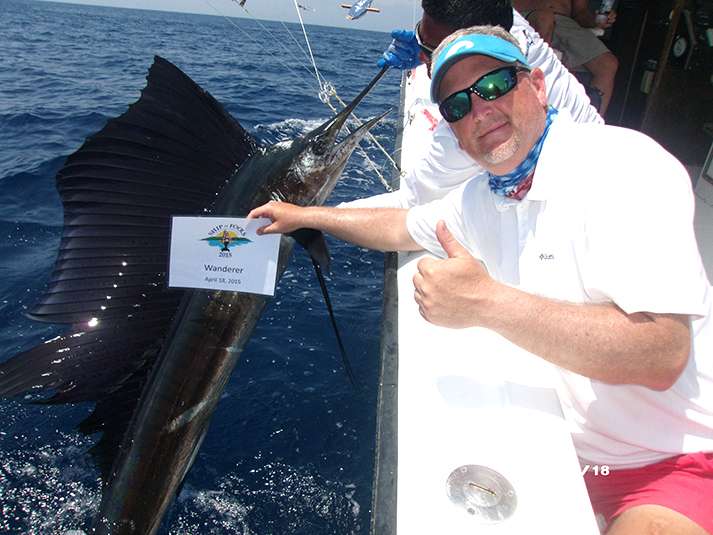
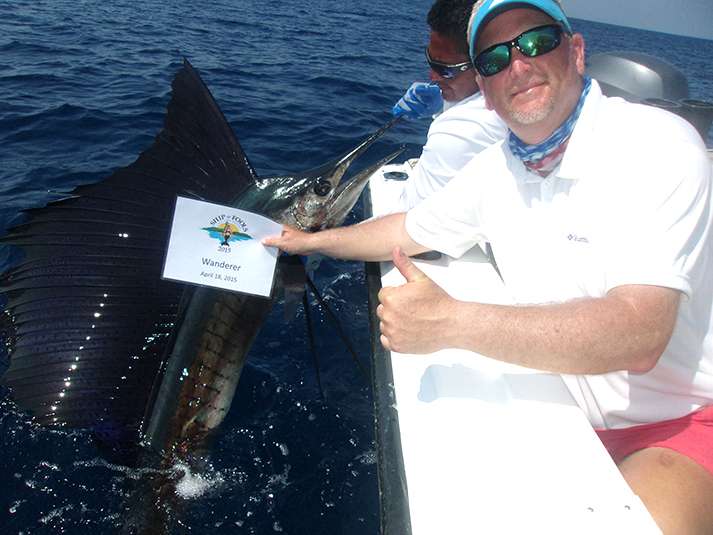
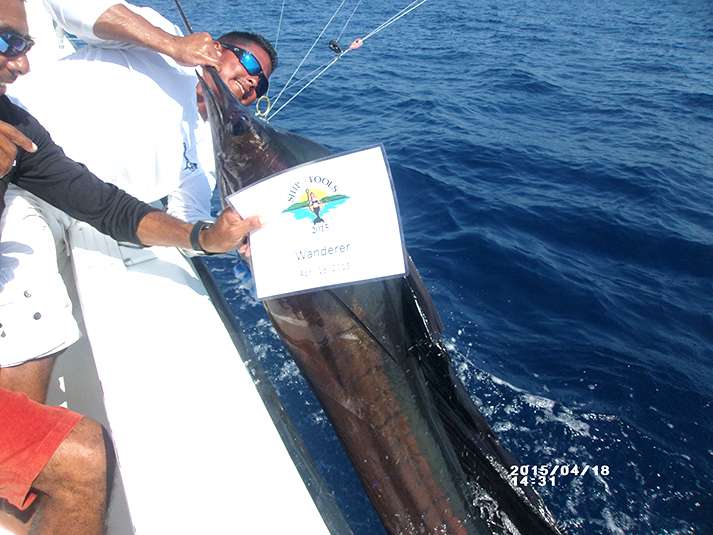
April 18, 2015 – Day 2
The pressure to perform was on as the final day of the tournament found the Wanderer in a dead heat for First Place with the Mojito.

Right behind the leaders were Garza stalwarts Sportsman and High Roller.
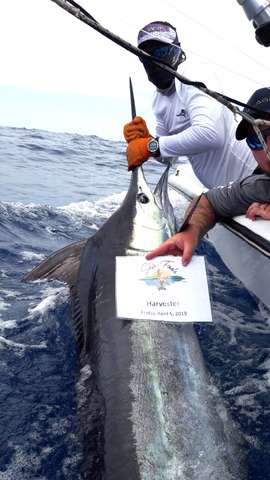
The blue beauty kept lighting the lamp with five releases in the morning, starting bright and early at 7:45am.
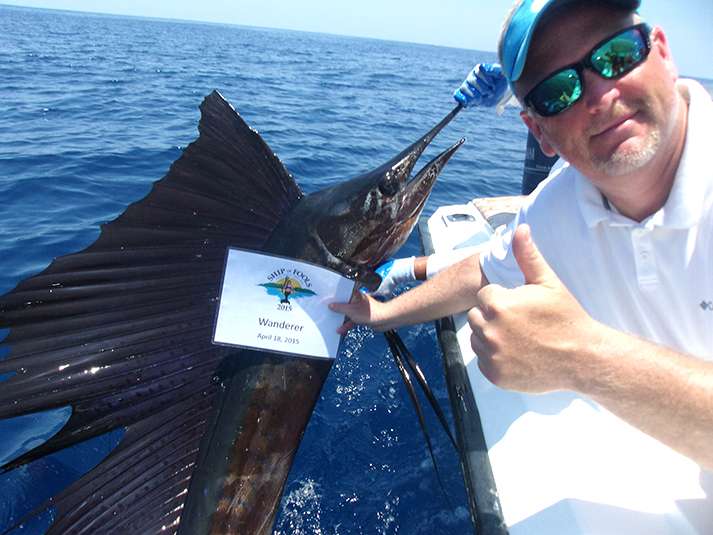
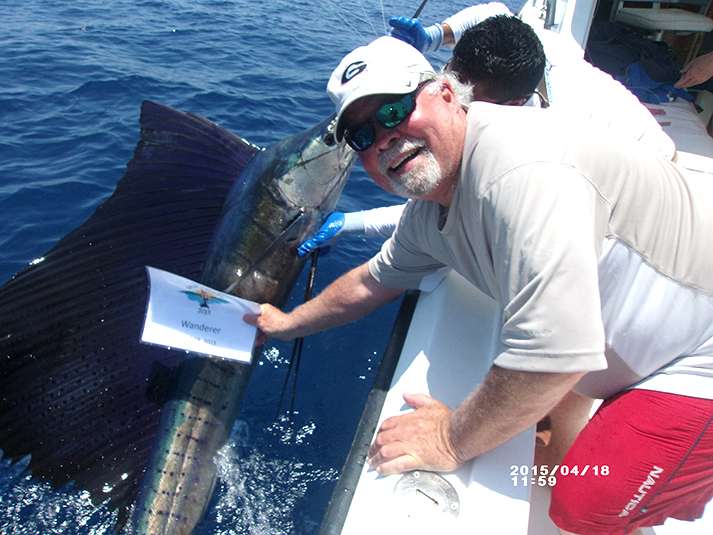

The afternoon brought more good action as the Wanderer pushed the total to 20 Sailfish released.

Bob and the boys were all smiles back on the beach.

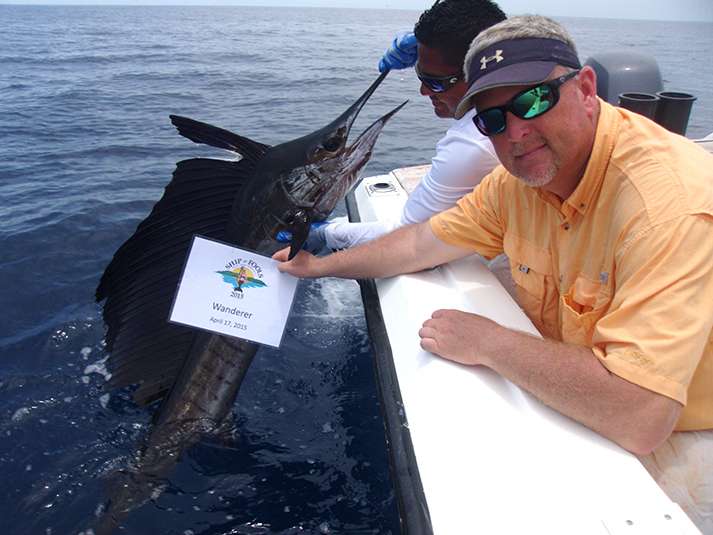
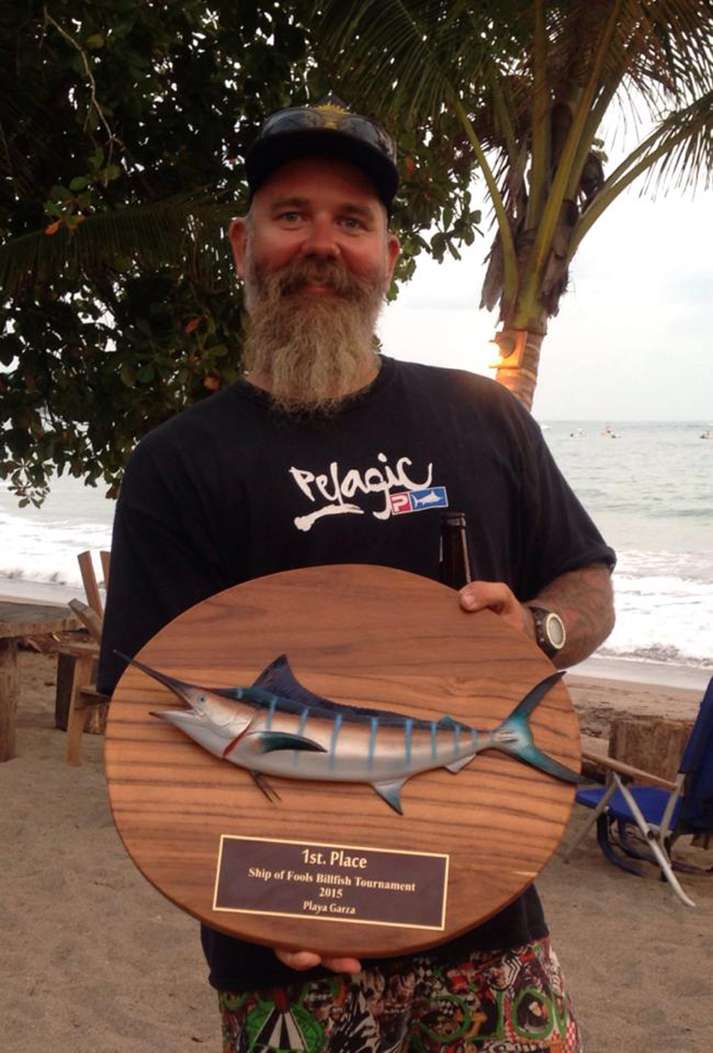
Once the scores were tabulated and the photographs verified, the results of the 2015 Ship of Fools Tournament were posted:
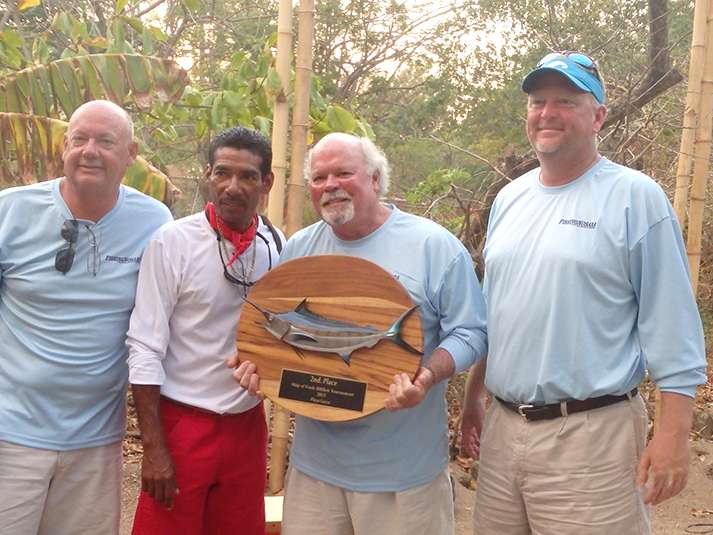
Mojito first place. 21 Sailfish

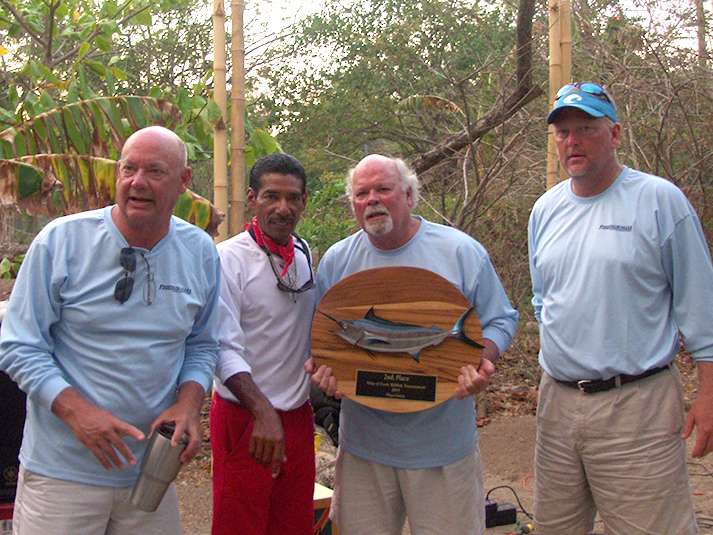
Wanderer second place. 20 Sailfish
High Roller third place.11 Sailfish

Sportsman fourth place. 14 Sailfish
April 19, 2015 – Fiesta
This year’s tournament was the best in recent memory with a dozen paid entrants making the trip.
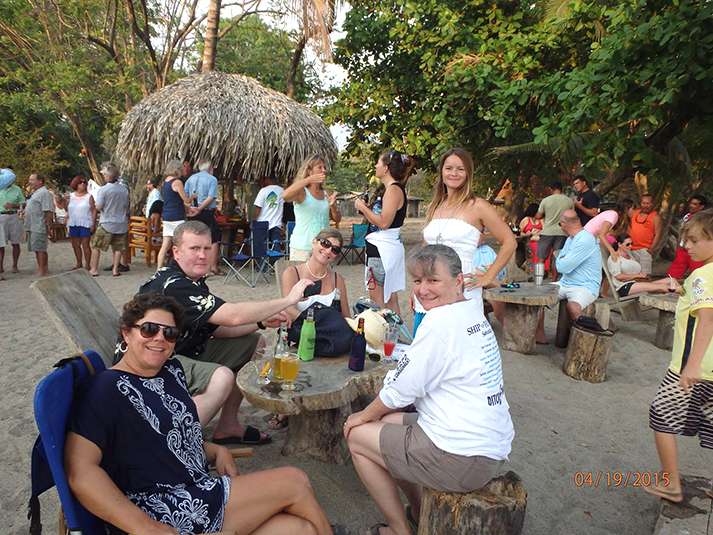
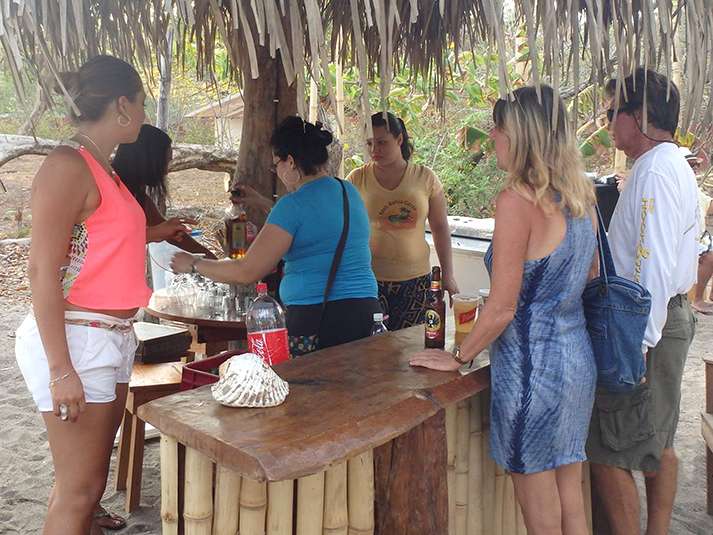

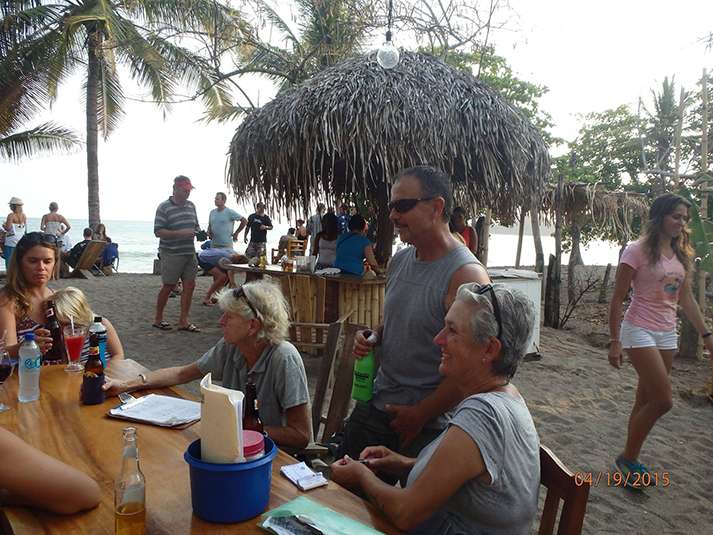
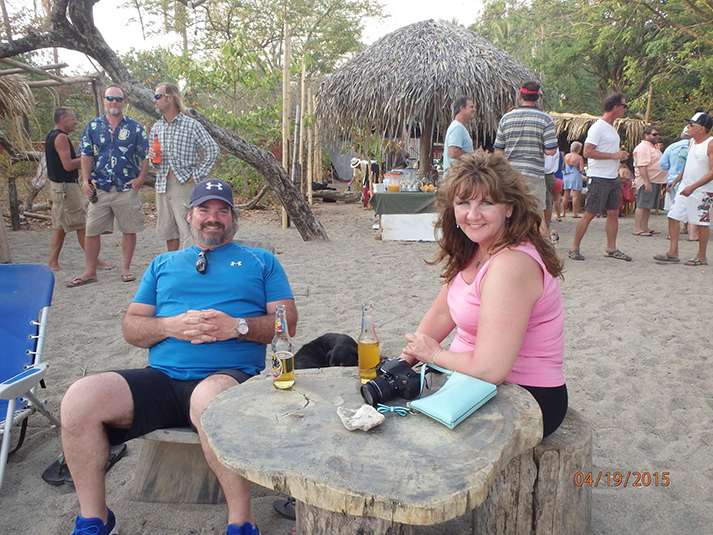


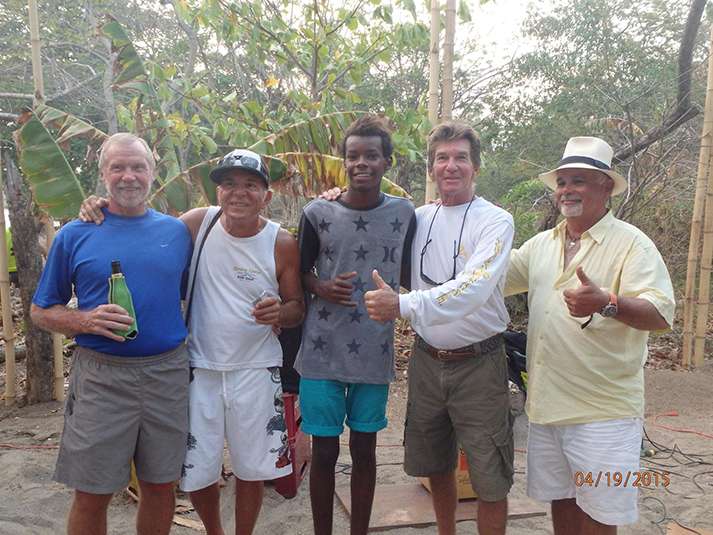
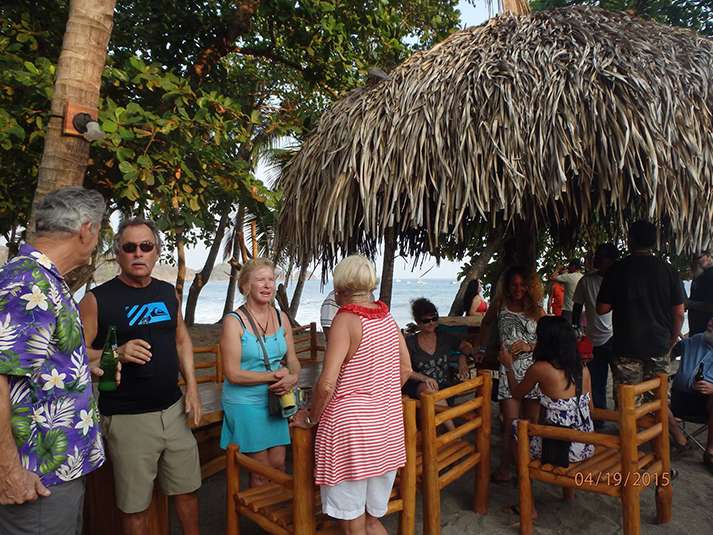
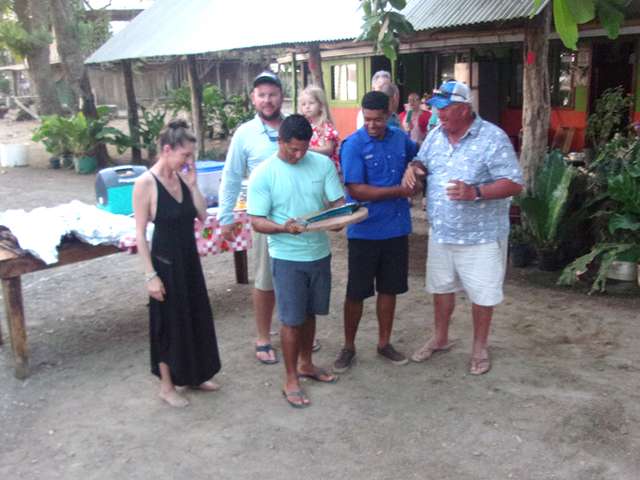
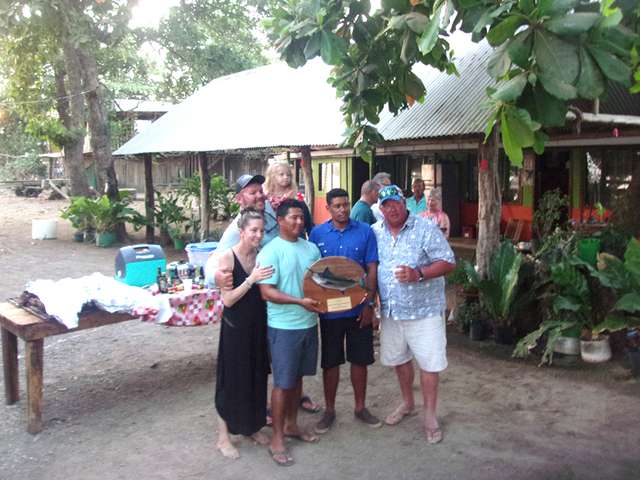
Playa Garza was lit up for the Sunday night fiesta featuring food, live music, and the awards ceremony.


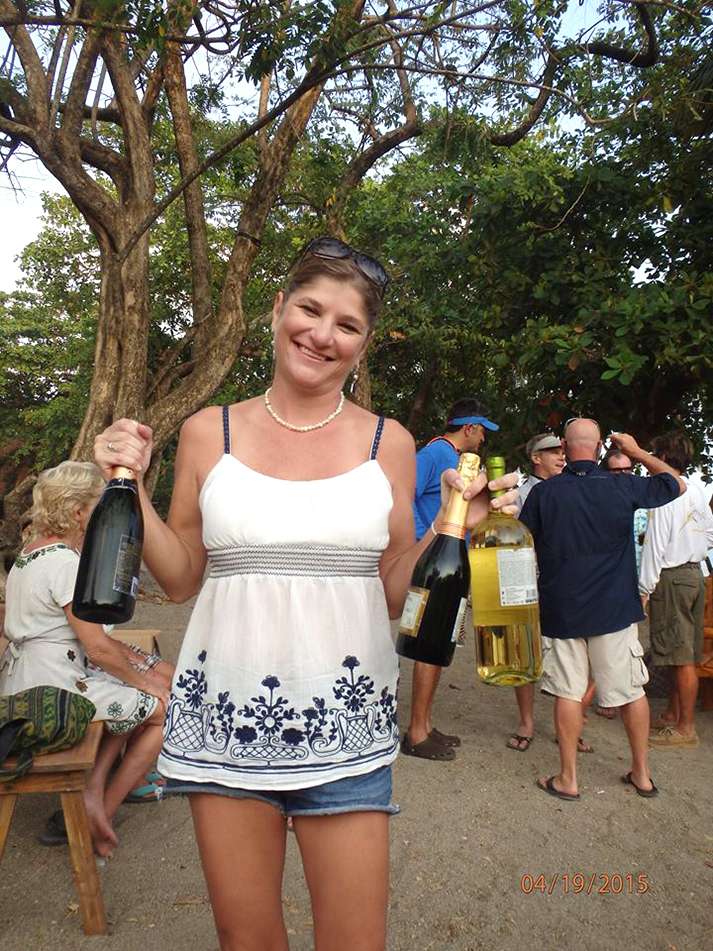
Great work by the mighty Wanderer to bring home the hardware, and special thanks to the ladies of Fish N Chicks to put on this excellent tournament.
We’ll be back for the 2016 Ship of Fools Tournament!
2012:
FishingNosara participated in the 2012 Ship of Fools Tournament held over the weekend of April Fools Day. A record turnout of twelve teams entered this year, each vying for cash prizes and of course bragging rights for the year.

The tournament is held in our home port of Garza, Costa Rica and this small contest among the local Captains always gets attention from some of the highest-dollar fishing teams in the Pacific.

Big boats like Safari and Kingfisher II have been known to monitor the radio and catch locations from the Ship of Fools Tournament as part of their preparation for the IGFA Billfish Cup and Presidential Challenge.
Sure enough this year we spotted the Flamingo near the 14 mile ledge scouting for the upcoming big-money tournaments.
The attention on Garza is not only focused on the water; a major portion of the proceeds from the tournament and raffle go directly to Garza to help improve the conditions of the beach community.
Everyone owes Captain Joe Chatham a big ‘thank you’ for making this tournament happen and for keeping the focus on Garza.

Last year FishingNosara chose the newly-launched Explorer as our weapon of choice and although the team performed well (read last year’s recap) it was clear that we needed to bring bigger guns to this fight.
For the 2012 event we had all hands on deck: The flagship Wanderer with clients Chris and Carolyn Dicola and the bar-room brawler Explorer with Craig, Matty and Captain Jack.
The roster from the spirited Captain’s meeting at Marlin Bill’s reads like a who’s-who of great Costa Rican Fishing: High Roller, Tek et isi, Reel Deal, Kingfisher, Endless Summer, Aimee Marie, Cowboy, Siempre Algo, and the Sportsman.
“I think we can do alright,” Matty offered after seeing the list.
“I think we’re gonna kick some ass.” Jack countered.

There was reason for the confidence; Chris DiCola had caught multiple Sailfish on two separate trips during the week on the Wanderer, and Captain David had a massive Blue Marlin within 4 feet of the boat that very day.
Day 1 – March 30, 2012
The Explorer blasted out of Garza at 6:30am sharp pumping the traditional tournament fishing anthem (‘Hells Bells’ AC/DC) at maximum volume. The Wanderer caught up around the 10 mile mark, and both slowed to a troll around 15 miles out.


As the boats settled in the radio reported a nice morning bite: The Sportsman released a Sailfish and lost two Marlins, the Reel Deal reported two Sailfish releases, plus every boat was getting bites.
Except the Wanderer and the Explorer.
The Explorer chased some free jumping Sailfish but couldn’t convince them to eat, then has a mysterious billfish whacking the teaser, but no hookup.
Over on the Wanderer it seemed that Chris DiCola’s fishing karma tapped out after the great pre-fishing because they did not get a single nibble for the first half of the day.

Tension grew. Baits were changed, the spread was adjusted. Anxiously the crews watched and waited.

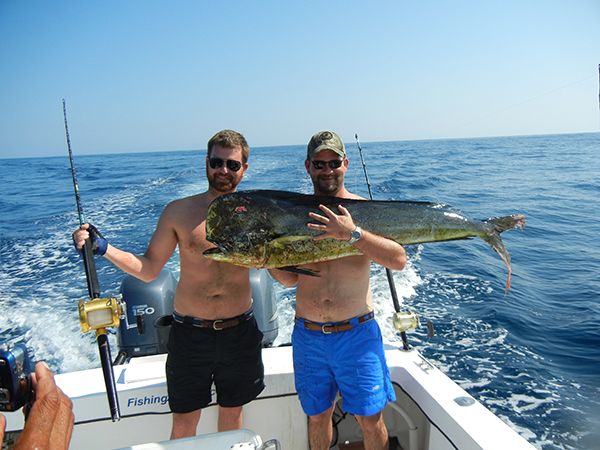
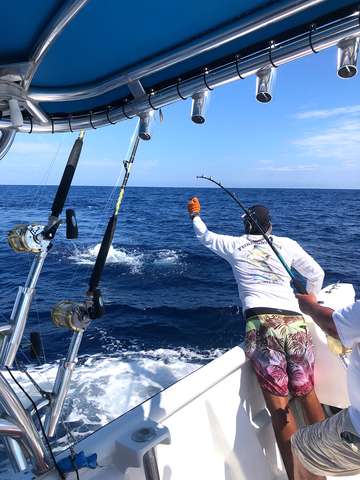
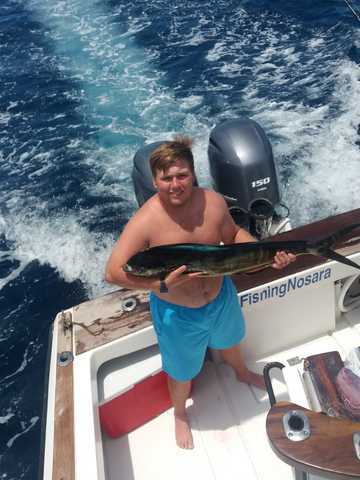
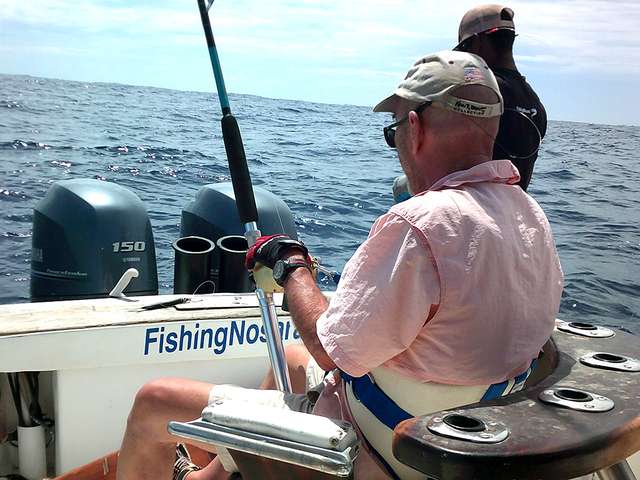
ZING! At 12:30 a line popped off on the Explorer like it was hooked to an anchor. Craig belted up to fight the massive beast but shortly realized that this was no billfish…it was diving deeper instead of shooting to the surface.


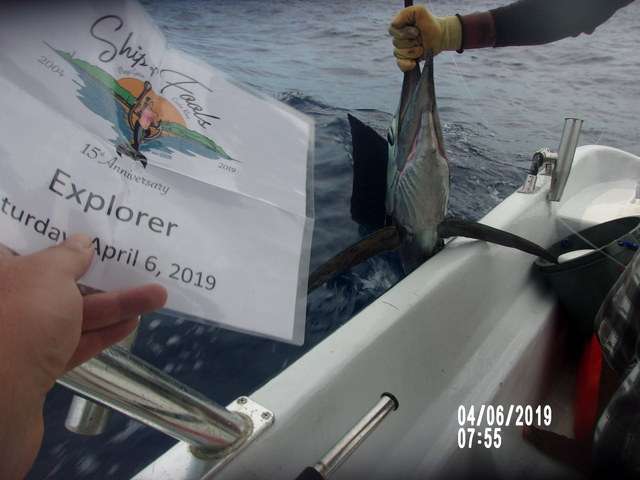
After a quick fight this 47lbs. Dorado surfaced alongside the boat and Captain David was strong on the gaff shot. This monster’s head was the entire width of the fishbox and the tail was too long to close the lid.


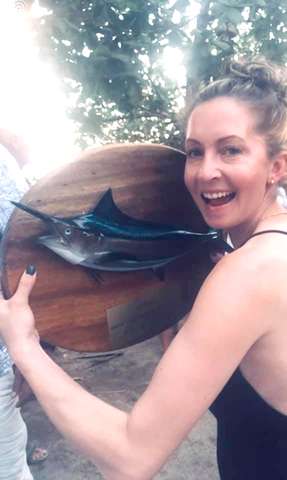
This fish was a triple-whammy for the Explorer: It broke the ice for the team, scored 25 crucial (and potentially tie-breaking) points, and was certainly in the running for the biggest Dorado Calcutta.

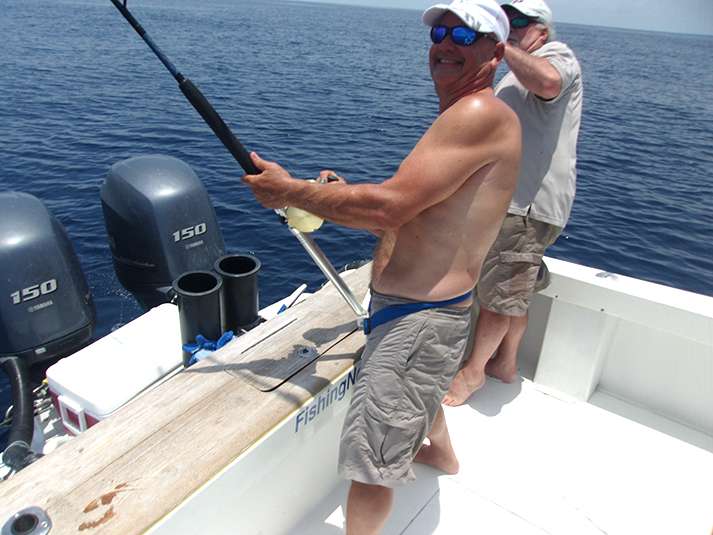
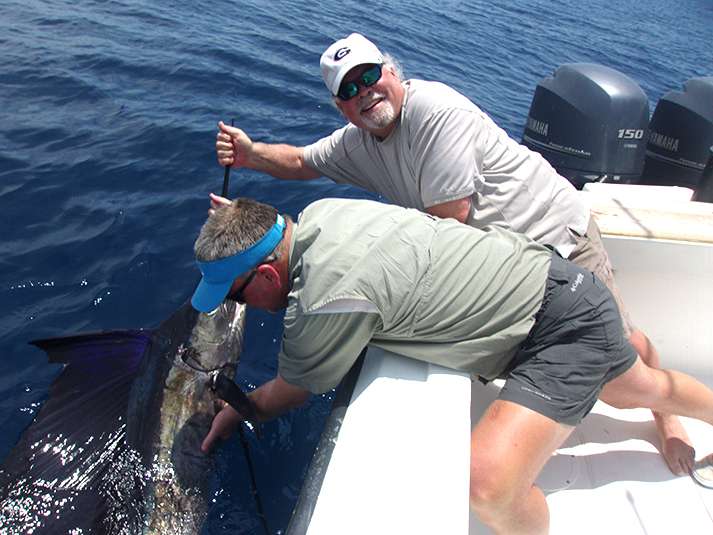
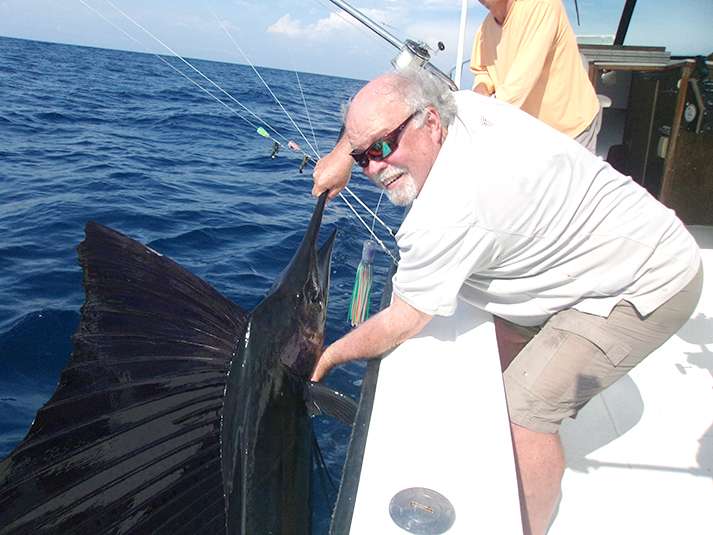
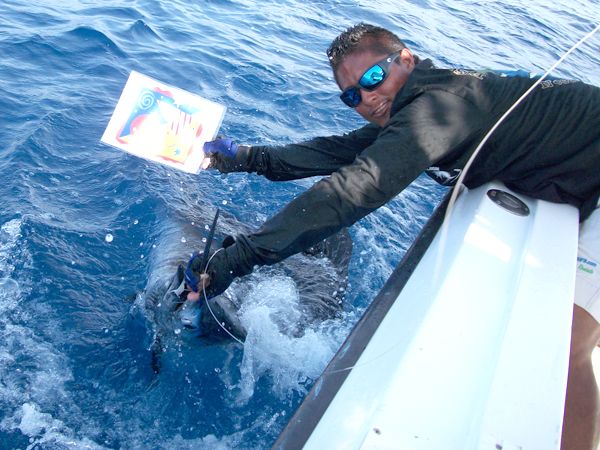
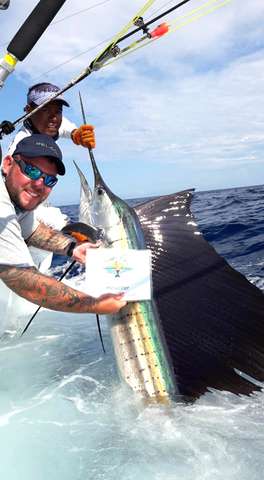
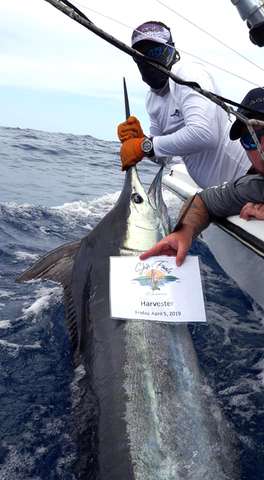
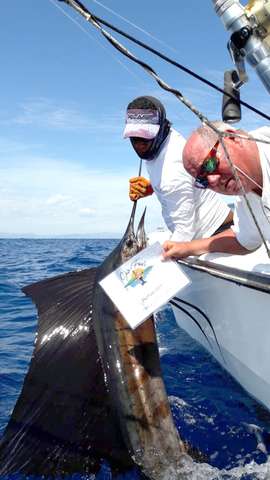
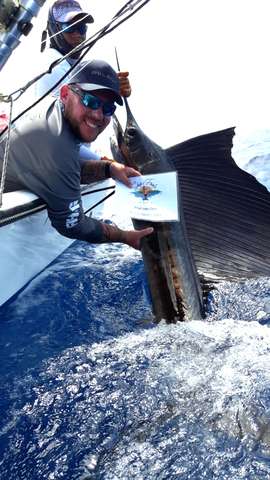
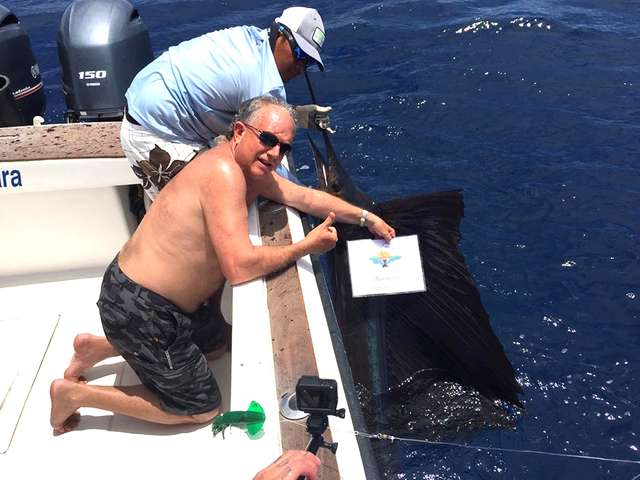
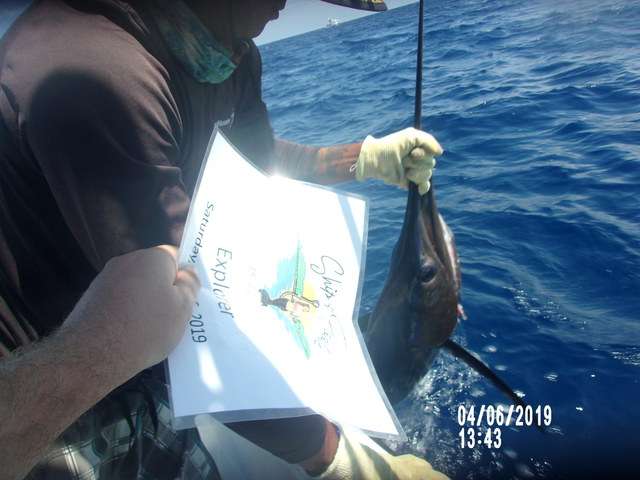
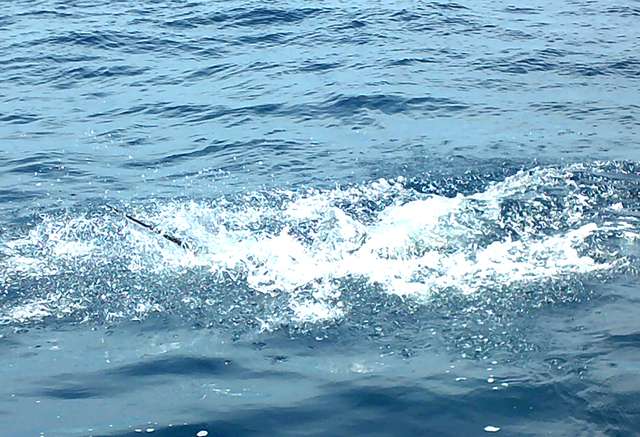
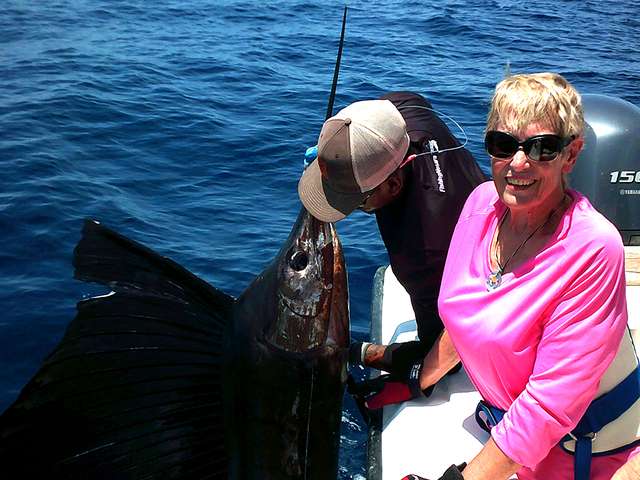
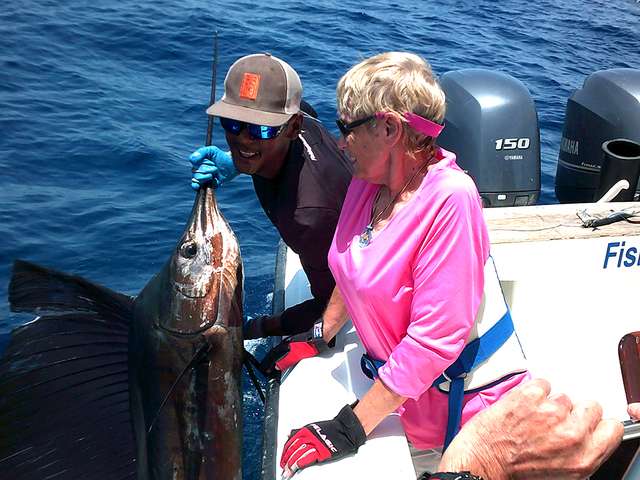
At 2:30 another strike was reported on the Explorer as Craig Sutton efficiently fought this nice Sailfish.


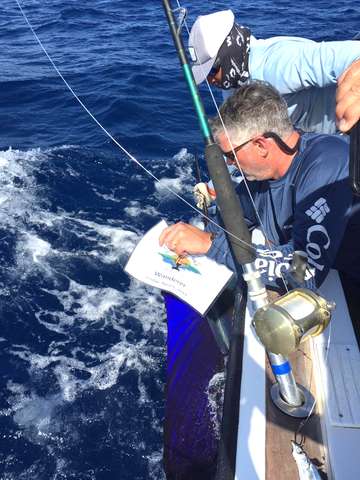
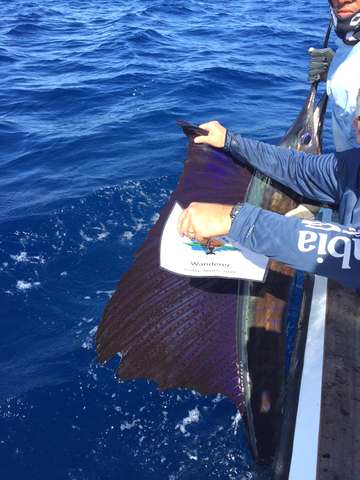
Mate Pipio showed no fear in the billshot, even though a moment of extra time was required for the photo (with the tournament marker in the picture) this fish swam away unstressed and unharmed.

The call came on the radio for lines out of the water at 4:30 and the Explorer and Wanderer fell into formation for the 15 mile journey home. On the strength of Craig’s released Sailfish and Dorado the Explorer had 125 points; the Wanderer was one of six boats with 0 points.
Jack and Matt were thoroughly bummed, and Craig already had his mind on switching over to the Wanderer for the final day of the tourney. Chris DiCola was miserable although he had done nothing wrong; not a single fish touched a bait all day on the Wanderer.
The poor showing hung like a cloud on everyone, except for the indomitable spirits of the FishingNosara crew.
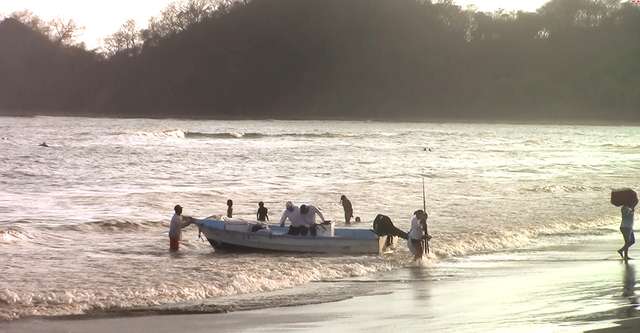
Mate Pipio was joking and jiving on the radio, and Captain David managed to convince Matty to carry the Dorado to shore rather than use the Explorer’s cooler. This created a comic scene on the beach with hombre grande slinging the beast over his back, dragging its head through the sand all the way to the scale.

Things were obviously loose on the Wanderer as Captain William buzzed the Explorer at close range while First Mate Alex faux-paddled the 31’ beast towards Garza.
We took the big Dorado back to the campus where Cumi showed that it’s not just the boat crews who know how to filet a fish. We shared the filets with the guys who were all smiles.

Craig, Matty, and Captain Jack took the cue from the crew and came back the next day in a lighthearted mood and a dedication to enjoy the day no matter the scoreboard.
With the pressure off, it was time to just go fishing.
Day 2 – March 31, 2012
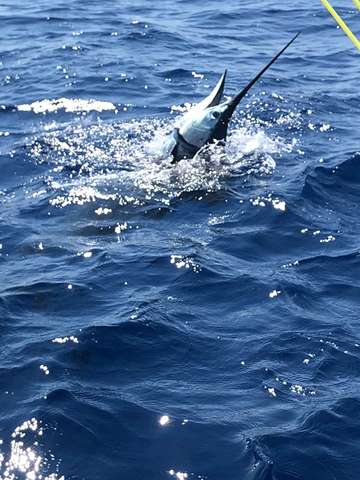
Matty and Captain Jack were the first team out of Garza on the Explorer, but it was Craig Sutton over on the Wanderer who made the first big splash. The big blue beauty reported her first Sailfish release of the day (and the tournament) at 8:15am.
Craig was just getting started as another Sailfish came in hot at 9:30am. This behemoth was also no match for the Wanderer and was cleanly released after a 15 minute fight.

The bite cooled off around noon and the radio chatter told many sobering tales: lots of Sailfish spitting out the hooks and Marlins breaking the lines, also mechanical troubles befell both Reel Deal and Cowboy.
On the Explorer Matty pulled the hook from a bucking Sailfish while it’s hunting buddy was also hooked up. Both hunters escaped and this error cost the barroom brawler two 100 point fish.


Craig donned the lucky sunhat hoping to stimulate a big bite, and sure enough the fish of the tournament came calling at 12:45 over on the Explorer.
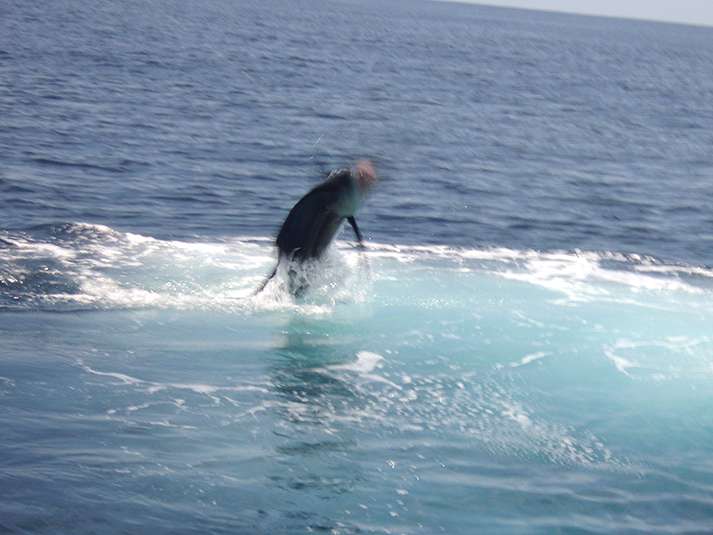
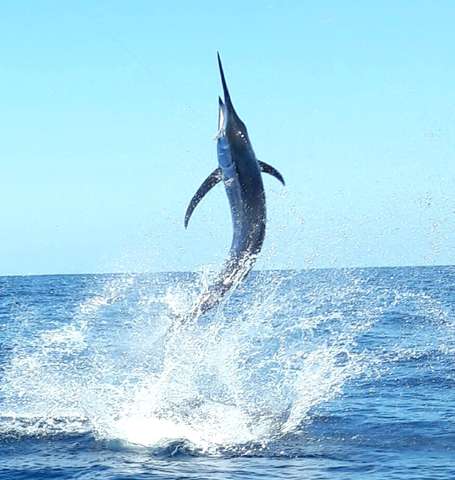
A 350lbs. Blue Marlin came tearing through the spread laterally from underneath the boat. It grabbed the short line bait and after a mighty 15 foot leap it pulled off almost 200 yards of line in a flash.

Captain David slammed the throttles down and backtracked this Marlin like a bloodhound, moving the Explorer so quickly that water began bubbling over the transom. Jack dug into the gunwales and began winning line back from the monster.

Captain Jack showed his years of angling experience as he fought this world-class creature on a TLD 30 with only 100lbs. test line. How these fish can tell which bait is on the smaller reels I will never understand.

On two occasions Mate Carlos had his hand on the leader knot and twice the mighty glowing fish pull away.

On the third attempt and with the 100lbs. monofilament leader tight as a guitar string, both Captain David and Mate Carlos seized upon the bill of the mighty beast and held on for the ride.


Mate Pipio was fearless in the handling of this leviathan and got him back in the water safely.


This is Captain Jack’s first ever Marlin (he caught his first ever sailfish in the 2011 Ship of Fools Tournament) and the 300 points that came with it propelled the Explorer back into contention.
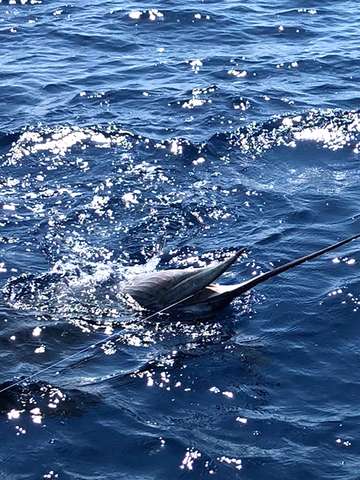
The Wanderer was nearby and just a few minutes after Jack’s Marlin release Craig hooked up his third Sailfish of the day at 1:40pm.

Almost immediately after the release another mighty Sailfish challenged the Wanderer and was also subdued by Craig and First Mate Alex. It was released after a quick fight at 2:11pm.

Craig had put 400 points up for the Wanderer. The Explorer sat in 5th place with 425 points on the strength of Craig’s Sailfish and Dorado from day one and Jack’s Marlin release. Siempre Algo and Sportsman were in the lead with 550 points.
The Wanderer and Explorer stayed together for the final two hours of the tournament, crisscrossing a stretch of ocean in a figure-8 pattern hoping to land the fish that would put FishingNosara in the money.

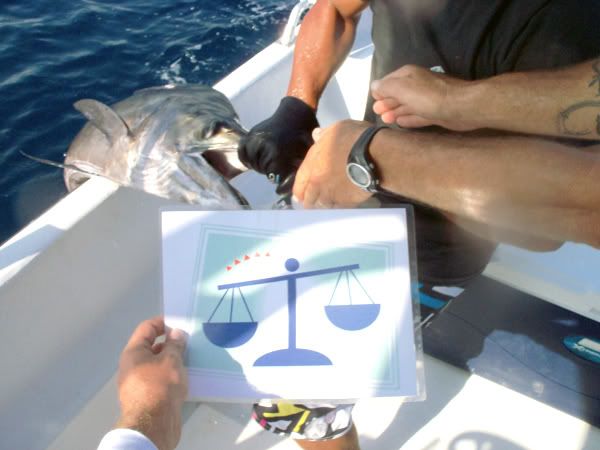
Destiny came calling at 4:05 with less than a half hour to go in the tournament’s final day.
The long shotgun line on the Wanderer screamed off as a mystery billfish got hooked up. Despite the crew’s best effort this fish was too big to catch and escaped without rearing its head.

Craig and Alex agree that was certainly a Marlin and would have been the tourney-winning fish.
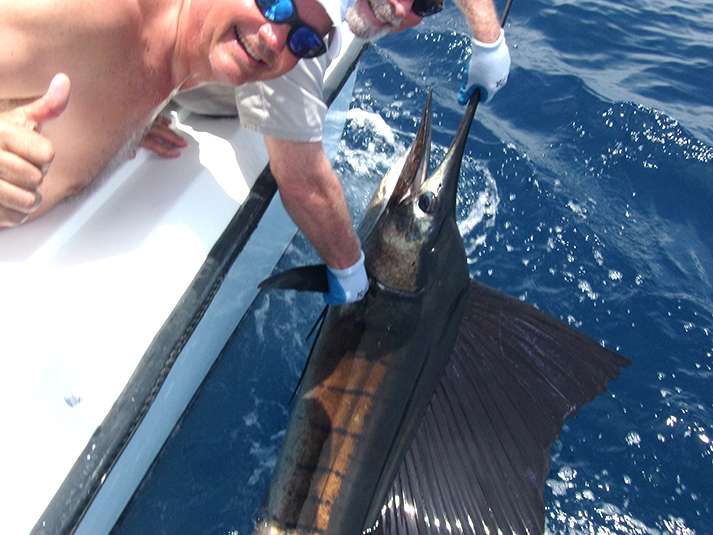
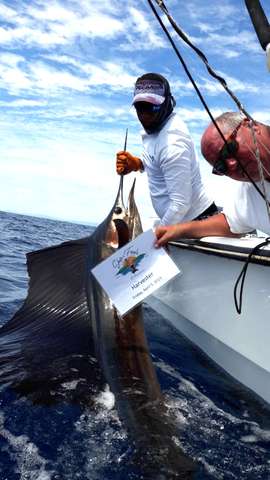
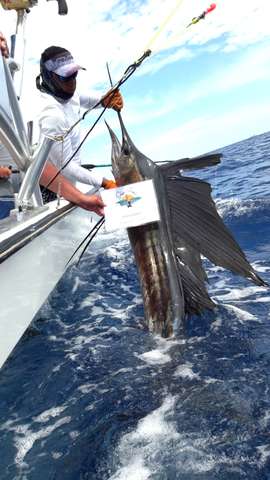
Simultaneously the Explorer was mugged by a high-flying Sailfish and it was up to Matty to redeem himself by not letting this one escape.


With the money on the line Matty found his footing and slowly but methodically brought her alongside for the release.


This photo is time-stamped at 4:22 pm, eight minutes before the deadline. With 525 points, the indefatigable Explorer was in the money. Also, Matty won’t have to spend the next 11 months having nightmares about losing the two Sailfish earlier in the day.
The Wanderer and Explorer returned to Garza with triumphant full-speed approaches and were the final boats to return to the bay.


The party raged on shore and everyone gathered to welcome the crews home. Garza was brimming with excitement, as evidenced by the raging fiesta the next night.


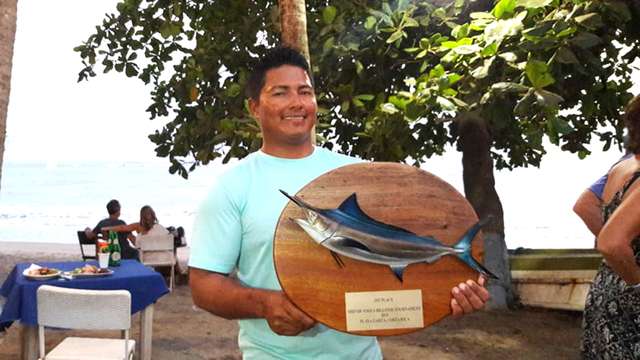
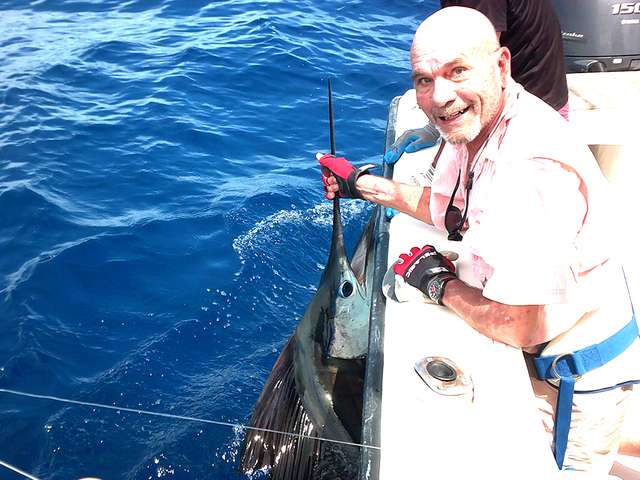
Captain David accepted the Third Place prize and Craig accepted the Top Angler award for his quintet of Sailfish releases.
In whole it was a great weekend for the whole team. We were humbled by uncharacteristically bad performances on the first day, found our stride on the second day, and ended up catching the most important fish with just minutes to spare after most of the boats had called it a day.
The team’s performance in the 2012 Ship of Fools Tournament lays a foundation for future tournament success; these guys are the hardest fishing guys in Garza and their collective experience level is fast approaching that of some of the legendary Captains in the region.

That experience combined with a ‘Never Surrender’ attitude and a true appreciation for the craft of sportfishing means there is clearly a bright future for the FishingNosara team.
2011
FishingNosara made a great splash at the Ship of Fools Tournament held in our home port of Garza, CR. This tournament focuses on Marlins and Sailfish and features some of the best captains in the area plus attracts big money fishing teams from around the world.
With bragging rights on the line, we decided to up the ante by enlisting Captain David and the Explorer which put us on the smallest boat in the field. The more conventional choice would have been Captain William and the 32′ Wanderer, but the blue beauty was already booked by clients Kenny, Woods, Morgan, and Dave.

The Explorer roared out of Garza with authority on the morning of March 26 with fresh lines, new baits, and AC/DC’s “Hells Bells” blasting from the newly-installed stereo system.
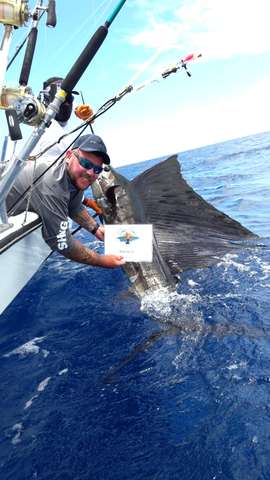
The awkward glances from the other boats turned into admiration as the 26′ Super Panga lit up the scorecard with this Sailfish release, the first of the tournament.

By midday several other boats were reporting billfish releases and the Explorer slipped down the standings a bit. However, the boat reporting the most billfish releases was not one of the other tournament boats…it was the Wanderer!


We took this shot from the Explorer while Alex, William, and the boys on the Wanderer were reeling in a Marlin fresh after releasing a sailfish. By the end of the first day, the Explorer was in the middle of the pack and the Wanderer would have been winning (if they had been entered in the tournament, that is).
The second day was similar to the first. We had a nice Sailfish release early in the morning, then missed on a few nice fish. The Explorer caught a nice Roosterfish but unfortunately this tournament did not offer any points for that species.
In the end, the Explorer finished in fourth place with 200 points. The Wanderer would have unofficially come in second with 825 points over the two days.
Most importantly was that all the boats and crews came to respect a 26′ Super Panga capable of catching monster fish over 20 miles offshore. We have been saying that this boat has the capabilities of a 40+ foot craft since the beginning, and the Ship of Fools Tournament was our chance to prove it.

Great work by Captain David and the whole FishingNosara family.


 ttachmentid=155881&d=1416348602″ border=”0″ />