It’s been a dirty week of work on The Discoverer Project as we moved below decks into 20+ years of diesel-flavored sludge and muck. Charlie has taken the next step in fabricating the floor by installing these 1″x2″ runners along the edges of the fuel tank compartments and the center compartments.
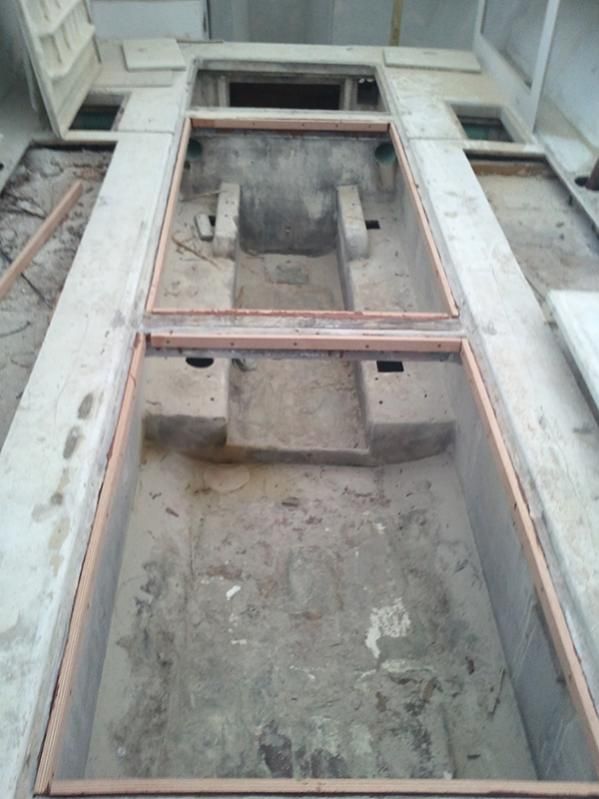
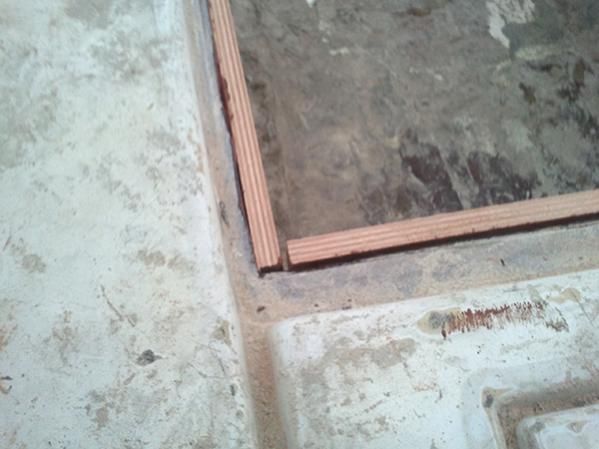
These will be encapsulated in fiberglass to ensure that they are watertight and Charlie has an idea that is common among expensive custom boats: in every spot that will receive a screw, we will drill out about a 1 inch hole and fill the hole with epoxy resin. This way the wood never gets penetrated by a screw.
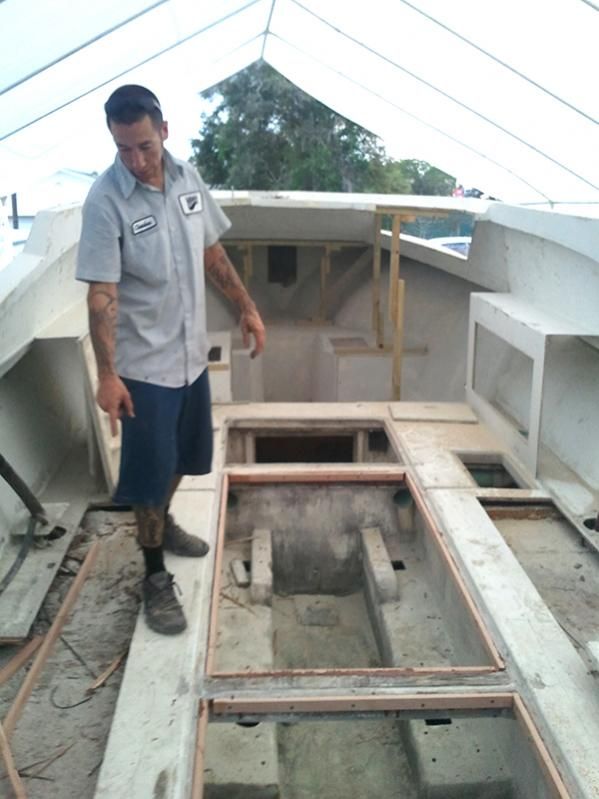
It’s a little tricky to line everything up, so stay tuned as we progress on this element.
In the last post we removed the deck plates over the fuel tanks, and to our surprise these tanks are much larger than we anticipated. The tanks run flush to the transom and extend all the way forward, almost to the seat pedestals. We estimate that each tank holds 120 gallons of fuel.
Jack began the delicate work of cutting an access panel into the top of the tanks to allow for our friends at Independent Waste Oil get their sucker hose into the tanks.
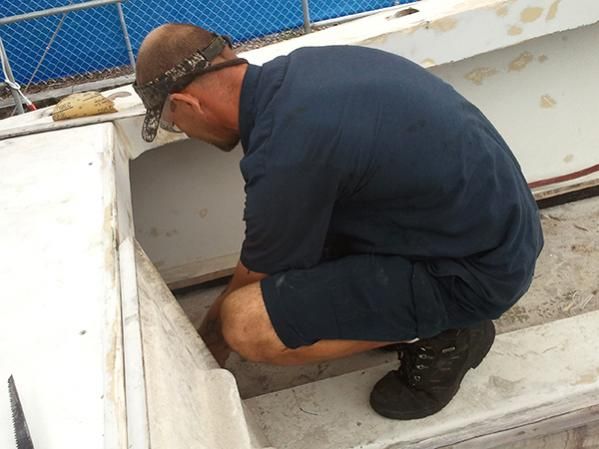
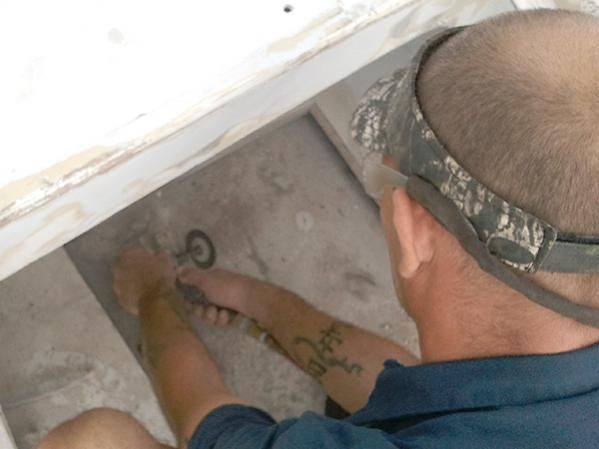
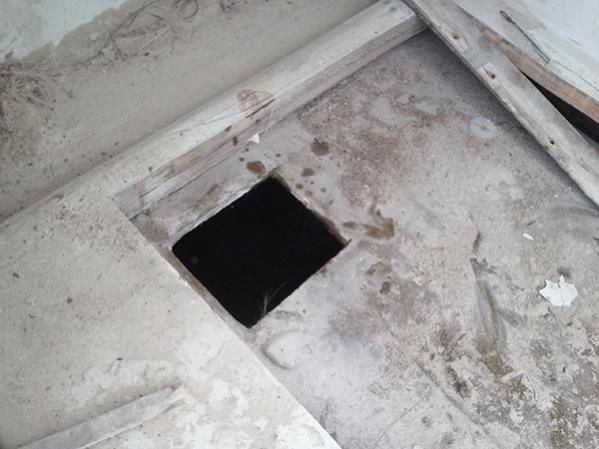
Remember on every aspect of the fuel tank work everything must be done twice.
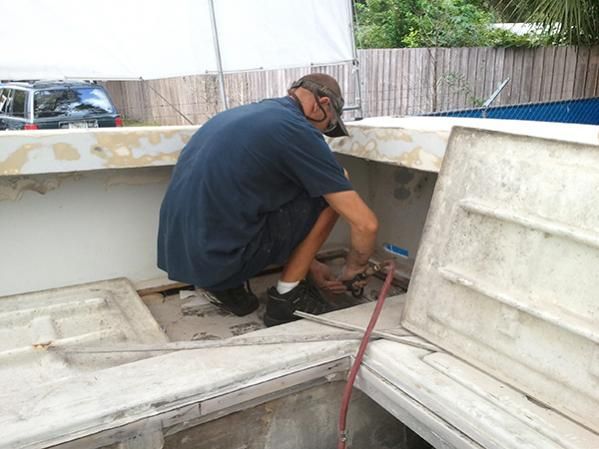
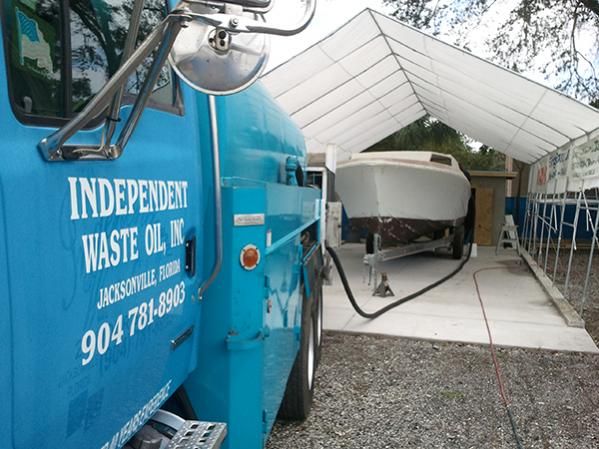
Handy trick: Raise up the front of the boat as much as safely possible while draining the tanks; this ensures that a maximum amount of sludge and fuel make it out of the boat.
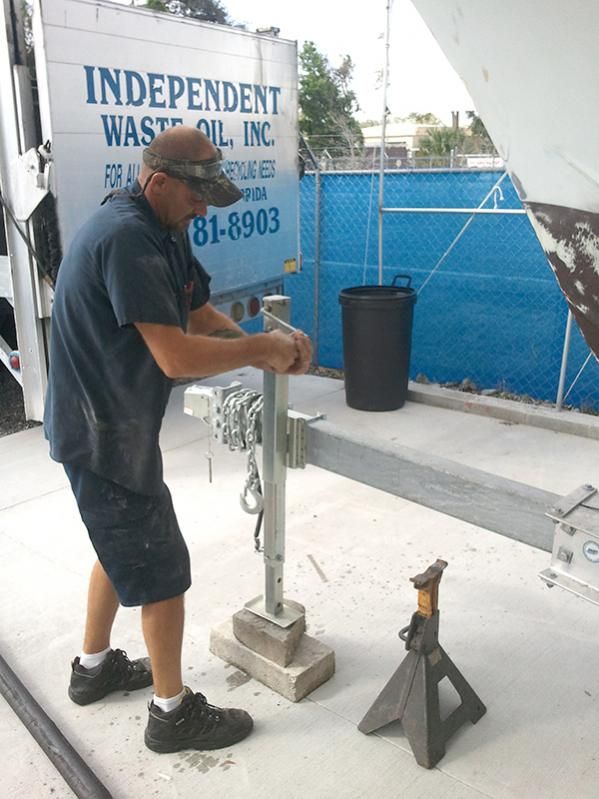
The Discoverer will feature aluminum tanks similar to those on the Wanderer. Aluminum tanks are far more lighter and durable than their fiberglass counterparts, plus by having them fabricated to fit we free ourselves from the existing dimensions of the holes in the floor. We are very pleased with the tanks built for us by Atlantic Coastal Welding in Jacksonville on the Wanderer, so we plan on using their services again.
However before we start designing the new tanks, the old ones gotta go!
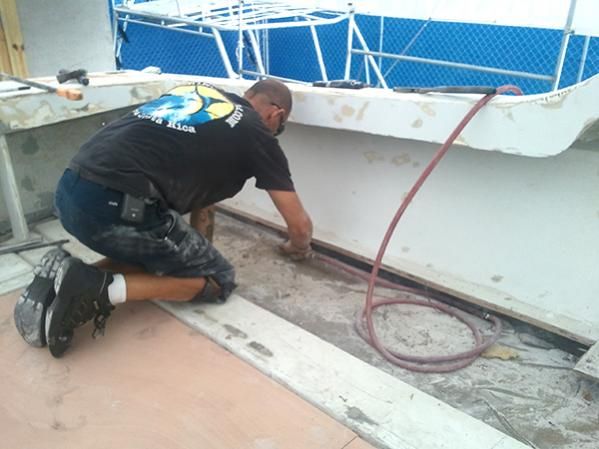
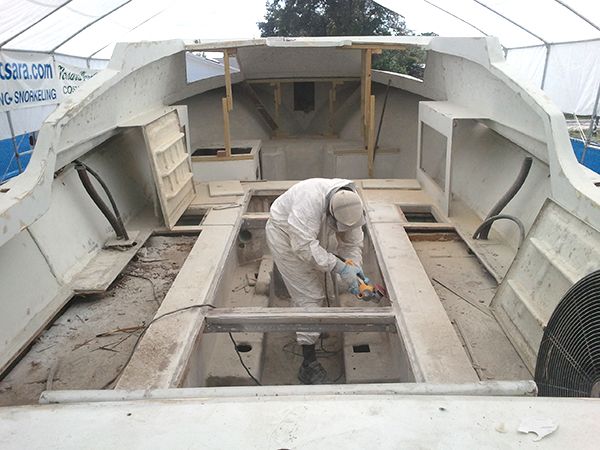
This is tricky because of the limitations of the situation. First off, you can’t use a sawzall or any other ‘deep-cut’ tools because of the tight clearance between the bottom of the tanks and the outer hull; one slip and we are patching a gash in the side of the boat.
Also, you can’t generate too much heat because of the low flashpoint of the leftover diesel fuel mix, so forget about torches, jigsaws or body saws.
The only tool for this job is a low-RPM cutoff grinder borrowed from Jack’s automotive toolkit. Jack kept the RPM’s low and made long scoring cuts rather than digging in and dragging.
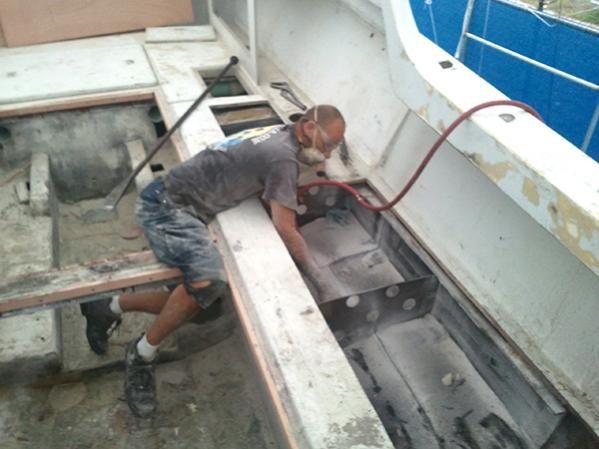
This is an arduous and nasty process, but Captain Jack ain’t scared of a little grinding dust. In the above picture he has already cut away the 3/4″ lid of the tank and proceeded to cut out the horizontal baffles. Here is a close-up of the baffles:
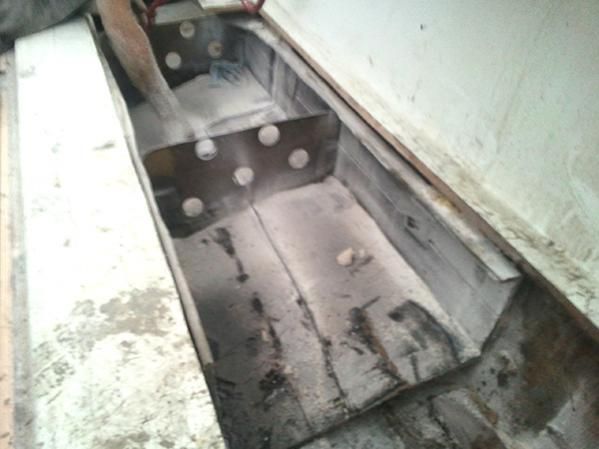
Jack and Craig then cut horizontal grooves into the bottom of the tank (carefully!) so the tank could be removed in sections. The tank is way too big to come out in one piece…quite frankly I think they built this boat around the tanks!
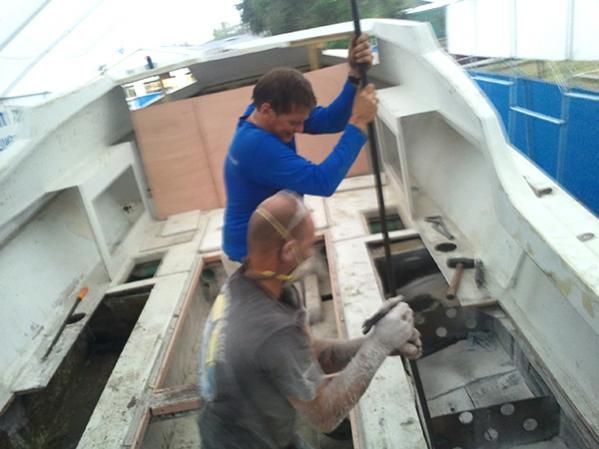
Even with the sectioned removal approach, we battled a layer of foam insulation that held the tanks in place. No exotic way to knock this out; just the old fashioned prybar and balls.
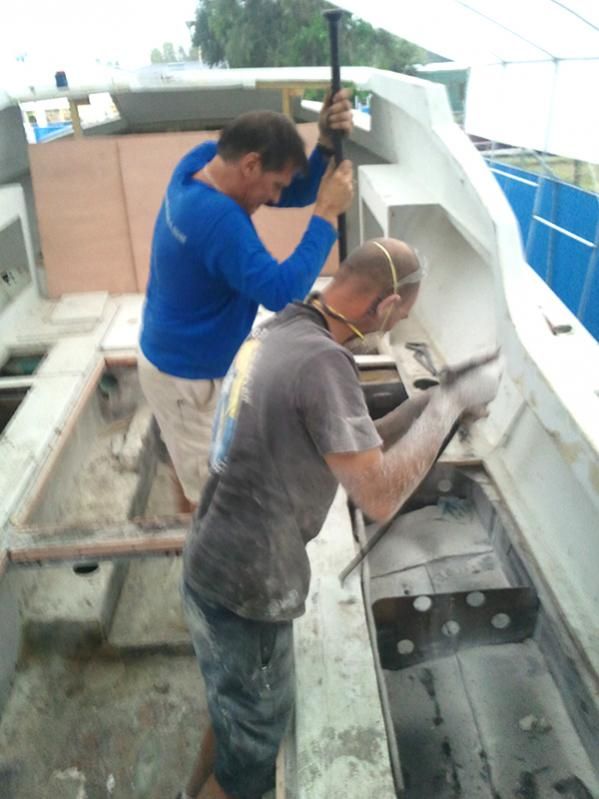
With the tanks gone, Charlie can begin fabricating the new covering boards for the forthcoming aluminum fuel tanks. Meanwhile we will begin cleaning our sanding dust and wiping the hull with acetone. It won’t be long until we are prepping for paint and then it is off to get the transom installed. Stay tuned as we continue work on The Discoverer Project.
