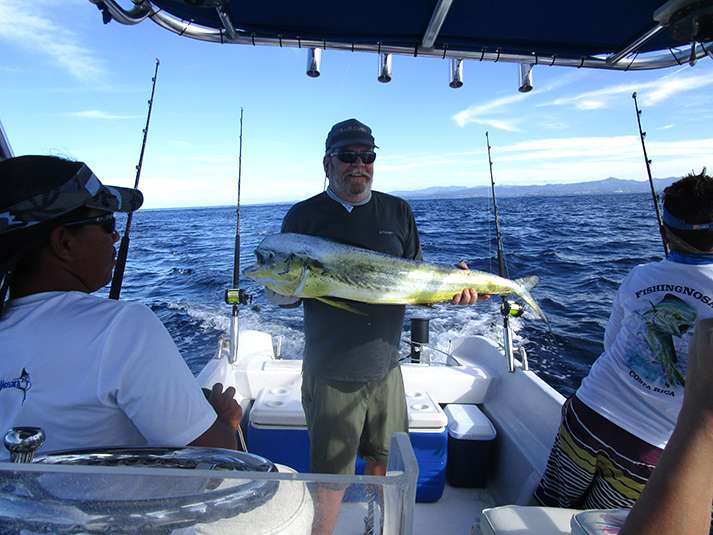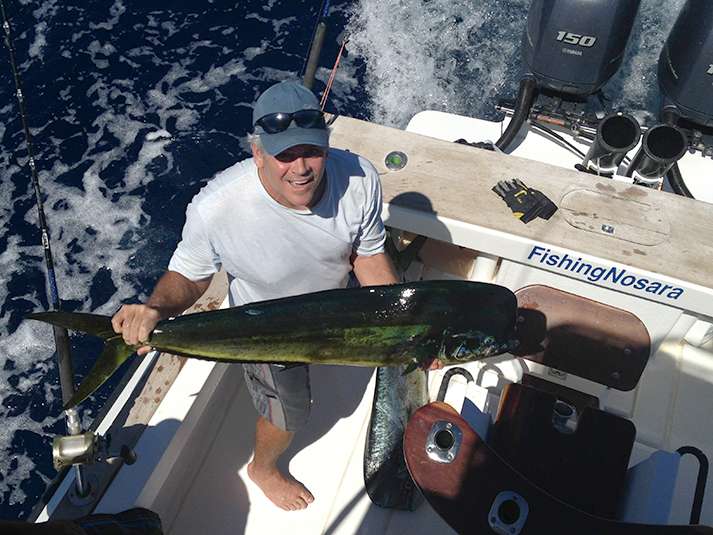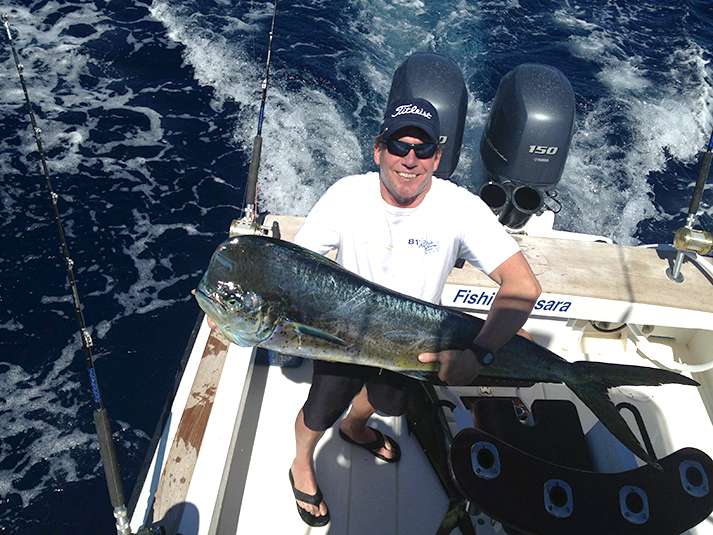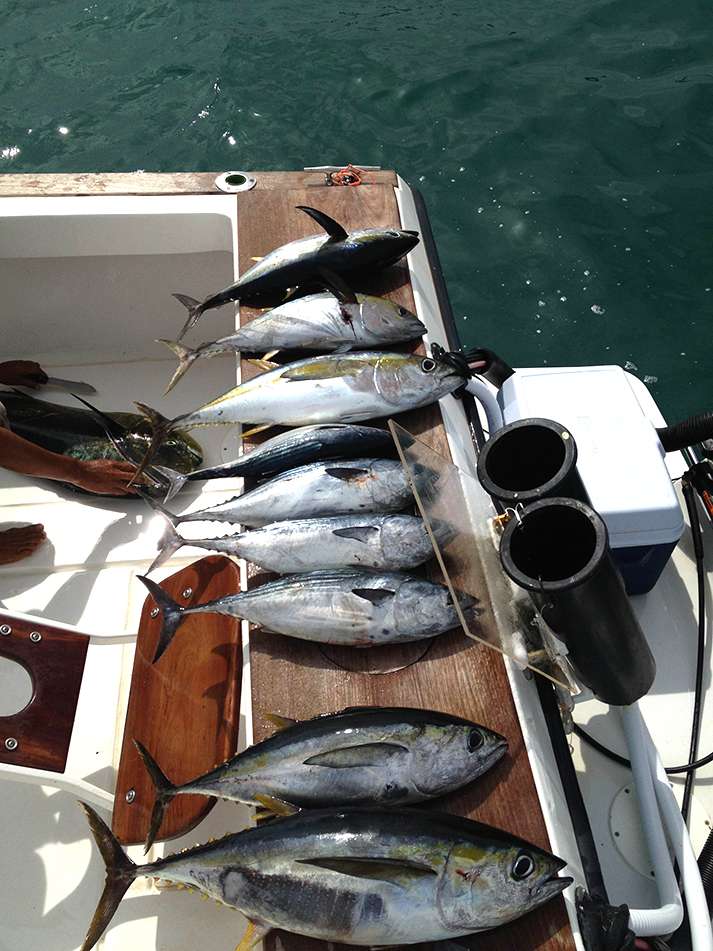
“Just wanted to let you guys know our trip to Nosara was wonderful.”
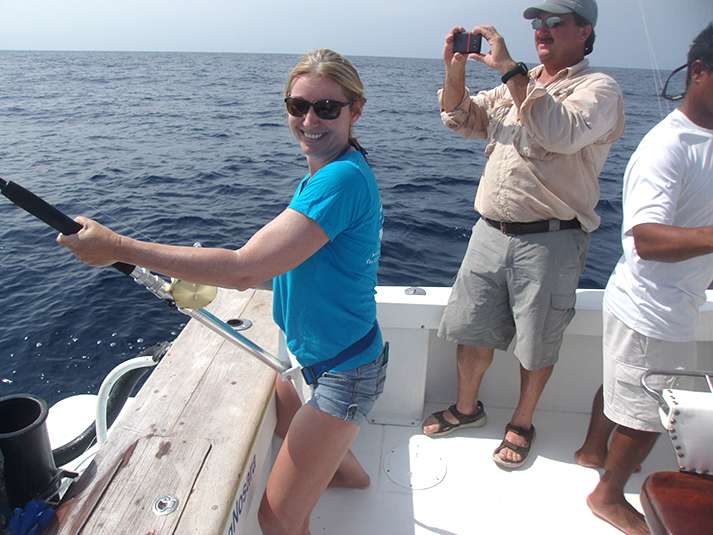
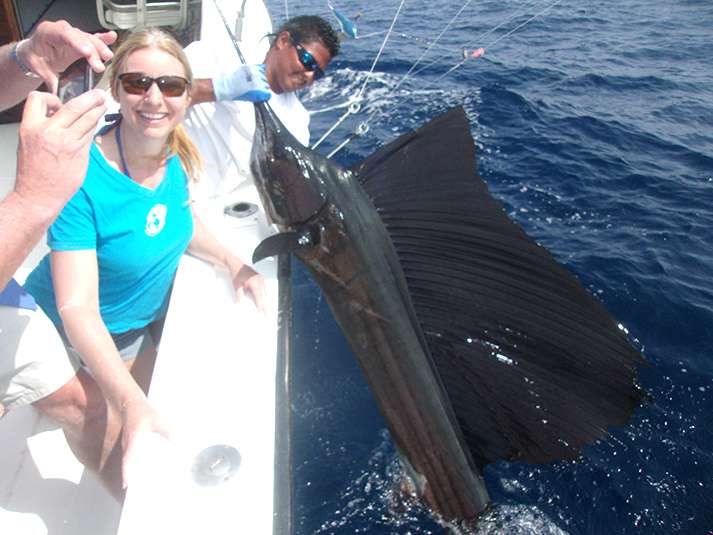
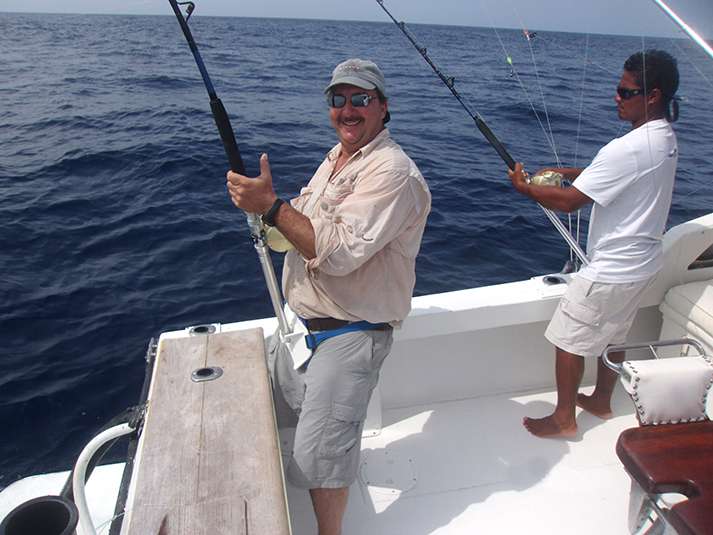
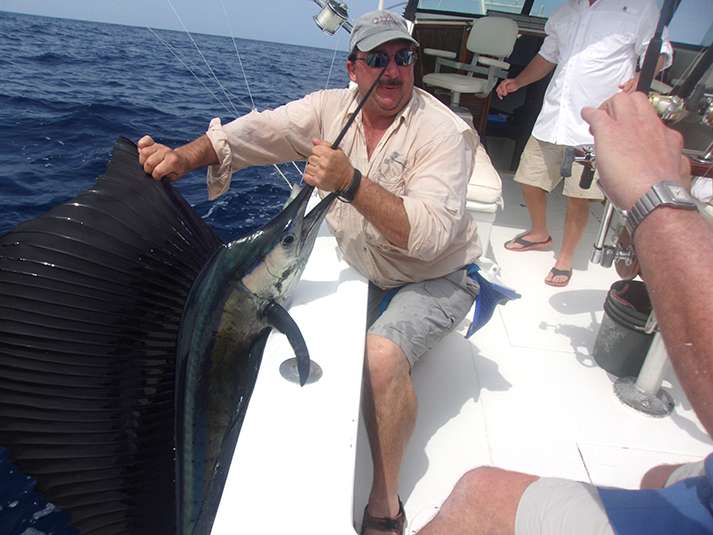
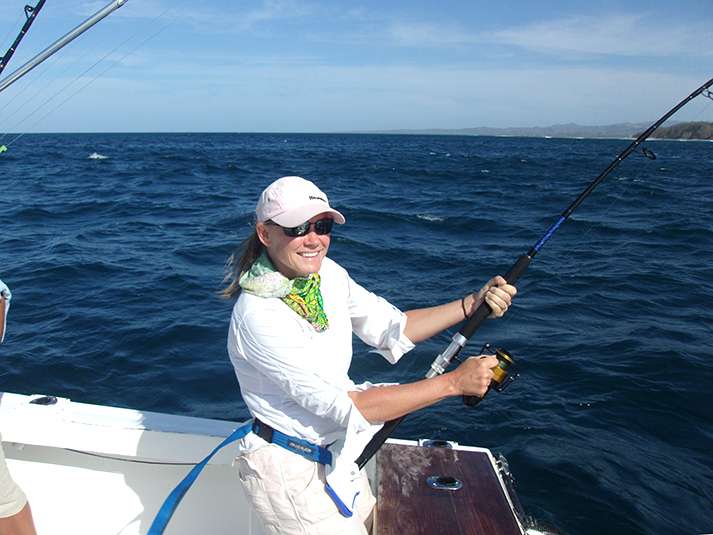
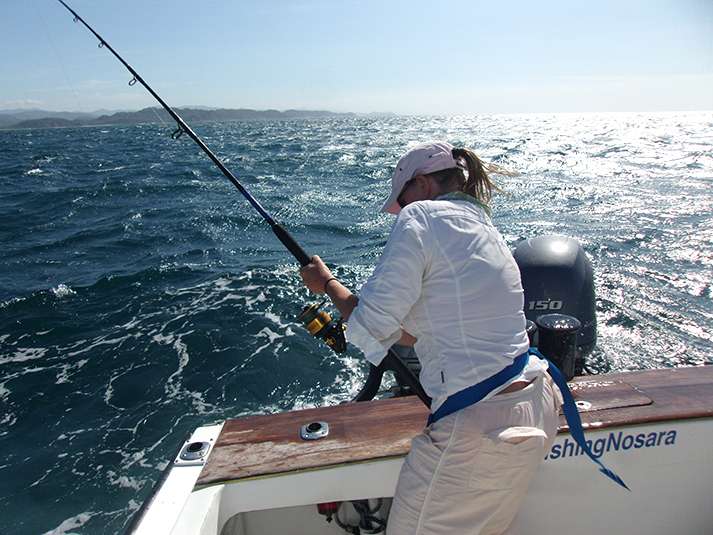
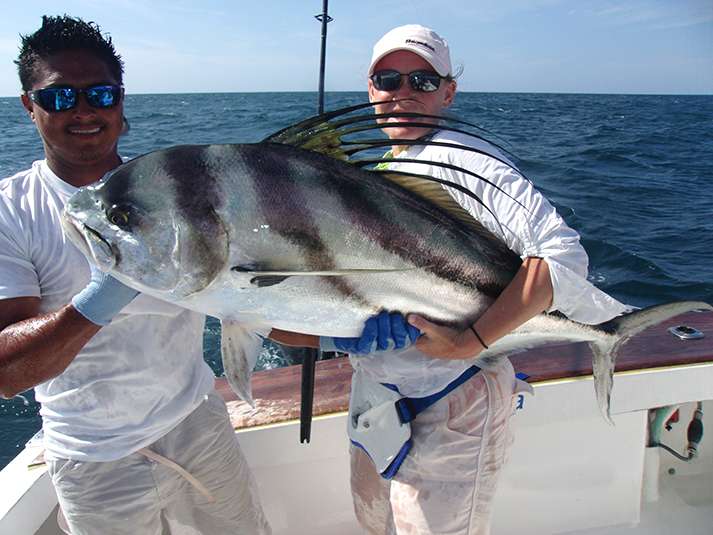
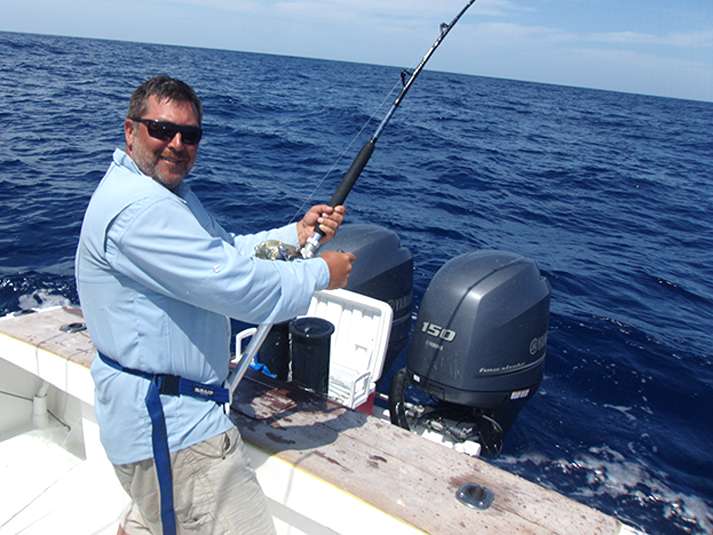
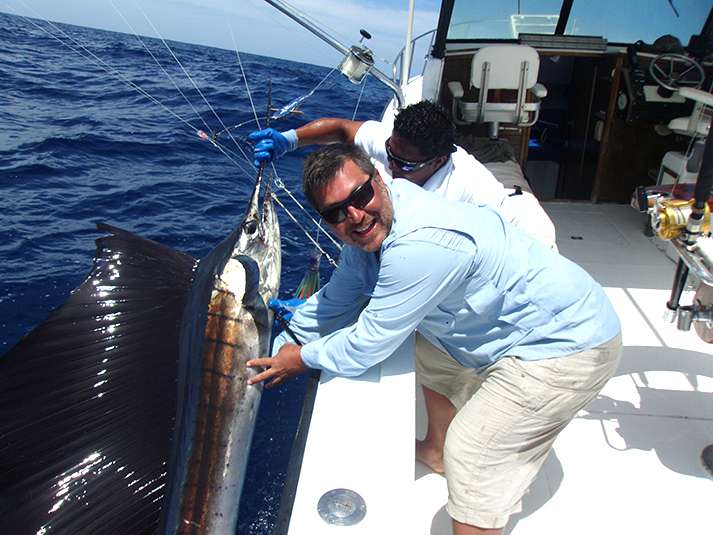
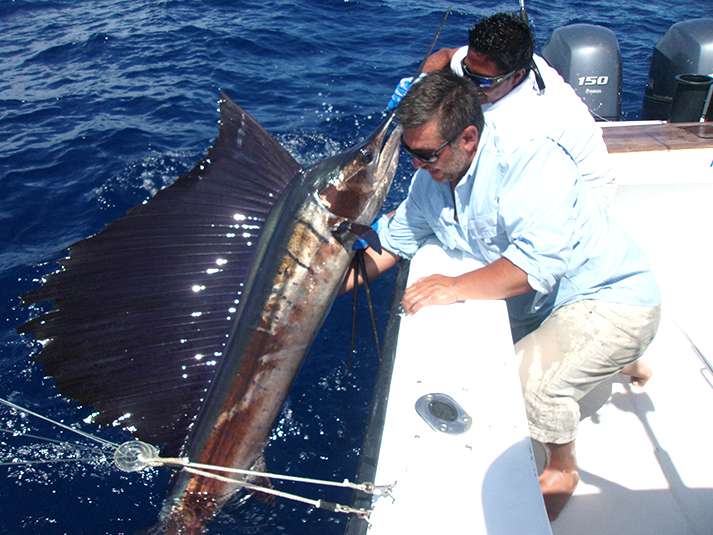
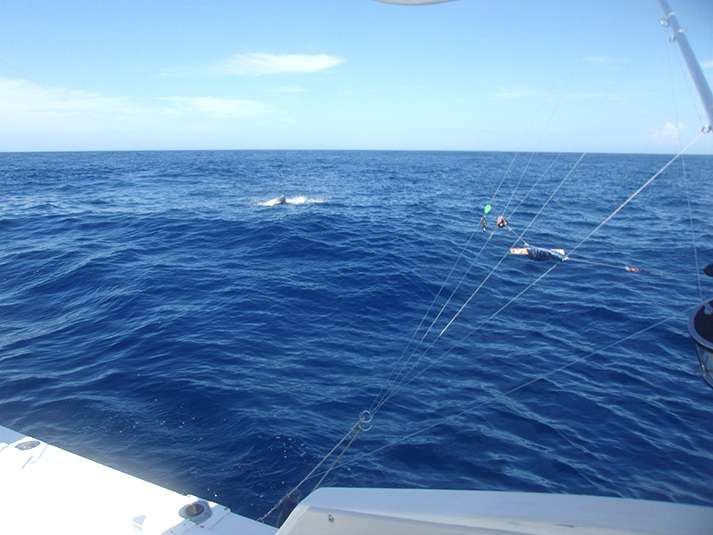
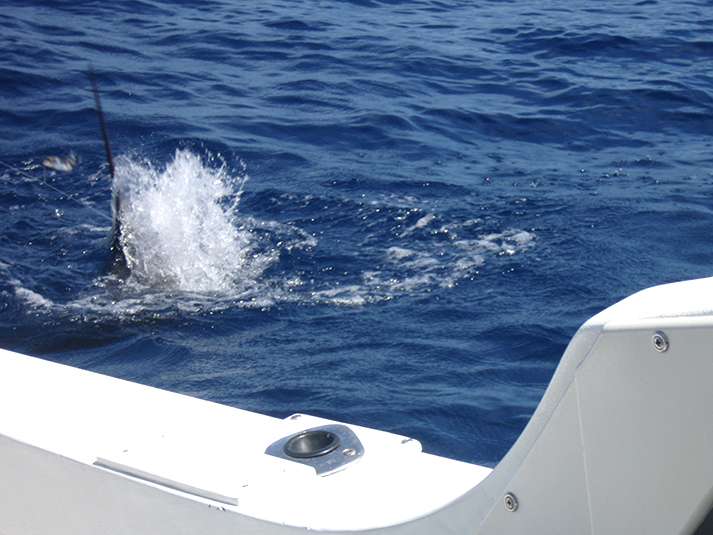
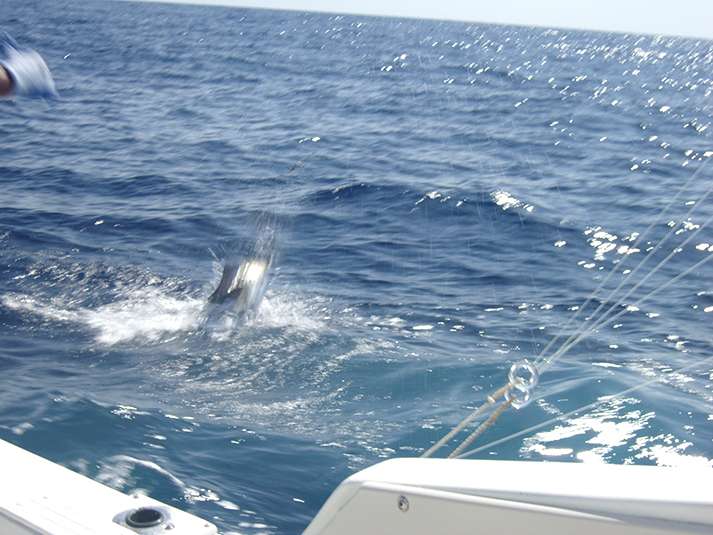
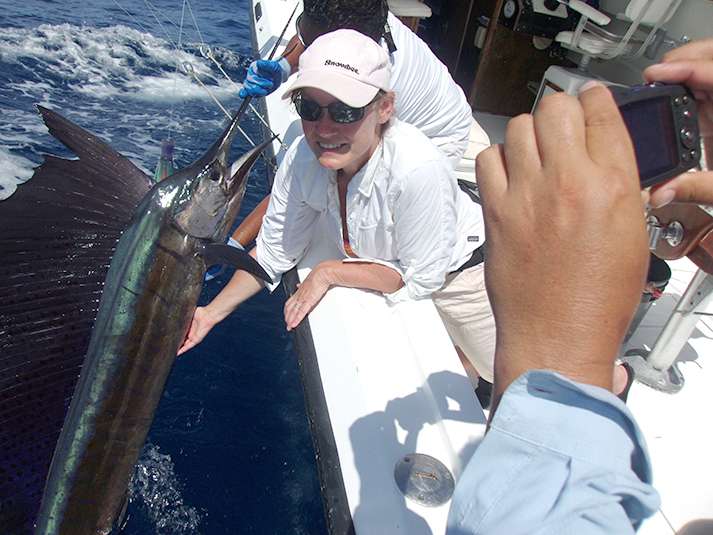
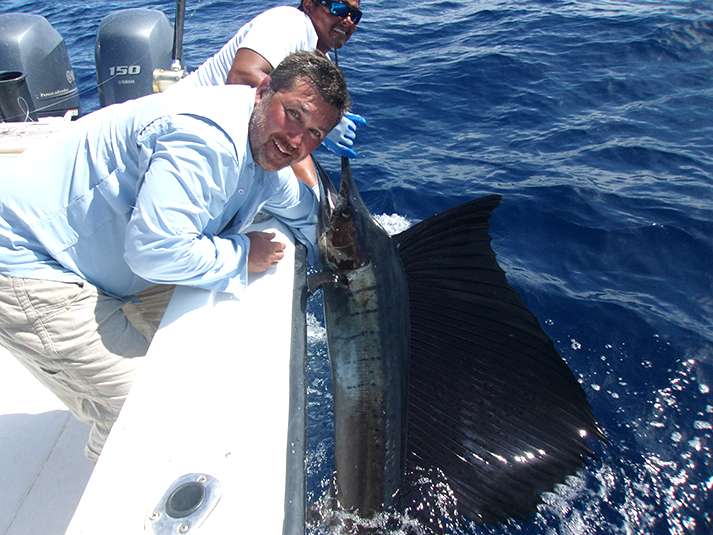
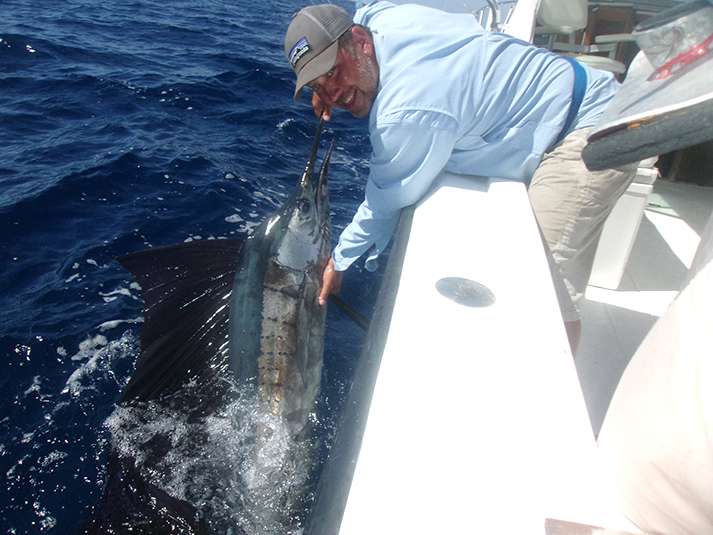
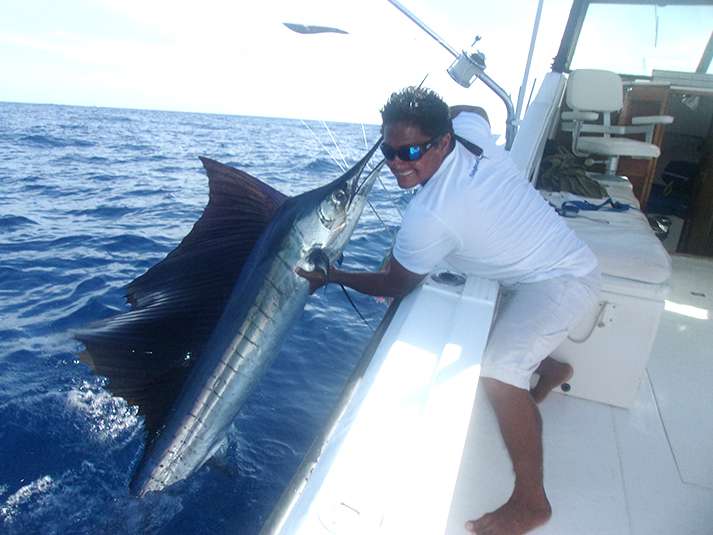
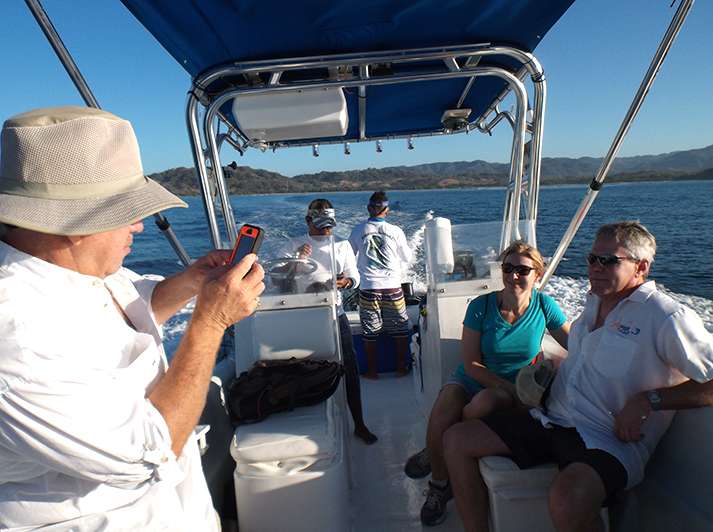
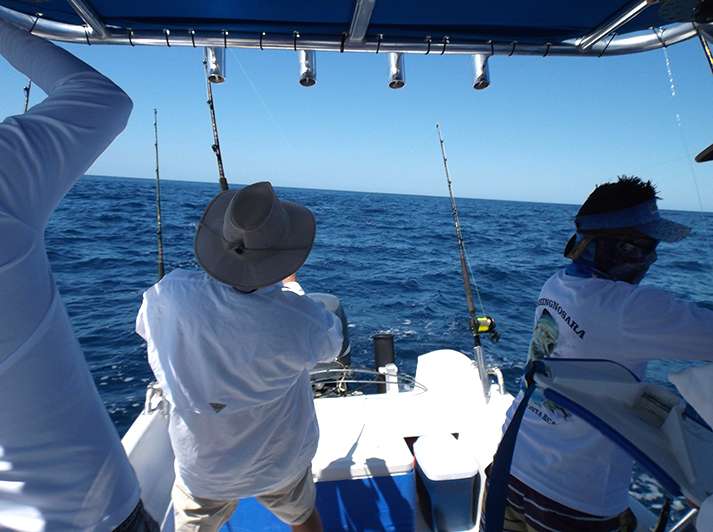
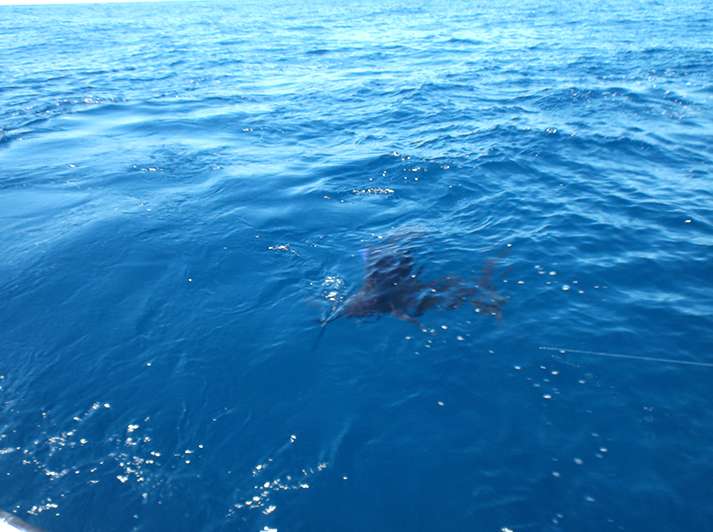
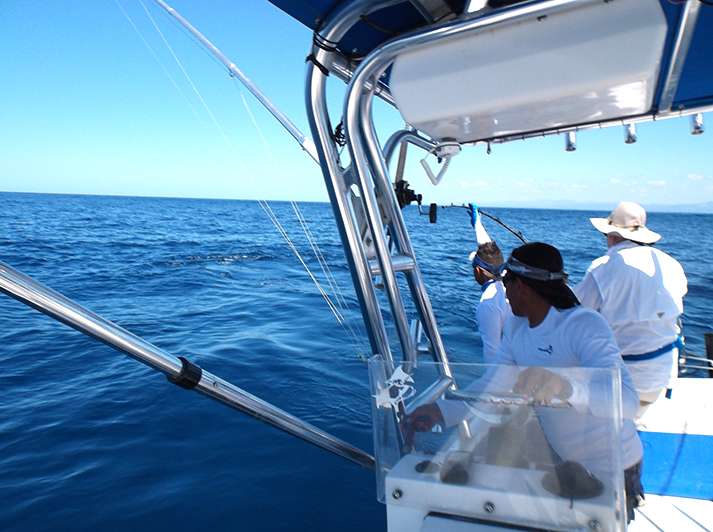
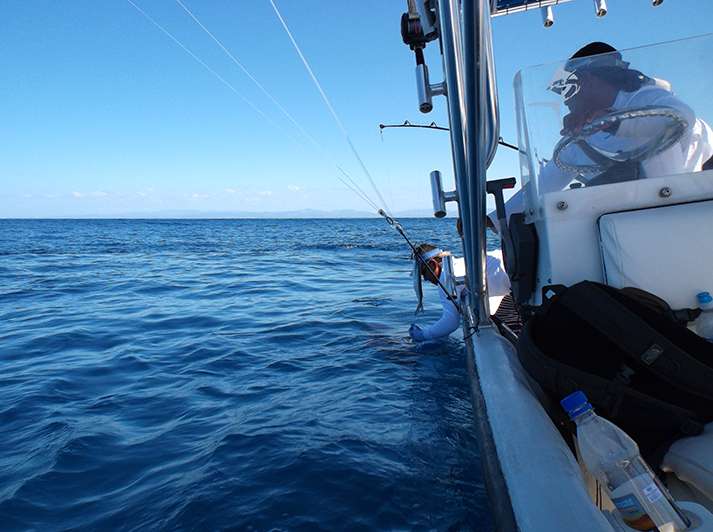
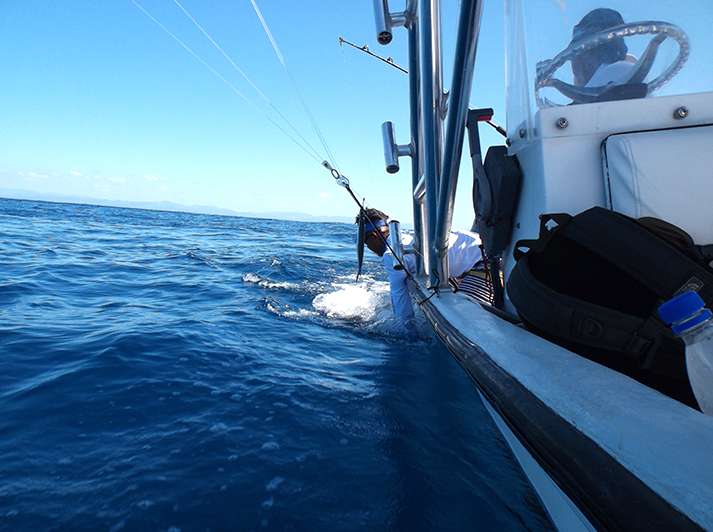
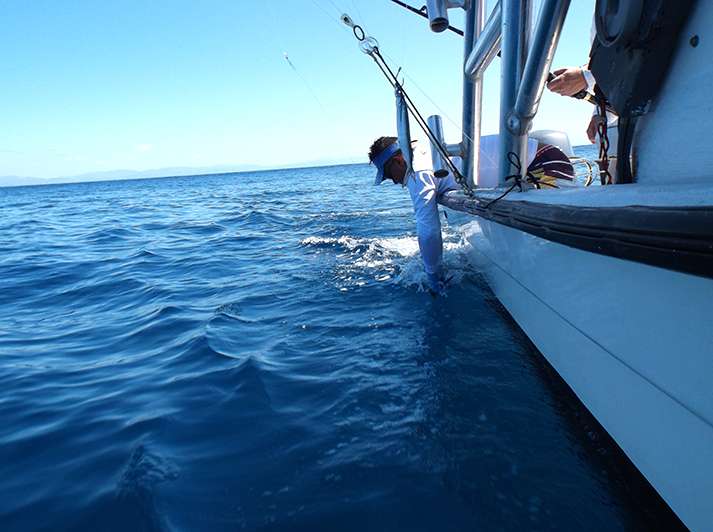
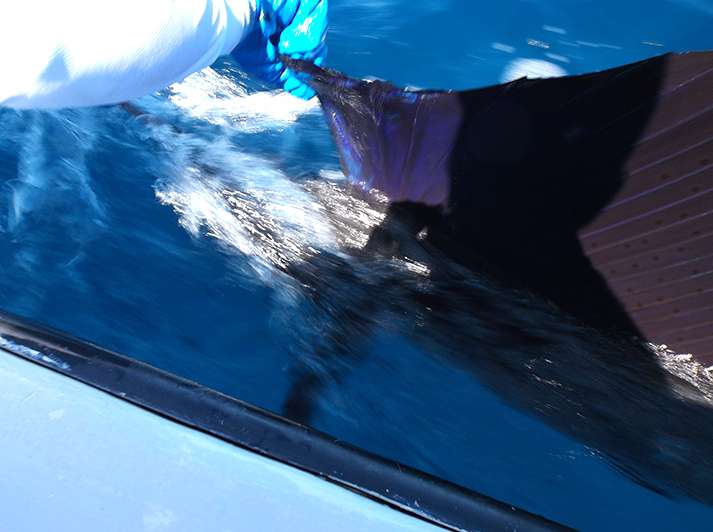
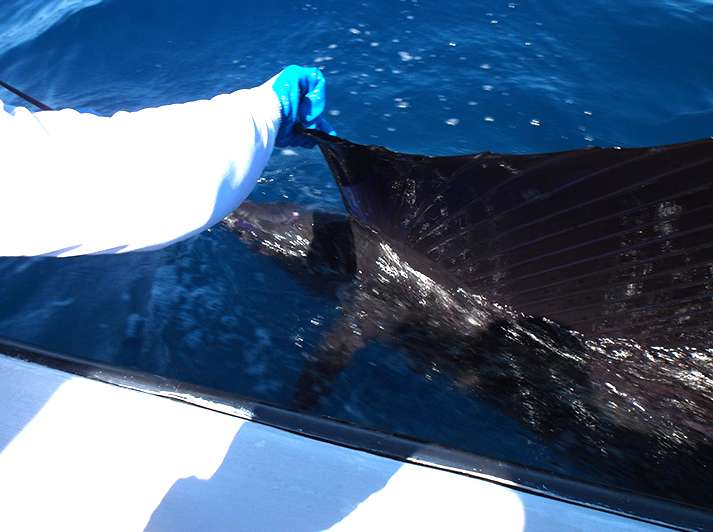
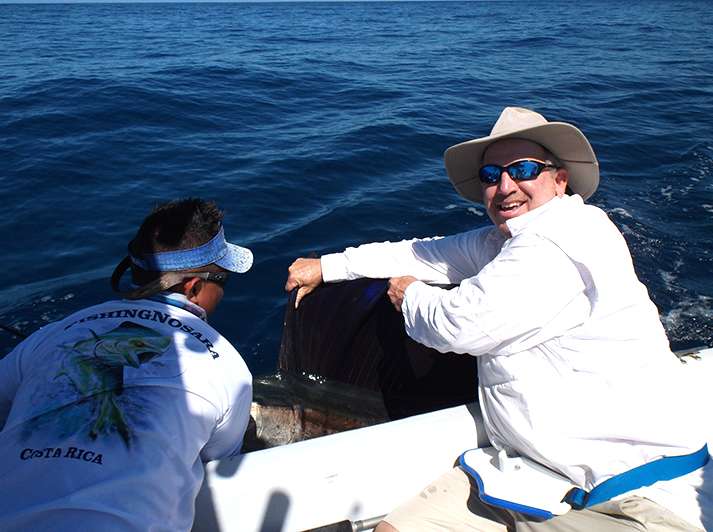
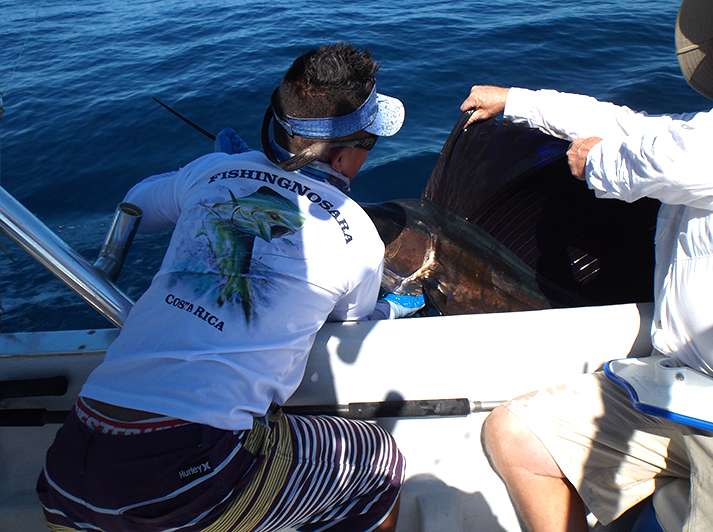
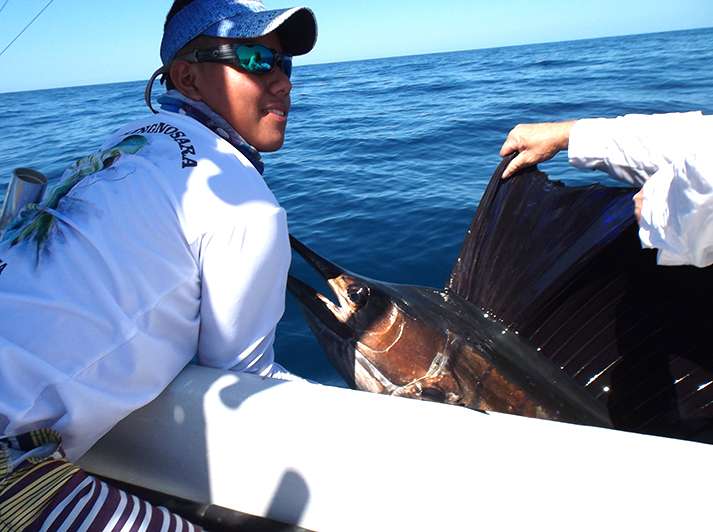
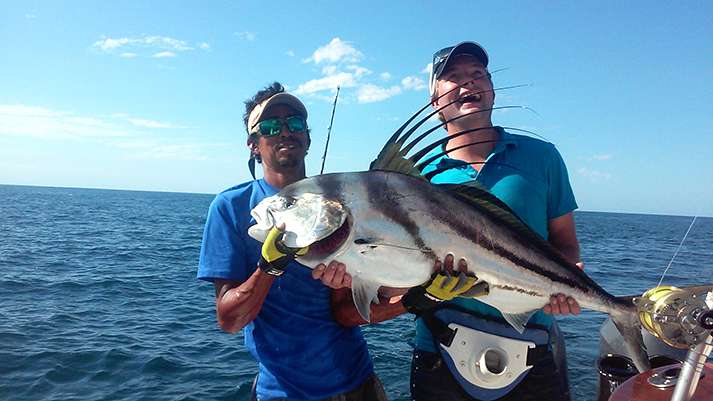
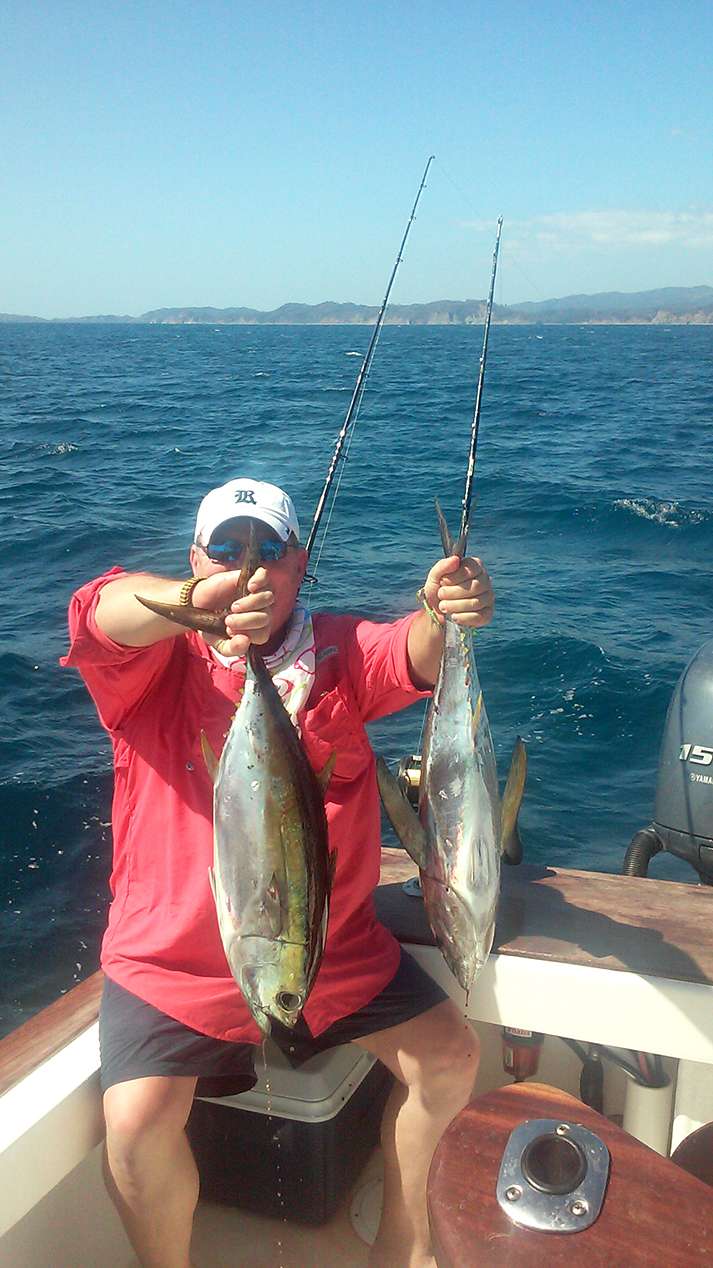
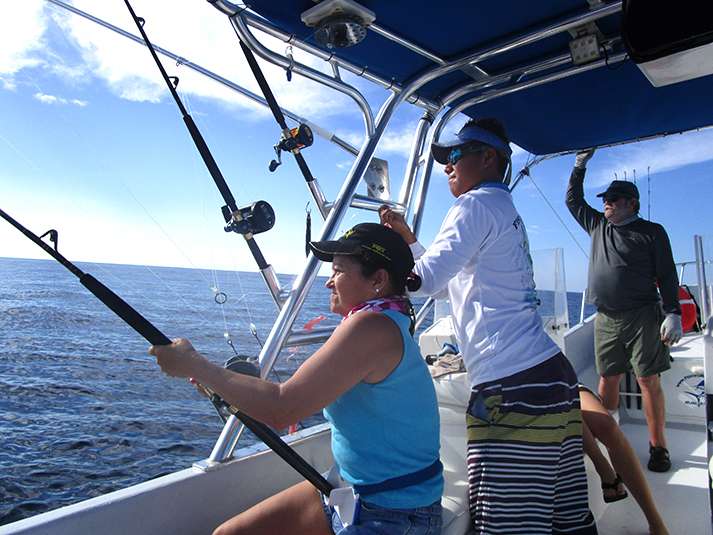
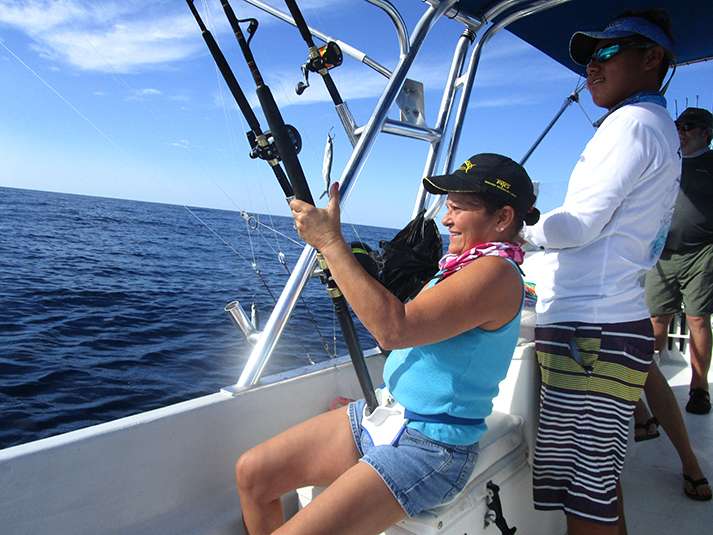
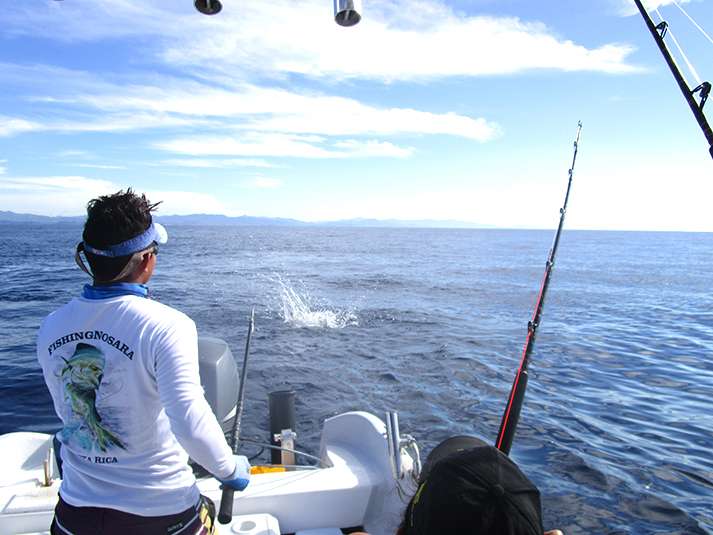
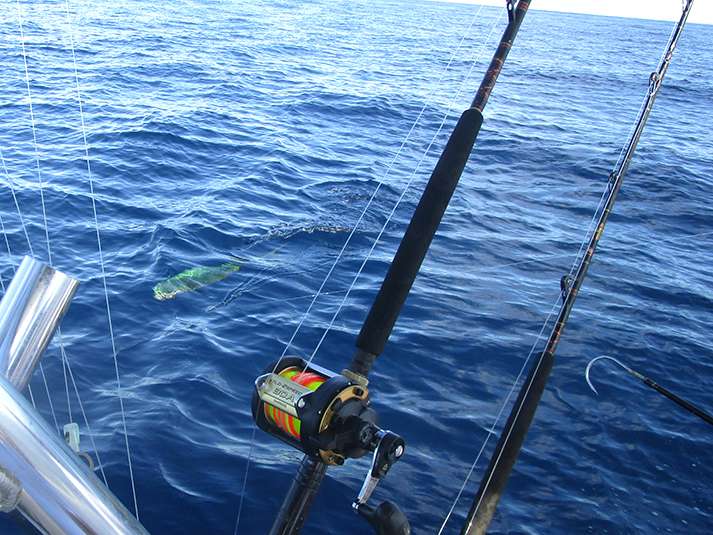
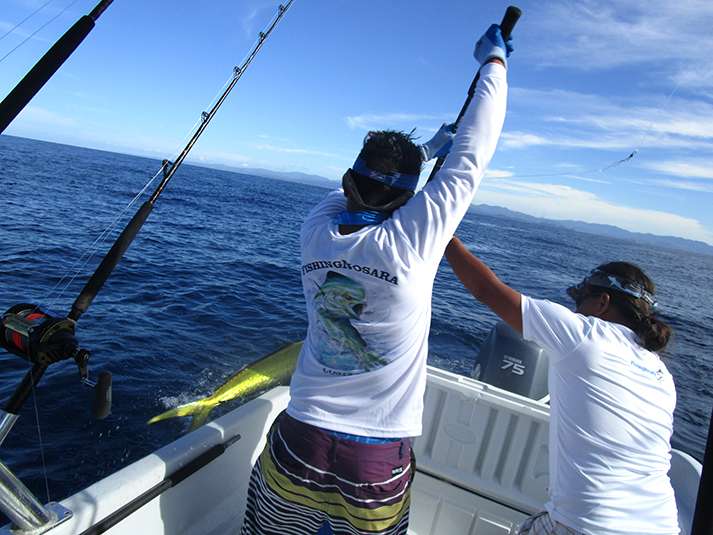
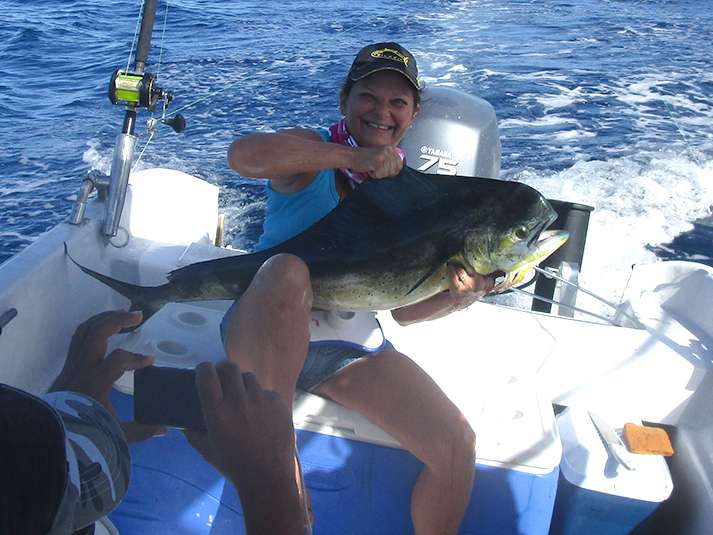
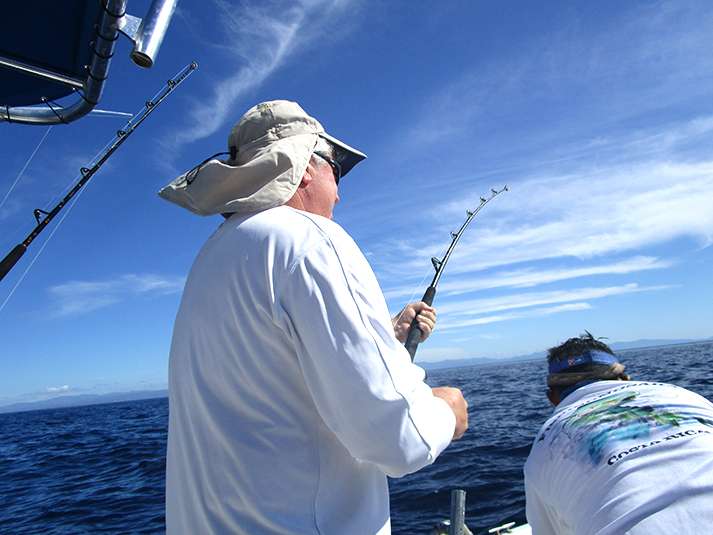
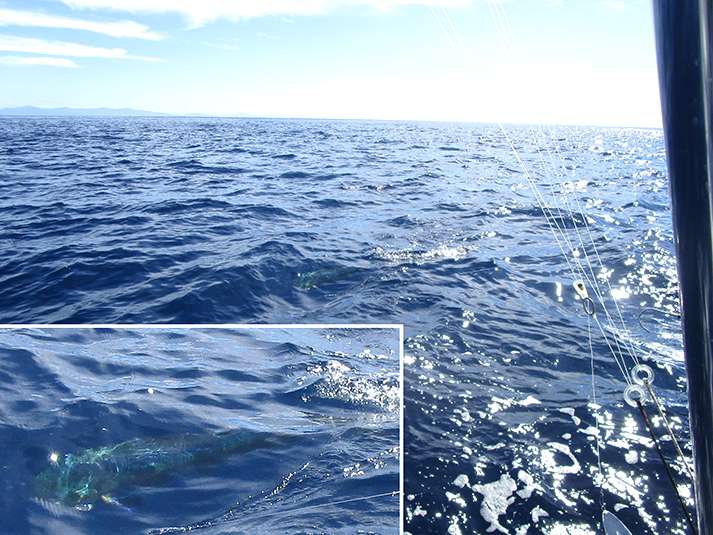
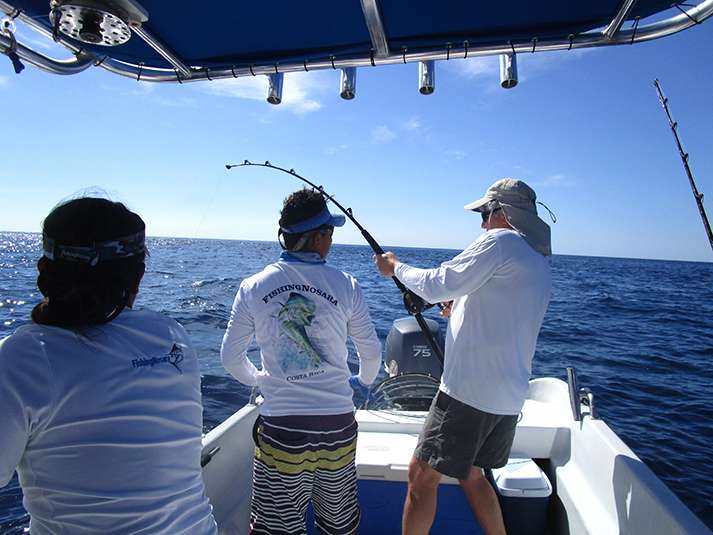
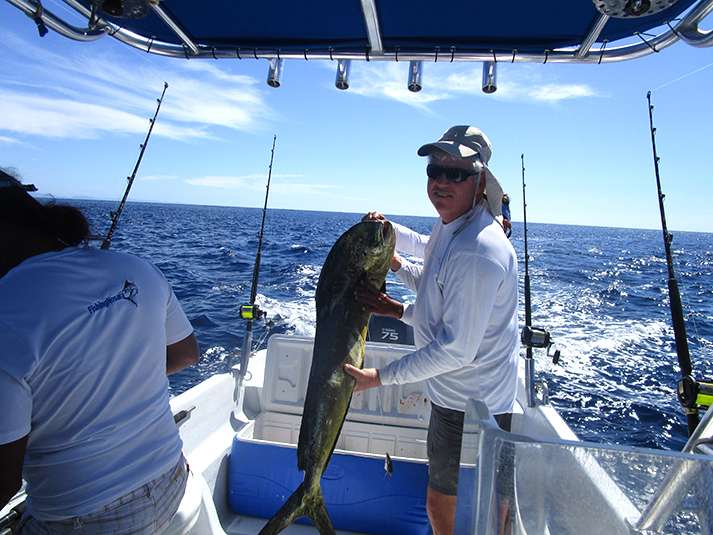
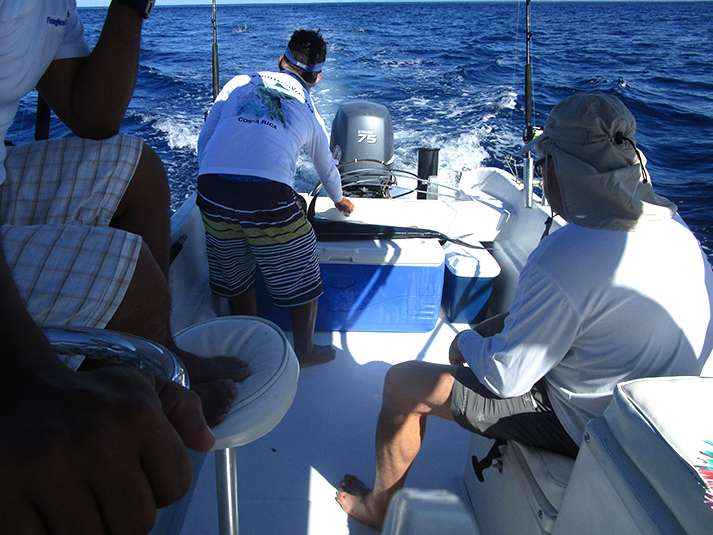
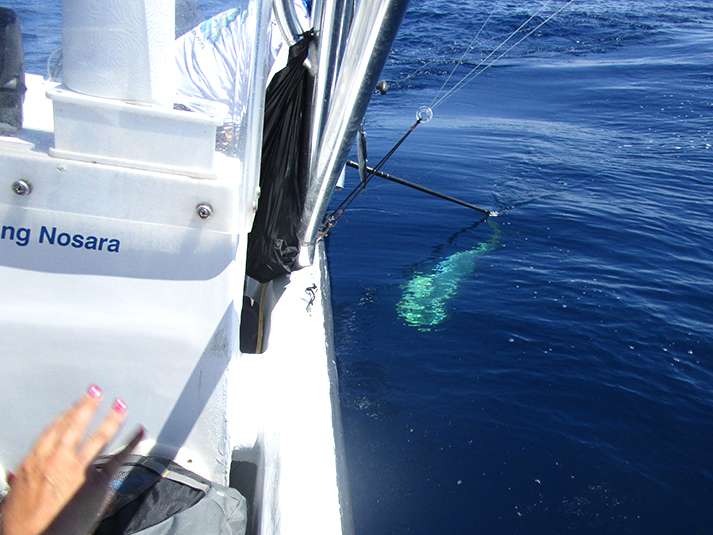
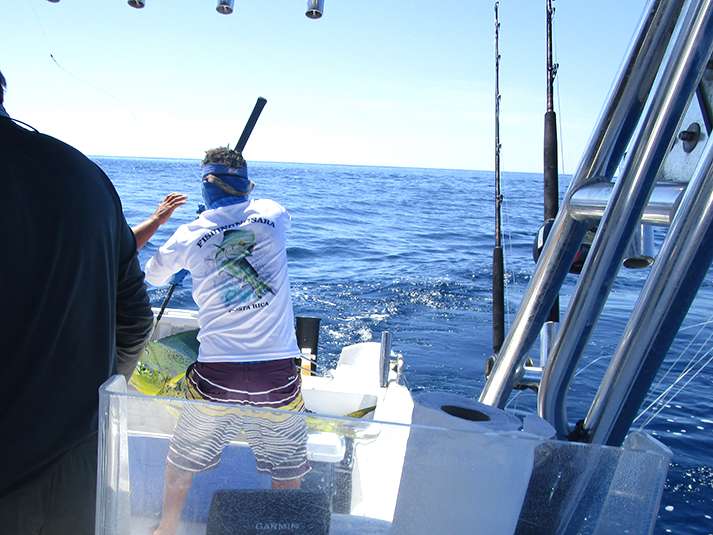
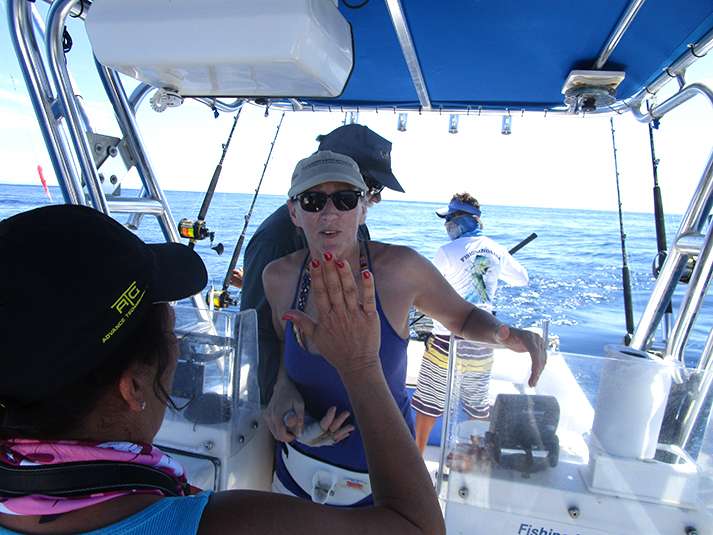
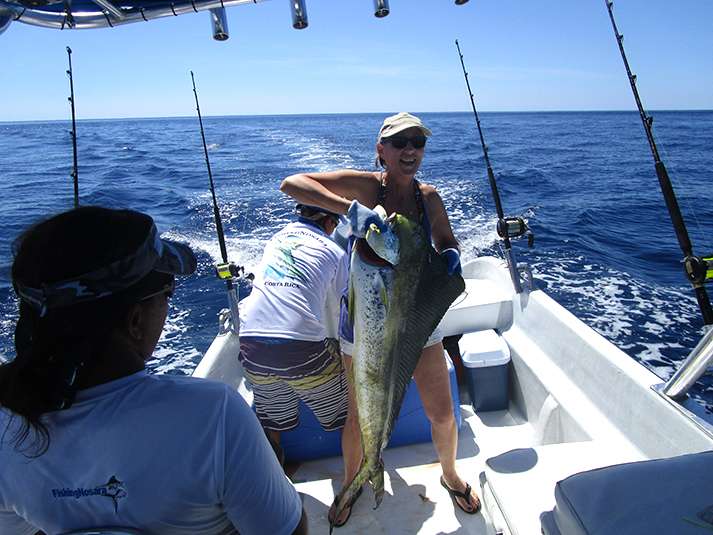
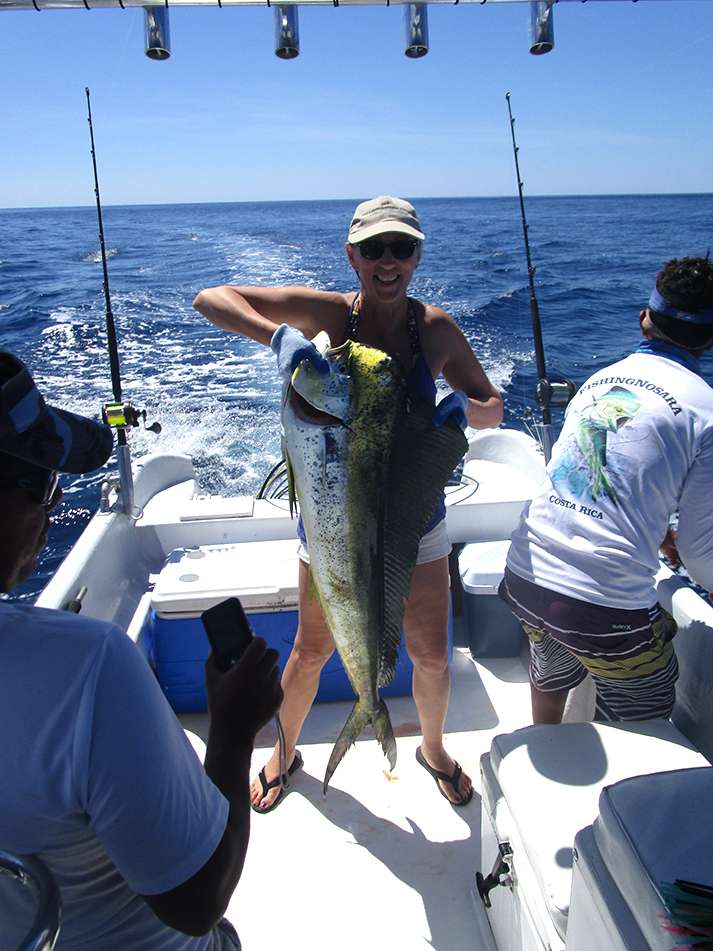
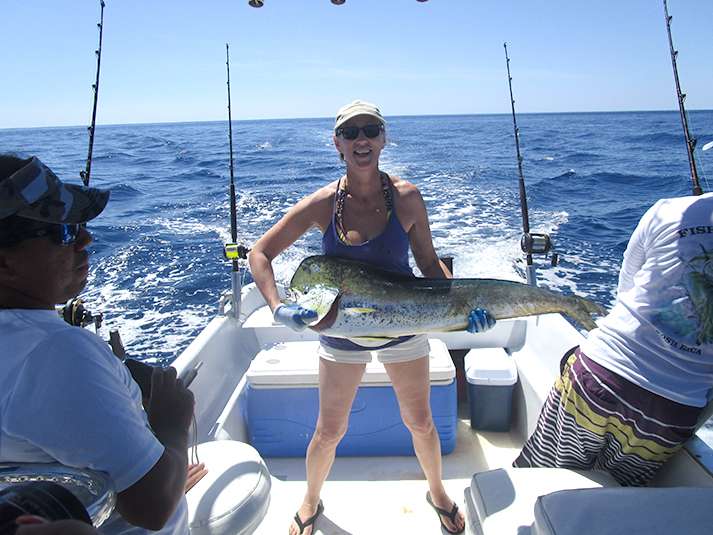
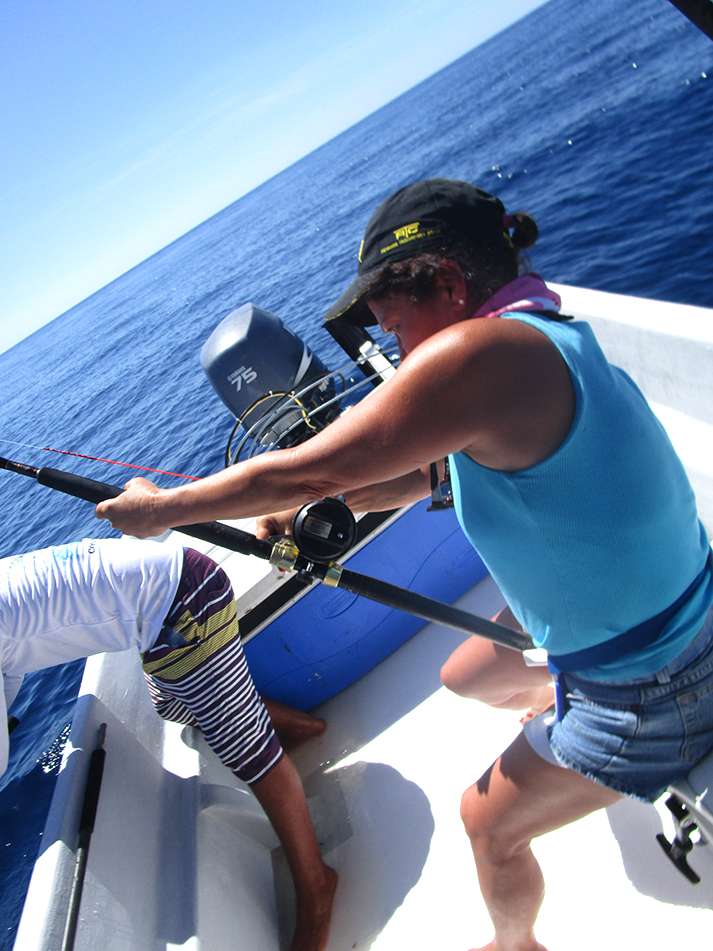
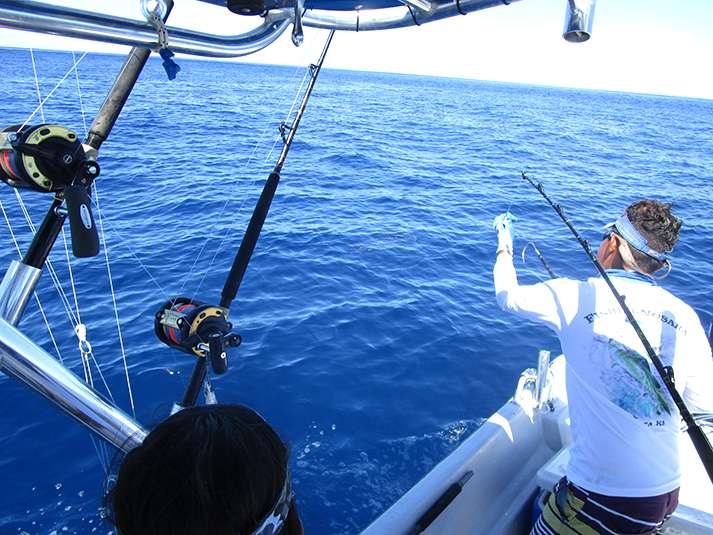
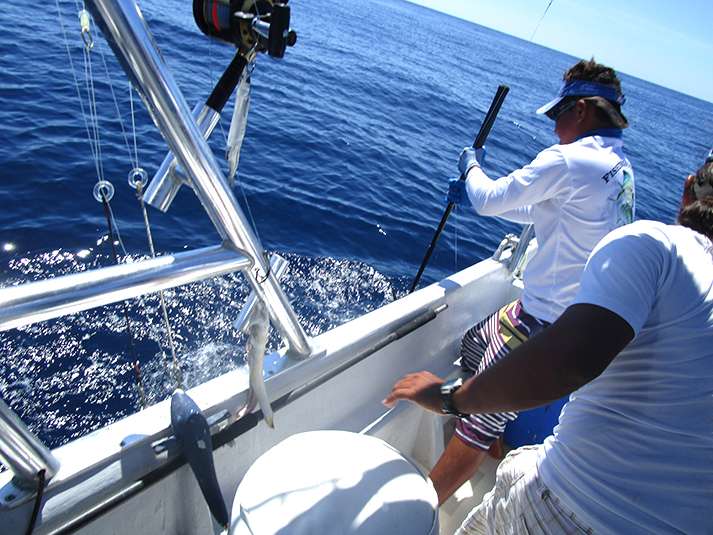
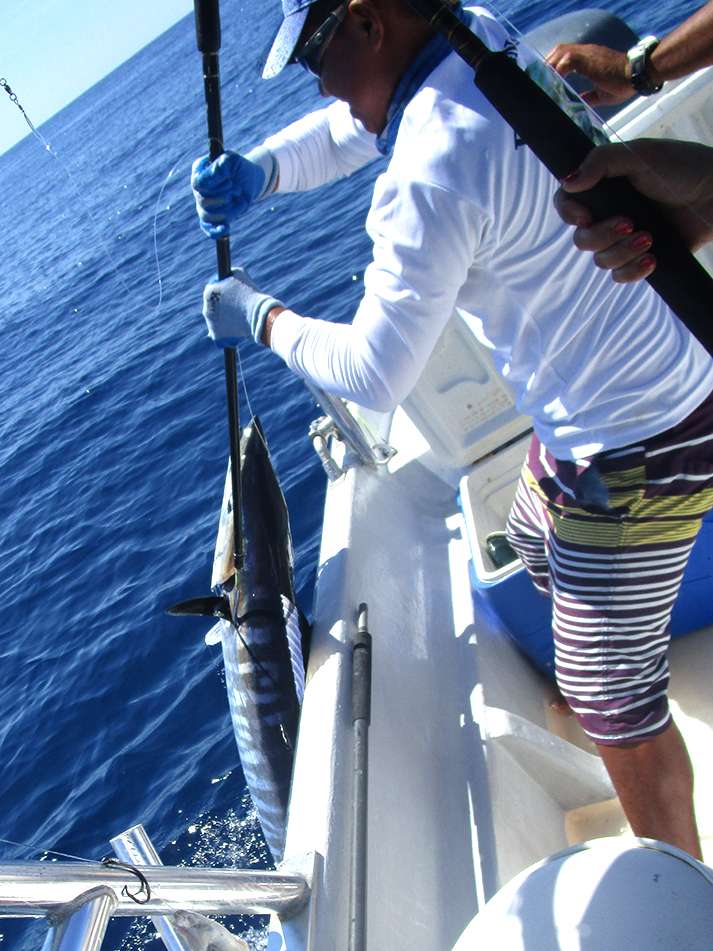
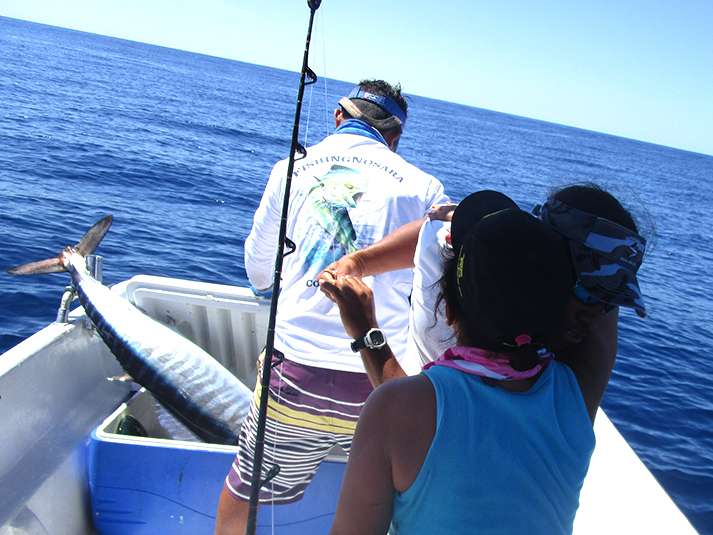
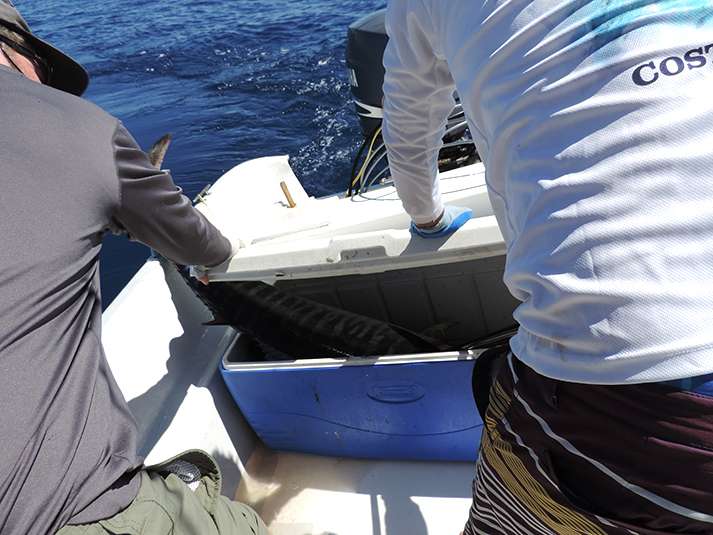
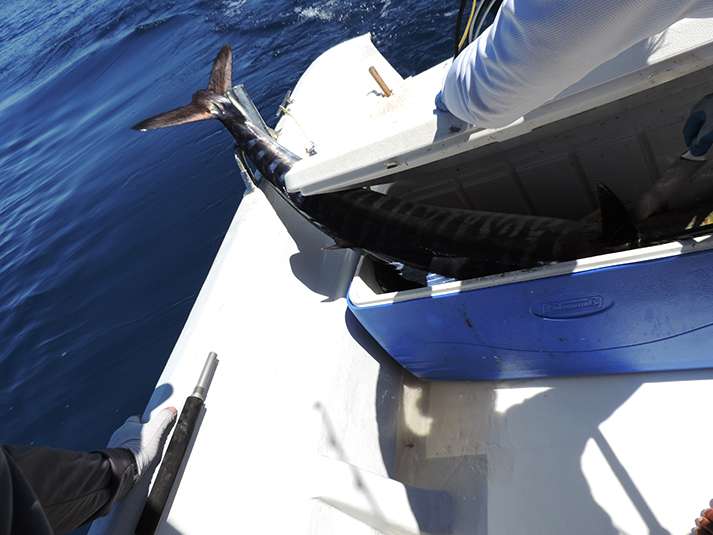
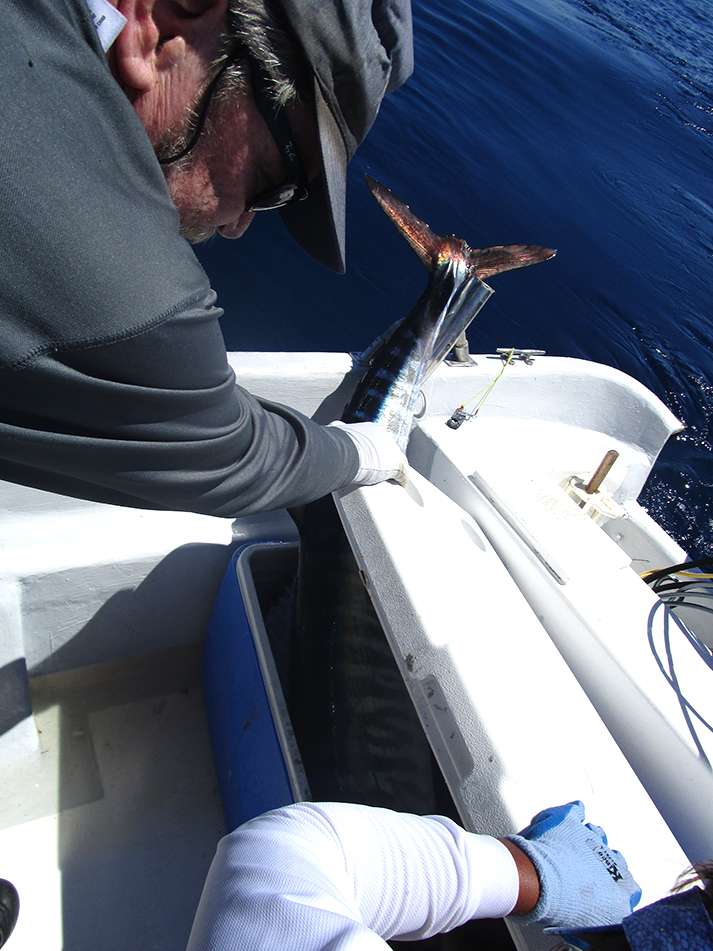
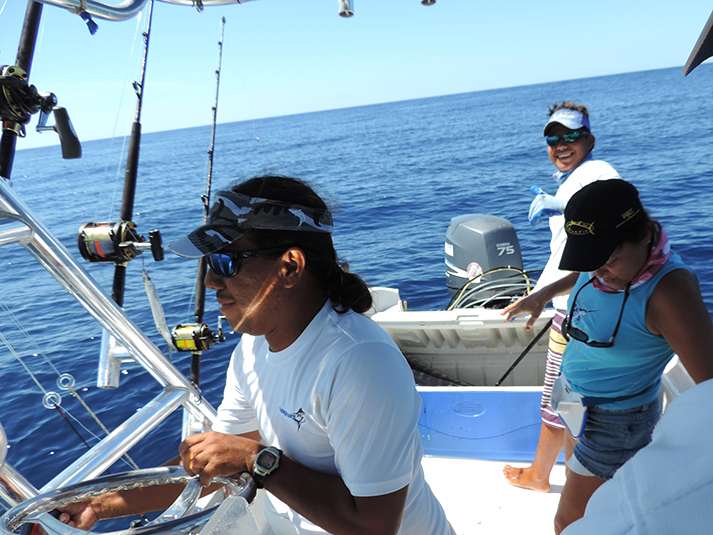
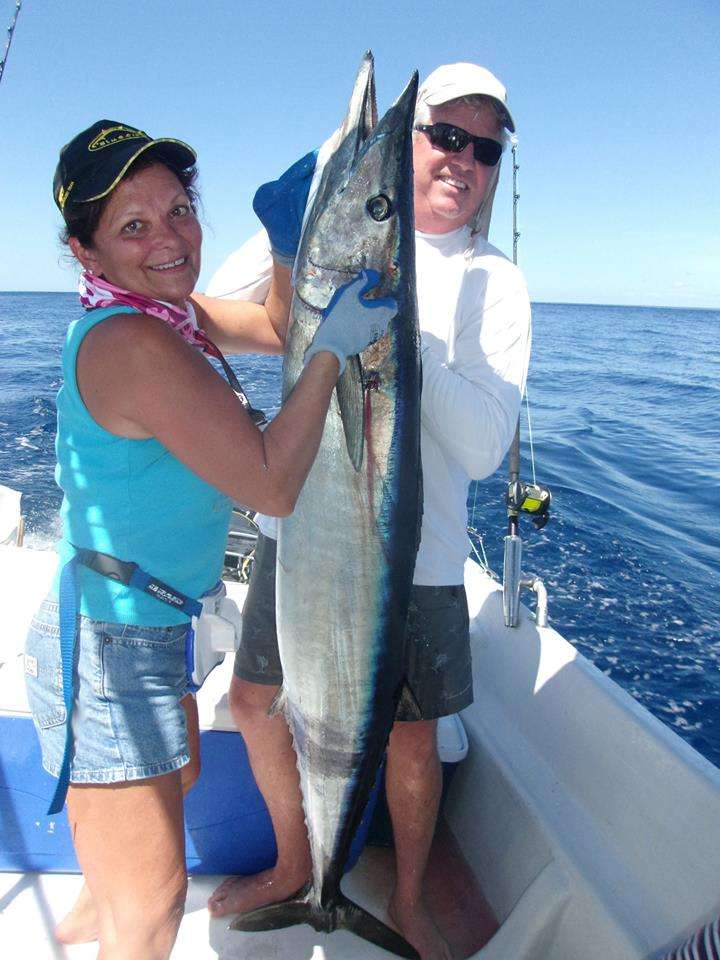
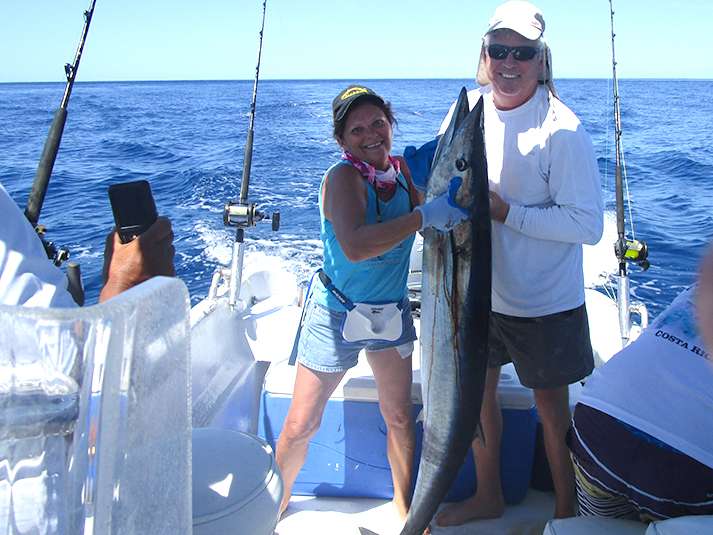
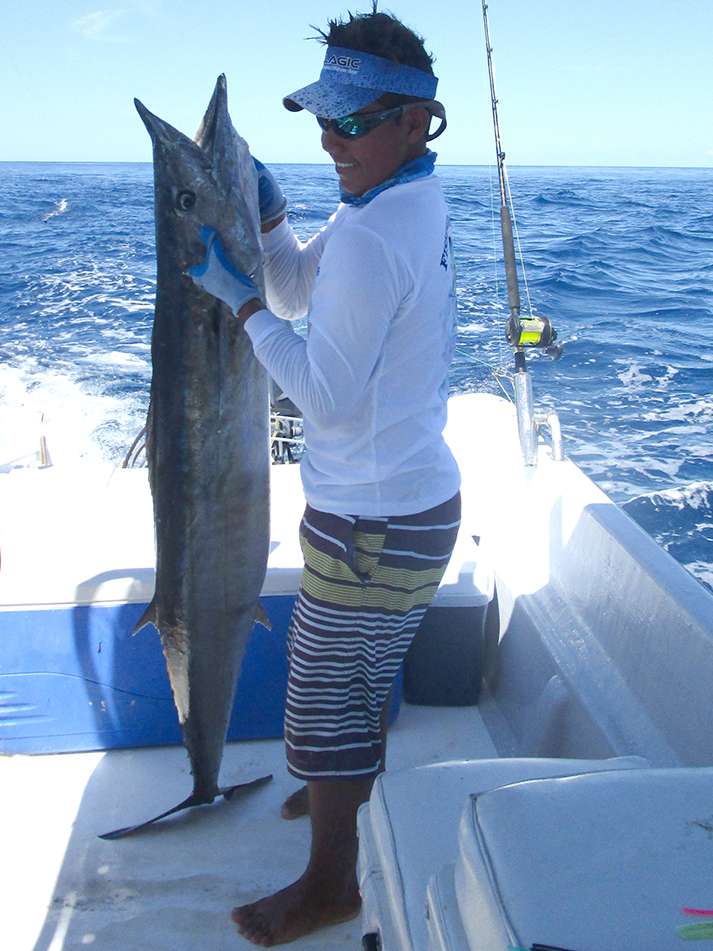
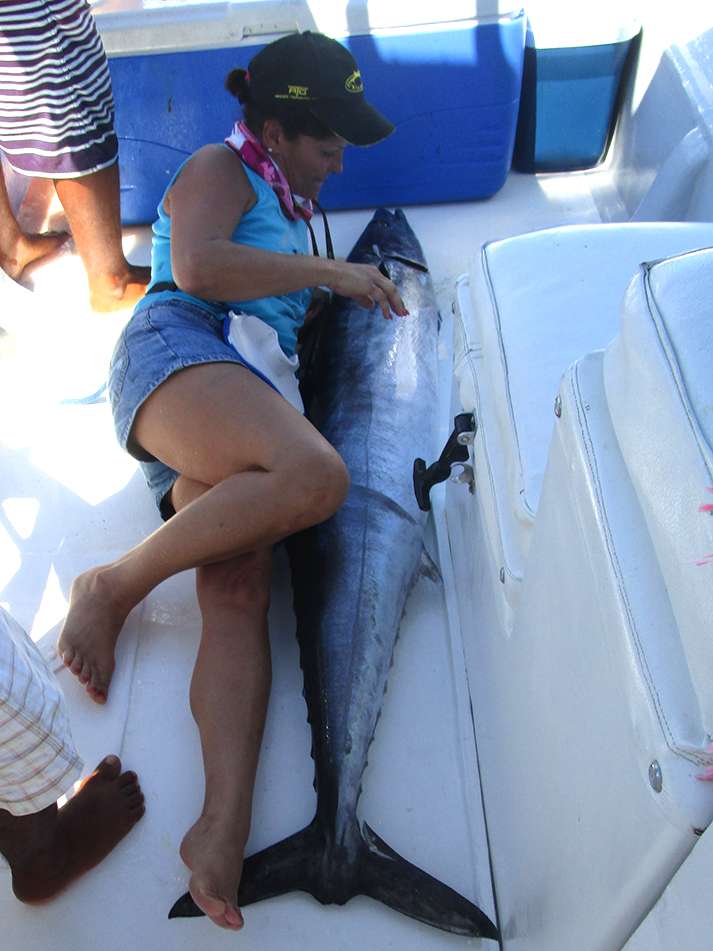
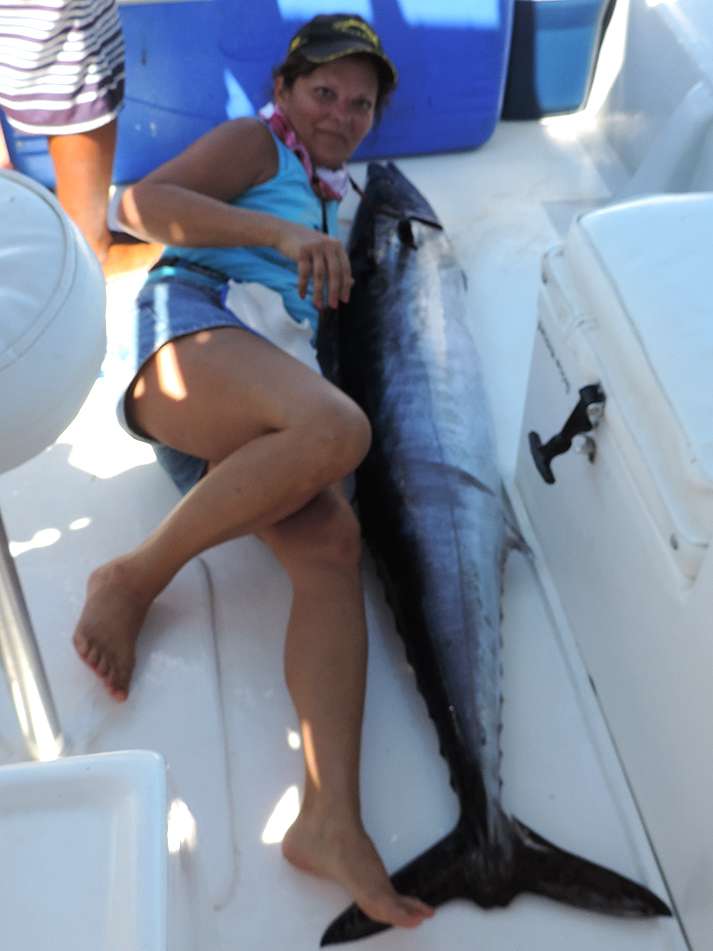
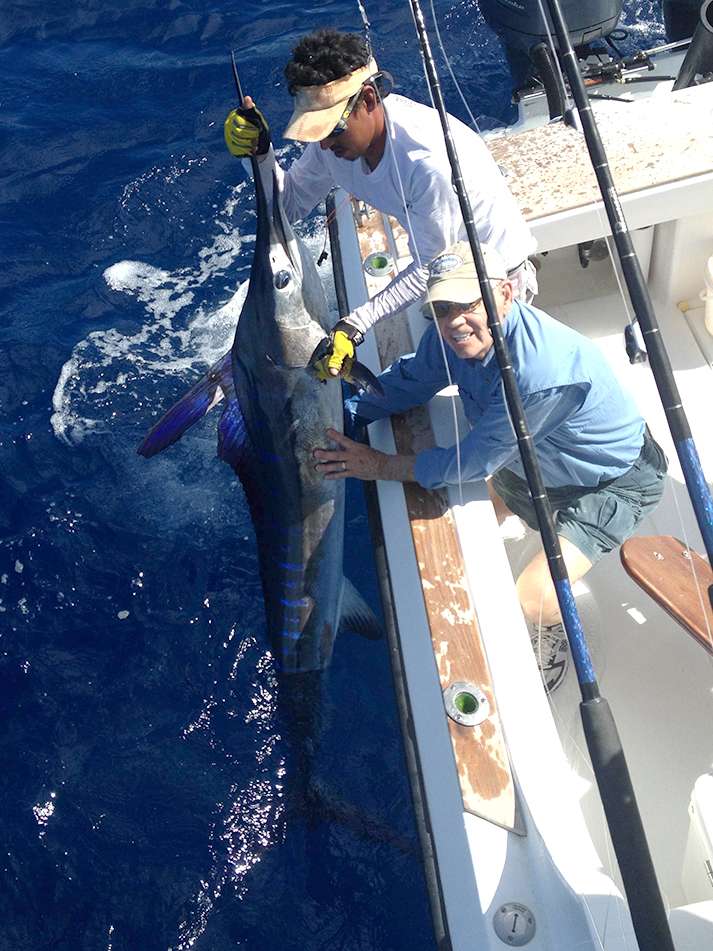
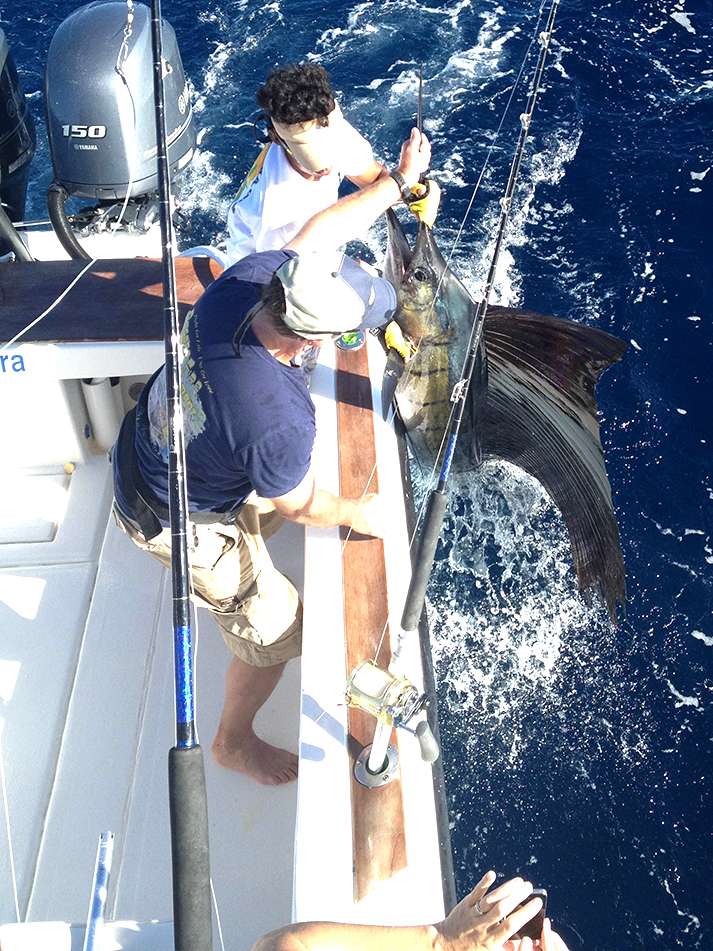
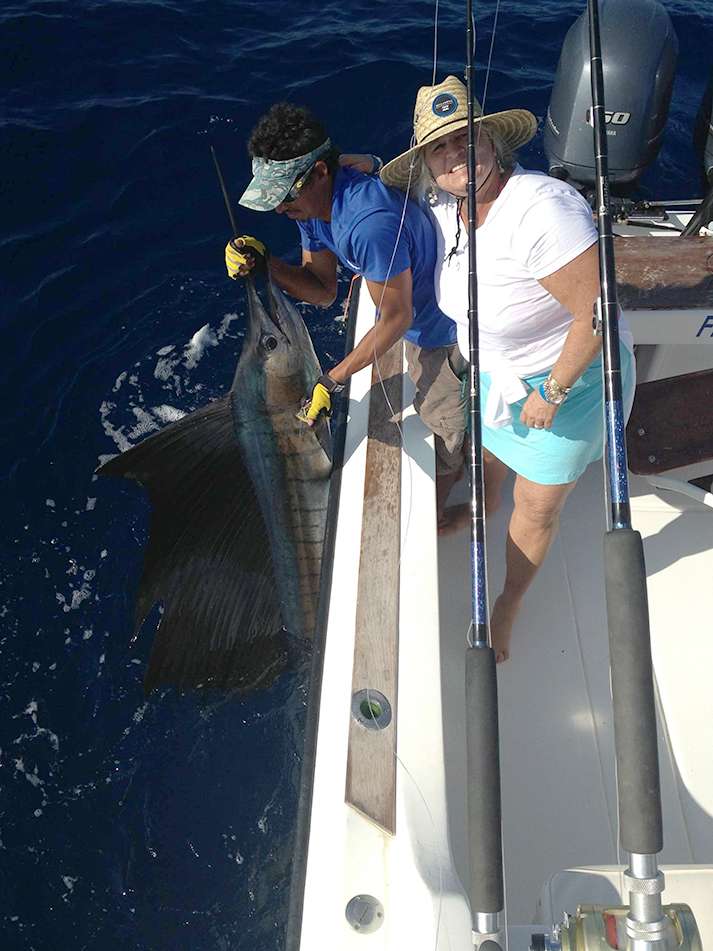
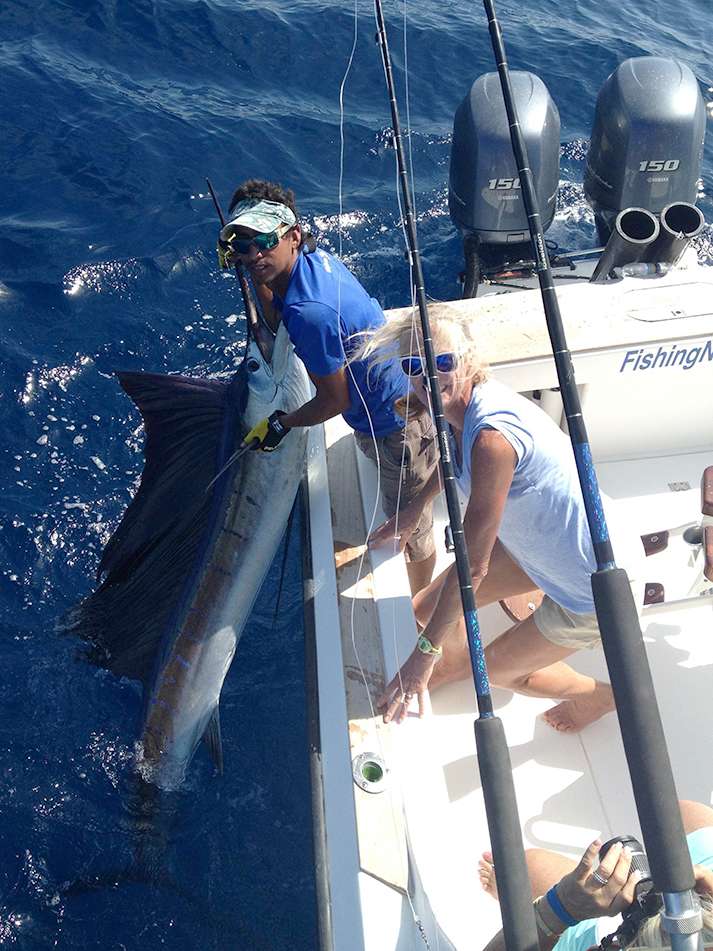
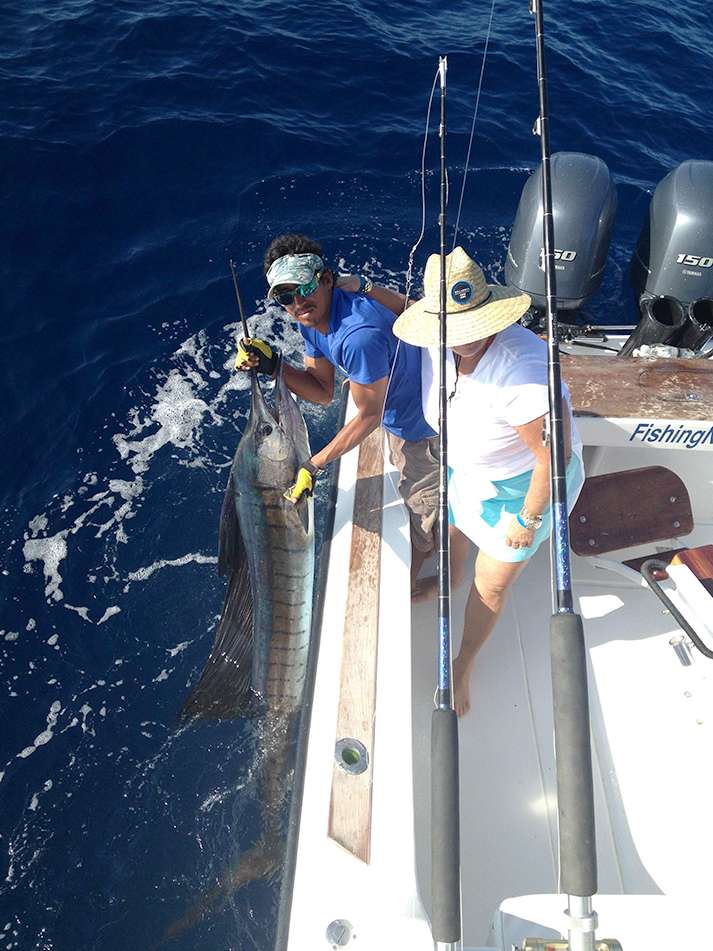
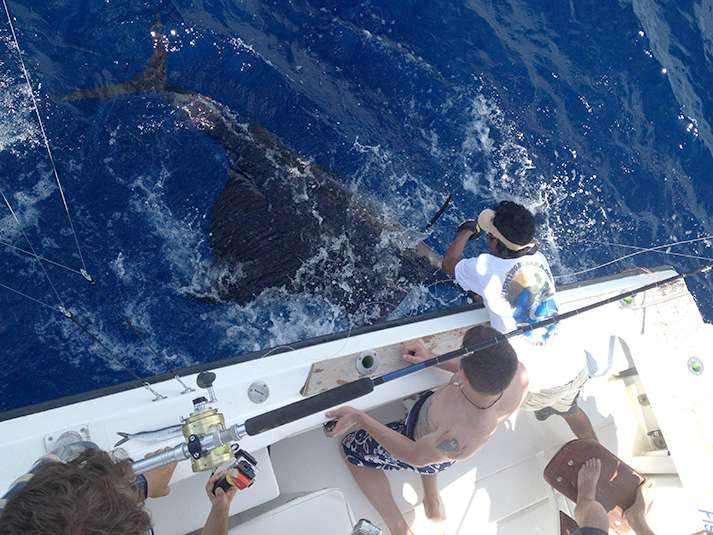
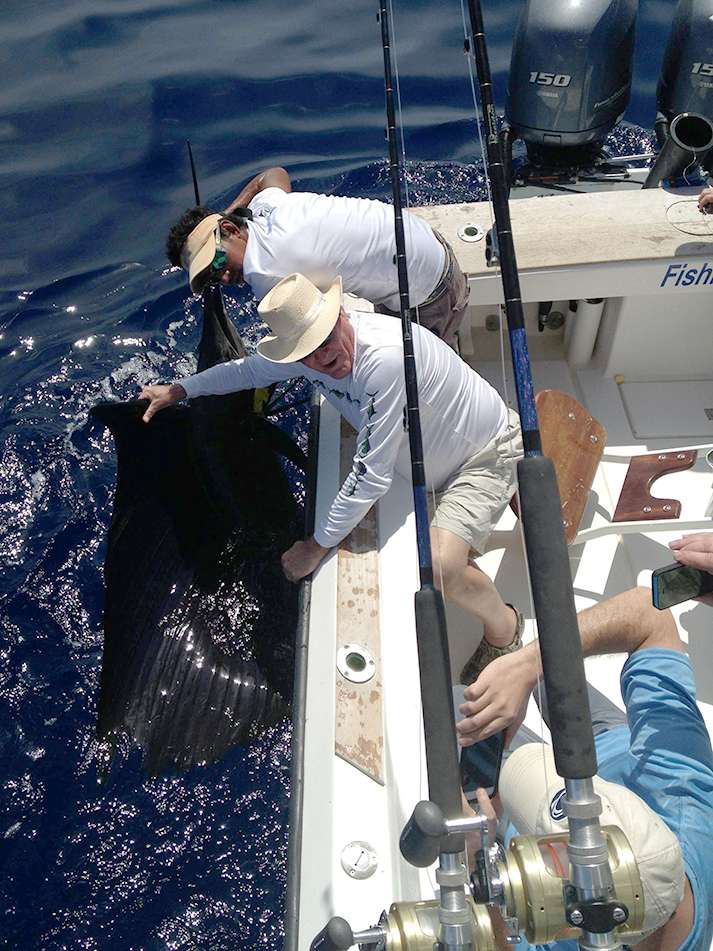
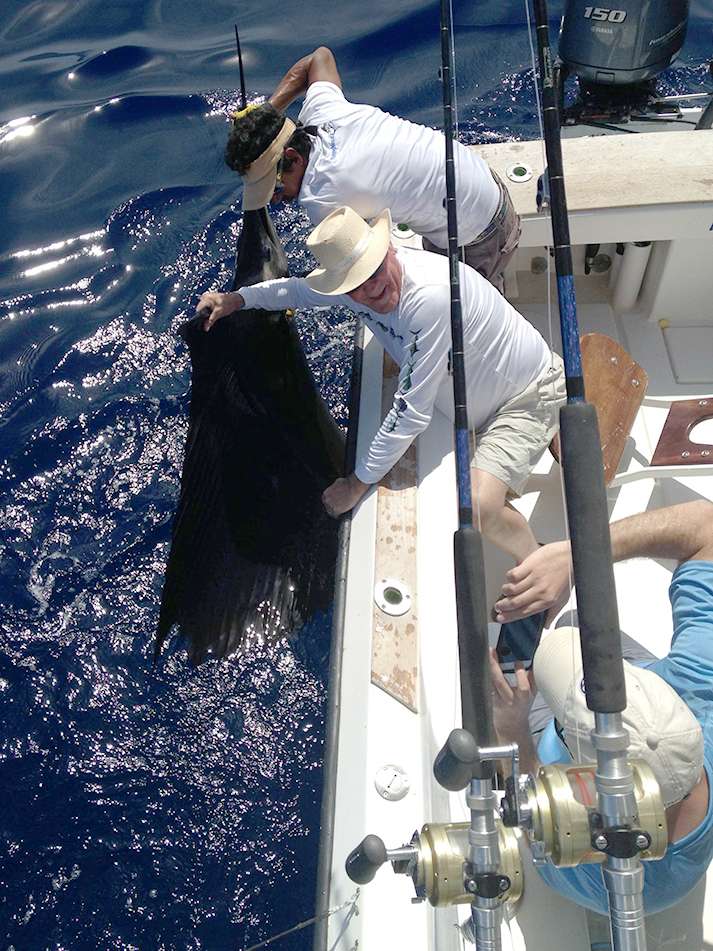
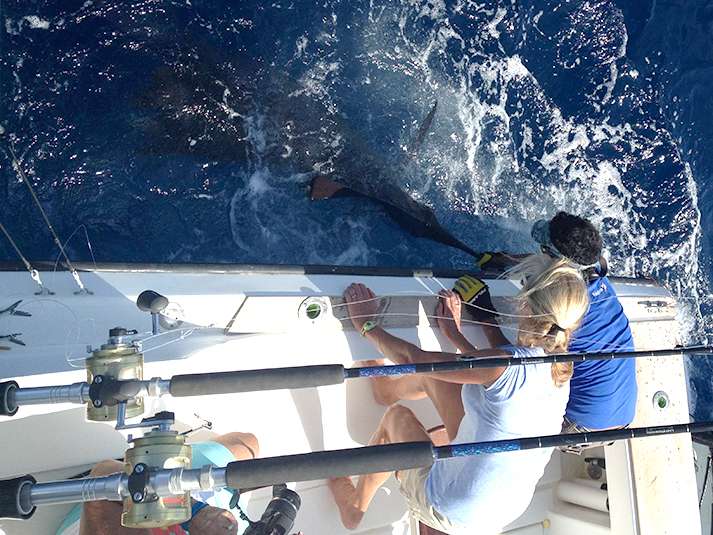
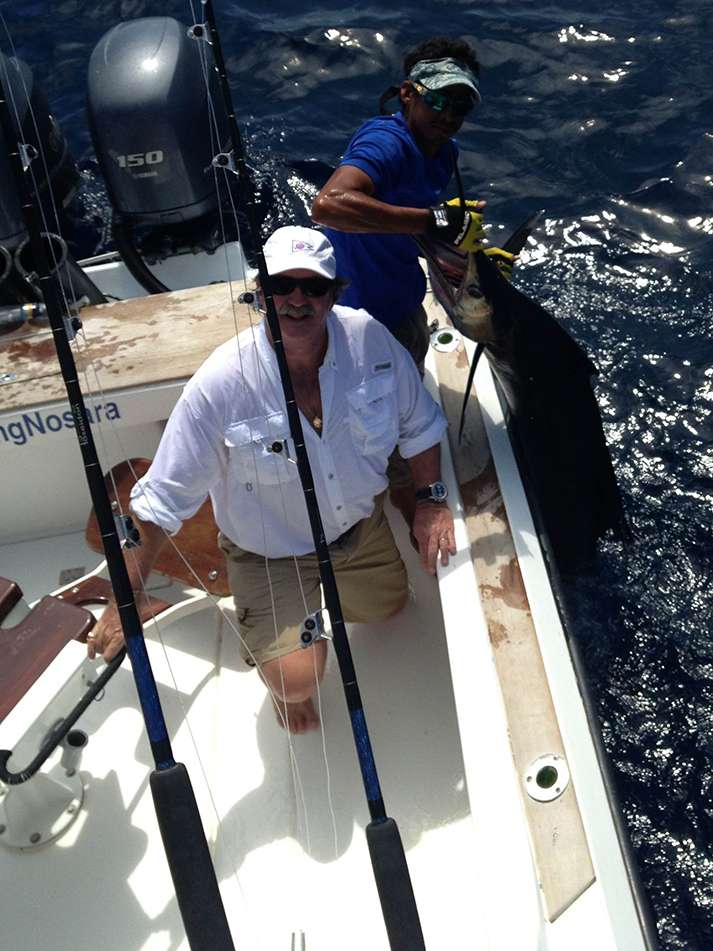
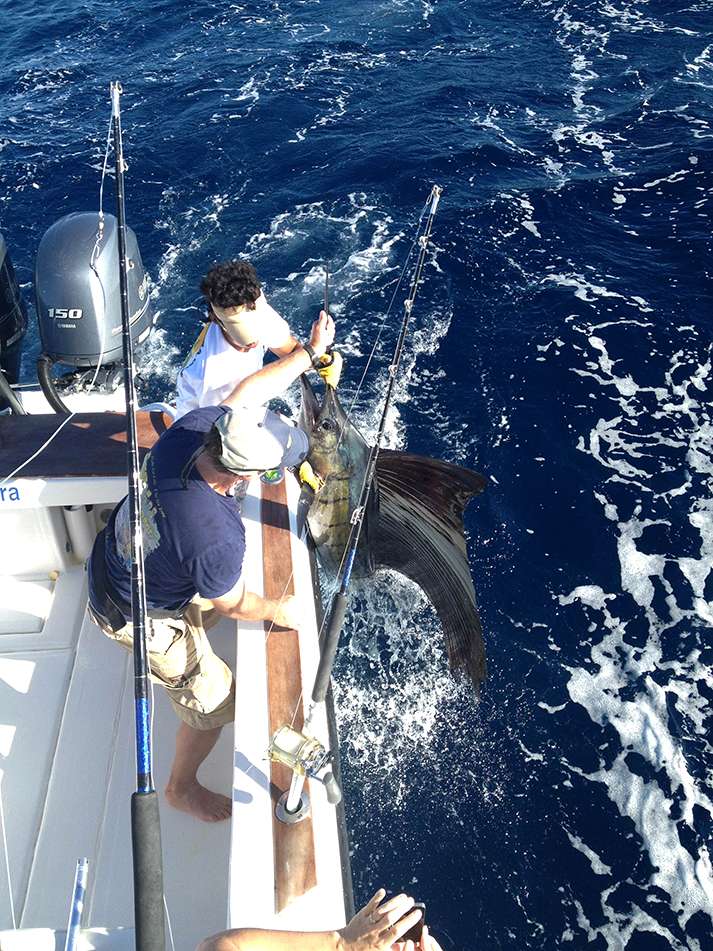
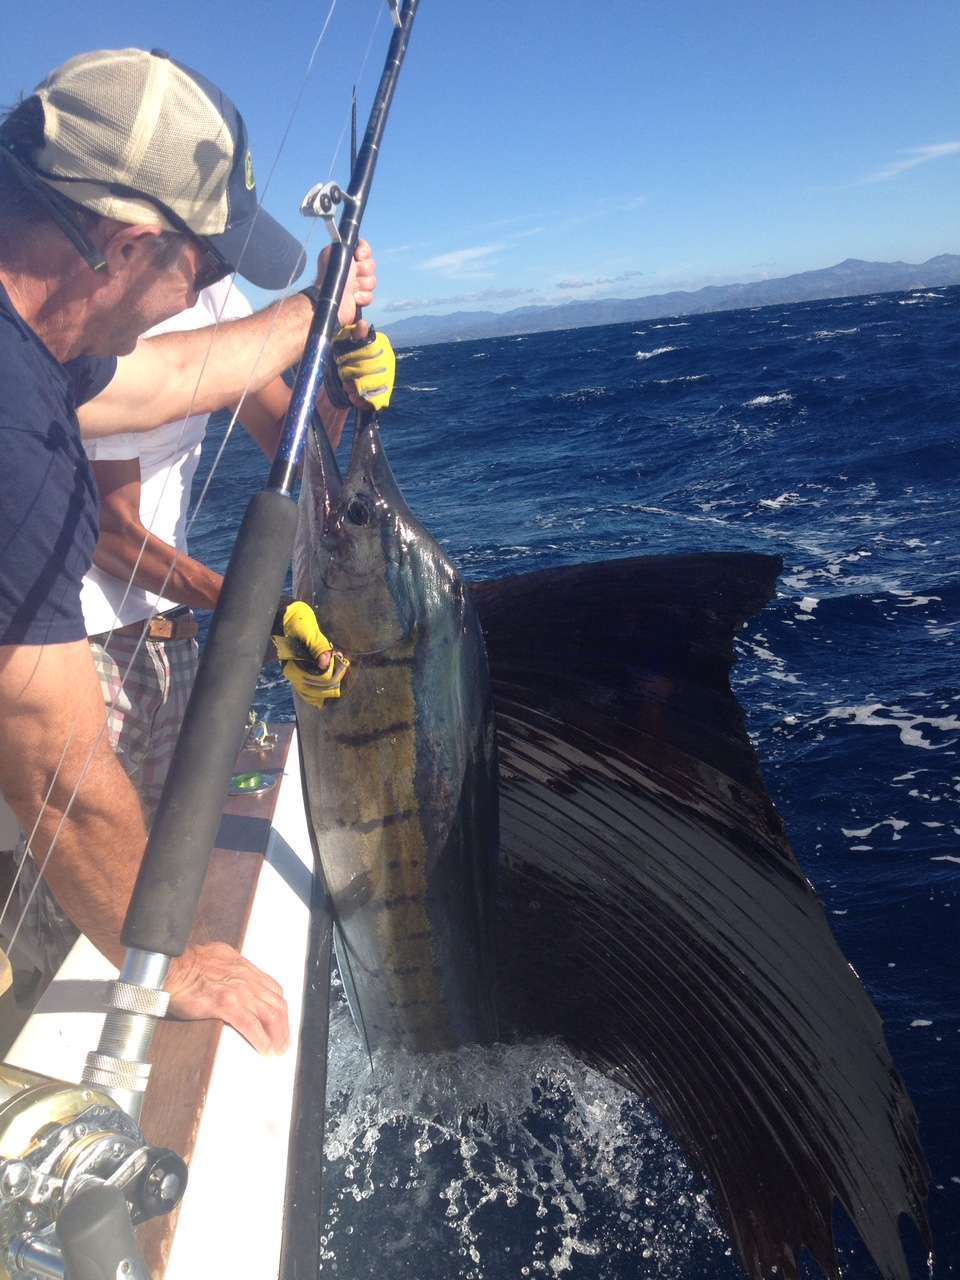
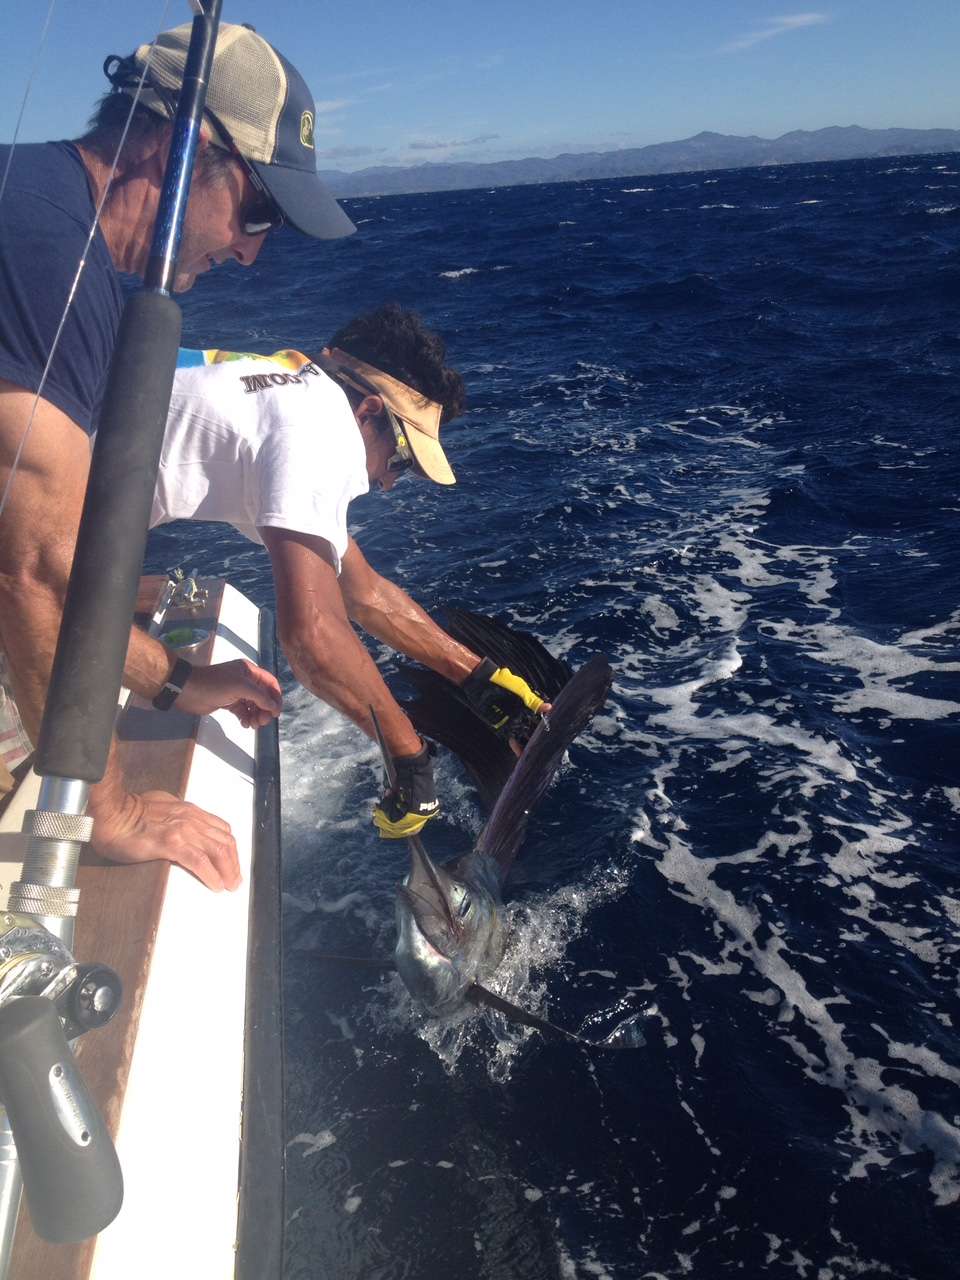
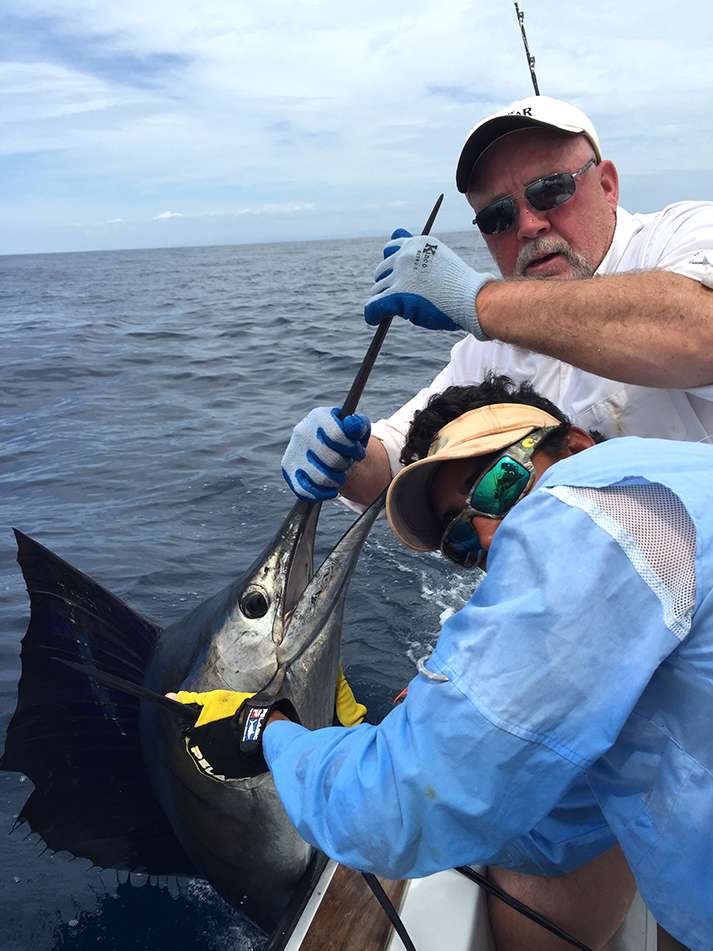
“On Sunday 8 Feb on the Discoverer we raised over 20 Sail Fish Caught 11 out of 15. We had 3 on at once and landed all 3 it was fantastic!”
“Staying at Nosara Paradise rentals was also great. The complete staff was great!”
Can’t wait to come back.
PURA VIDA!!!!!!!!!!
Kenny Ray
Eagle River Alaska