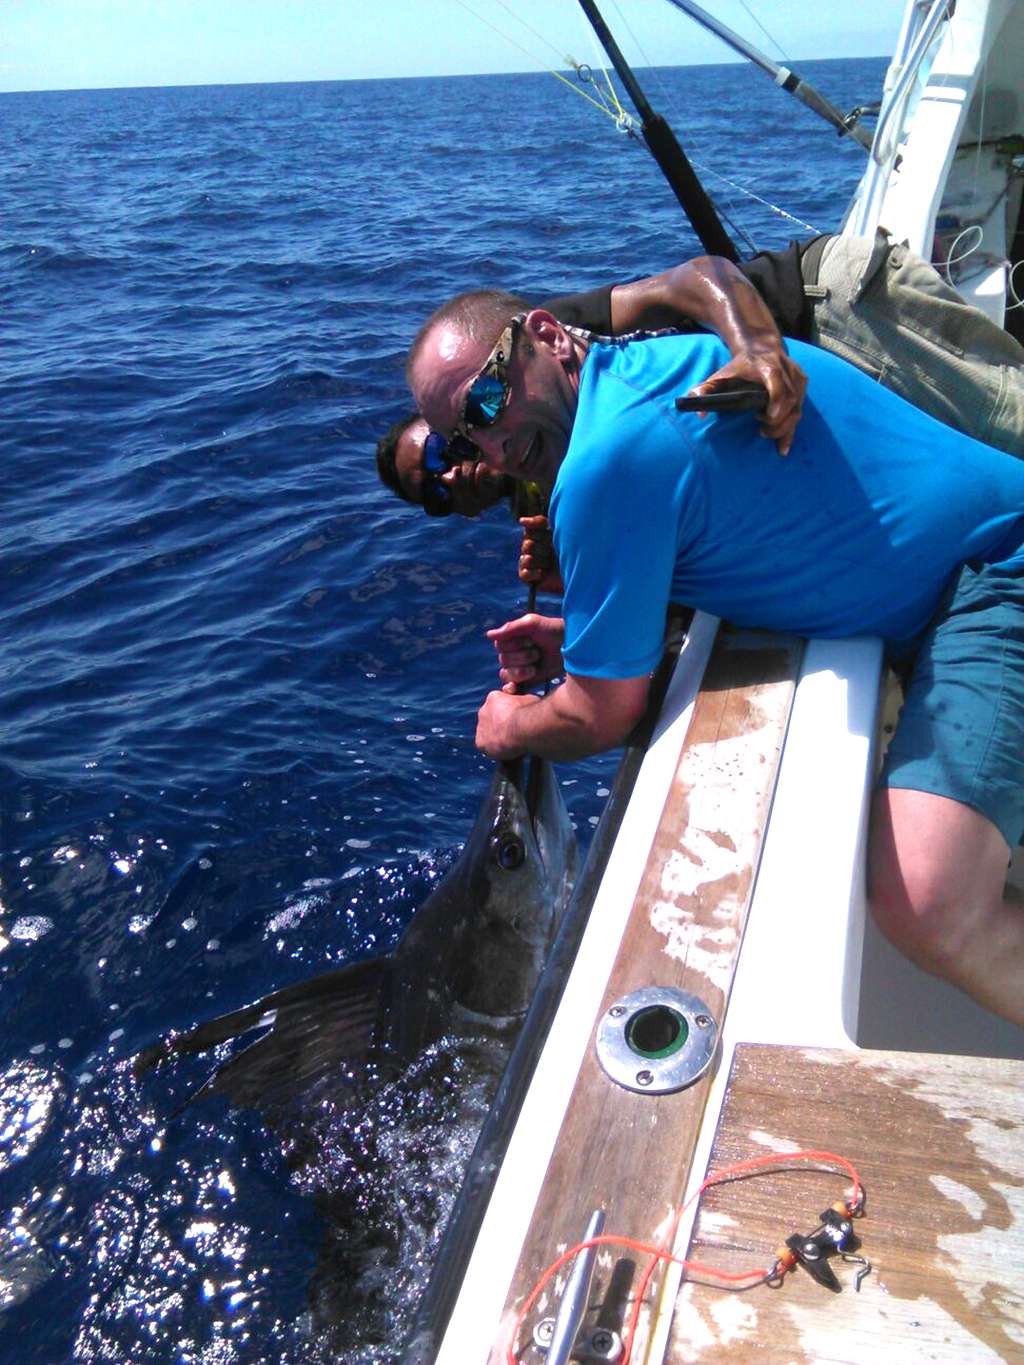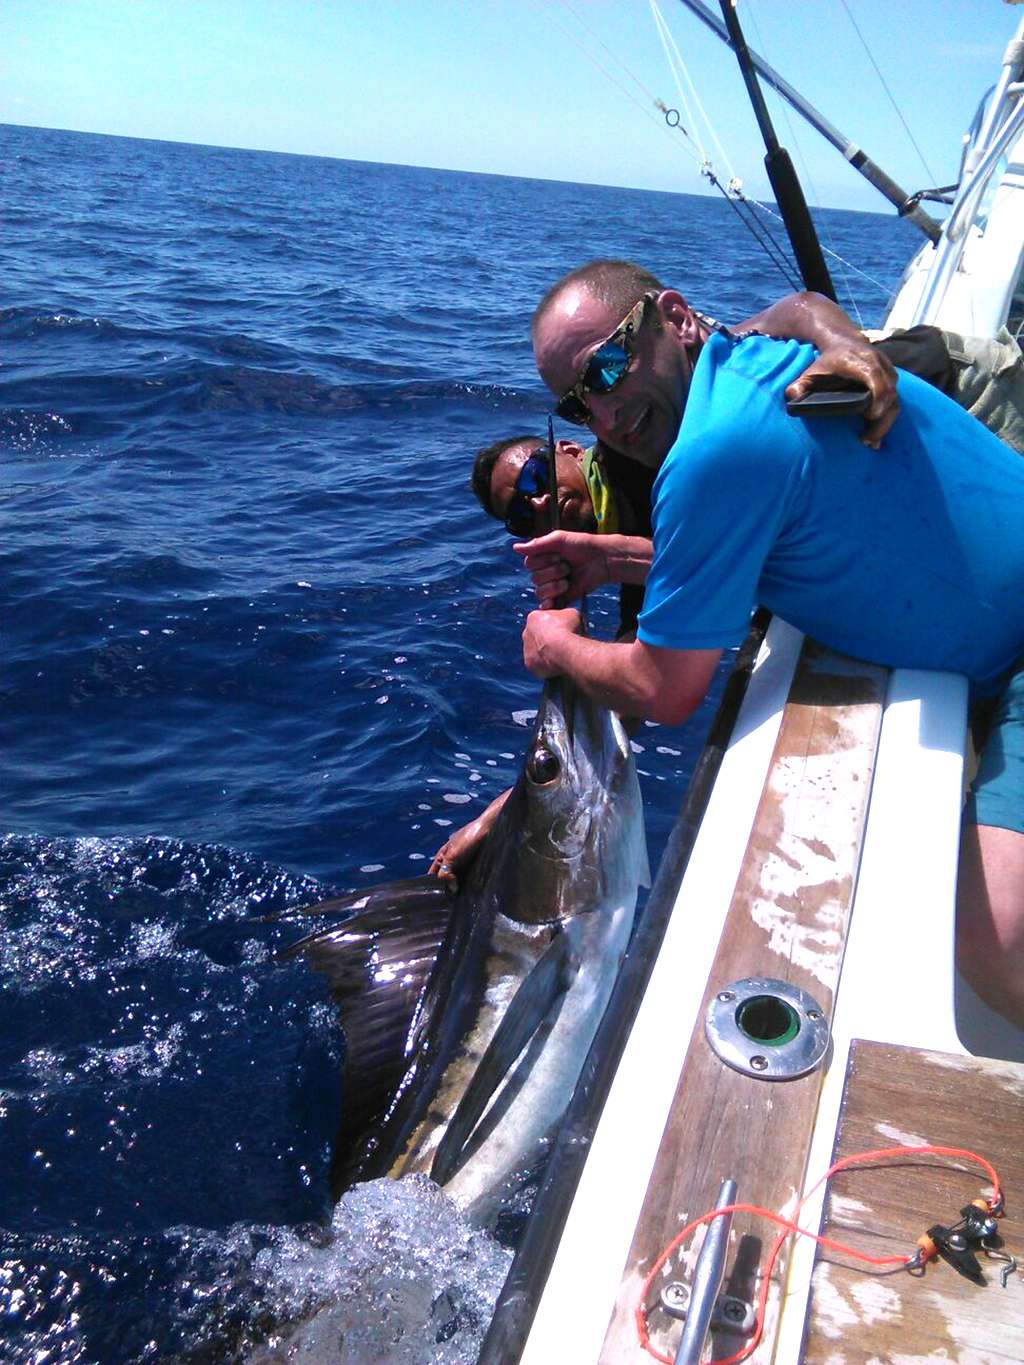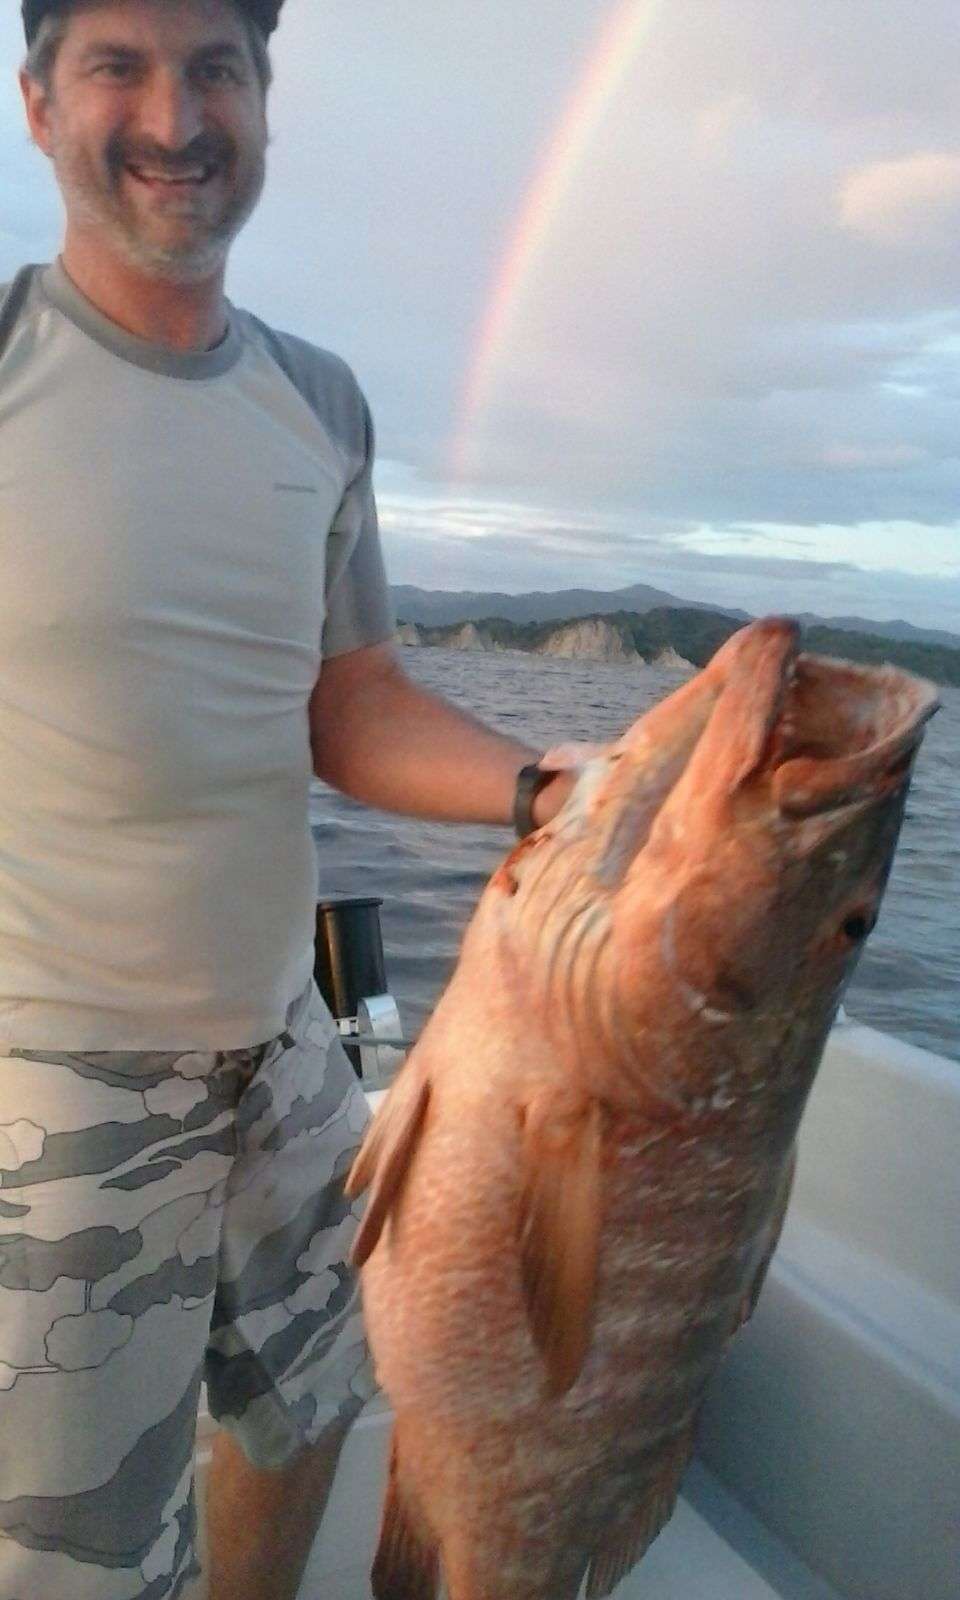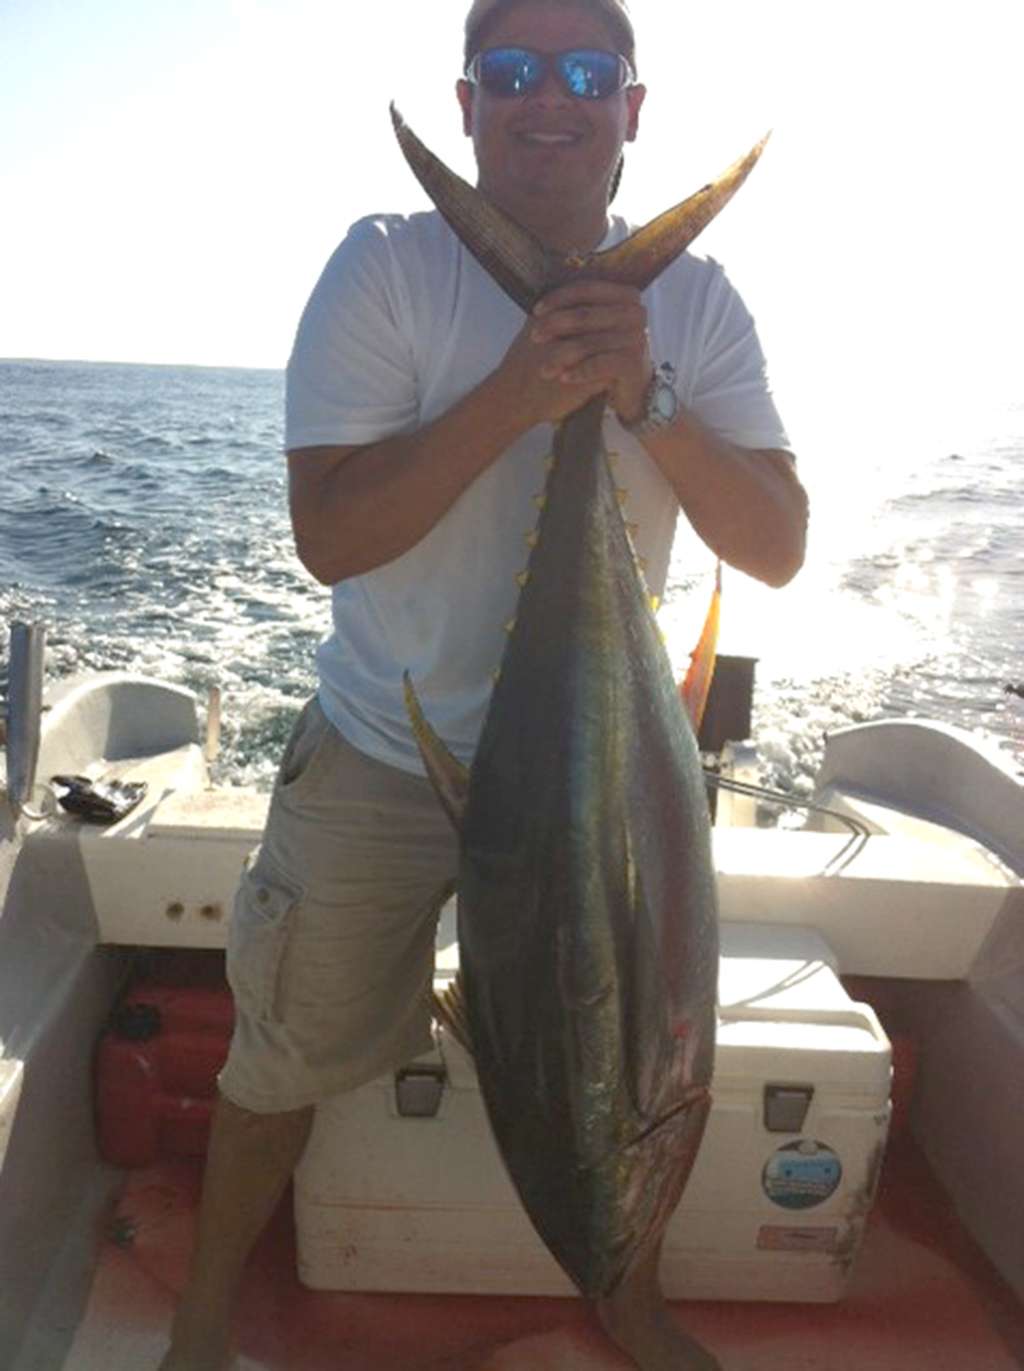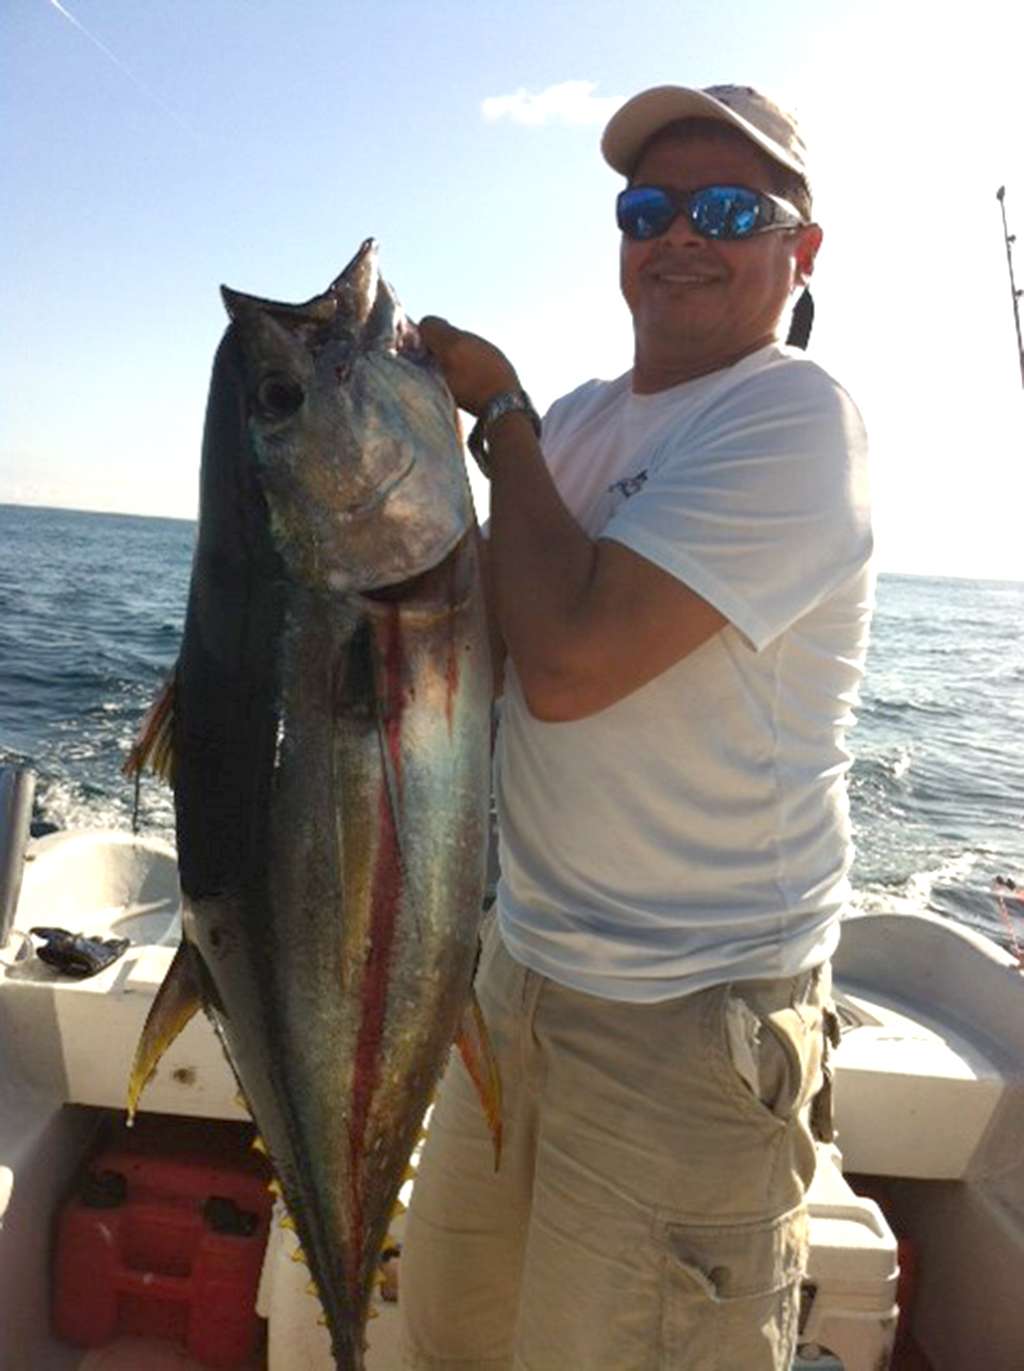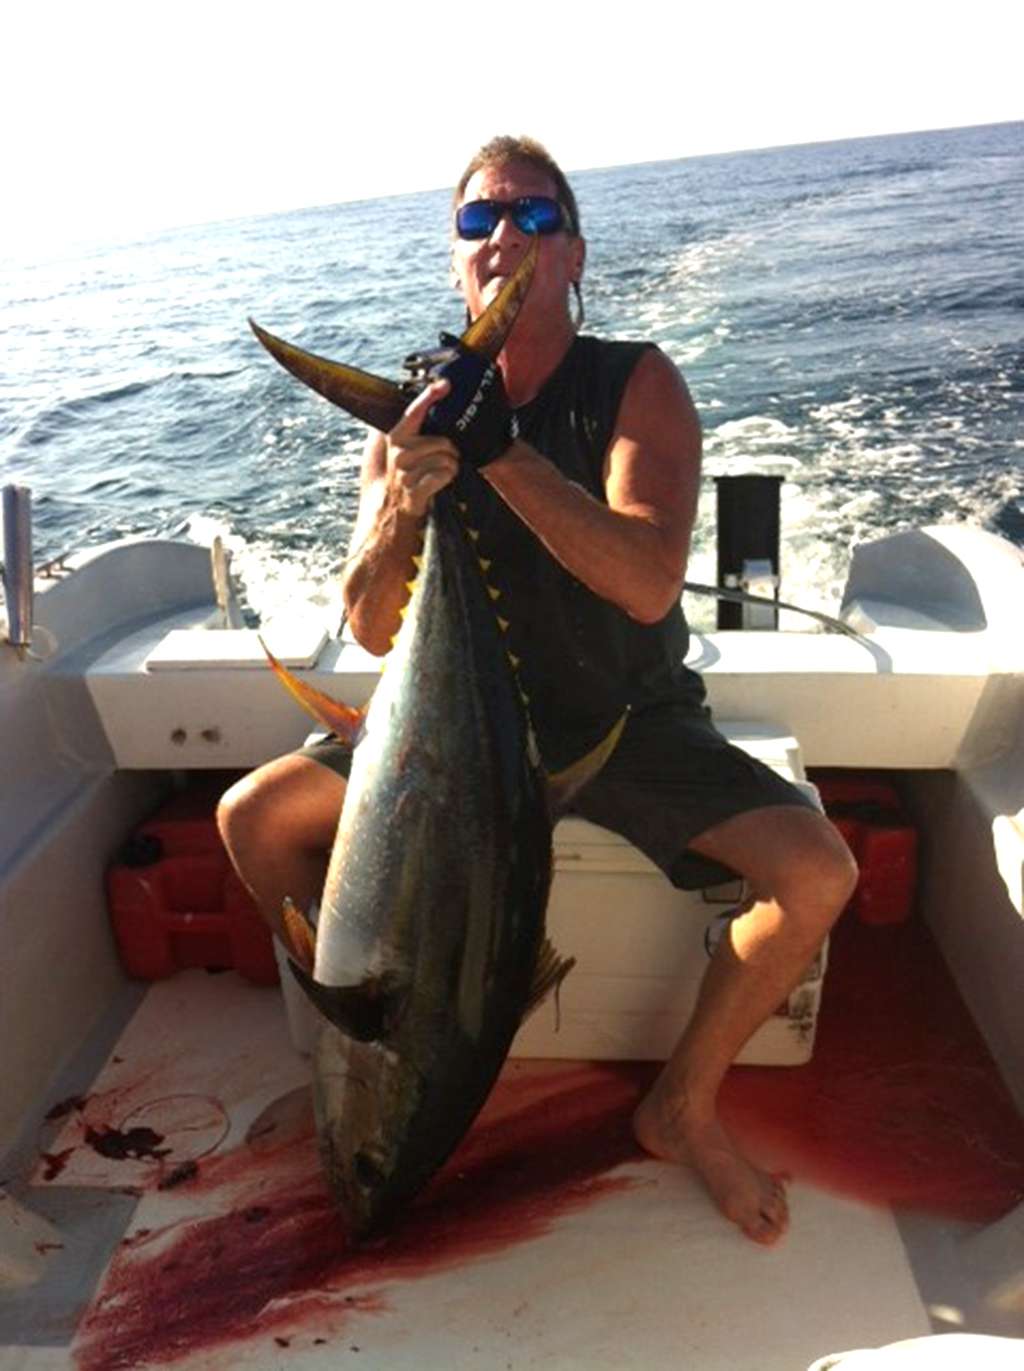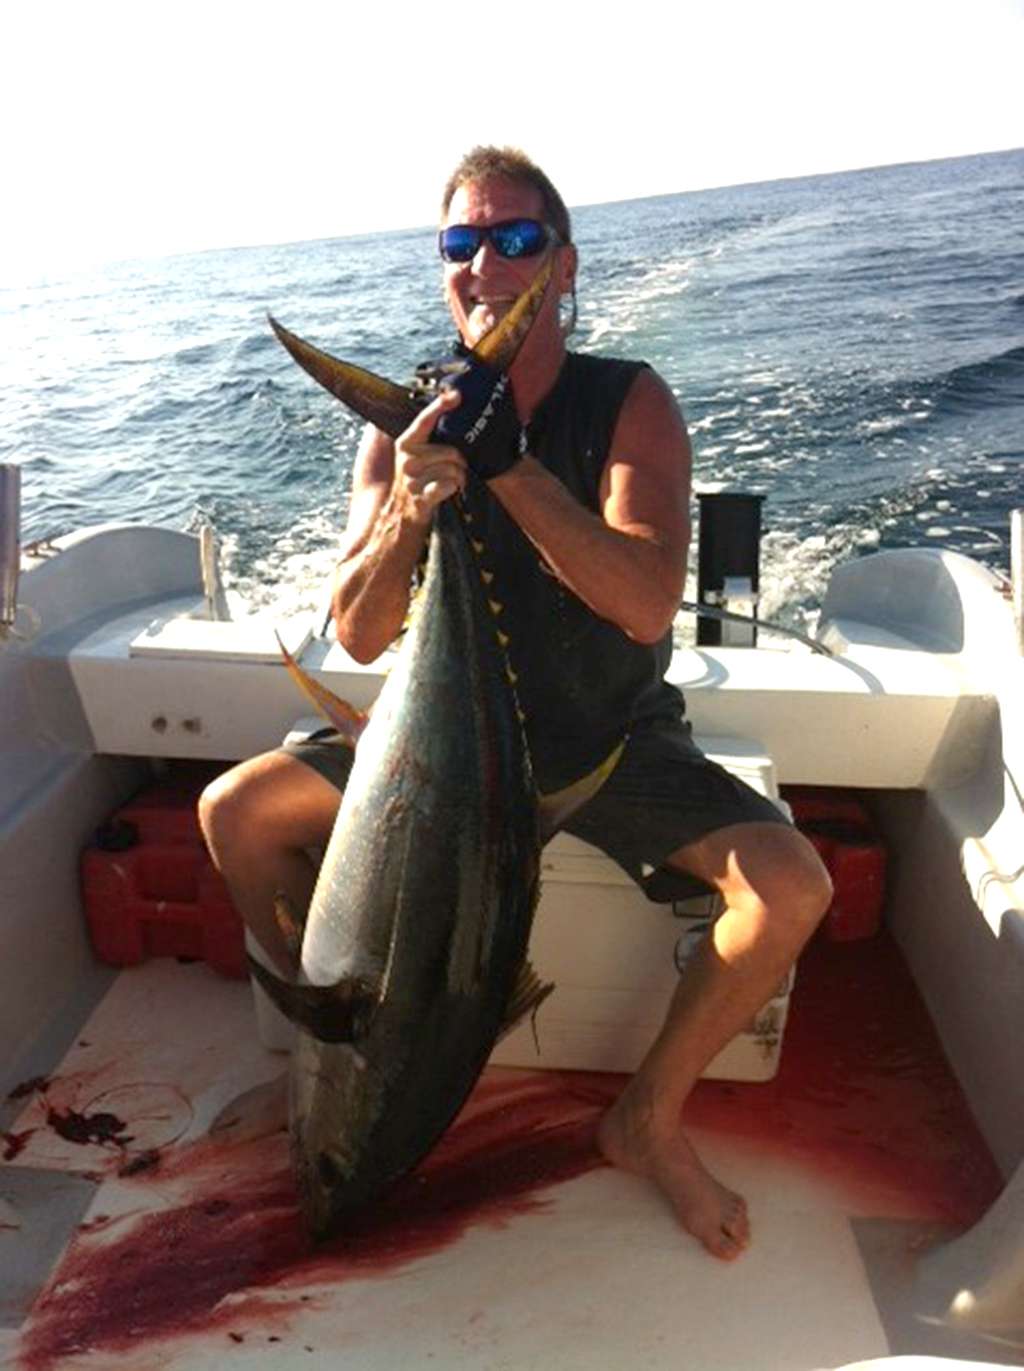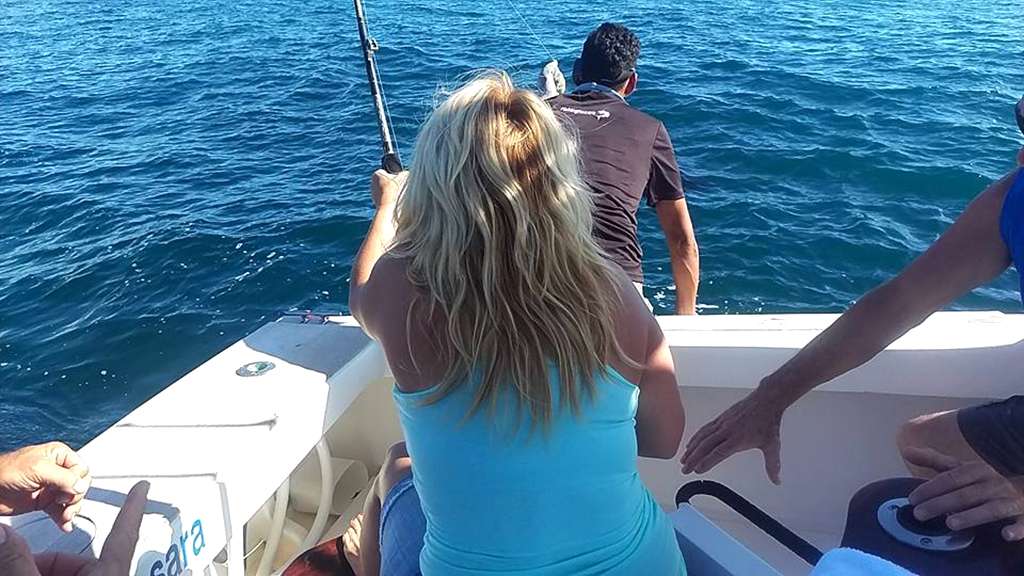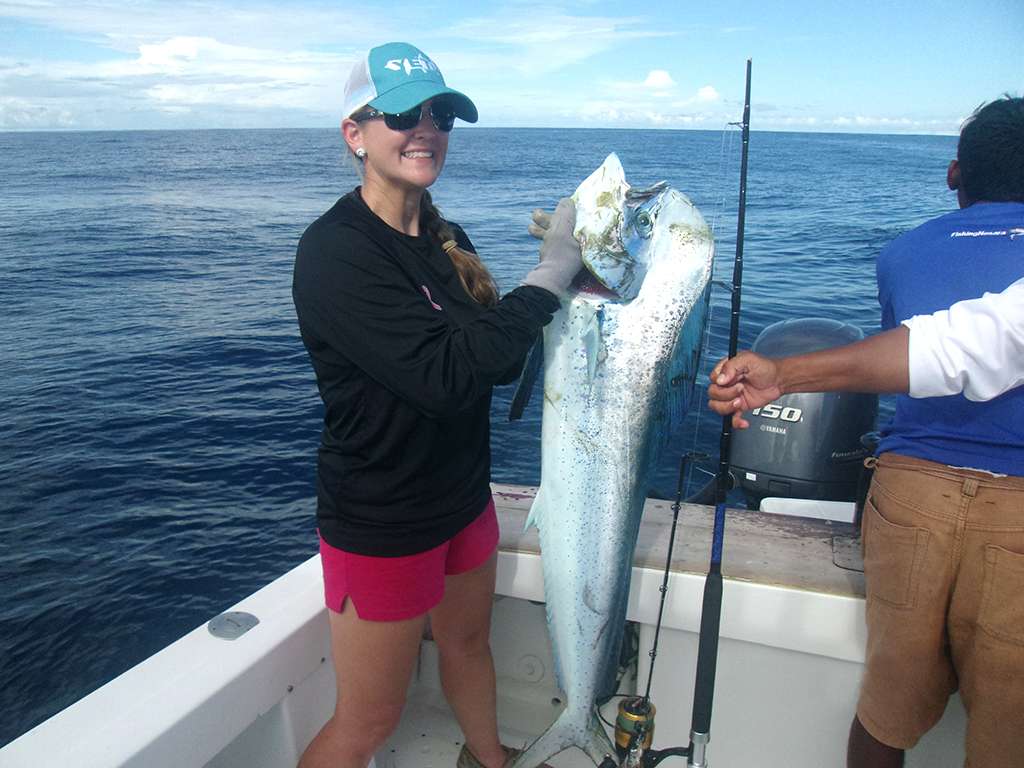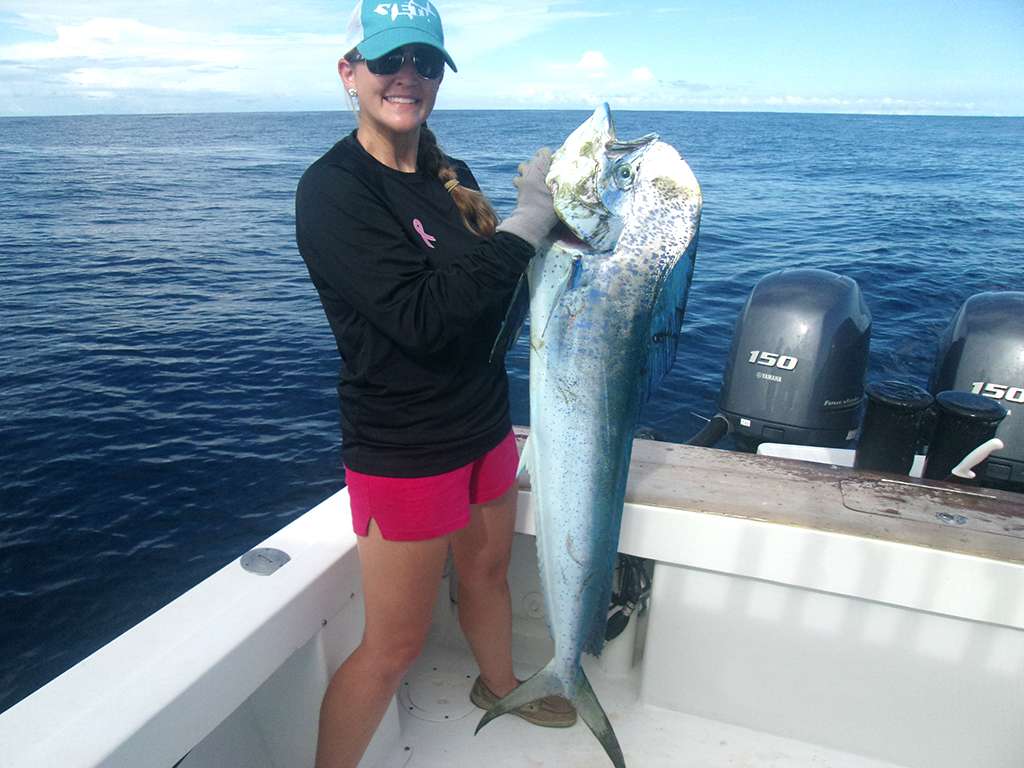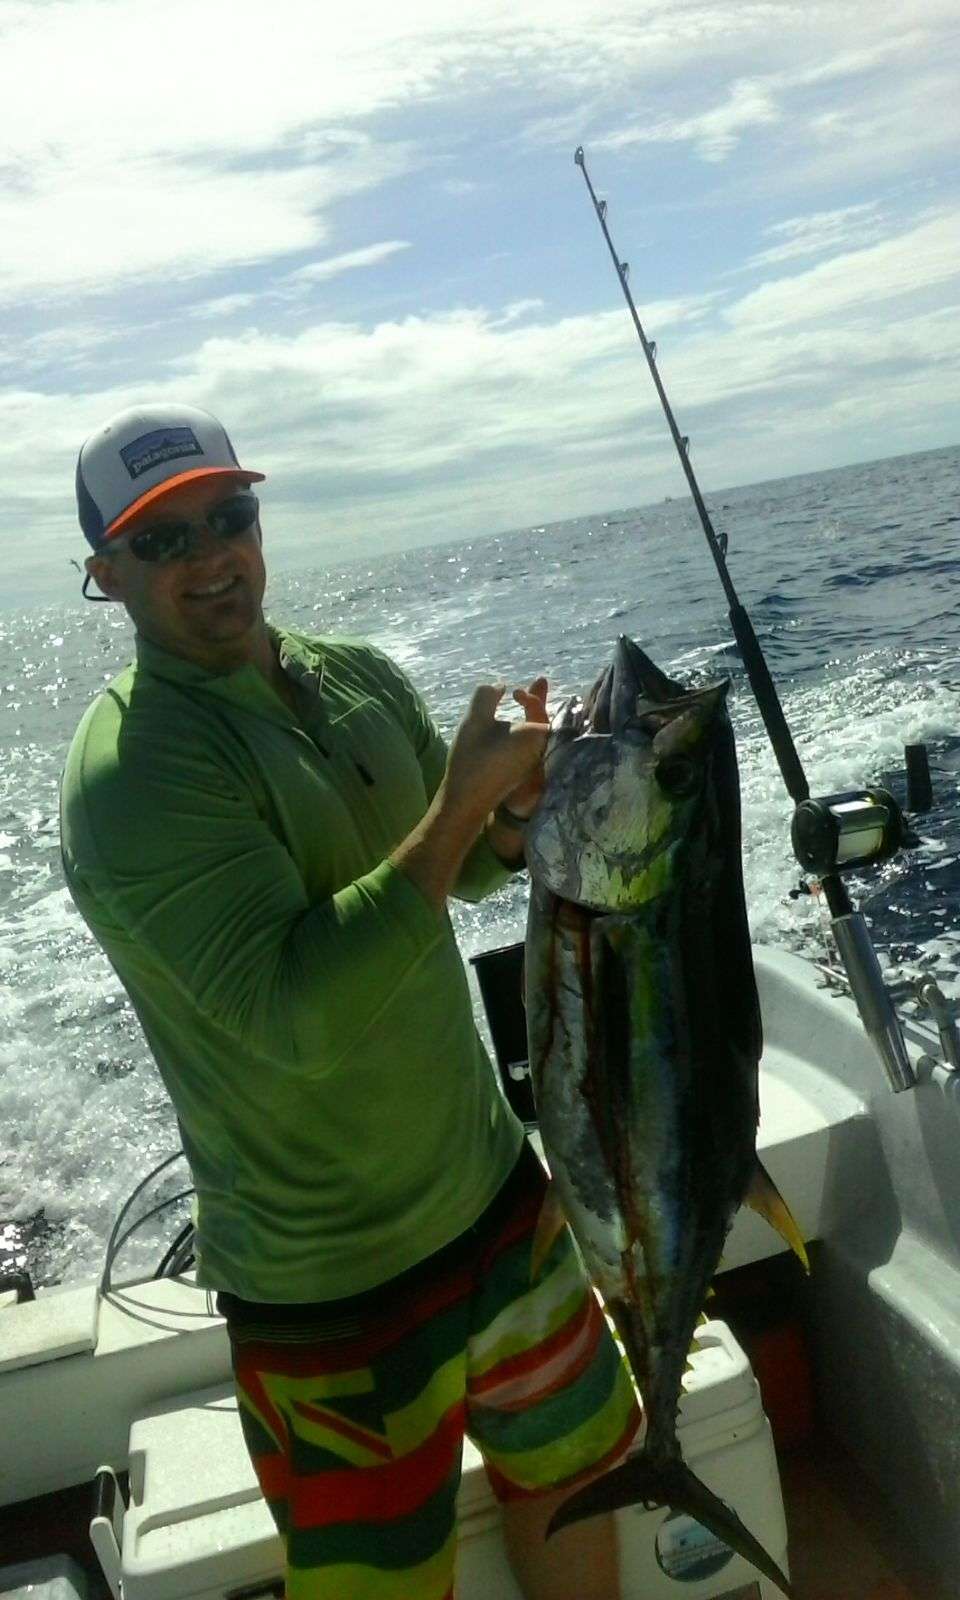
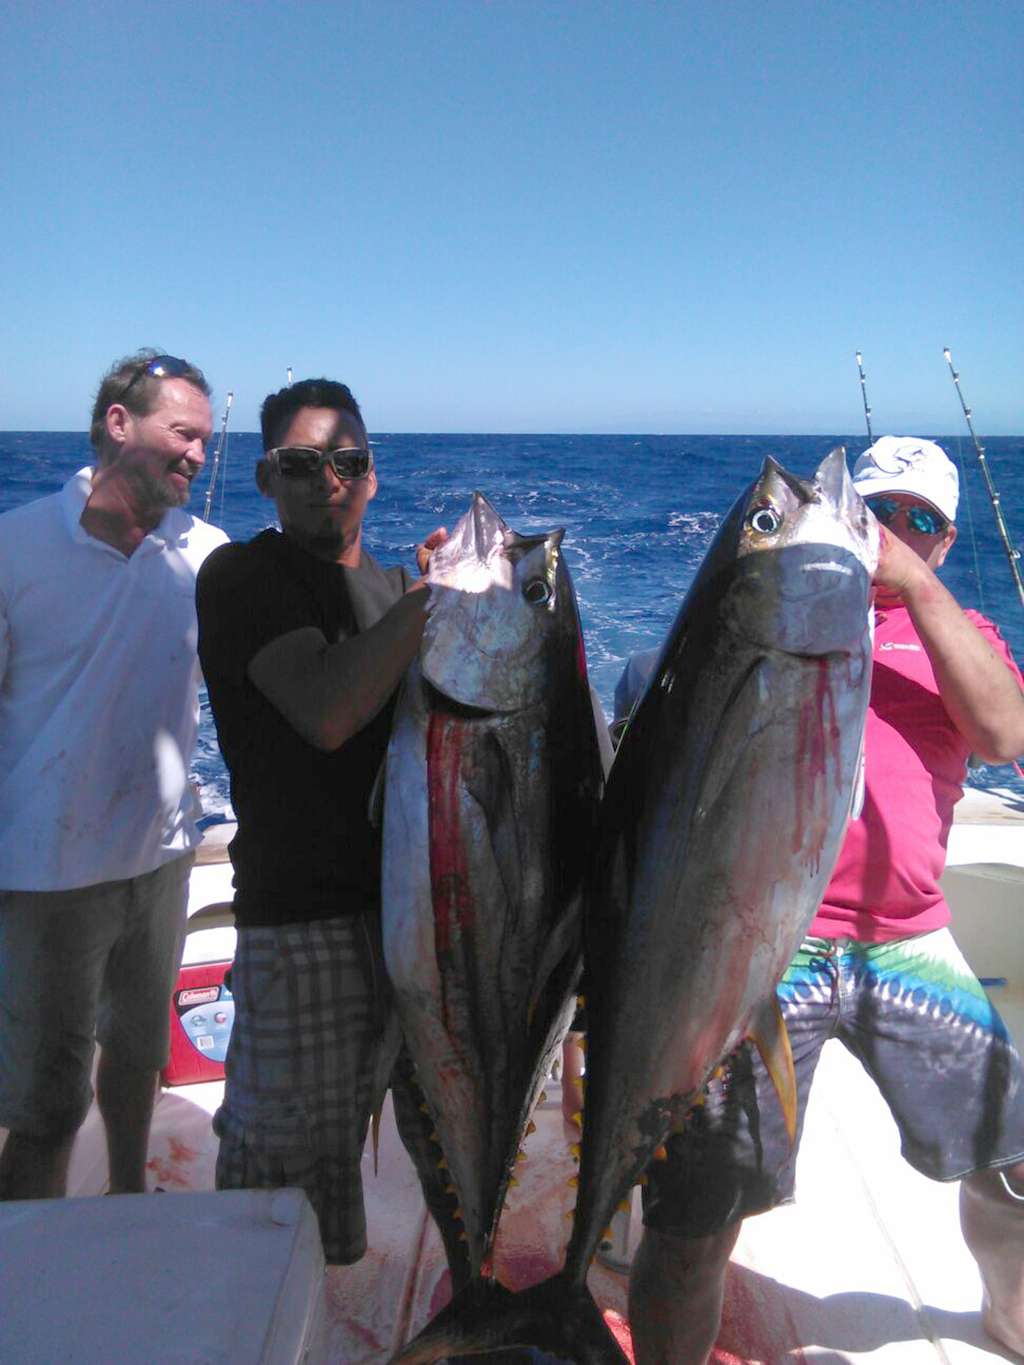
After mastering trophy billfish releases on the 28th, Eric Dixon and the big battleship Discoverer turned their attention to the dinner table with several super-sized Yellowfin Tunas on ice.
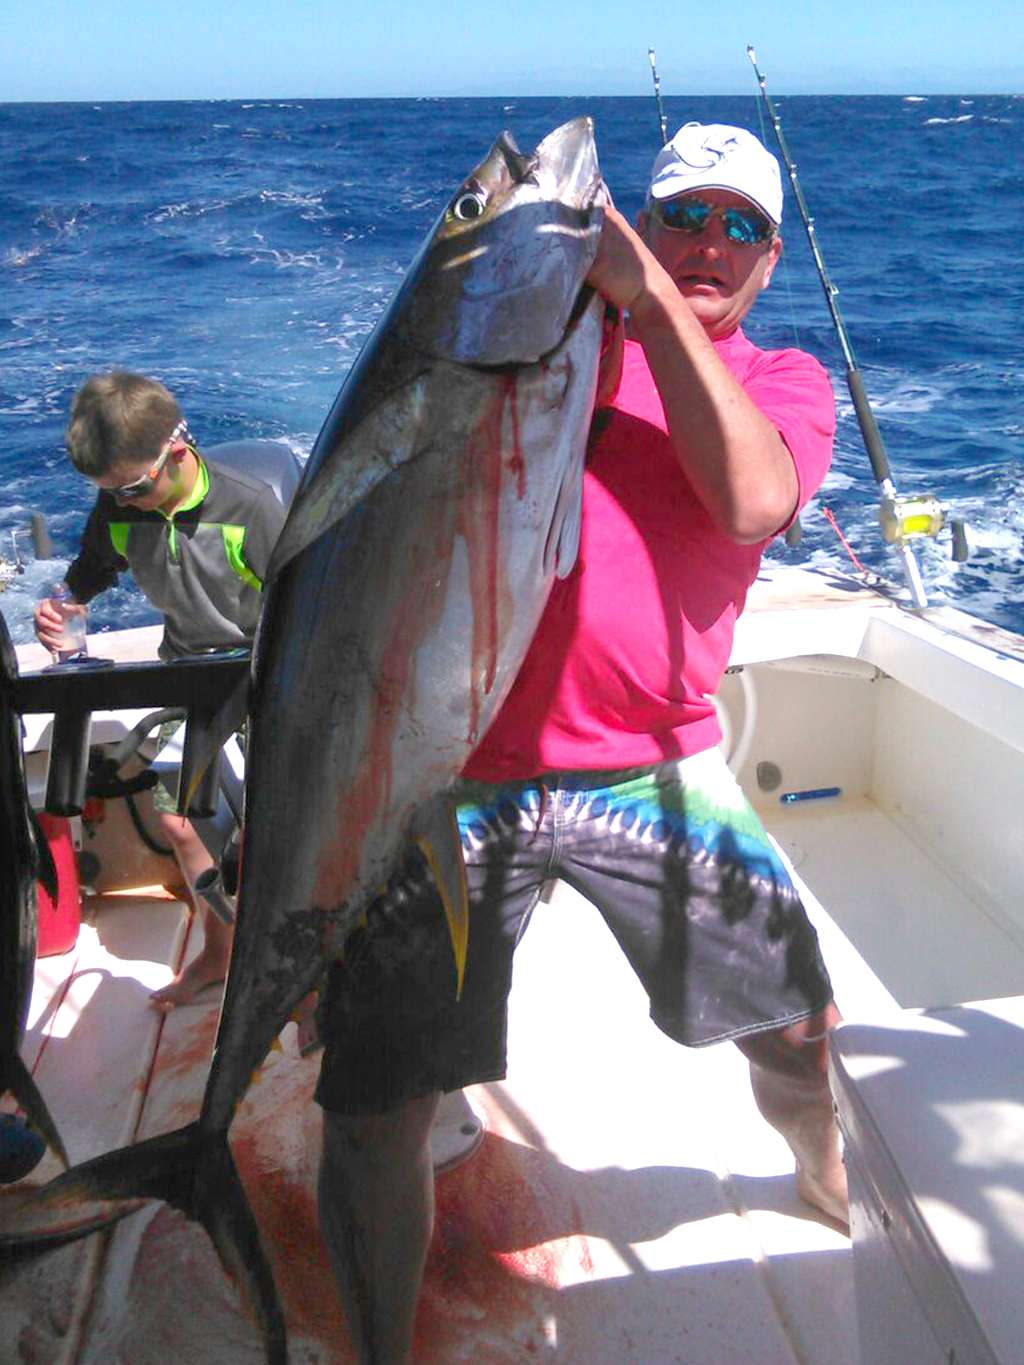
The Yella Fellas have been thick this month and although none of these top Wayne Estes’ monster from earlier this week, these catches combined make for the biggest total haul of tasty filets we’ve seen so far this season.
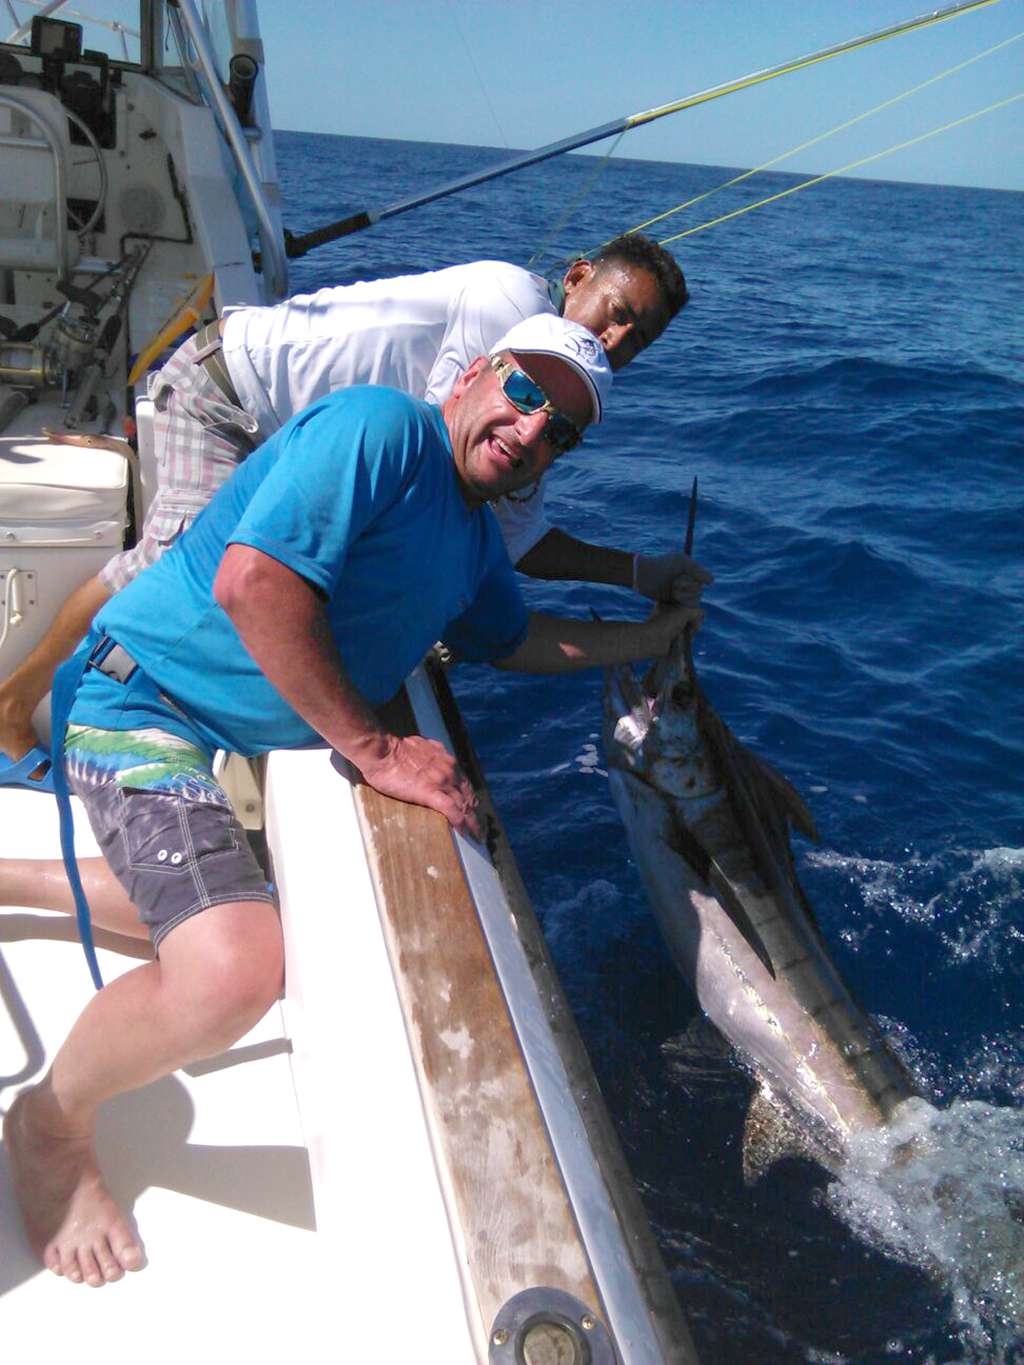
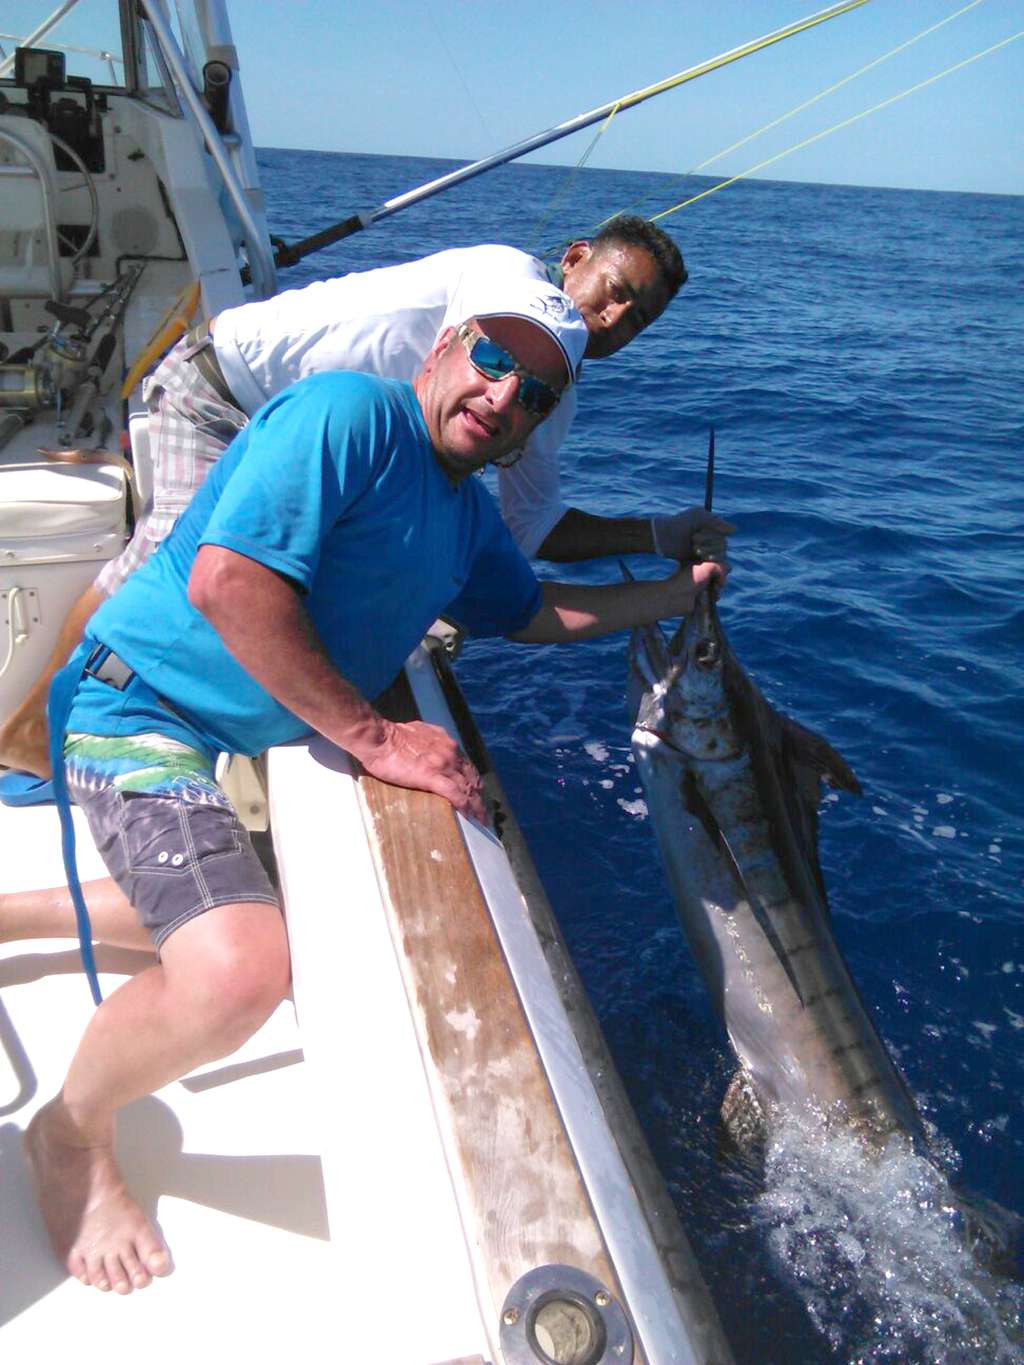
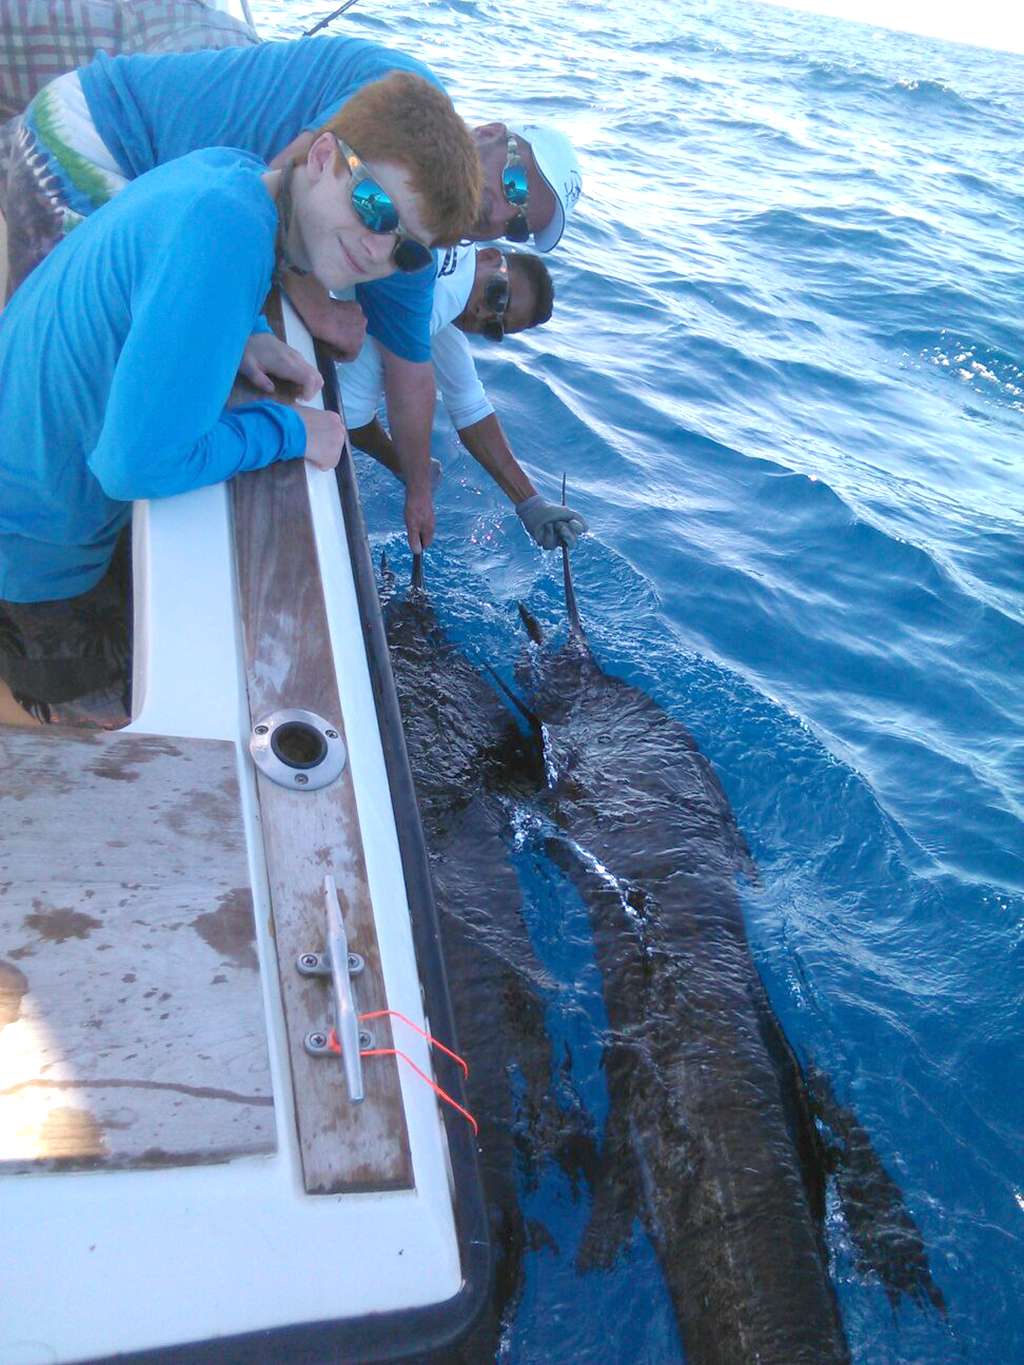
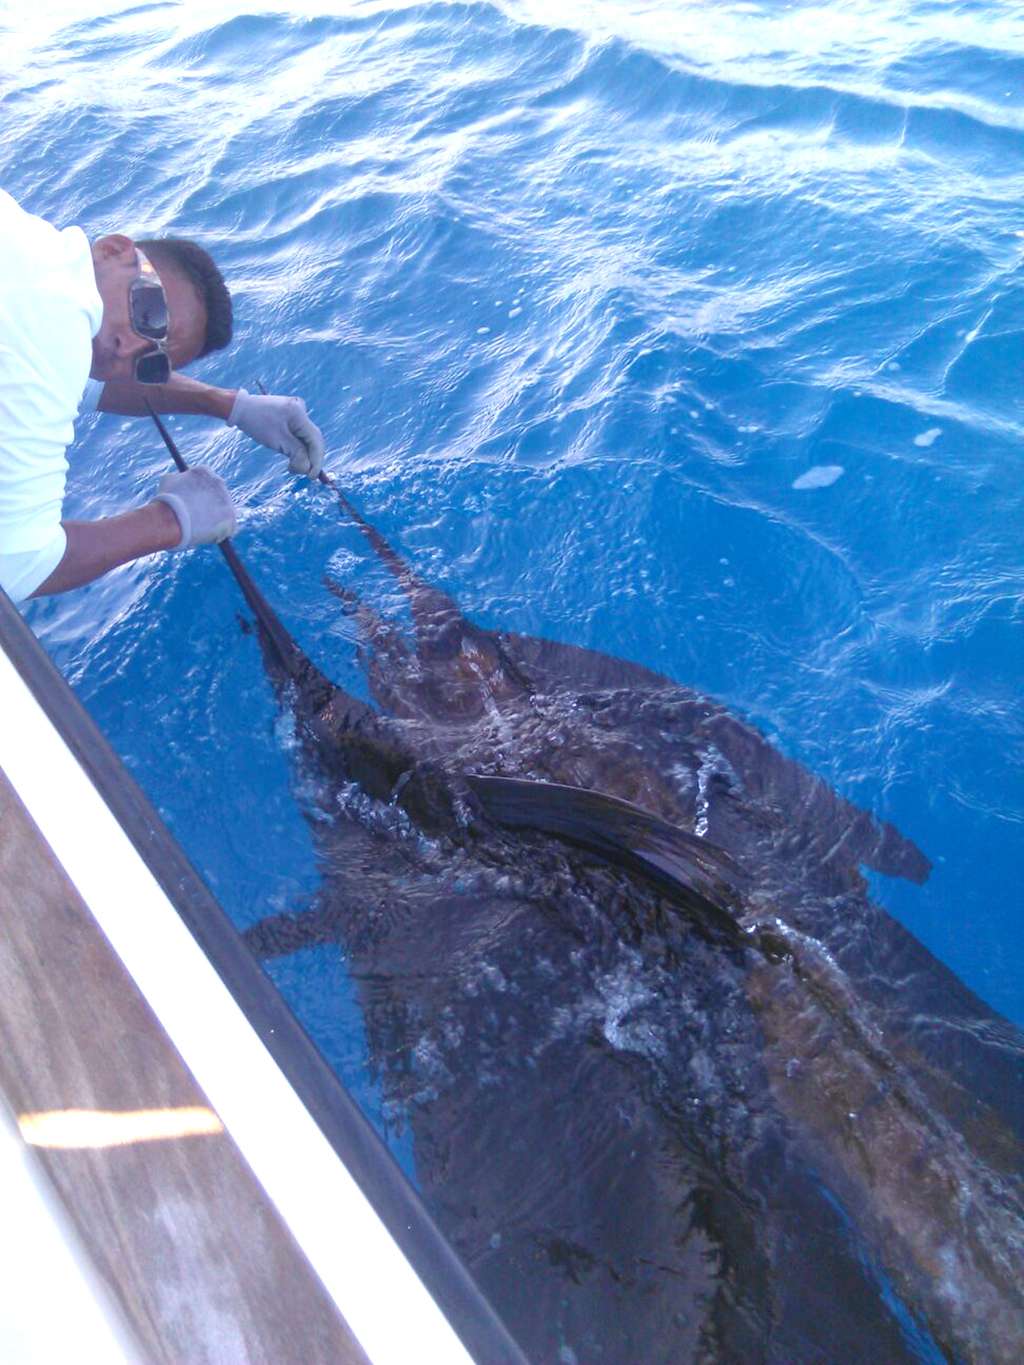
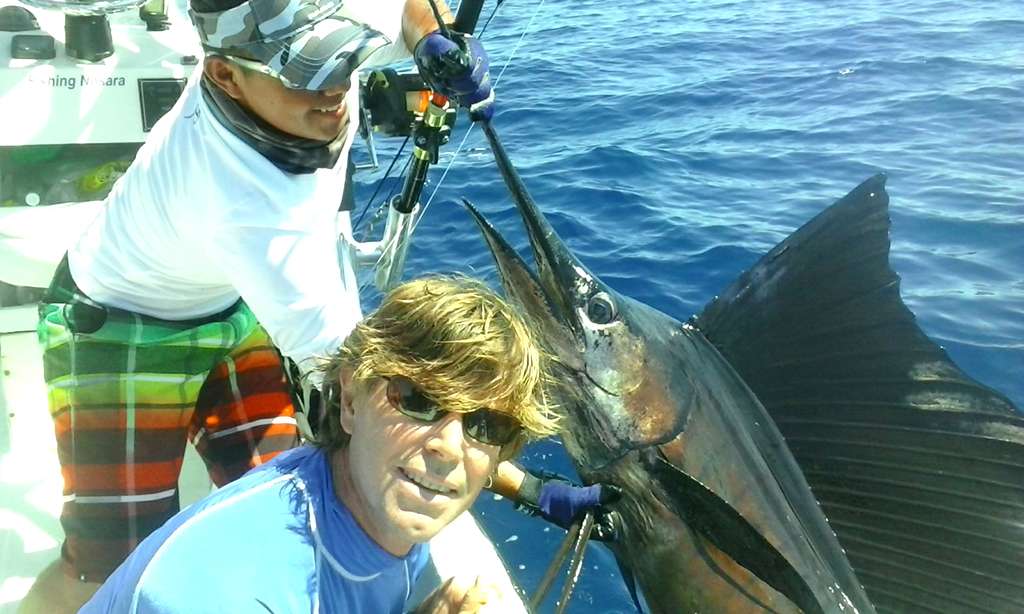
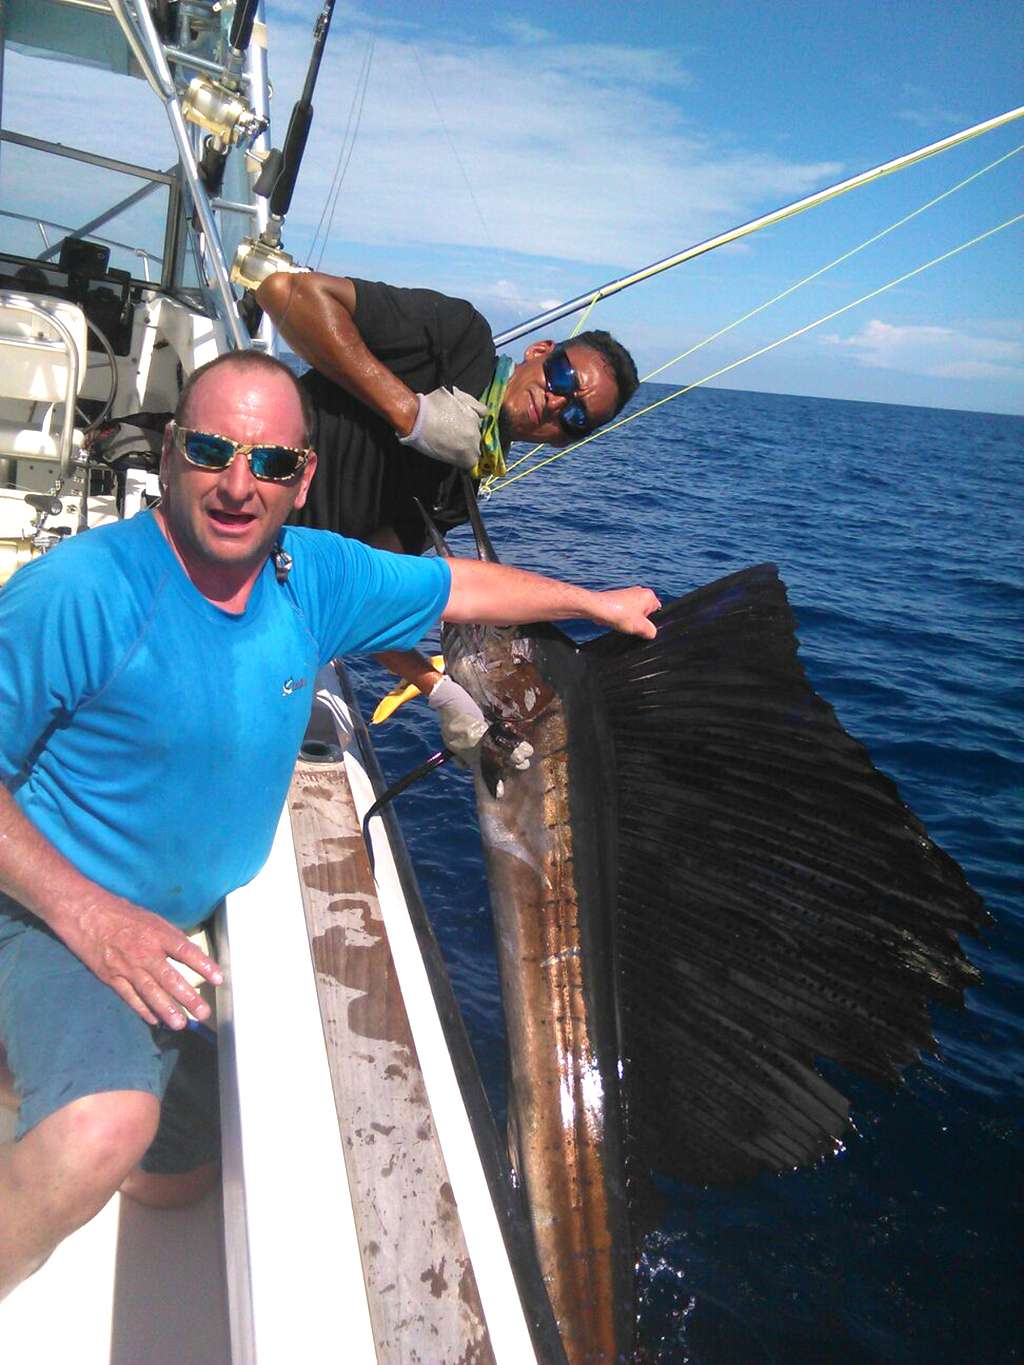
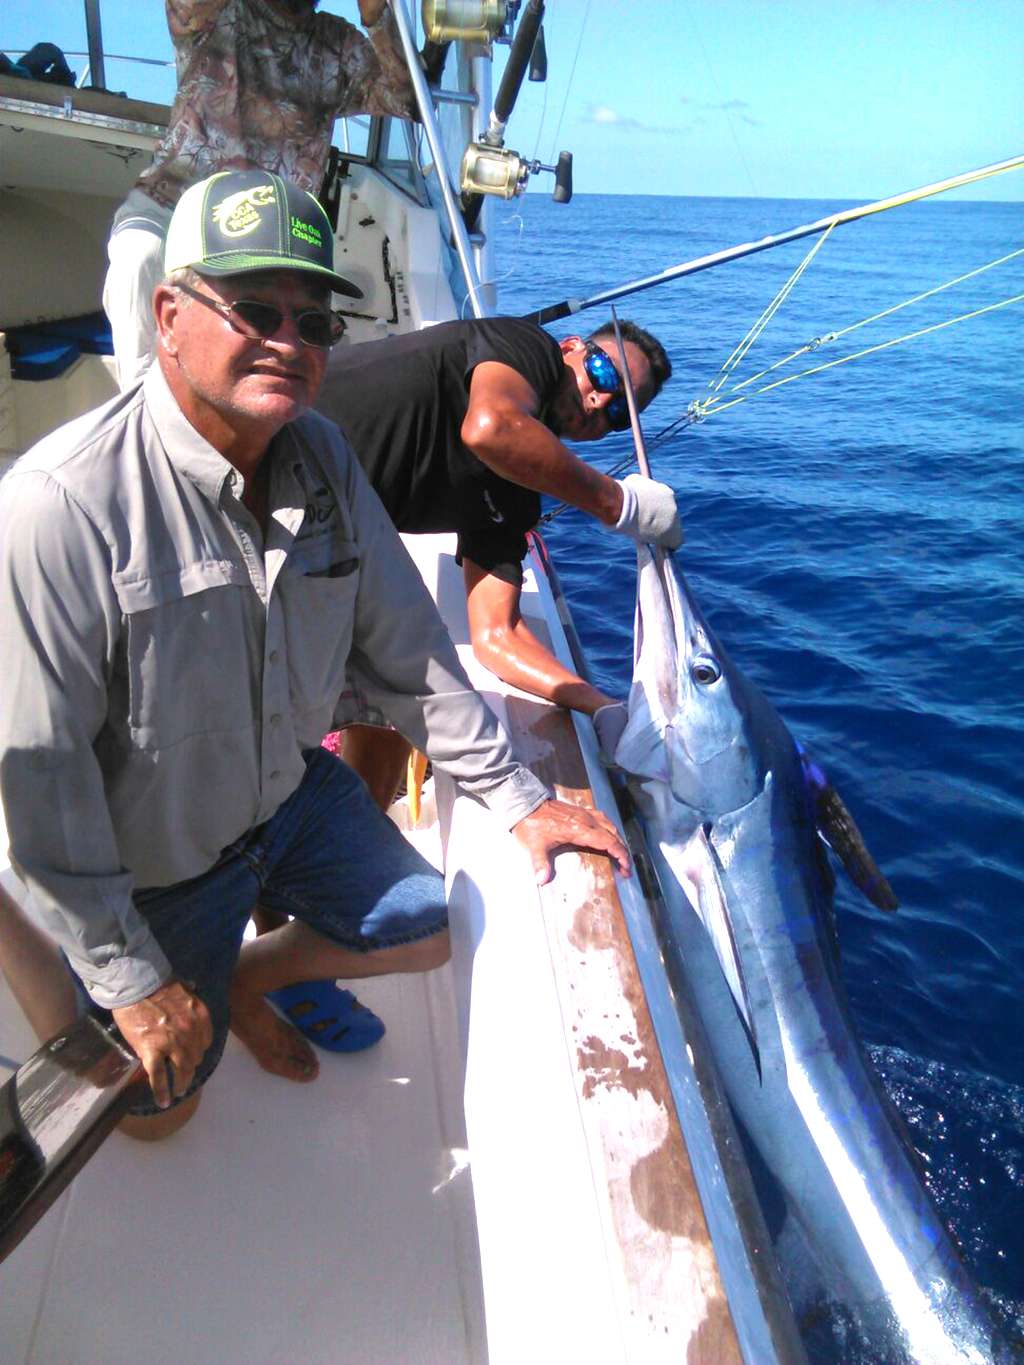
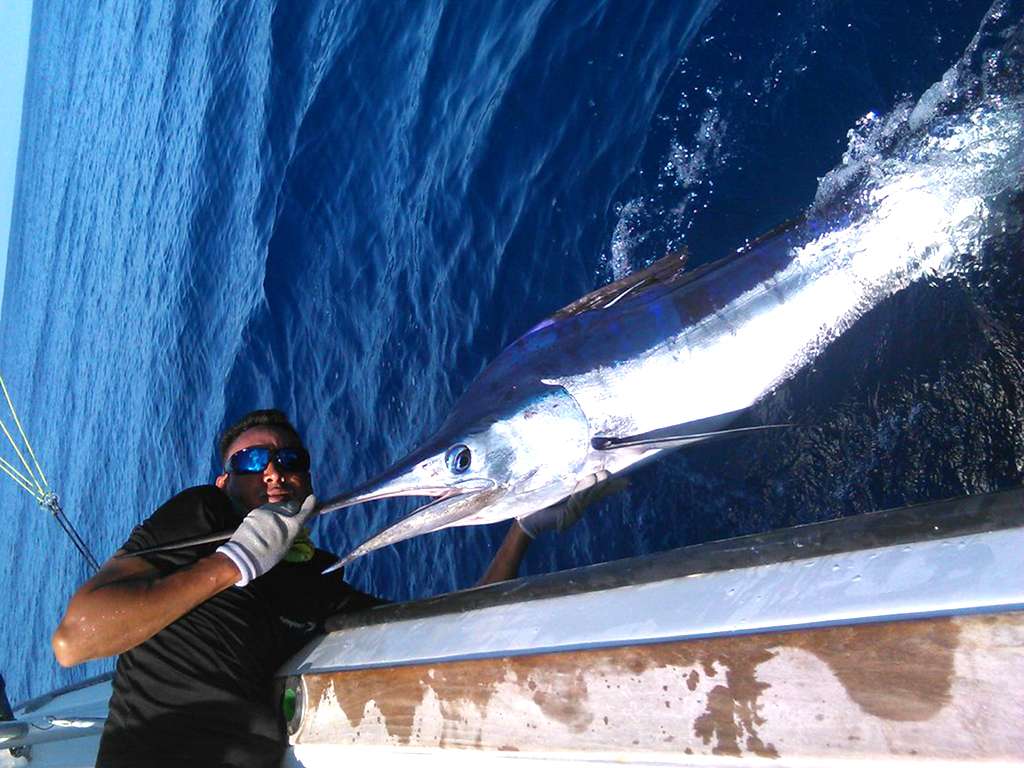
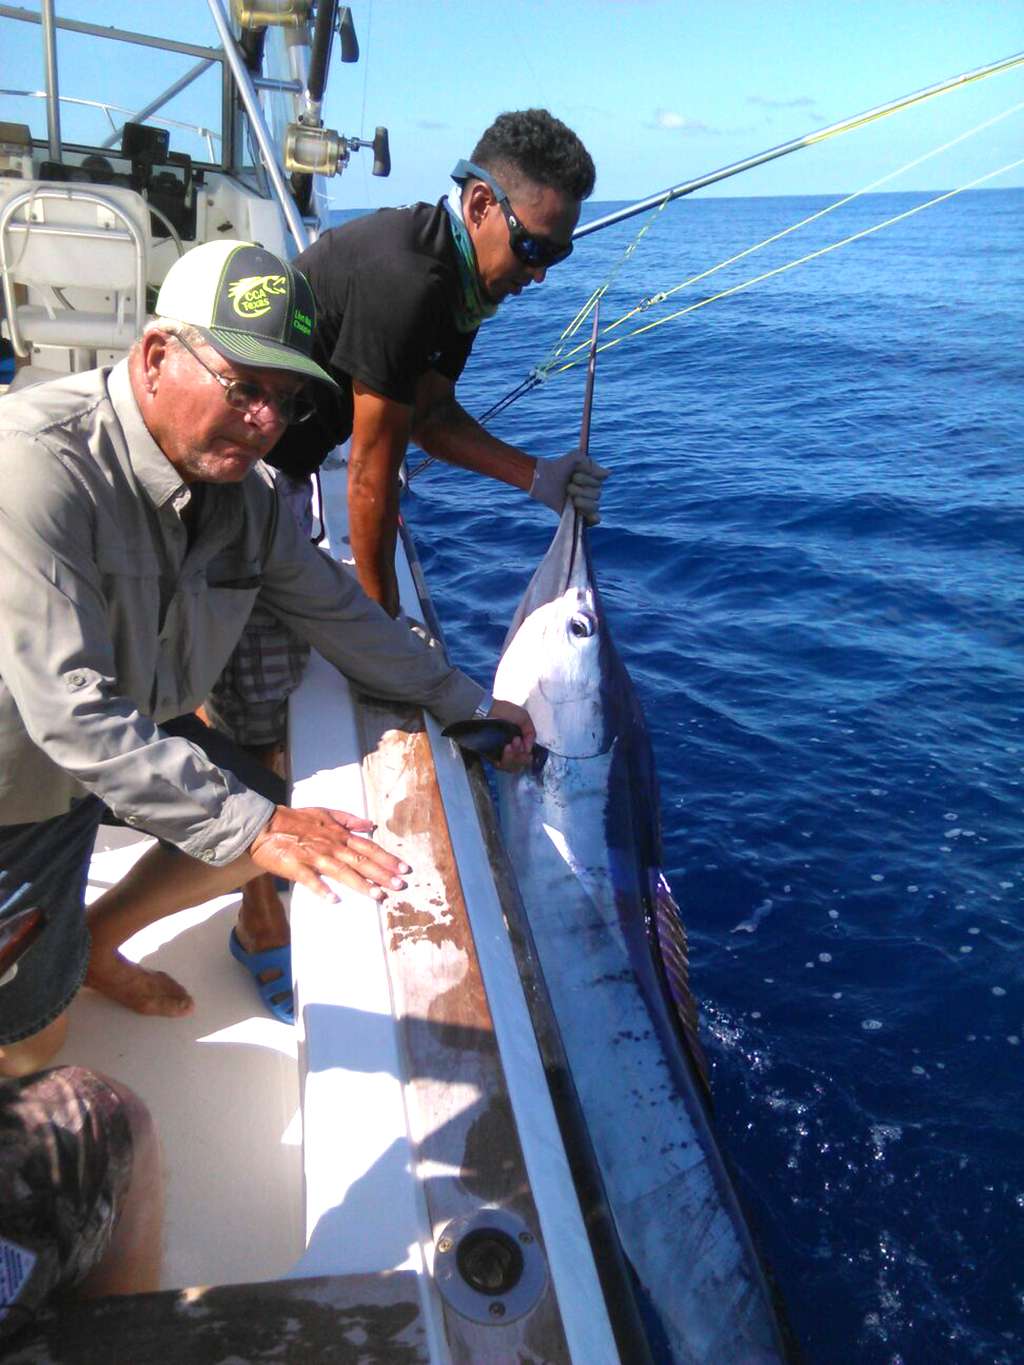
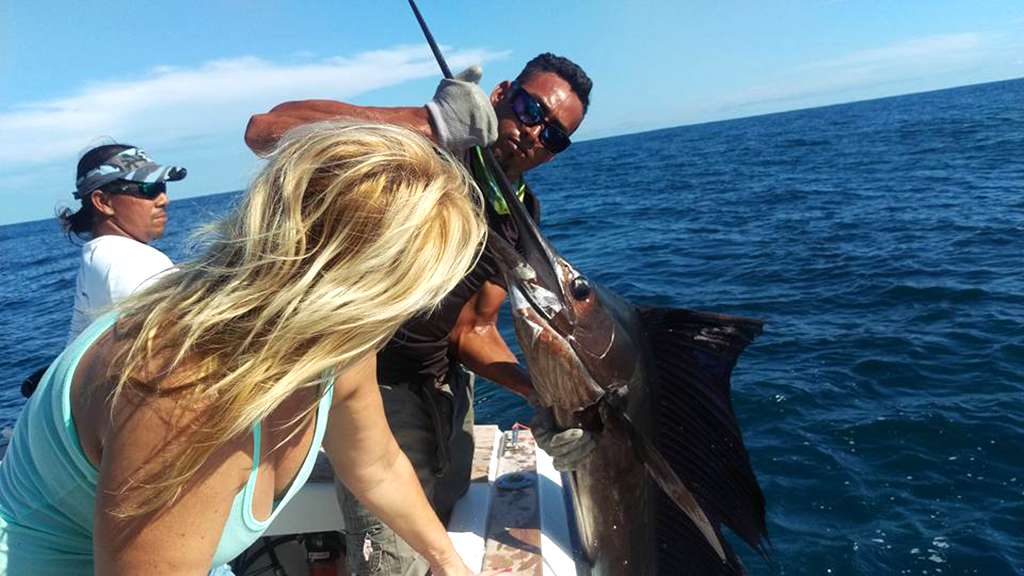
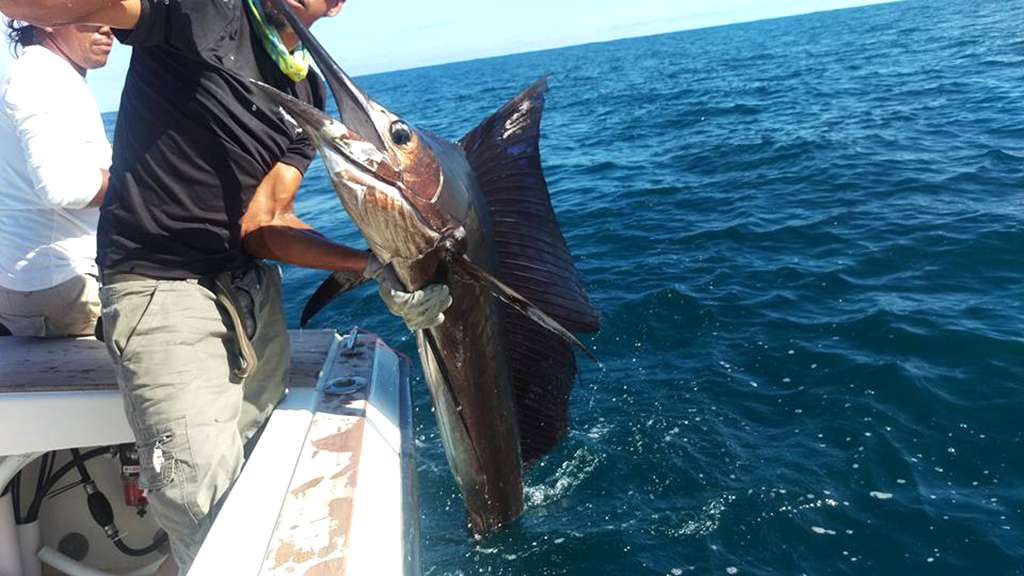
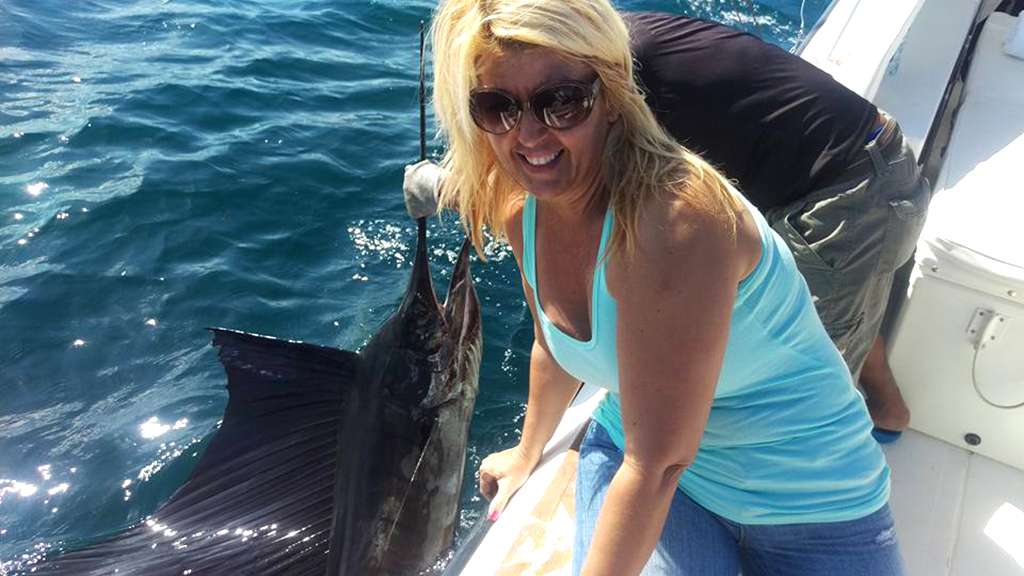
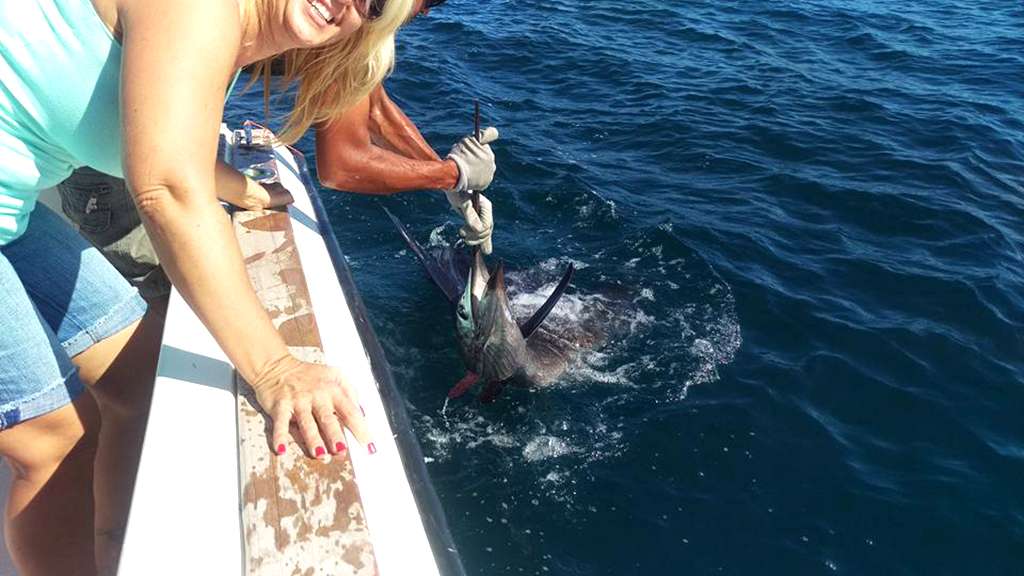
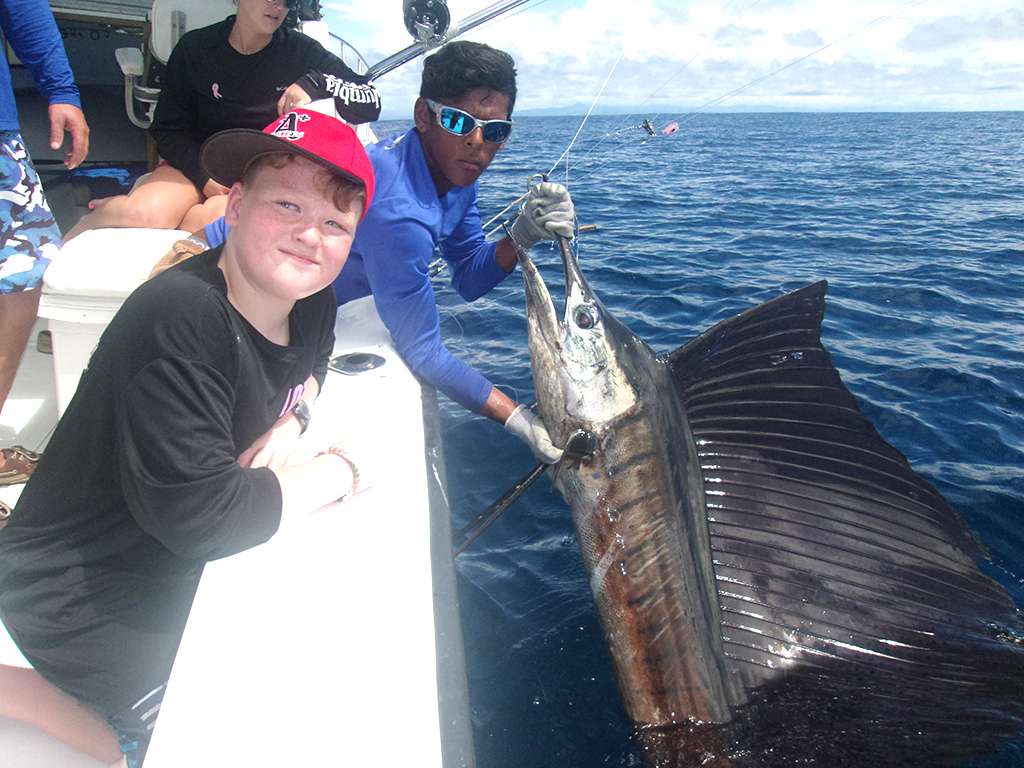
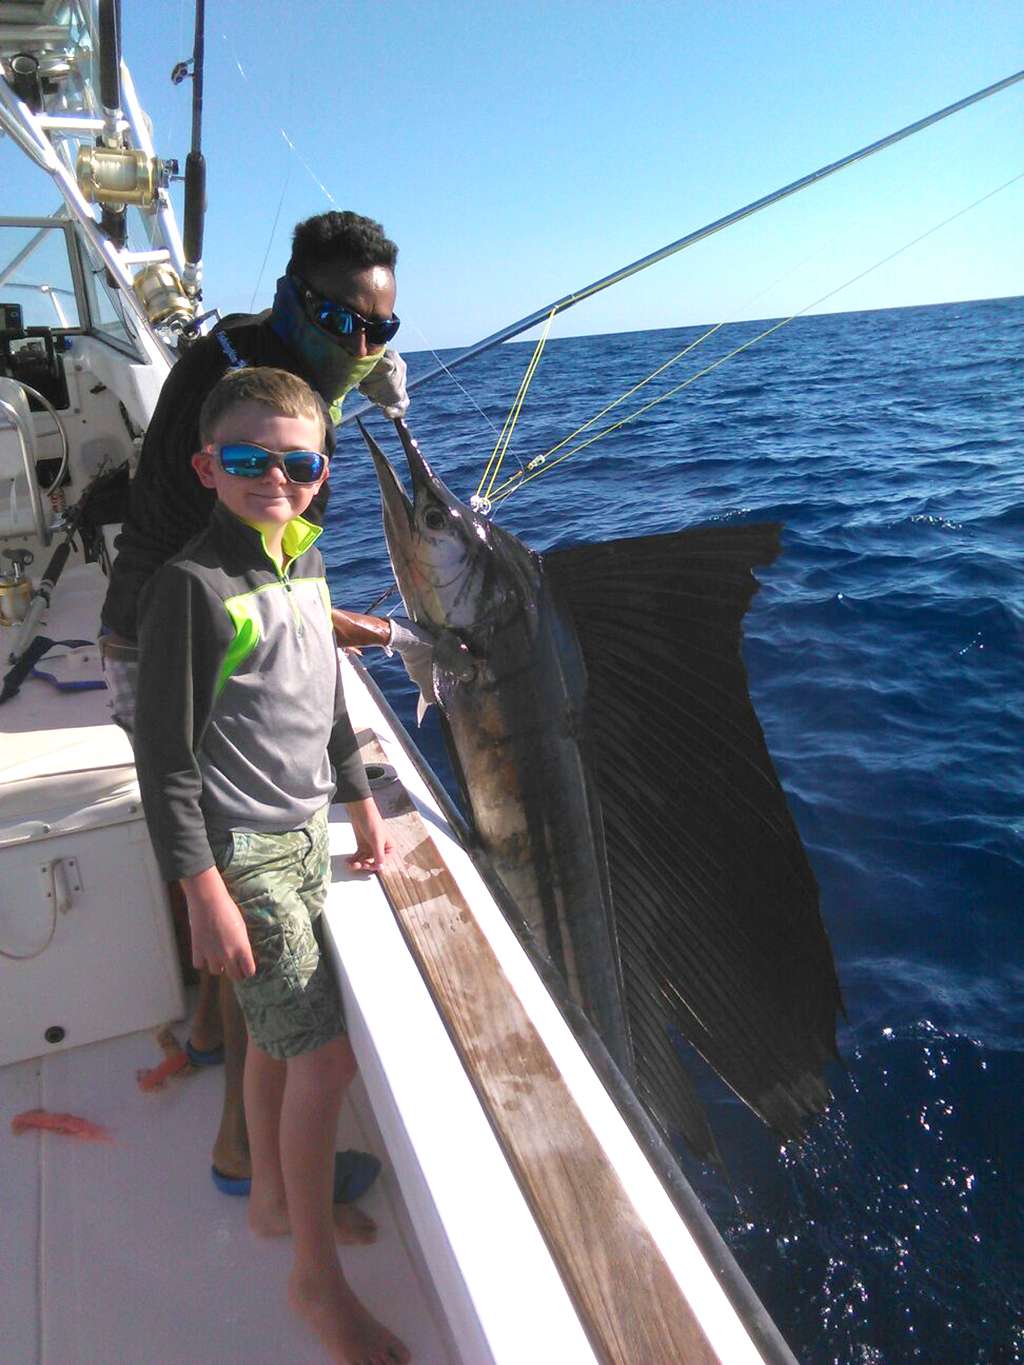
They also added another Sailfish release to the scorecard later in the trip:
Great work by Captain Carlos and the unstoppable Eric Dixon.